Hello everyonebody! It's time to tackle a new project.
Some of you may recall some months back my having to first repair (after the front rail mounting failed while in the middle of a ride), then refinish a badly-abraded/cracked corner as a result of an unplanned car/bike interface (Lexus vs. Davidson - the rear wheel lost). After affecting the repair/refinish, I retired that particular saddle - IMHO, it had received one knock too many. The repair and refinish process yielded a beautiful saddle, albeit redundant for anything but a display case. Not to worry, because the insurance settlement paid for an almost-new, undamaged replacement.
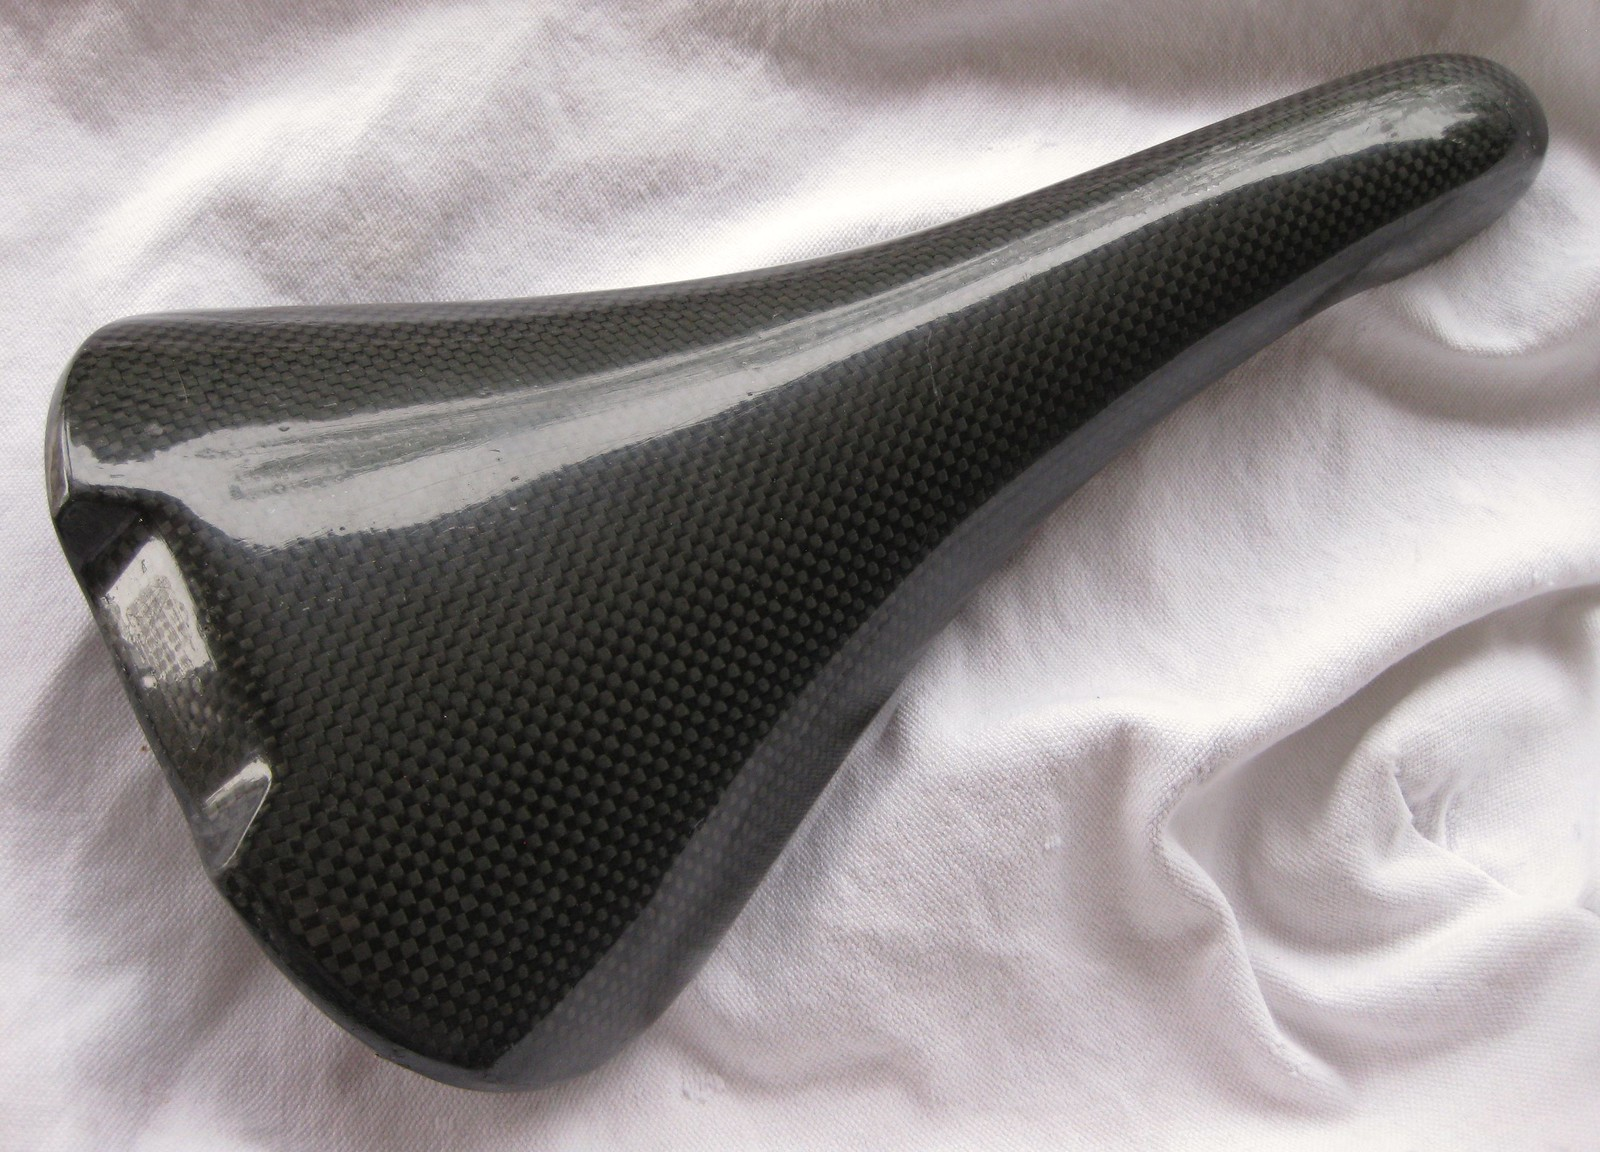
Well, the problem is this: I love these saddles - and not just to look at. They're flexible, and incredibly light in the bargain - plus, they just look fantastic (yeah, that's coming from me, Mr. Super and Nuovo Record all the way). However, being an F1 fan since the late 70's, I've been aware of carbon fiber applications for decades, and the stuff is fascinating to me. I love the way the weave looks, especially in direct sunlight, and of course it's extremely light and strong. The Flite Evolution looks at home on the 8-speed-equipped Davidson, but I also gave it a go for a bit on the Medici - and it looks super-cool on that Super Record-equipped bike, too. But, I only had the extra one - you know, the one I can't trust anymore not to carve up my gluteus maximus in use.
Lucky me, I found this about a week ago:
Spent 5 days discussing things back-and-forth with the seller, receiving details regarding the condition, and how low he'd go (he was looking for $299, but was also using the 'Make Offer' option). He suggested his low was half the ask; that's all I needed to hear! Once he'd provided me a photo showing the one area of concern I had, I was convinced this was the best chance to get a rider at a decent price - and I had the refinishing skills to gussy it up thanks to the two previous mishaps. It arrived today, exactly as described and photographed.
You might have noticed it lacks any identification marks/logos. That was in my favor when negotiating the price down to a reasonable sum, but even before buying I knew exactly how I was going to rectify the bland look. My solution is still a secret, but all will be revealed before the thread is done.
For now, I've begun the cleaning process - and the tiny aesthetic repair, too. Pics follow - because this is a 'How To' guide, and what's a guide without pics, amiright?
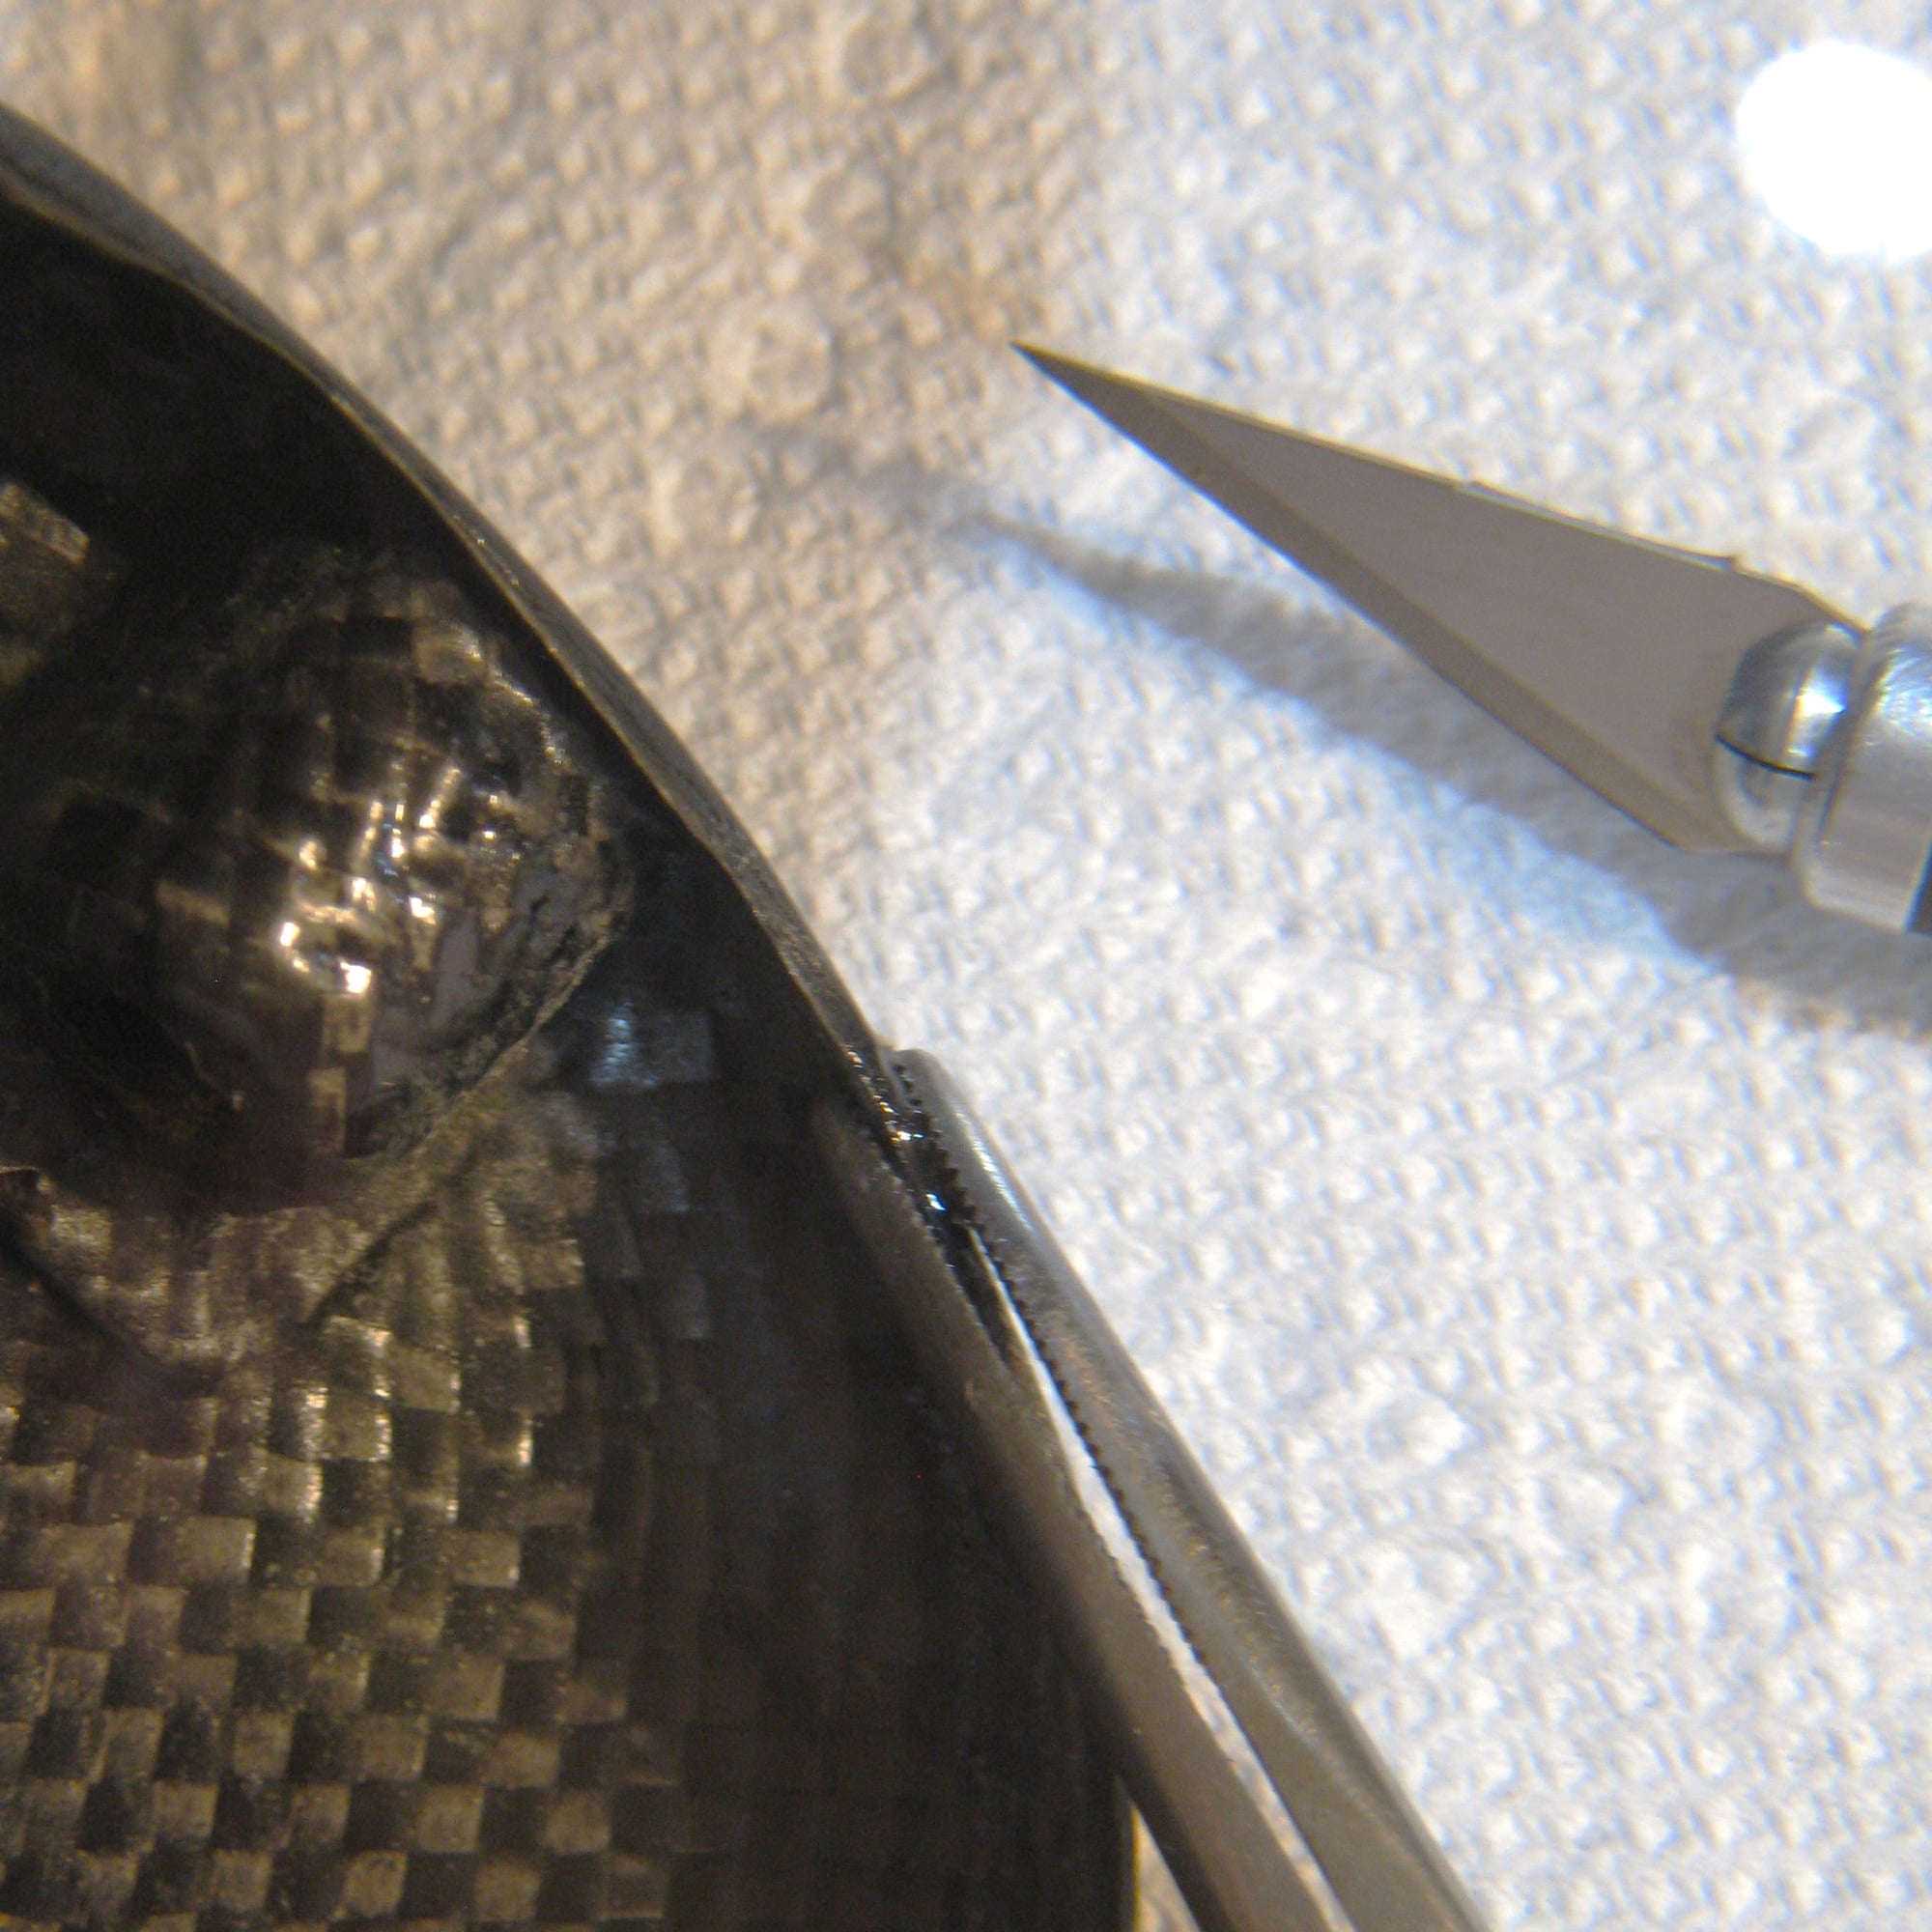
There was a tiny chip in the first ply on the drive-side rear corner.
I poked a bit of epoxy into the gap with a toothpick, and clamped it closed with a hemostat; I'm leaving it to cure overnight:
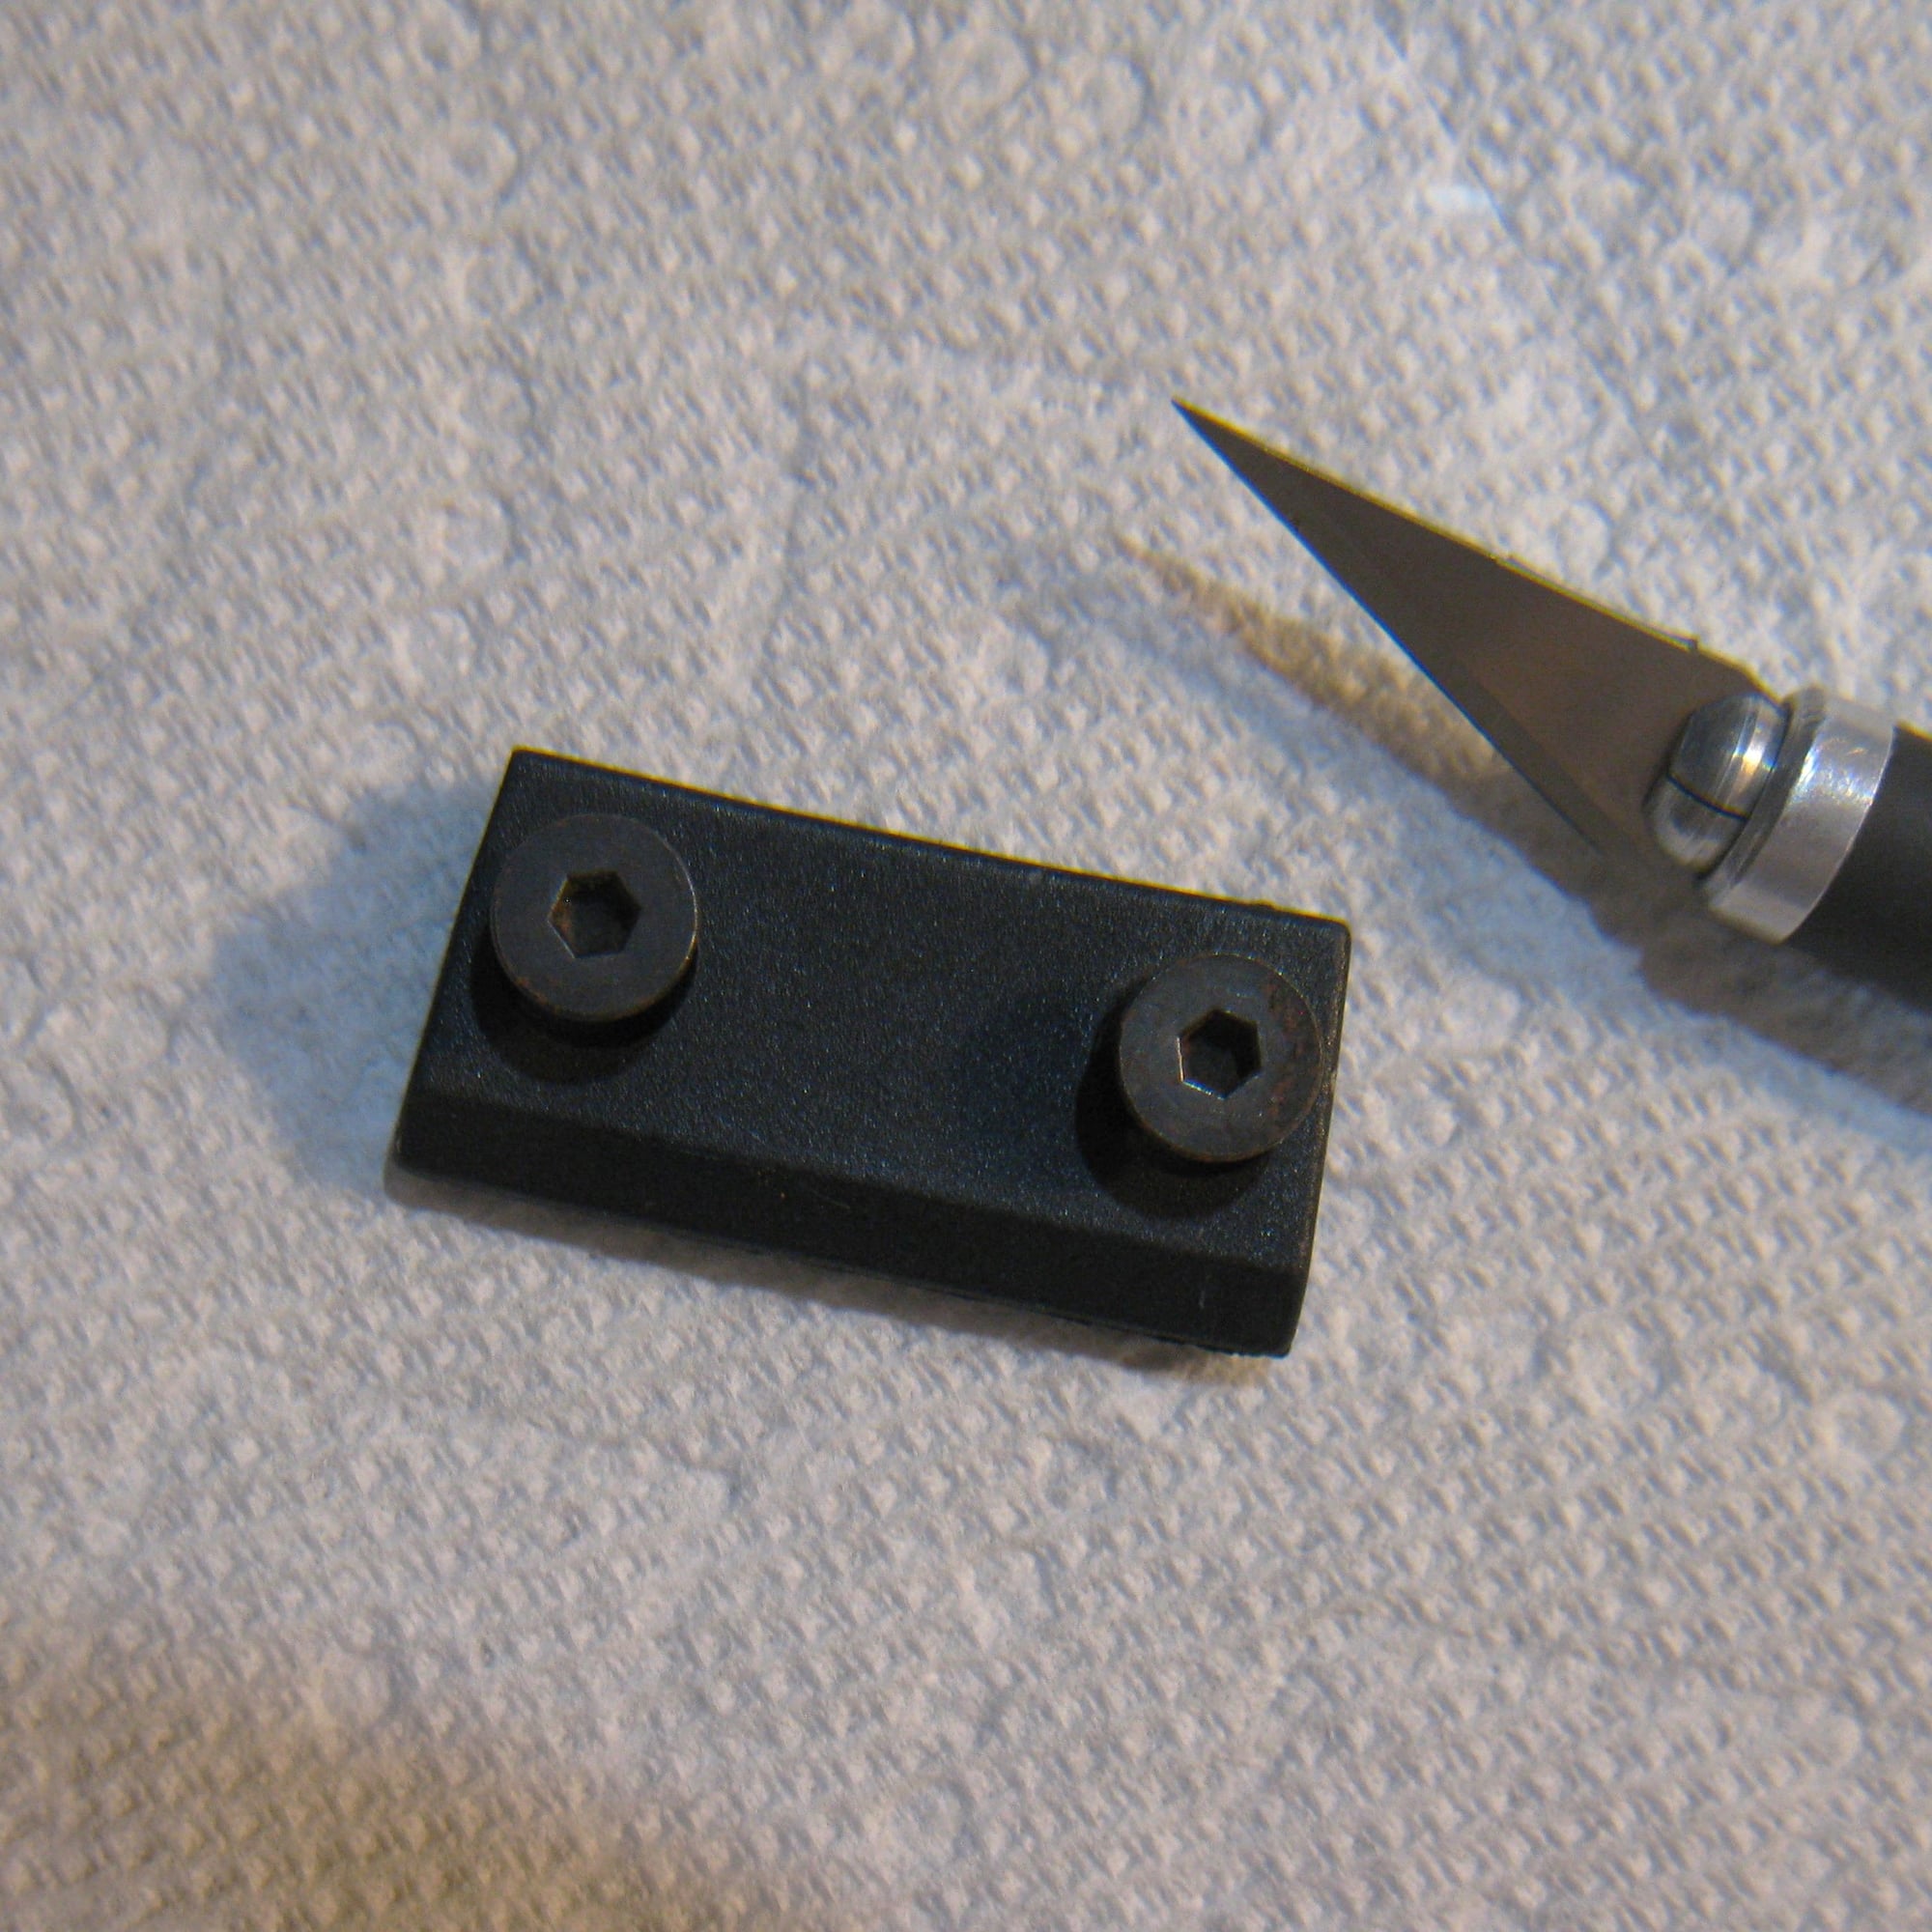
Next, I unscrewed the forward mounting plate and dressed the two Allen screws with a fine sanding film.
Before:
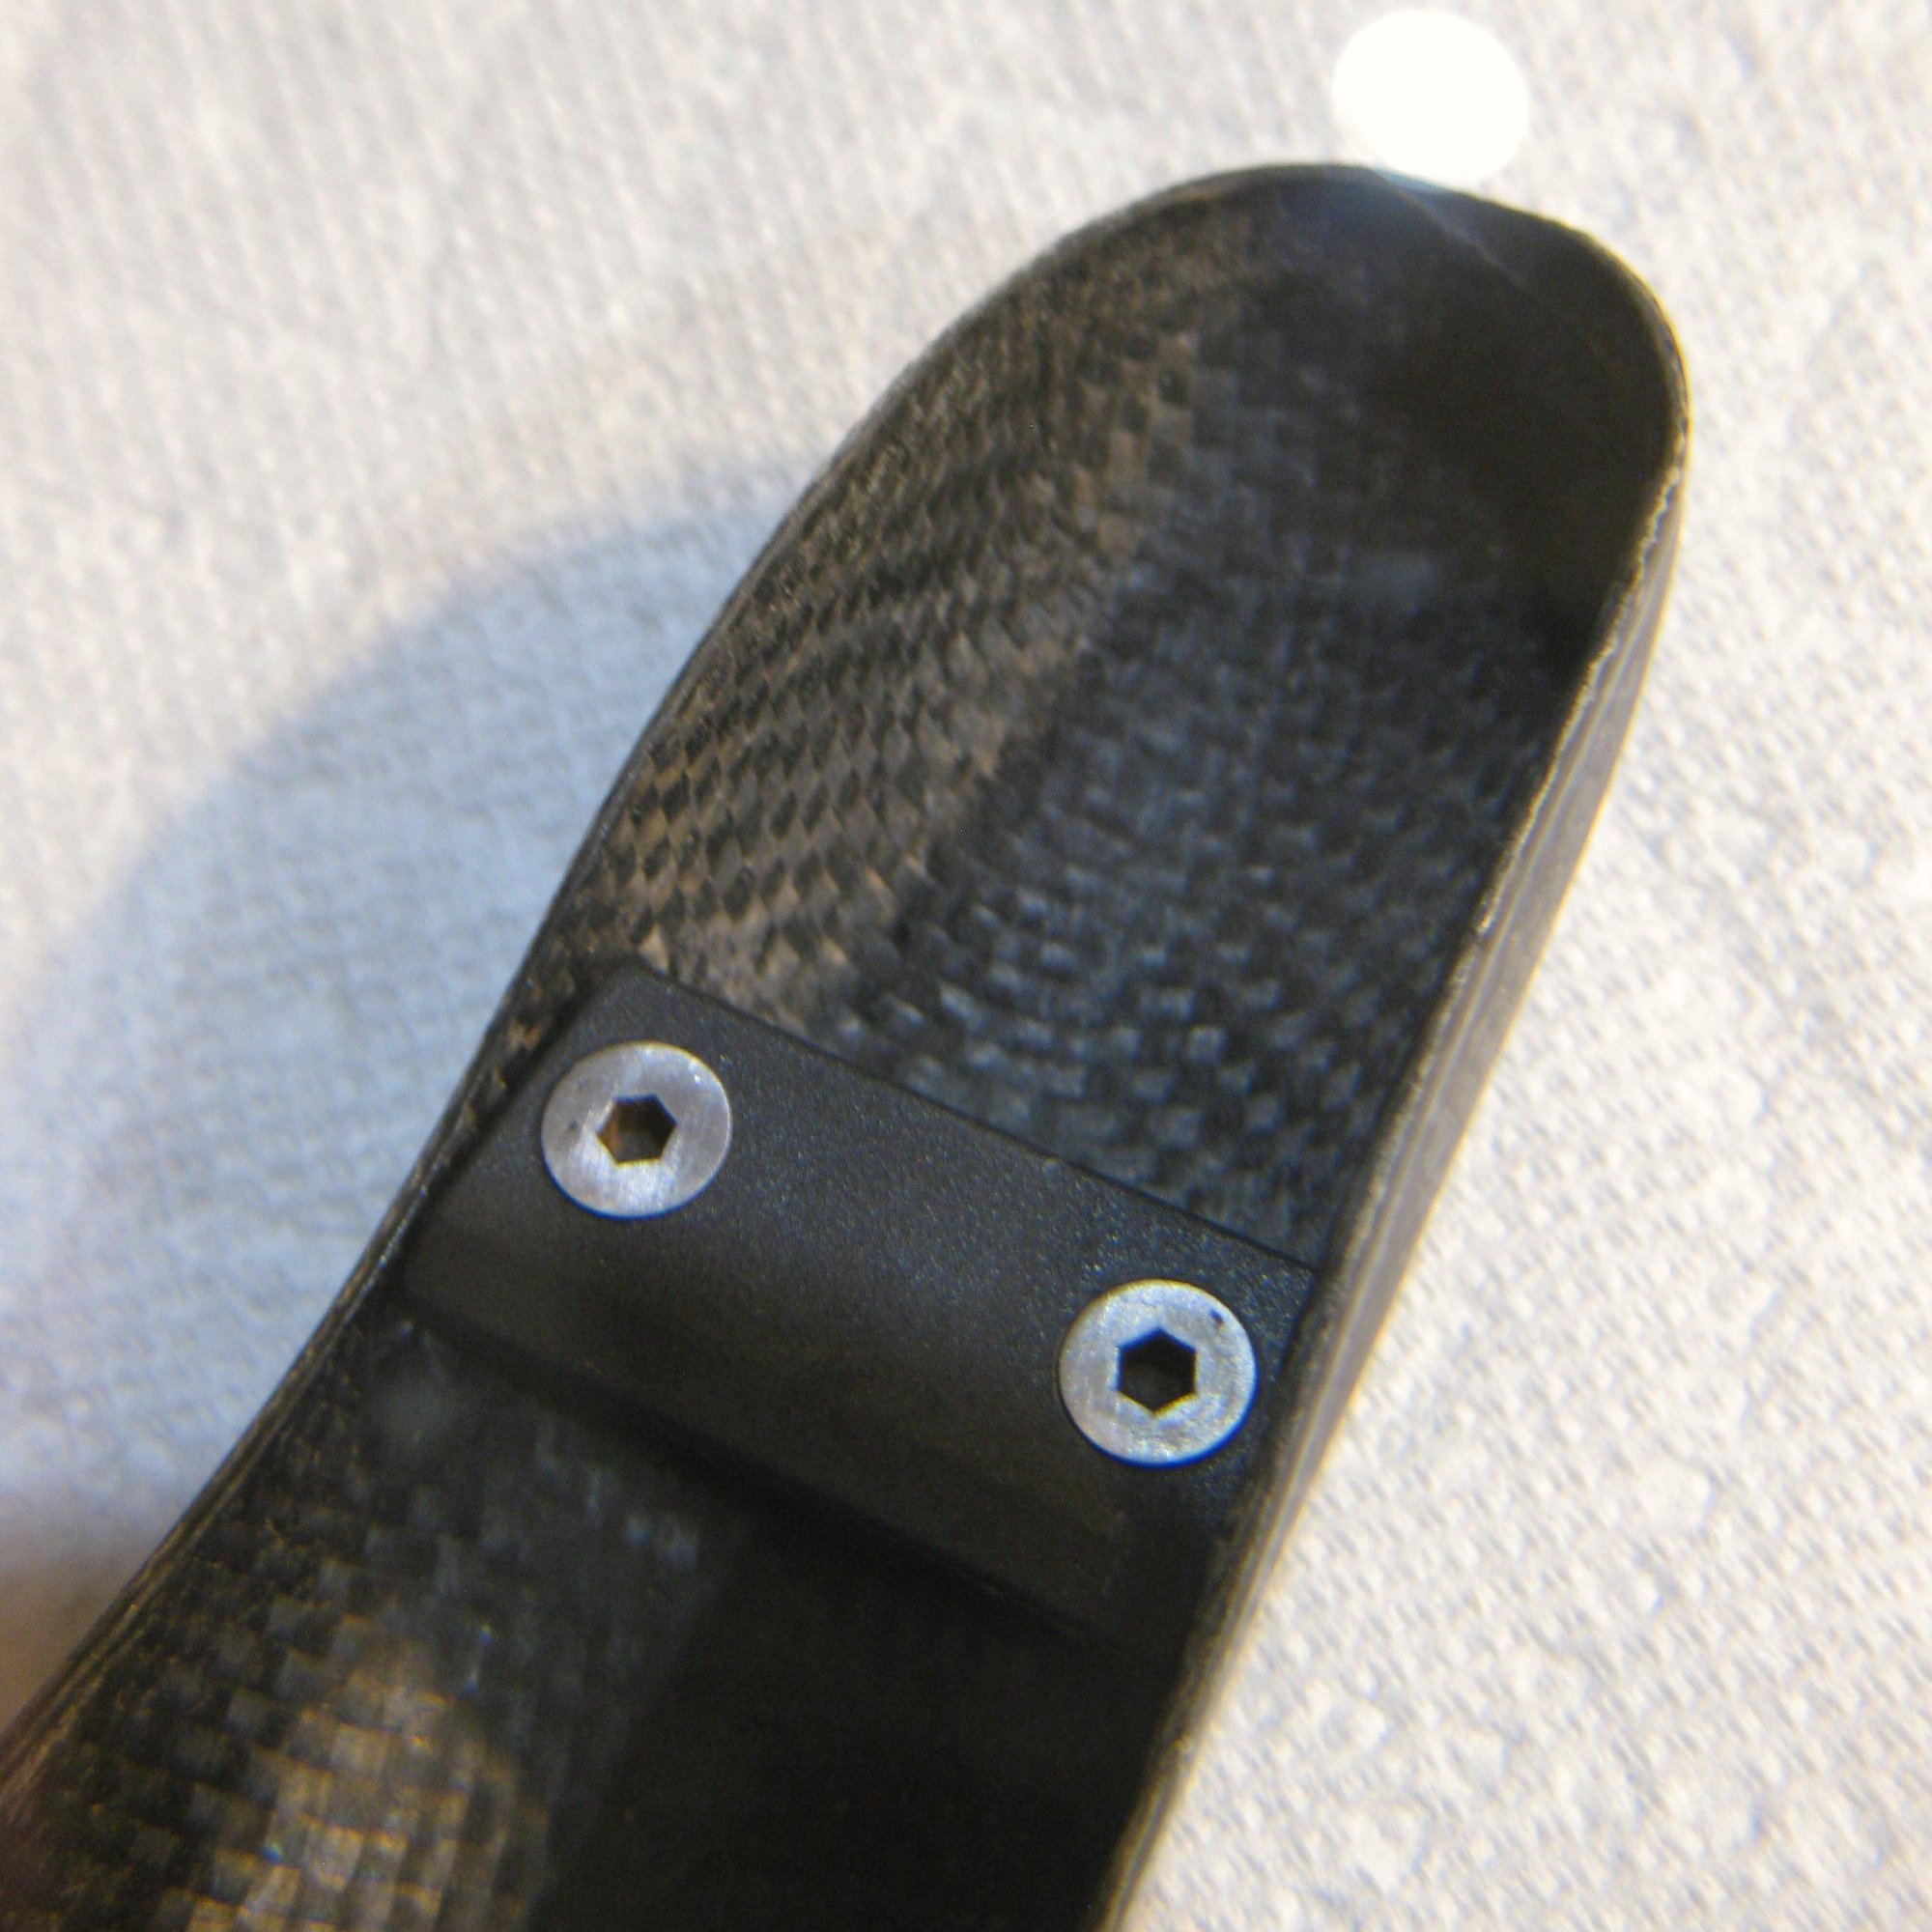
 After:

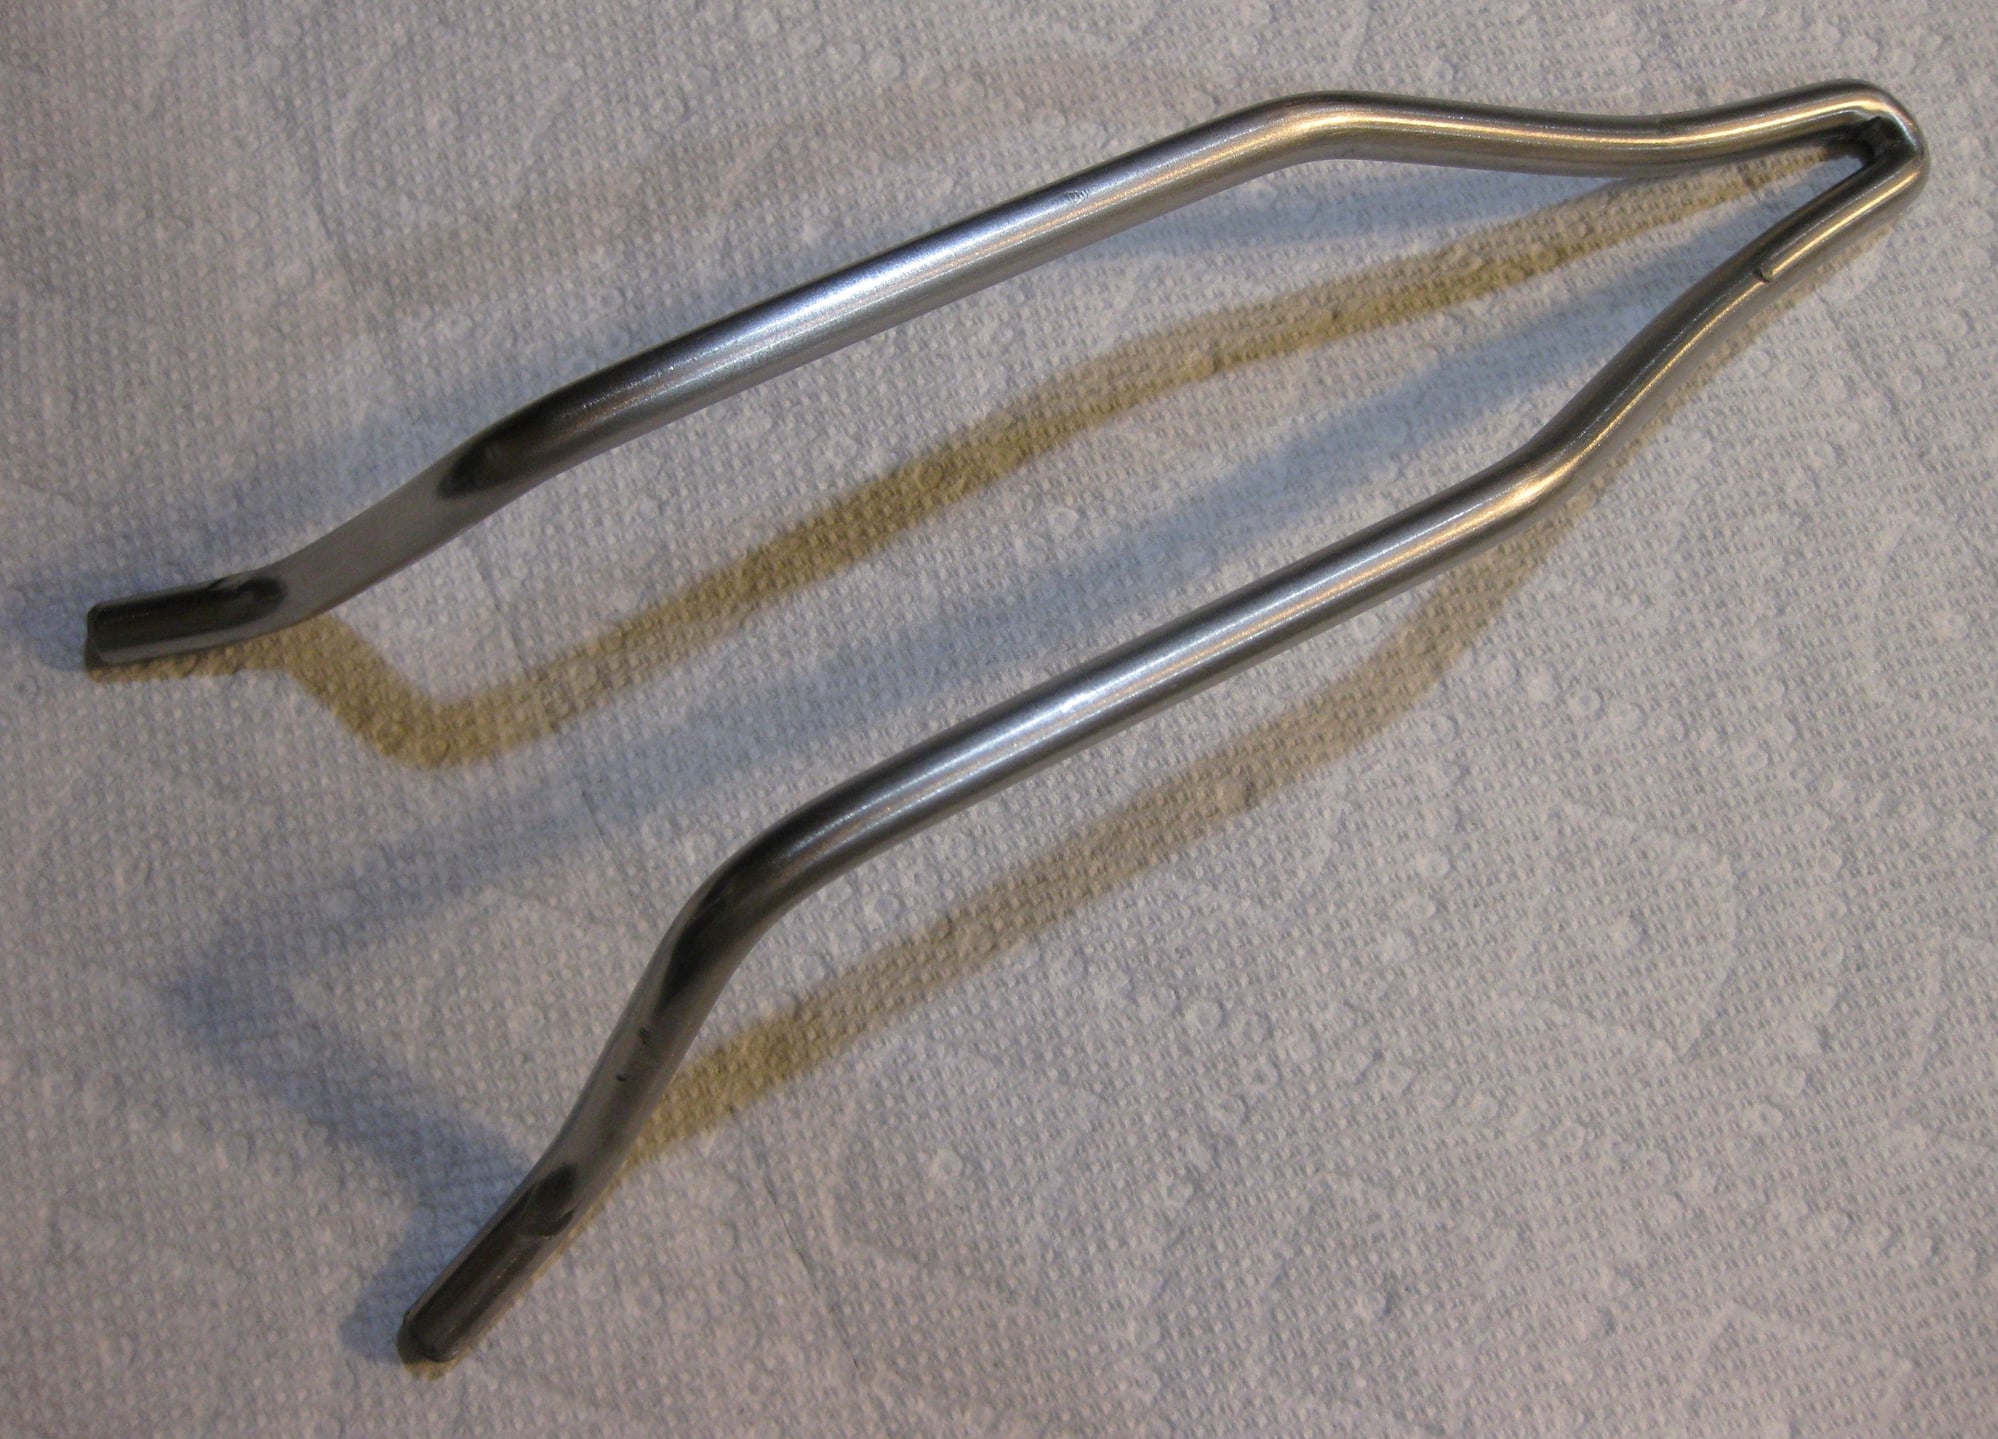
Finally, I used the same sanding film to clean up the seatpost marks from the Ti saddle rail.
Before:
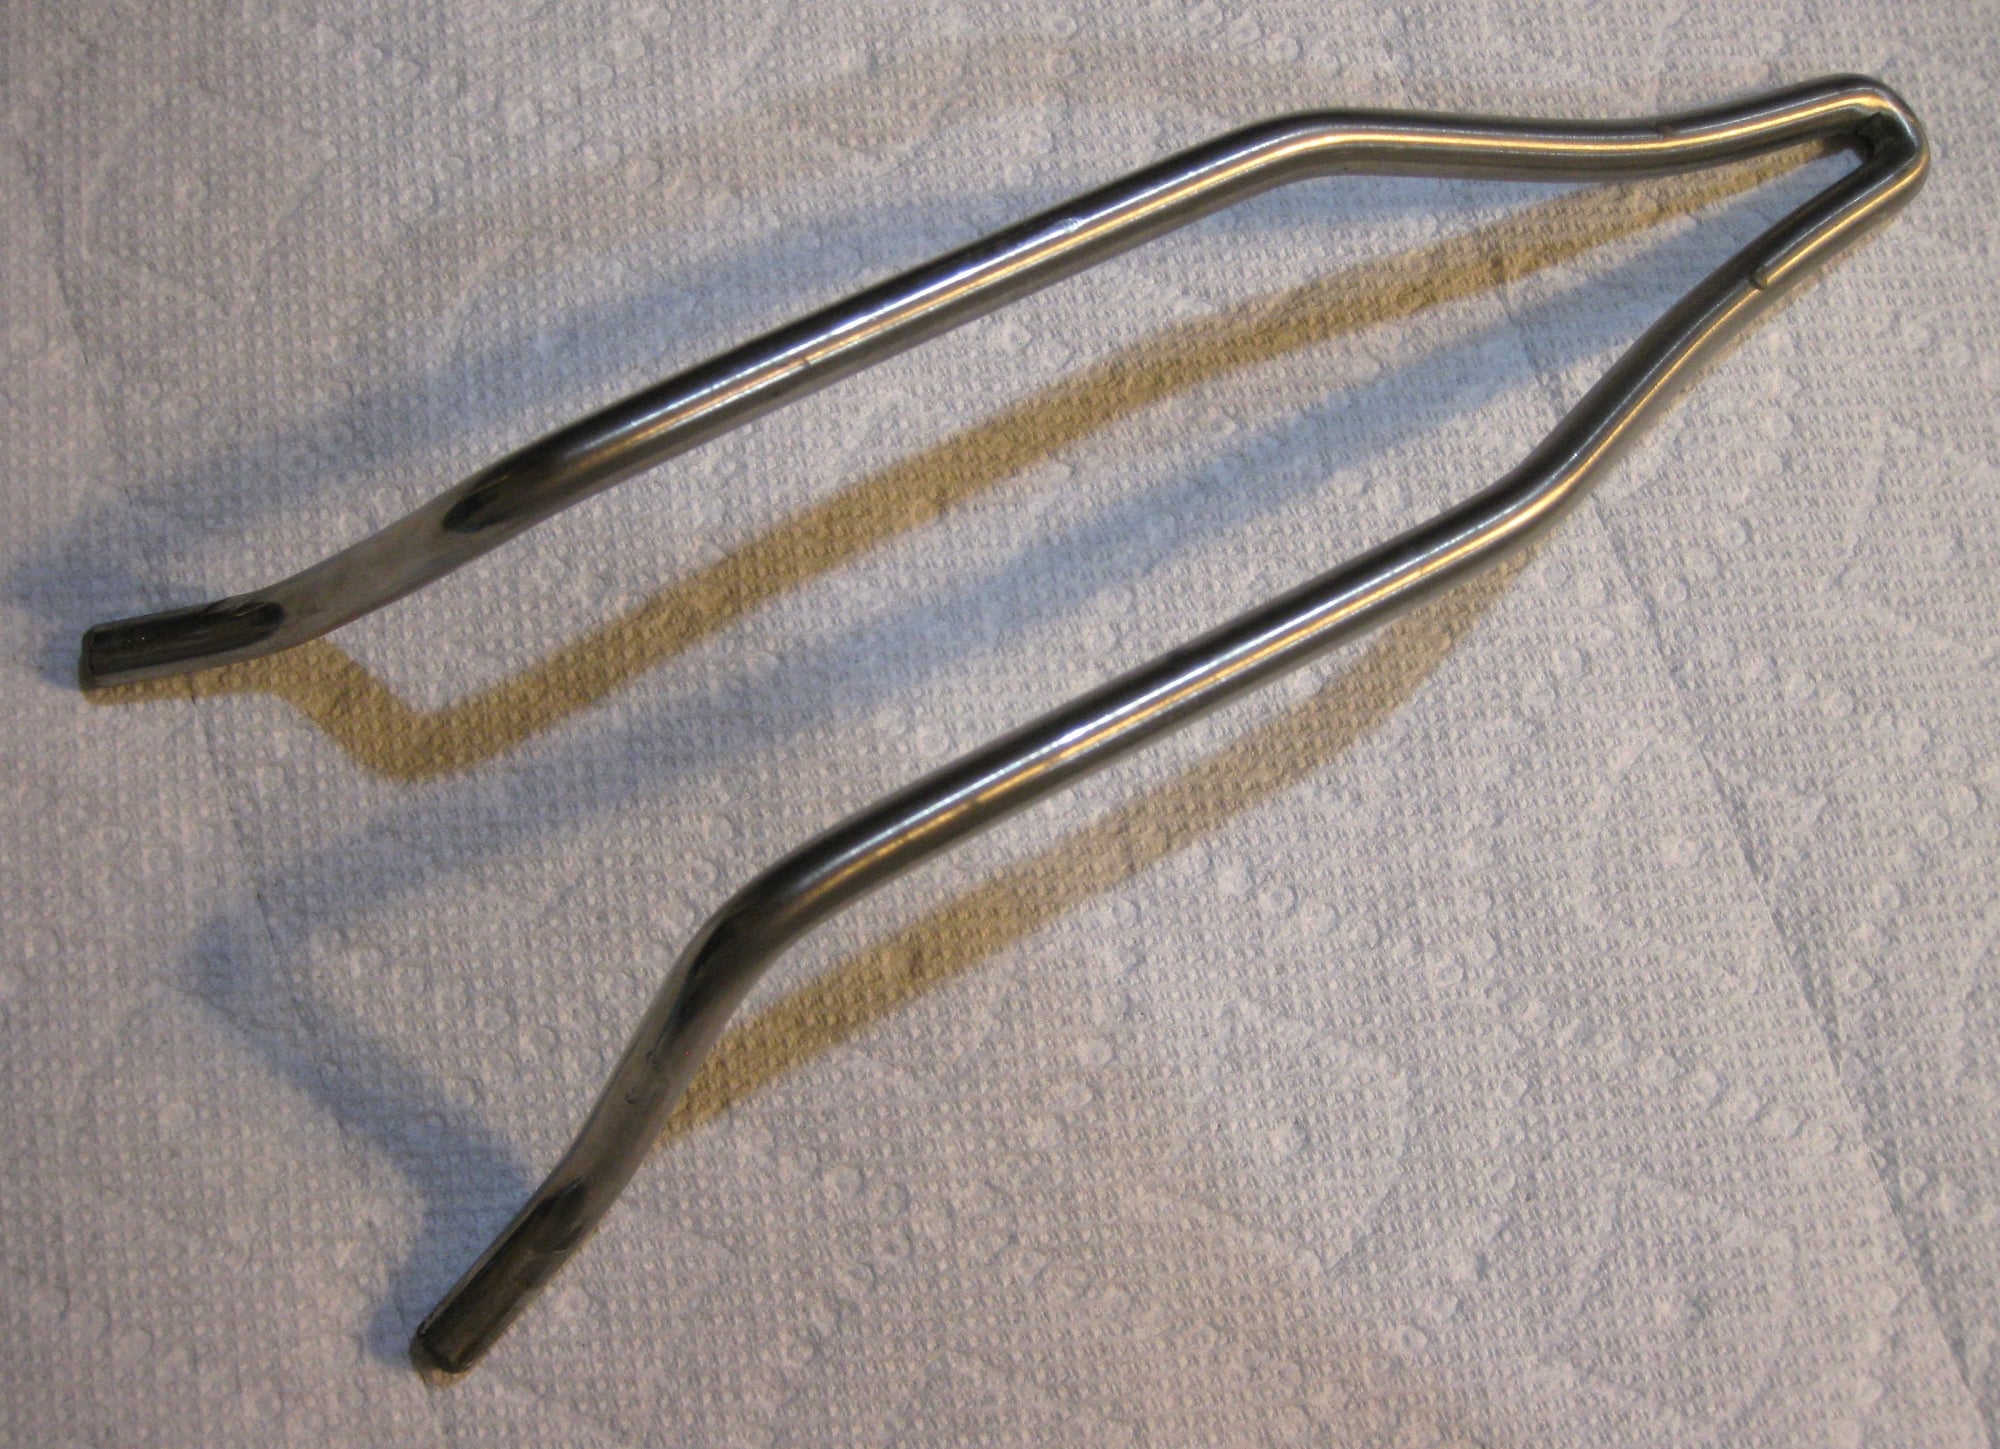 After:
Until the epoxy has cured, I'll have to wait to tackle the removal of the original, slightly marred clear-coat. Then, it'll be time to apply the bits and bobs of my 're-badge' - after which I'll lay down three or four coats of clear.
Anyhoo, I'm off and running. Hopefully before the lights go out for the start of this weekend's F1 season-opening Bahrain Grand Prix, I'll have a finished article. Stay tuned...
DD