


1987 Trek 400D Elance paint and cleanup advice
 02-12-20, 03:03 AM
#1
Member
Thread Starter
(Completed!) 1987 Trek 400D Elance paint and cleanup advice
My grandfather got this bike from goodwill in 2000 as a gift for me when I was 12. It’s been loved as long as I can remember. It’s been my only bike for 20 years and I’ve put well over 1,000 miles on it. Unfortunately, it’s seen better days. When i received it, it was sparkly metallic blue, had all the trek stickers and decals and only a hint of rust. (I am 99% sure it’s a 1987 400D, due to what I remember about the head logo, clearly had to be an 84-87, it had the shadowed trek logo and USA on the stem. It’s stamped trek on the seat inlet, but perhaps I researched incorrectly).
When I was 17 (2005) I tore it down and painted it with gray primer and red paint. I didn’t take off the crank (so it has overspray on it). I didn’t really sand down the rust that was there either, although it hasn’t grown. It’s always been in a garage and paint over rust helps. I didn’t know enough then to reassemble it well enough to make the indexing work (nor do I now) and get everything back correctly. I also, stupidly, took about a 3 month break between break down and reassembly. So I had to have a local bike shop put it back together. I did this for a reason, garbage bikes on a college campus don’t get stolen, it was clearly a pretty trek before I made it my own. It was dumb, wish it was original now, but I road it for 6 years all the way through grad school without it getting stolen so maybe it worked.
Digression aside, it’s got rust showing through blue showing through gray showing through red. It’s got original everything except the rear brake and the added luggage rack (still has the matrix rims, and DEFINITELY needs rim tape, as it pops tubes like a mofo). I don’t know the first thing about tearing it down to sand and paint it. Nor how to reassemble it when I do to get everything working again. I assume it’s easy enough to get it down to the frame to clean it up, degrease everything, and put it back together (easy enough in the fact that I’m an accomplished backyard mechanic and engineer now, something I was not 15 years ago at 17).
I was wondering if anyone has suggestions based on experience for changes or repairs while it is apart. Or information on the breakdown, reassembly, and tuning. Willing to learn but bike ignorant. I would love to return it to its former glory, or at least paint it so it looks decent again and polish the chrome bits that got painted last time. I’ve got the time and money to make it run like new. Nothing but the tube popping and slight index tuning are broken right now. All the teeth look fine on the crank, cassette and derailer. Chain has been replaced a few times in those years. Seat has been replaced.
I just need information and suggestions. I did it very wrong last time. I want to do it right this time but I don’t have the experience. I want to ride this one for the rest of my life so I need it put together properly. I haven’t ridden much in the last 10 years since school ended and wanted to get back into it. It is still loved and needs some attention.
Any help on paint and rust treatment is appreciated also. Any advice in general is helpful. Assume I’m completely ignorant.
(Won’t let me post a pic because I don’t have 10 posts).
Last edited by Kapurnicus; 10-10-20 at 04:26 PM.
 02-12-20, 04:56 AM
#2
seńor miembro

Join Date: Dec 2018
Location: Pac NW
Posts: 6,601
Bikes: '70s - '80s Campagnolo
Mentioned: 92 Post(s)
Tagged: 0 Thread(s)
Quoted: 3865 Post(s)
Liked 6,451 Times
in
3,191 Posts
You have to take it one step at a time and do research on every little thing. It sounds like you completed grad school, so you should know how to research each item that needs attention. Searching Youtube, Sheldon Brown, the Park Tools website, and this bikeforums subforum will result in everything you need. Having a catch-all thread for every single thing that needs attention is not an efficient way of going about such a project.
02-12-20, 06:31 AM
#3

Senior Member
Join Date: Feb 2010
Location: Bloomington/Normal IL
Posts: 1,062
Mentioned: 15 Post(s)
Tagged: 0 Thread(s)
Quoted: 152 Post(s)
Liked 236 Times
in
138 Posts
Welcome to the CV Forum, you are in the right place.
Your research got you here, and you will find this a helpful knowledgeable place.
Your first priority might be to get your post count up over the course of a few days and then post pictures.
Those pictures are most informative if taken from the drive side of the bike, (the side with the chain)
Once posted you will find this group has many of the answers you seek.
Good suggestions on how to tackle your questions as well from SurferRosa.
We love projects especially with pictures.
Rick
 02-12-20, 07:02 AM
#4
Mr. Anachronism
Join Date: Jan 2013
Location: Somewhere west of Tobie's
Posts: 2,087
Bikes: fillet-brazed Chicago Schwinns, and some other stuff
Mentioned: 29 Post(s)
Tagged: 0 Thread(s)
Quoted: 526 Post(s)
Liked 256 Times
in
165 Posts
Are you located near a bike co-op? They could be the perfect solution for facilitating your bike wrenching skills.
__________________
"My only true wisdom is in knowing I have none" -Socrates
"My only true wisdom is in knowing I have none" -Socrates
02-12-20, 07:22 AM
#5
Senior Member
Join Date: Nov 2010
Posts: 3,504
Mentioned: 9 Post(s)
Tagged: 0 Thread(s)
Quoted: 586 Post(s)
Liked 612 Times
in
447 Posts
This sounds like the perfect bike to learn how to wrench on. Park Tools website has a number of helpful videos on common bicycle maintenance and should help some. For some specific things there are youtube videos out there. Beware that they aren't all good, but some are extremely helpful. Get to know how the bike "works". What I mean is, develop a complete understanding of how the braking system works, from the levers all the way to the pads. This will help you diagnose problems if and when they arise. There are fixes for poor braking, excessive noise, braking in wet conditions, etc. Also get familiar with the shifting system. Watch videos on properly setting up derailers for example.
If the frame is showing rust it doesn't mean that it is serious but it does need to be addressed. Post some pictures (more the better) and we'll all chime in on our thoughts. Sometimes a bike needs an oxalic acid bath. This should be followed up by an application of Framesaver to protect the interior of the tubes. A repaint isn't cheap unless you do it yourself. There are a bunch of threads here dealing with DIY paint jobs. Some get remarkable results, but it takes time to achieve a good result. Powder coating is another option. If you wish to replace decals, be aware that they are available. Again, there are threads here dealing with such. I think one provider is called Velocals?
There is a satisfaction that comes with being able to strip a frame down, clean it with care and put it all back together. I hope you give it a shot!
Likes For TugaDude:
02-12-20, 07:40 AM
#6
Senior Member
Join Date: Dec 2019
Location: South Shore of Long Island
Posts: 2,785
Bikes: 2010 Carrera Volans, 2015 C-Dale Trail 2sl, 2017 Raleigh Rush Hour, 2017 Blue Proseccio, 1992 Giant Perigee, 80s Gitane Rallye Tandem
Mentioned: 12 Post(s)
Tagged: 0 Thread(s)
Quoted: 1079 Post(s)
Liked 1,019 Times
in
719 Posts
If you're going to repaint I wouldn't sand it down, there's plenty of placed that blast paint off and I'd take it to them. They can use different mediums to clean off the chrome without damaging it and get it right down to bare metal. You want a really clean frame if you want the job to look right. Local paint places can put together really nice rattle cans with professional quality paint for a proper job and I've seen plenty of paint jobs done with thinned down rolled on rustoleum, you can find plenty of info on the details on car forums and if done right it a strong paint job. You can also do a powder coat job, either way having a clean, prepped frame will get the best results. The rest of it will require specialty tools; crank puller, headset press, bb tools, cone wrenches and some specialty knowledge like wheel truing and readjusting everything.
02-12-20, 12:08 PM
#7
Senior Member

Join Date: Sep 2005
Location: Oakland, CA
Posts: 3,265
Bikes: '82 Univega Competizione, '72 Motobecane Grand Record, '83 Mercian KOM Touring, '85 Univega Alpina Uno, '76 Eisentraut Limited
Mentioned: 57 Post(s)
Tagged: 0 Thread(s)
Quoted: 1088 Post(s)
Liked 1,205 Times
in
701 Posts
This is a good place to start, as it's maintained by a forum member:
https://www.mytenspeeds.com/My_TenSp...4_WORKSHOP.htm
https://www.mytenspeeds.com/My_TenSp...TRODUCTION.htm
Tons of information, including how to properly paint it yourself. Like SurferRosa said, take your time and enjoy learning about each piece as you put it back together.
Also, google is your friend with the added "bikeforums" term. The search function on this site is not great, but google will help you discover that almost every basic topic has been covered in a thread and perhaps even has pictures. Youtube as well, as has been mentioned. RJ the Bike Guy helped me through many basic tasks that I now take for granted.
02-12-20, 12:29 PM
#8
Member
Thread Starter
Alright! Step 1 accomplished. That is finding a place full of helpful people (an actual active forum). It seems from the responses that I've found just that. Thank you all. That was goal 1 for my 1am post.
Step 2: I said assume I'm completely ignorant, because that's helpful in getting an explanation of what others think I should tackle first or tools I need. I have quite a bit of experience with this bike, I've obviously disassembled it once (mostly) and kept it rideable after that. I do have a firm knowledge of all the mechanical systems in theory and seen their action here. I've tuned the shifting systems a few times, although I'm still not convinced its perfect. My lack of experience comes in other forms of problems, like what should I take apart for cleaning and painting. I worry about removing the crank and bottom bracket because of possible damage that I might do on the inside (or someone else might do). This particular bike runs the rear shift cable (I'm unfamiliar with terminology, another deficit) for the cassette displacement mechanism through the chain stay. If I ever remove that cable (I didn't last time) how in the world would I put it back?! There must be a way, because cables break, but man, that seems like a bad design choice. Worse, it seems like because of that non-grommeted hole that I likely have junk in the frame there. How do you clean that? How careful must a painter or powder coater need to be around that hole and system? It just seems like a herculean task.
Which brings me to step 3: the courage to start, which I have much more of now.
Step 4: last time I did a rust repair it was on the interior of an 80's motorcycle fuel tank. I acid etched it and coated it with something called por15. This doesn't look that extreme, but what cleanup must I do before heading to a blasting and powder coating facility, by way of rust. I don't want it coming back through. Will their blast media be enough. I've found a few shops that do powder coating in my area (I live in a great area for this and bicycles in general, SFbay. I'm in San Jose) and many that say they do it for bikes, which is great because I've also read that inexperienced blasters can be too aggressive and do a lot of harm.
Step 5: I did look up local bike co-ops, as you imagine, in my area, there are quite a few. That's great news and I will be in touch. I'm going to dedicate a space to it and meticulously picture and label things as they come off. I did something similar in a breakdown of a 1965 mustang to keep the bolts I needed organized (I did keep that running, but I don't recommend buying one). Sometimes when you take something apart, your brain jumbles what gets reassembled. I've been good about documentation and videos for my own needs when reassembling (maybe I learned something after I took this thing apart, it was one of my first mechanical endeavors). I assumed, since this looks like fully disassembled I'm dealing with less than 50 pieces, that it was on the scale a normal person could handle.
Thank you all again. I'll post updates as I go. I believe I've decided on powder coating after some research. I've always been fond of orange, but maybe black with orange grip tape and highlights is the smarter way to go. I'll cross that bridge later. Thanks for the advice on the original decals. I've of course sanded off the stickers and held onto the front sticker a while, but have since lost it. I did like the logo best from the 84-87s so maybe I will replace that. It's something to consider.
I'm sure I will have questions as I slowly take this apart. I don't think anything necessity needs replaced, but I'll ask about wear as I go. I have a lot of motorcycle repair experience (which means I've seen worn and rounded teeth and stretched chains) and everything here looks more than usable as is.
So I'll leave with 2 questions (the other ones throughout can be ignored as train-of-thought rants, or answered if someone wants to tackle them), Should I ever pull out that rear cable? What is your favorite cleaning agent/degreaser/ etc to possibly soak most of the stuff I take off in before I try and get it worked on?
[I'll work on that post count and get some before pics up ASAP]
02-12-20, 12:59 PM
#9
Senior Member
Join Date: Sep 2005
Location: Oakland, CA
Posts: 3,265
Bikes: '82 Univega Competizione, '72 Motobecane Grand Record, '83 Mercian KOM Touring, '85 Univega Alpina Uno, '76 Eisentraut Limited
Mentioned: 57 Post(s)
Tagged: 0 Thread(s)
Quoted: 1088 Post(s)
Liked 1,205 Times
in
701 Posts
For that cable, look up "chainstay internal cable routing" and see what pops up.
02-12-20, 01:55 PM
#10
Member
Thread Starter
Is powder coating to going get in there (or the blast media?) and clog or hurt anything? Should that be blocked off?
I'm over-posting to get to where I can post pictures. As OTS said, everyone loves pictures. Be much more interesting if you knew what I was starting with (it's not pretty, but its functional).
The first things I'm buying are rim tape (Because, as I said, I've lost an inordinate amount of tubes and I suspect this is the reason), and a new seat, as this one is dry rotted from sitting for the last 10 years (likely wasn't the best to begin with).
02-12-20, 02:01 PM
#11
Senior Member
Join Date: May 2011
Location: Seattle WA
Posts: 2,841
Bikes: 2009 Handsome Devil, 1987 Trek 520 Cirrus, 1978 Motobecane Grand Touring, 1987 Nishiki Cresta GT, 1989 Specialized Allez Former bikes; 1986 Miyata Trail Runner, 1979 Miyata 912, 2011 VO Rando, 1999 Cannondale R800, 1986 Schwinn Passage
Mentioned: 72 Post(s)
Tagged: 0 Thread(s)
Quoted: 796 Post(s)
Liked 522 Times
in
367 Posts
I would advise the following take LOTS of pictures BEFORE you tear it down - how the brakes, drive train and cables are routed and come together especially etc. I also use glad sandwich bags and a sharpie to keep things together when I do a tear down like the entire rear brake assembly including bolts, when you take the head set off put it back together in the correct order and then zip tie it before placing it in the baggie. Have a box or bucket to keep everything together as it comes off the bike,
Pictures will save your a$$ as it has done for me many times , you might think you will remember the correct order but when life gets in the way and its months before you get back to something you will be glad you took pictures.
Have fun, take it slow. and don't be afraid to back up and repeat stuff, screwing up is how most of us learn when you get enough posts -10- throw up some pictures of your starting point, we like pictures .
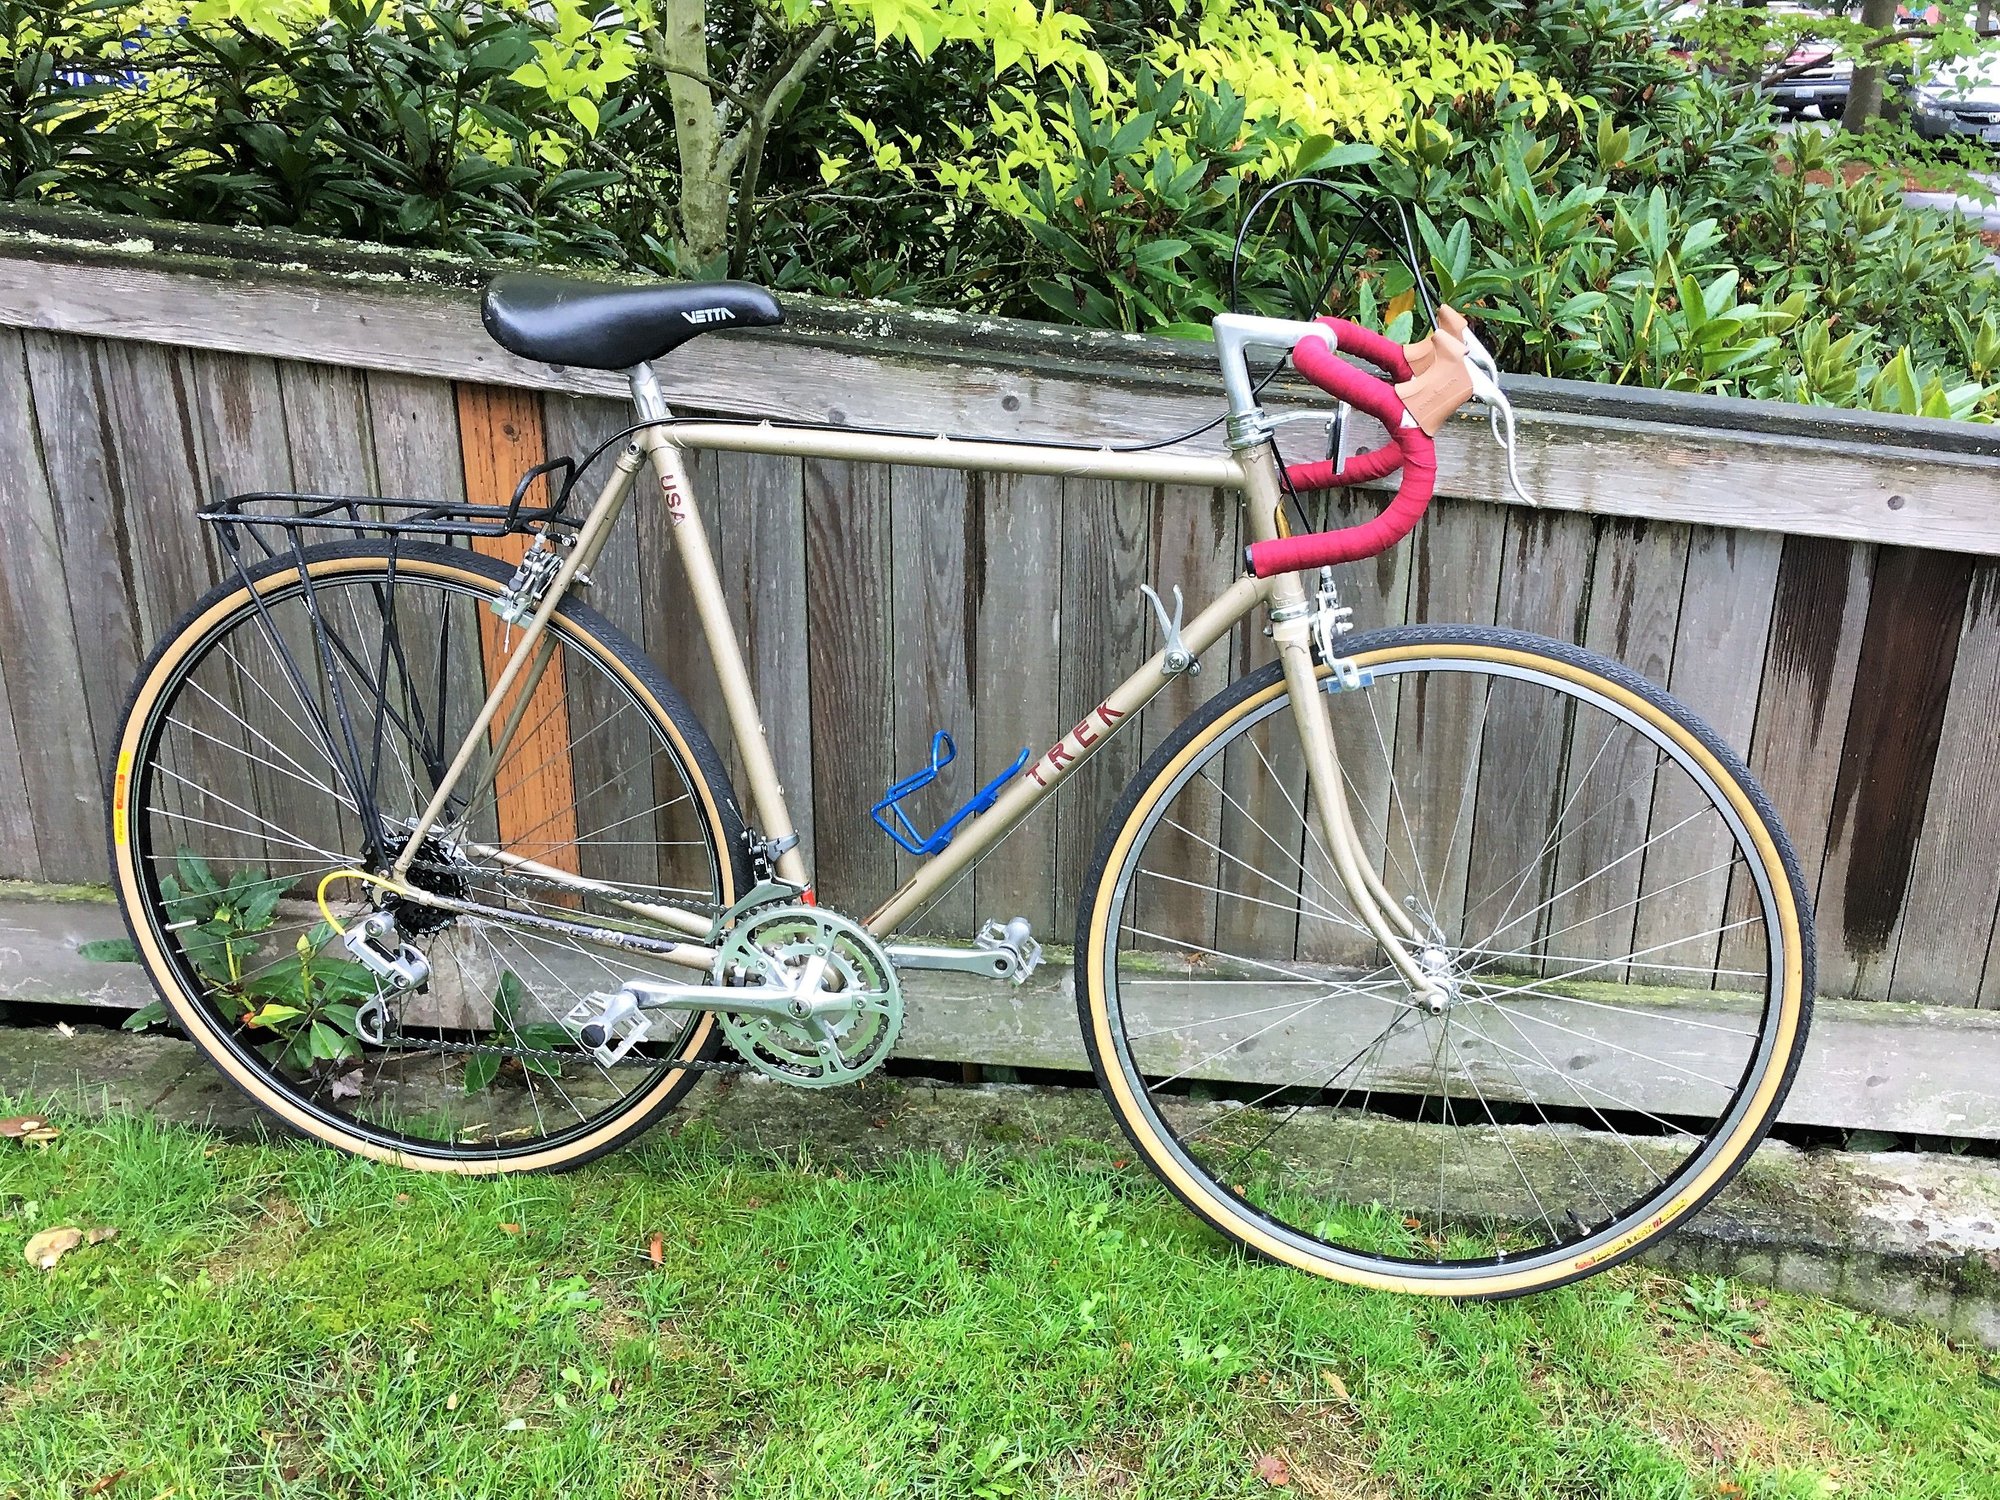
An 85 Trek 420 I did an overhaul on last fall
Pictures will save your a$$ as it has done for me many times , you might think you will remember the correct order but when life gets in the way and its months before you get back to something you will be glad you took pictures.
Have fun, take it slow. and don't be afraid to back up and repeat stuff, screwing up is how most of us learn
when you get enough posts -10- throw up some pictures of your starting point, we like pictures .An 85 Trek 420 I did an overhaul on last fall
02-12-20, 02:09 PM
#12
Member
Thread Starter
I would advise the following take LOTS of pictures BEFORE you tear it down - how the brakes, drive train and cables are routed and come together especially etc. I also use glad sandwich bags and a sharpie to keep things together when I do a tear down like the entire rear brake assembly including bolts, when you take the head set off put it back together in the correct order and then zip tie it before placing it in the baggie. Have a box or bucket to keep everything together as it comes off the bike,
Pictures will save your a$$ as it has done for me many times , you might think you will remember the correct order but when life gets in the way and its months before you get back to something you will be glad you took pictures.
Pictures will save your a$$ as it has done for me many times , you might think you will remember the correct order but when life gets in the way and its months before you get back to something you will be glad you took pictures.
Since you have nearly the same setup, anything you recommend replacing while its apart? Any problems these components are known to have? It looks like its decent stuff for a mid-level bike. I see a lot of Shimano which is a name I recognize. I know one of the pedal bearings is acting a little gravely, so I'll do something about that. If I'm going to remove the bottom bracket should I go ahead and replace that bearing system?
02-12-20, 02:21 PM
#13
Senior Member
Join Date: Sep 2005
Location: Oakland, CA
Posts: 3,265
Bikes: '82 Univega Competizione, '72 Motobecane Grand Record, '83 Mercian KOM Touring, '85 Univega Alpina Uno, '76 Eisentraut Limited
Mentioned: 57 Post(s)
Tagged: 0 Thread(s)
Quoted: 1088 Post(s)
Liked 1,205 Times
in
701 Posts
I would advise the following take LOTS of pictures BEFORE you tear it down - how the brakes, drive train and cables are routed and come together especially etc. I also use glad sandwich bags and a sharpie to keep things together when I do a tear down like the entire rear brake assembly including bolts, when you take the head set off put it back together in the correct order and then zip tie it before placing it in the baggie. Have a box or bucket to keep everything together as it comes off the bike,
Pictures will save your a$$ as it has done for me many times , you might think you will remember the correct order but when life gets in the way and its months before you get back to something you will be glad you took pictures.
Have fun, take it slow. and don't be afraid to back up and repeat stuff, screwing up is how most of us learn when you get enough posts -10- throw up some pictures of your starting point, we like pictures .
An 85 Trek 420 I did an overhaul on last fall
Pictures will save your a$$ as it has done for me many times , you might think you will remember the correct order but when life gets in the way and its months before you get back to something you will be glad you took pictures.
Have fun, take it slow. and don't be afraid to back up and repeat stuff, screwing up is how most of us learn
when you get enough posts -10- throw up some pictures of your starting point, we like pictures .An 85 Trek 420 I did an overhaul on last fall
02-12-20, 02:30 PM
#14
Senior Member
Join Date: May 2011
Location: Seattle WA
Posts: 2,841
Bikes: 2009 Handsome Devil, 1987 Trek 520 Cirrus, 1978 Motobecane Grand Touring, 1987 Nishiki Cresta GT, 1989 Specialized Allez Former bikes; 1986 Miyata Trail Runner, 1979 Miyata 912, 2011 VO Rando, 1999 Cannondale R800, 1986 Schwinn Passage
Mentioned: 72 Post(s)
Tagged: 0 Thread(s)
Quoted: 796 Post(s)
Liked 522 Times
in
367 Posts
This is excellent advice. Something I did not do the first time, but have gotten much better at in later projects. Documentation is boring, but seems to be the key to taking pretty much anything apart. Pictures are also a lot cheaper and easier than they were 15 years ago, so no reason not to snap a hundred from every angle (I recall spending over $100 on a 64mb memory card for a digital camera about that time haha).
Since you have nearly the same setup, anything you recommend replacing while its apart? Any problems these components are known to have? It looks like its decent stuff for a mid-level bike. I see a lot of Shimano which is a name I recognize. I know one of the pedal bearings is acting a little gravely, so I'll do something about that. If I'm going to remove the bottom bracket should I go ahead and replace that bearing system?
Since you have nearly the same setup, anything you recommend replacing while its apart? Any problems these components are known to have? It looks like its decent stuff for a mid-level bike. I see a lot of Shimano which is a name I recognize. I know one of the pedal bearings is acting a little gravely, so I'll do something about that. If I'm going to remove the bottom bracket should I go ahead and replace that bearing system?
02-12-20, 03:17 PM
#15
Member
Thread Starter
I recommend a complete tear down and that means overhauling all the bearings (wheels, headset and bb) One thing I will say is keep everything even if you plan to upgrade, When you get the bb out and cleaned up take a good look at the cups. if they seem in good shape you can simply put in new bearings and grease, if the cups are pitted then a square taper sealed unit isn't too expensive just be sure to research what size of sealed cartridge BB you need for your crank and bb shell - which on that trek is almost for sure 68 MM wide. The mytenspeeds website referenced above has an excellent section on bottom brackets - removing, overhauling replacing etc. Since you have been riding the bike think about anything aside from the crunchy pedal that has caught your attention, otherwise plan to thoroughly clean and then lube all the working parts checking for wear - broken sprocket teeth on your rear derailleur etc. I assume you will replace the chain and freewheel, bar tape, tires and tubes, brake pads cables and housing etc i.e the consumables.
I'll take your advice on the BB bearings, it seems likely that due to the age and condition, a sealed bearing upgrade wouldn't be a bad idea. I can't imagine that's terribly expensive, but I'll take a look when I get it apart. I'll look up what I need to do for the other bearings. I'd rather them all be new. Not sure what a pedal rebuild entails, but those need to be new (or I need new pedals. Would you keep the originals or go with new ones?)
I will be replacing all of those parts (I was going to keep the chain and freewheel, as they look decent, but I guess they are cheap and might as well start out new), the rest of the things were on the list, especially now that I know I can get that cable out of the chainstay. Do you have a favored website for these things? I use to use nashbar a million years ago for parts and bags. I'm attempting to amazon less, but usually that's where I end up getting things.
02-12-20, 03:30 PM
#16
seńor miembro
Join Date: Dec 2018
Location: Pac NW
Posts: 6,601
Bikes: '70s - '80s Campagnolo
Mentioned: 92 Post(s)
Tagged: 0 Thread(s)
Quoted: 3865 Post(s)
Liked 6,451 Times
in
3,191 Posts
If sold, how much did you list it for?
Compare that to the cost of a powder coat and new consumables.
I recently bought a '91 400 with decent paint and a fantastic vintage wheelset (Mavic MA2/Superbe Pro) for $50 total.
Unless it's a sentimental frame, there may be much less expensive ways to build a 400 with good, original paint rather than start with a frame that has "problems."
02-12-20, 03:42 PM
#17
Member
Thread Starter
If sold, how much did you list it for?
Compare that to the cost of a powder coat and new consumables.
I recently bought a '91 400 with decent paint and a fantastic vintage wheelset (Mavic MA2/Superbe Pro) for $50 total.
Unless it's a sentimental frame, there may be much less expensive ways to build a 400 with good, original paint rather than start with a frame that has "problems."
Compare that to the cost of a powder coat and new consumables.
I recently bought a '91 400 with decent paint and a fantastic vintage wheelset (Mavic MA2/Superbe Pro) for $50 total.
Unless it's a sentimental frame, there may be much less expensive ways to build a 400 with good, original paint rather than start with a frame that has "problems."
Short answer, this is MY bike. Always has been, as long as I can remember. So I guess, back to sentimental. I can't imagine getting rid of it. I've moved it to 3 different states haha.
Last edited by Kapurnicus; 02-12-20 at 03:47 PM.
02-12-20, 03:55 PM
#18
seńor miembro
Join Date: Dec 2018
Location: Pac NW
Posts: 6,601
Bikes: '70s - '80s Campagnolo
Mentioned: 92 Post(s)
Tagged: 0 Thread(s)
Quoted: 3865 Post(s)
Liked 6,451 Times
in
3,191 Posts
truth be told, [my current bike with bad paint is] probably even the wrong size for me.
02-12-20, 04:06 PM
#19
Member
Thread Starter
I may just make it pretty and hang it on the wall (although, currently, I do intend to ride it). Sometimes I just like to do things. The value I get out of learning something new and enjoying it is well worth a couple hundred bucks. I have comic books that will never be worth what I've put in to them. I got lucky on that mustang, but it could have easily become a money pit. Maybe my kid wants to ride it someday. I'll probably put more into tools than the whole bike is worth before I'm done (I've done that on cars, literally had a 99 Mazda protege for 10 years that I put more into tools than I ever did parts or the car itself even with original purchase, but now I have every car tool I could need minus super specific specialty ones).
Bored engineer who likes his bike. Saw it hanging in the dusty corner of the garage yesterday and decided why not?
02-12-20, 05:43 PM
#20
Senior Member
Join Date: May 2011
Location: Seattle WA
Posts: 2,841
Bikes: 2009 Handsome Devil, 1987 Trek 520 Cirrus, 1978 Motobecane Grand Touring, 1987 Nishiki Cresta GT, 1989 Specialized Allez Former bikes; 1986 Miyata Trail Runner, 1979 Miyata 912, 2011 VO Rando, 1999 Cannondale R800, 1986 Schwinn Passage
Mentioned: 72 Post(s)
Tagged: 0 Thread(s)
Quoted: 796 Post(s)
Liked 522 Times
in
367 Posts
If sold, how much did you list it for?
Compare that to the cost of a powder coat and new consumables.
I recently bought a '91 400 with decent paint and a fantastic vintage wheelset (Mavic MA2/Superbe Pro) for $50 total.
Unless it's a sentimental frame, there may be much less expensive ways to build a 400 with good, original paint rather than start with a frame that has "problems."
Compare that to the cost of a powder coat and new consumables.
I recently bought a '91 400 with decent paint and a fantastic vintage wheelset (Mavic MA2/Superbe Pro) for $50 total.
Unless it's a sentimental frame, there may be much less expensive ways to build a 400 with good, original paint rather than start with a frame that has "problems."
Last edited by ryansu; 02-12-20 at 05:49 PM.
02-12-20, 05:48 PM
#21
Senior Member
Join Date: May 2011
Location: Seattle WA
Posts: 2,841
Bikes: 2009 Handsome Devil, 1987 Trek 520 Cirrus, 1978 Motobecane Grand Touring, 1987 Nishiki Cresta GT, 1989 Specialized Allez Former bikes; 1986 Miyata Trail Runner, 1979 Miyata 912, 2011 VO Rando, 1999 Cannondale R800, 1986 Schwinn Passage
Mentioned: 72 Post(s)
Tagged: 0 Thread(s)
Quoted: 796 Post(s)
Liked 522 Times
in
367 Posts
I like this. While it's apart, I might as well do whatever I can to get back to new.
I'll take your advice on the BB bearings, it seems likely that due to the age and condition, a sealed bearing upgrade wouldn't be a bad idea. I can't imagine that's terribly expensive, but I'll take a look when I get it apart. I'll look up what I need to do for the other bearings. I'd rather them all be new. Not sure what a pedal rebuild entails, but those need to be new (or I need new pedals. Would you keep the originals or go with new ones?)
I will be replacing all of those parts (I was going to keep the chain and freewheel, as they look decent, but I guess they are cheap and might as well start out new), the rest of the things were on the list, especially now that I know I can get that cable out of the chainstay. Do you have a favored website for these things? I use to use nashbar a million years ago for parts and bags. I'm attempting to amazon less, but usually that's where I end up getting things.
02-12-20, 06:36 PM
#22
Member
Thread Starter
From Amazon if I am saving $$ I go with the Bell cable and housing kit if I want to spend more I do the nice Jagwire stuff and if I am going middle of the road I get the shift and brake kits from [url I can't post yet]. It depends on if the bike is for me or If I plan to sell it on in which case I am trying to keep costs lower.
02-12-20, 06:48 PM
#23
SE Wis
Join Date: Apr 2005
Location: Milwaukee, WI
Posts: 10,495
Bikes: '68 Raleigh Sprite, '02 Raleigh C500, '84 Raleigh Gran Prix, '91 Trek 400, 2013 Novara Randonee, 1990 Trek 970
Mentioned: 40 Post(s)
Tagged: 0 Thread(s)
Quoted: 2740 Post(s)
Liked 3,386 Times
in
2,049 Posts
Those are nice bikes Reynolds 531 main tube frames, lots of braze ons, "sport tour" geometry.
I never had an issue threading the RD cable through the chainstay on my 87. Might take a couple tries and rotate in the repair stand vertical, but wasn't an issue.
There are some good sites for repair help linked below. Replace all the bearings (headset, hubs, BB, pedals), new Gr 25 balls are cheap, maybe replace the BB with a sealed unit, disassemble the brakes and clean & lube, new pads. If it needs a headset a Tange Levin has the low stack height needed and looks period correct.
Powdercoat is the way to go, but use someone with bike experience. Velocals has decal sets and 531 decals. Have fun great project
https://www.sheldonbrown.com/
https://www.youtube.com/channel/UCaA...2xiBbAUVZsvDYQ
https://www.parktool.com/blog/repair-help
https://velocals.com/trek-1986-400d-...d-badge-decal/
02-12-20, 07:31 PM
#24
Member
Thread Starter
Thanks, that’s exactly the type of help I’m looking for right now. I took a bunch of pictures, that I’ll post when I get to the limit. Most of the problems just seem like it needs a really good cleaning and powder coat. It could definitely benefit from new bearing. I can feel it in the BB (just a little) and the one pedal is almost entirely stuck until you get it going.
now that I take a close look rust is very limited and only in a few spots. I think this will be fun.
now that I take a close look rust is very limited and only in a few spots. I think this will be fun.
02-12-20, 08:38 PM
#25
seńor miembro
Join Date: Dec 2018
Location: Pac NW
Posts: 6,601
Bikes: '70s - '80s Campagnolo
Mentioned: 92 Post(s)
Tagged: 0 Thread(s)
Quoted: 3865 Post(s)
Liked 6,451 Times
in
3,191 Posts

