


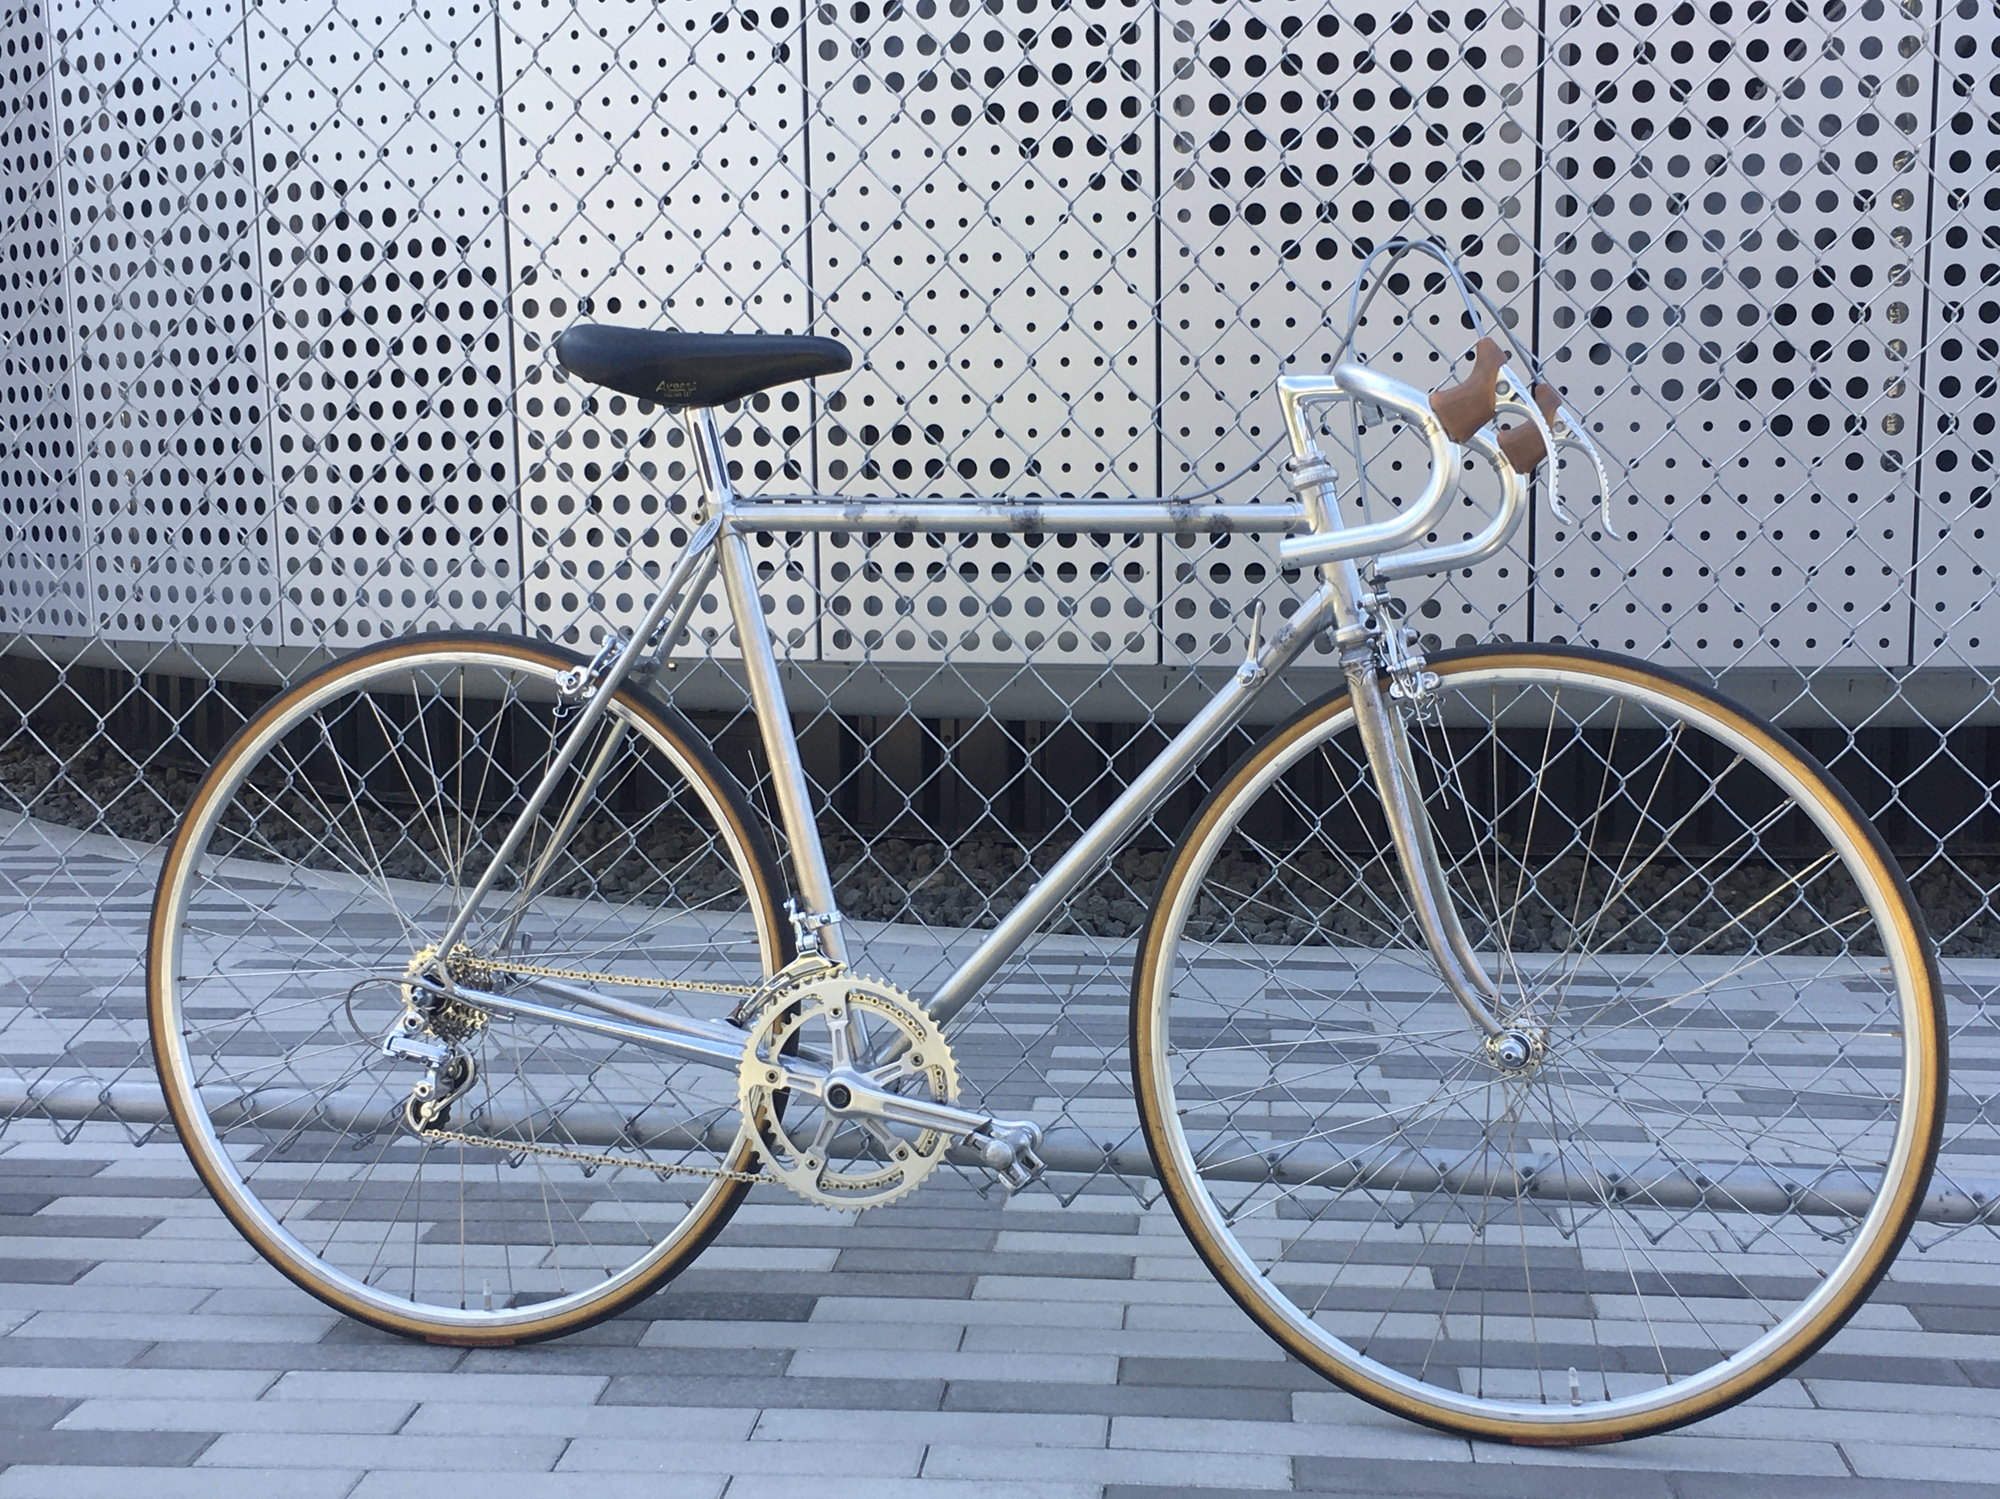
1984 Benotto Modelo 3000
 07-18-20, 08:11 PM
#26
Senior Member
Join Date: Oct 2015
Location: PDX
Posts: 13,033
Bikes: Merz x 5 + Specialized Merz Allez x 2, Strawberry/Newlands/DiNucci/Ti x3, Gordon, Fuso/Moulton x2, Bornstein, Paisley,1958-74 Paramounts x3, 3rensho, 74 Moto TC, 73-78 Raleigh Pro's x5, Marinoni x2, 1960 Cinelli SC, 1980 Bianchi SC, PX-10 X 2
Mentioned: 267 Post(s)
Tagged: 0 Thread(s)
Quoted: 4510 Post(s)
Liked 6,374 Times
in
3,666 Posts
Thank you Van! This one was fun in that, I mostly just let the bike build itself. I didn�t invest too much �design� into it. And I�m really pleased with the result.
My to-do list is pretty short:
� Adjust front brake toe-in
� Adjust mechs
� Repack pedals
After that, it�s down to adding toe cages, a saddle bag, a bottle cage, and wrapping the bars!
In the meantime, it�s still very rideable:
My to-do list is pretty short:
� Adjust front brake toe-in
� Adjust mechs
� Repack pedals
After that, it�s down to adding toe cages, a saddle bag, a bottle cage, and wrapping the bars!
In the meantime, it�s still very rideable:


Likes For merziac:
07-18-20, 09:42 PM
#27
Senior Member
Join Date: Sep 2015
Location: Massachusetts
Posts: 763
Bikes: S-Works Stumpjumper HT Disc, Fuji Absolute, Kona Jake the Snake, '85 Cannondale SR900
Mentioned: 0 Post(s)
Tagged: 0 Thread(s)
Quoted: 219 Post(s)
Liked 217 Times
in
142 Posts
deux jambes can I ask what your preferred process is for stripping the paint? I think I�m going to go the �naked� route on my Cannondale.
07-19-20, 12:12 AM
#28
Senior Member
Thread Starter

Join Date: Jul 2018
Location: Eugene, OR
Posts: 1,326
Mentioned: 64 Post(s)
Tagged: 0 Thread(s)
Quoted: 535 Post(s)
Liked 346 Times
in
196 Posts
deux jambes can I ask what your preferred process is for stripping the paint? I think I�m going to go the �naked� route on my Cannondale.
I used Jasco Premium Paint and Epoxy Stripper. I simply followed the instructions for brushing it on in one direction, and letting it sit for fifteen minutes or longer.
I used an old plastic gift card to scrape away the paint in most areas. In tight spots I used fine steel wool. A soft wire brush might have been handy here and there, but I went ahead without one. I�d say it took about 3 or four applications to get it done. Followed that up with a mineral spirts wipe down, a little detail sanding and scraping where necessary, and a small amount of polish sanding.
To finish, I wiped everything down with a generous dose of WD-40, and then ragged that off.
Likes For deux jambes:
07-20-20, 01:39 PM
#29
Senior Member
Join Date: Sep 2015
Location: Massachusetts
Posts: 763
Bikes: S-Works Stumpjumper HT Disc, Fuji Absolute, Kona Jake the Snake, '85 Cannondale SR900
Mentioned: 0 Post(s)
Tagged: 0 Thread(s)
Quoted: 219 Post(s)
Liked 217 Times
in
142 Posts
I can�t say that I really have a preferred method since this is the first frame I�ve ever stripped the paint from. What I can say is that the method I did use worked well.
I used Jasco Premium Paint and Epoxy Stripper. I simply followed the instructions for brushing it on in one direction, and letting it sit for fifteen minutes or longer.
I used an old plastic gift card to scrape away the paint in most areas. In tight spots I used fine steel wool. A soft wire brush might have been handy here and there, but I went ahead without one. I�d say it took about 3 or four applications to get it done. Followed that up with a mineral spirts wipe down, a little detail sanding and scraping where necessary, and a small amount of polish sanding.
To finish, I wiped everything down with a generous dose of WD-40, and then ragged that off.
07-20-20, 07:09 PM
#30
Senior Member
Thread Starter
Join Date: Jul 2018
Location: Eugene, OR
Posts: 1,326
Mentioned: 64 Post(s)
Tagged: 0 Thread(s)
Quoted: 535 Post(s)
Liked 346 Times
in
196 Posts
Updates:
This bike rides spectacular. Never before have I been able to enjoy this same level of pure enjoyment in overall ride feel in any other bike I�ve owned.
I think it�s the combination of tight geometry, full Columbus SL tubing, and fast rolling supple tires. Add snappy shifting to that equation, and you�ll understand why I�m I�m in love!
I�ve ridden more in the past few days than I have in the past few months.
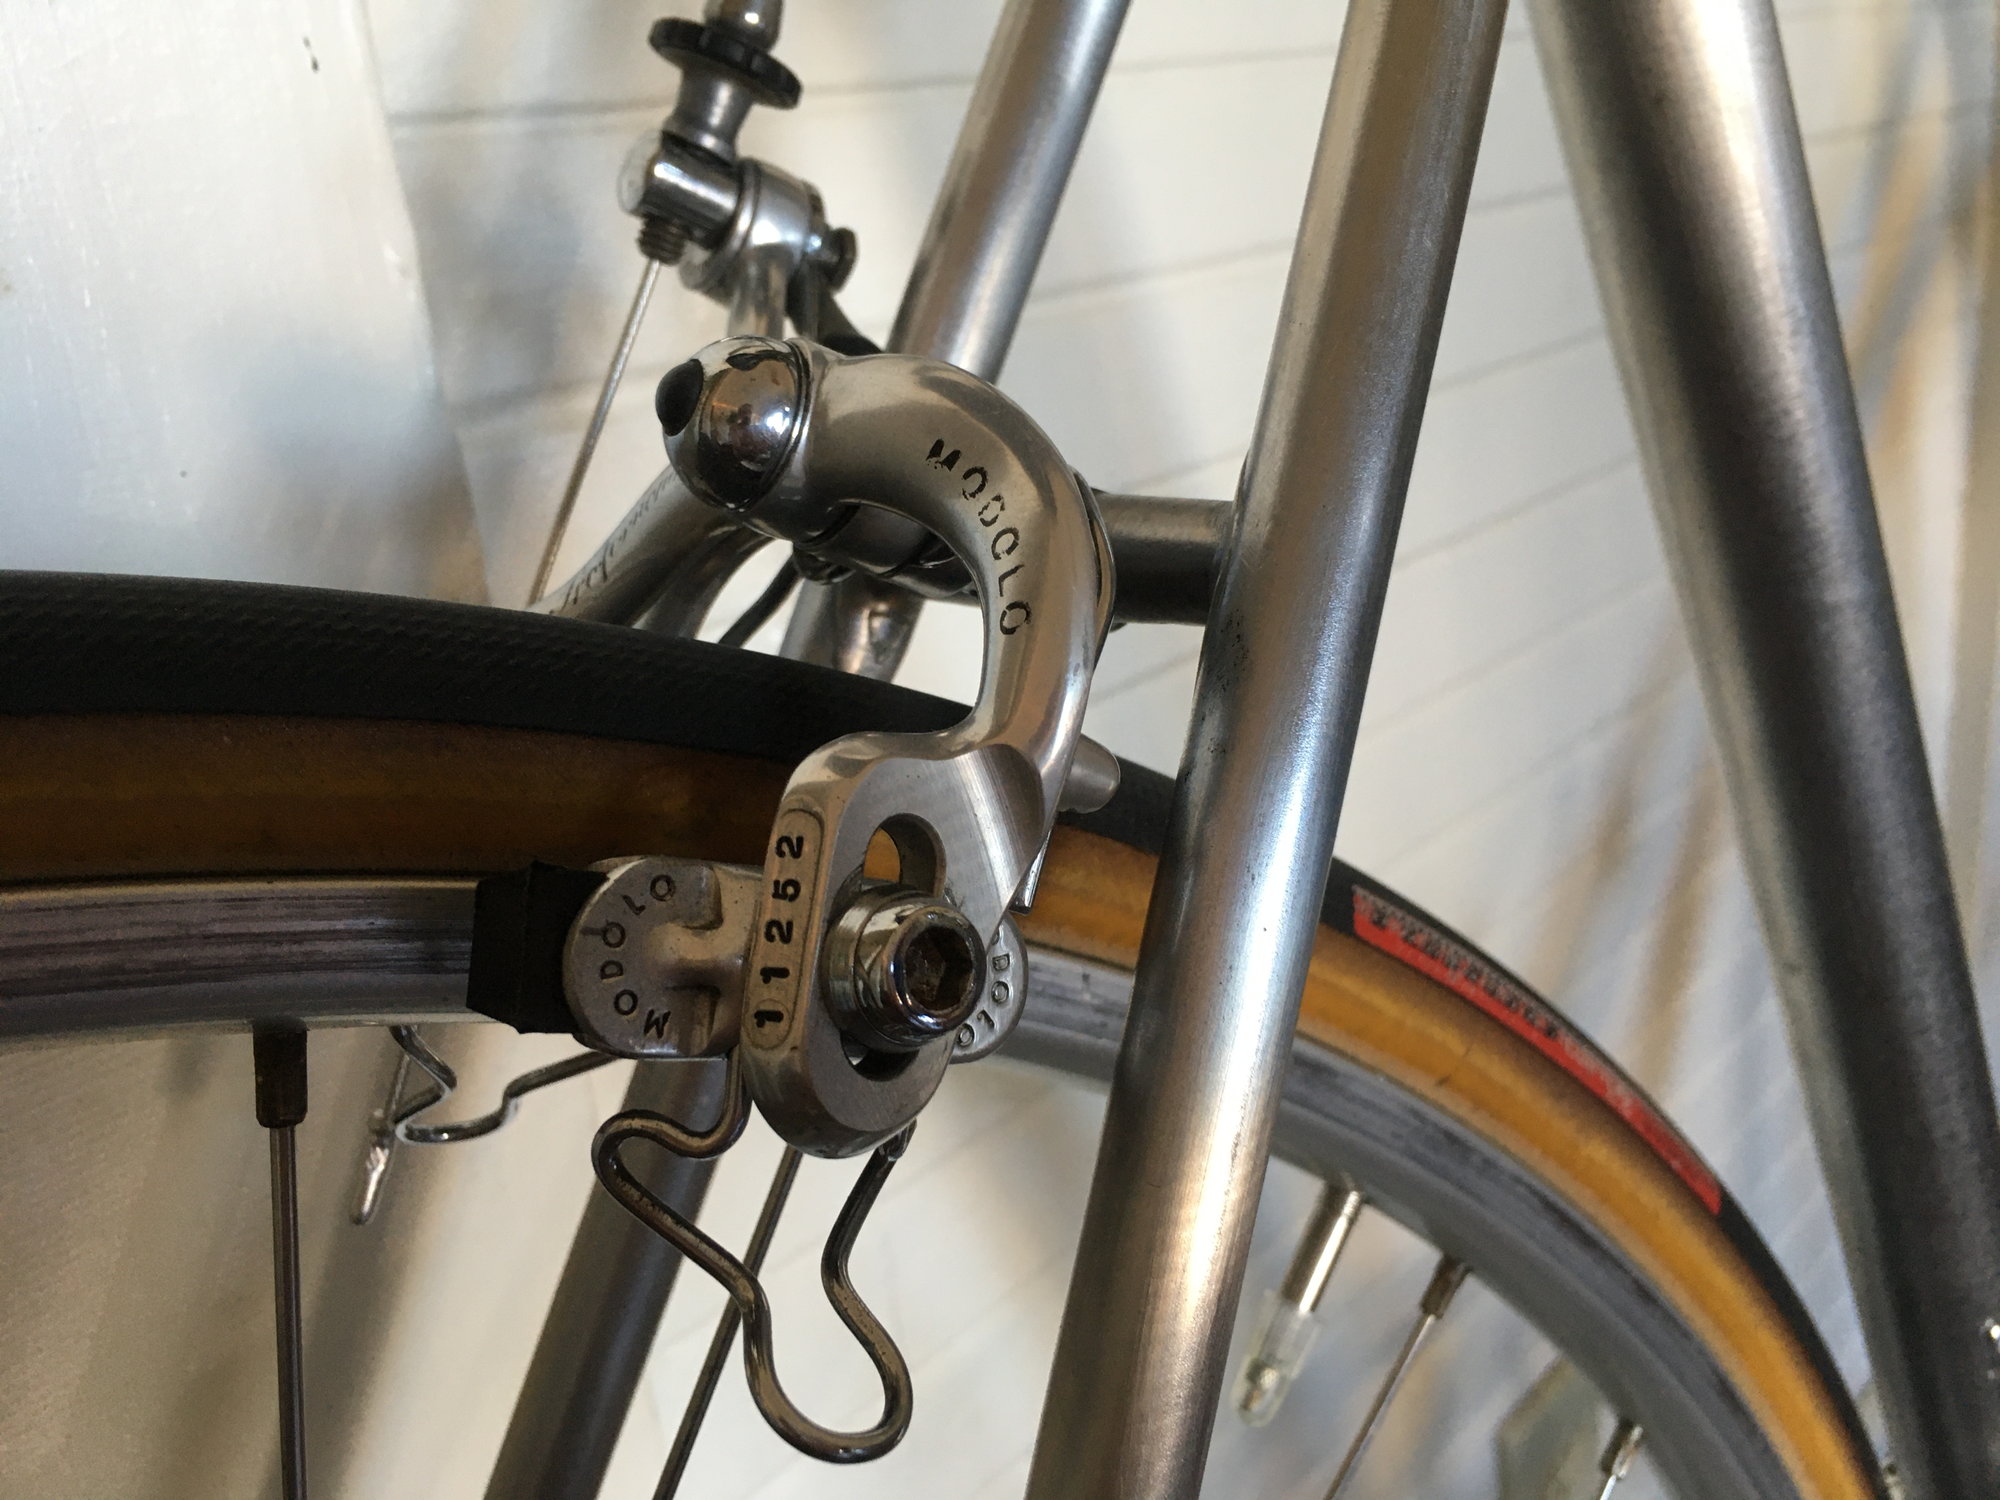
Anyhow, as with any new build goes, some minor adjustments needed addressing. So today dialed in the headset, gave both the front and rear calipers a little toe-in, and set the derailleur parameters just so.


Rebuilt the pedals.

A few finishing touches were also taken care of by crimping on cable ends, and adding a bottle cage.


And finally I checked the air on my second hand tires. They�re holding great. Only needed a strokes of the pump.

I�m going to keep riding it as is until my next weekend. I want to make sure I like the break lever placement. And so far I do. The next photos I share at that point should be with the bars wrapped

This bike rides spectacular. Never before have I been able to enjoy this same level of pure enjoyment in overall ride feel in any other bike I�ve owned.
I think it�s the combination of tight geometry, full Columbus SL tubing, and fast rolling supple tires. Add snappy shifting to that equation, and you�ll understand why I�m I�m in love!
I�ve ridden more in the past few days than I have in the past few months.
Anyhow, as with any new build goes, some minor adjustments needed addressing. So today dialed in the headset, gave both the front and rear calipers a little toe-in, and set the derailleur parameters just so.
Rebuilt the pedals.
A few finishing touches were also taken care of by crimping on cable ends, and adding a bottle cage.
And finally I checked the air on my second hand tires. They�re holding great. Only needed a strokes of the pump.
I�m going to keep riding it as is until my next weekend. I want to make sure I like the break lever placement. And so far I do. The next photos I share at that point should be with the bars wrapped
Likes For deux jambes:
07-25-20, 03:15 PM
#31
Senior Member
Thread Starter
Join Date: Jul 2018
Location: Eugene, OR
Posts: 1,326
Mentioned: 64 Post(s)
Tagged: 0 Thread(s)
Quoted: 535 Post(s)
Liked 346 Times
in
196 Posts
After a week of riding, I�ve found the most comfortable placement for the brake levers. And today I sealed the deal by wrapping the bars:

Also, to add a little interest, the frame got a single decal:

Also, to add a little interest, the frame got a single decal:
Likes For deux jambes:
