Tandem DI2 conversion - DaVinci 3 x 11
#1
Junior Member
Thread Starter
Join Date: Sep 2020
Posts: 75
Mentioned: 0 Post(s)
Tagged: 0 Thread(s)
Quoted: 18 Post(s)
Likes: 0
Liked 39 Times
in
24 Posts
Tandem DI2 conversion - DaVinci 3 x 11
Hi All,
I know that others have shared Shimano Di2 conversions on singles and Tandems in the past. Those posts were extremely helpful in my conversion. I just wanted to share / document what I did so that others interested could see. I have a bunch of pictures so I expect to make 4-5 posts in a row to get them all up.
We have a 1997 DaVinci Tandem that had a 4x8 shift system when we got it. The front shifts were relatively smooth due to the small 6 tooth steps, but no matter how much I played with the system I was always struggling to keep gears from clanking and make sure every shift was smooth. I played with a 4x10 setup for a while but it only exacerbated the issues as the spacings were tighter. I looked at SRAM etap/AXS systems and Di2 systems for improved precision. I REALLY liked the wireless of the AXS. But, there is only a 2x option and I wasn't quite ready to give up the gear range and short steps with the DaVinci unique front gearing. But, Shimano still makes/sells a 3x front Derailleur for Di2. So, that was my path.
The summary is that I am extremely pleased with the conversion! Shifts are crisp, adjustment can be done real-time, synchronized shifting maximizes my gears, and we can shift under power in most situations. The 3x front derailleur works well for us. And, with the display, I can see what gear I'm in without looking back through two sets of legs!
The biggest drawback is that I also had to move my primary road bike to DI2. Having one bike on Shimano shifting and the other on Campy provided too many mis-shifts for my stoker to be happy.
For reference, my go-to site for DI2 info was 'bettershifting.com'. Great info/tutorials and everything has been kept current through the generations of DI2. https://bettershifting.com/building-...hs-and-wiring/
The components I purchased were:
Shifters - ST-R8050 (Ultegra DI2) - $250
Front Der - FD-M9050 (XTR DI2 triple) - $200
Rear Der - RD-M9050-SGS (XTR DI2 long cage) - $300
Cassette - CS-HG800-11 (Ultegra 11-34 11 speed) - $80
Chain - CG-H701-11 (Ultegra 11 speed) - $30
Battery - BT-DN110A (Internal Battery) - $120
Battery Holder - SM-BTC1 (External battery mount for Internal battery) - $50
Wires - EW-SD50 (DI2 wires - 1600, 650, 400, 400, 350) - $25 each
Wire Covers - SM-EWC2 (300mm and 50mm wire covers in black) - $13
Gear Indicator / Bluetooth / power connector - SC-MT800 (XT display) - $80
Front Derailleur Eccentric - Jtek Eccentric Front Mech shim 28.6-34.9 - $20 (cheap part, shipped from UK)
Front Derailleur Hanger - SM-FD905-H - $25
3 Gear front cluster from Todd at Davinci Designs - $90
Prices are approximately what I paid - though I looked long and hard for the best prices I could find around the world. Used equipment should work too. As it was my first DI2 build I didn't want to have something weird happening with used equipment.
Here is my bike before I started and the following picture of the finished product

Bike overhauled just after we purchased it in May 2020. (used)
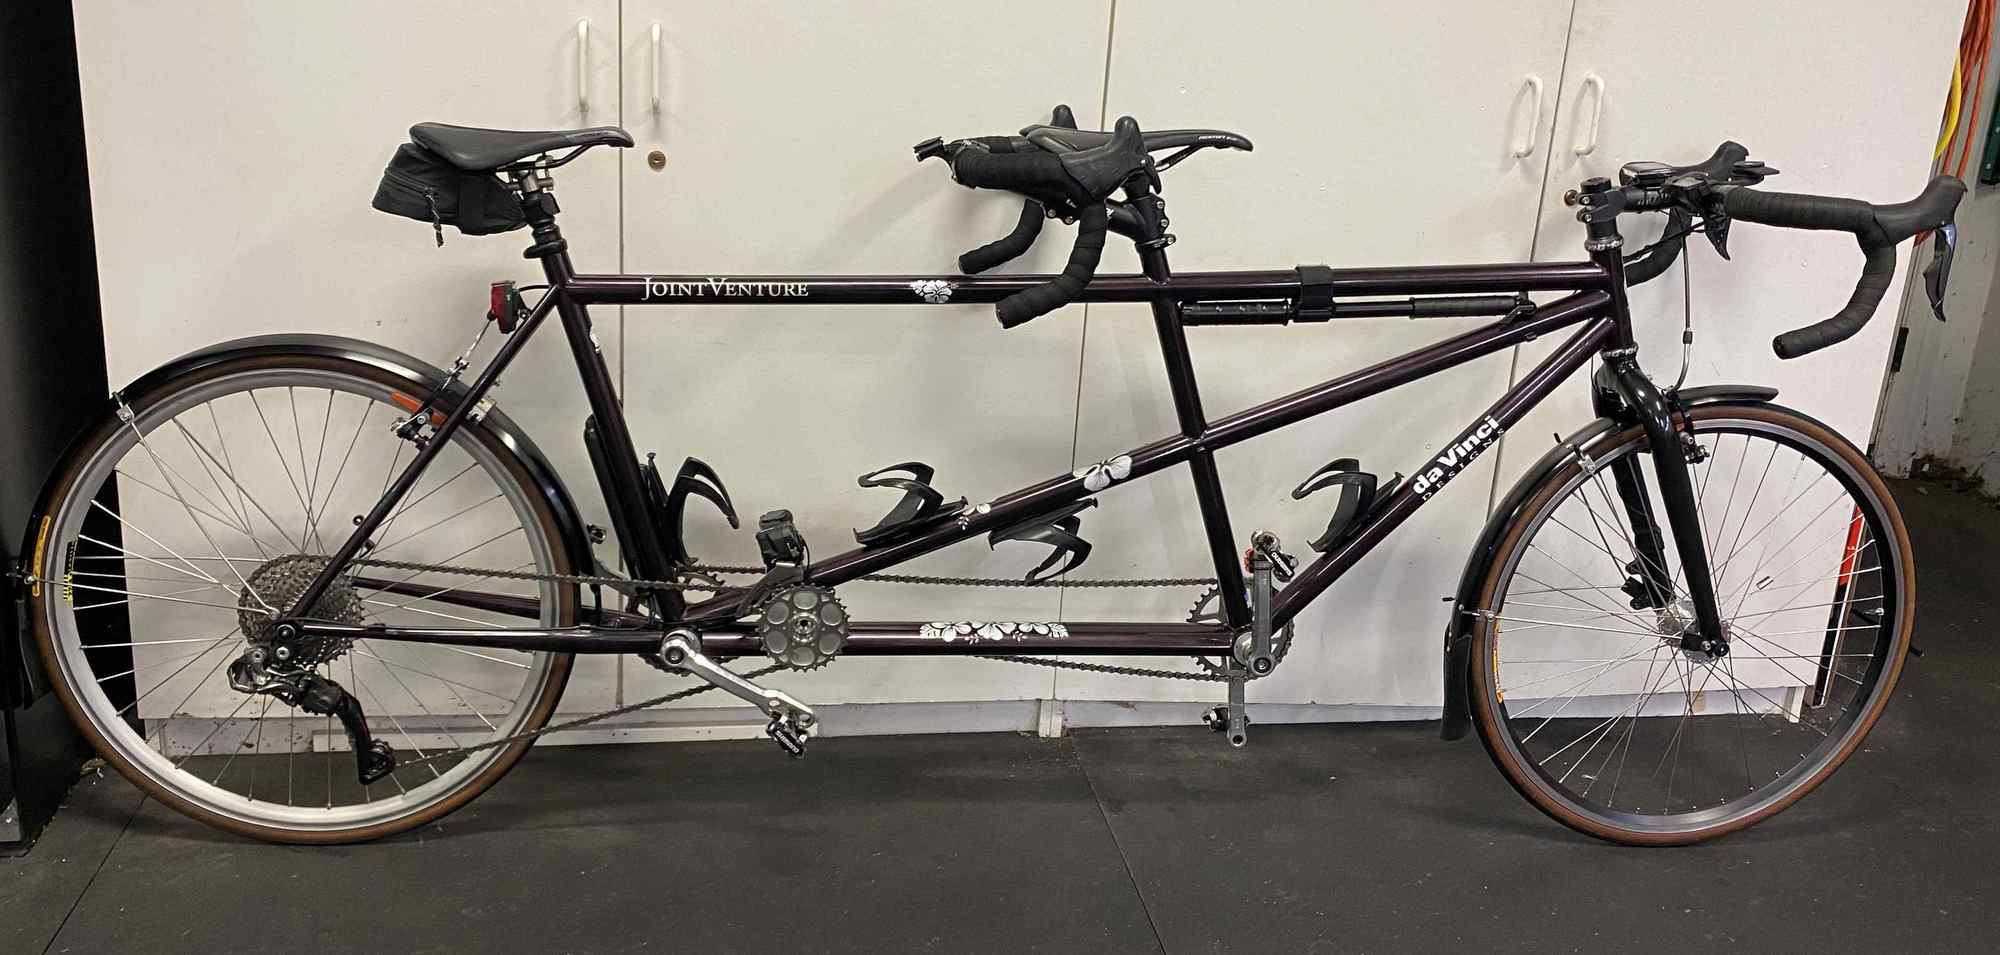
Bike in November 2020 after DI2 conversion (and other modifications)
Here are pictures of many of the parts purchased:
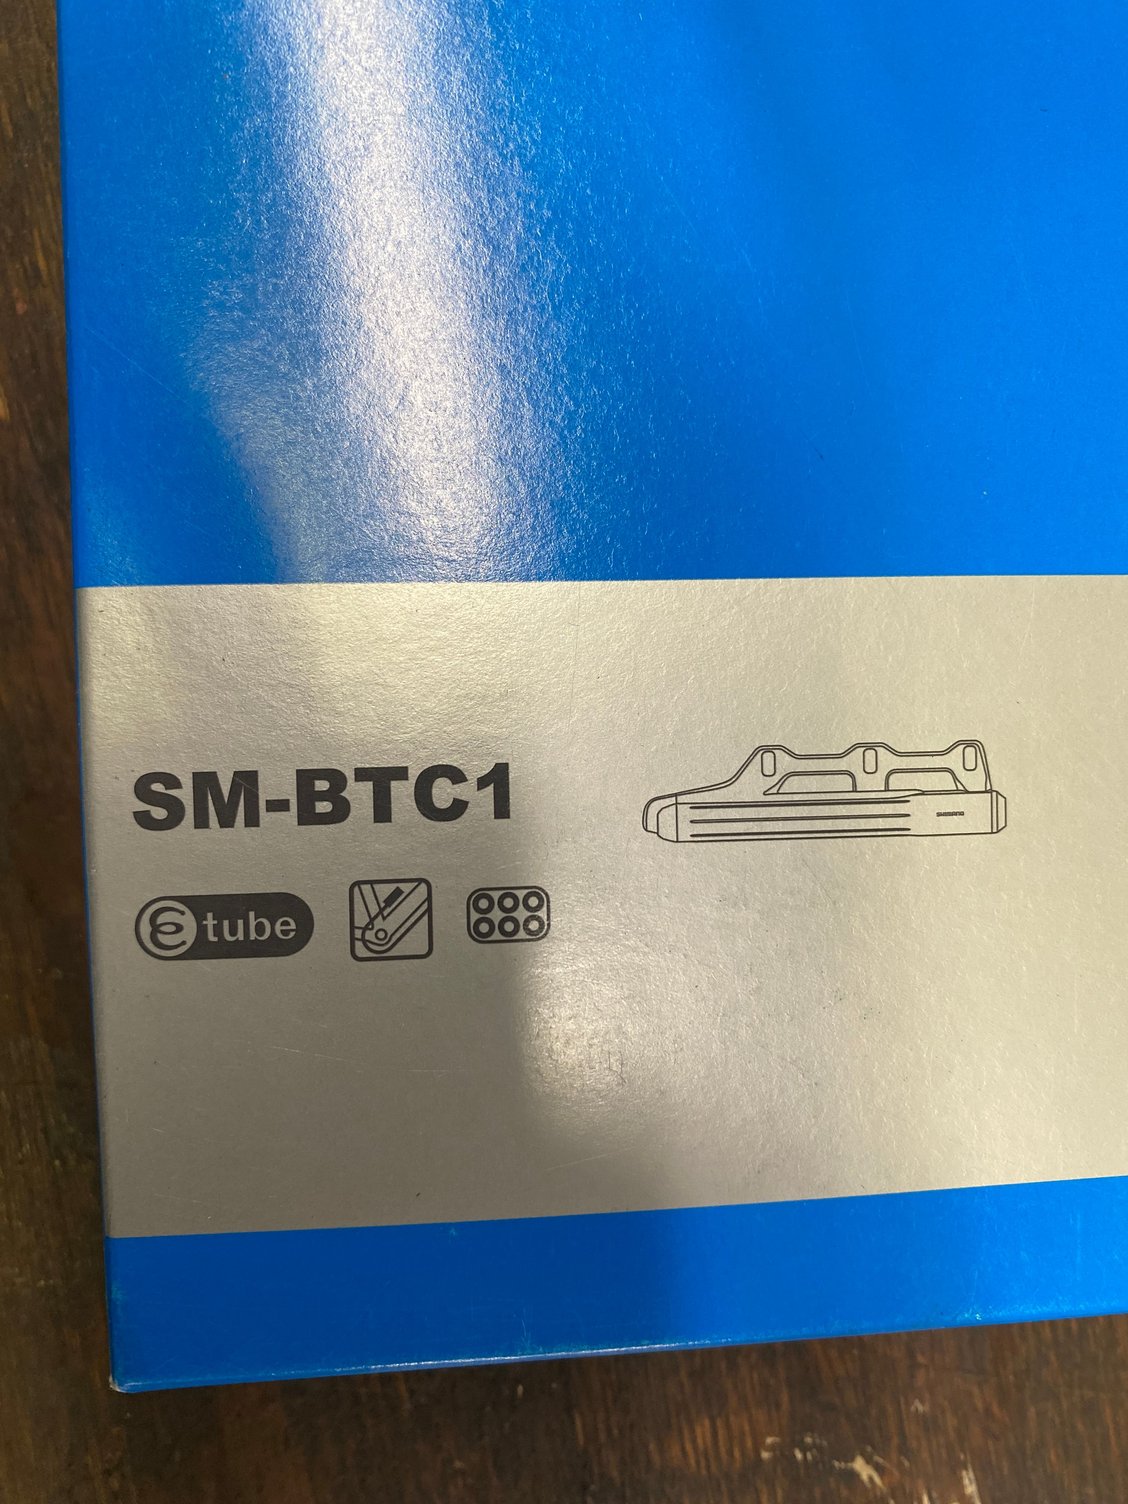
SM-BTC1- External Battery mount for BT-DN110 battery

SM-BTC1- External Battery mount for BT-DN110 battery

BT-DN110A - most recent DI2 internal battery
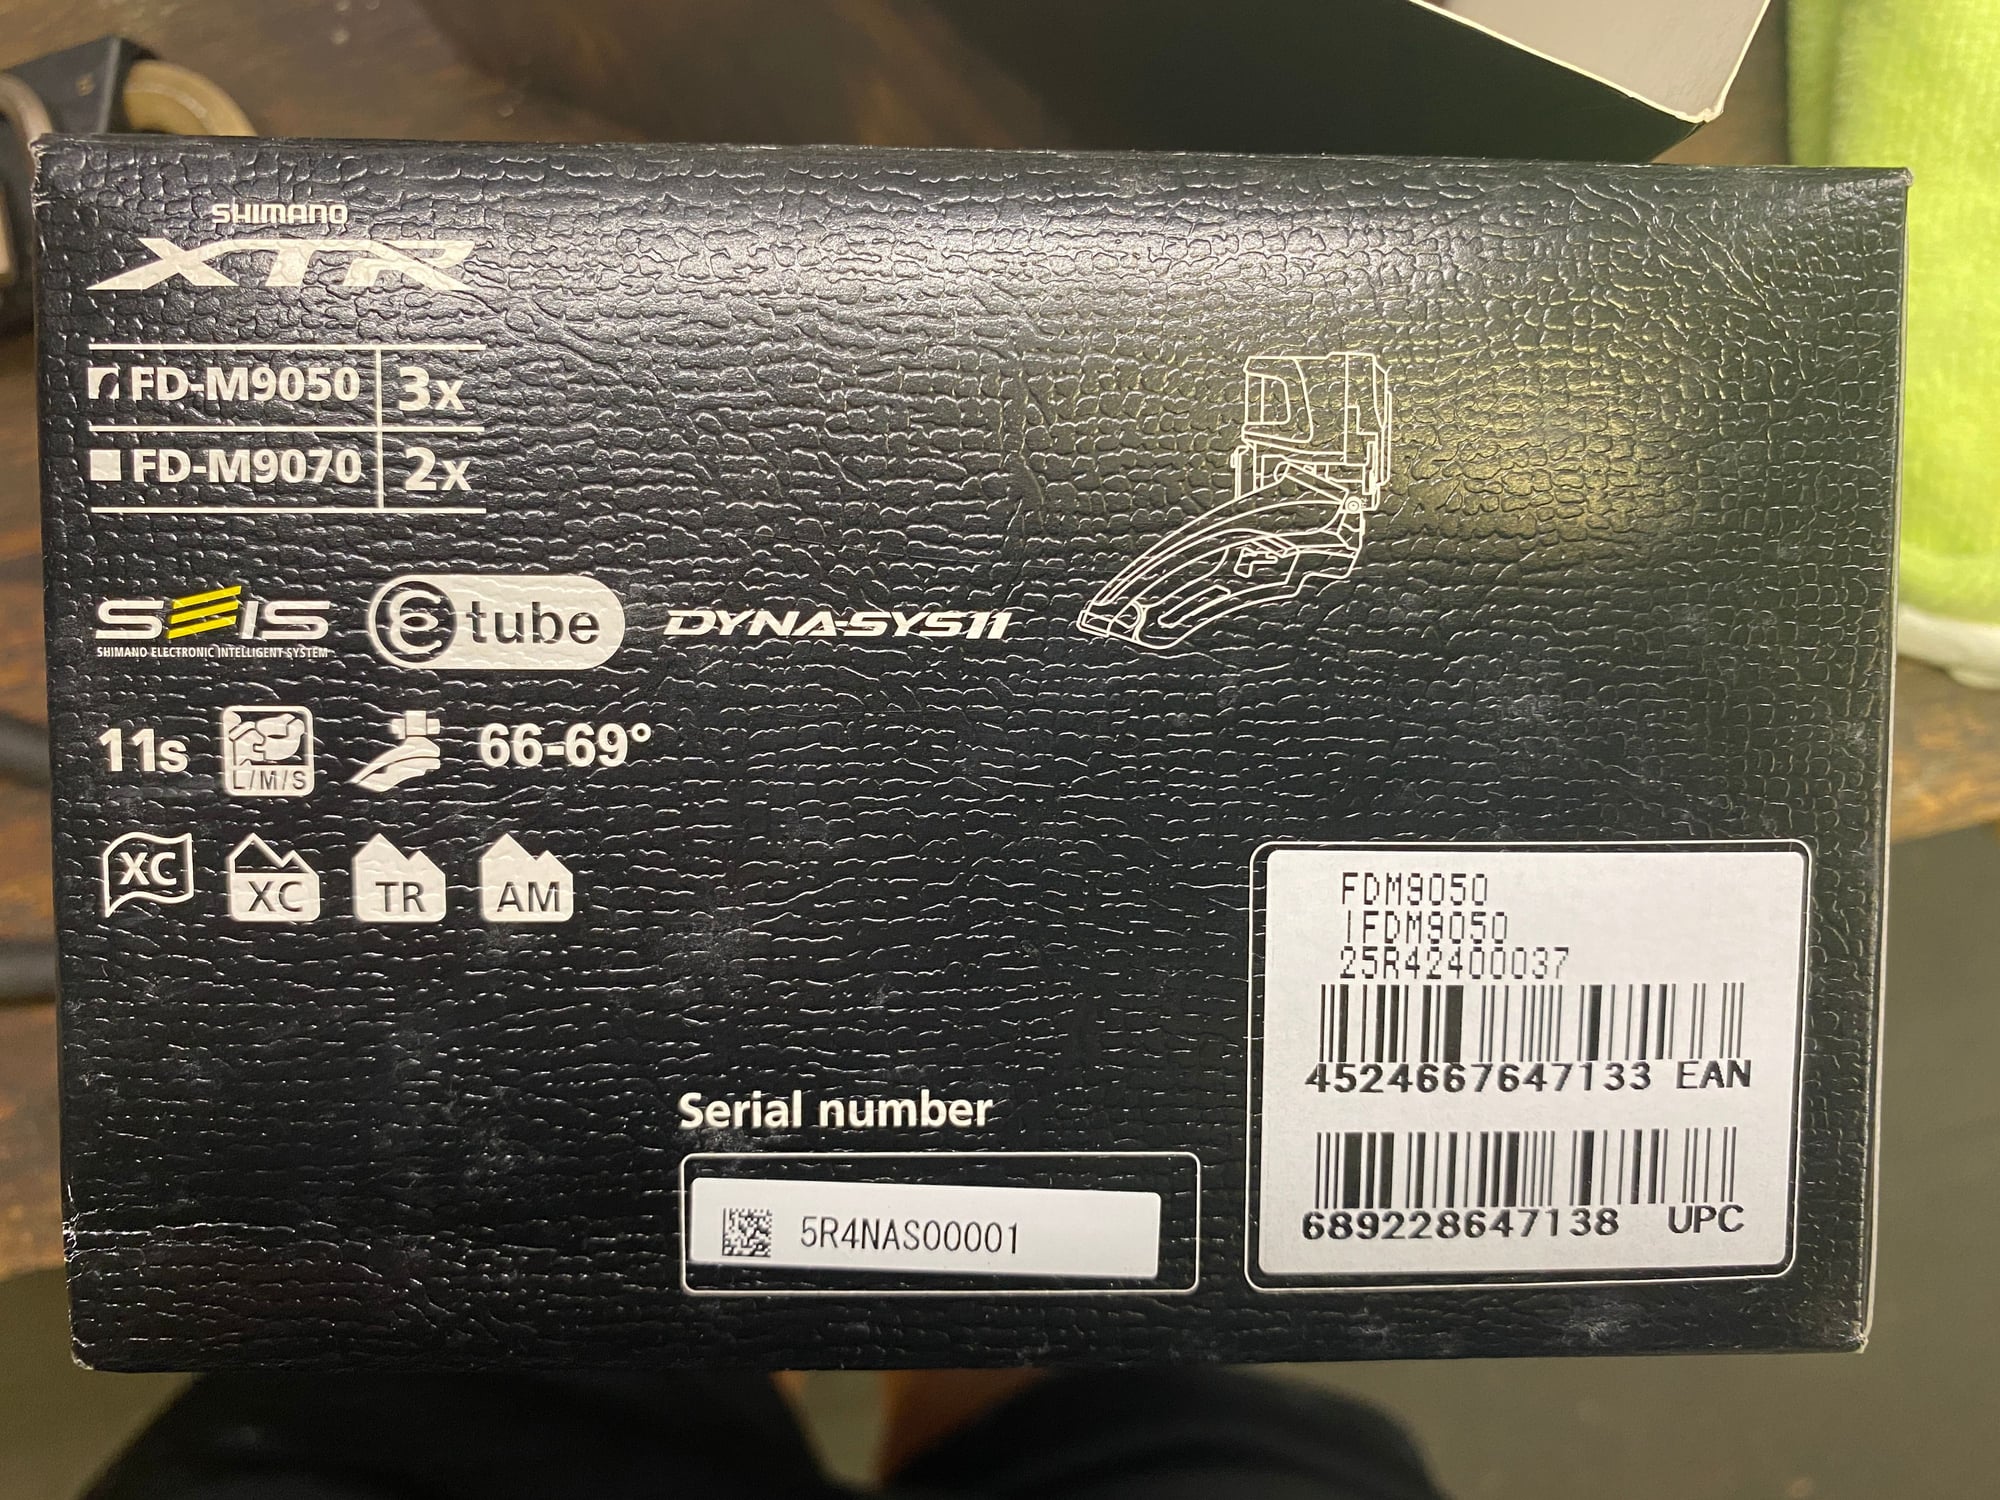
FD-M9050 - XTR triple front Derailleur
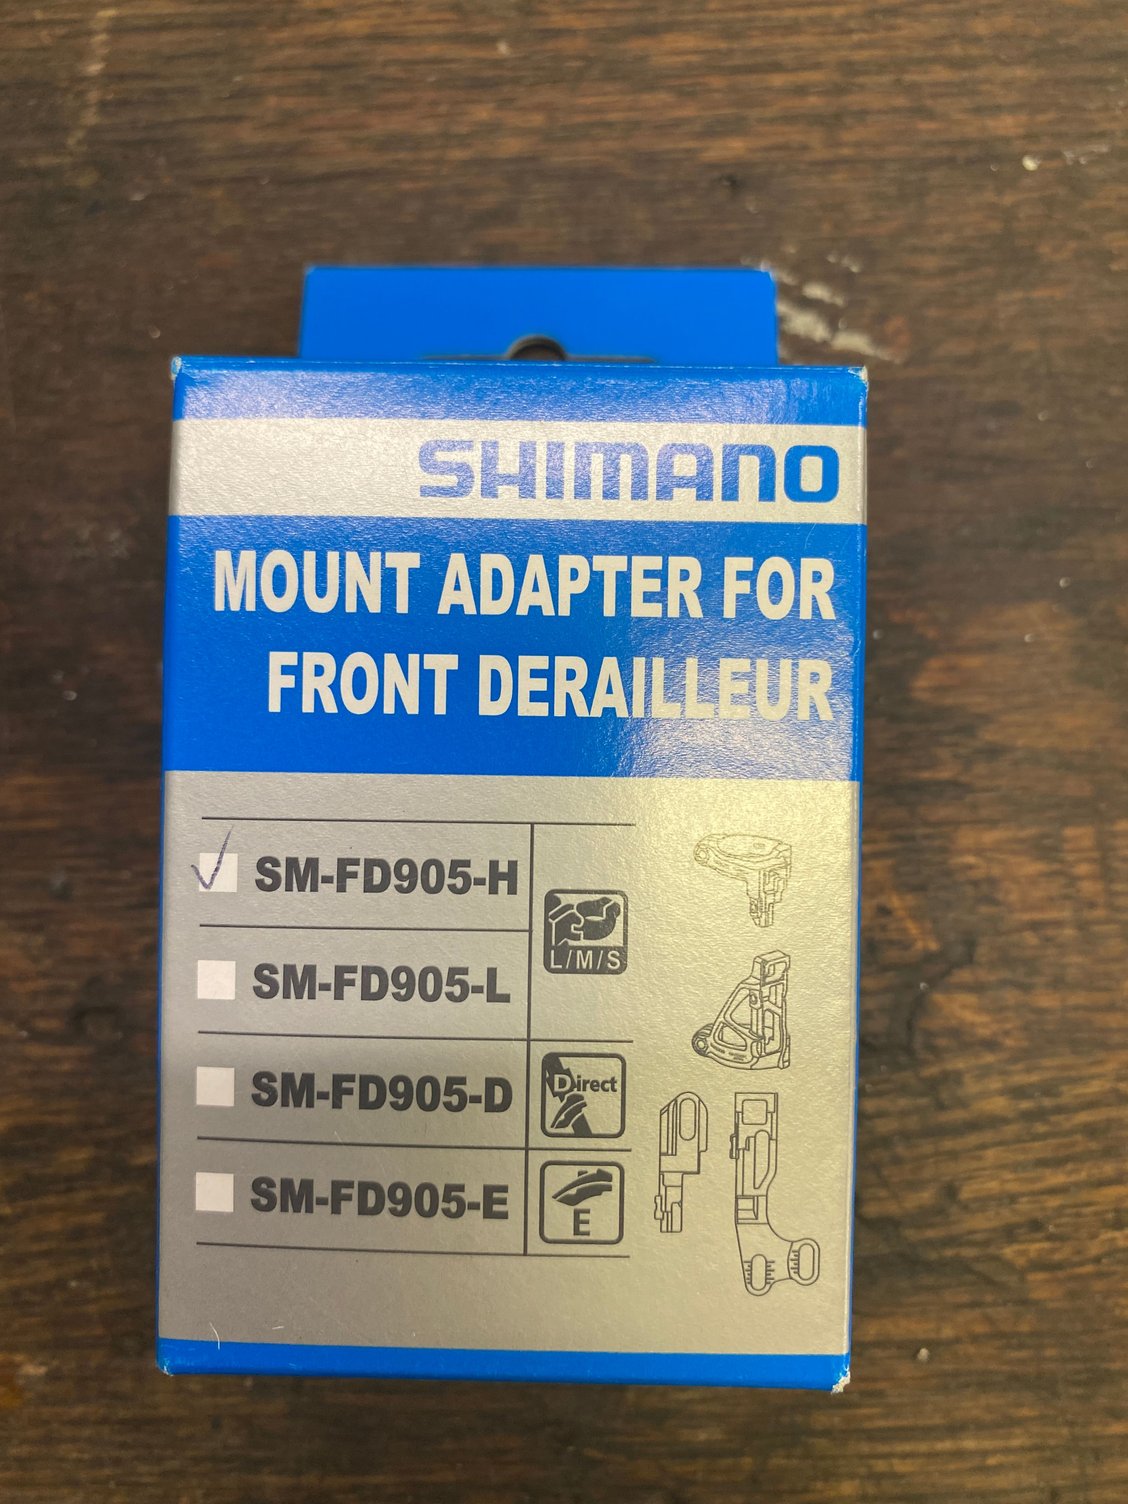
SM-FD905-H - High Mount Front Der. Hanger
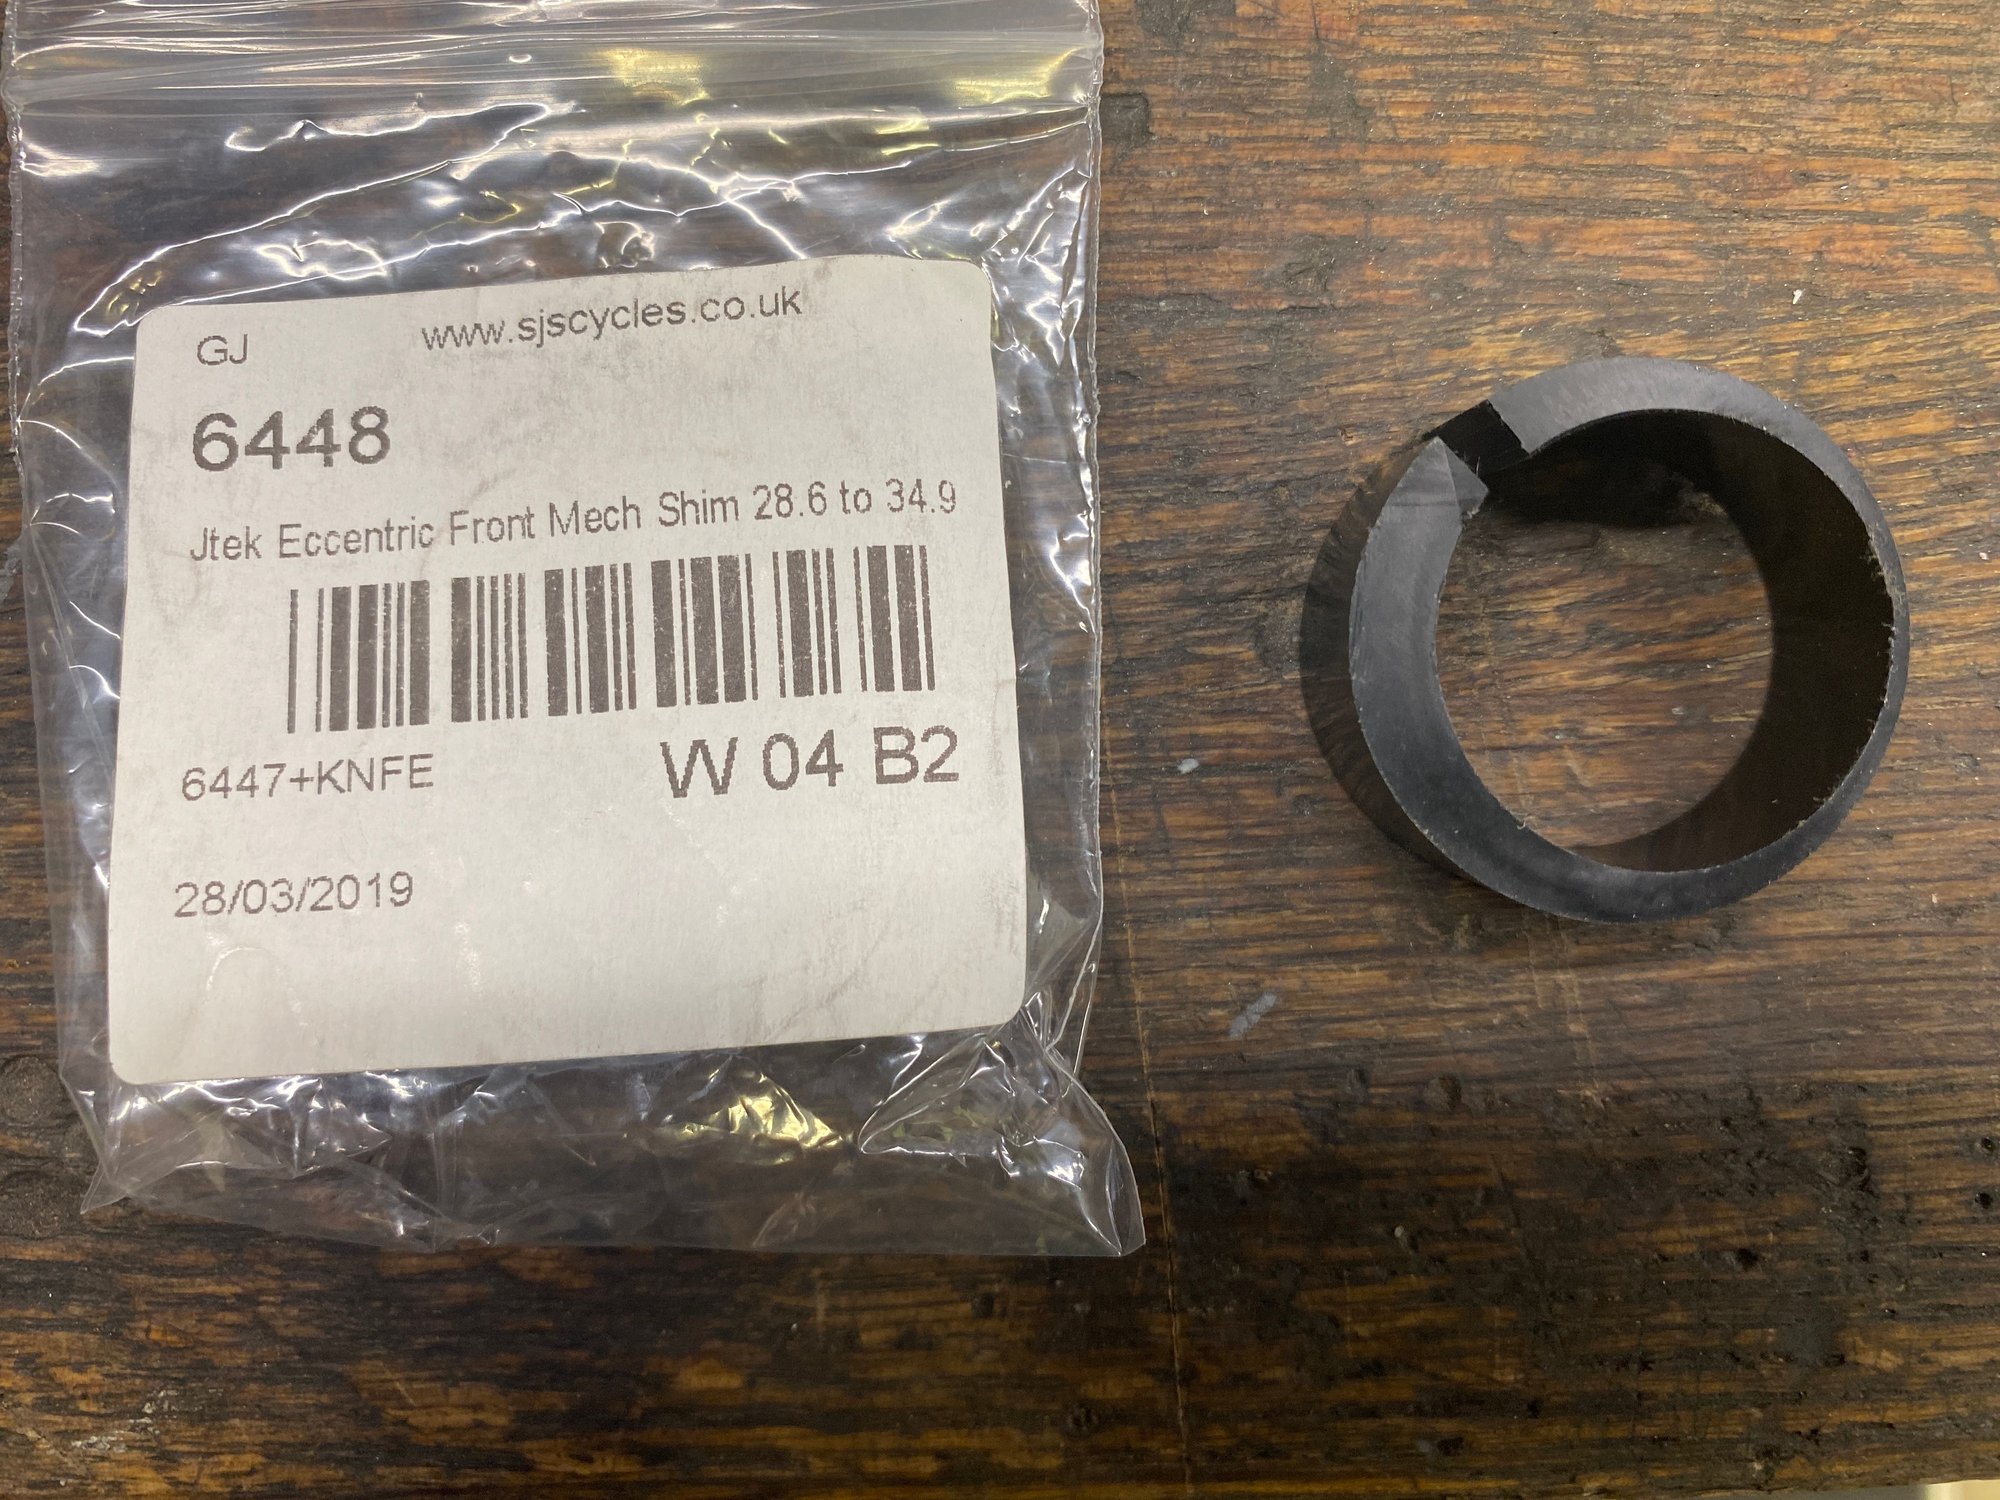
Jtek Eccentric shim 28.6-34.9
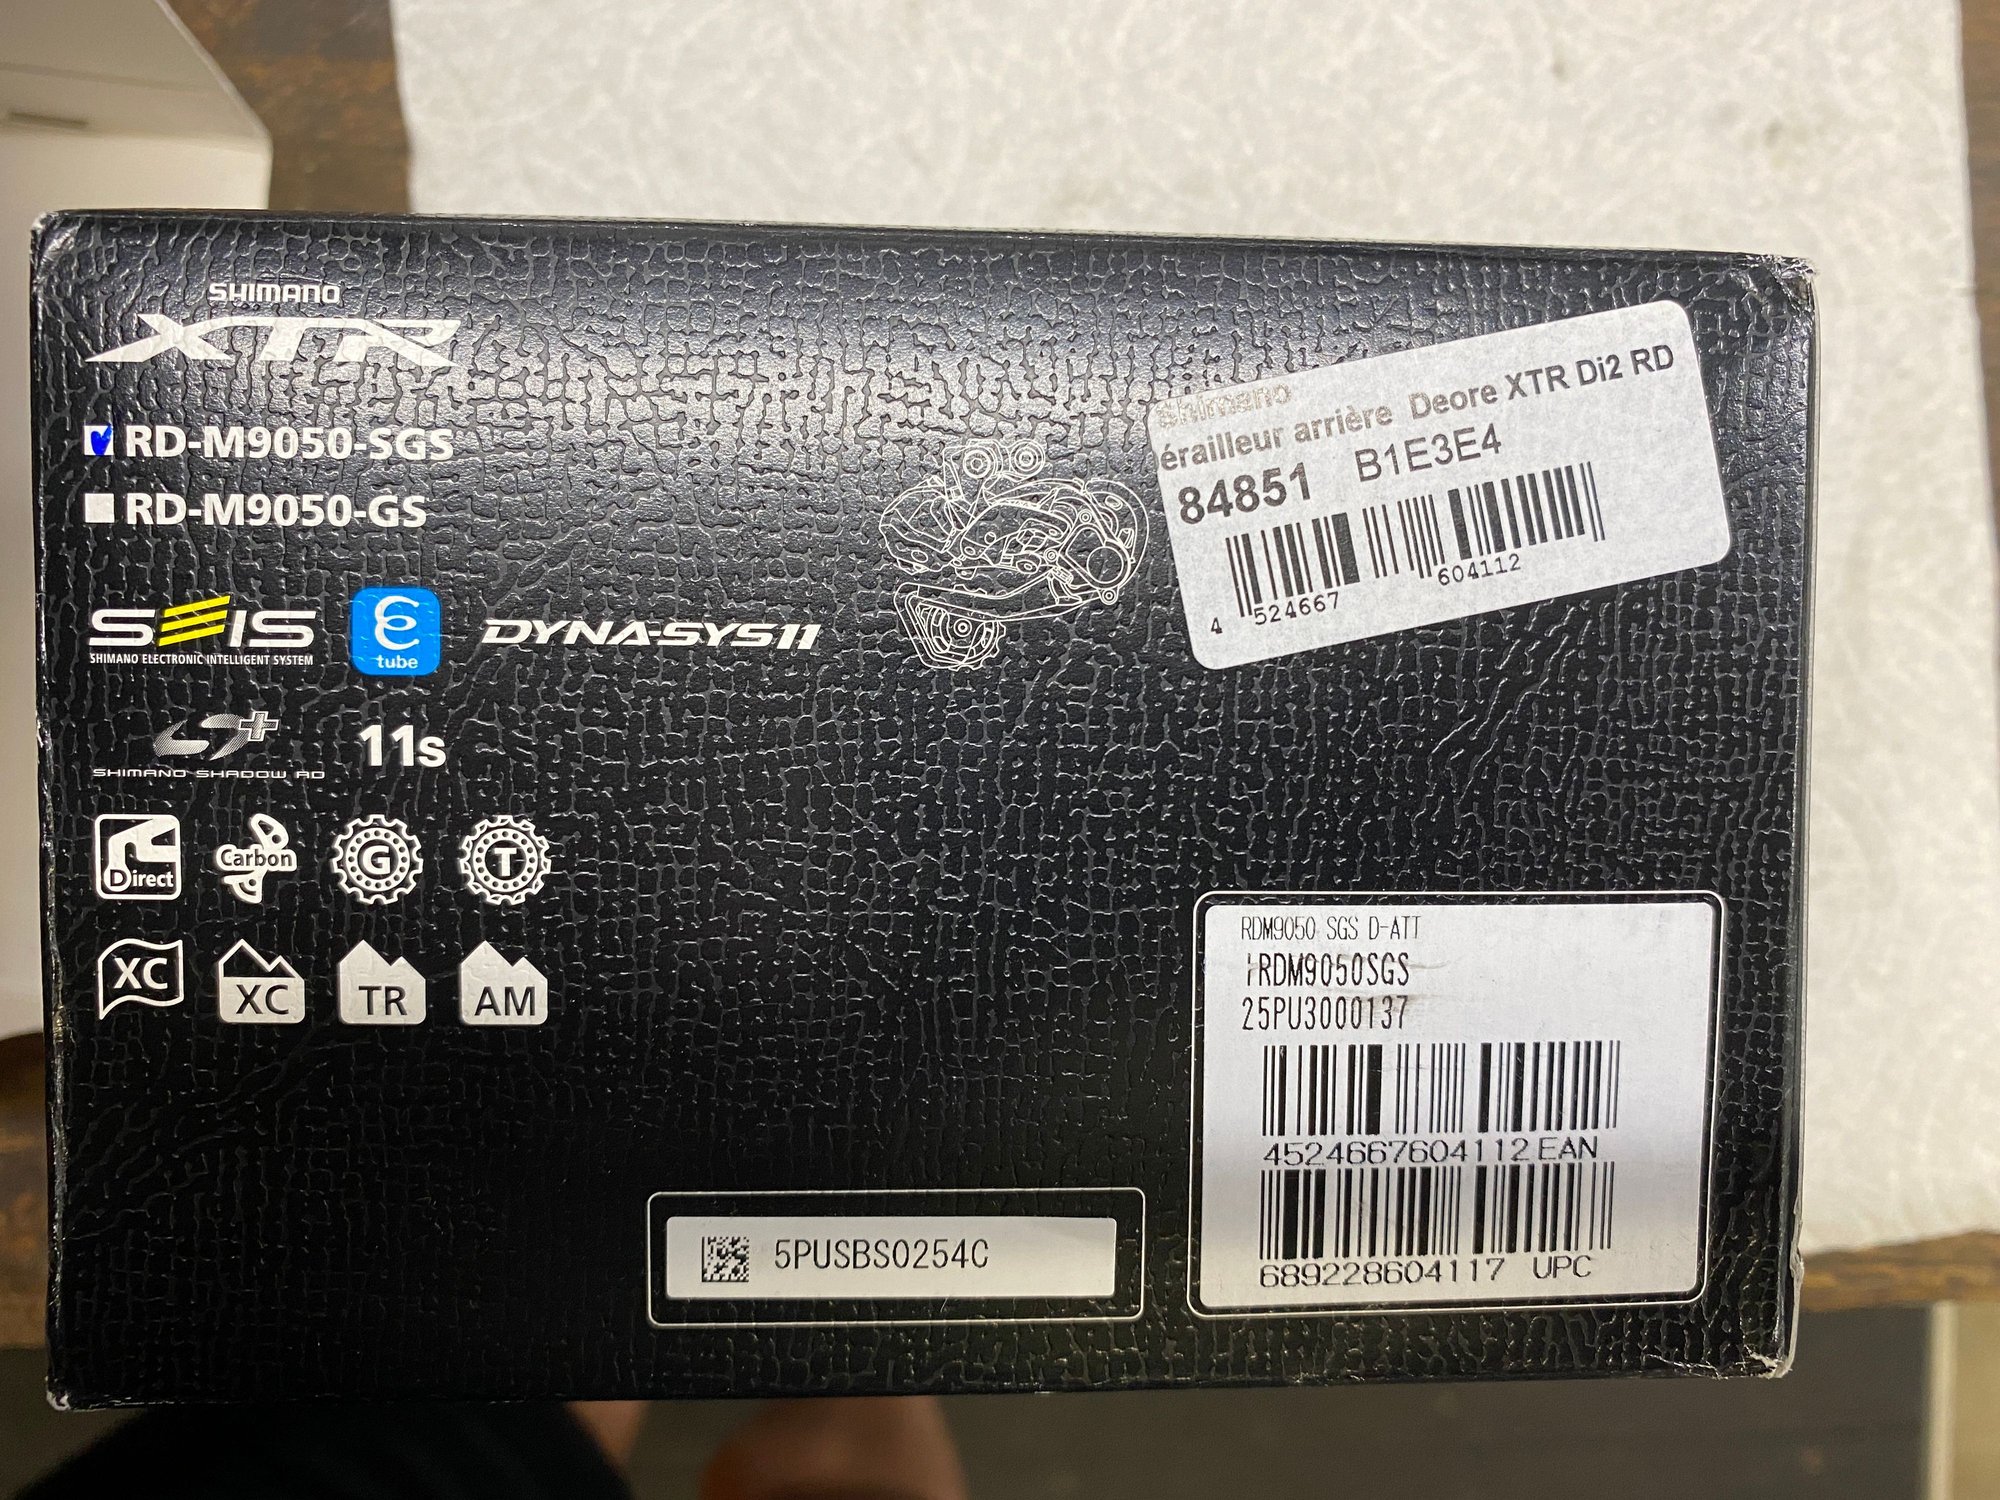
RD-M9050-SGS - XTR Long cage DI2 rear Derailleur
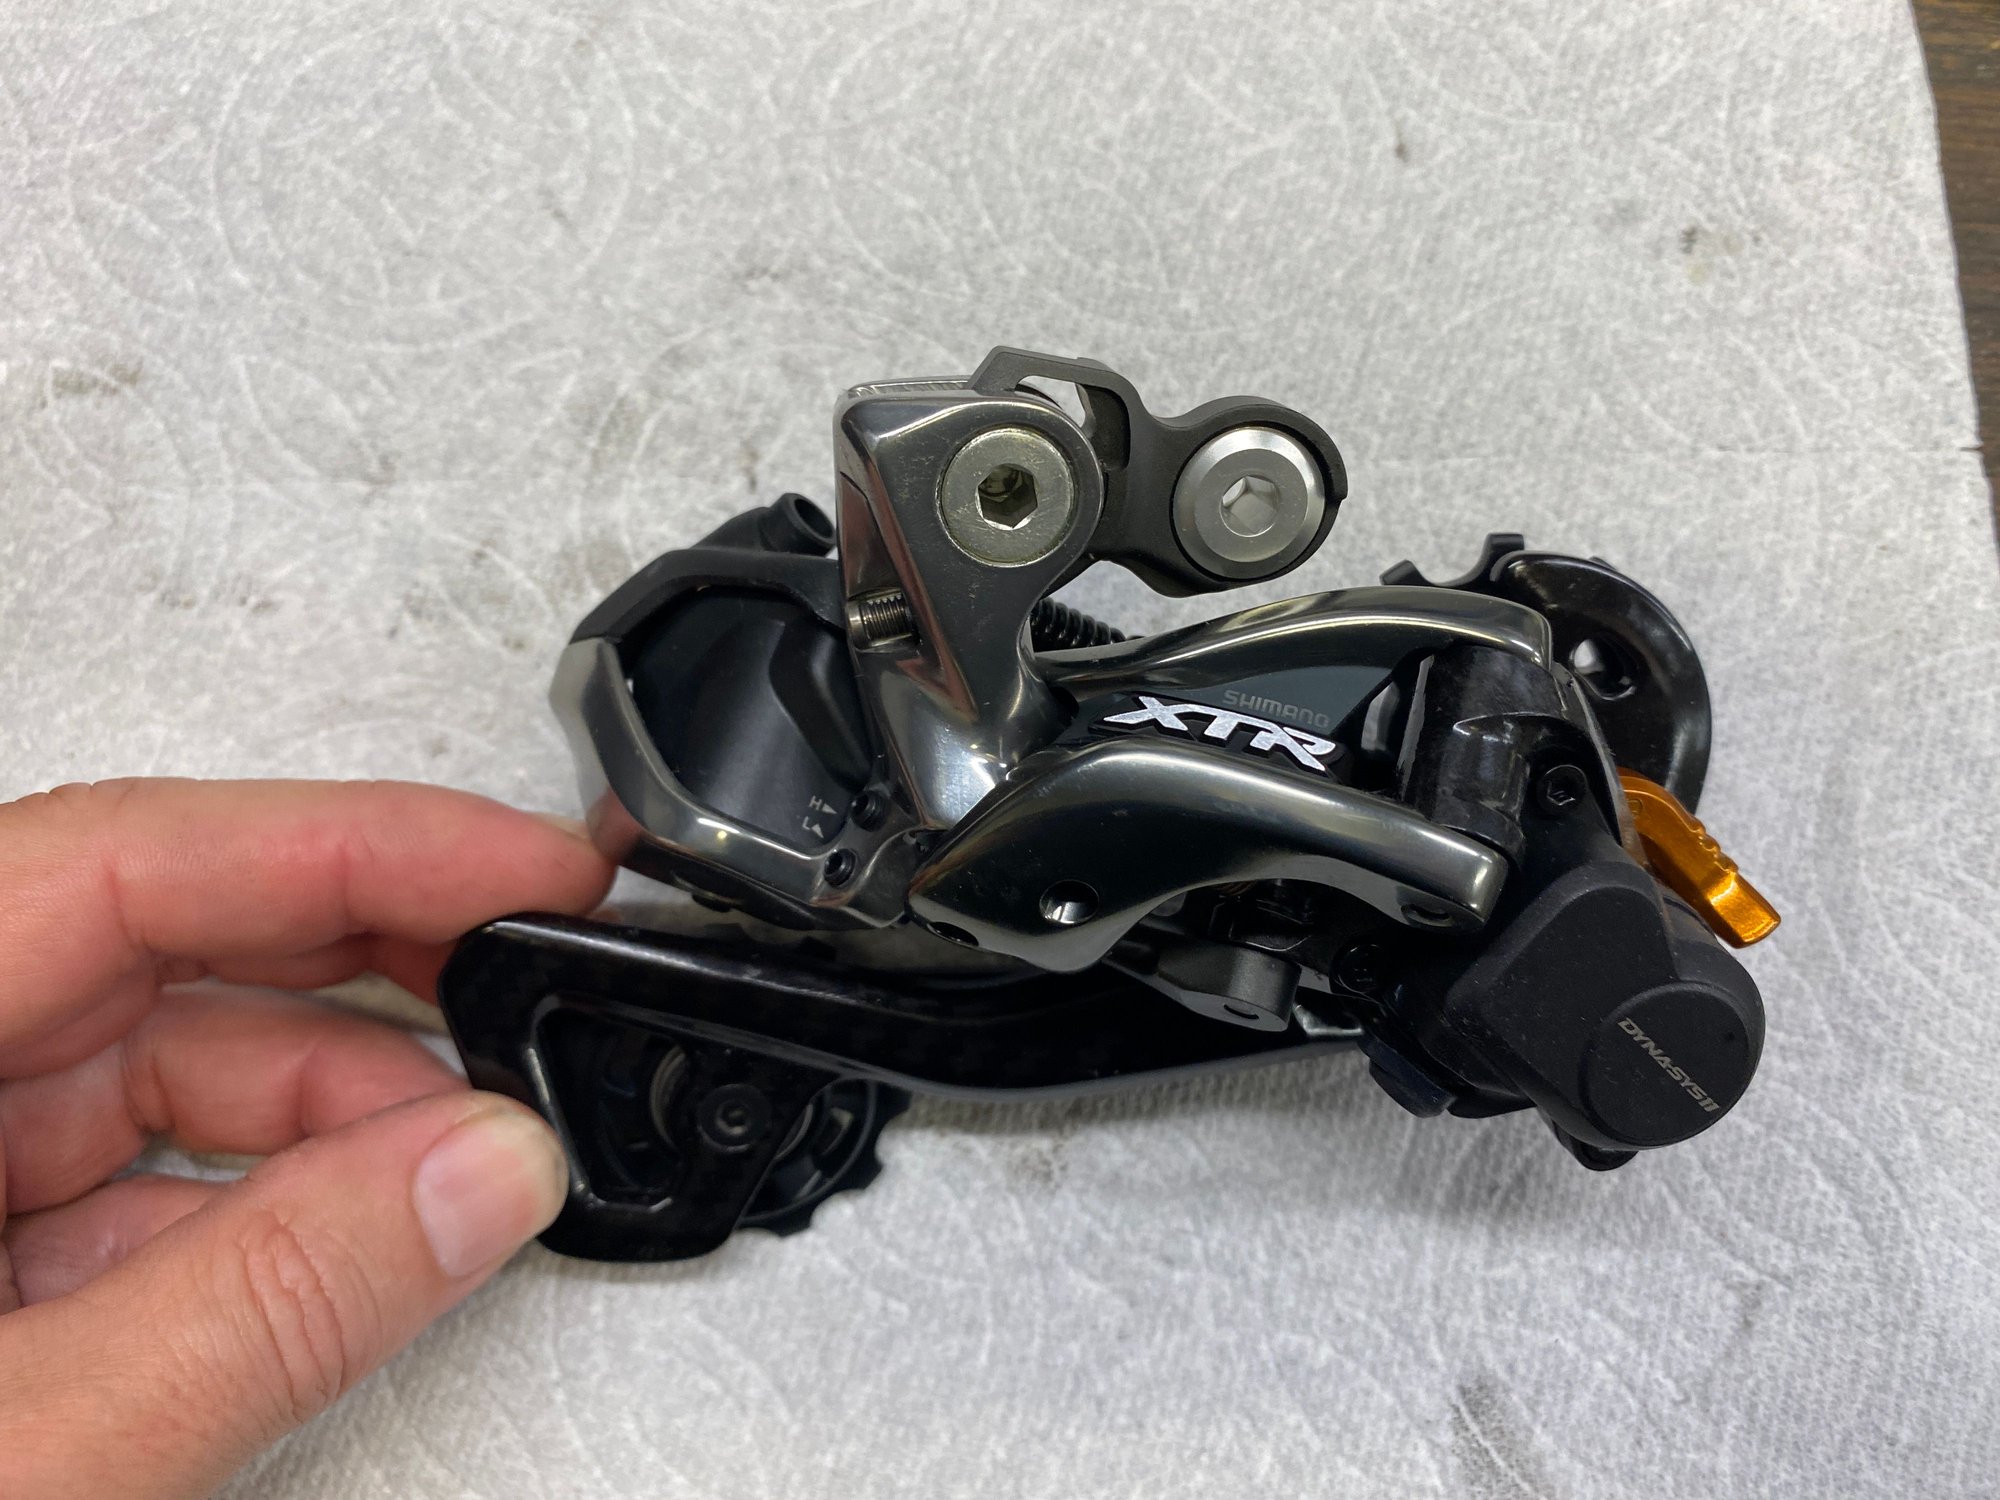
RD-M9050-SGS - XTR Long cage DI2 rear Derailleur
I know that others have shared Shimano Di2 conversions on singles and Tandems in the past. Those posts were extremely helpful in my conversion. I just wanted to share / document what I did so that others interested could see. I have a bunch of pictures so I expect to make 4-5 posts in a row to get them all up.
We have a 1997 DaVinci Tandem that had a 4x8 shift system when we got it. The front shifts were relatively smooth due to the small 6 tooth steps, but no matter how much I played with the system I was always struggling to keep gears from clanking and make sure every shift was smooth. I played with a 4x10 setup for a while but it only exacerbated the issues as the spacings were tighter. I looked at SRAM etap/AXS systems and Di2 systems for improved precision. I REALLY liked the wireless of the AXS. But, there is only a 2x option and I wasn't quite ready to give up the gear range and short steps with the DaVinci unique front gearing. But, Shimano still makes/sells a 3x front Derailleur for Di2. So, that was my path.
The summary is that I am extremely pleased with the conversion! Shifts are crisp, adjustment can be done real-time, synchronized shifting maximizes my gears, and we can shift under power in most situations. The 3x front derailleur works well for us. And, with the display, I can see what gear I'm in without looking back through two sets of legs!
The biggest drawback is that I also had to move my primary road bike to DI2. Having one bike on Shimano shifting and the other on Campy provided too many mis-shifts for my stoker to be happy.
For reference, my go-to site for DI2 info was 'bettershifting.com'. Great info/tutorials and everything has been kept current through the generations of DI2. https://bettershifting.com/building-...hs-and-wiring/
The components I purchased were:
Shifters - ST-R8050 (Ultegra DI2) - $250
Front Der - FD-M9050 (XTR DI2 triple) - $200
Rear Der - RD-M9050-SGS (XTR DI2 long cage) - $300
Cassette - CS-HG800-11 (Ultegra 11-34 11 speed) - $80
Chain - CG-H701-11 (Ultegra 11 speed) - $30
Battery - BT-DN110A (Internal Battery) - $120
Battery Holder - SM-BTC1 (External battery mount for Internal battery) - $50
Wires - EW-SD50 (DI2 wires - 1600, 650, 400, 400, 350) - $25 each
Wire Covers - SM-EWC2 (300mm and 50mm wire covers in black) - $13
Gear Indicator / Bluetooth / power connector - SC-MT800 (XT display) - $80
Front Derailleur Eccentric - Jtek Eccentric Front Mech shim 28.6-34.9 - $20 (cheap part, shipped from UK)
Front Derailleur Hanger - SM-FD905-H - $25
3 Gear front cluster from Todd at Davinci Designs - $90
Prices are approximately what I paid - though I looked long and hard for the best prices I could find around the world. Used equipment should work too. As it was my first DI2 build I didn't want to have something weird happening with used equipment.
Here is my bike before I started and the following picture of the finished product

Bike overhauled just after we purchased it in May 2020. (used)

Bike in November 2020 after DI2 conversion (and other modifications)
Here are pictures of many of the parts purchased:

SM-BTC1- External Battery mount for BT-DN110 battery

SM-BTC1- External Battery mount for BT-DN110 battery

BT-DN110A - most recent DI2 internal battery

FD-M9050 - XTR triple front Derailleur

SM-FD905-H - High Mount Front Der. Hanger

Jtek Eccentric shim 28.6-34.9

RD-M9050-SGS - XTR Long cage DI2 rear Derailleur

RD-M9050-SGS - XTR Long cage DI2 rear Derailleur
Last edited by sdodd; 01-14-21 at 09:21 AM.
Likes For sdodd:
#2
Junior Member
Thread Starter
Join Date: Sep 2020
Posts: 75
Mentioned: 0 Post(s)
Tagged: 0 Thread(s)
Quoted: 18 Post(s)
Likes: 0
Liked 39 Times
in
24 Posts
My first task was to figure out how I would mount the battery. the external mount sticks out side ways from the water bottle mount. I didn't like that. So, I found some 1.5" angle aluminum, mounted it to the water bottle bosses, and then moved it around till it seemed to fit.
This puts the battery mount facing rearwards between the stoker seat tube and the rear wheel. The chainstays are long enough I have no problem fitting it.
All of the wires exit out of the bottom and run under the stoker bottom bracket.

Angle Aluminum with a couple of holes drilled for water bottle mount. Test setup

Angle Aluminum with a couple of holes drilled for water bottle mount. Test setup
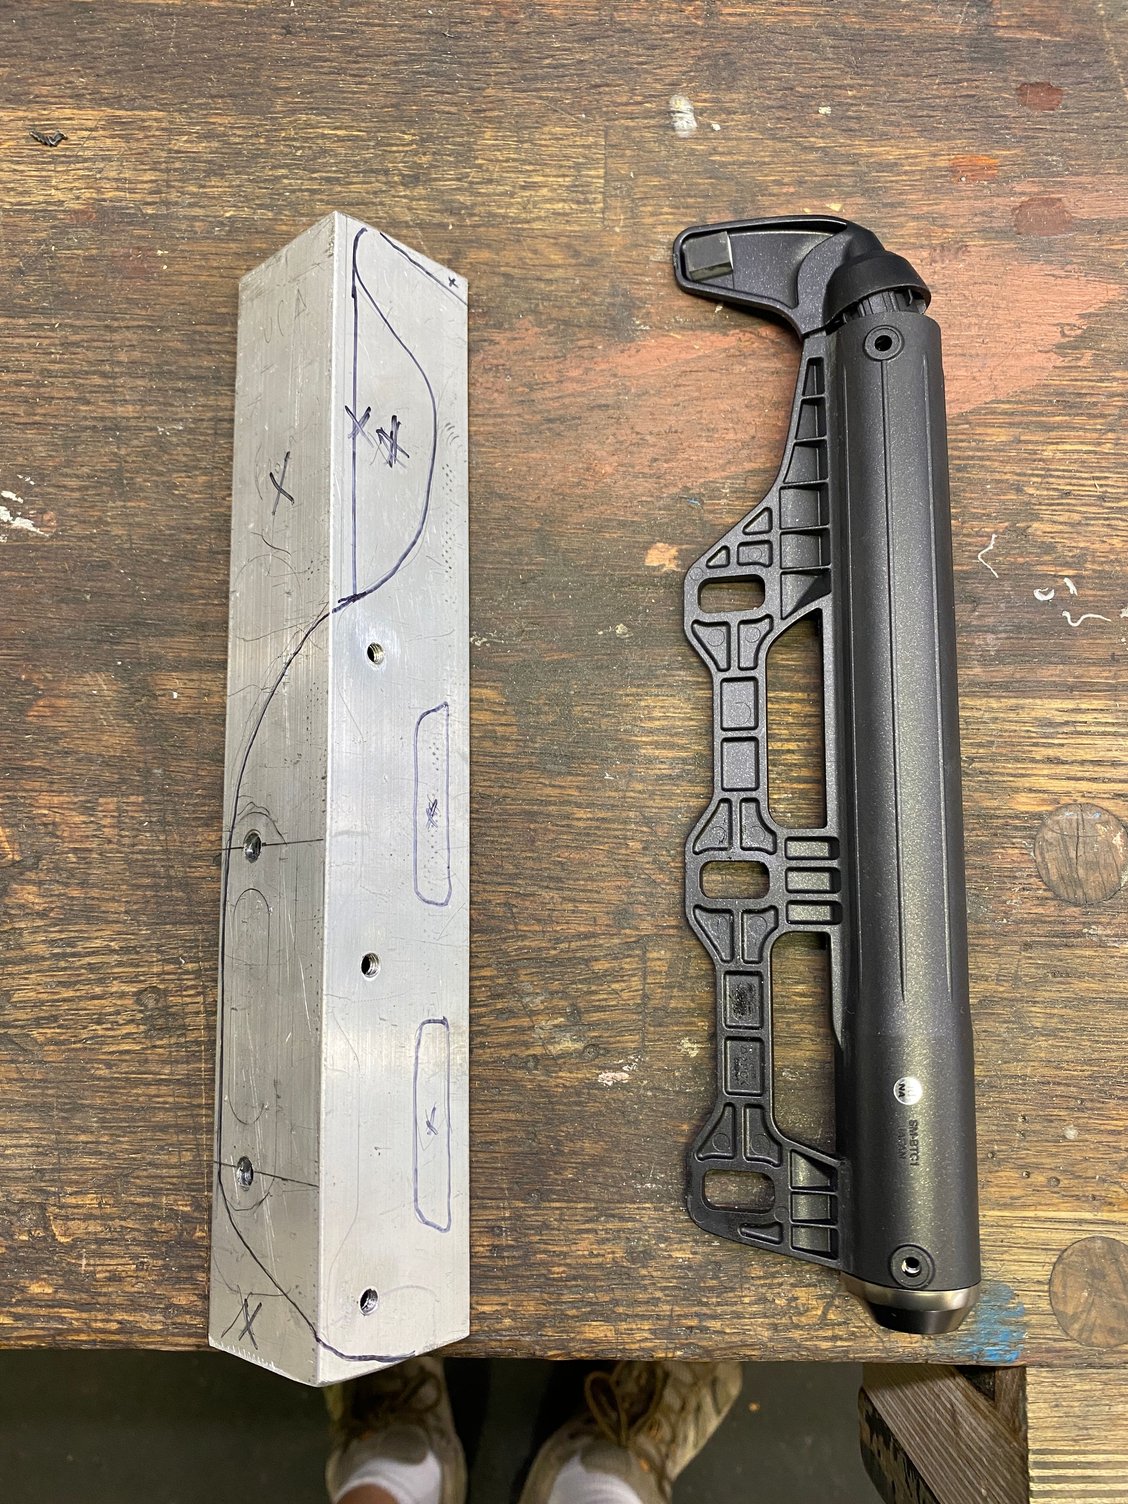
Making the Aluminum mount a little more refined.
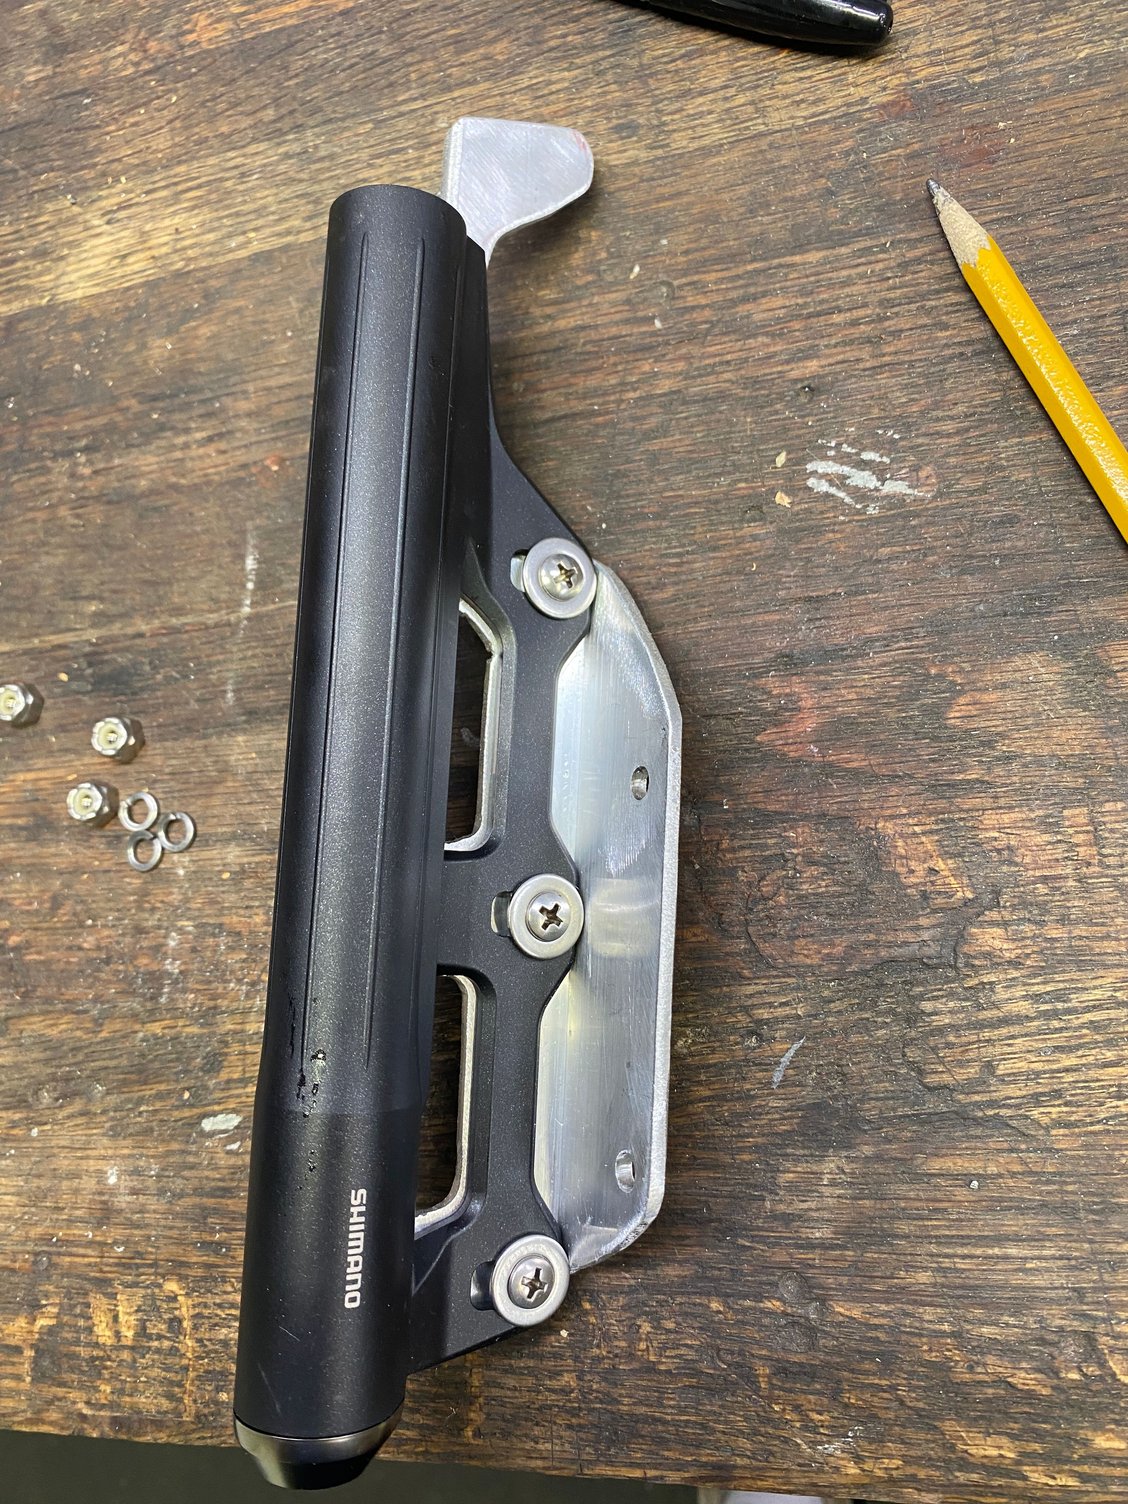
Inside of the mount
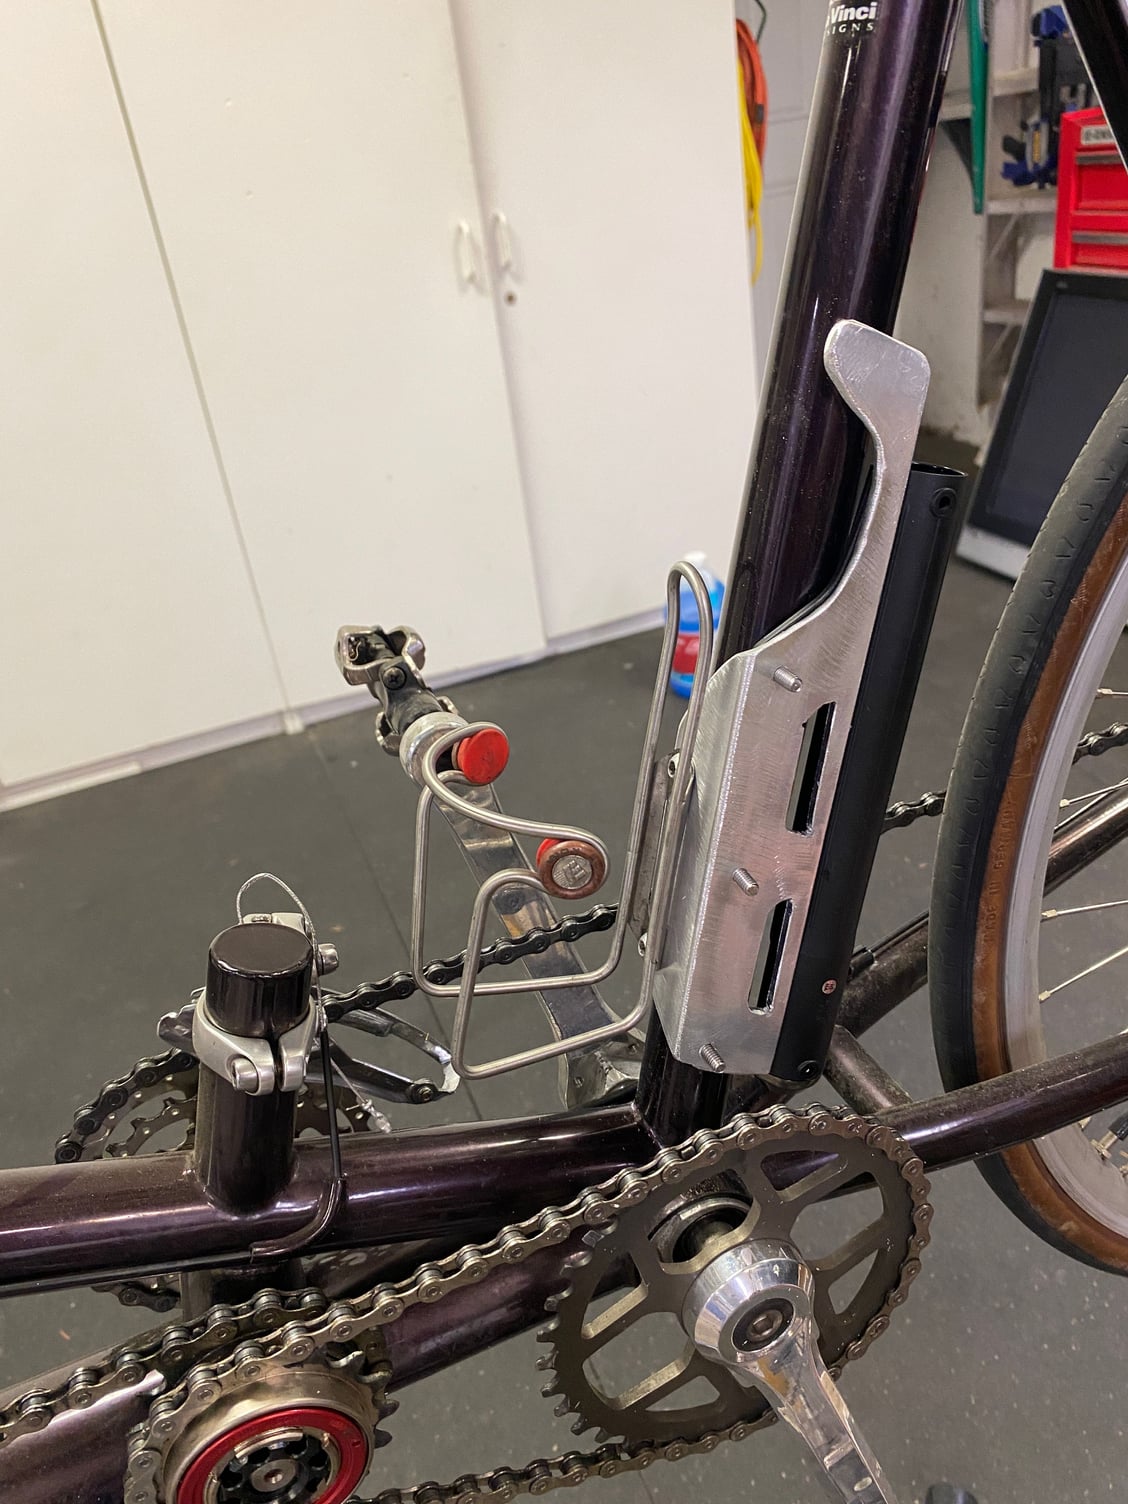
Finished fitting
This puts the battery mount facing rearwards between the stoker seat tube and the rear wheel. The chainstays are long enough I have no problem fitting it.
All of the wires exit out of the bottom and run under the stoker bottom bracket.

Angle Aluminum with a couple of holes drilled for water bottle mount. Test setup

Angle Aluminum with a couple of holes drilled for water bottle mount. Test setup

Making the Aluminum mount a little more refined.

Inside of the mount

Finished fitting
Likes For sdodd:
#3
Junior Member
Thread Starter
Join Date: Sep 2020
Posts: 75
Mentioned: 0 Post(s)
Tagged: 0 Thread(s)
Quoted: 18 Post(s)
Likes: 0
Liked 39 Times
in
24 Posts
Getting the front gears changed over was the next step. The intermediate shaft and gears both needed to be changed to move the gear spacing to work with the DI2 triple. Fairly straight forward as Todd sells such a setup on new DaVinci Tandems. He could sell me the shaft and gears.
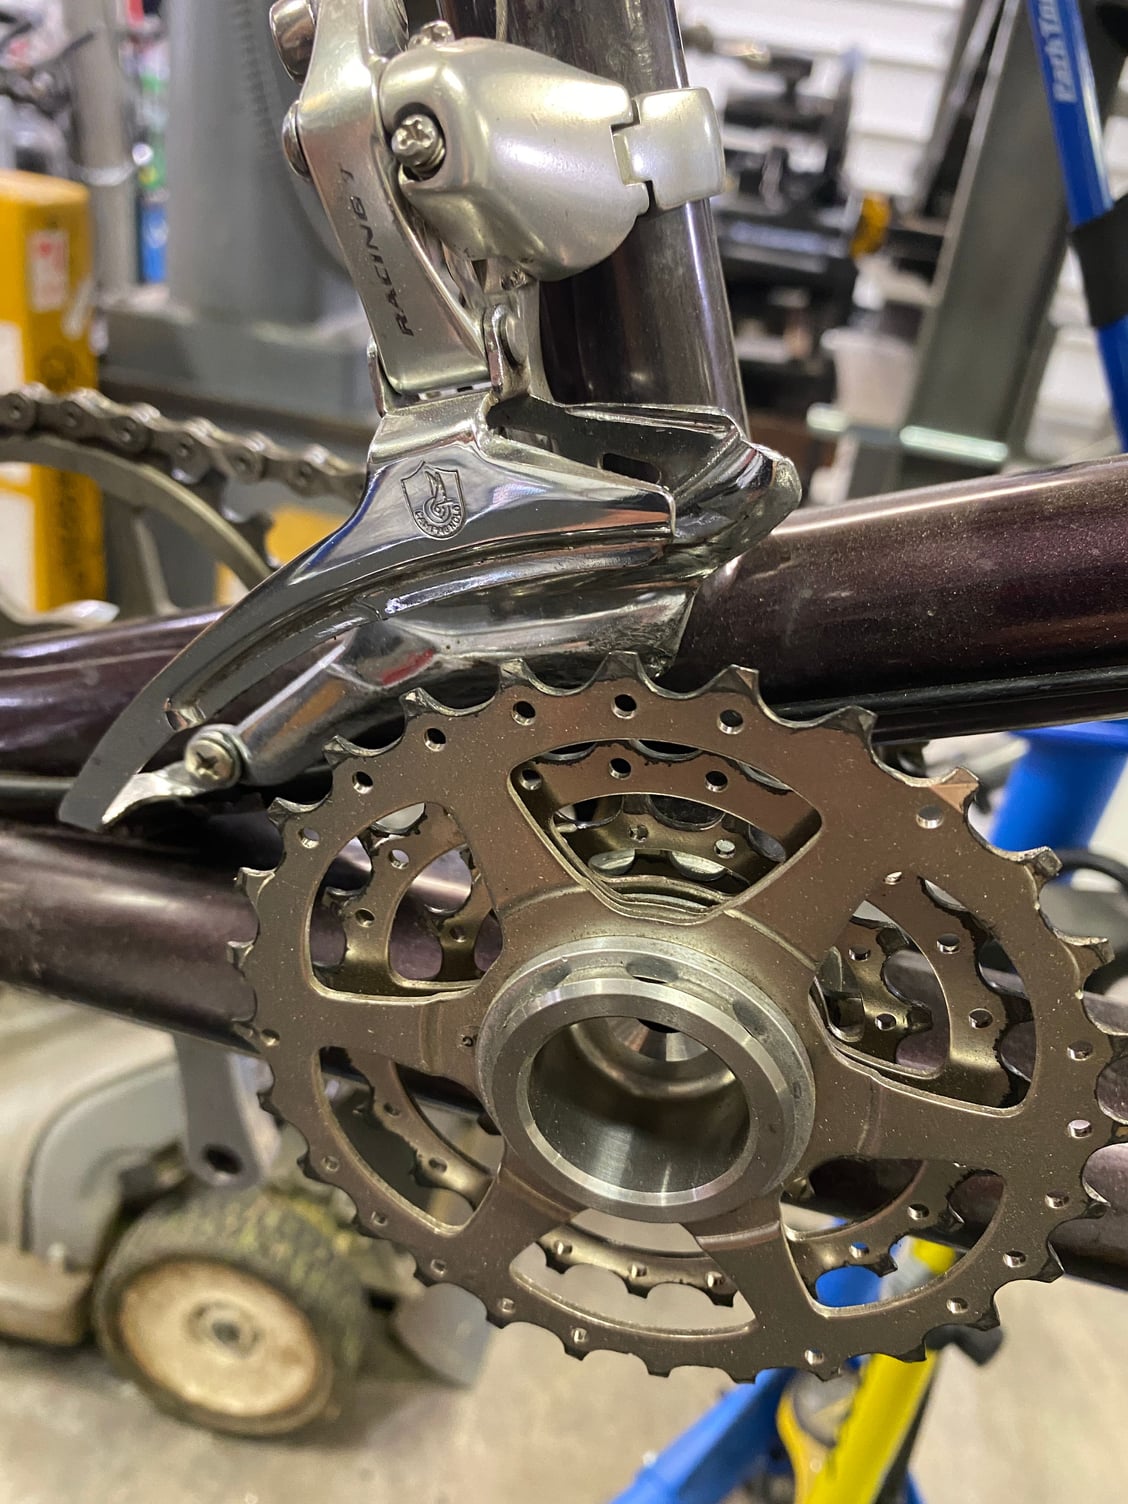
Original Front Derailleur setup with 4 front 'chainrings' and the campy triple front der moving between all 4.
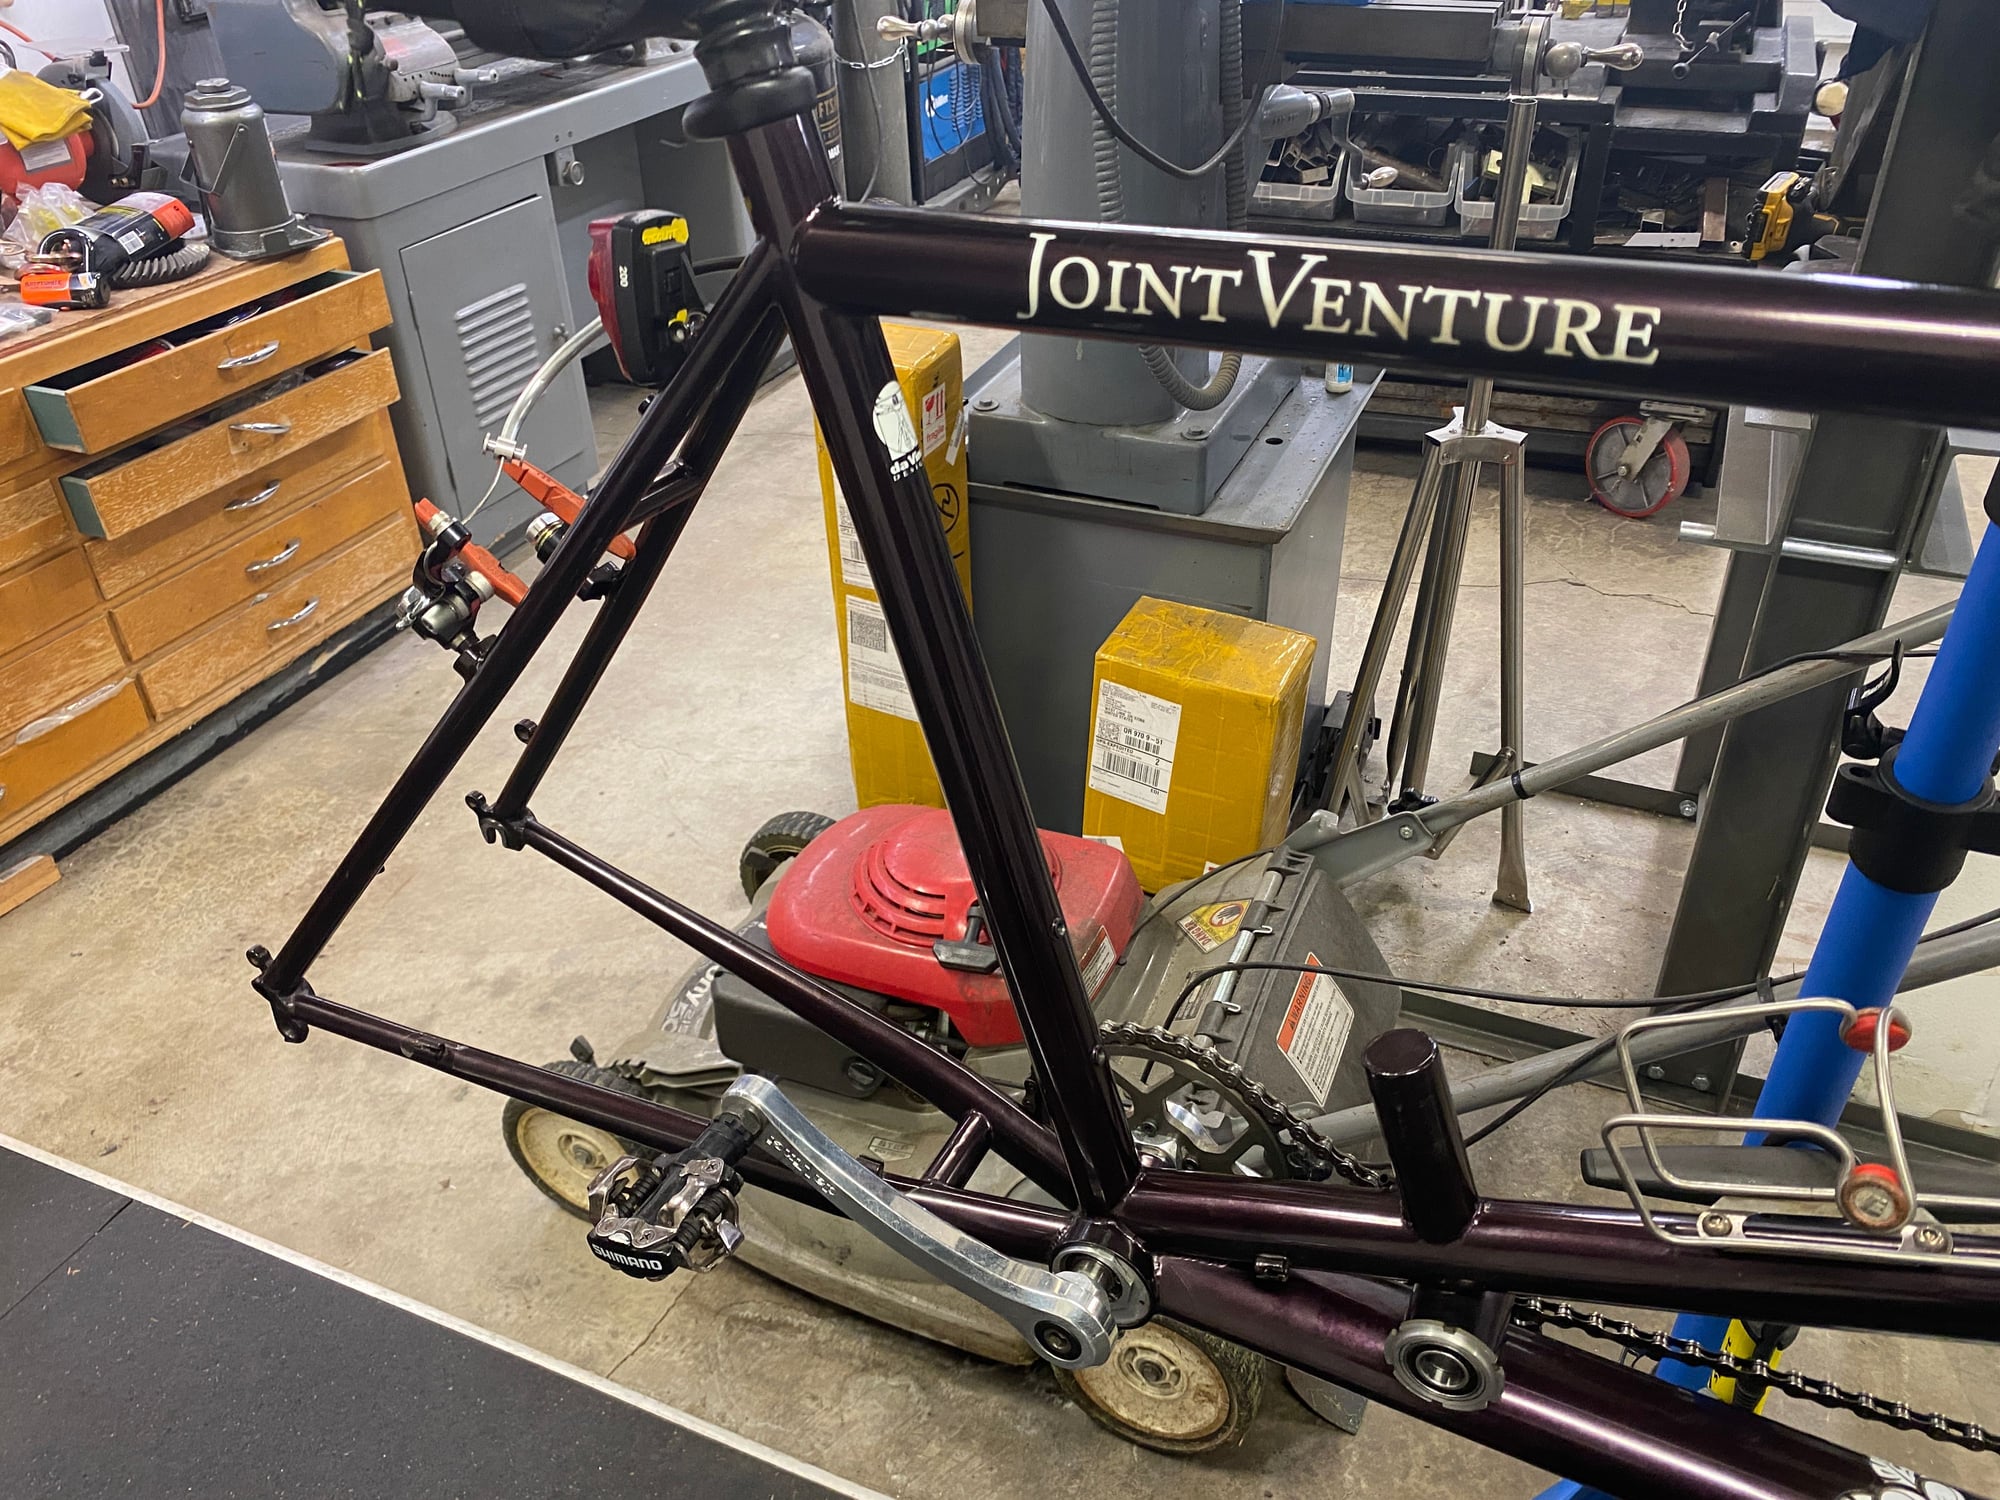
Stripped rear triangle for fittin.g
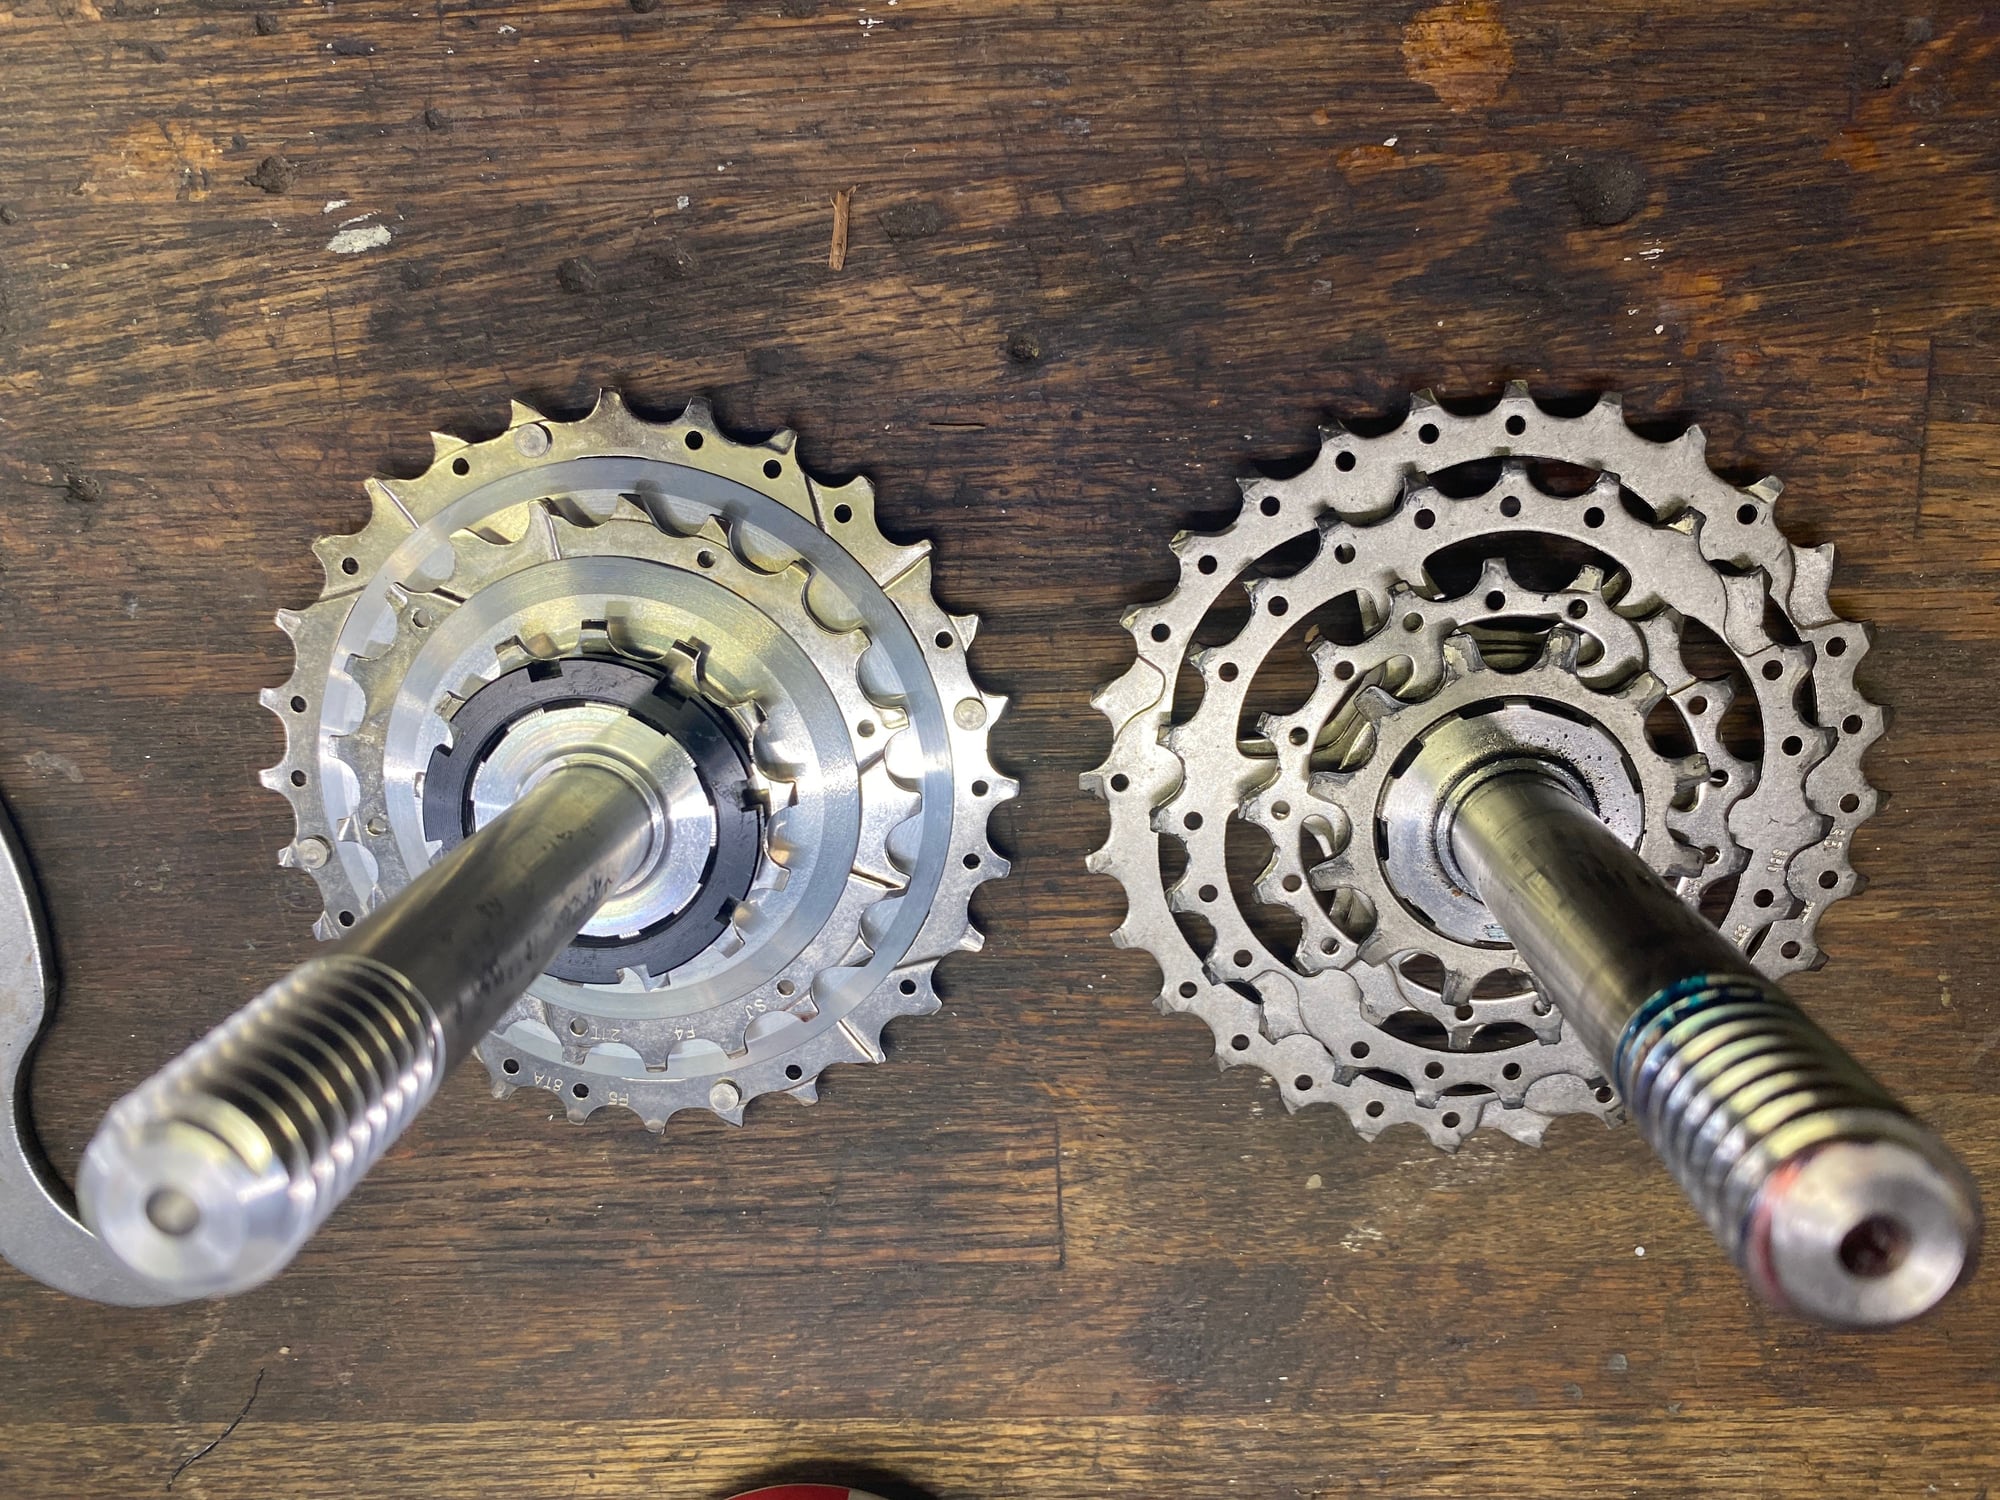
Moving from a 4 ring setup (right) to the three ring (left)
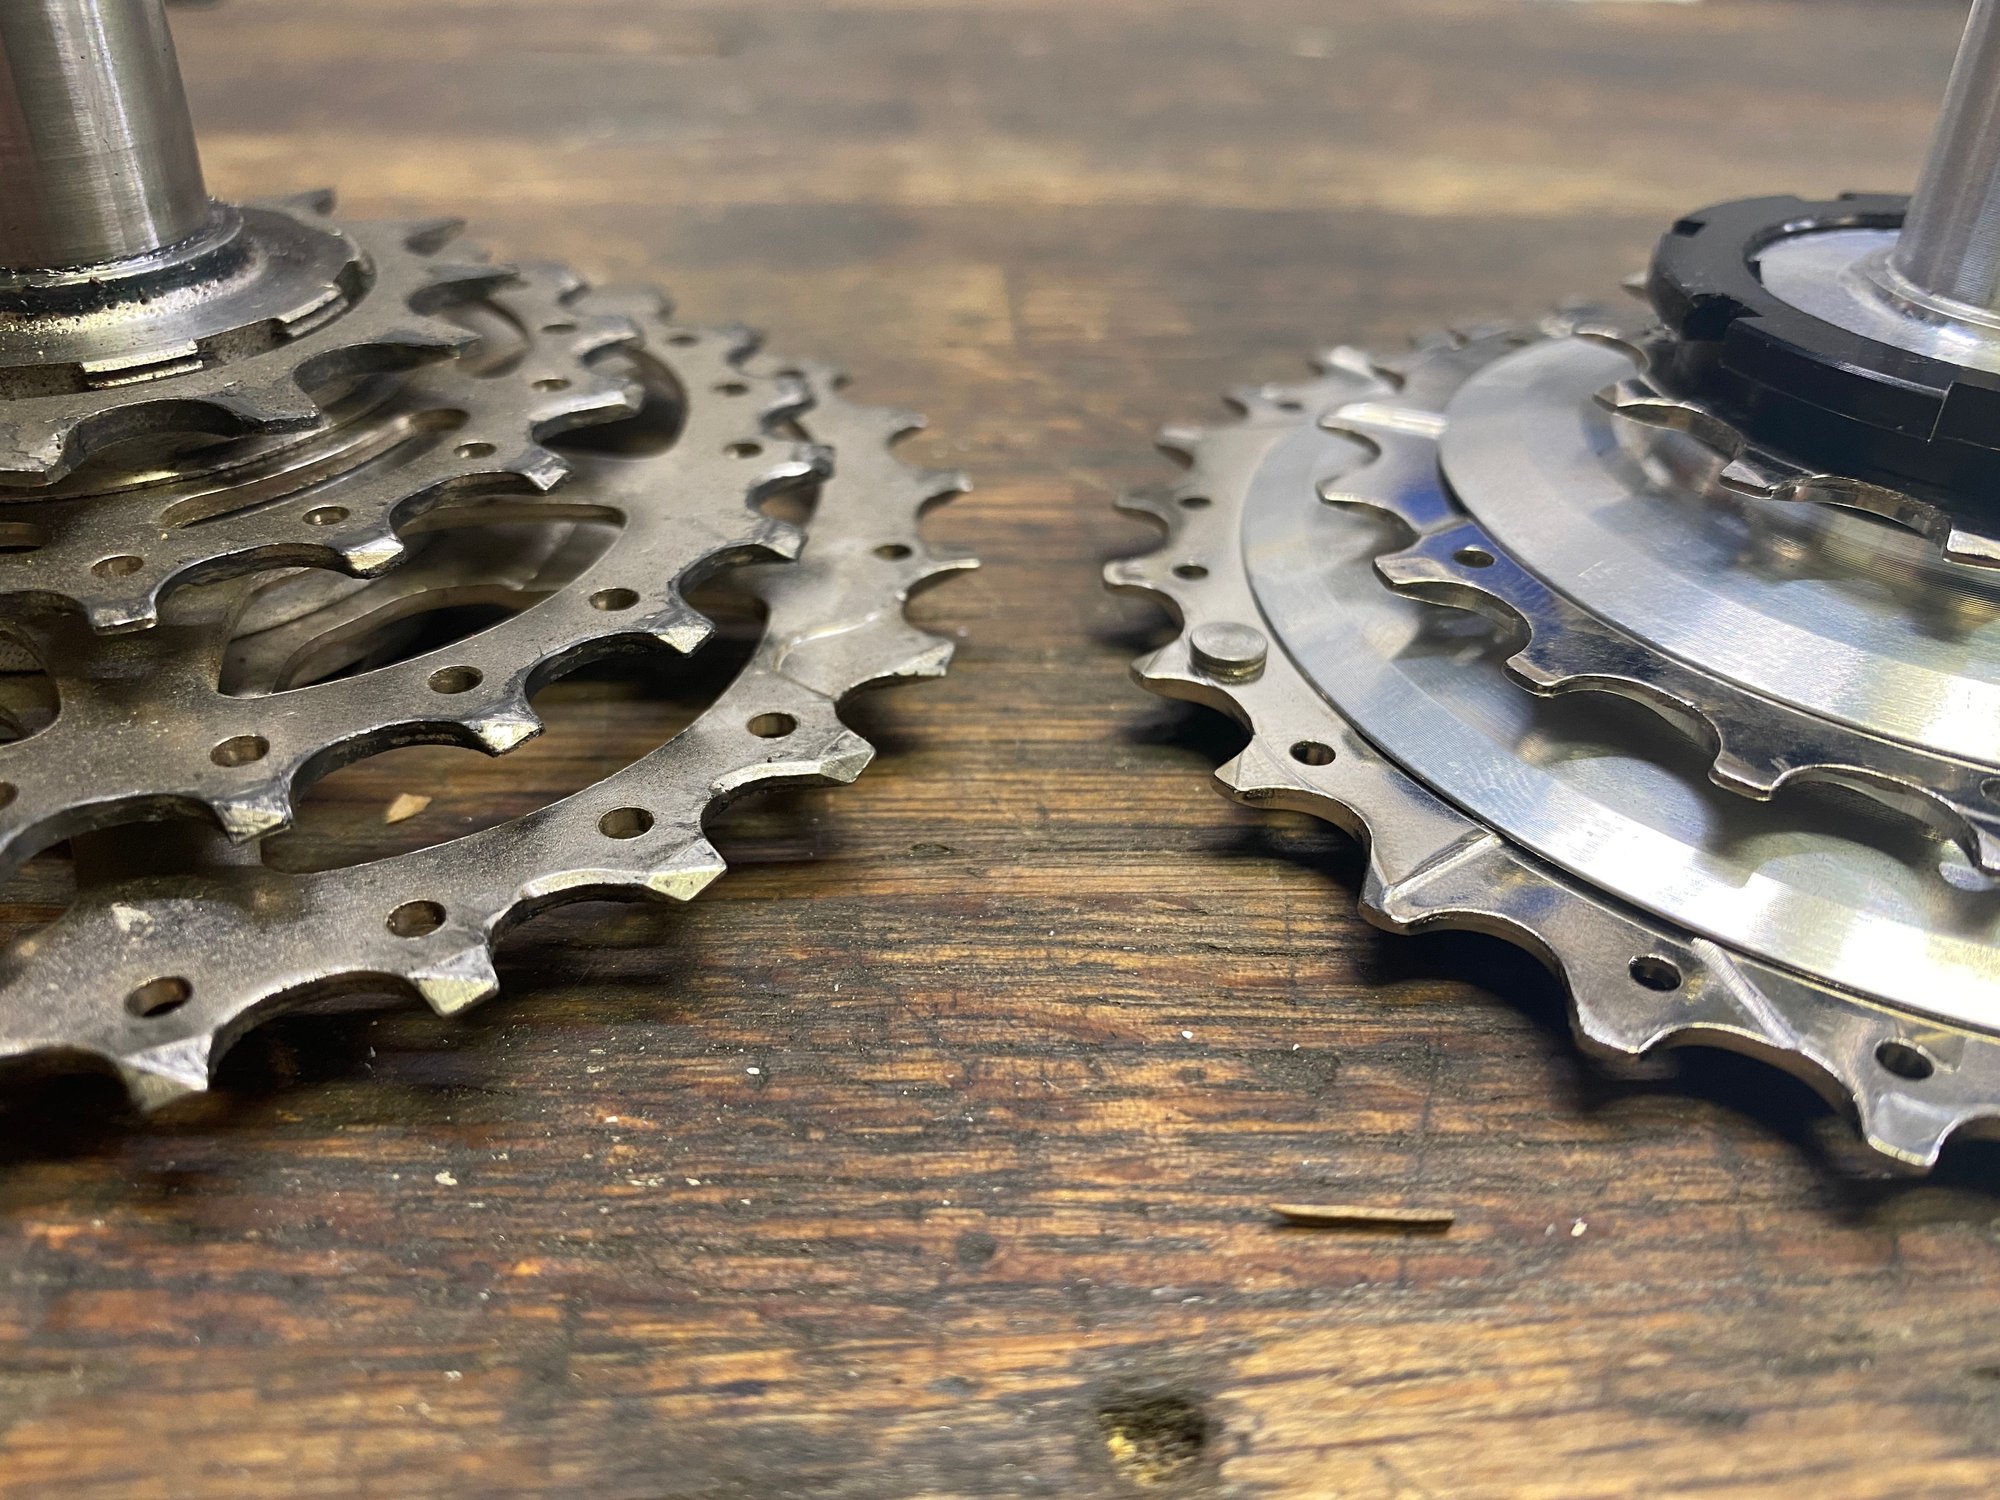
Moving from the 4 ring setup (left) to the 3 ring (right)(
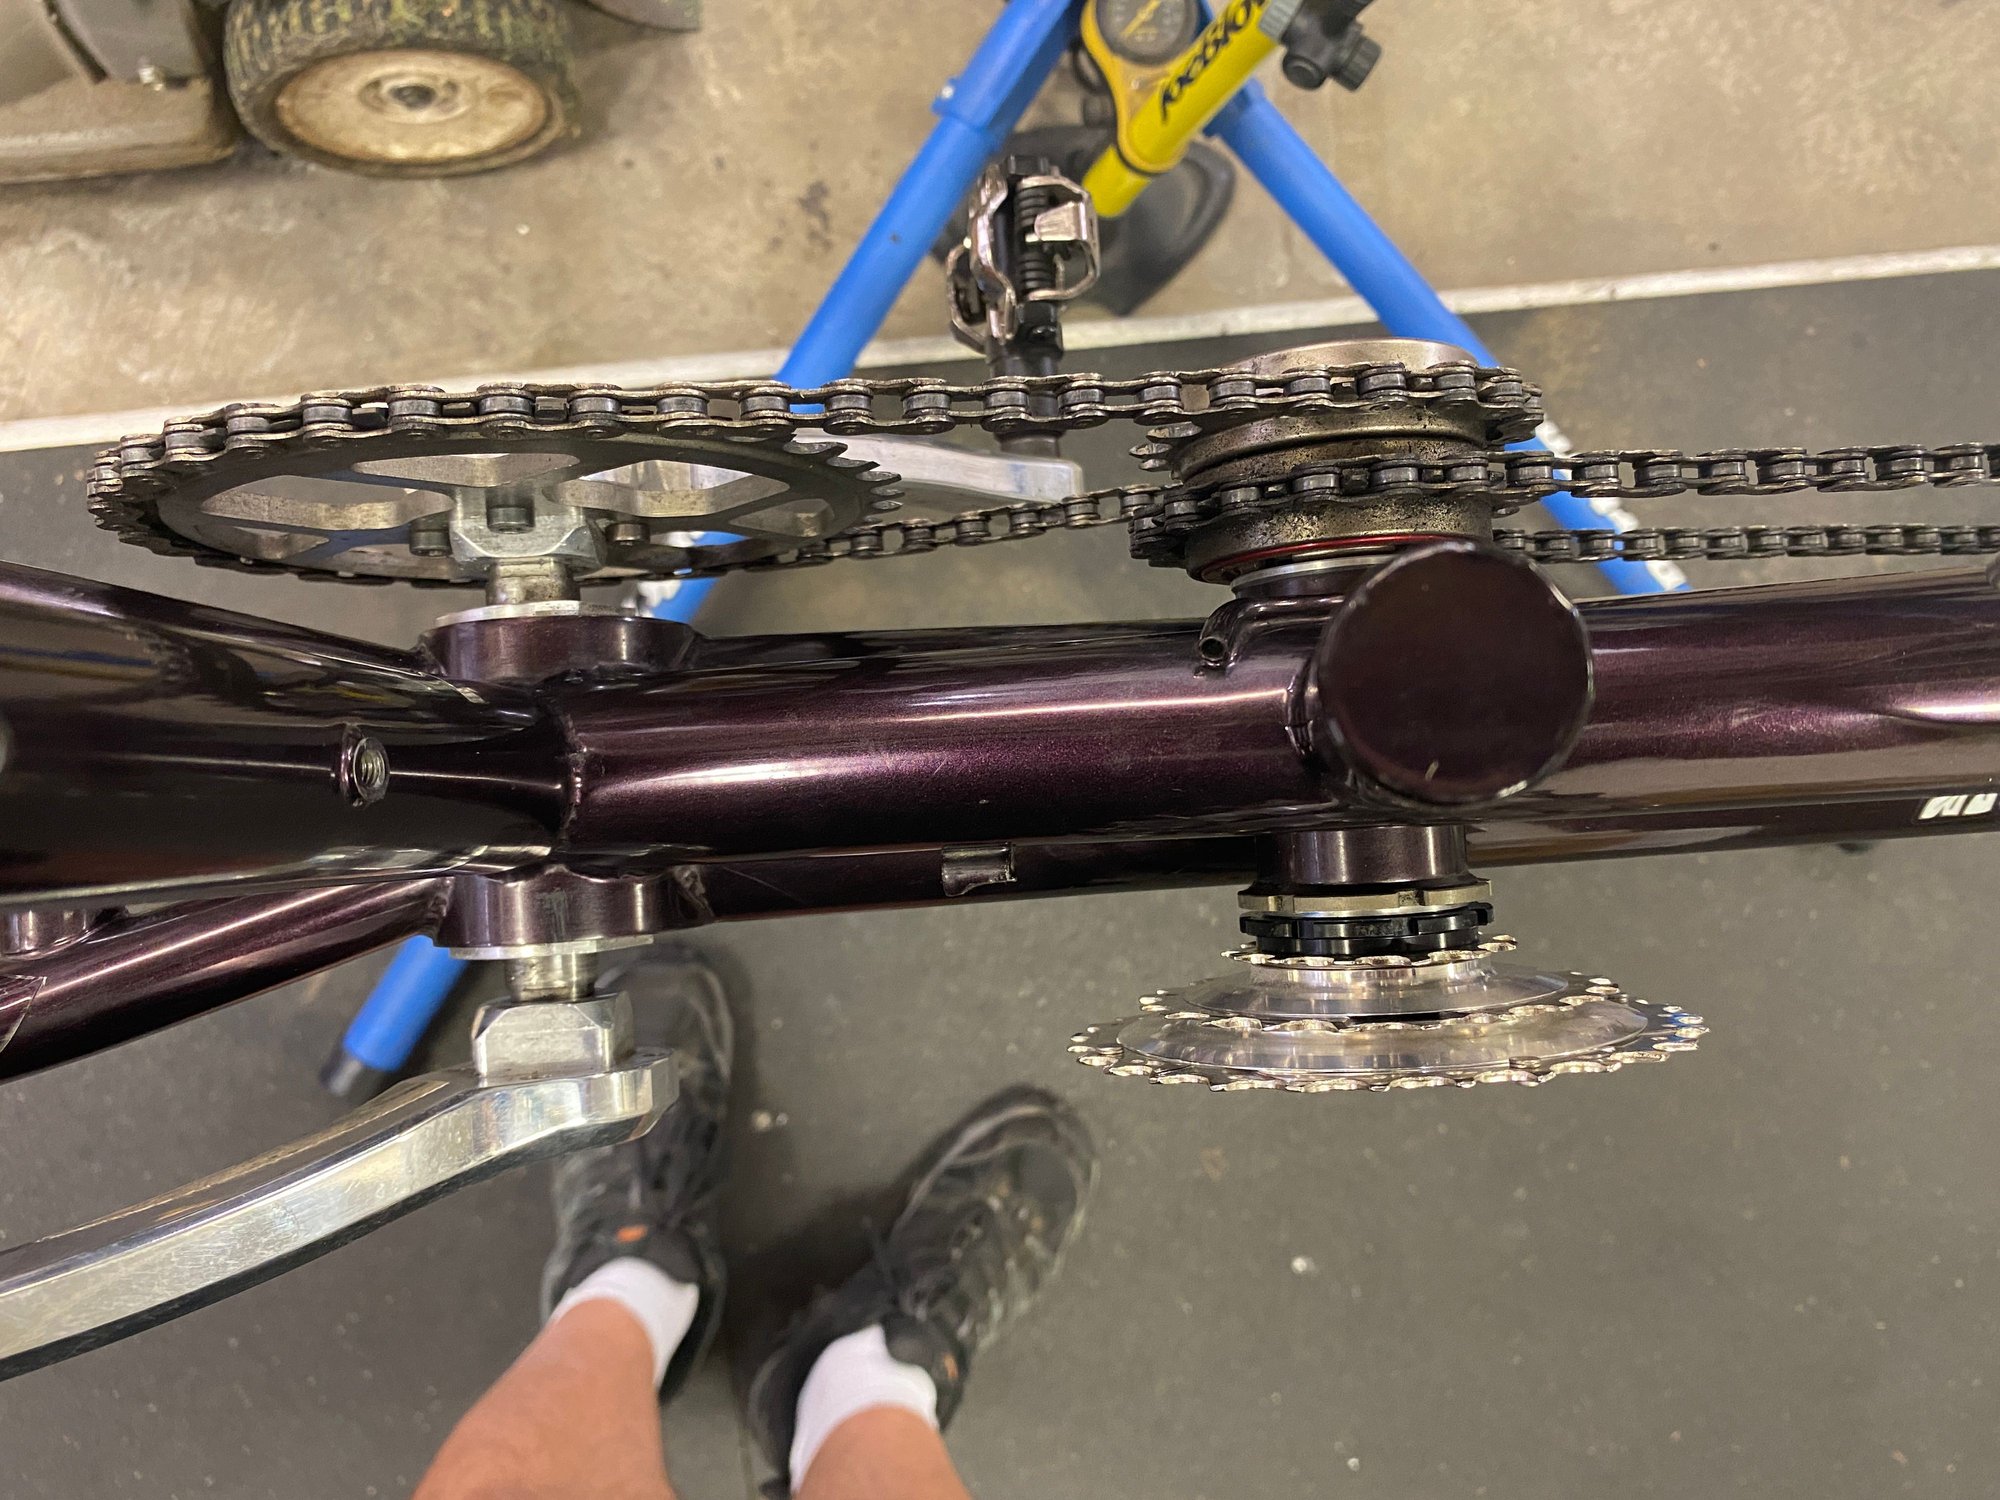
Installation showing post for front Der and 3 ring gear

Original Front Derailleur setup with 4 front 'chainrings' and the campy triple front der moving between all 4.

Stripped rear triangle for fittin.g

Moving from a 4 ring setup (right) to the three ring (left)

Moving from the 4 ring setup (left) to the 3 ring (right)(

Installation showing post for front Der and 3 ring gear
Likes For sdodd:
#4
Junior Member
Thread Starter
Join Date: Sep 2020
Posts: 75
Mentioned: 0 Post(s)
Tagged: 0 Thread(s)
Quoted: 18 Post(s)
Likes: 0
Liked 39 Times
in
24 Posts
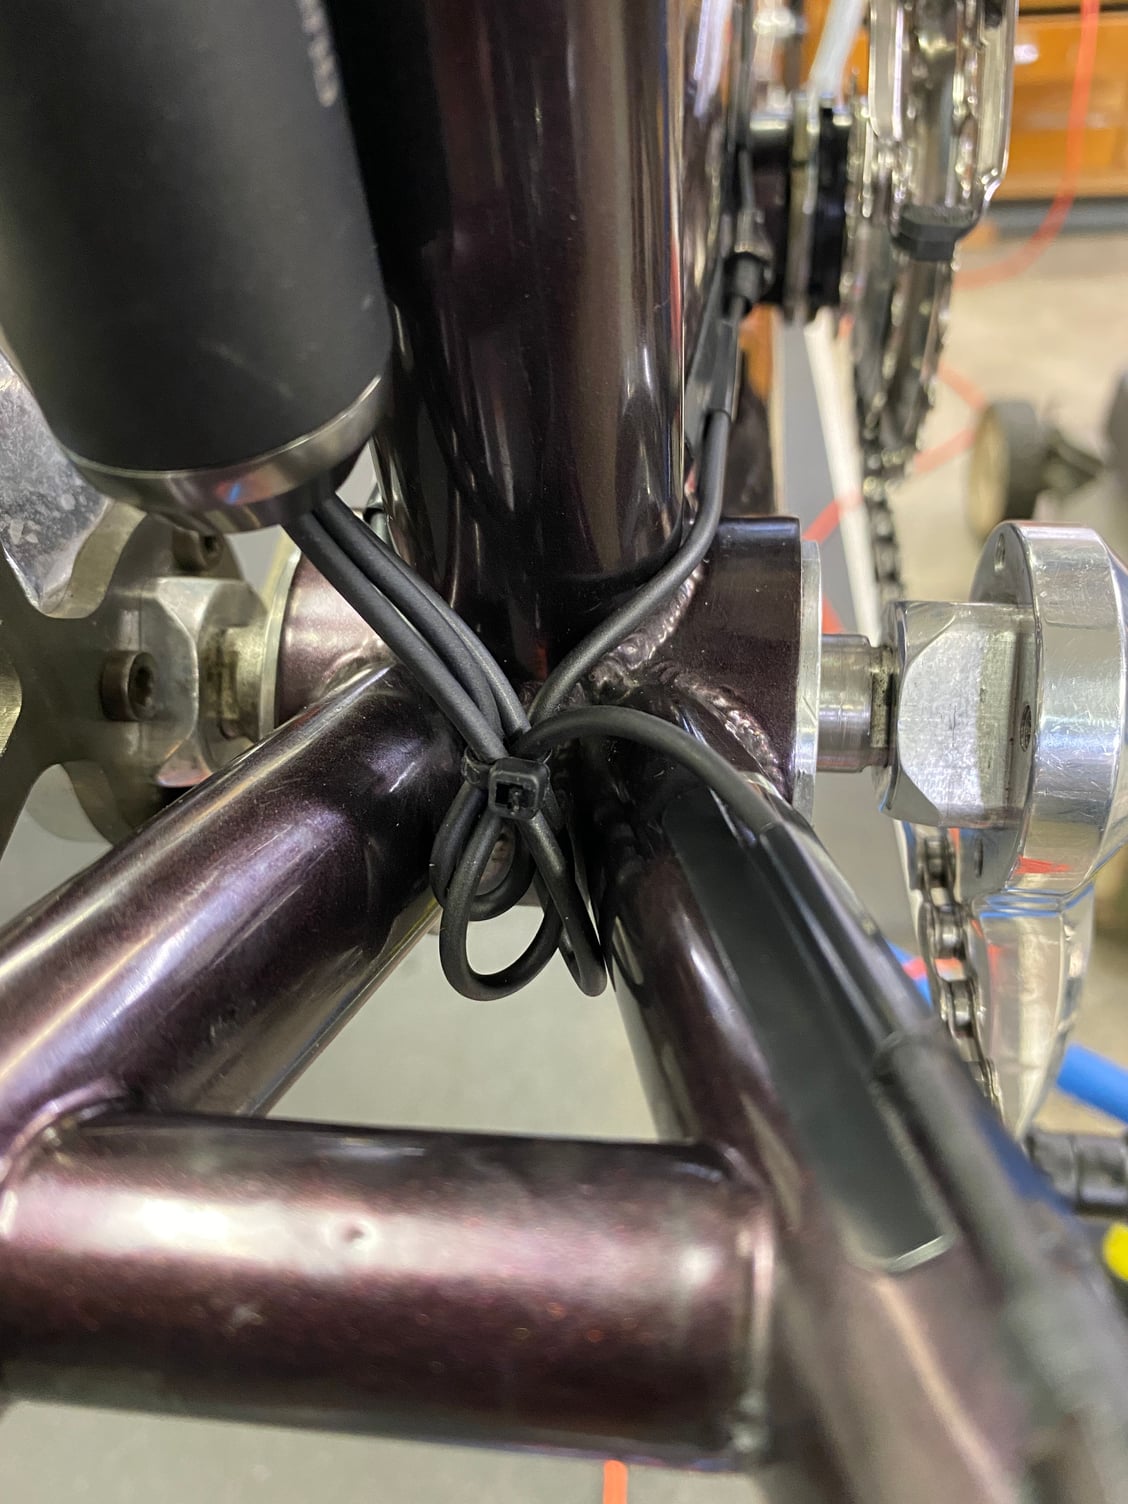
Wire routing took some patience. I was looking for places that were robust to and avoided rubbing or any handling after installed. I used the DI2 wire covers to stick the wires in place. And the braze-ons to help guide wires where possible.

Battery behind the stoker seat tube with wires entering/exiting
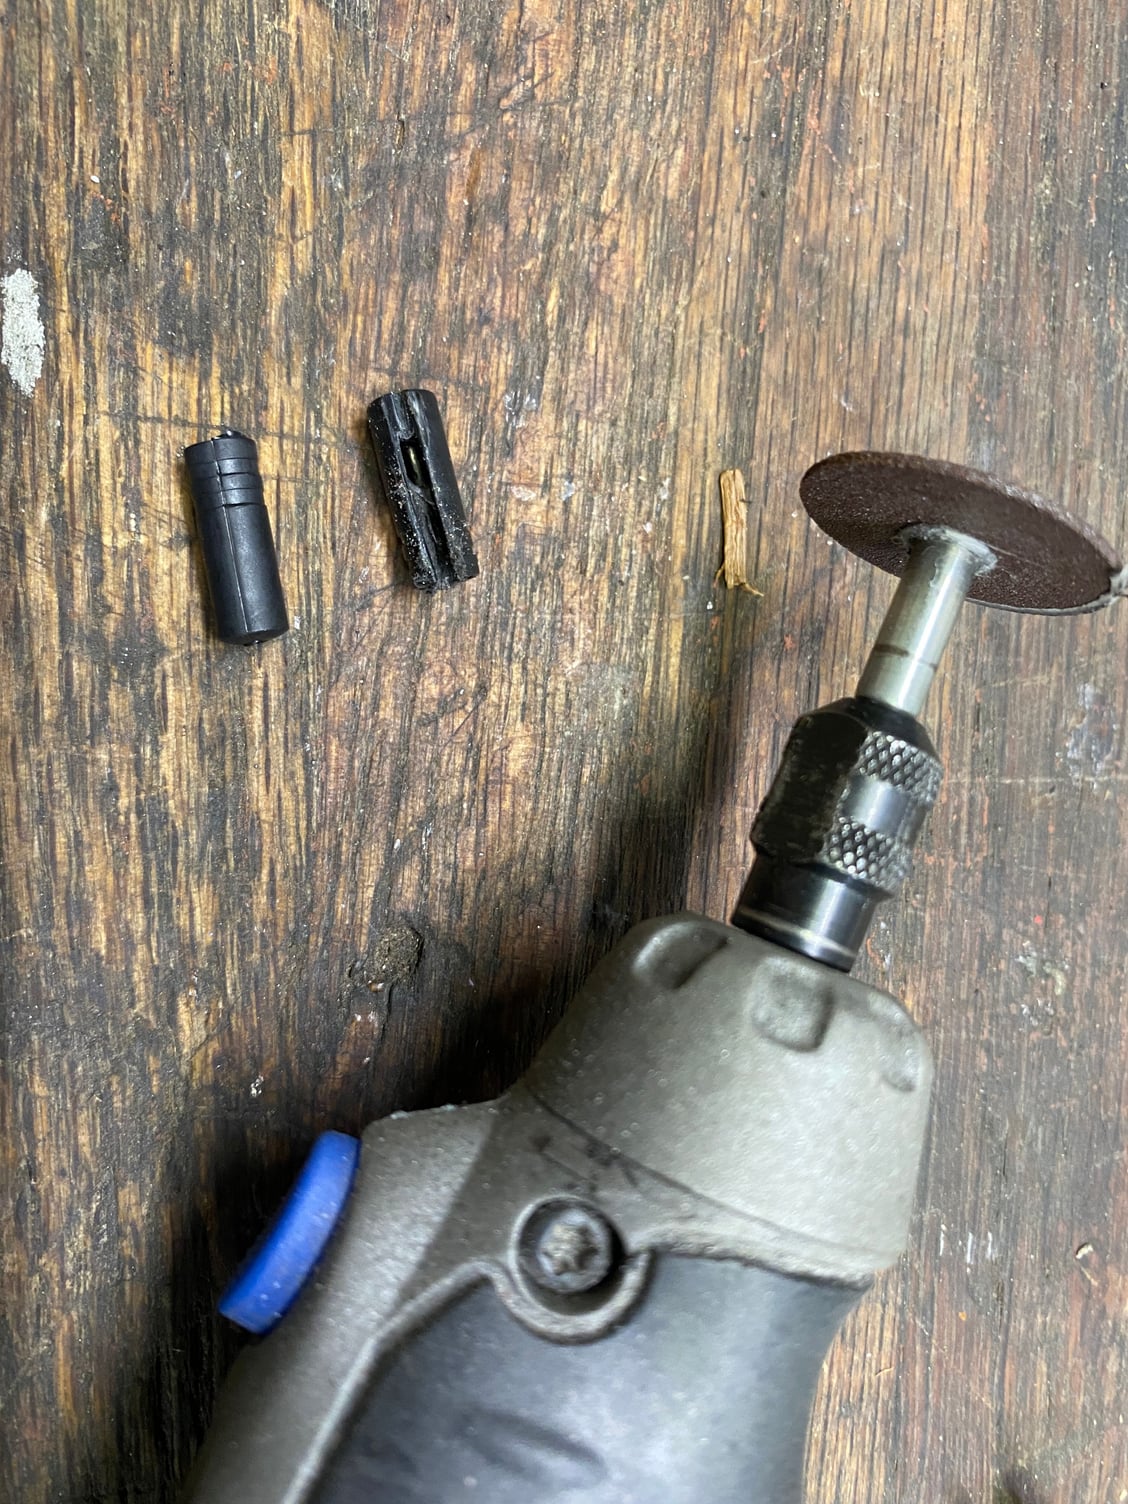
I modified a standard der cable housing ferrule so I could slide my DI2 wires into the braze-ons and give them a little support
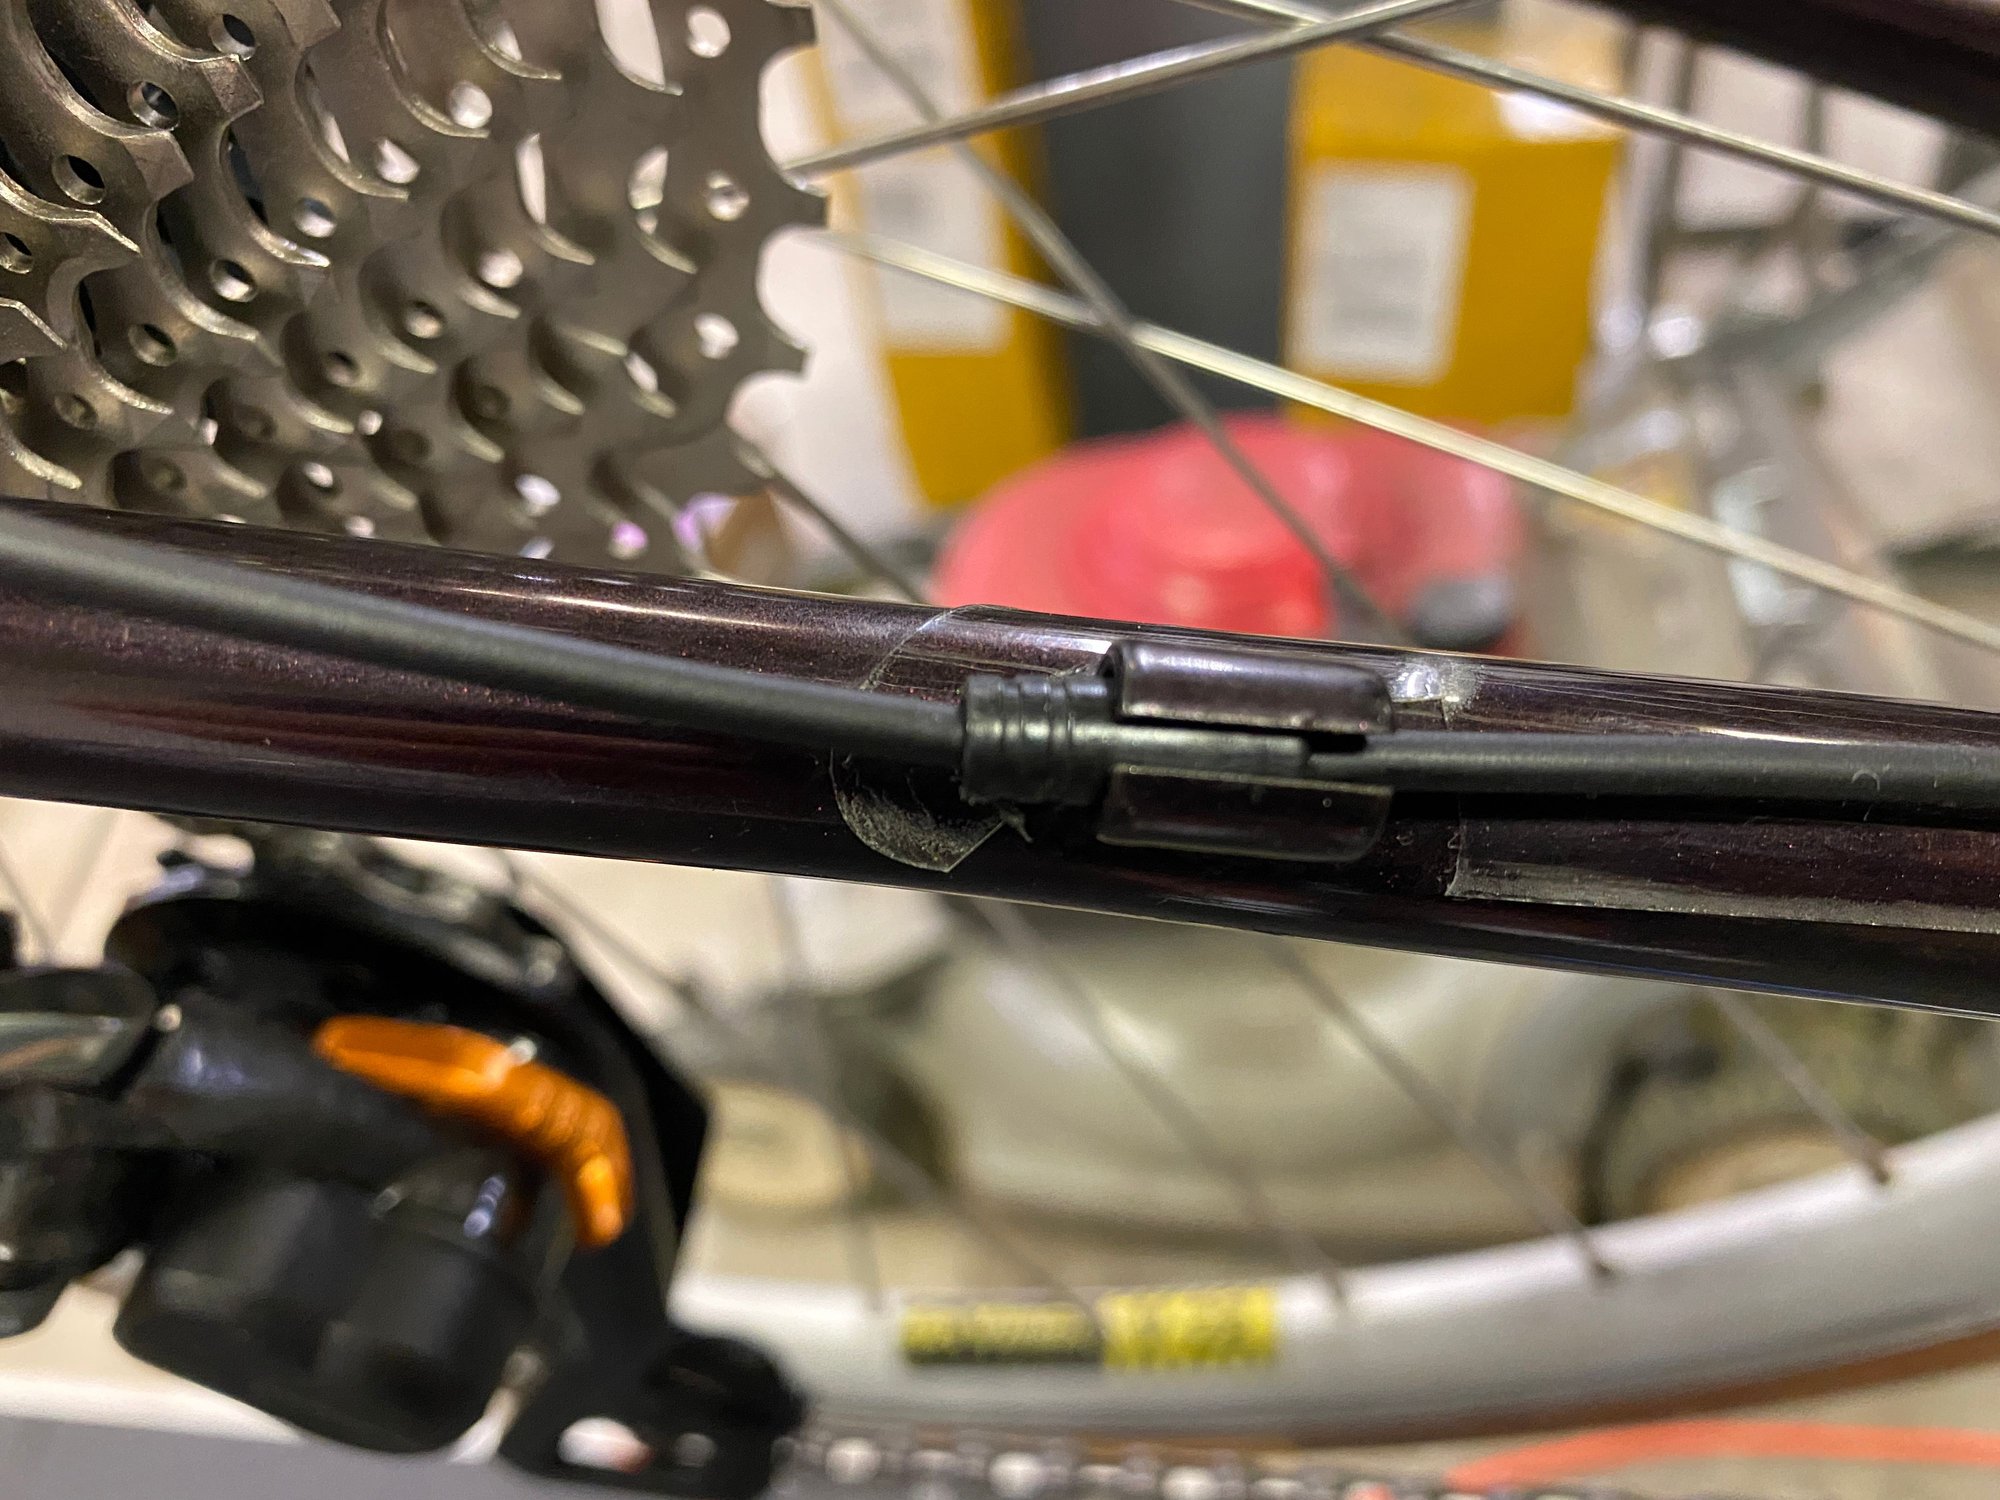
Wire and housing ferrule routing the wire through the braze on
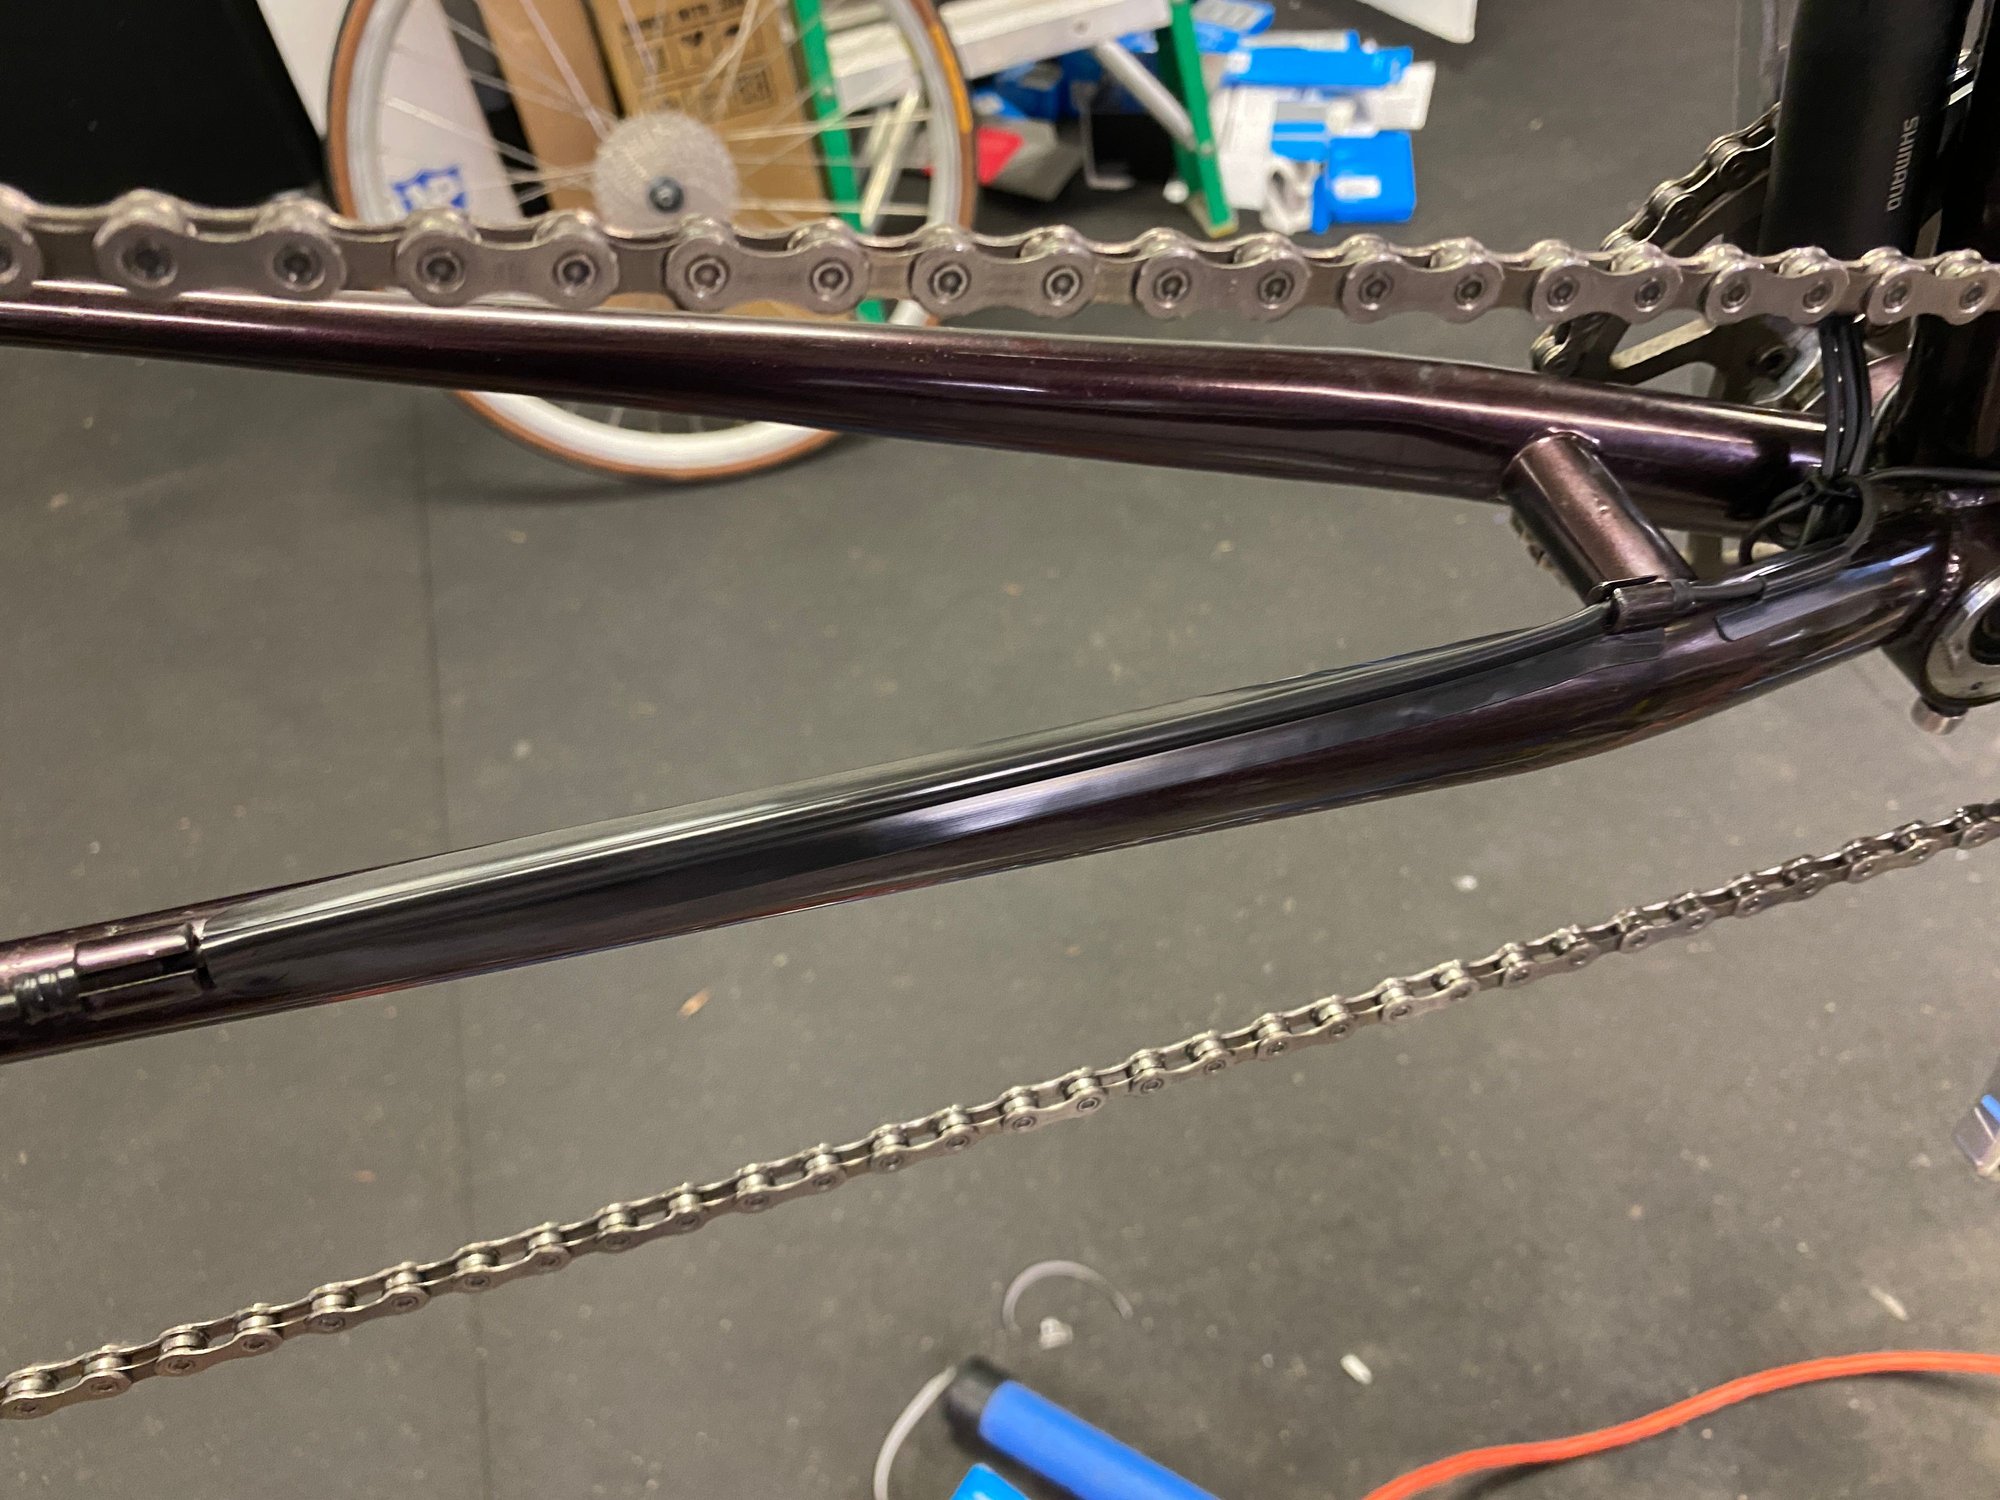
Wires are run down the chainstay and protected by wire covers
Wires are run down the chainstay and protected by wire covers
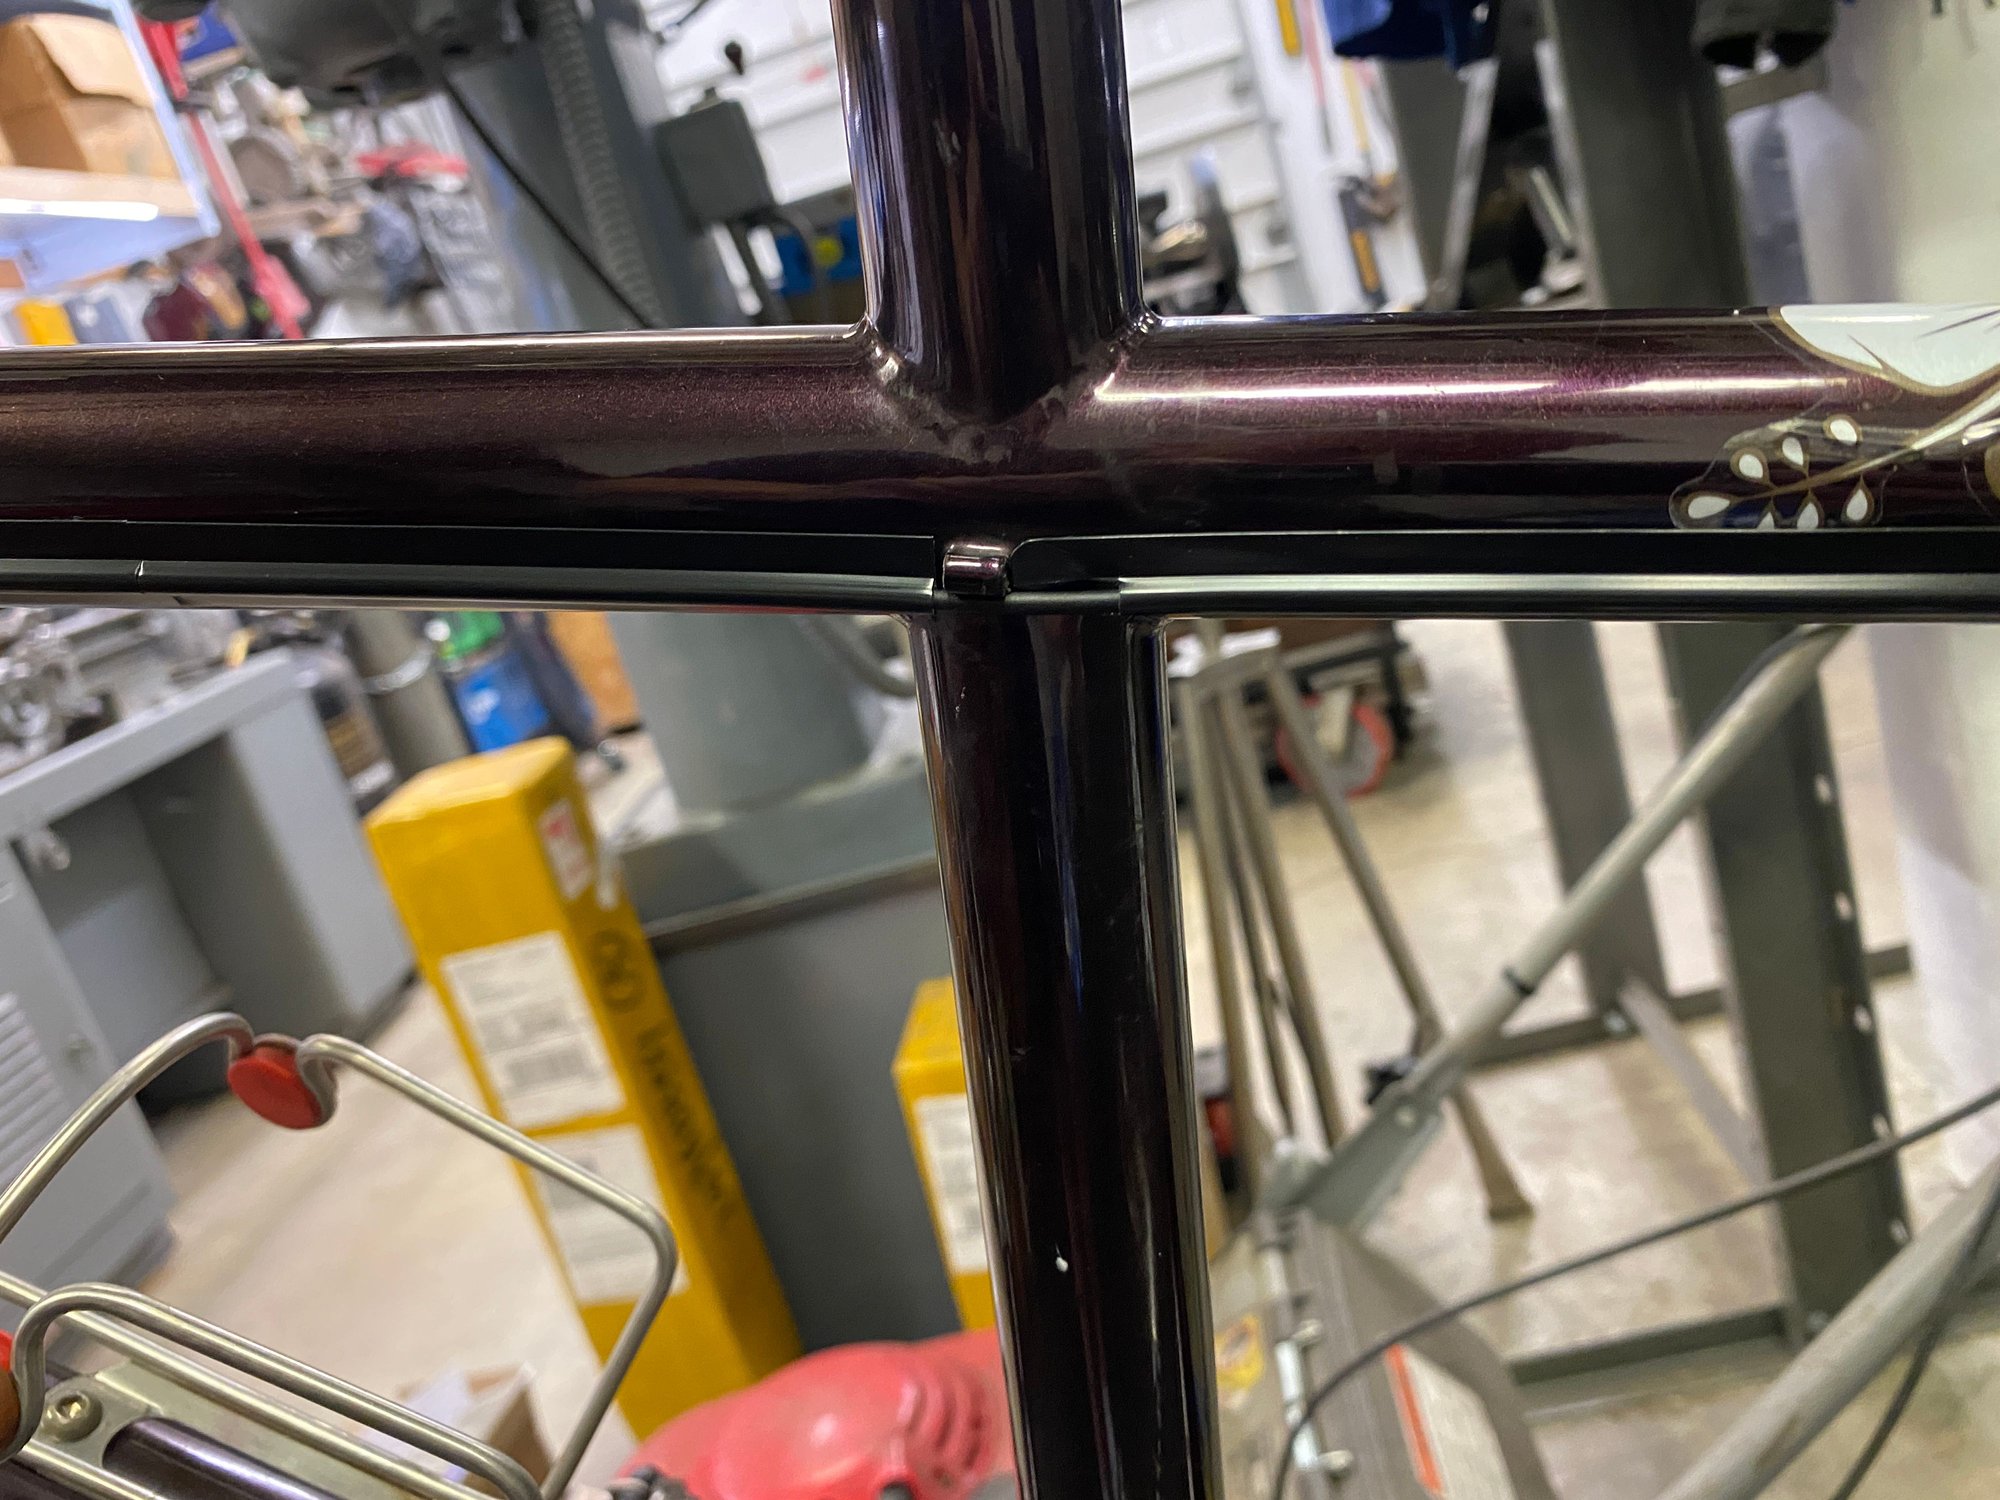
Wires are run down the main diagonal tube and protected by wire covers.
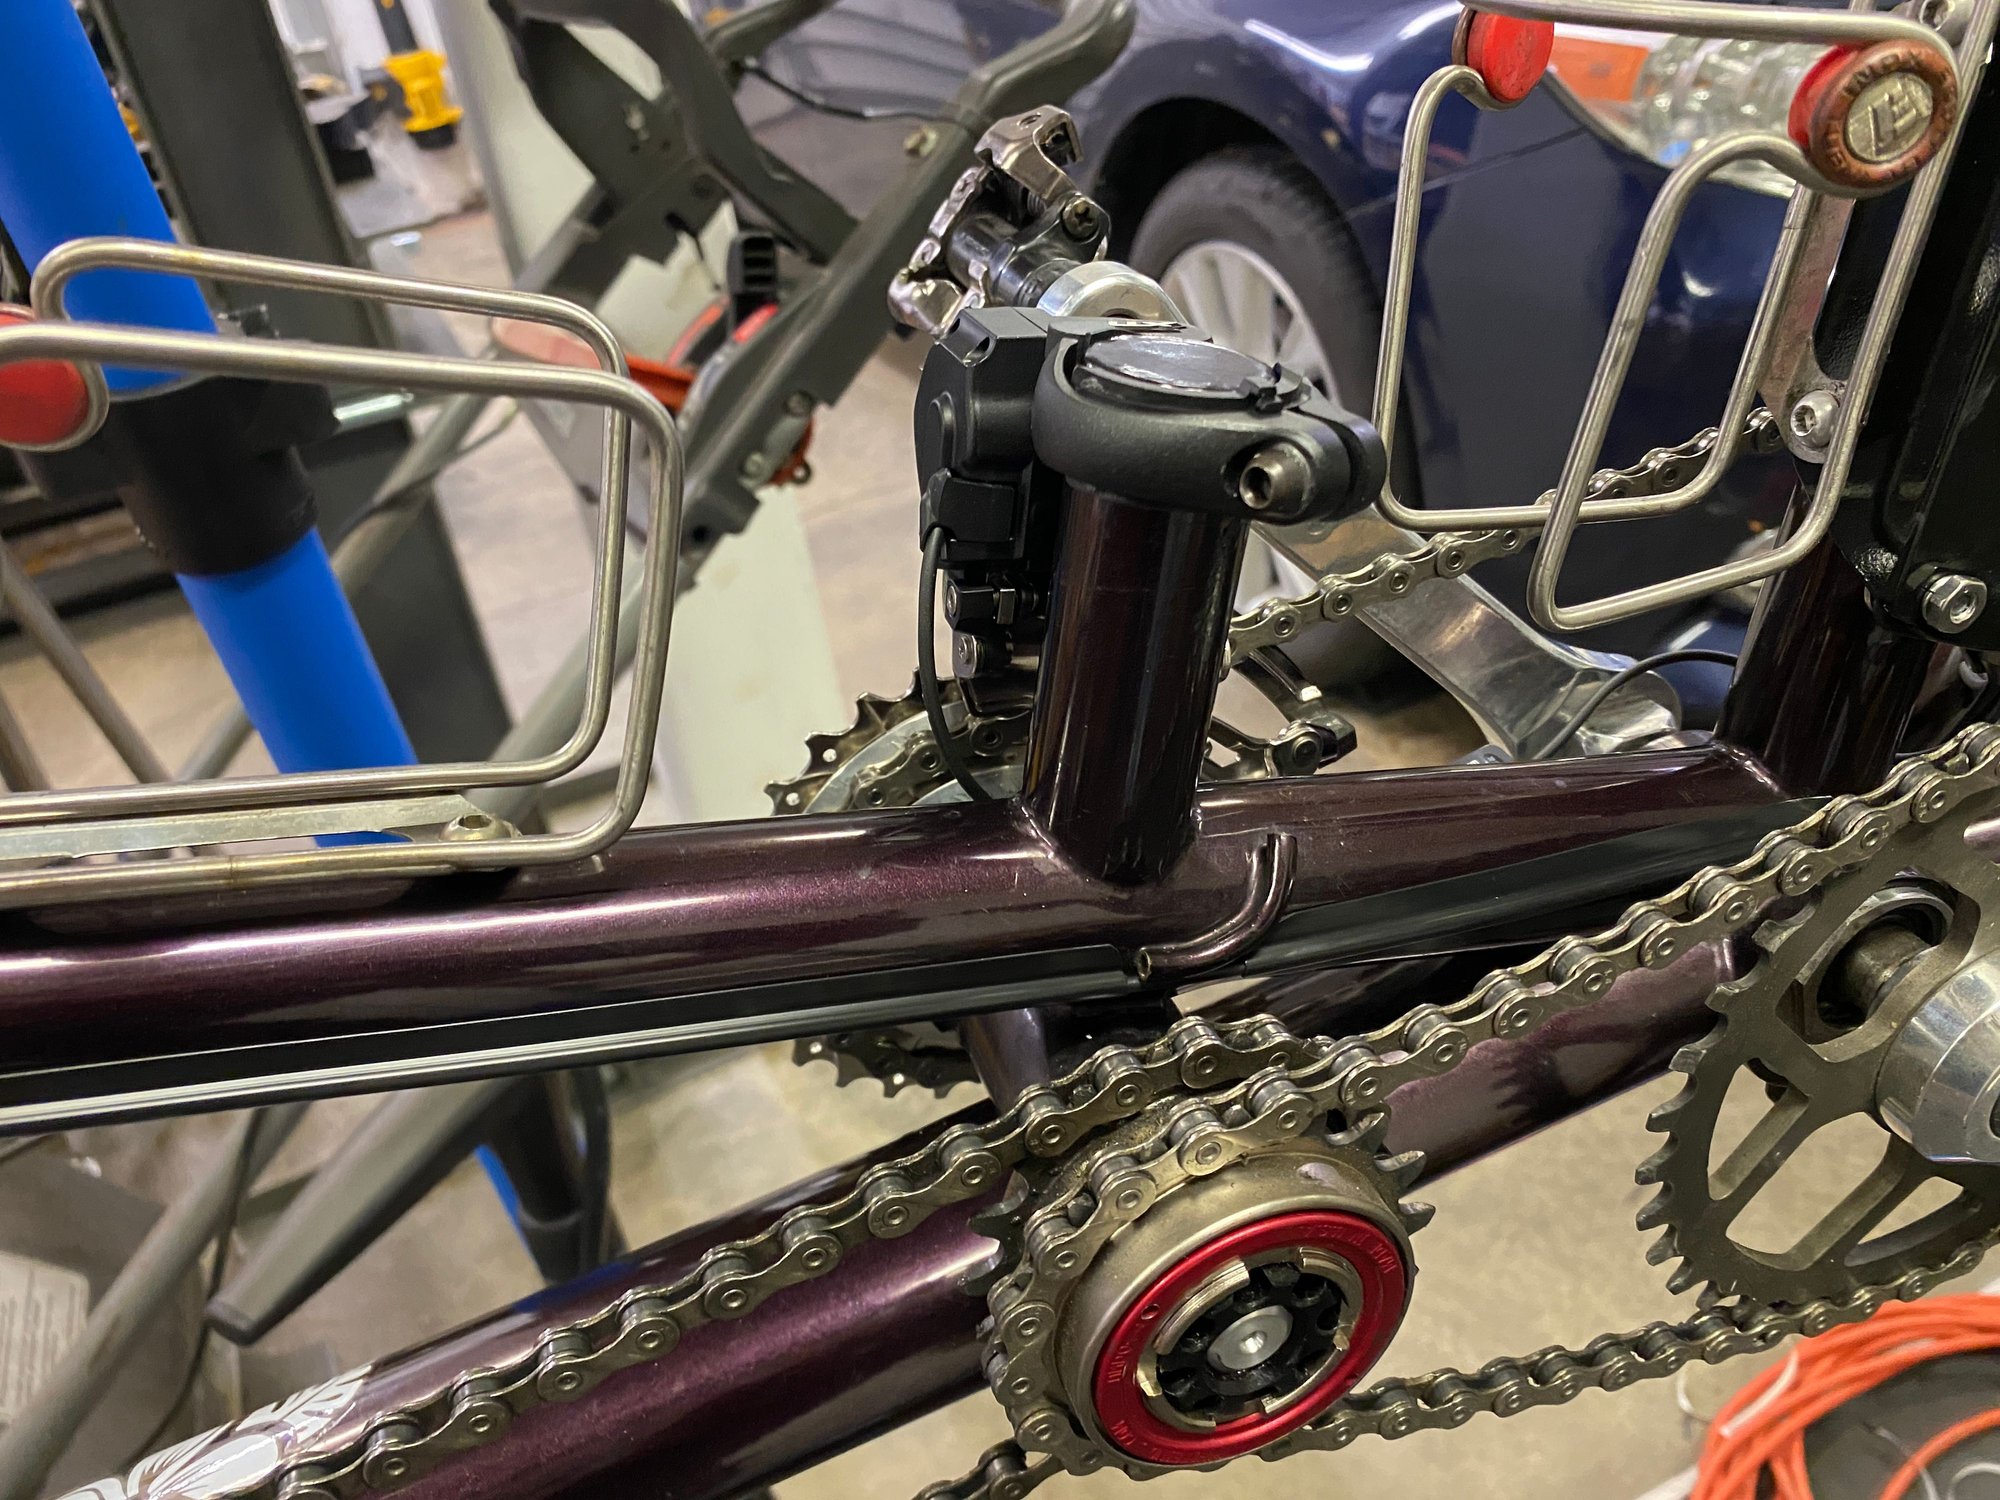
Main power wire runs down past the front Der, under the stoker Bottom bracket and up to the battery

Battery behind the stoker seat tube with wires entering/exiting

I modified a standard der cable housing ferrule so I could slide my DI2 wires into the braze-ons and give them a little support

Wire and housing ferrule routing the wire through the braze on

Wires are run down the chainstay and protected by wire covers

Wires are run down the chainstay and protected by wire covers

Wires are run down the main diagonal tube and protected by wire covers.

Main power wire runs down past the front Der, under the stoker Bottom bracket and up to the battery
#5
Junior Member
Thread Starter
Join Date: Sep 2020
Posts: 75
Mentioned: 0 Post(s)
Tagged: 0 Thread(s)
Quoted: 18 Post(s)
Likes: 0
Liked 39 Times
in
24 Posts
The final product in pictures.

Front Derailleur with wire running down the front and under

Front Derailleur Eccentric pushing the front Der into a better position for the DaVinci.
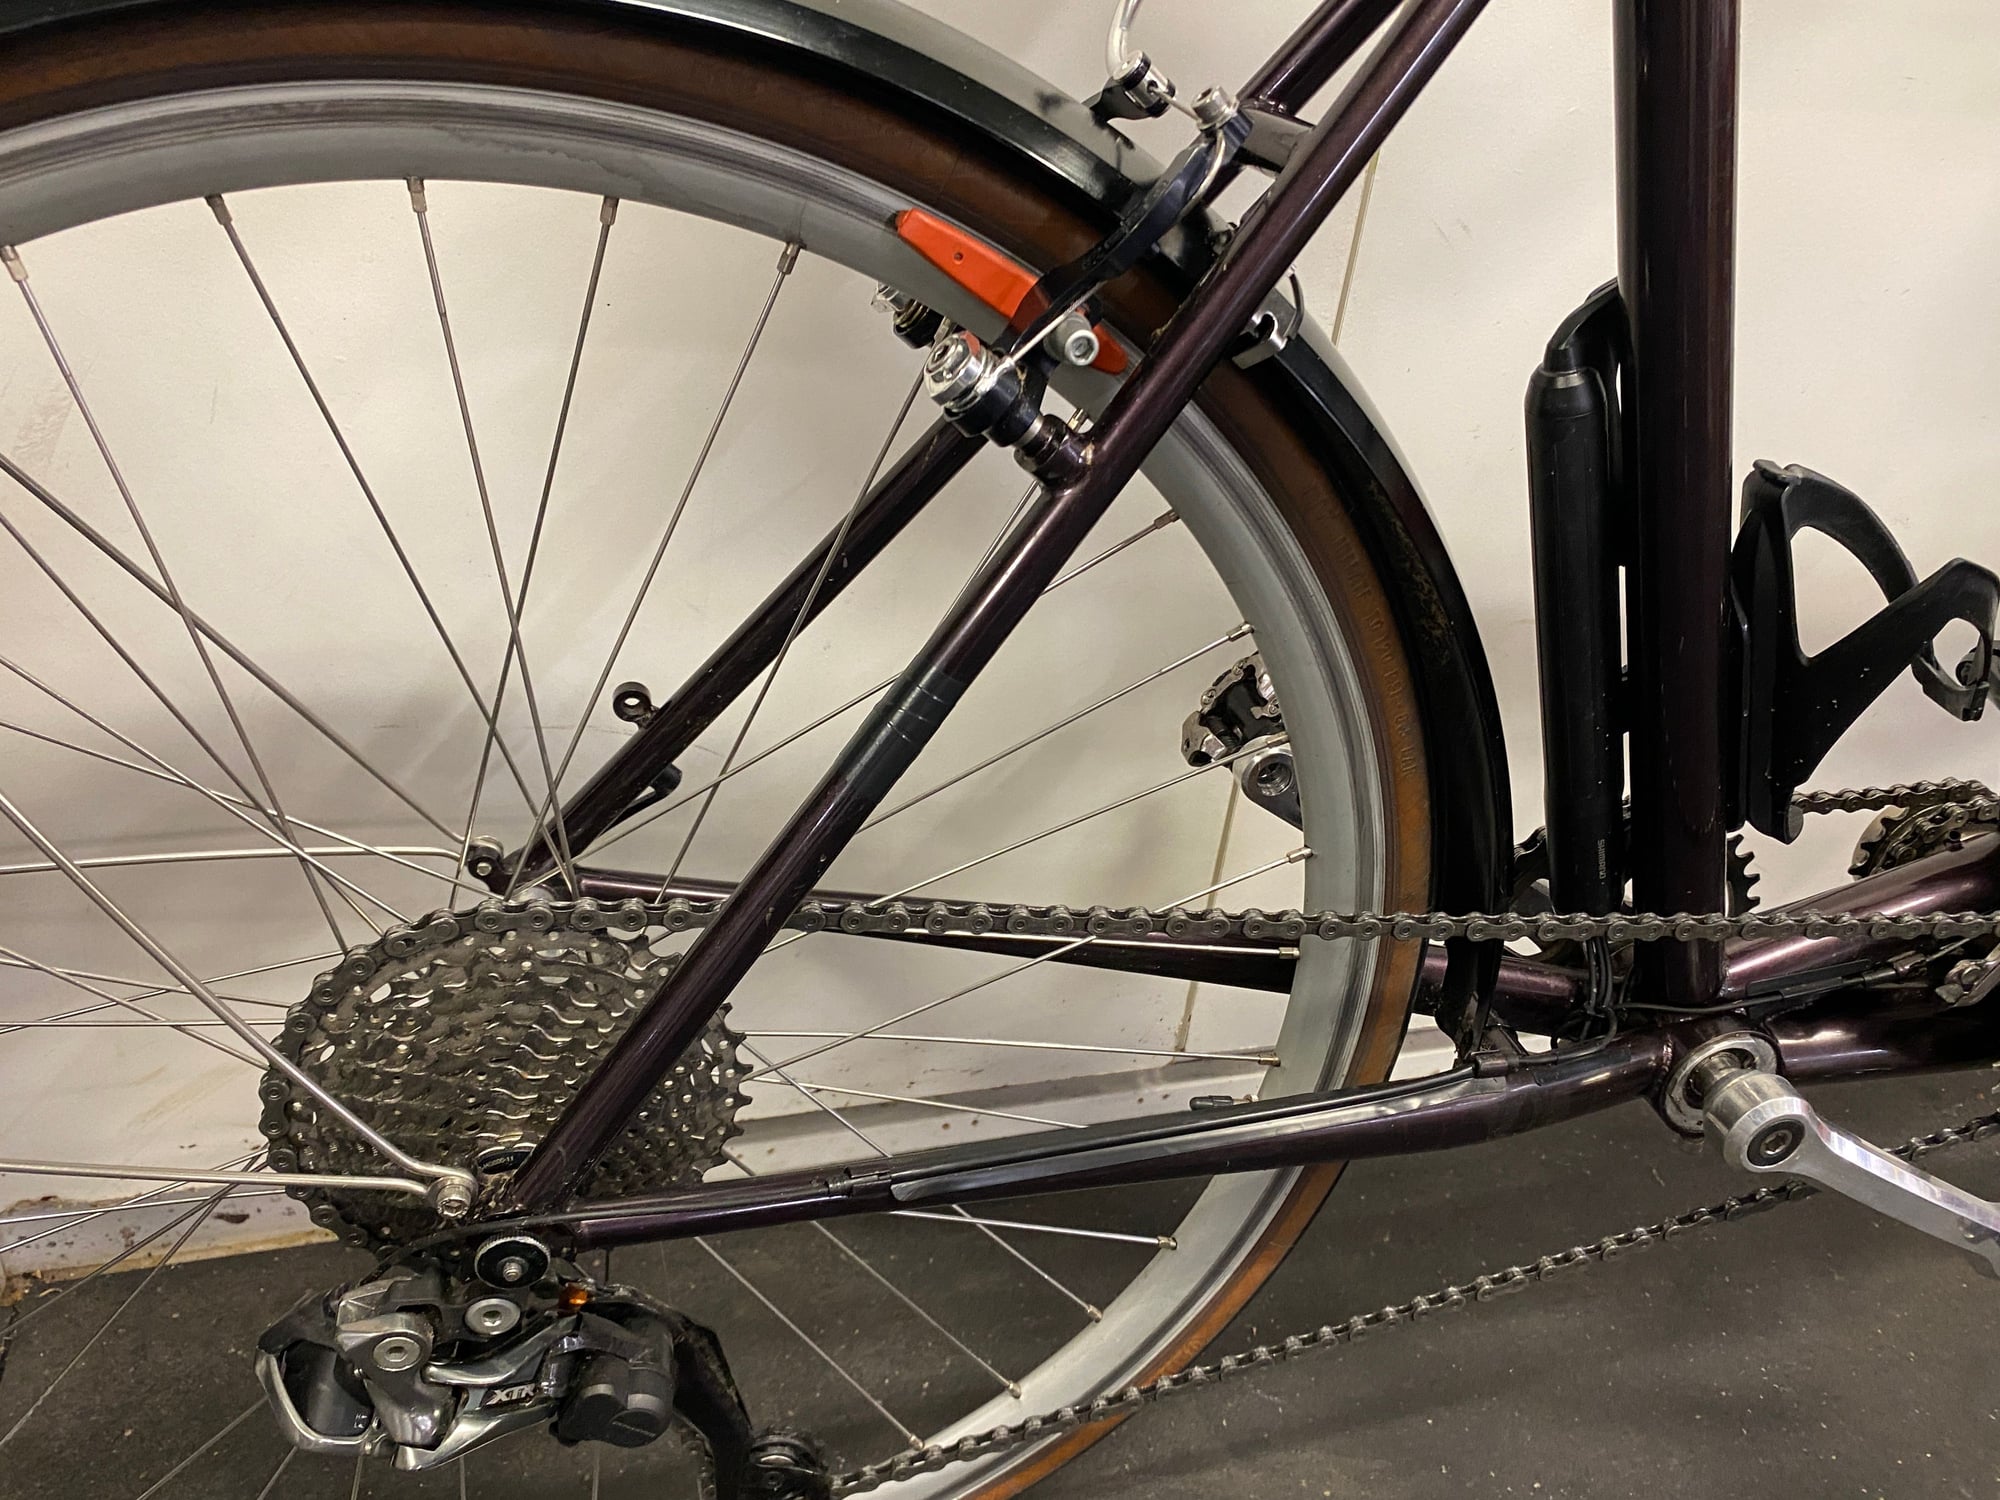
Rear Derailleur with wire running on top of the chainstay and over the rear wheel quick release
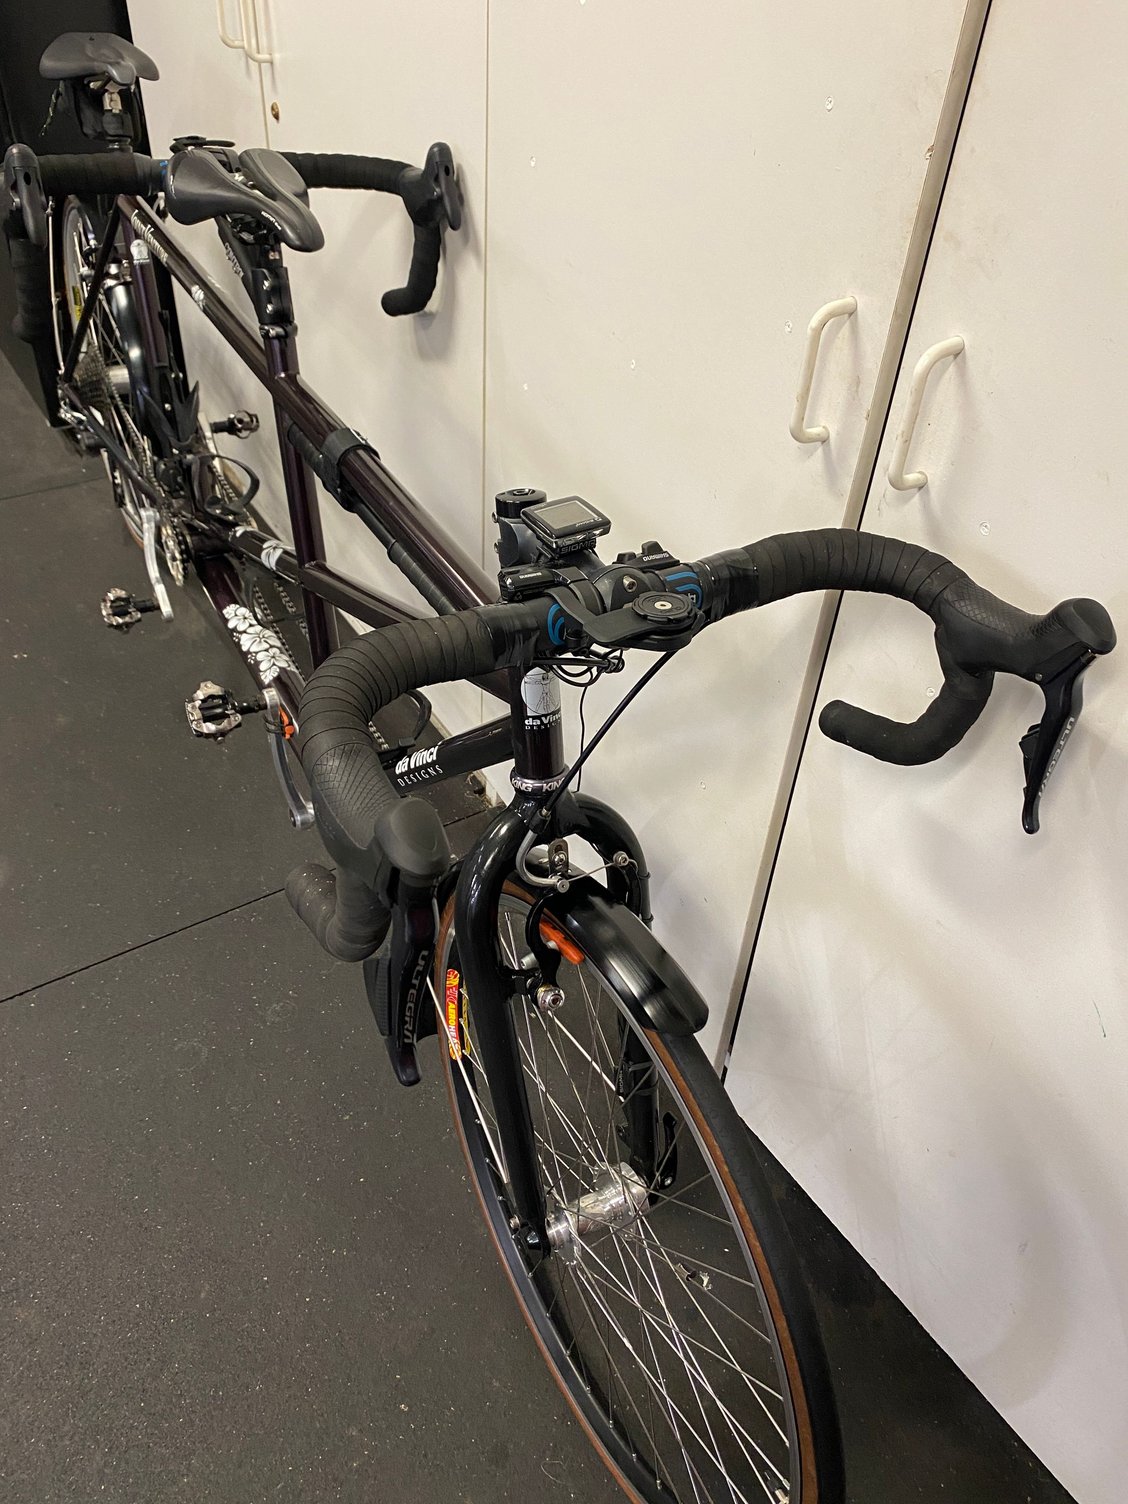
Ultegra levers mounted with wires under the handlebar tape
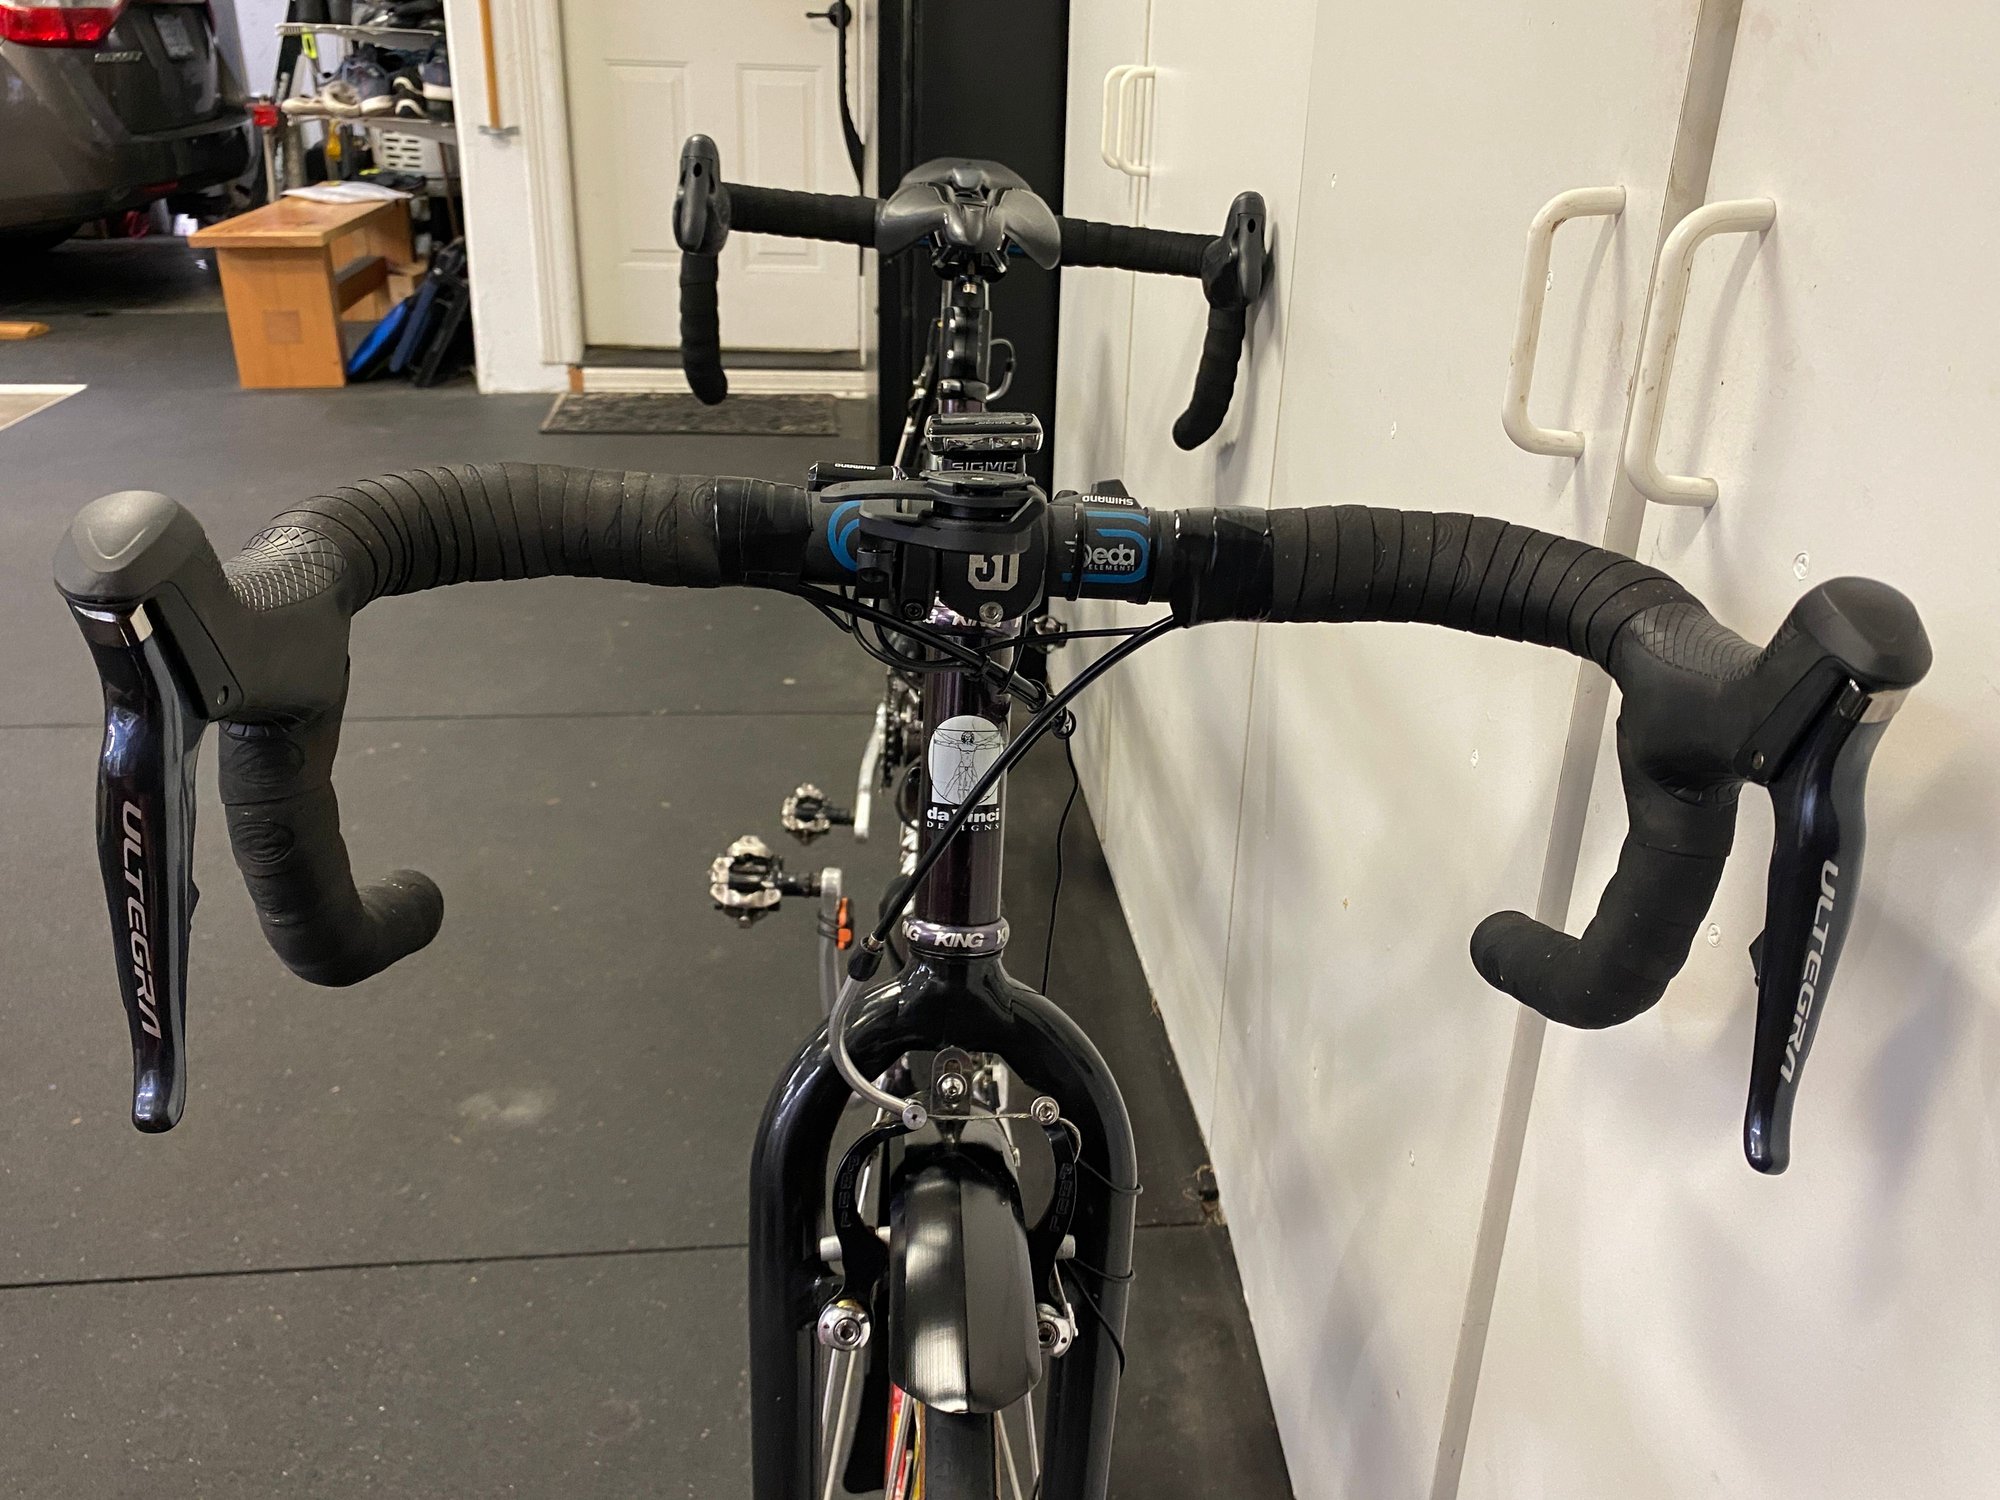
Ultegra levers mounted with wires under the handlebar tape. One wire from the right shifter to the display. One wire from the left shifter to the display. One wire from the display to the battery in the way-back.
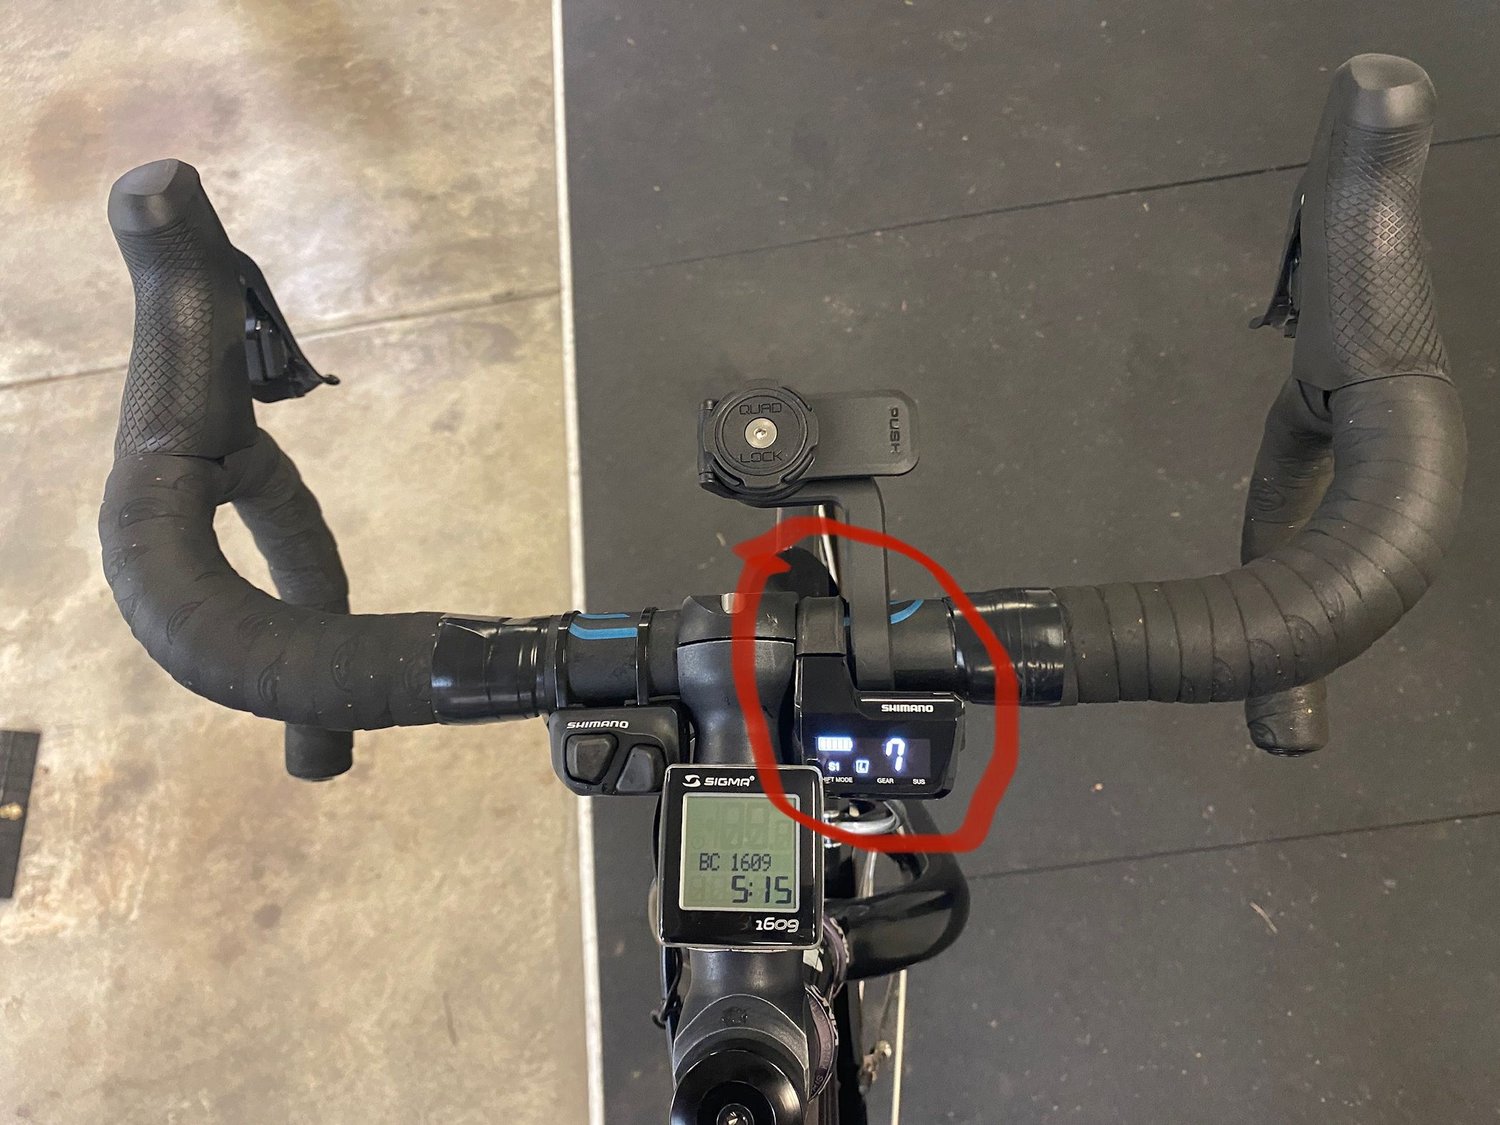
Display on my handlebar.

Rear brake cable runs under the top tube. DI2 wire runs with it until the head tube and then down the diagonal tube.

Finished product!

Front Derailleur with wire running down the front and under

Front Derailleur Eccentric pushing the front Der into a better position for the DaVinci.

Rear Derailleur with wire running on top of the chainstay and over the rear wheel quick release

Ultegra levers mounted with wires under the handlebar tape

Ultegra levers mounted with wires under the handlebar tape. One wire from the right shifter to the display. One wire from the left shifter to the display. One wire from the display to the battery in the way-back.

Display on my handlebar.

Rear brake cable runs under the top tube. DI2 wire runs with it until the head tube and then down the diagonal tube.

Finished product!
Likes For sdodd:
#6
Senior Member
Nice write up! Very helpful - thanks!
I am tempted to do the same on our Joint Venture. We ordered our bike with 4x10 gearing and it works great! I had Todd use a 9-speed Shimano XT derailleur with 10-speed Campy Record Ergo levers with a J-Tek adapter for the RD. The shifting is as good as anything Iíve had on any bike and I am reluctant to change. However, the Campy hoods are a bit small for my hands, so thatís the main reason for considering a change to Di2 3x11. Itís the best option to keep really wide gearing but with smaller jumps between gears.
I am tempted to do the same on our Joint Venture. We ordered our bike with 4x10 gearing and it works great! I had Todd use a 9-speed Shimano XT derailleur with 10-speed Campy Record Ergo levers with a J-Tek adapter for the RD. The shifting is as good as anything Iíve had on any bike and I am reluctant to change. However, the Campy hoods are a bit small for my hands, so thatís the main reason for considering a change to Di2 3x11. Itís the best option to keep really wide gearing but with smaller jumps between gears.
#7
Junior Member
Thread Starter
Join Date: Sep 2020
Posts: 75
Mentioned: 0 Post(s)
Tagged: 0 Thread(s)
Quoted: 18 Post(s)
Likes: 0
Liked 39 Times
in
24 Posts
Well, the one thing I MISS is my campy shift hoods. =P I've used the first generation ergo levers (8/9 speed), second generation (9/10 speed) and third generation 11/12/13 speed levers. The first were awful. The second were good. The last generation is really funky shaped and looks odd, but fit my hands really really well. I think the recent Shimano levers feel a little small and square after my 11 speed campy. So, before you go down the Shimano path to get 'better' levers, make sure you actually try them first.
Other than that, I love just clicking and having everything move into place!
Other than that, I love just clicking and having everything move into place!
#8
Senior Member
My levers are second gen Ergo. I agree the latest Campy levers are great, but they donít have the micro clicks on the front to shift and trim the 4 chainrings. I get along very well with the Shimano 11-speed lever hood shapes and even the Shimano Ultegra 6700 10-speed levers.
#10
Junior Member
Thread Starter
Join Date: Sep 2020
Posts: 75
Mentioned: 0 Post(s)
Tagged: 0 Thread(s)
Quoted: 18 Post(s)
Likes: 0
Liked 39 Times
in
24 Posts
My levers are second gen Ergo. I agree the latest Campy levers are great, but they donít have the micro clicks on the front to shift and trim the 4 chainrings. I get along very well with the Shimano 11-speed lever hood shapes and even the Shimano Ultegra 6700 10-speed levers.
simon


