


Shimano 600 front derailleur limiting screws not working
 07-26-20, 12:53 PM
#1
Senior Member
Thread Starter
Shimano 600 front derailleur limiting screws not working
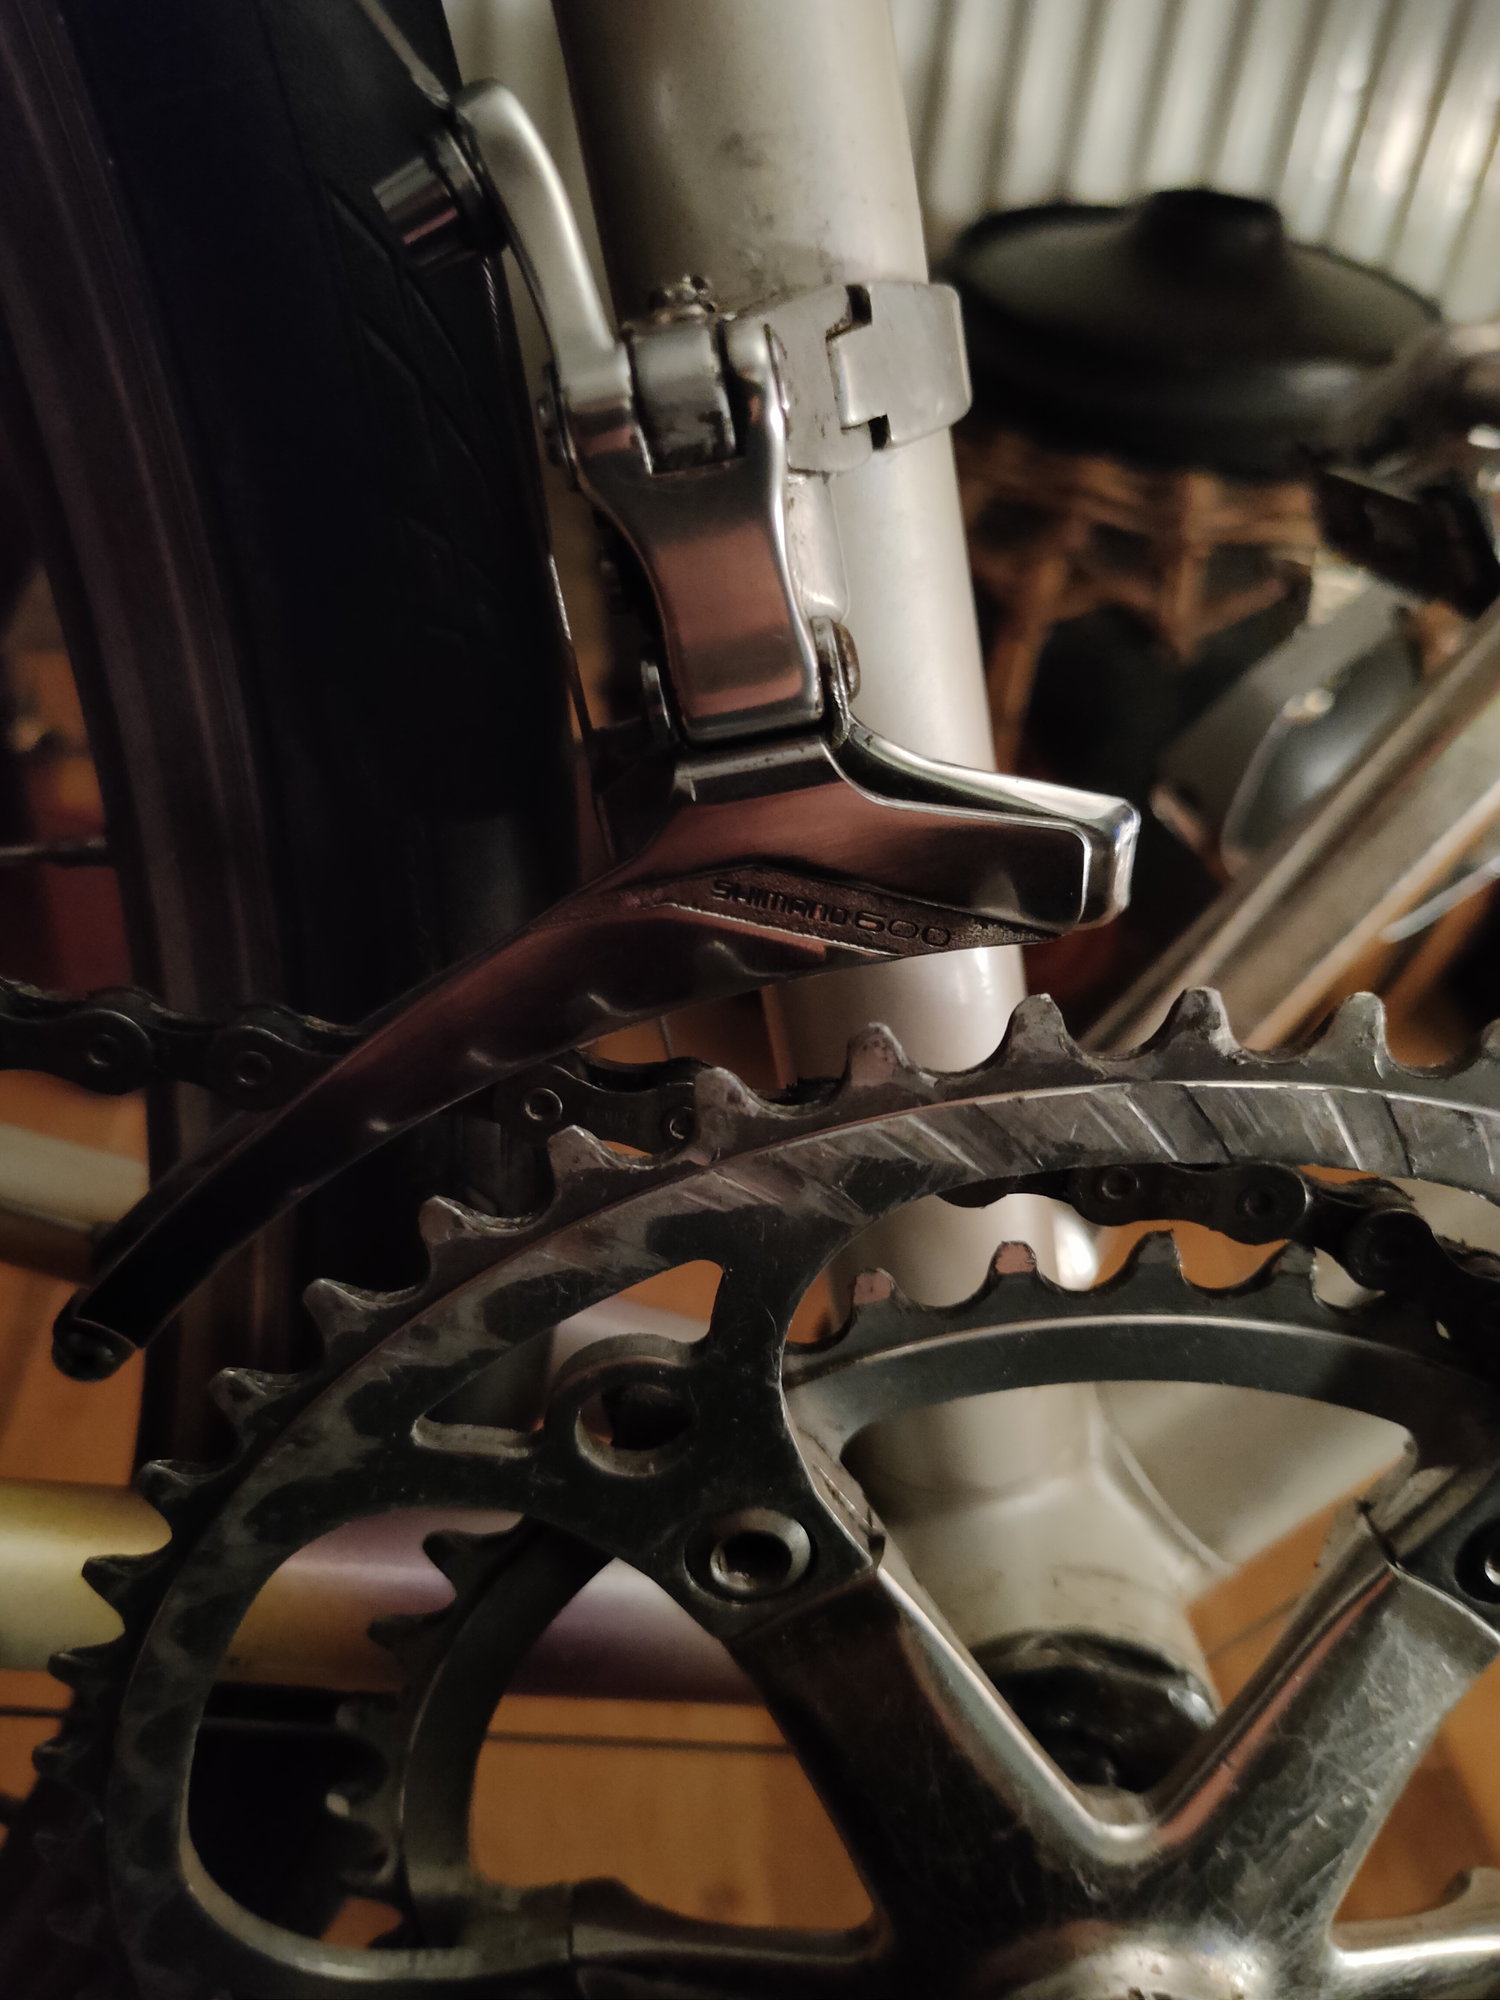
I just moved my Shimano 600 FD from one bike frame to another. En route I gave it a cleanup with a toothbrush and some warm water and dislodged about 30 years of filth. Unfortunately the limiting screws no longer seem to work.
The screws did work on my old frame, and I had them tuned pretty well. Now on this new one the derailleur is pulling the chain off both the big and small ring, and loosening or tightening the screws have absolutely no effect on how far the derailleur can travel.
Could giving it a little brushing have broken this derailleur? Is there something I can do to fix it?
Thanks
 07-26-20, 02:02 PM
#2

Senior Member

Something is amiss. I would detach the cable and see what you have for limits, just manipulating the FD by hand. Also make sure the unit is just clearing the chainrings and the cage isn�t angled too much.
Fwiw when I have adjusted those, the limit screw heads have ended up more or less flush with the body.
A pic would be helpful.
Fwiw when I have adjusted those, the limit screw heads have ended up more or less flush with the body.
A pic would be helpful.
07-26-20, 02:17 PM
#3
Ride, Wrench, Swap, Race

Join Date: Jan 2010
Location: Northern California
Posts: 9,181
Bikes: Cheltenham-Pedersen racer, Boulder F/S Paris-Roubaix, Varsity racer, '52 Christophe, '62 Continental, '92 Merckx, '75 Limongi, '76 Presto, '72 Gitane SC, '71 Schwinn SS, etc.
Mentioned: 132 Post(s)
Tagged: 0 Thread(s)
Quoted: 1562 Post(s)
Liked 1,287 Times
in
858 Posts
Did you remove a fastener or clip from the main arm pivot?
If the arm isn't held all the way on the pivot shaft, the screws will miss the stops that the screws are supposed to control.
I would do a visual on what is going on near the tips of those screws.
If the arm isn't held all the way on the pivot shaft, the screws will miss the stops that the screws are supposed to control.
I would do a visual on what is going on near the tips of those screws.
07-26-20, 02:23 PM
#4
Senior Member
Join Date: Mar 2013
Location: Maryland
Posts: 3,799
Bikes: Lots of English 3-speeds, a couple of old road bikes, 3 mountain bikes, 1 hybrid, and a couple of mash-ups
Mentioned: 53 Post(s)
Tagged: 0 Thread(s)
Quoted: 887 Post(s)
Liked 335 Times
in
225 Posts
Is the cable route different?
07-26-20, 02:37 PM
#5
Senior Member
Thread Starter
Something is amiss. I would detach the cable and see what you have for limits, just manipulating the FD by hand. Also make sure the unit is just clearing the chainrings and the cage isn�t angled too much.
Fwiw when I have adjusted those, the limit screw heads have ended up more or less flush with the body.
A pic would be helpful.
Fwiw when I have adjusted those, the limit screw heads have ended up more or less flush with the body.
A pic would be helpful.

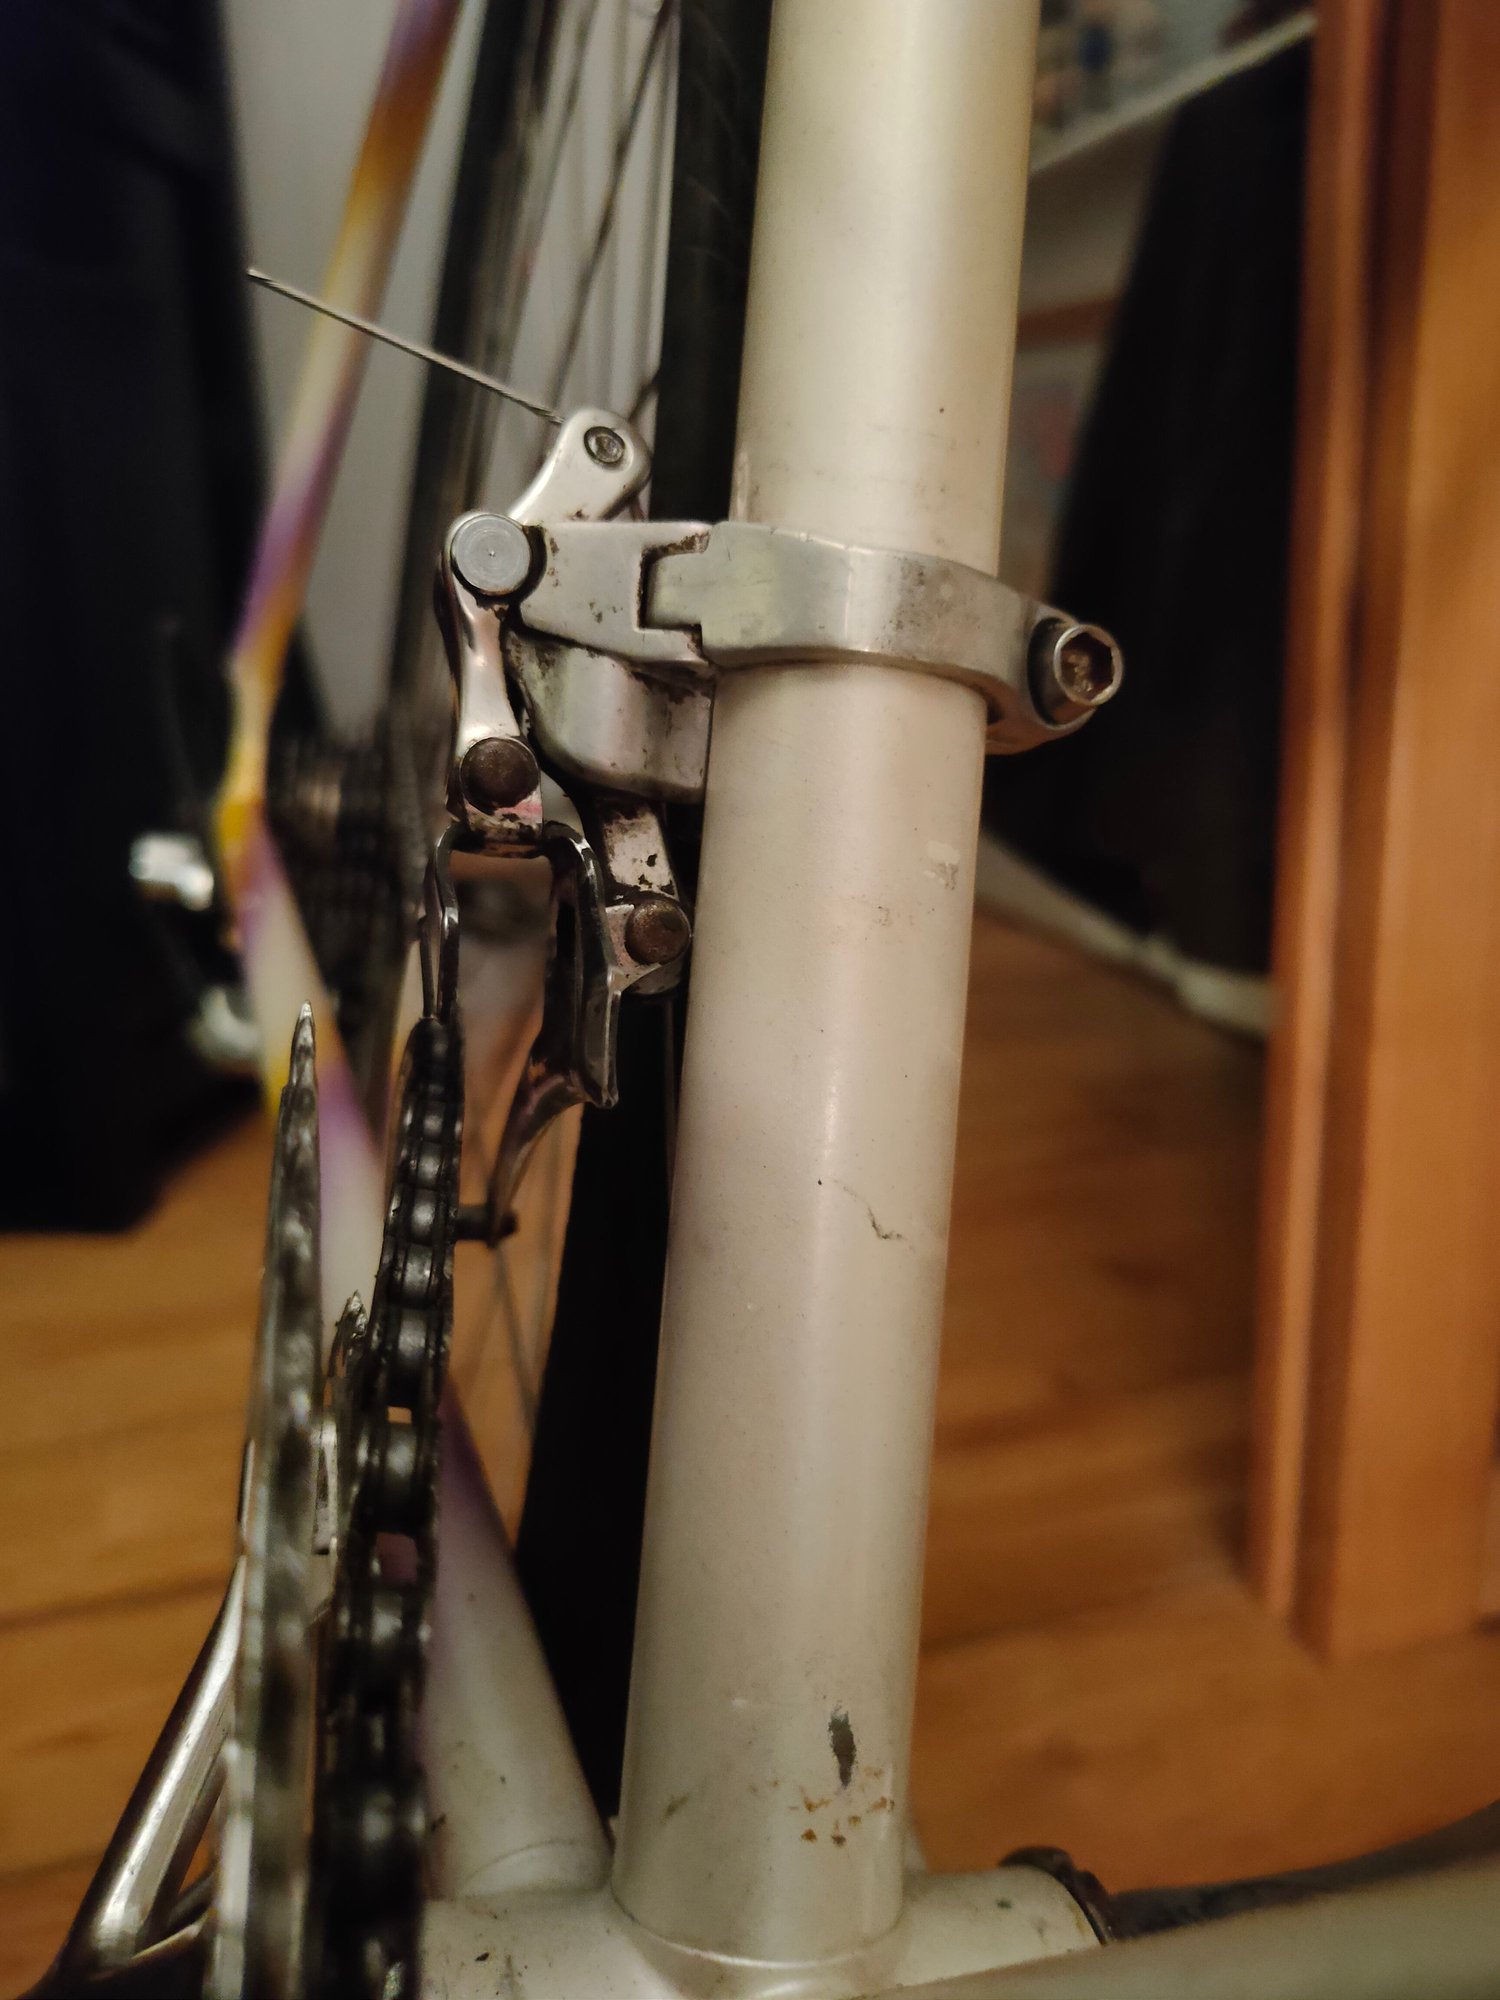
Thanks. Yes, something is amiss. Limits seem to be at what I imagine is their max! The old frame had a triple chainring, I'm running a double on this one. Don't know if that could be a clue.
Positioning also seems to be OK, when I ran into trouble with the screws I consulted the Park Tools page and made sure I'd followed all the instructions there. On my old frame the screws were nearly flush, just slightly raised on each side I think.
07-26-20, 02:37 PM
#6
Senior Member
Thread Starter
Something is amiss. I would detach the cable and see what you have for limits, just manipulating the FD by hand. Also make sure the unit is just clearing the chainrings and the cage isn�t angled too much.
Fwiw when I have adjusted those, the limit screw heads have ended up more or less flush with the body.
A pic would be helpful.
Fwiw when I have adjusted those, the limit screw heads have ended up more or less flush with the body.
A pic would be helpful.
Thanks. Yes, something is amiss. Limits seem to be at what I imagine is their max! The old frame had a triple chainring, I'm running a double on this one. Don't know if that could be a clue.
Positioning also seems to be OK, when I ran into trouble with the screws I consulted the Park Tools page and made sure I'd followed all the instructions there. On my old frame the screws were nearly flush, just slightly raised on each side I think.
Let me know if there's a more helpful angle a photo could be taken at.
07-26-20, 02:45 PM
#7
Senior Member
Holy chainring wear.
Likes For natterberry:
07-26-20, 02:59 PM
#9
Senior Member

Join Date: Jan 2015
Location: Los Angeles
Posts: 4,696
Bikes: 82 Medici, 2011 Richard Sachs, 2011 Milwaukee Road
Mentioned: 55 Post(s)
Tagged: 0 Thread(s)
Quoted: 1946 Post(s)
Liked 2,004 Times
in
1,105 Posts
When you say the limit screws are at what you imagine to be the max, what do you base your imagination on? There is quite a bit of difference in the distance between doubles and triples. Keep turning the screw until you get satisfaction but be carefull not to bugger the slots in the screws and when you are adjusting them, pull the shift lever to take the pressure off the screws.
EDIT: how the screws appear on "top" flush or not has nothing to do with the adjustment. Look down and inside the mech.
EDIT: how the screws appear on "top" flush or not has nothing to do with the adjustment. Look down and inside the mech.
__________________
I don't do: disks, tubeless, e-shifting, or bead head nymphs.
I don't do: disks, tubeless, e-shifting, or bead head nymphs.
07-26-20, 03:07 PM
#10
Senior Member
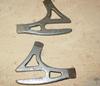
Here�s mine set for a double.

07-26-20, 03:08 PM
#11
SE Wis
Join Date: Apr 2005
Location: Milwaukee, WI
Posts: 10,501
Bikes: '68 Raleigh Sprite, '02 Raleigh C500, '84 Raleigh Gran Prix, '91 Trek 400, 2013 Novara Randonee, 1990 Trek 970
Mentioned: 40 Post(s)
Tagged: 0 Thread(s)
Quoted: 2741 Post(s)
Liked 3,388 Times
in
2,051 Posts
Pull a screw, match the thread, go to the hardware store and get longer screws.
If that's "cleaned" I'd hate to have seen dirty.
If that's "cleaned" I'd hate to have seen dirty.
 07-26-20, 03:28 PM
#12
Old fart
Join Date: Nov 2004
Location: Appleton WI
Posts: 24,779
Bikes: Several, mostly not name brands.
Mentioned: 153 Post(s)
Tagged: 0 Thread(s)
Quoted: 3583 Post(s)
Liked 3,395 Times
in
1,929 Posts
How is the upper limit? Can the derailleur reach far enough out to shift to the large ring? If it can't, don't even bother with the longer bolt suggested above. Check the bottom bracket spindle. Is it placing the crank further out than it needs to be? Look at chainline and clearance between the inner ring and the chainstay. If so, a shorter spindle may solve the problem.
07-26-20, 05:06 PM
#13
Ride, Wrench, Swap, Race
Join Date: Jan 2010
Location: Northern California
Posts: 9,181
Bikes: Cheltenham-Pedersen racer, Boulder F/S Paris-Roubaix, Varsity racer, '52 Christophe, '62 Continental, '92 Merckx, '75 Limongi, '76 Presto, '72 Gitane SC, '71 Schwinn SS, etc.
Mentioned: 132 Post(s)
Tagged: 0 Thread(s)
Quoted: 1562 Post(s)
Liked 1,287 Times
in
858 Posts
You may be able to replace the inner limit bolt with a longer bolt. Remove the bolt and take it to a hardware store to match the thread spec, and buy one with a longer shaft. I've had to do this to adapt 9-speed rear derailleurs to work on narrower 5-speed clusters.
How is the upper limit? Can the derailleur reach far enough out to shift to the large ring? If it can't, don't even bother with the longer bolt suggested above. Check the bottom bracket spindle. Is it placing the crank further out than it needs to be? Look at chainline and clearance between the inner ring and the chainstay. If so, a shorter spindle may solve the problem.
How is the upper limit? Can the derailleur reach far enough out to shift to the large ring? If it can't, don't even bother with the longer bolt suggested above. Check the bottom bracket spindle. Is it placing the crank further out than it needs to be? Look at chainline and clearance between the inner ring and the chainstay. If so, a shorter spindle may solve the problem.
I kinda noticed, in the second picture down, the spindle looks quite long and there appears to be BIG chainring clearance.
Might that be a triple-length spindle, relative to the particulars of the cranks?
Also, for best chain control above the chainrings, the minimum clearance between the tips of the teeth of the big ring and the lower edge of the outer cage plate should be only 1-3mm.
07-26-20, 07:29 PM
#14
Senior Member
Do I understand that it�s over shifting the small ring - ie throwing the chain into the BB? To me it appears you still have some length left on the low limit screw.
07-26-20, 08:03 PM
#15
Senior Member

I would agree it looks like the bottom Bracket spindle is to long . If the bottom bracket was from the triple it would most likely be to long for the double.
__________________

Likes For fleslider:
07-26-20, 08:35 PM
#16
Senior Member
Join Date: Oct 2011
Location: Fairplay Co
Posts: 9,513
Bikes: Current 79 Nishiki Custum Sport, Jeunet 620, notable previous bikes P.K. Ripper loop tail, Kawahara Laser Lite, Paramount Track full chrome, Raliegh Internatioanl, Motobecan Super Mirage. 59 Crown royak 3 speed
Mentioned: 26 Post(s)
Tagged: 1 Thread(s)
Quoted: 789 Post(s)
Liked 1,739 Times
in
630 Posts
Thanks. Yes, something is amiss. Limits seem to be at what I imagine is their max! The old frame had a triple chainring, I'm running a double on this one. Don't know if that could be a clue.
Positioning also seems to be OK, when I ran into trouble with the screws I consulted the Park Tools page and made sure I'd followed all the instructions there. On my old frame the screws were nearly flush, just slightly raised on each side I think.
Last edited by zukahn1; 07-26-20 at 08:44 PM.
07-27-20, 12:00 AM
#17
se�or miembro

Join Date: Dec 2018
Location: Pac NW
Posts: 6,602
Bikes: '70s - '80s Campagnolo
Mentioned: 92 Post(s)
Tagged: 0 Thread(s)
Quoted: 3869 Post(s)
Liked 6,461 Times
in
3,194 Posts
 07-27-20, 12:08 PM
#18
Senior Member
Thread Starter
Thanks for the responses all. To clarify a few things:
* the derailleur pulls the chain off the rings entirely on both the small and big ring. It can definitely reach the big one, and beyond.
* the bottom bracket is not from the old frame. From memory it's a 119mm bb, I did some research and thought that was most likely to fit this crankset. If people think there's too much clearance then maybe I need a shorter one after all.
* there's way more unscrewability on those screws. I can unscrew them entirely, but it changes nothing unfortunately.
*if you think it's dirty now, it was filthy beyond your wildest nightmares before.
I didn't know you could see the screws inside the mechanism if you looked at it from the side on, will post a photo of that when I get home!
07-27-20, 12:09 PM
#19
Senior Member
Thread Starter
07-27-20, 12:12 PM
#20
Senior Member
Thread Starter
Based on the pics for a standard Shimano FD You should have about another 2-3mm more play on each way each screw I suspect there just stuck making the upper and lower threads likely not used since the bike came off the shop floor stuck. I would try tacking the DR off and soaking it in solvent like mineral spirits over night then trying the adjustment screws after some WD-40 nearly every vintage Shimanno DR I have seen with a bit of rust has had stuck are partially stuck adjustment screws. Also check to be sure the FD is strait and the right height both look a bit off in the pic.
07-27-20, 01:10 PM
#21
Ride, Wrench, Swap, Race
Join Date: Jan 2010
Location: Northern California
Posts: 9,181
Bikes: Cheltenham-Pedersen racer, Boulder F/S Paris-Roubaix, Varsity racer, '52 Christophe, '62 Continental, '92 Merckx, '75 Limongi, '76 Presto, '72 Gitane SC, '71 Schwinn SS, etc.
Mentioned: 132 Post(s)
Tagged: 0 Thread(s)
Quoted: 1562 Post(s)
Liked 1,287 Times
in
858 Posts
It sounds then like the screws are both bottomed out downward?
What happens if you back out the screw a quarter-turn, then screw back downward? Does it feel like the screw head is bottoming solidly???
I would be trying to "work" the screws downward, backing off just enough to gain movement, then down again and again.
I can't see any benefit to soaking it if the screws aren't frozen in place and the arms can move. Just make sure there is a bit of oil on the screw's threads above the threaded holes.
07-27-20, 01:19 PM
#22
Ride, Wrench, Swap, Race
Join Date: Jan 2010
Location: Northern California
Posts: 9,181
Bikes: Cheltenham-Pedersen racer, Boulder F/S Paris-Roubaix, Varsity racer, '52 Christophe, '62 Continental, '92 Merckx, '75 Limongi, '76 Presto, '72 Gitane SC, '71 Schwinn SS, etc.
Mentioned: 132 Post(s)
Tagged: 0 Thread(s)
Quoted: 1562 Post(s)
Liked 1,287 Times
in
858 Posts
I hate to have to remove screws whose adjustment is secured by the holes in the plastic biscuit, since the plastic won't grab the threads well any more.
But the biscuit could be replicated using plastic stock.
What might be needed here is to run a drill bit into the recesses that the screw heads sit into. Who knows what sort of detritus/corrosion might be in there preventing the screw heads from descending.
But normally, all that is needed is to flood the recesses with WD40 and work the screws down, cutting through the slurry.
EDITING:
One more thing I would check here is whether the tips of the screws have perhaps dug significant divots into the "stop lugs" on the pivot knuckle of the main arm. If enough alloy is gone there, the screws might not do their job.
This hopefully could be done visually, without removing the cage and arms from the pivots, by observing this area while moving the lever.
Last edited by dddd; 07-27-20 at 01:28 PM.
07-27-20, 04:01 PM
#23
Senior Member
Thread Starter
Well it's the strangest thing, but I screwed the screws all the way to the very bottom, just to make sure they could go all the way down. I then started loosening them, and magically they worked again. Derailleur saved! Maybe something was dislodged.
Appreciate all the help, it stopped me from springing for a NOS like-for-like replacement - which would have been shiny, but there are more exciting bike parts that money could go towards.
Appreciate all the help, it stopped me from springing for a NOS like-for-like replacement - which would have been shiny, but there are more exciting bike parts that money could go towards.
Likes For Funktopus:
07-27-20, 04:58 PM
#24
Senior Member
Next time when you are adjusting the limit screws try using the cable to give yourself some slack to work with. The screws will go in and out much easier.
