


Vintage TREK - I would like some opinions
 06-10-20, 10:45 PM
#26

Senior Member
Join Date: Apr 2014
Location: Back in Lincoln Sq, Chicago...🙄
Posts: 1,609
Bikes: '84 Miyata 610 �91 Cannondale ST600,'83 Trek 720 �84 Trek 520, 620, �91 Miyata 1000LT, '79 Trek 514, '78 Trek 706, '73 Raleigh Int. frame.
Mentioned: 13 Post(s)
Tagged: 0 Thread(s)
Quoted: 684 Post(s)
Liked 370 Times
in
219 Posts
My honest opinion from someone who was in your shoes just several years ago: Just take the damn bike apart.
Seriously. It doesn't sound like you need to be riding it right now, and as long as you are riding it right now you will never fully enjoy it because all of the above thoughts will be circulating in your head.
Step 1: Buy a bike stand. You really don't want to start without this. I did my first bike this way and it took me twice as long as it should have.
Step 2: Start disassembling the bike. A basic toolset will get you through much of this aside from the cranks/bottom bracket and freewheel. Thoroughly photograph every single component you take off from several angles before removing it.
Step 3: As you take parts off, if they are rusty have a box/bucket/Tupperware/whatever full of EvapoRust (most hardware stores) to dump it in. Whatever looks good dump into a big ziplock bag, keeping like parts together (all brake stuff in one bag, all headset stuff in another etc). Dump what looks like it can't be used into another bin. You'll likely want to toss out and replace the chain and brake/derailleur cables, however, keep them until you have the new ones to make it easier to know what length to cut the new ones. As you get to components you don't have tools for: go buy them.
Step 4: Clean the frame and fork. Use warm soapy water and wash it down/clean it out. After this I always then use a polish followed by a wax. Is this necessary yet? No but seeing how great the frame can look after this can be inspirational.
Step 5: Clean every component thoroughly (do searches here to see which cleaning materials work best with which components).
Step 6: Sort out what you will need for the bike and put it on order.
Step 7: Start re-assembling. For the most part this will be as easy as disassembly was, short of the bottom bracket, brakes and derailleur. Googling any of these and bikes forums C&V will find you a great thread on how to do it. Short of that you can youtube RJ the Bike Guy and whatever component you're trying to assemble. Worst case, get everything back together short of the trickier parts and THEN drop it at your LBS and just ask them to install the rest. Make sure to re-grease the bottom bracket and headset, as well as the wheel hubs (maybe have your LBS do the hubs when you're done). Also, dab a little grease on anything threaded as your'e putting it back on.
Step 8: Give it one more quick clean and off you go!
Also, start a thread for it here when you begin to keep all of your progress and advice in one place.
Then when you need to get it back in the bike, you can see exactly where each spacer is supposed to go.

Likes For Chr0m0ly:
06-11-20, 02:11 PM
#27
Senior Member
Join Date: Oct 2017
Posts: 2,040
Mentioned: 26 Post(s)
Tagged: 0 Thread(s)
Quoted: 837 Post(s)
Liked 1,080 Times
in
521 Posts
As you do this things, remember you can take photos with your phone, as you go. Take a picture of the brake bridge, take it off the bike. Disassemble it on a towel, laying the pieces out in the correct order, take another picture. Assemble it loosely, bag it up.
Then when you need to get it back in the bike, you can see exactly where each spacer is supposed to go.
Then when you need to get it back in the bike, you can see exactly where each spacer is supposed to go.
Likes For polymorphself:
06-11-20, 02:27 PM
#28
I just bought a bike
Thread Starter
You just fell down a great rabbit hole. Vintage Treks are really fine bikes. polymorphself 's advice is excellent.
Two things. First, overhaul the bike before riding it too much. The grease inside the bike does not get better with age. Buy new ball bearings (grade 25) and use a quality grease (Park is a good name for bike tools and for bike lubricants and grease). Second, change the consumables like the damn tires. You really don't want to ride old tires. Panaracer Pasela Protites are very good; I'd run a 27 x 1 and 1/4 on those rims. If you need new rim tape (and you may), it's tough to beat velox rim tape.
I'm in the middle of restoring a 1979 Trek 510; old Treks are awesome bikes.
https://www.bikeforums.net/classic-v...510-build.html
06-11-20, 02:47 PM
#29
Senior Member

Join Date: Apr 2012
Location: Middle Earth (aka IA)
Posts: 20,433
Bikes: A bunch of old bikes and a few new ones
Mentioned: 178 Post(s)
Tagged: 0 Thread(s)
Quoted: 5888 Post(s)
Liked 3,471 Times
in
2,079 Posts
Ball bearings for hubs are fairly standard. Rear wheels nearly always take 1/4 ball bearings, 9 on a side. The bottom bracket will take 1/4 ball bearings 11 on a side if running loose; with a cage you may have fewer (usually around 9). The front hub is generally 3/16 ball bearings 10 on a side. There are some exceptions but you can google the name of your hub to see if your hubs are a bit different.
I wouldn't sweat overhauling the freewheel. You will want to drizzle some oil to help lubricate it. You will want to overhaul the headset also and hopefully the ball bearings are in a race as that will make your life easier.
Wheels manufacturing grade 25 ball bearings are the way to go (or any grade 25 ball bearing from a reputable source)
Last edited by bikemig; 06-11-20 at 02:56 PM.
Likes For bikemig:
06-11-20, 02:54 PM
#30
I just bought a bike
Thread Starter
wowo great reply thanks so much. Just want to make sure the hubs are re done and re grease them.
i've never done the minuteman trail, still pretty new to the area. maybe ill check it out. Arlington is pretty nice too. thanks again for the info!
i've never done the minuteman trail, still pretty new to the area. maybe ill check it out. Arlington is pretty nice too. thanks again for the info!
06-11-20, 03:34 PM
#31
Junior Member
My honest opinion from someone who was in your shoes just several years ago: Just take the damn bike apart.
Seriously. It doesn't sound like you need to be riding it right now, and as long as you are riding it right now you will never fully enjoy it because all of the above thoughts will be circulating in your head.
Step 1: Buy a bike stand. You really don't want to start without this. I did my first bike this way and it took me twice as long as it should have.
Step 2: Start disassembling the bike. A basic toolset will get you through much of this aside from the cranks/bottom bracket and freewheel. Thoroughly photograph every single component you take off from several angles before removing it.
Step 3: As you take parts off, if they are rusty have a box/bucket/Tupperware/whatever full of EvapoRust (most hardware stores) to dump it in. Whatever looks good dump into a big ziplock bag, keeping like parts together (all brake stuff in one bag, all headset stuff in another etc). Dump what looks like it can't be used into another bin. You'll likely want to toss out and replace the chain and brake/derailleur cables, however, keep them until you have the new ones to make it easier to know what length to cut the new ones. As you get to components you don't have tools for: go buy them.
Step 4: Clean the frame and fork. Use warm soapy water and wash it down/clean it out. After this I always then use a polish followed by a wax. Is this necessary yet? No but seeing how great the frame can look after this can be inspirational.
Step 5: Clean every component thoroughly (do searches here to see which cleaning materials work best with which components).
Step 6: Sort out what you will need for the bike and put it on order.
Step 7: Start re-assembling. For the most part this will be as easy as disassembly was, short of the bottom bracket, brakes and derailleur. Googling any of these and bikes forums C&V will find you a great thread on how to do it. Short of that you can youtube RJ the Bike Guy and whatever component you're trying to assemble. Worst case, get everything back together short of the trickier parts and THEN drop it at your LBS and just ask them to install the rest. Make sure to re-grease the bottom bracket and headset, as well as the wheel hubs (maybe have your LBS do the hubs when you're done). Also, dab a little grease on anything threaded as your'e putting it back on.
Step 8: Give it one more quick clean and off you go!
Also, start a thread for it here when you begin to keep all of your progress and advice in one place.
Seriously. It doesn't sound like you need to be riding it right now, and as long as you are riding it right now you will never fully enjoy it because all of the above thoughts will be circulating in your head.
Step 1: Buy a bike stand. You really don't want to start without this. I did my first bike this way and it took me twice as long as it should have.
Step 2: Start disassembling the bike. A basic toolset will get you through much of this aside from the cranks/bottom bracket and freewheel. Thoroughly photograph every single component you take off from several angles before removing it.
Step 3: As you take parts off, if they are rusty have a box/bucket/Tupperware/whatever full of EvapoRust (most hardware stores) to dump it in. Whatever looks good dump into a big ziplock bag, keeping like parts together (all brake stuff in one bag, all headset stuff in another etc). Dump what looks like it can't be used into another bin. You'll likely want to toss out and replace the chain and brake/derailleur cables, however, keep them until you have the new ones to make it easier to know what length to cut the new ones. As you get to components you don't have tools for: go buy them.
Step 4: Clean the frame and fork. Use warm soapy water and wash it down/clean it out. After this I always then use a polish followed by a wax. Is this necessary yet? No but seeing how great the frame can look after this can be inspirational.
Step 5: Clean every component thoroughly (do searches here to see which cleaning materials work best with which components).
Step 6: Sort out what you will need for the bike and put it on order.
Step 7: Start re-assembling. For the most part this will be as easy as disassembly was, short of the bottom bracket, brakes and derailleur. Googling any of these and bikes forums C&V will find you a great thread on how to do it. Short of that you can youtube RJ the Bike Guy and whatever component you're trying to assemble. Worst case, get everything back together short of the trickier parts and THEN drop it at your LBS and just ask them to install the rest. Make sure to re-grease the bottom bracket and headset, as well as the wheel hubs (maybe have your LBS do the hubs when you're done). Also, dab a little grease on anything threaded as your'e putting it back on.
Step 8: Give it one more quick clean and off you go!
Also, start a thread for it here when you begin to keep all of your progress and advice in one place.
Everything this guy said and more... and like another said take pictures as you go.
I took every bolt, spacer and nut apart on a Trek 620 that I just sold. Learned a ton. I
have a �81.5 Chestnut Trek and a �81 412 I�m working on now.
Nothing like taking something apart to learn it.
V
Likes For Voodoocurt:
06-11-20, 05:05 PM
#32
Senior Member
Another thing, #0000 Steel wool soaked in WD-40 will really clean up the rust and grime on everything but paint (Well, it will do that to but you won't like the paint afterwards). But spokes, steel derailleurs, brake springs, steel headsets and bottom brackets,brushed aluminum, chrome.. works wonders. you can use it and a small brass brush on the inside of the BB when you overhaul it to work out some of the frame rust and old grease and clean the threads. Also spray it into the tubes to slow the frame rust. Give it a day to dry and your good to go. While I have a soft spot for treks, it isn't like its the first Bianchi Celeste off the line. Use it and enjoy it.
__________________
1984 Cannondale ST
1985 Cannondale SR300
1980 Gary Littlejohn Cruiser
1984 Trek 760
1981 Trek 710
Pics
1984 Cannondale ST
1985 Cannondale SR300
1980 Gary Littlejohn Cruiser
1984 Trek 760
1981 Trek 710
Pics
06-11-20, 05:32 PM
#33
I just bought a bike
Thread Starter
Another thing, #0000 Steel wool soaked in WD-40 will really clean up the rust and grime on everything but paint (Well, it will do that to but you won't like the paint afterwards). But spokes, steel derailleurs, brake springs, steel headsets and bottom brackets,brushed aluminum, chrome.. works wonders. you can use it and a small brass brush on the inside of the BB when you overhaul it to work out some of the frame rust and old grease and clean the threads. Also spray it into the tubes to slow the frame rust. Give it a day to dry and your good to go. While I have a soft spot for treks, it isn't like its the first Bianchi Celeste off the line. Use it and enjoy it.
06-12-20, 08:14 AM
#34
Junior Member
Another thing, #0000 Steel wool soaked in WD-40 will really clean up the rust and grime on everything but paint (Well, it will do that to but you won't like the paint afterwards). But spokes, steel derailleurs, brake springs, steel headsets and bottom brackets,brushed aluminum, chrome.. works wonders. you can use it and a small brass brush on the inside of the BB when you overhaul it to work out some of the frame rust and old grease and clean the threads. Also spray it into the tubes to slow the frame rust. Give it a day to dry and your good to go. While I have a soft spot for treks, it isn't like its the first Bianchi Celeste off the line. Use it and enjoy it.
I used Evapo Rust for a light soak, if it was heavy overnight soak.
Real high grit wet sand, very light hand sand. Harder if you're trying to remove scratches (like on a seat post)
Then gloved hands and this stuff ... Mothers Mag and Aluminum polish. Got it at Walmart.
Finger it on and rub until it becomes black and slick.
Then hand buff with a rag. Repeat if needed.
Will be very bright and shiny.

Likes For Voodoocurt:
06-16-20, 07:43 AM
#35
Junior Member
Plus 1 to what everybody says on the Workstand. Not having one will drive you crazy. I used to have a Blackburn Workhorse stand but when my ex and I separated she claimed she didn't know what it was or that it was important to me and she gave it away :-( if something like that had happened while we were together she would have found herself strung up by her wrists in my garage receiving a caning that she would remember for days but such is life . . .
Here is the link to the Workstand I have, use, and absolutely love. It is every bit as good as the high dollar Park stands and it folds and can be pout away quite easily. Amazon sells out on occassion because it is so good and so popular but they come back in stock quickly as well. Good luck and have fun with your resto.
https://www.amazon.com/Sportneer-Fol...eation&sr=1-10
06-16-20, 07:46 AM
#36
Junior Member
Join Date: Jun 2020
Location: Oakville, ON, Canada
Posts: 12
Bikes: 1985 Sakai Star
Mentioned: 0 Post(s)
Tagged: 0 Thread(s)
Quoted: 2 Post(s)
Liked 0 Times
in
0 Posts
Vintage Trek
Nice condition! I have been looking for something like this for a while but the Toronto market is very expensive....
 06-16-20, 11:34 AM
#38
Senior Member
Join Date: Sep 2017
Location: Eastern Shore, MD
Posts: 2,106
Bikes: Road ready: 1993 Koga Miyata City Liner Touring Hybrid, 1989 Centurion Sport DLX, "I Blame GP" Bridgestone CB-1. Projects: Yea, I got a problem....
Mentioned: 24 Post(s)
Tagged: 0 Thread(s)
Quoted: 753 Post(s)
Liked 735 Times
in
421 Posts
On aluminum and chrome.
I used Evapo Rust for a light soak, if it was heavy overnight soak.
Real high grit wet sand, very light hand sand. Harder if you're trying to remove scratches (like on a seat post)
Then gloved hands and this stuff ... Mothers Mag and Aluminum polish. Got it at Walmart.
Finger it on and rub until it becomes black and slick.
Then hand buff with a rag. Repeat if needed.
Will be very bright and shiny.
06-16-20, 11:42 AM
#39
Zip tie Karen
Join Date: Aug 2009
Location: Fair Oaks Ranch, TX
Posts: 7,004
Bikes: '13 Motobecane Fantom29 HT, '16 Motobecane Turino Pro Disc, '18 Velobuild VB-R-022, '21 Tsunami SNM-100
Mentioned: 26 Post(s)
Tagged: 0 Thread(s)
Quoted: 1465 Post(s)
Liked 1,542 Times
in
806 Posts
Not on painted surfaces. This is for metals. Metals, like aluminum and chrome.
There are other products for paint.
The OP needs to arrest the rust surrounding the bottom bracket shell edges.
Likes For Phil_gretz:
06-16-20, 12:14 PM
#40
Senior Member
Join Date: Sep 2017
Location: Eastern Shore, MD
Posts: 2,106
Bikes: Road ready: 1993 Koga Miyata City Liner Touring Hybrid, 1989 Centurion Sport DLX, "I Blame GP" Bridgestone CB-1. Projects: Yea, I got a problem....
Mentioned: 24 Post(s)
Tagged: 0 Thread(s)
Quoted: 753 Post(s)
Liked 735 Times
in
421 Posts
Well all I can say with surety, is that your awfully sure of yourself. 
06-16-20, 12:20 PM
#41
Senior Member

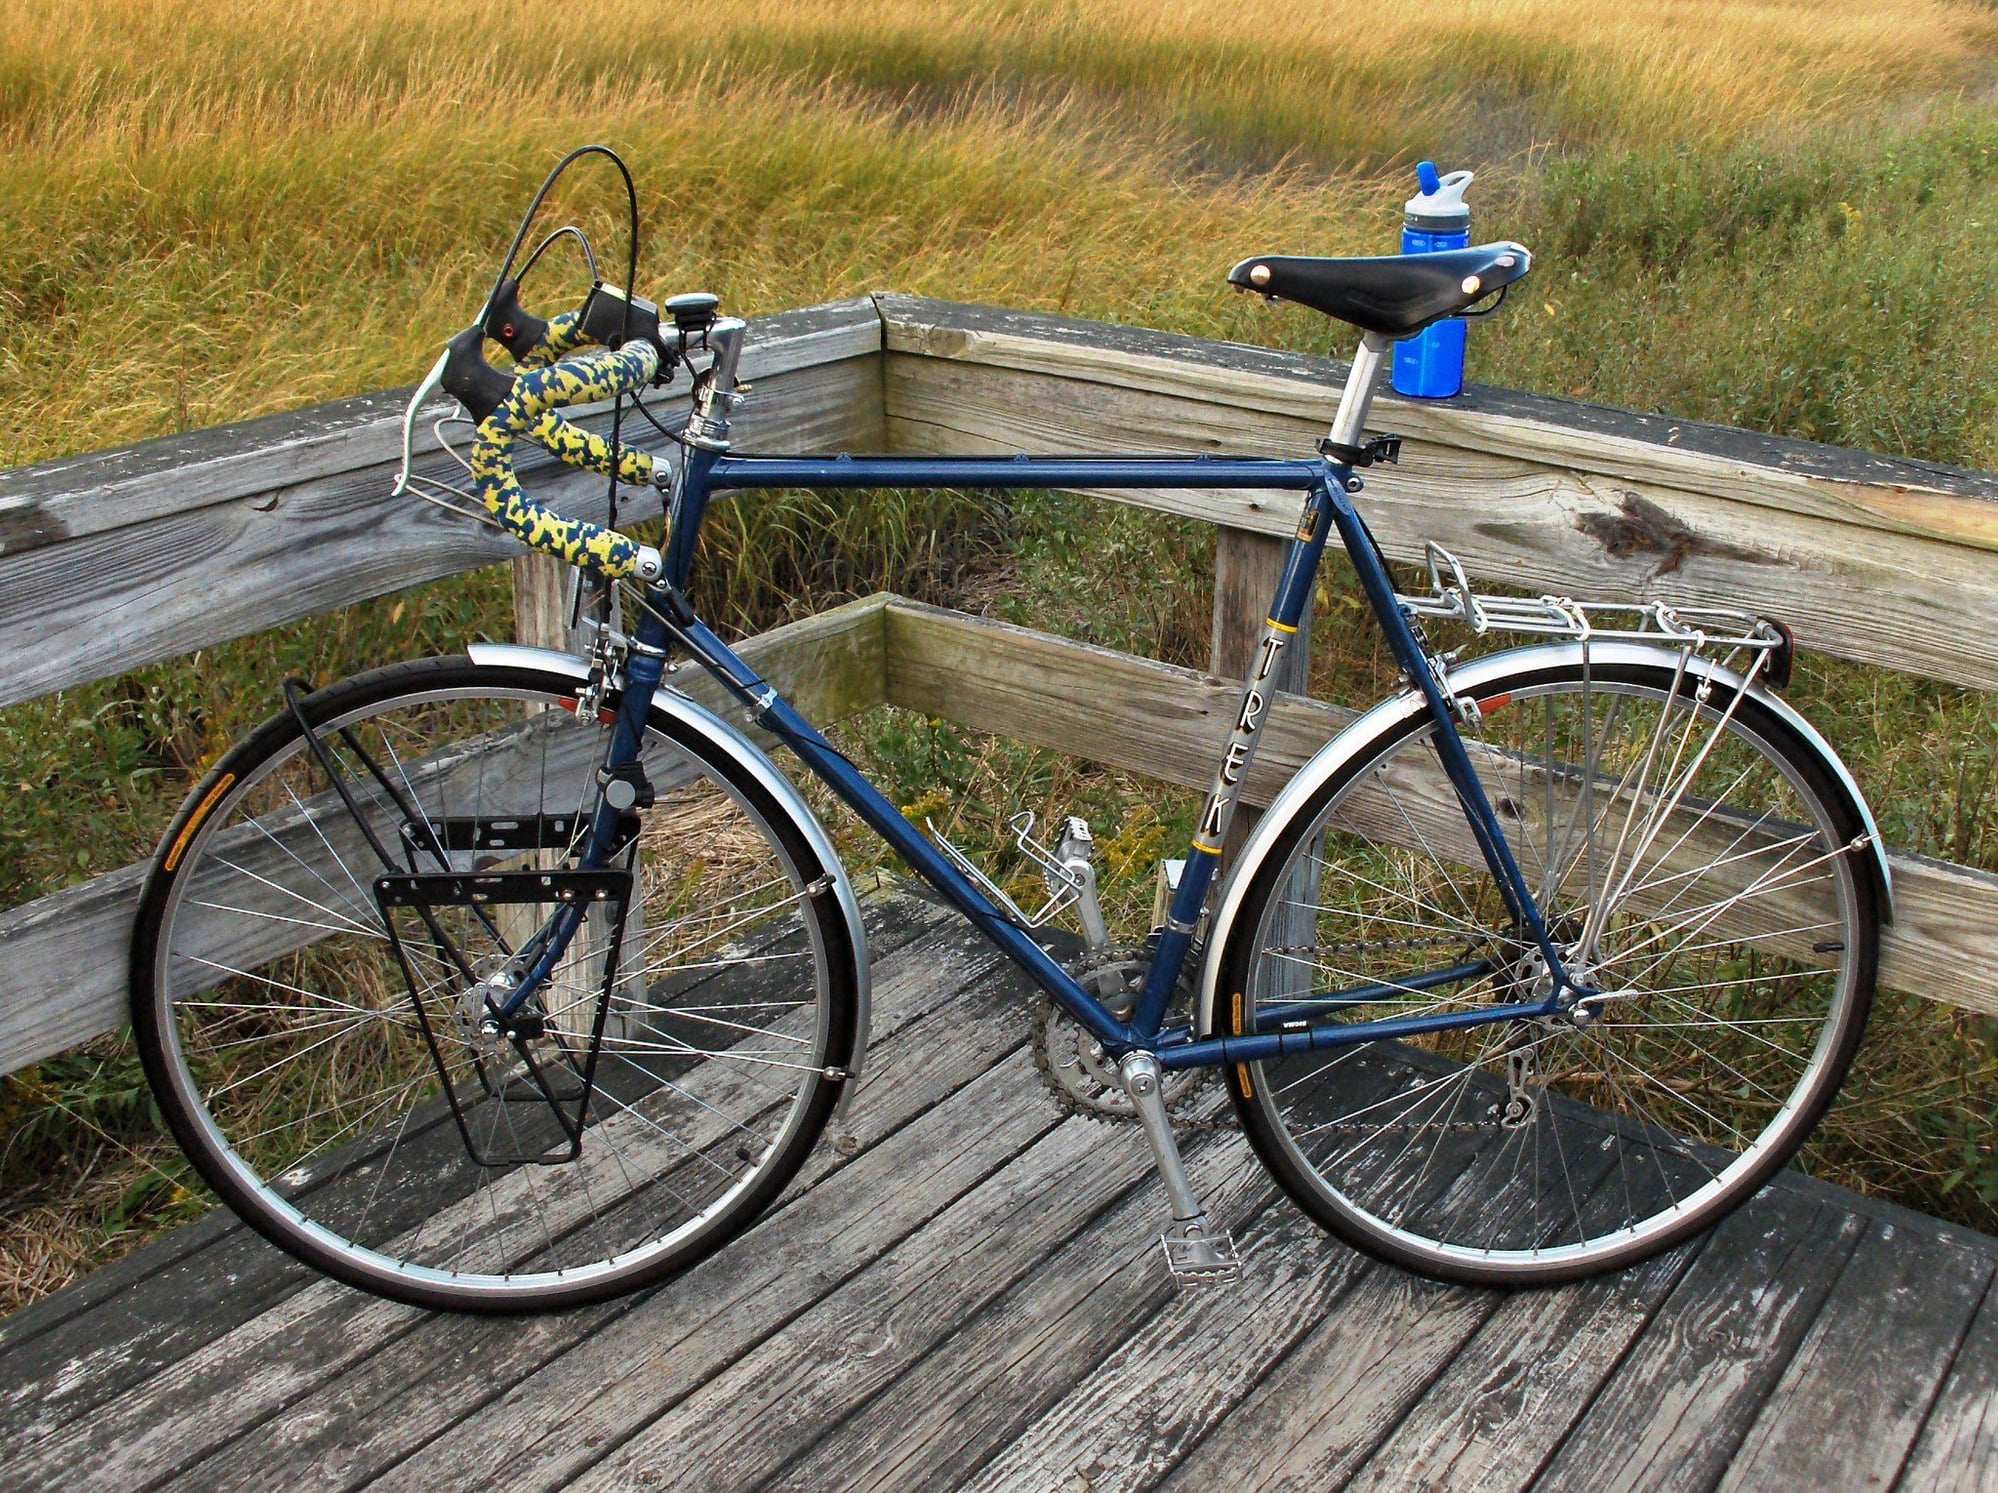
welcome to the vintage TREK club. I have a 1980 613 . They are wonderful bikes. one thing i always try to do when i get a bike to at least try to ride it a little bit before tearing it down and restoring it. i want to try to make sure i like the ride , ignoring the shift issues or the untrued wheels (the things that can be fixed. but looking at the feel of the frame and the ride position (taking into account some of that can be fixed with stems/handlebars etc)
heres my 80 613

heres my 80 613
__________________

06-16-20, 12:33 PM
#42
Full Member

Join Date: Sep 2019
Posts: 393
Mentioned: 18 Post(s)
Tagged: 0 Thread(s)
Quoted: 170 Post(s)
Liked 264 Times
in
146 Posts
Some inspiration for you: https://www.flickr.com/photos/976521...n/photostream/
1982 Trek 614
Have always regretted selling my 1982 Trek 614 (not the one linked above but nearly identical)
1982 Trek 614
Have always regretted selling my 1982 Trek 614 (not the one linked above but nearly identical)
06-16-20, 12:50 PM
#43
Senior Member
Great bike! I love old Treks. You have gotten great advice. These bikes are easy to work on, but you will need a few special tools when you get to things like the bottom bracket. They aren’t terribly expensive if you can’t find one to borrow.
Enjoy it!
Enjoy it!
06-16-20, 09:11 PM
#44
Junior Member
I use Meguiar’s Polishing Compound. Spread on, let it haze, buff to shine.
Stuff is magic, works over decals too.
Voo


Likes For seedsbelize:
06-20-20, 12:59 PM
#47
Senior Member
You can do all kinds of stuff to these frames.
Likes For natterberry:
08-28-20, 12:30 PM
#49
I just bought a bike
Thread Starter
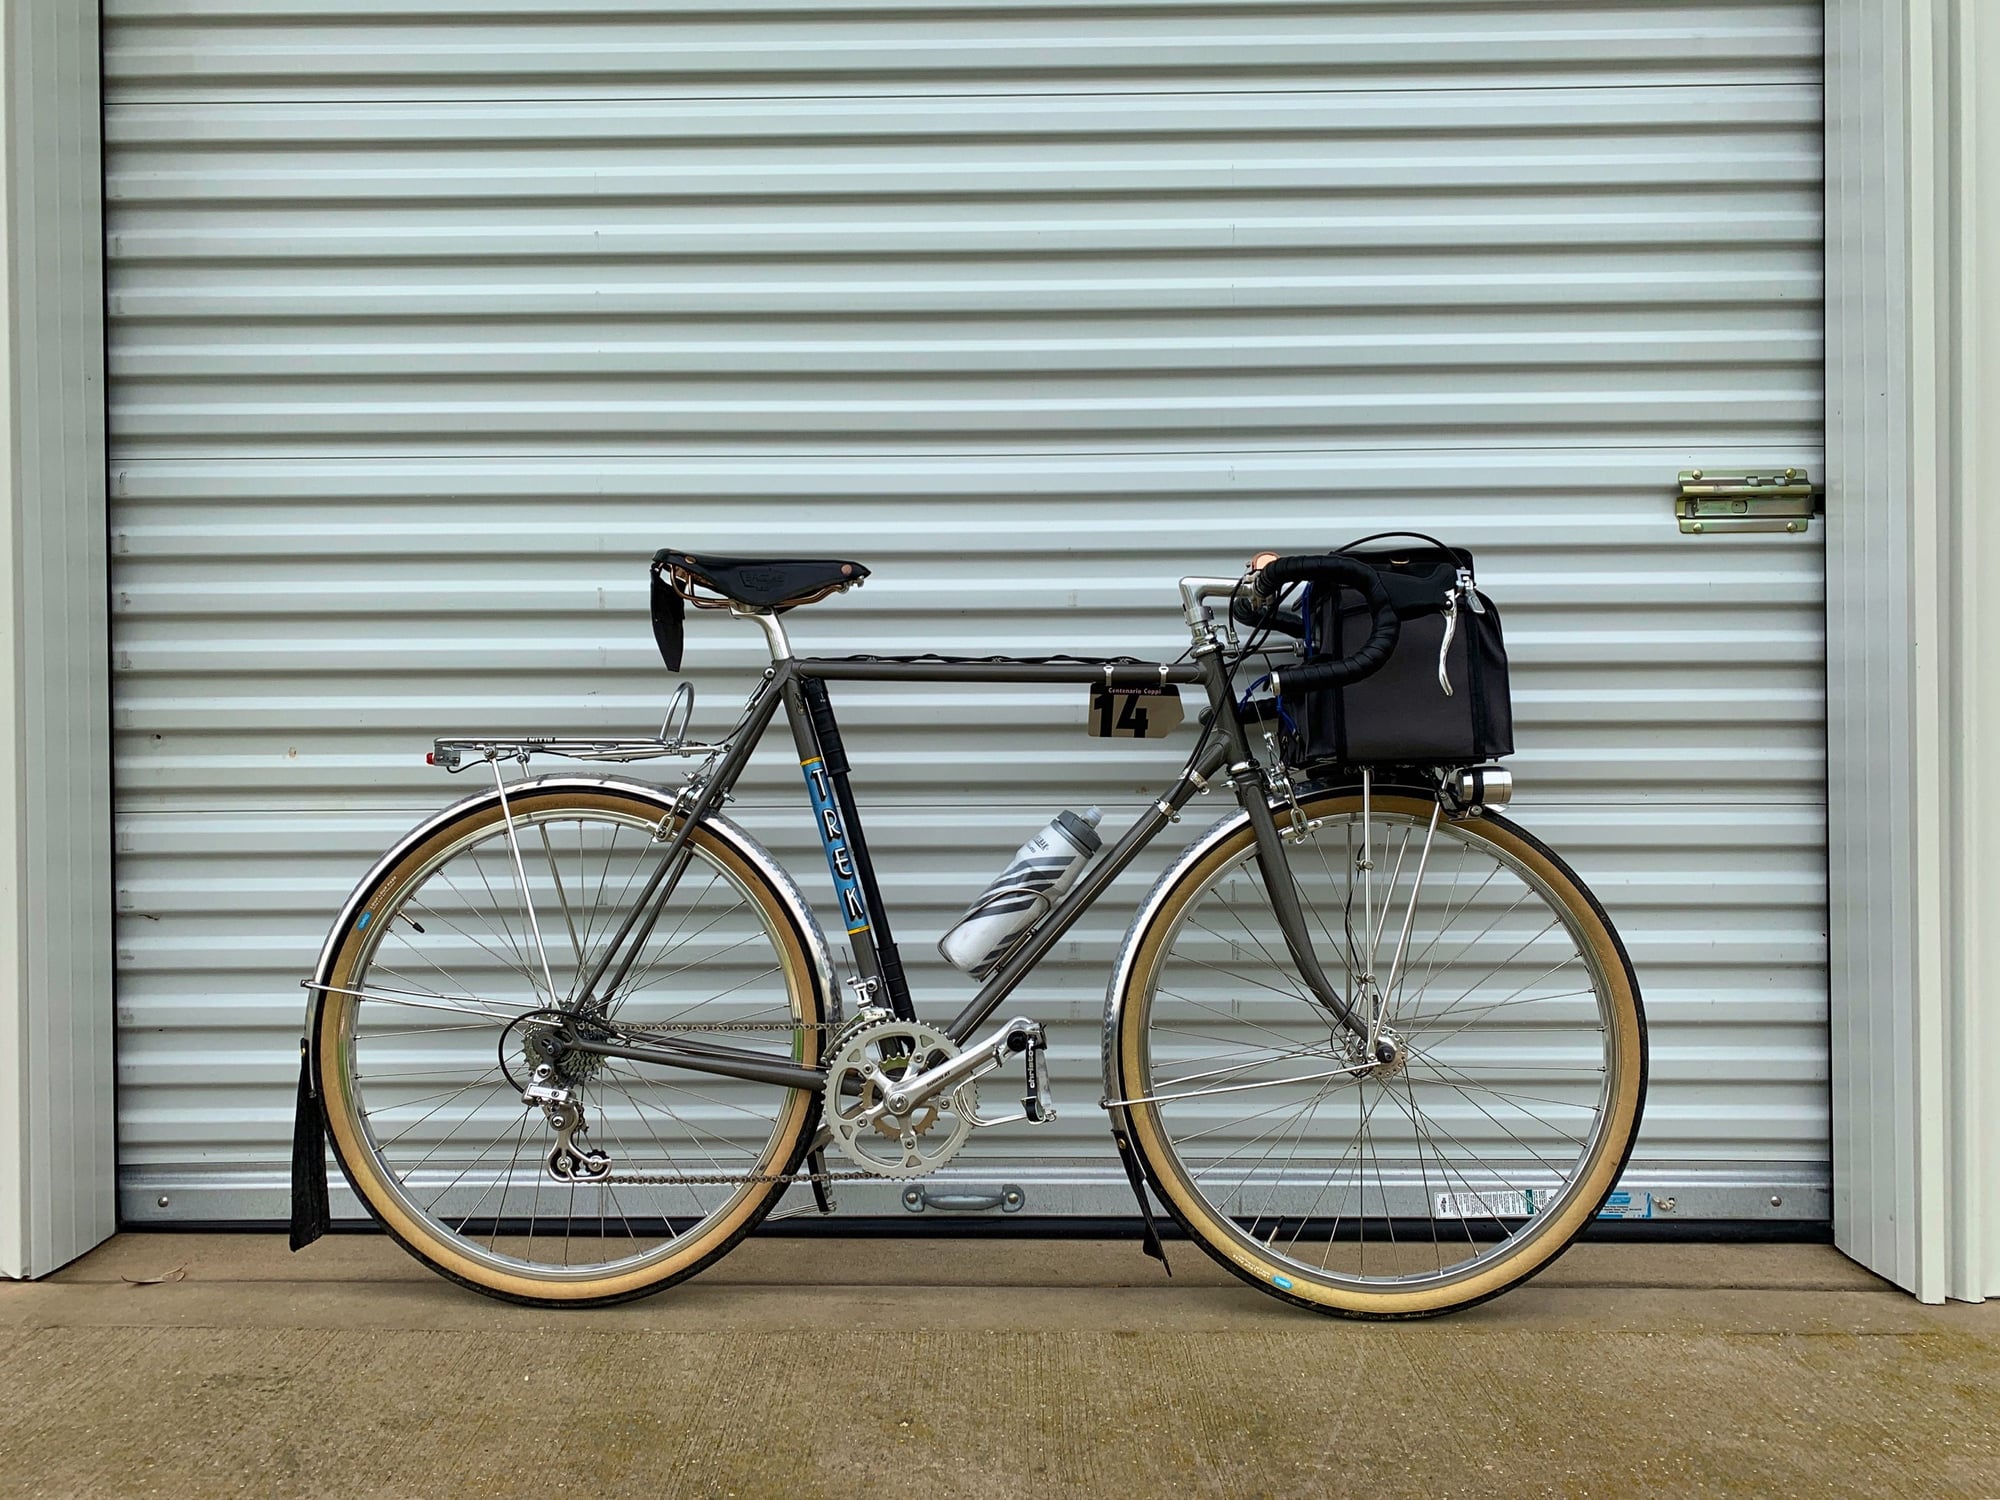
wow yeah big fan of that whole situation. what rear rack is that???? god it looks very clean
08-28-20, 12:32 PM
#50
I just bought a bike
Thread Starter