


Make your own fitting bike
 02-22-21, 06:14 AM
#26
Senior Member
Join Date: Dec 2019
Posts: 954
Mentioned: 3 Post(s)
Tagged: 0 Thread(s)
Quoted: 321 Post(s)
Liked 263 Times
in
212 Posts
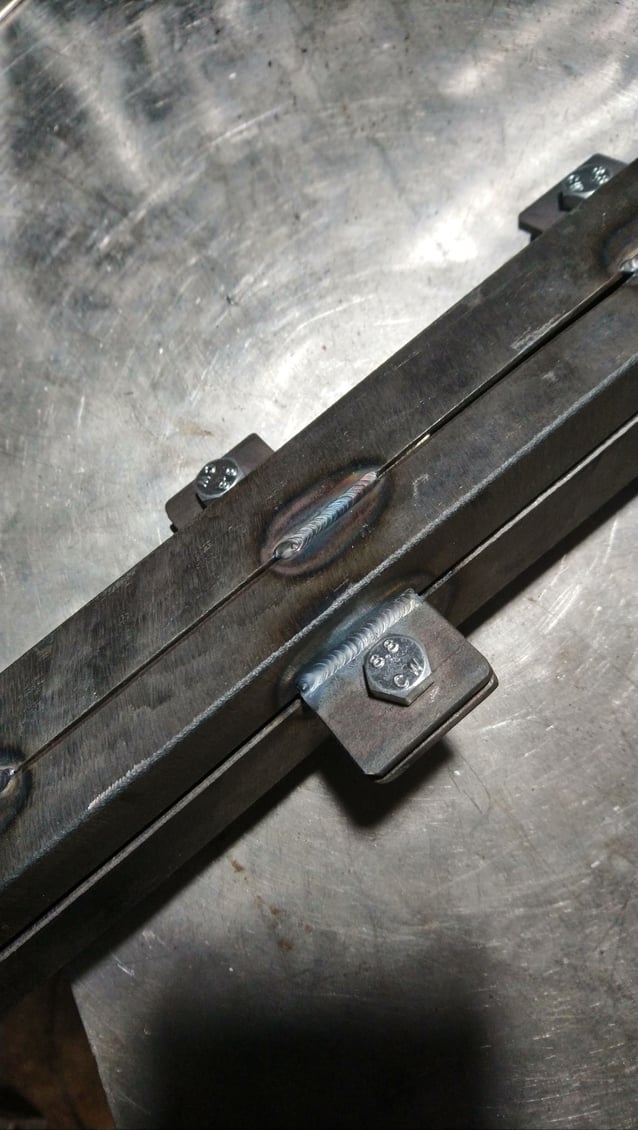
Well this is my design of clamping mechanism. Not such a good UX as those quick release levers but it does hold the tube very firmly and should work.
The angle iron is a bit bigger than it needs to be. So I overlapped it, drew a line, and cut slices off lengthways. Then each half of each of the halves if you see what I mean needs to be tacked with the inner tube in there, and also a 1mm or so shim because the welds pull in. When you take the shim out it's a nice smooth but tight fit.
The nuts on the back are "captive", i.e. welded on. So you just tighten the bolts from the top.
 02-22-21, 10:14 AM
#27

framebuilder
Thread Starter
Like most frame builders, you have taken the concepts and adjusted them to fit what you are able to do with what you have on hand. Good work. I think you will find that a fitting bike will either verify a customer's position found by other means or allow it to be adjusted a bit. This can give both you and your customer (or friend) confidence that the custom frame you are designing around their position will work well.
02-22-21, 10:42 AM
#28
Senior Member
Join Date: Dec 2019
Posts: 954
Mentioned: 3 Post(s)
Tagged: 0 Thread(s)
Quoted: 321 Post(s)
Liked 263 Times
in
212 Posts
Like most frame builders, you have taken the concepts and adjusted them to fit what you are able to do with what you have on hand. Good work. I think you will find that a fitting bike will either verify a customer's position found by other means or allow it to be adjusted a bit. This can give both you and your customer (or friend) confidence that the custom frame you are designing around their position will work well.
Likes For guy153:
02-22-21, 09:43 PM
#29
Senior Member
Join Date: Feb 2012
Location: Rochester, NY
Posts: 18,056
Bikes: Stewart S&S coupled sport tourer, Stewart Sunday light, Stewart Commuting, Stewart Touring, Co Motion Tandem, Stewart 3-Spd, Stewart Track, Fuji Finest, Mongoose Tomac ATB, GT Bravado ATB, JCP Folder, Stewart 650B ATB
Mentioned: 0 Post(s)
Tagged: 0 Thread(s)
Quoted: 4195 Post(s)
Liked 3,837 Times
in
2,295 Posts
When I opened my bike shop in 1987 I first had to drag out the piles of old bikes and trash. One late warm evening as I was closing up I put one of the last piles out by the curb. It had a 1950s balloon tired bomber frame and 1" pitch (skip tooth) chainring still on it. I had Tevas on. It took a day or two for the big toe's nail to fall off and more then 7 months for it to grow back. Andy
__________________
AndrewRStewart
AndrewRStewart
03-11-21, 06:44 AM
#30
Senior Member
Join Date: Dec 2019
Posts: 954
Mentioned: 3 Post(s)
Tagged: 0 Thread(s)
Quoted: 321 Post(s)
Liked 263 Times
in
212 Posts
Well here is the final project, although I will put some paint on it:
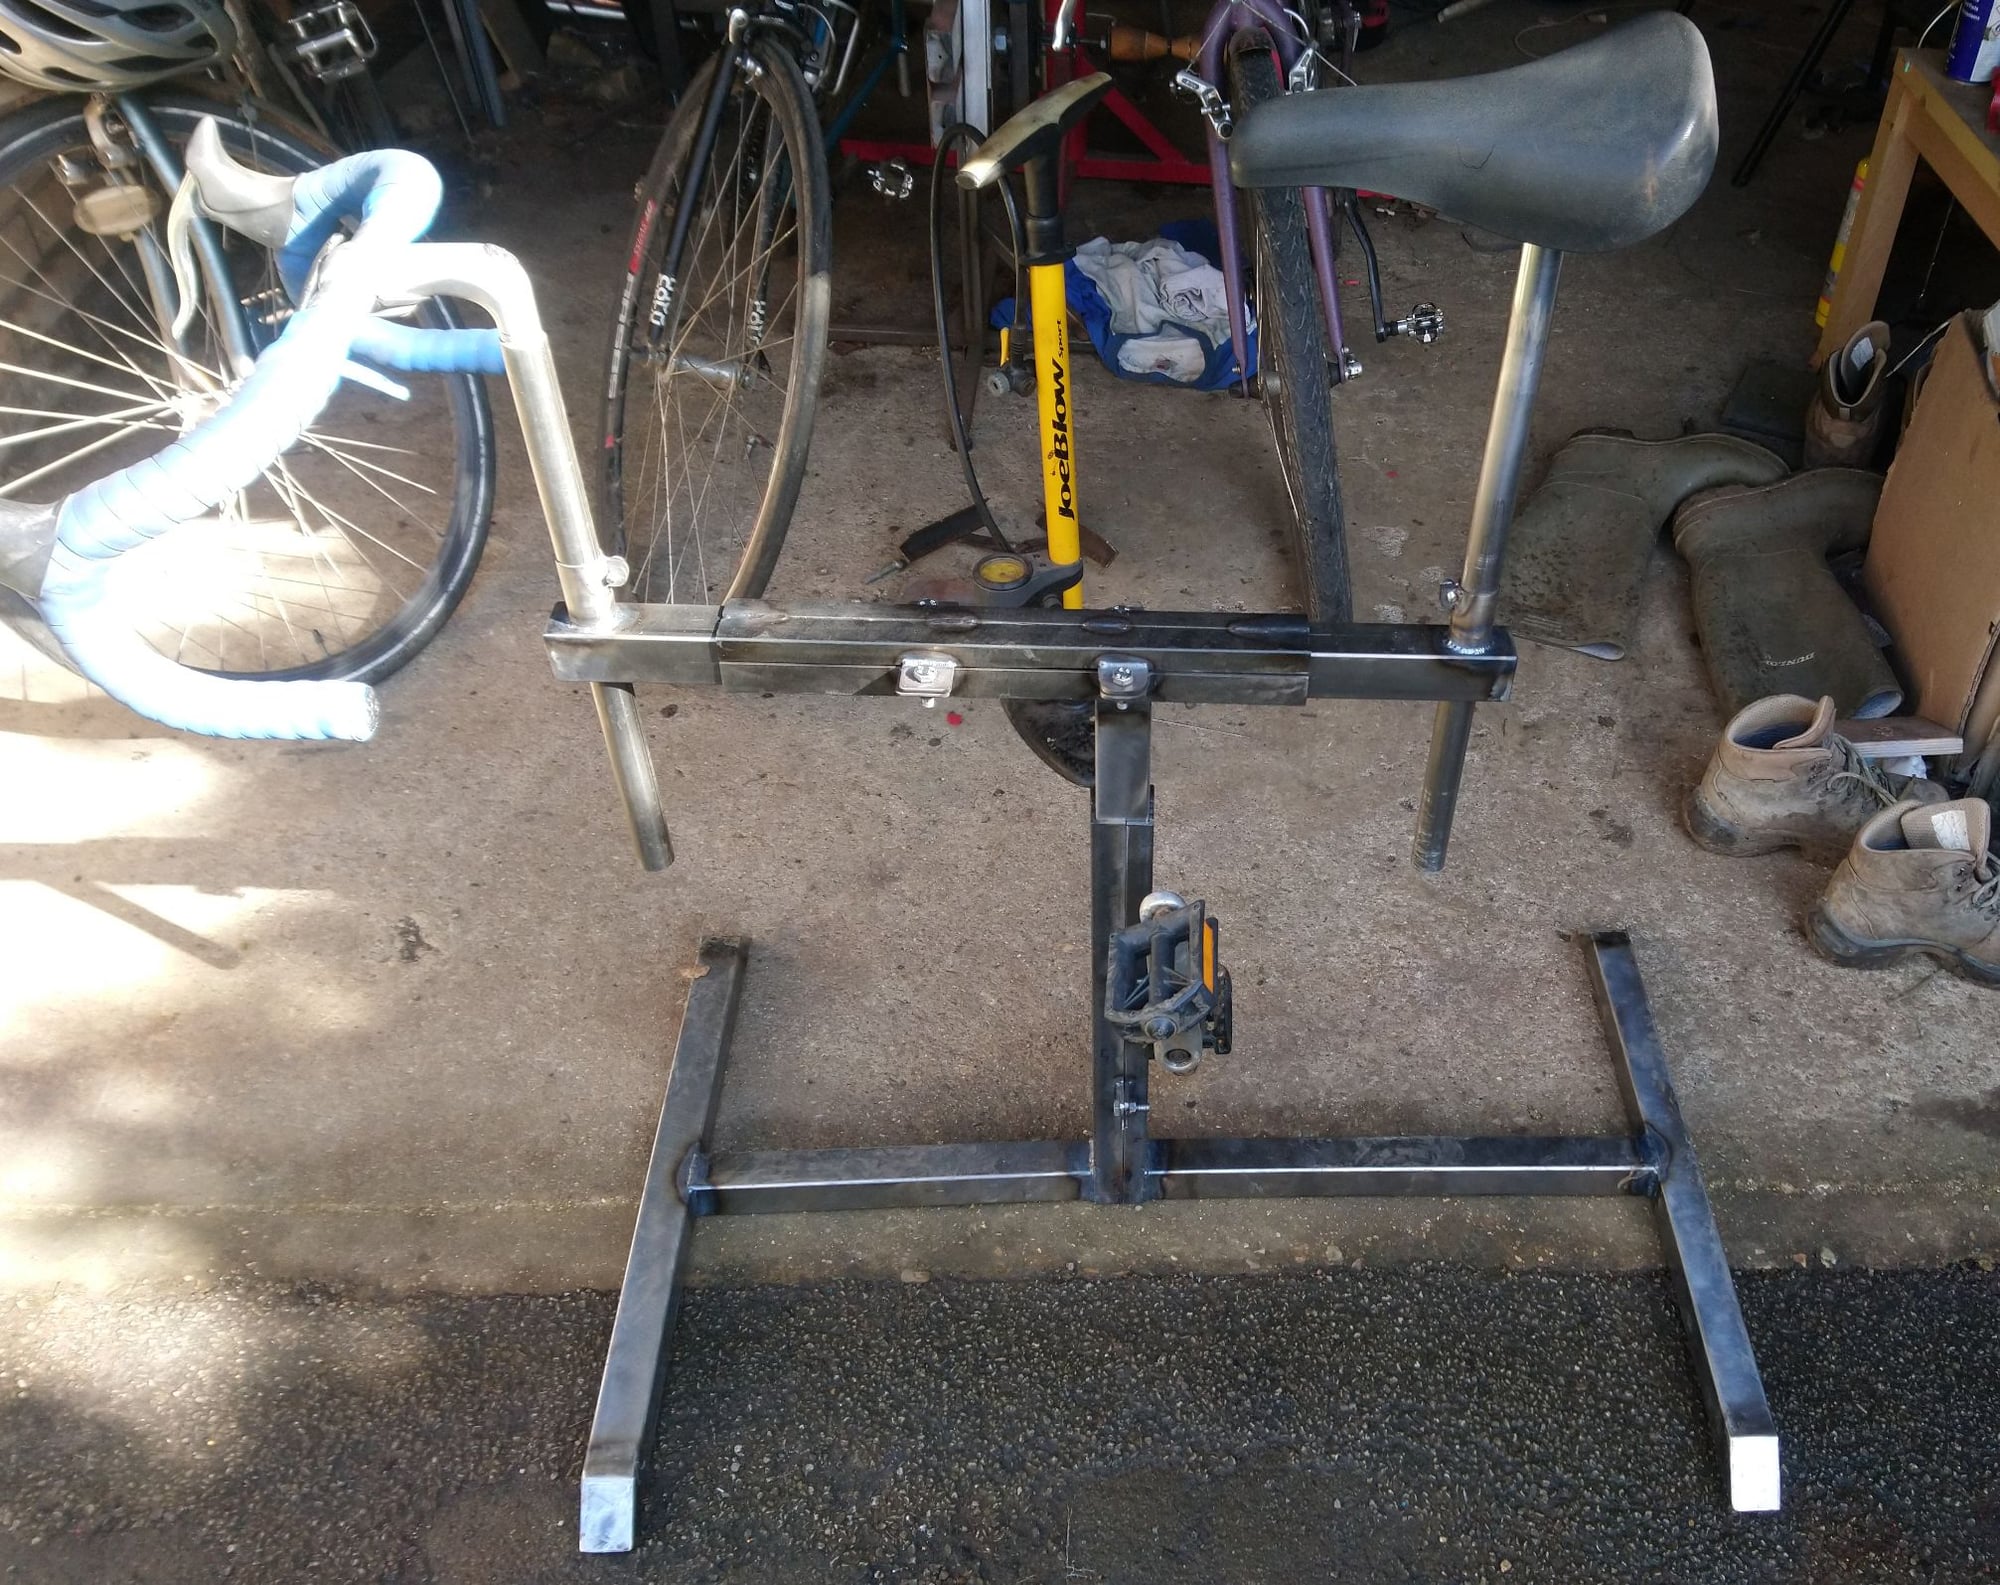
One benefit of the bolt-together design is that it actually comes apart into two pieces at the bottom for easier storage.
It also kind of adapts to the non-flatness of the floor and I haven't bothered with adjustable feet. I may glue some rubber strips along the bottom which often works quite well for this kind of thing.
In the end I left the chainstays off. It is better to have some pedalling resistance as per the original design but I figure I can stuff a "friction device" into the stump of the original ST
The best way I found to attach the BB shell was to weld some angle iron onto it first, and then weld the angle iron to the main structure:

The seat, BB shell and crank came from the "Mistral Tourist" I purchased for �10. Made in Slovenia from rolled/welded mild steel about 1.0mm wall. Sections of the DT were the perfect size (about 1" ID) to make the clamps for the seat post and "steerer" tube. The original seatpost was stuck in the frame and probably not very long so I just cut it off and the top and butt-welded it to some regular 1" tube for the very long seatpost. It's tapered at the top which is why I needed to at least keep the top of it. The handlebar is from another old bike I had lying around. I cut the chainring off because it was in the way and anyway is only going to stab people in the leg.
Anyway it feels good to sit on-- not much flex or anything. The angle iron is 3mm thick and the square tube is all 1.5" 1.6mm wall. I think the original design might have used thicker wall and or larger diameter tubes at the bottom. I was going to just add some gussets if it was too floppy but actually it's fine.
So now to start designing some crazy frames
One benefit of the bolt-together design is that it actually comes apart into two pieces at the bottom for easier storage.
It also kind of adapts to the non-flatness of the floor and I haven't bothered with adjustable feet. I may glue some rubber strips along the bottom which often works quite well for this kind of thing.
In the end I left the chainstays off. It is better to have some pedalling resistance as per the original design but I figure I can stuff a "friction device" into the stump of the original ST
The best way I found to attach the BB shell was to weld some angle iron onto it first, and then weld the angle iron to the main structure:
The seat, BB shell and crank came from the "Mistral Tourist" I purchased for �10. Made in Slovenia from rolled/welded mild steel about 1.0mm wall. Sections of the DT were the perfect size (about 1" ID) to make the clamps for the seat post and "steerer" tube. The original seatpost was stuck in the frame and probably not very long so I just cut it off and the top and butt-welded it to some regular 1" tube for the very long seatpost. It's tapered at the top which is why I needed to at least keep the top of it. The handlebar is from another old bike I had lying around. I cut the chainring off because it was in the way and anyway is only going to stab people in the leg.
Anyway it feels good to sit on-- not much flex or anything. The angle iron is 3mm thick and the square tube is all 1.5" 1.6mm wall. I think the original design might have used thicker wall and or larger diameter tubes at the bottom. I was going to just add some gussets if it was too floppy but actually it's fine.
So now to start designing some crazy frames
Likes For guy153:
Likes For apollodriver:


