


The E-Spin: Converting a retired dockless bike into a pedelec


 04-01-20, 07:27 PM
#27

www.theheadbadge.com
Thread Starter

Join Date: Sep 2005
Location: Southern Florida
Posts: 28,496
Bikes: https://www.theheadbadge.com
Mentioned: 124 Post(s)
Tagged: 0 Thread(s)
Quoted: 2412 Post(s)
Liked 4,373 Times
in
2,086 Posts
I've been thinking of doing some conversions on the remaining 38 bikes that are in the donation - with parts salvaged from donated dockless scooters. The motor wheel from the scooter would make for a pretty decent friction drive. This is a Photoshop of what such a setup could look like, using the battery and drive wheel from a Segway Ninebot Max:

E-bikes built on no budget would give me the opportunity to donate the finished products to people who need transportation - something that will be a necessity once the COVID-19 curve eases up and things gradually go back to normal.
Unfortunately, the scooters that have been seized by the city are all under a "make offer" from the towing agency that has the city contract, rather than an open auction, so it may be difficult to do this - or not cost effective.
-Kurt
__________________


Last edited by cudak888; 04-01-20 at 07:41 PM.
04-14-20, 06:44 PM
#28
www.theheadbadge.com
Thread Starter
Join Date: Sep 2005
Location: Southern Florida
Posts: 28,496
Bikes: https://www.theheadbadge.com
Mentioned: 124 Post(s)
Tagged: 0 Thread(s)
Quoted: 2412 Post(s)
Liked 4,373 Times
in
2,086 Posts
It works! I wound up going the easy route with a battery pack off Amazon - the most expensive part of the whole build, and yet, cheaper than trying to do something with the Spin batteries. Since the BMS on most of those are already in protection mode due to low charge, the chances of getting any usable batteries would have been an expensive fool's errand. I also now have a charger to try on the original Hilltopper battery...or blow it up with, depending on what state it's in.
This one adapts to the rack reasonably well too, and gives me some space to mount something in front of it. Soon as COVID blows over, I plan to have a few additional reinforcements added to the aluminum rack itself (and close up the original lock in an aesthetically pleasing fashion). For now, the combo will do.
The hub is noisier than the Bafang 36V's I've ridden before, but hey, it's a used eBay find. Top speed with the fixed, non-adjustable motor controller is 18mph. I was surprised that the PAS isn't that bad without torque sensing - it seemed to react according to upshifts, even though there's nothing other than my cadence to indicate any such change to the motor controller.
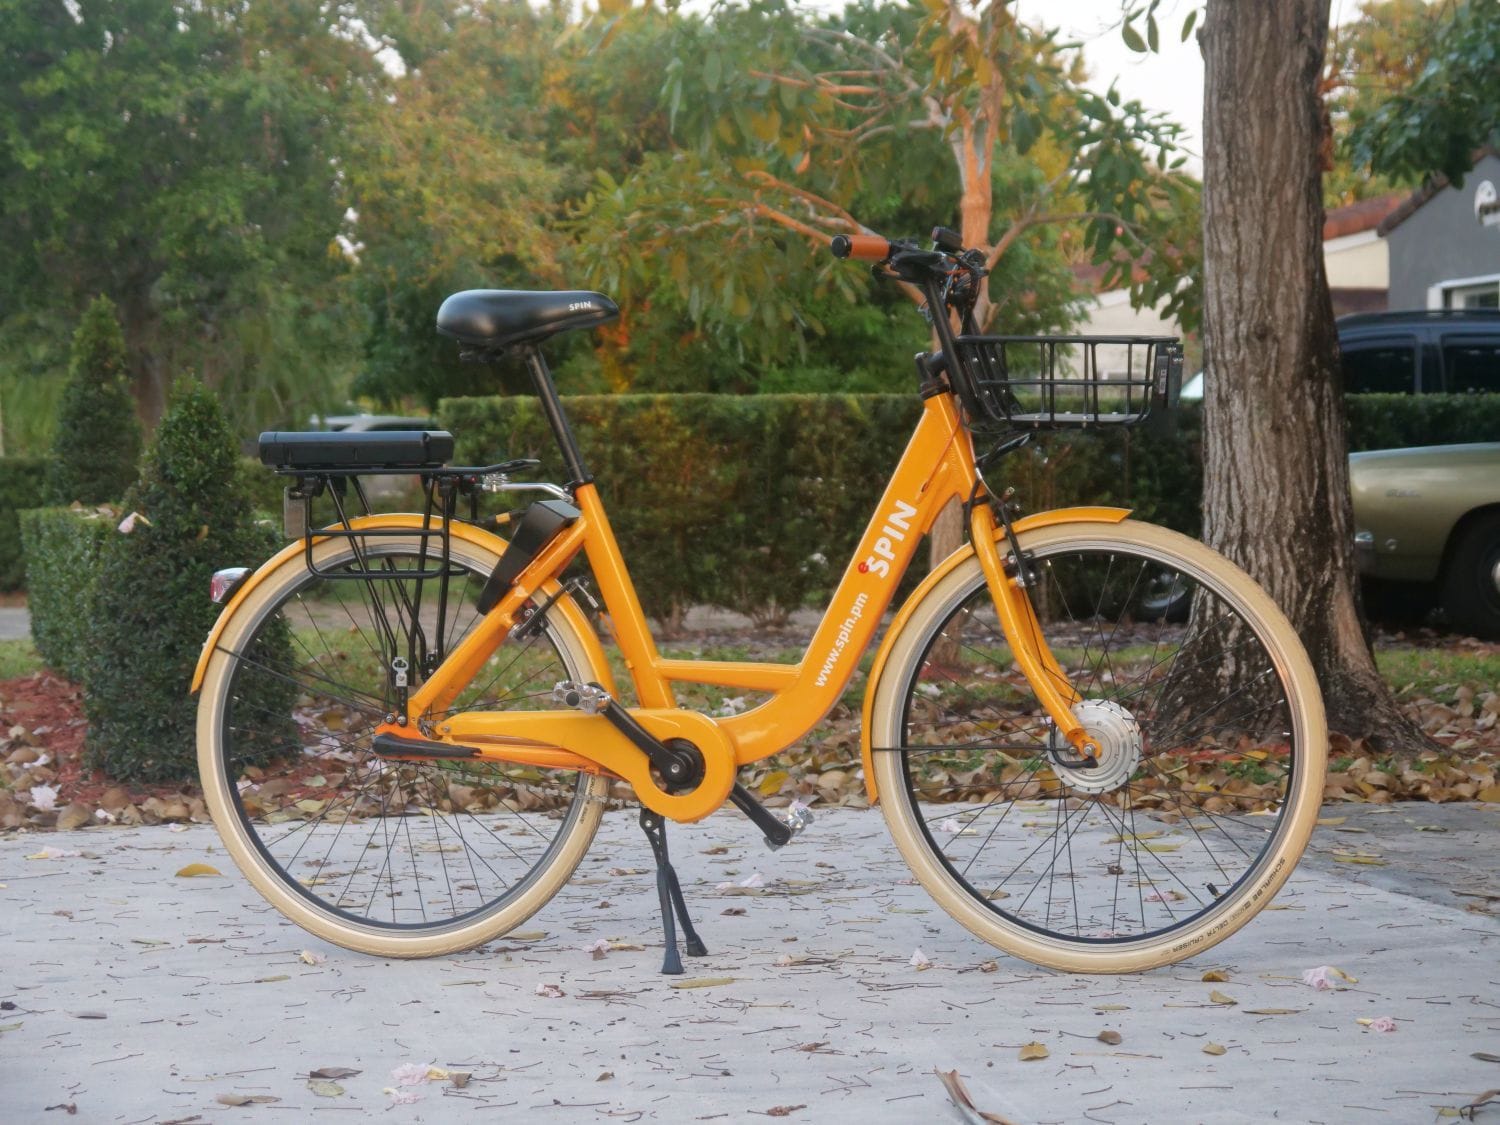


I also mounted a spare TackForm phone holder to the bars. I hate having a smartphone in front of my face, but at least I can be sure it won't fall off here.

-Kurt
This one adapts to the rack reasonably well too, and gives me some space to mount something in front of it. Soon as COVID blows over, I plan to have a few additional reinforcements added to the aluminum rack itself (and close up the original lock in an aesthetically pleasing fashion). For now, the combo will do.
The hub is noisier than the Bafang 36V's I've ridden before, but hey, it's a used eBay find. Top speed with the fixed, non-adjustable motor controller is 18mph. I was surprised that the PAS isn't that bad without torque sensing - it seemed to react according to upshifts, even though there's nothing other than my cadence to indicate any such change to the motor controller.
I also mounted a spare TackForm phone holder to the bars. I hate having a smartphone in front of my face, but at least I can be sure it won't fall off here.
-Kurt
__________________
Likes For cudak888:
Likes For spinnanz:
04-19-20, 07:38 PM
#30
www.theheadbadge.com
Thread Starter
Join Date: Sep 2005
Location: Southern Florida
Posts: 28,496
Bikes: https://www.theheadbadge.com
Mentioned: 124 Post(s)
Tagged: 0 Thread(s)
Quoted: 2412 Post(s)
Liked 4,373 Times
in
2,086 Posts
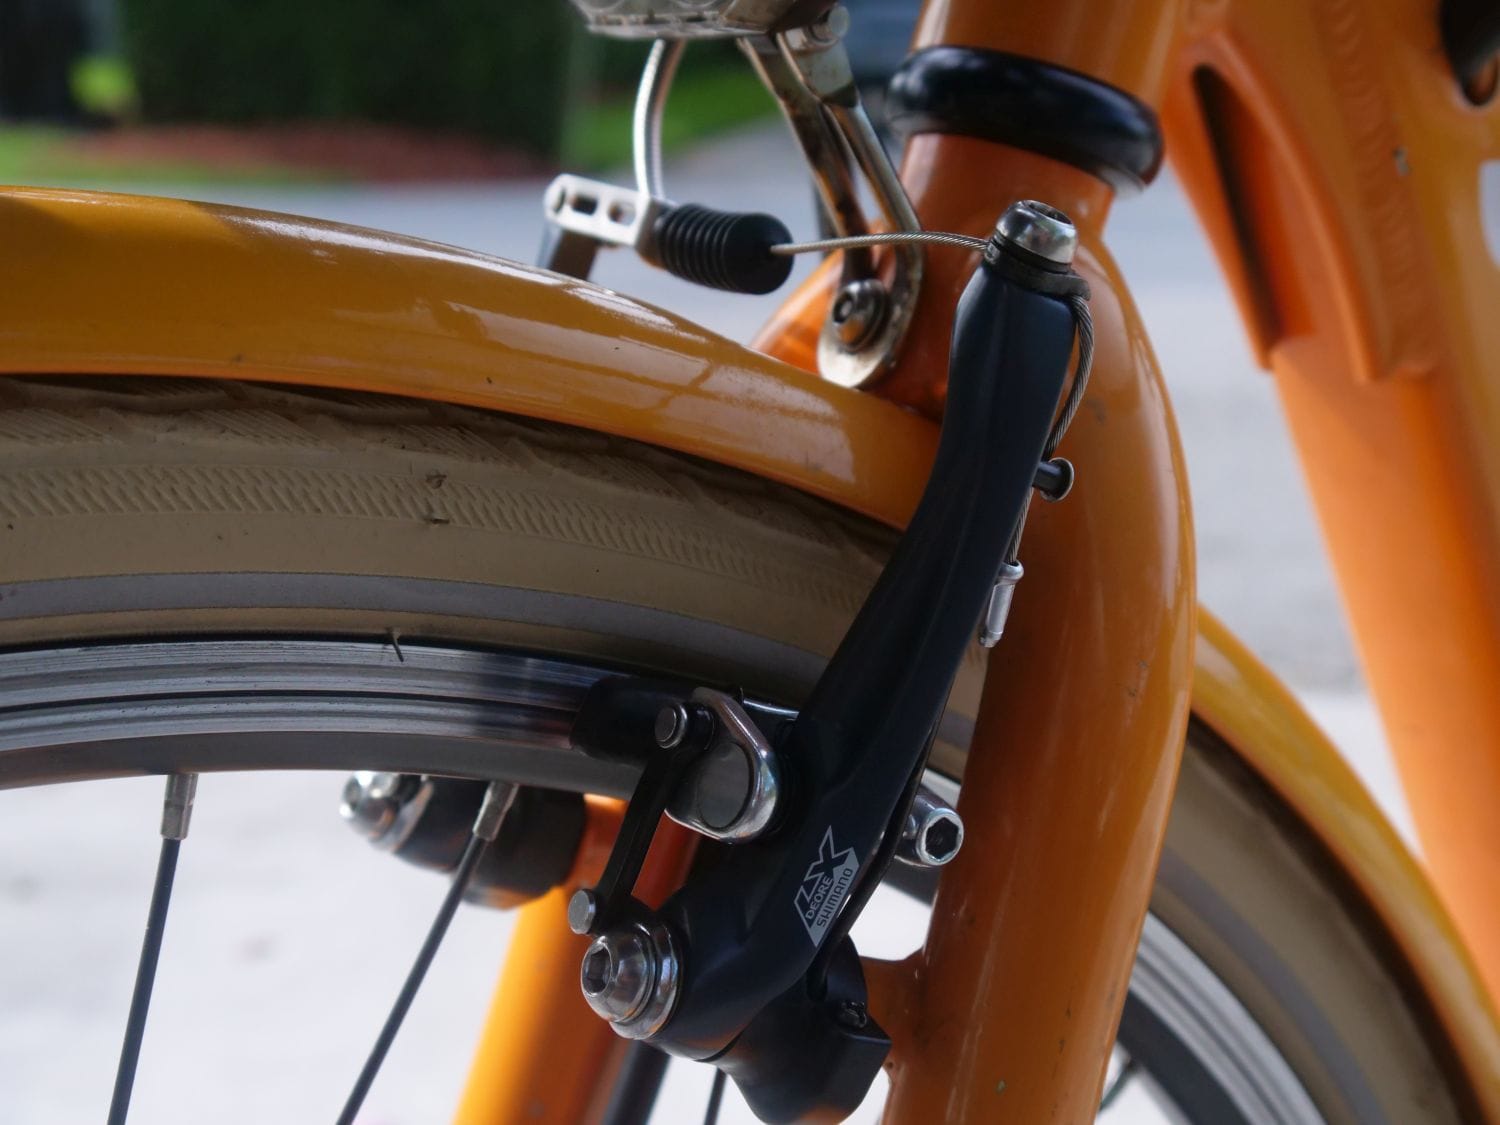
I've also been fighting a constant, ear-splitting squeal (loud enough to make anyone within 50' take note) with the Kool-Stop MTB pads - and it has nothing to do with speed; I can get them to squeal just feathering the brakes while pushing the bike along. Thought the pads were at fault, so I bought some others off eBay. Same thing. Tinkered with the toe-in to no avail.
That's when I discovered the ProMax V-brakes have a fair bit of play on the studs - enough that it's a fair guess that it's part of the harmonics causing the issue. I ordered some Shimano BR-T4000's to replace them with. Even though they're fairly budget brakes, they have an internal bushing that they pivot on, so the opportunity for harmonics should be much reduced.
Heck, everything else has been replaced on this thing...
-Kurt
__________________
04-27-20, 10:28 PM
#31
www.theheadbadge.com
Thread Starter
Join Date: Sep 2005
Location: Southern Florida
Posts: 28,496
Bikes: https://www.theheadbadge.com
Mentioned: 124 Post(s)
Tagged: 0 Thread(s)
Quoted: 2412 Post(s)
Liked 4,373 Times
in
2,086 Posts
Well, I should have heeded some of those discussions about current Shimano brakes not seating properly on many V-brake studs, because this happened:

Part of me is convinced that there was some embrittlement in the stud that was partially responsible for this failure too - very little torque led to the snapped stud. Even though Shimano's bolts are only 15mm long - rather than 20mm - the body of their brakes also bury the post/stud 5.5mm deeper than usual, which doesn't help.
Here's the same brake lever on a different stud with the same dimensions:


Fully seated on yet another spare (GT, I believe) fork:

Luckily, I have not one, but two spare second-gen Spins, so the frame is already wearing a replacement fork. It doesn't even look like I swapped it.
New plan is to test out a pair (front only; need to find another set) of older Shimano parallel-push Deore LX brakes. These older LX brakes don't have the same stud offset issue as the current Shimano V-brakes, and they're cheaper than the old XTRs if you price them out right.
I also replaced the original bargain-basement headset with a sealed Tange unit. For better or worse, the stack height of the new sealed unit was 5mm greater than the original, so I took the respective height off the bottom and the top of the headtube with my VAR headtube reamer. Never thought I'd be modifying the frame to fit the parts, rather than the other way around

-Kurt
Part of me is convinced that there was some embrittlement in the stud that was partially responsible for this failure too - very little torque led to the snapped stud. Even though Shimano's bolts are only 15mm long - rather than 20mm - the body of their brakes also bury the post/stud 5.5mm deeper than usual, which doesn't help.
Here's the same brake lever on a different stud with the same dimensions:
Fully seated on yet another spare (GT, I believe) fork:
Luckily, I have not one, but two spare second-gen Spins, so the frame is already wearing a replacement fork. It doesn't even look like I swapped it.
New plan is to test out a pair (front only; need to find another set) of older Shimano parallel-push Deore LX brakes. These older LX brakes don't have the same stud offset issue as the current Shimano V-brakes, and they're cheaper than the old XTRs if you price them out right.
I also replaced the original bargain-basement headset with a sealed Tange unit. For better or worse, the stack height of the new sealed unit was 5mm greater than the original, so I took the respective height off the bottom and the top of the headtube with my VAR headtube reamer. Never thought I'd be modifying the frame to fit the parts, rather than the other way around
-Kurt
__________________
Last edited by cudak888; 04-27-20 at 11:43 PM.
05-09-20, 07:50 PM
#32
www.theheadbadge.com
Thread Starter
Join Date: Sep 2005
Location: Southern Florida
Posts: 28,496
Bikes: https://www.theheadbadge.com
Mentioned: 124 Post(s)
Tagged: 0 Thread(s)
Quoted: 2412 Post(s)
Liked 4,373 Times
in
2,086 Posts
Parallel-push Deore LX brake arms now grace the E-Spin. I was lucky enough to get NOS arms, though from different sources.
I should clarify that though the LX arms are nice, they did not solve the squeal at all. It took some soft, el-cheapo brake pads from Amazon to finally quiet everything down, and even still, said pads are magnets for picking up aluminum shards off the rims. I can't figure out whether these pads are just mediocre, or whether the stock rims are made with banana-peel grade aluminum.

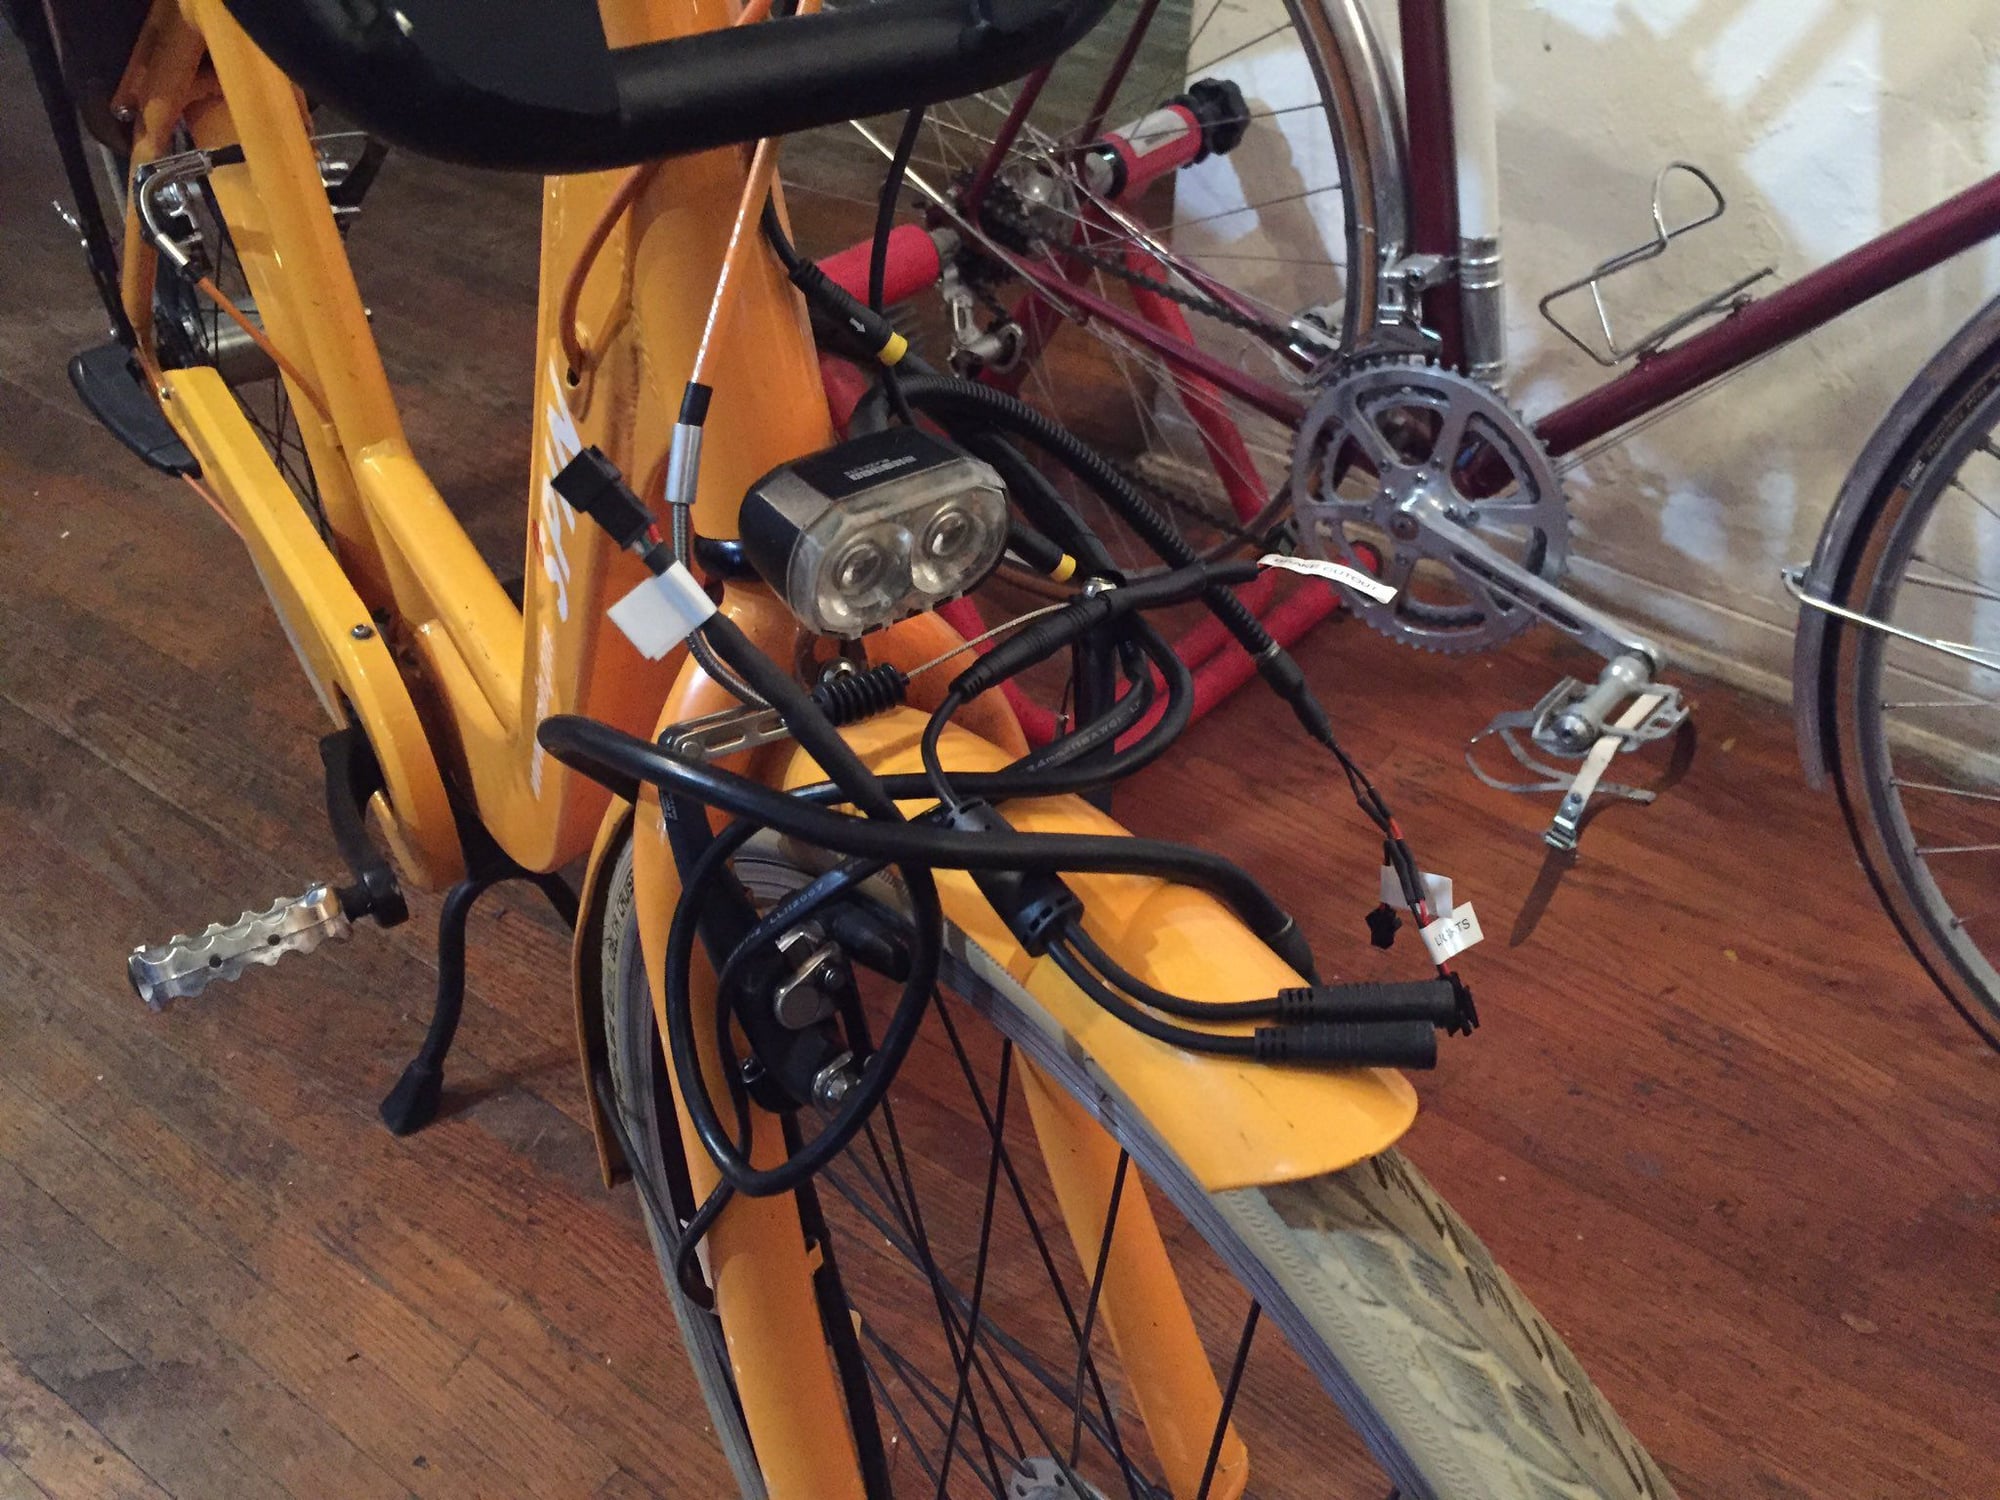
I also added a project box under the front basket to file all the front cables into. The screws on top were countersunk and covered with thin, clear peel-and-stick plastic to prevent damage to the solar panel above it.


Next step is to get some grommets for the wires and sort out the lighting system (and the main on/off switches).
-Kurt
I should clarify that though the LX arms are nice, they did not solve the squeal at all. It took some soft, el-cheapo brake pads from Amazon to finally quiet everything down, and even still, said pads are magnets for picking up aluminum shards off the rims. I can't figure out whether these pads are just mediocre, or whether the stock rims are made with banana-peel grade aluminum.
I also added a project box under the front basket to file all the front cables into. The screws on top were countersunk and covered with thin, clear peel-and-stick plastic to prevent damage to the solar panel above it.
Next step is to get some grommets for the wires and sort out the lighting system (and the main on/off switches).
-Kurt
__________________
Last edited by cudak888; 05-09-20 at 07:57 PM.
07-18-20, 06:22 PM
#33
www.theheadbadge.com
Thread Starter
Join Date: Sep 2005
Location: Southern Florida
Posts: 28,496
Bikes: https://www.theheadbadge.com
Mentioned: 124 Post(s)
Tagged: 0 Thread(s)
Quoted: 2412 Post(s)
Liked 4,373 Times
in
2,086 Posts
I'll post better pictures soon, but I decided to upgrade the motor controller to the same model that spinnanz has, along with the S886 LCD.
In doing so, I decided that it'd make a lot more sense to move the controller to the box under the rack, thus clearing up the mess inside the lock. It'd also give me a chance to ditch the extra-long motor phase wires going through the frame and the brake cutouts. Instead, only the 24V power and PAS wiring would have to run to the front.
It's going to get crowded in that box really quickly...
Nevertheless, it gave me a perfect opportunity to clean up the wiring in the back, and close up the lock the way it was intended to look (even though it's empty now).
Cookie to whoever figures out how I hid the wires.

-Kurt
In doing so, I decided that it'd make a lot more sense to move the controller to the box under the rack, thus clearing up the mess inside the lock. It'd also give me a chance to ditch the extra-long motor phase wires going through the frame and the brake cutouts. Instead, only the 24V power and PAS wiring would have to run to the front.
It's going to get crowded in that box really quickly...
Nevertheless, it gave me a perfect opportunity to clean up the wiring in the back, and close up the lock the way it was intended to look (even though it's empty now).
Cookie to whoever figures out how I hid the wires.
-Kurt
__________________


