


Obsolete or Make your Own Bicycle Graphics Tip
 10-27-19, 09:21 PM
#26
Junior Member
Join Date: Oct 2019
Posts: 12
Mentioned: 0 Post(s)
Tagged: 0 Thread(s)
Quoted: 4 Post(s)
Likes: 0
Liked 0 Times
in
0 Posts
I just use tracing paper to make a quick reference sketch of the decal to deal with geometric distortion. Once that's imported and you have the scale correct you can set it and the photograph as background images and do the vector work on top. Once you're done you just drop out the background layers. Inkscape is free and there are lots of tutorials for it out there. I was a complete novice and it only took about a week of evenings to learn the program and draw up a full decal set for my Lygie.
 10-28-19, 03:56 AM
#27
Senior Member

Join Date: Dec 2006
Location: Colorado
Posts: 568
Bikes: Forty of them
Mentioned: 10 Post(s)
Tagged: 0 Thread(s)
Quoted: 99 Post(s)
Likes: 0
Liked 33 Times
in
21 Posts
this technique with photos to illustrate how it is done.
https://lixbmx.com/tips-for-tracing-survivor-decals
https://lixbmx.com/tips-for-tracing-survivor-decals
If you have enough to get some major dimensional references you can work mainly from photographs as I describe above. I'd have to see what you have left to be able to say whether it'd be possible. I've come to enjoy decal artwork reproduction quite a bit so send me some pics and I'll try to give you advice if nothing else.
10-28-19, 08:34 AM
#28
Senior Member
Join Date: Sep 2015
Location: Left Coast, Canada
Posts: 5,126
Mentioned: 24 Post(s)
Tagged: 0 Thread(s)
Quoted: 2236 Post(s)
Liked 1,314 Times
in
707 Posts
I did something similar on a build using a stencil I found to create some lettering and pinstriping.


The paint came out looking to "proud" and my plan was to then lightly sand away part of it for a patina'd look.

20180721_160525[1] by dc460, on Flickr


The paint came out looking to "proud" and my plan was to then lightly sand away part of it for a patina'd look.
20180721_160525[1] by dc460, on Flickr
Likes For Happy Feet:
10-28-19, 10:40 AM
#29

Senior Member

Join Date: Sep 2011
Location: Baltimore MD
Posts: 3,332
Bikes: '72 Motobecane Grand Record, '72 Gitane tandem, '72 Raleigh Super Course, '73 Raleigh Gran Sport, '73 Colnago Super, '76 Fiorelli Coppi, '78 Raleigh SBDU Team Pro, '78 Trek 930, '81 Holdsworth Special 650B, '86 Masi GC, ’94 Bridgestone RB-T
Mentioned: 67 Post(s)
Tagged: 0 Thread(s)
Quoted: 786 Post(s)
Liked 520 Times
in
281 Posts
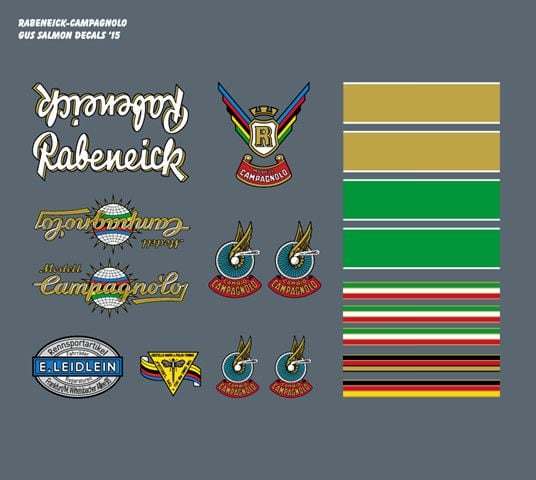
Gus Salmon does a lot of recreations of bike graphics. He may already have something for your AD.

And Cyclomondo has a couple AD sheets:
CYCLOMONDO - Switzerland and Austria
And Cyclomondo has a couple AD sheets:
CYCLOMONDO - Switzerland and Austria
__________________
The man who dies with the most toys�is dead. - Rootboy
The man who dies with the most toys�is dead. - Rootboy
Last edited by jeirvine; 10-28-19 at 10:45 AM.
10-29-19, 03:30 AM
#30
Senior Member

Join Date: Apr 2007
Location: Thunder Bay, Ontario, Canada - burrrrr!
Posts: 11,674
Bikes: 1958 Rabeneick 120D, 1968 Legnano Gran Premio, 196? Torpado Professional, 2000 Marinoni Piuma
Mentioned: 210 Post(s)
Tagged: 0 Thread(s)
Quoted: 1372 Post(s)
Likes: 0
Liked 1,751 Times
in
938 Posts
Gus Salmon does a lot of recreations of bike graphics. He may already have something for your AD.
Making one's own decals is not all that hard. To get good ones, however, does take more effort than I put into this first ever decal set that I made...

The next set taught me a thing of two about color of decal paper. If clear, then the colors do not show up as well and white leave other issues to deal with. None the less, this old Carlton is fitted with a set of home made decals...

__________________
"98% of the bikes I buy are projects".
"98% of the bikes I buy are projects".
11-12-19, 11:36 AM
#31
�Senior� Member
Last edited by obuckler; 11-12-19 at 11:40 AM.
11-13-19, 05:50 AM
#32
Senior Member

Join Date: Oct 2013
Location: Great White North
Posts: 926
Bikes: I have a few
Mentioned: 6 Post(s)
Tagged: 0 Thread(s)
Quoted: 340 Post(s)
Liked 210 Times
in
104 Posts
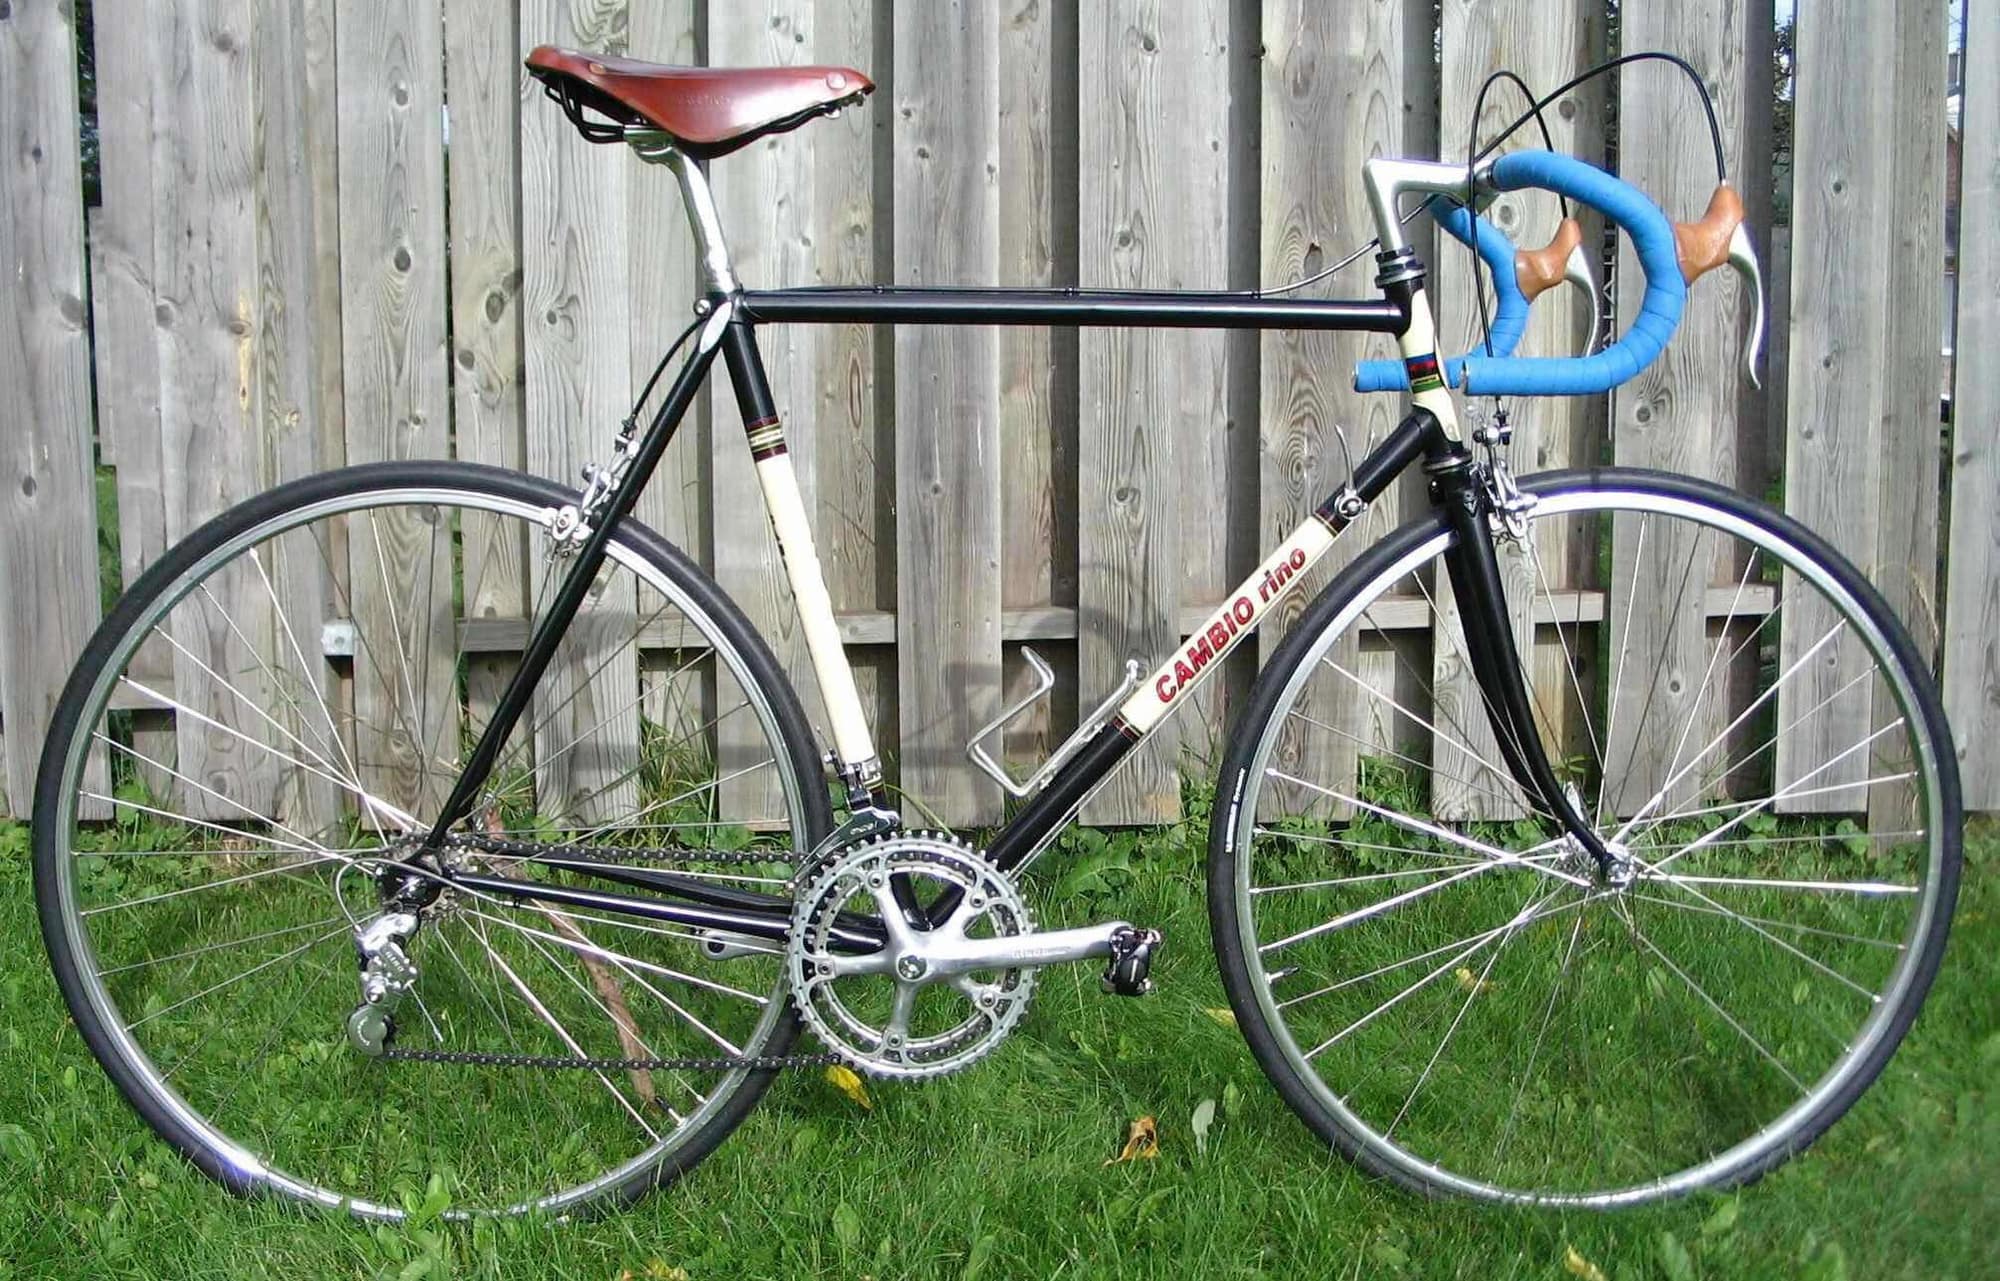
I went the simple way and used photoshop and waterslide printer paper to make pinstripes, lettering and solid color bands. IMO they are VERY delicate to apply and anything with white is a no-can-do, I had to buy the badges and 501 decal. Another issue is where the decals overlap (red bands) the color becomes darker.
Last edited by daviddavieboy; 11-13-19 at 05:55 AM. Reason: added picture
11-13-19, 07:26 AM
#33
Senior Member

Join Date: May 2016
Location: Southeast US
Posts: 921
Mentioned: 9 Post(s)
Tagged: 0 Thread(s)
Quoted: 318 Post(s)
Liked 149 Times
in
104 Posts
I went the simple way and used photoshop and waterslide printer paper to make pinstripes, lettering and solid color bands. IMO they are VERY delicate to apply and anything with white is a no-can-do, I had to buy the badges and 501 decal. Another issue is where the decals overlap (red bands) the color becomes darker.
Nice-looking result either way.
11-13-19, 09:58 AM
#34
Senior Member
Join Date: Oct 2013
Location: Great White North
Posts: 926
Bikes: I have a few
Mentioned: 6 Post(s)
Tagged: 0 Thread(s)
Quoted: 340 Post(s)
Liked 210 Times
in
104 Posts
There is no white from my inkjet printer and I used clear waterslide paper. The other option would be to print on the white paper but I don't think I would be able to cut around the rest of the graphic perfectly.
The photos are before the frame was clear coated and they really blended in when done.
The photos are before the frame was clear coated and they really blended in when done.
Likes For daviddavieboy:
11-13-19, 02:55 PM
#35
Senior Member
There is no white from my inkjet printer and I used clear waterslide paper. The other option would be to print on the white paper but I don't think I would be able to cut around the rest of the graphic perfectly.
The photos are before the frame was clear coated and they really blended in when done.
The photos are before the frame was clear coated and they really blended in when done.
https://www.bikeforums.net/12134198-post9.html
11-13-19, 07:23 PM
#36
Senior Member
DIY bicycle graphics recreation.
Hi all,
All you guys are pretty dedicated and I think somewhat skilled. I didn't see any here that didn't inspire me or that I couldn't live with.
Now if I could take the time to stop buying old beaters and fix up the ones I have!.
All you guys are pretty dedicated and I think somewhat skilled. I didn't see any here that didn't inspire me or that I couldn't live with.
Now if I could take the time to stop buying old beaters and fix up the ones I have!.
Last edited by Nu2Miele; 11-13-19 at 07:26 PM.
11-20-19, 11:46 AM
#37
�Senior� Member
Here is my almost final result. Still need to cleanup some edges and corners with an xacto knife. In full disclosure a prior try was a fail as i ruined the mask on application. This time I laid it on over a mild soapy water solution which helped with alignment.
11-29-19, 07:36 PM
#38
Newbie
Not sure how you could cut an 'O' or 'S' or 'P' etc with a scalpel knife (maybe with a metal French square but then....)'. And Graphic Designers can be sausages....I remember having a very obscure Australian bike with decals in a variation of the font "Plaza". I bought the variation, ran it through Inkscape but then realised the original (bike label) designer had made the subtlest of changes to the font, meaning I would have to re-draw them by hand, lacking any software as I did. Gave up didn't I?
11-29-19, 10:01 PM
#39
�Senior� Member
Plaza is a cool Art Deco font. Most logos are never just a font... because I guess as you say designers are such �sausages,� and I am hoping the term is an endearment!
The �Ligie� was a good candidate for this certainly (never understood the variant spelling on Lygie though?). But if large enough and with the skill set curved letters can be done. I started out as a designer back when things were all done by hand. So not fazed by it and have all the old tools of the trade.
I used to have all the digital tools too and miss them, but they always came with the job so long gone. But most reproduction decals I see are usually never as accurate as I would like. I was always a perfectionist when I made things.
11-30-19, 10:50 AM
#40
Banned.
Join Date: Jan 2007
Posts: 297
Mentioned: 4 Post(s)
Tagged: 0 Thread(s)
Quoted: 97 Post(s)
Liked 106 Times
in
66 Posts
If the decal has a 'chrome' background like this example then what? Do you put a decal on shiny mylar? Where do you source the mylar or what is needed to make the shiny background? Thanks for your reply in advance.

12-01-19, 06:44 AM
#41
Strong Walker

I work as a Graphic Designer and restore bicycles. A combination of jobs that led me to a pretty trick way of making new, or re-creating bicycle graphics.
I thought I'd post the process here is case its of some use to someone.
I'm currently restoring a 1956 Dunelt and I know there's no way of tracking down new old stock, or replacement transfers and in any case a lot of graphics from this period were painted. Fortunately, between what was left of the original graphics and google images I found a good reference to start.
So here is what I do.
Step 1. Photograph or google a half decent image of what your trying to create.
Step 2. Re-draw the graphic. Ok, I do this sort of thing everyday but if you've got a basic drawing package and a bit of patience you can soon achieve good results. I'm using the technological route here, but, all of this can be could done by hand with a pencil and scalpel, like the old days!
Step 3. What I end up with on my computer is a 'vector file', a wireframe of the graphic. This type of file can be used with any plotter to cut the vinyl.
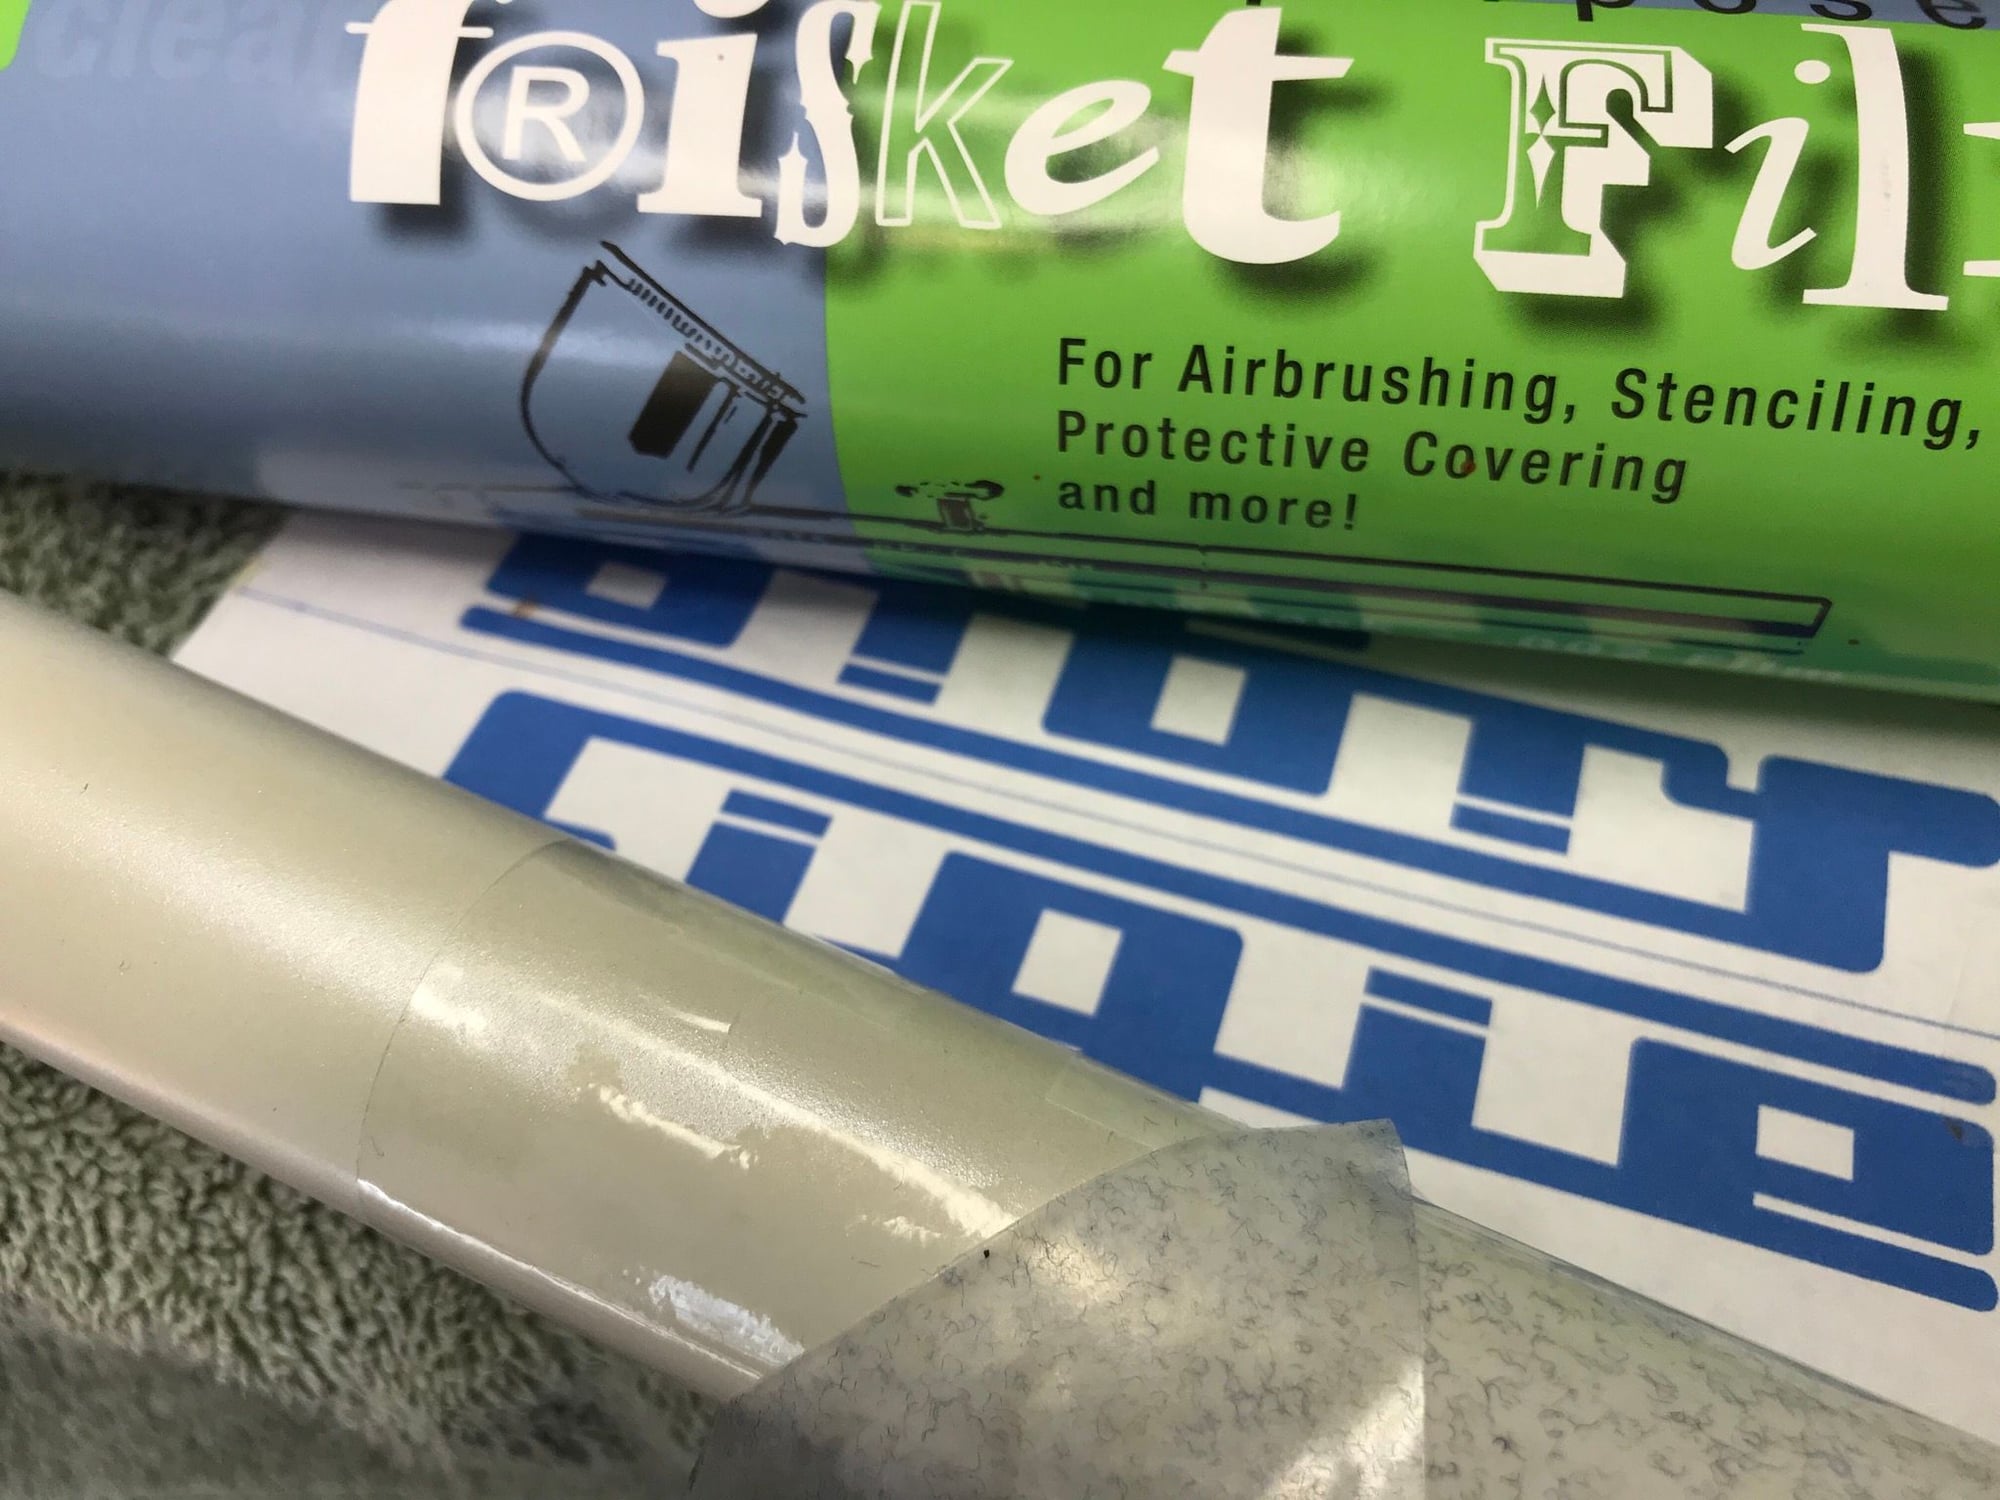
Step 4. The cut vinyl. Now I remove the vinyl where I want the paint to go.
Step 5. Obviously I can't remove the backer from the vinyl to stick it down without losing all my detailing bits. So, I apply a backer to the surface of the vinyl, masking tape or any low tack tape will do, rub it down hard. So now the vinyl is in a sandwich, masking tape on top, original backer underneath.
Step 6. I mark a couple of lines on the masking tape side to help with alignment.
Step 7. Now I can remove the vinyl backer, leaving the adhesive of the vinyl exposed.
Step 8. So that the vinyl doesn't 'grab' the surface, I wipe the frame with some soapy water, this enables me to move it into position and check alignment.
Step 9. Wipe down and leave to dry, then remove the masking tape, leaving the vinyl stuck in position. Make sure its completely dry, any water left under the vinyl will suck the paint underneath.
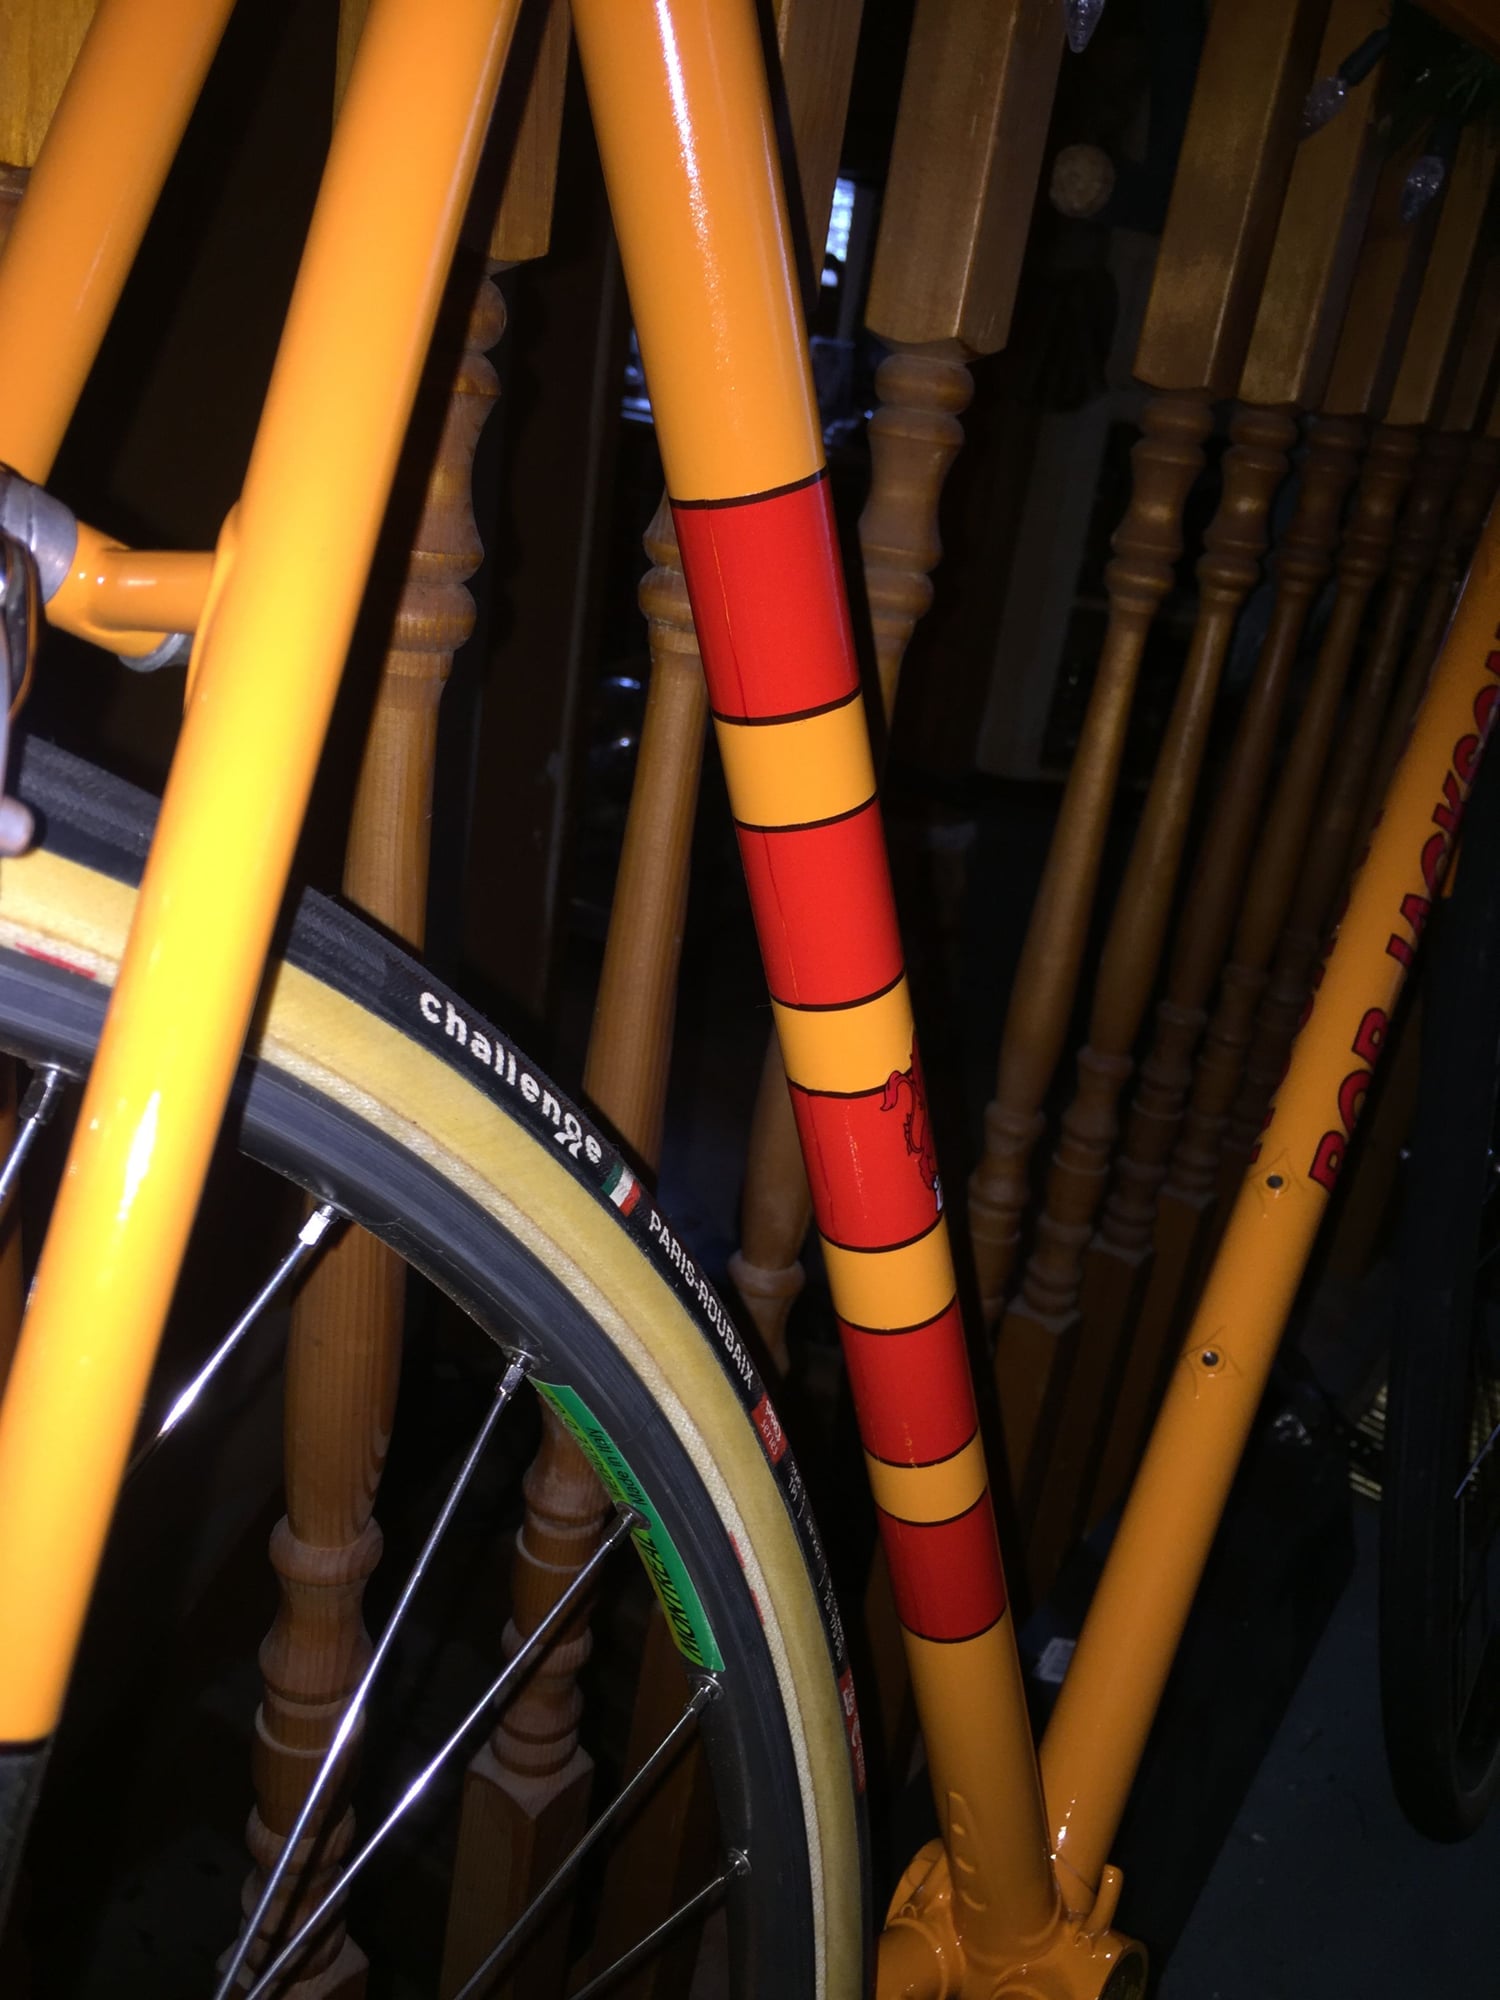
Step 10. Mask up and paint, I usually go for 2 light coats, leave to dry, remove vinyl, job done
The beauty of this is you can cut anything from logo's to pinlines. With some clever masking multi colour is also easy. Or for something amazing�. gold size and gold leaf!!
I thought I'd post the process here is case its of some use to someone.
I'm currently restoring a 1956 Dunelt and I know there's no way of tracking down new old stock, or replacement transfers and in any case a lot of graphics from this period were painted. Fortunately, between what was left of the original graphics and google images I found a good reference to start.
So here is what I do.
Step 1. Photograph or google a half decent image of what your trying to create.
Step 2. Re-draw the graphic. Ok, I do this sort of thing everyday but if you've got a basic drawing package and a bit of patience you can soon achieve good results. I'm using the technological route here, but, all of this can be could done by hand with a pencil and scalpel, like the old days!
Step 3. What I end up with on my computer is a 'vector file', a wireframe of the graphic. This type of file can be used with any plotter to cut the vinyl.
Step 4. The cut vinyl. Now I remove the vinyl where I want the paint to go.
Step 5. Obviously I can't remove the backer from the vinyl to stick it down without losing all my detailing bits. So, I apply a backer to the surface of the vinyl, masking tape or any low tack tape will do, rub it down hard. So now the vinyl is in a sandwich, masking tape on top, original backer underneath.
Step 6. I mark a couple of lines on the masking tape side to help with alignment.
Step 7. Now I can remove the vinyl backer, leaving the adhesive of the vinyl exposed.
Step 8. So that the vinyl doesn't 'grab' the surface, I wipe the frame with some soapy water, this enables me to move it into position and check alignment.
Step 9. Wipe down and leave to dry, then remove the masking tape, leaving the vinyl stuck in position. Make sure its completely dry, any water left under the vinyl will suck the paint underneath.
Step 10. Mask up and paint, I usually go for 2 light coats, leave to dry, remove vinyl, job done
The beauty of this is you can cut anything from logo's to pinlines. With some clever masking multi colour is also easy. Or for something amazing�. gold size and gold leaf!!
12-01-19, 07:24 AM
#42
Senior Member

Join Date: Jun 2006
Location: NW Burbs, Chicago
Posts: 12,054
Mentioned: 201 Post(s)
Tagged: 0 Thread(s)
Quoted: 3015 Post(s)
Liked 3,797 Times
in
1,408 Posts
But if you want to own, craft-level cutters are about $200 each. I have no idea to their quality because my vinyl needs do not justify the cost of owning.
12-02-19, 10:23 AM
#43
Strong Walker
I don't know about Germany, but in the US pretty much every sign shop has a vinyl plotter. Their charge to make anything seen in this thread would be under $10.
But if you want to own, craft-level cutters are about $200 each. I have no idea to their quality because my vinyl needs do not justify the cost of owning.
But if you want to own, craft-level cutters are about $200 each. I have no idea to their quality because my vinyl needs do not justify the cost of owning.
Also, i have a few ideas for future projects; and i would be willing to spend those 200 quid. Question is, which of those in the price range don't completely suck. i'm not a fan of having to use a proprietary software for example, or not being able to get replacement consumables a few years from now...
12-02-19, 10:43 AM
#44
Just call me Carrie

Yes i know about the vinyl cutting services and i agree it is probably the most effective solution spending-wise, but knowing myself, there will be a rather elongated trial/error period Also, i have a few ideas for future projects; and i would be willing to spend those 200 quid. Question is, which of those in the price range don't completely suck. i'm not a fan of having to use a proprietary software for example, or not being able to get replacement consumables a few years from now...
Also, i have a few ideas for future projects; and i would be willing to spend those 200 quid. Question is, which of those in the price range don't completely suck. i'm not a fan of having to use a proprietary software for example, or not being able to get replacement consumables a few years from now...
__________________
I was going to have a good signature but apparently I'm too verbose.
I was going to have a good signature but apparently I'm too verbose.
Likes For Stephen79:
12-06-19, 09:52 PM
#46
Banned.
Join Date: Jan 2007
Posts: 297
Mentioned: 4 Post(s)
Tagged: 0 Thread(s)
Quoted: 97 Post(s)
Liked 106 Times
in
66 Posts
Stephen79- I'll keep looking. I did purchase some graphics for a project and although close... no cigar! When comparisons were made there were discrepancies. I'll have to experiment!

