


How to take out the freehub on Giant PR-2 wheel?
 01-26-20, 01:41 PM
#1
Junior Member
Thread Starter
Join Date: Jan 2020
Posts: 17
Mentioned: 0 Post(s)
Tagged: 0 Thread(s)
Quoted: 2 Post(s)
Likes: 0
Liked 2 Times
in
2 Posts
How to take out the freehub on Giant PR-2 wheel?
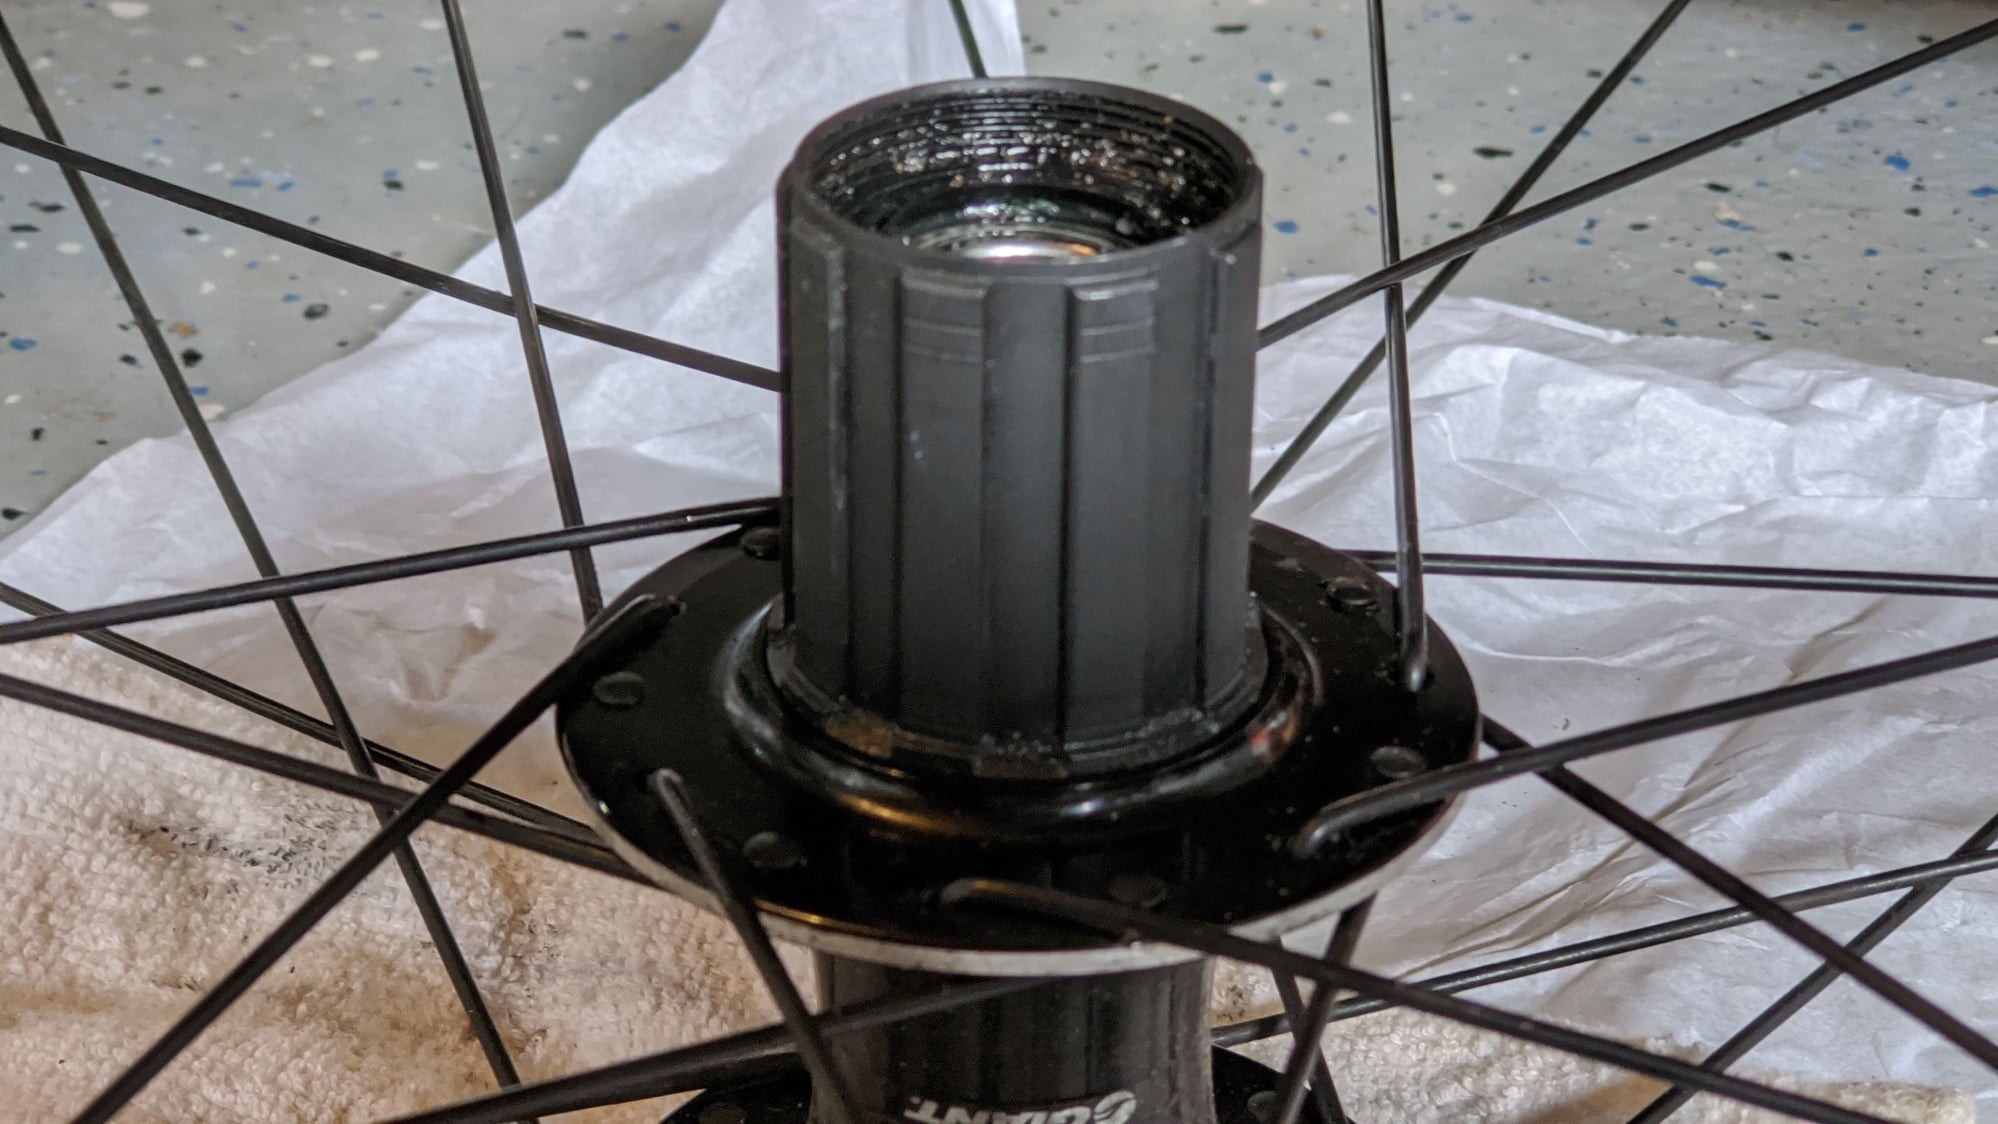
I have a 2017 Giant Defy road bike stock wheelset (Giant PR-2, 12mm through-axle) where the rear drive side bearing got busted. I am having problems taking the freehub out so that I can reach the bearing.
My experience with older wheels was that there is a 12mm Allen opening inside the freehub so that I can unscrew it. But this one has no alllen internal. It is all round inside .
Any advice is appreciated! Thanks!
My experience with older wheels was that there is a 12mm Allen opening inside the freehub so that I can unscrew it. But this one has no alllen internal. It is all round inside .
Any advice is appreciated! Thanks!
 02-02-20, 02:07 AM
#2
Junior Member
Thread Starter
Join Date: Jan 2020
Posts: 17
Mentioned: 0 Post(s)
Tagged: 0 Thread(s)
Quoted: 2 Post(s)
Likes: 0
Liked 2 Times
in
2 Posts
Bump. 
I have a 2017 Giant Defy road bike stock wheelset (Giant PR-2, 12mm through-axle) where the rear drive side bearing got busted. I am having problems taking the freehub out so that I can reach the bearing.
My experience with older wheels was that there is a 12mm Allen opening inside the freehub so that I can unscrew it. But this one has no alllen internal. It is all round inside .
Any advice is appreciated! Thanks!
My experience with older wheels was that there is a 12mm Allen opening inside the freehub so that I can unscrew it. But this one has no alllen internal. It is all round inside .
Any advice is appreciated! Thanks!
02-02-20, 02:16 AM
#3
Really Old Senior Member

Did you try a 10mm.
Try from the other side?
Try from the other side?
 02-02-20, 02:54 AM
#5
Really Old Senior Member
So you answered 1 of 2 questions.
02-02-20, 01:15 PM
#6
Junior Member
Those are a bit of a PITA. They loosen via a splined (not hex) socket from the non-drive side. You’d have to look at the service manual to be sure, but it is big (M13 or M14).
02-11-20, 02:50 AM
#7
Junior Member
Thread Starter
Join Date: Jan 2020
Posts: 17
Mentioned: 0 Post(s)
Tagged: 0 Thread(s)
Quoted: 2 Post(s)
Likes: 0
Liked 2 Times
in
2 Posts
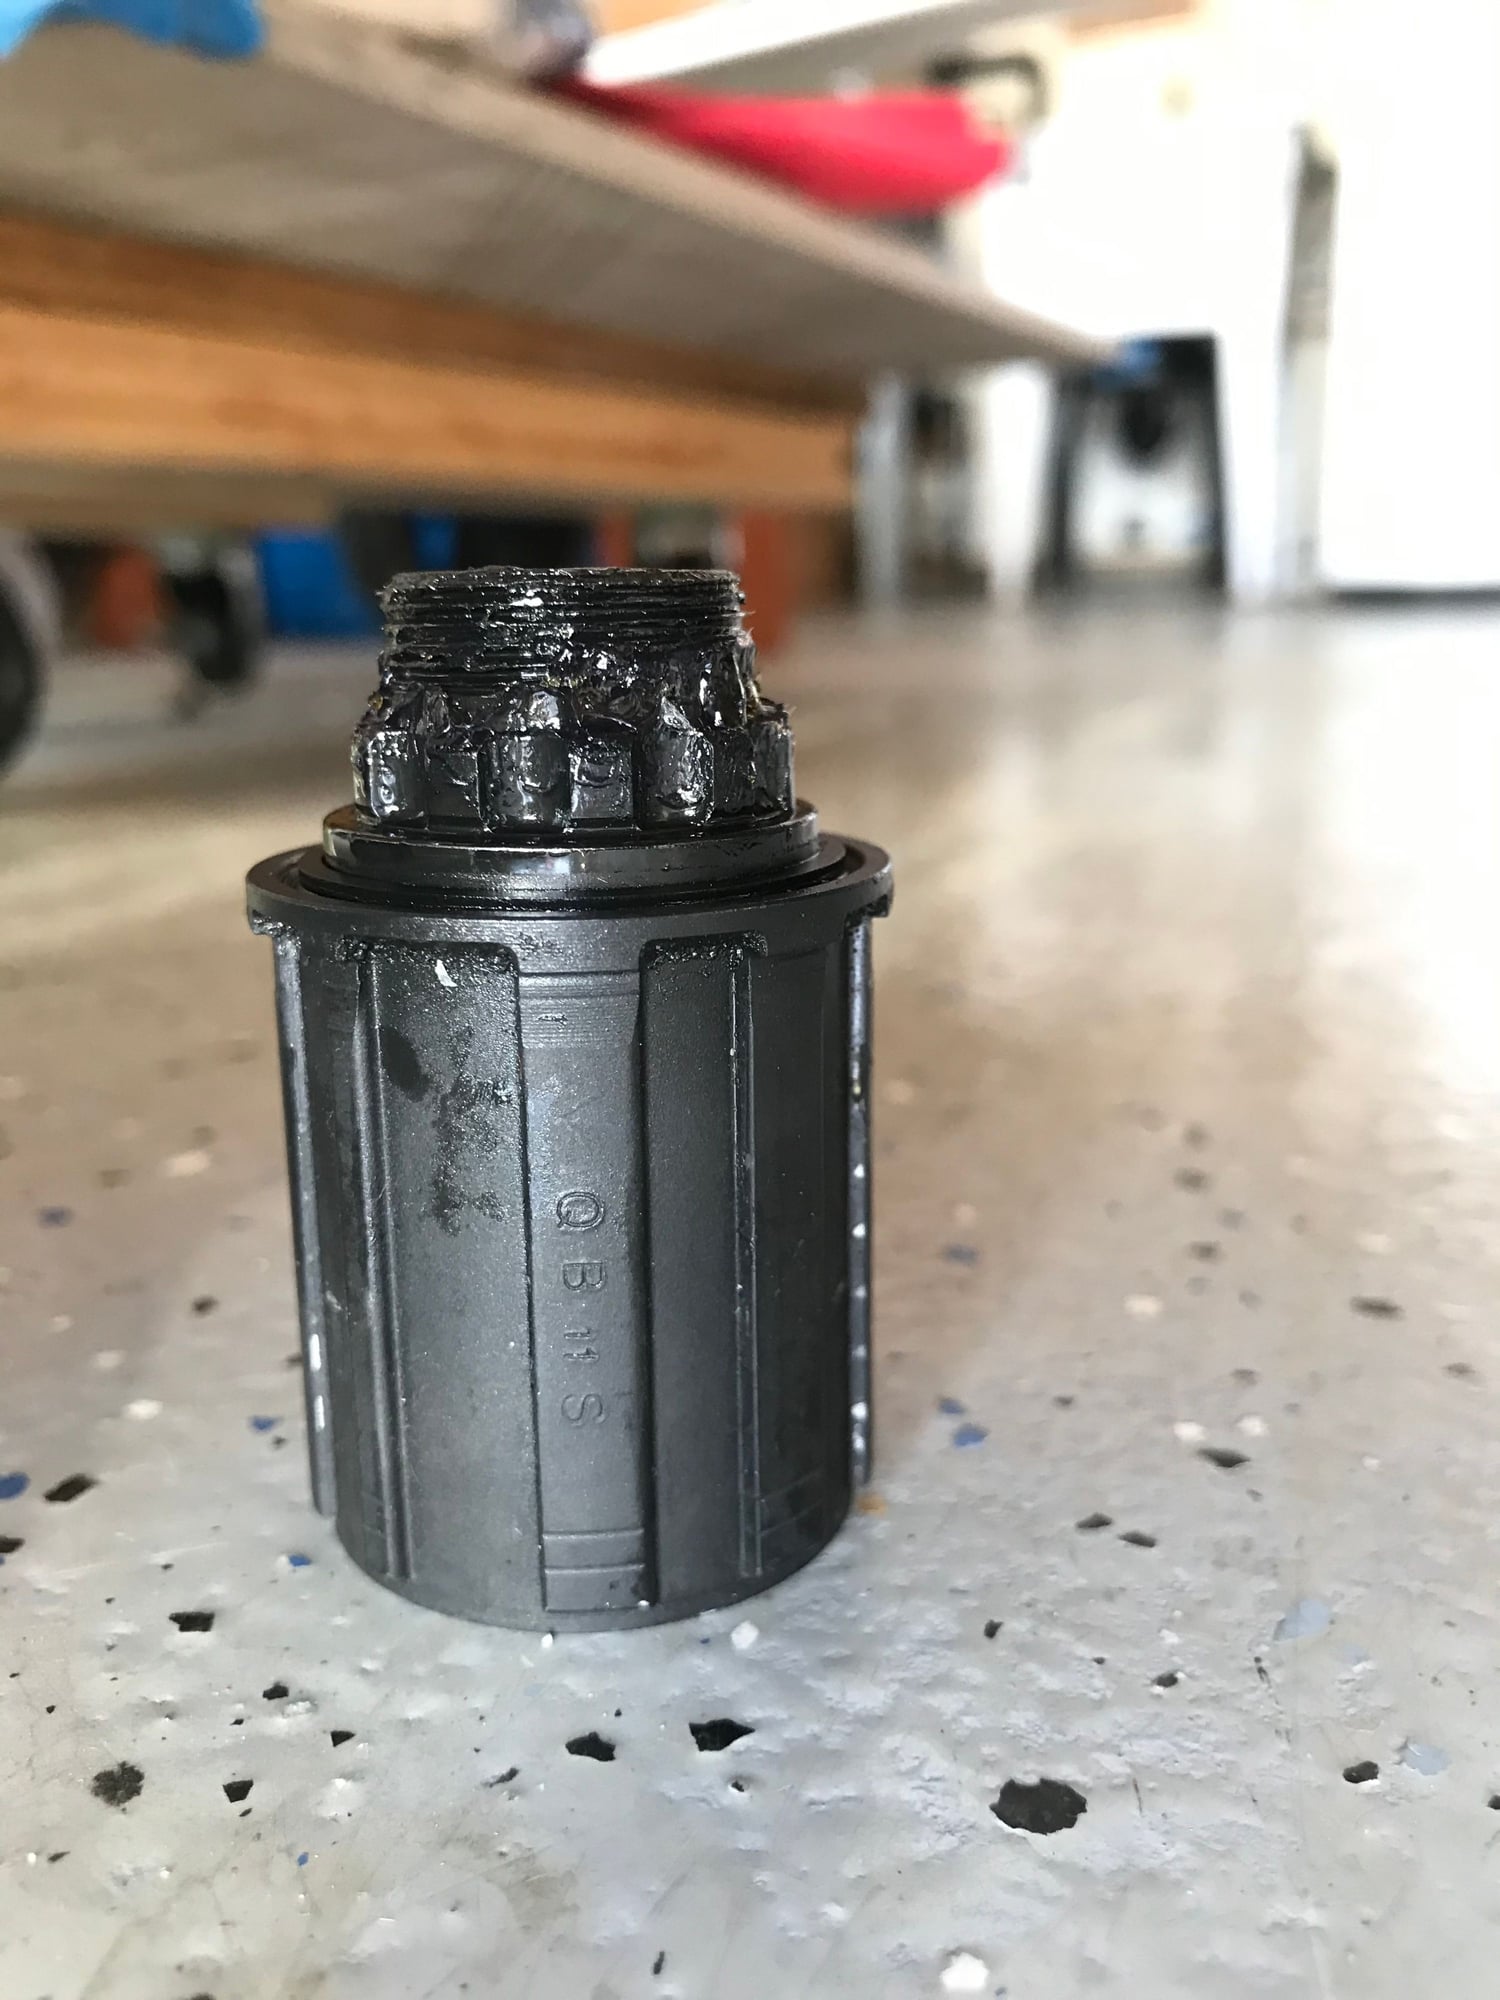
Thanks Bill K and bitpuddle! Really appreciate your insight. Now I got it. I have to knock the non-drive side bearing out and used a 14mm hex (not the right tool but it kinda work) to loosen the splined socket.
These are Giant specific parts. I found replacement from a UK website selling these giant wheel parts. https://www.giantbikespares.com/Gian...detail/3-43273
looks like I have to spend nearly $70 for two bearings and a freehubs including shipping. Hmmm.... I have to think about that. these are basic wheels that I hate to dump any money on.
 12-04-20, 01:12 AM
#8
Newbie
Join Date: Dec 2020
Posts: 1
Mentioned: 0 Post(s)
Tagged: 0 Thread(s)
Quoted: 0 Post(s)
Likes: 0
Liked 0 Times
in
0 Posts
Lidatation, do you remember which direction you turned then hex key to loosen it? My freehub is on really tight and just trying to confirm the direction before I go all in trying to remove my freehub.
12-09-21, 12:17 PM
#9
Newbie
Join Date: Dec 2021
Posts: 2
Mentioned: 0 Post(s)
Tagged: 0 Thread(s)
Quoted: 1 Post(s)
Likes: 0
Liked 0 Times
in
0 Posts
Fix it?
Did you manage to sort this? Did you have to remove just the none drive side bearing only?
also did the 14mm key work to remove the hub..
update..
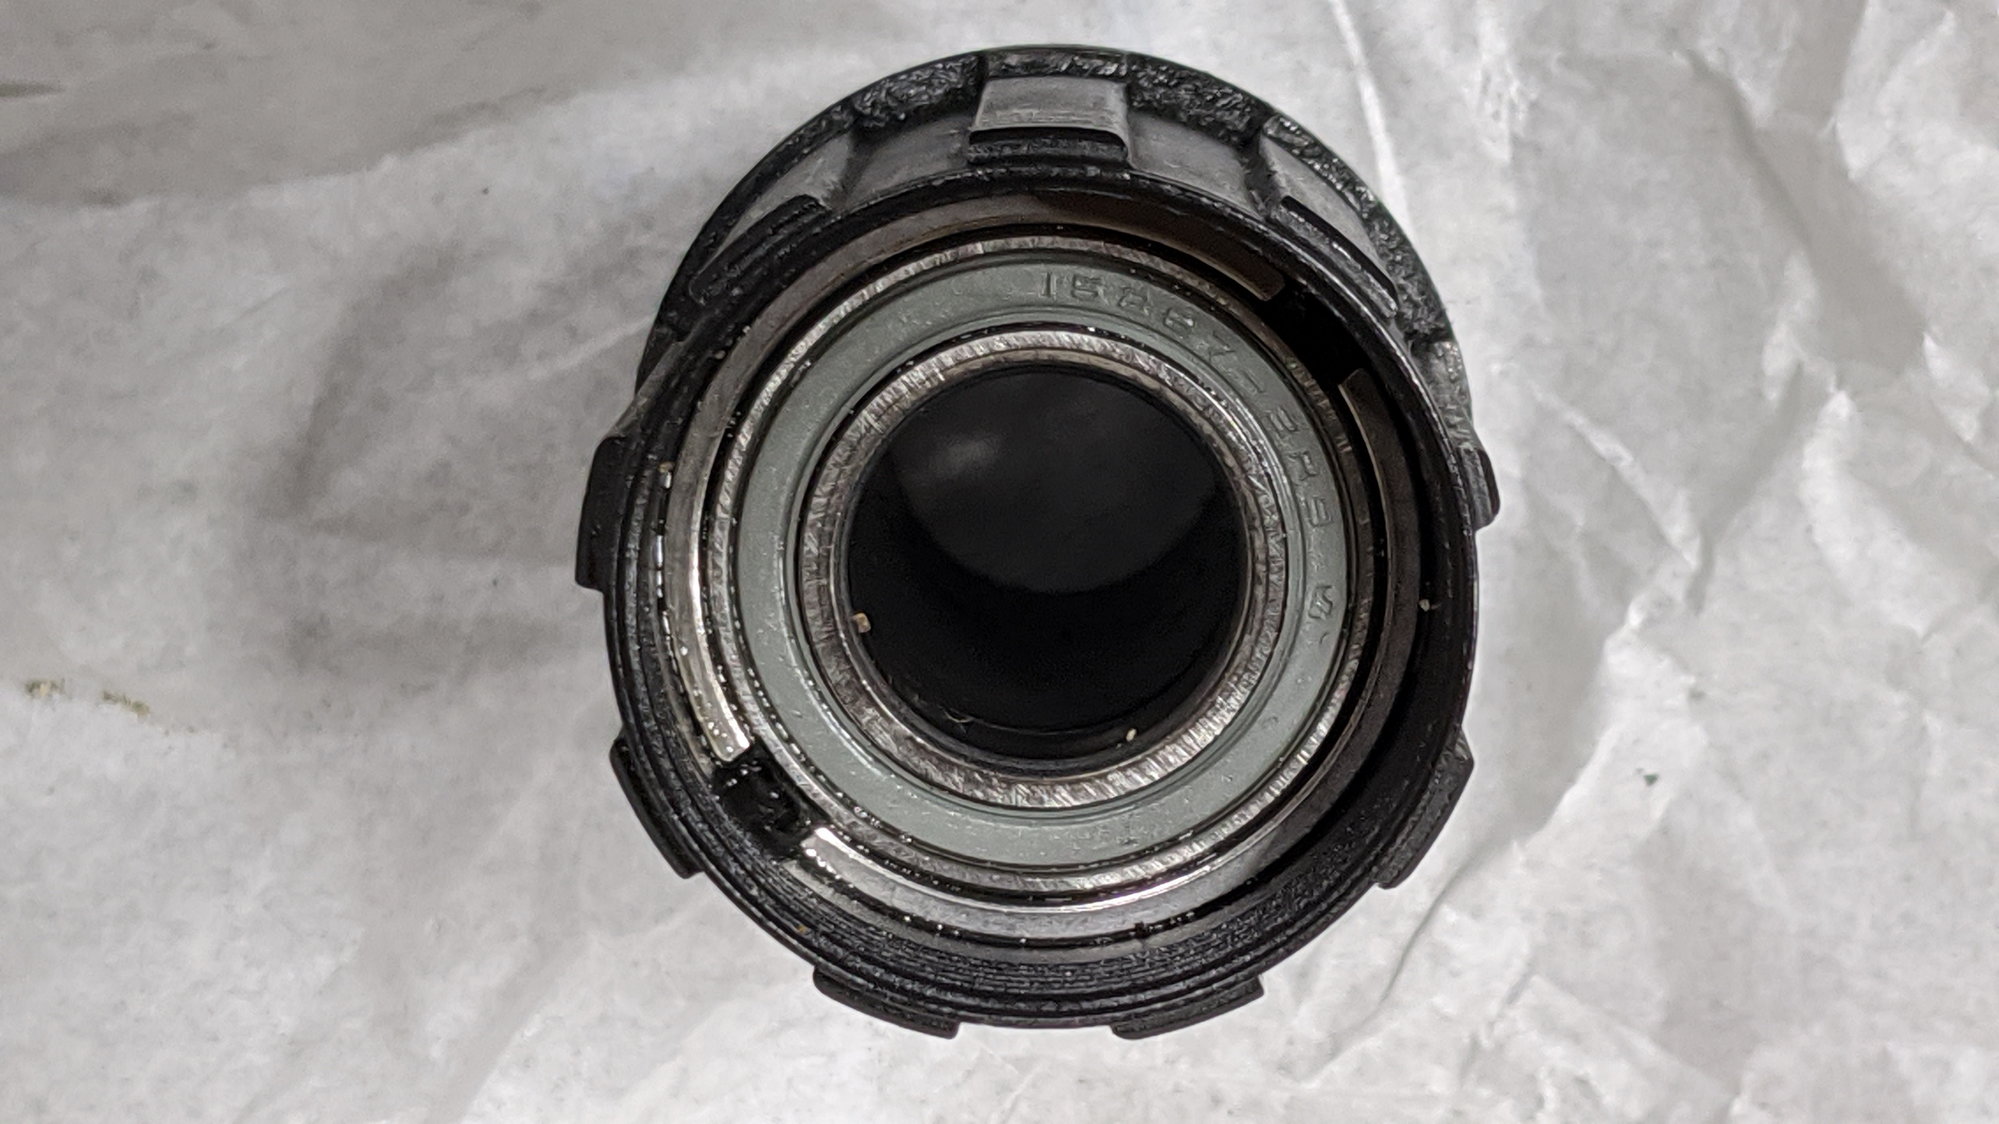
i removed the non drive side bearing the inserted a 14mm hex and put a socket bar on it to extend the leverage etc I had to hit that with a hammer to get it free but once free came off in seconds and other one back on in no time, bearing in and good to go.
However after purchasing a new job this also is taking after 12 months!!!! They are ****� going have to try and find an alternative that can be serviced as these are a joke�
also did the 14mm key work to remove the hub..
update..
i removed the non drive side bearing the inserted a 14mm hex and put a socket bar on it to extend the leverage etc I had to hit that with a hammer to get it free but once free came off in seconds and other one back on in no time, bearing in and good to go.
However after purchasing a new job this also is taking after 12 months!!!! They are ****� going have to try and find an alternative that can be serviced as these are a joke�
Last edited by ColW; 07-08-22 at 12:15 PM.
02-08-24, 05:27 AM
#10
Newbie
Join Date: Feb 2024
Posts: 2
Mentioned: 0 Post(s)
Tagged: 0 Thread(s)
Quoted: 2 Post(s)
Likes: 0
Liked 0 Times
in
0 Posts
Giant PR2 rear freehub
Did you manage to sort this? Did you have to remove just the none drive side bearing only?
also did the 14mm key work to remove the hub..
update..
i removed the non drive side bearing the inserted a 14mm hex and put a socket bar on it to extend the leverage etc I had to hit that with a hammer to get it free but once free came off in seconds and other one back on in no time, bearing in and good to go.
However after purchasing a new job this also is taking after 12 months!!!! They are ****� going have to try and find an alternative that can be serviced as these are a joke�
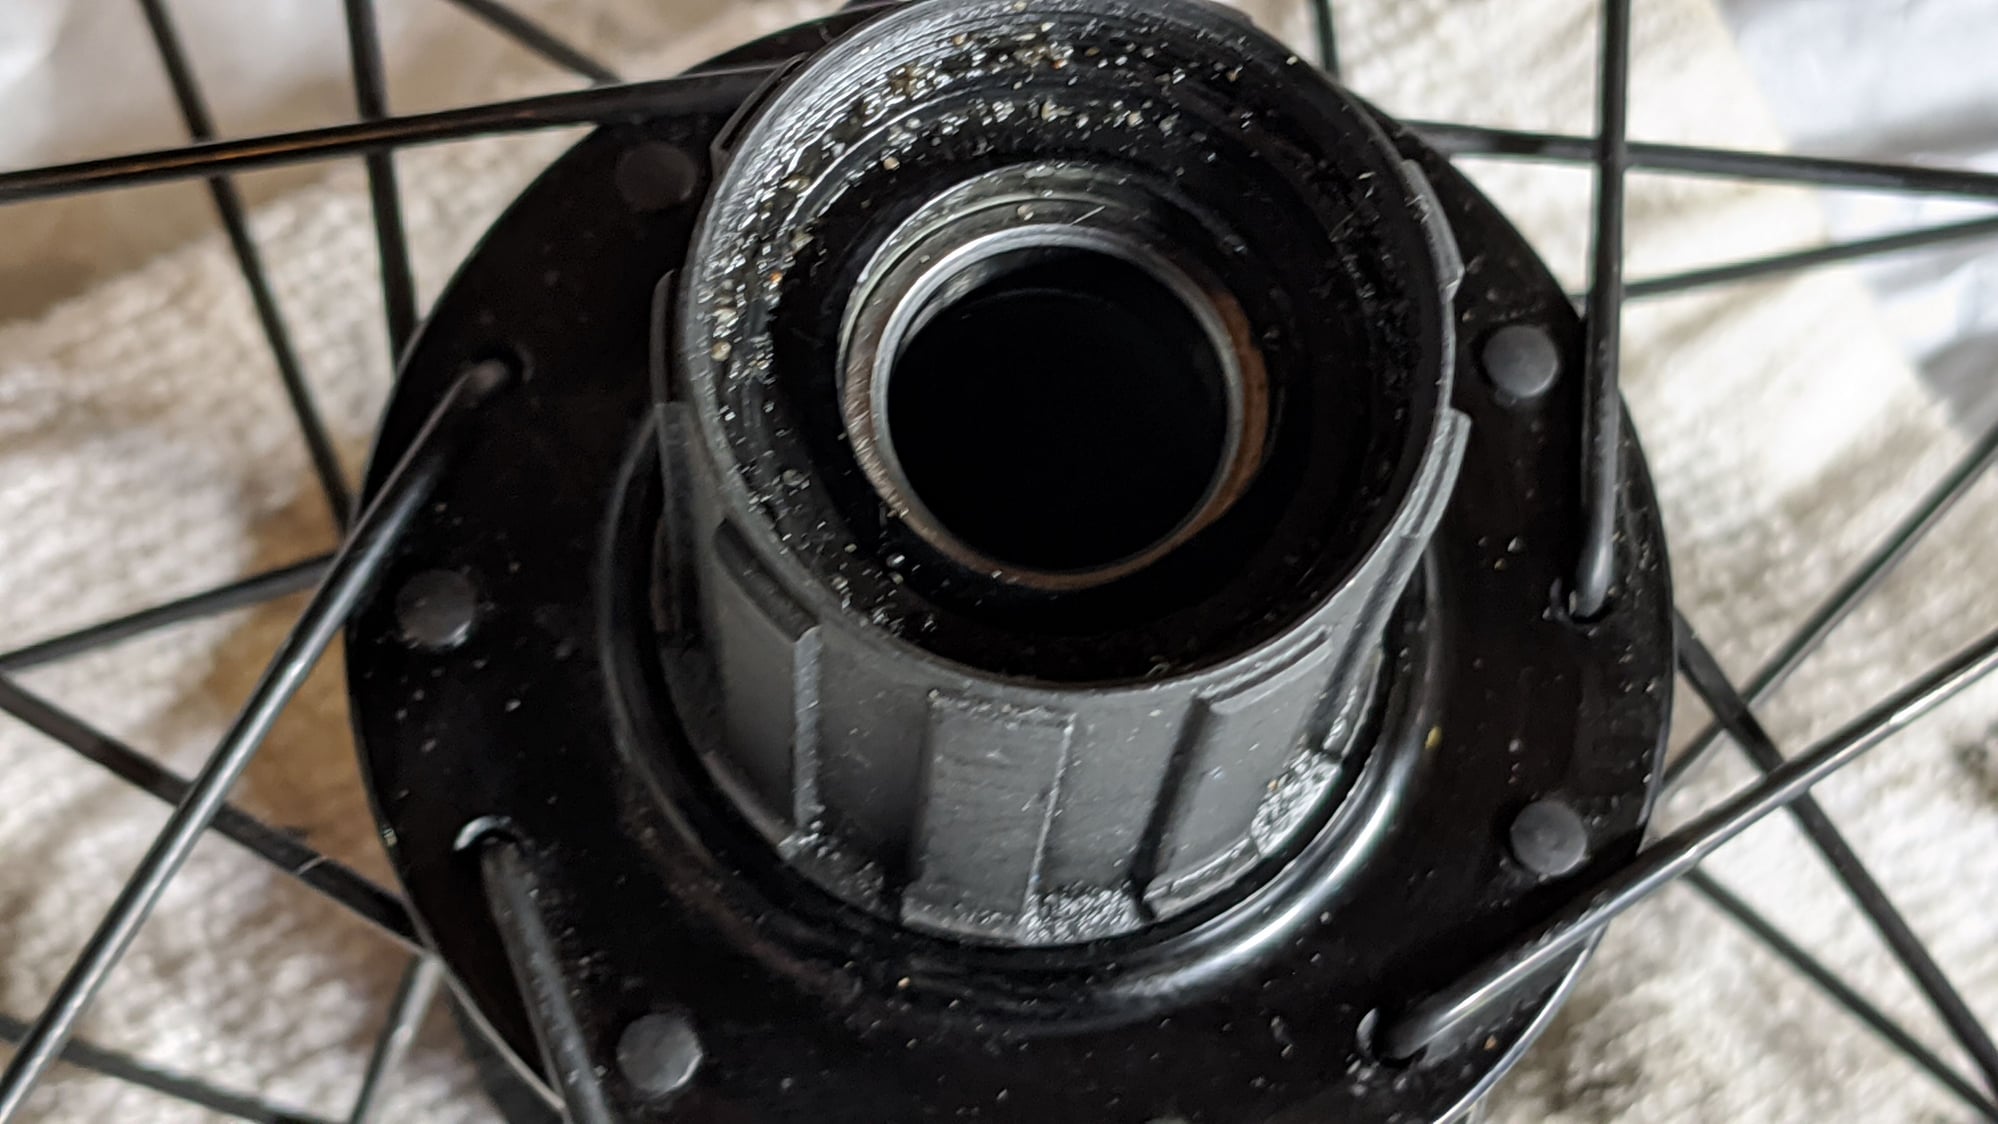
I've removed the brake disc rotor, the cone & locking nut and removed the axle.
A 14 mm hex will not fit inside from either drive or non drive side.
12 and 13mm hex keys go inside but don't engage the freehub.
How do you remove the non drive side bearing? Where/how do you hit this with a hammer?
Many thanks
02-08-24, 05:50 AM
#11

Senior Member

Join Date: Jan 2005
Location: Baltimore, MD
Posts: 5,371
Mentioned: 15 Post(s)
Tagged: 0 Thread(s)
Quoted: 2482 Post(s)
Liked 2,952 Times
in
1,677 Posts
I have a broken Giant Freehub on a Contend AR1 2021 and am having the same issues.
I've removed the brake disc rotor, the cone & locking nut and removed the axle.
A 14 mm hex will not fit inside from either drive or non drive side.
12 and 13mm hex keys go inside but don't engage the freehub.
How do you remove the non drive side bearing? Where/how do you hit this with a hammer?
Many thanks
Use a flashlight to look inside the freehub body. Confirm that an Allen key is the tool needed. Then, if it does take an Allen key, insert the long part of each of your three Allen keys in succession, from the smallest up, until you find the size that fits.
My guess is that you might have to insert the long part of the correct Allen key (the part you usually use as the handle) to reach far enough into the freehub.
Once you identify the correct Allen key, you'll have to use an extension on it to get the leverage you need, especially if you had to insert the long part of the key. (I use whatever pipe-shaped object is closest, such as a seatpost, as the extension.)
02-08-24, 11:26 AM
#12
Newbie
Join Date: Feb 2024
Posts: 2
Mentioned: 0 Post(s)
Tagged: 0 Thread(s)
Quoted: 2 Post(s)
Likes: 0
Liked 0 Times
in
0 Posts
Thanks Trakhaq,
I've knocked out the non drive side bearing and the 14 mm Allen key now fits into the non-drive side an engages the splines inside the freehub body.
Which way do you turn it?
I've knocked out the non drive side bearing and the 14 mm Allen key now fits into the non-drive side an engages the splines inside the freehub body.
Which way do you turn it?
02-08-24, 06:01 PM
#13
Senior Member
Join Date: Jan 2005
Location: Baltimore, MD
Posts: 5,371
Mentioned: 15 Post(s)
Tagged: 0 Thread(s)
Quoted: 2482 Post(s)
Liked 2,952 Times
in
1,677 Posts
It's a right-hand thread, so loosen counter-clockwise. You might have to use a pipe or something to get enough leverage.
02-09-24, 01:29 AM
#14
Newbie
Join Date: Dec 2021
Posts: 2
Mentioned: 0 Post(s)
Tagged: 0 Thread(s)
Quoted: 1 Post(s)
Likes: 0
Liked 0 Times
in
0 Posts
Good advice
That�s correct once the bearing was tapped out I inserted the hex key luckily mine was a long one so fitted but if short just use the other way. I then got some pipe etc to put on the end of it to get more leverage but as it was tight I had to hit a few times down in an anti clockwise direction I think it was as you working from the opposite side (but just look at the thread on the new one , east enough to work it out) then once free the rest too me probably 10 mins to complete� to get the bearing back in I just use a long bolt and a few washers on either side and tightened it up to use a a bearing press which works well 👌 job done
