


How do get good rim brake feel?
 08-28-19, 09:40 AM
#1
Newbie
Thread Starter
Join Date: Aug 2019
Posts: 1
Mentioned: 0 Post(s)
Tagged: 0 Thread(s)
Quoted: 2 Post(s)
Likes: 0
Liked 0 Times
in
0 Posts
How do get good rim brake feel?
I'm planning to buy a CAAD12/Ultegra with rim brakes. I noticed with some brands, the brakes have a smooth, buttery feel when you squeeze the brake lever. And with others, the cable feels sticky and resistant to movement through the housing. What accounts for the better feel, and how do you achieve it?
Thanks!
Thanks!
 08-28-19, 09:47 AM
#2
Senior Member
The sticky resistant needs to be replaced. New cable and housing is recommended.
08-28-19, 10:41 AM
#3
Senior Member
I'm planning to buy a CAAD12/Ultegra with rim brakes. I noticed with some brands, the brakes have a smooth, buttery feel when you squeeze the brake lever. And with others, the cable feels sticky and resistant to movement through the housing. What accounts for the better feel, and how do you achieve it?
Thanks!
Thanks!
Some housings come pre-greased on the inside. For housings that don't, it doesn't hurt to lightly lubricate the cable.
Tight bends in housing routing can add cable friction, minimize them.
Using low-compression/compressionless brake housing reduces spongyness in the system.
Make sure that the brake itself is moving freely, lubricate the pivots.
08-28-19, 11:16 AM
#4
Master Parts Rearranger

Join Date: Mar 2015
Location: Portlandia's Kuiper Belt, OR
Posts: 4,402
Bikes: 1982 Trek 720 - 1985 Trek 620 - 1984 Trek 620 - 1980 Trek 510 - Other luminaries past and present
Mentioned: 221 Post(s)
Tagged: 0 Thread(s)
Quoted: 1556 Post(s)
Liked 2,023 Times
in
989 Posts
All that and, when you get to the caliper itself, that the pads are toed in slightly (but not crazily) and that both pads hit the rim at the same time. That will give a crisp feel and unified 'bunk' of a sound.
08-28-19, 11:56 AM
#5

Senior Member
Join Date: Apr 2007
Location: Thunder Bay, Ontario, Canada - burrrrr!
Posts: 11,674
Bikes: 1958 Rabeneick 120D, 1968 Legnano Gran Premio, 196? Torpado Professional, 2000 Marinoni Piuma
Mentioned: 210 Post(s)
Tagged: 0 Thread(s)
Quoted: 1372 Post(s)
Likes: 0
Liked 1,747 Times
in
937 Posts
Proper cables (stainless steel with teflon coating coupled with nylon lined brake cable housing) is where you begin. Next, ensure that your brake calipers are not set up too tight. Also, try to make any and all curves in the cable route smooth and not too tight (larger arcs or curves are smoother than tighter ones).
Do those things, and your brakes will turn to butter. And, if you are using older calipers, go to the small expense (right away) to replace the brake pads. Over time, the rubber or what ever it is, hardens, sometimes to the point where it will actually sand paper the alloy rims and was the case on this Rocky Mountain (I have owned and built a lot of bikes and never have I seen pads so hard that they would immediately start to aggressively attack the rim). When ever I applied the brakes, I could hear the front pads grinding and wearing the brake surface...

Do those things, and your brakes will turn to butter. And, if you are using older calipers, go to the small expense (right away) to replace the brake pads. Over time, the rubber or what ever it is, hardens, sometimes to the point where it will actually sand paper the alloy rims and was the case on this Rocky Mountain (I have owned and built a lot of bikes and never have I seen pads so hard that they would immediately start to aggressively attack the rim). When ever I applied the brakes, I could hear the front pads grinding and wearing the brake surface...
__________________
"98% of the bikes I buy are projects".
"98% of the bikes I buy are projects".
08-28-19, 12:11 PM
#6
Senior Member
Join Date: Apr 2007
Location: Thunder Bay, Ontario, Canada - burrrrr!
Posts: 11,674
Bikes: 1958 Rabeneick 120D, 1968 Legnano Gran Premio, 196? Torpado Professional, 2000 Marinoni Piuma
Mentioned: 210 Post(s)
Tagged: 0 Thread(s)
Quoted: 1372 Post(s)
Likes: 0
Liked 1,747 Times
in
937 Posts
Re post #5 , which proved to be a bit of a repeat of what others have said, but one other thing to keep in mind when seeking best brake feel and performance...
Ensure that the pads are contacting the rim surfaces at the same time. How many bikes have come to me with one pad reaching the rim a quarter of an inch before the other touches. Anyway, just an added concern. Of course...
If your hubs are sloppy and/or your rim is out of true, then either or both of those things can and probably will negatively impact the feel of the braking action. So, too can the quality of the pads you choose to use.
Sorry, if I am going a bit above and beyond but I started happy hour a wee bit early today, hoping to weed out some of today's patches of concern.
__________________
"98% of the bikes I buy are projects".
"98% of the bikes I buy are projects".
08-28-19, 12:29 PM
#7
aged to perfection

Join Date: Jun 2009
Location: PacNW
Posts: 1,801
Bikes: Dinucci Allez 2.0, Richard Sachs, Alex Singer, Serotta, Masi GC, Raleigh Pro Mk.1, Hetchins, etc
Mentioned: 24 Post(s)
Tagged: 0 Thread(s)
Quoted: 829 Post(s)
Liked 1,240 Times
in
655 Posts
Here's one of my favorite topics because there's not one "single" thing you can do to give yourself solid brake feel at the lever, good braking authority, and low effort. You have to do "everything".
Many of the suggestions offered above are exactly on target. Get new pads, sure. Kool Stop "salmon" seems to be the popular favorite. Be sure to buff them with a little 400 grit emery paper to take the gloss off, and a dab of grease on the mounting bolt or nut.
Make sure your rims are true so you can set the pads close to the rim. Make sure the rim braking surface is clean - use steel wool.
Now we get to the fun part. Get the best cables you can find. The Jagwire or Yokozuna are excellent. Build up a stash of all the little ferrules that you need to give the housing a good seat at the lever and brake cable guide. Cut the brake loops as short as you possibly can consistent with no acute angles and in the case of the rear brake cable, allow enough slack to allow full movement of the handlebar without crimping. but no more.
Now, very important ! make sure that the cut end of the housing is square ! Touch the end to your bench grinder to remove the burr. Spray some WD40 or your spray lube of choice down the housing before running the cable.
Use a 3rd hand tool or a toe-strap to hold the brake "closed" while you do final adjustment on the cable.
be sure the cable end is solidly anchored in the lever ! if it pops out there, bad things will happen.
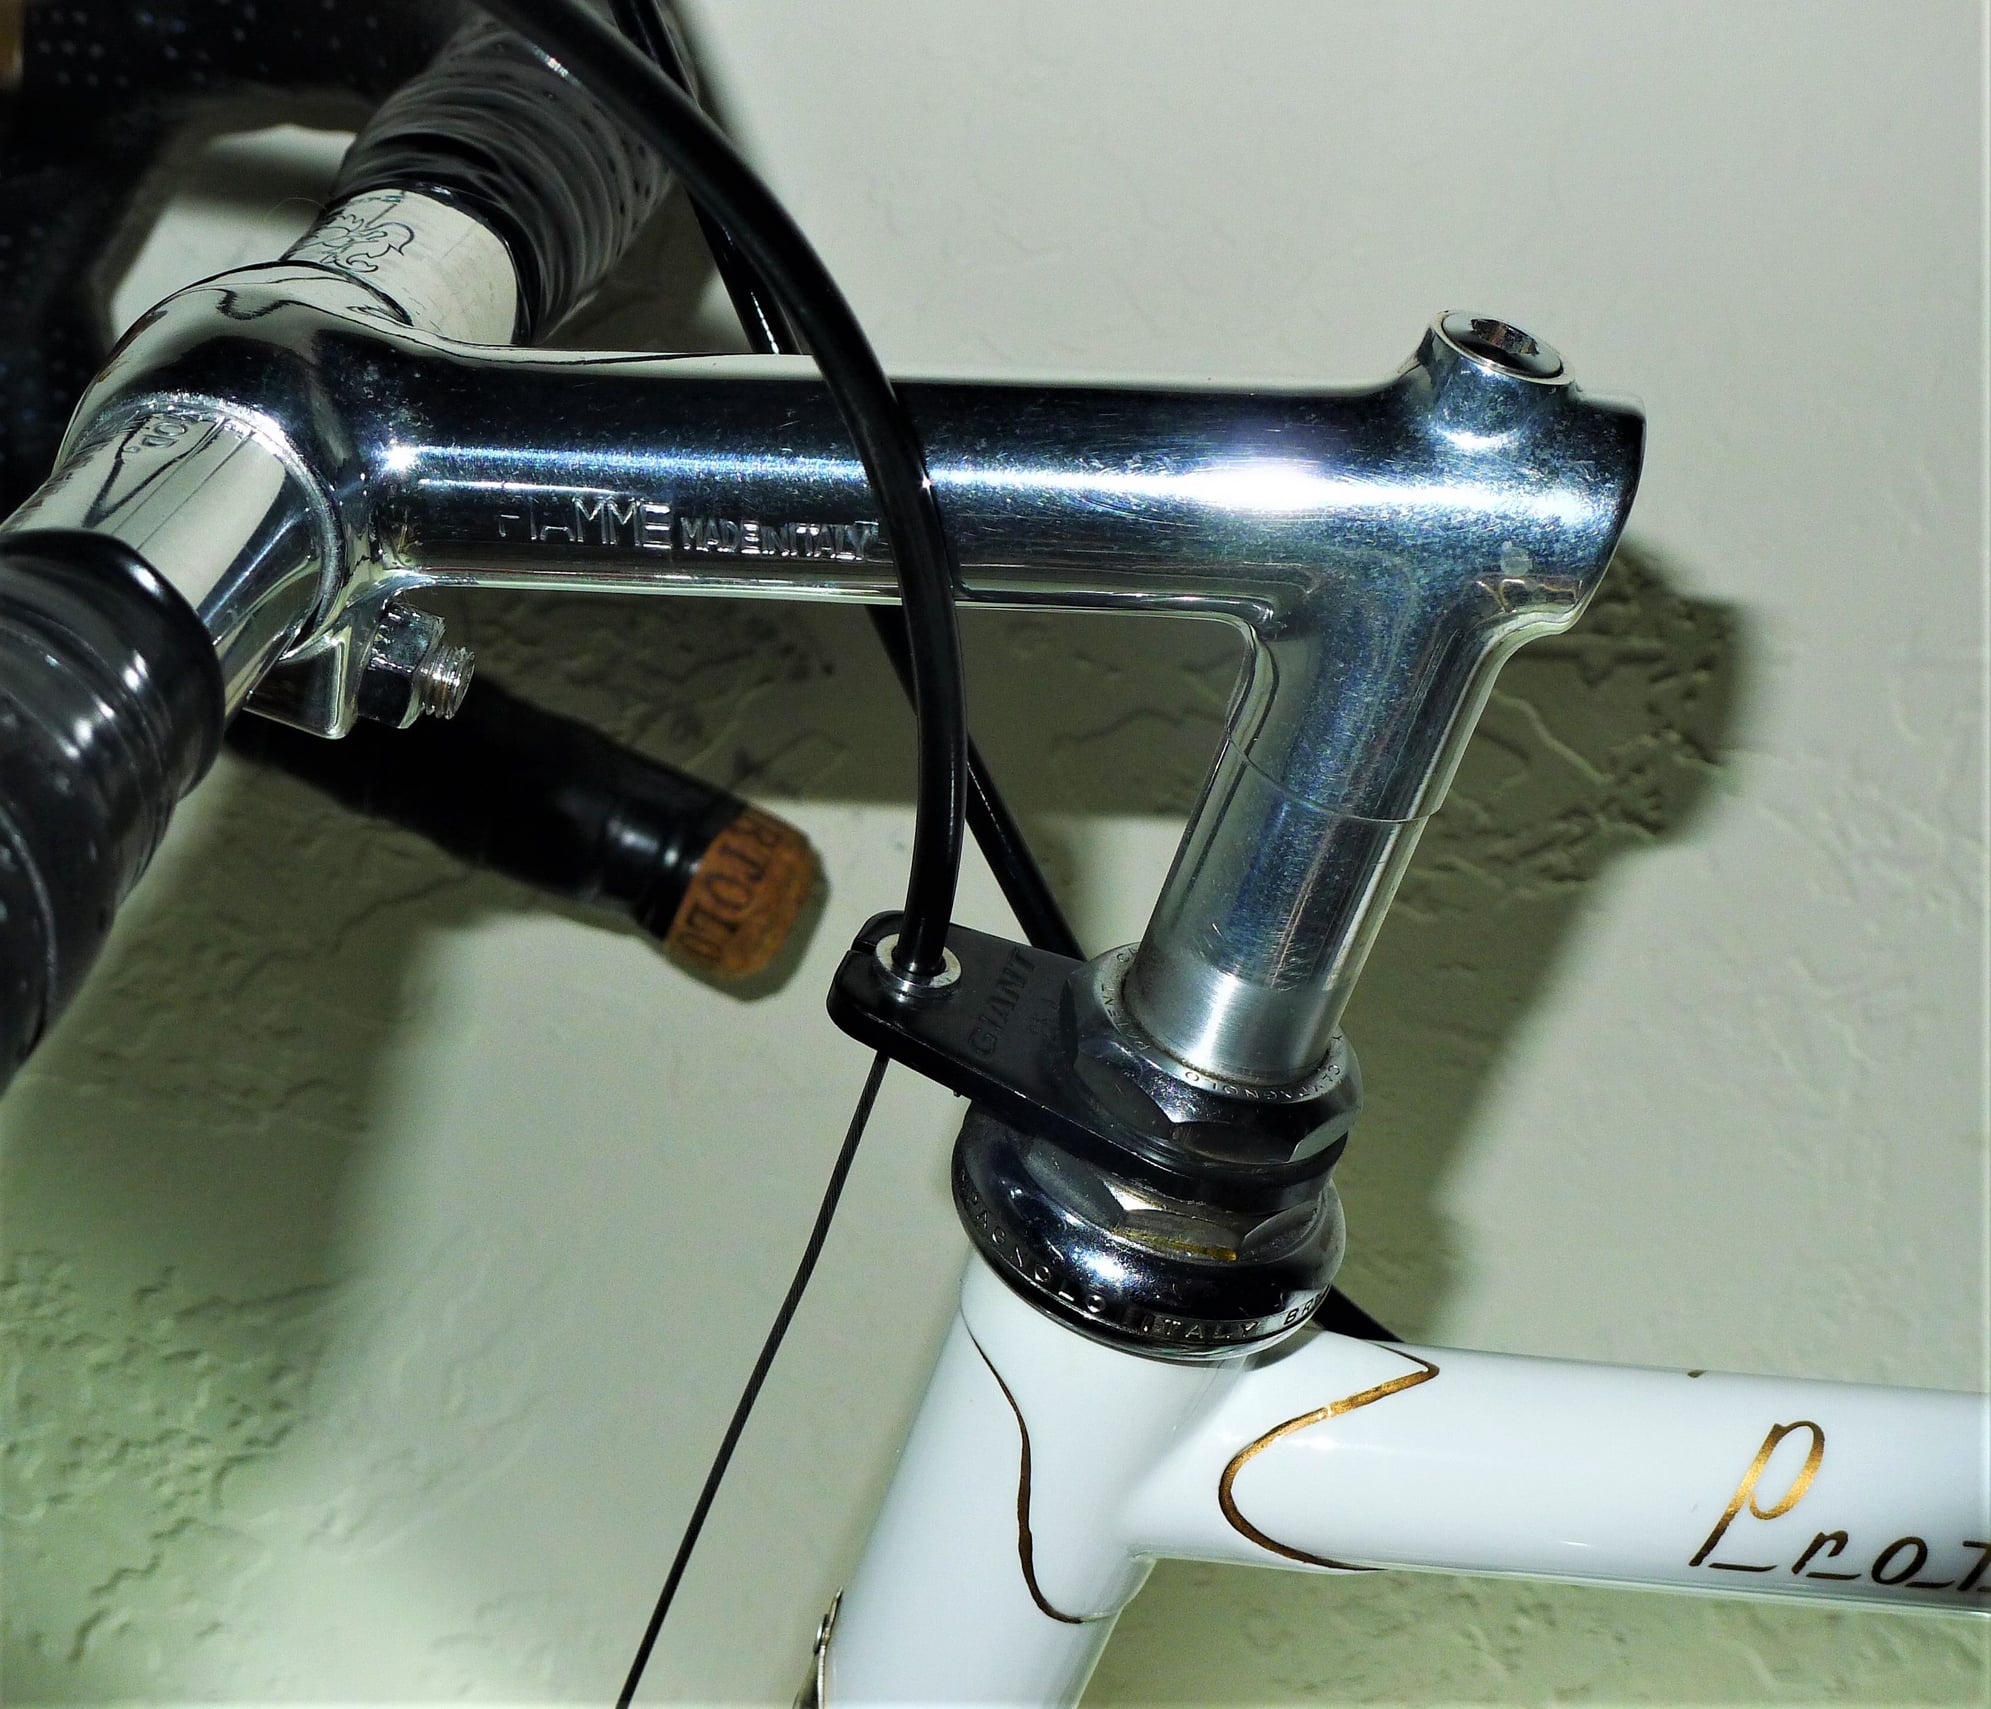
If you have centerpull brakes, rigging the cross wire so it's at an approx. 90 degree included angle coming off the straddle, giving you the best mechanical advantage. See last picture. Also - the front brake fulcrum - mounted in the headset stack - is usually very flexible and that flexibility takes up lever travel. I replace these with an aluminum part, problem solvers or equivalent, for no "flex" and again contributing to a very solid lever feel which is critical on the front where you have about 70% of your brake effectiveness.
so in short- there's no single thing. to get good brake authority and solid lever feel, you have to do everything - pads, cable routing and rigging, and carefully observing where there is mechanical friction.
the good news is, the parts are relatively cheap and you get to play in your workshop (is that an oxymoron ?)
Mark Petry
Bainbridge Island, WA USA

Many of the suggestions offered above are exactly on target. Get new pads, sure. Kool Stop "salmon" seems to be the popular favorite. Be sure to buff them with a little 400 grit emery paper to take the gloss off, and a dab of grease on the mounting bolt or nut.
Make sure your rims are true so you can set the pads close to the rim. Make sure the rim braking surface is clean - use steel wool.
Now we get to the fun part. Get the best cables you can find. The Jagwire or Yokozuna are excellent. Build up a stash of all the little ferrules that you need to give the housing a good seat at the lever and brake cable guide. Cut the brake loops as short as you possibly can consistent with no acute angles and in the case of the rear brake cable, allow enough slack to allow full movement of the handlebar without crimping. but no more.
Now, very important ! make sure that the cut end of the housing is square ! Touch the end to your bench grinder to remove the burr. Spray some WD40 or your spray lube of choice down the housing before running the cable.
Use a 3rd hand tool or a toe-strap to hold the brake "closed" while you do final adjustment on the cable.
be sure the cable end is solidly anchored in the lever ! if it pops out there, bad things will happen.
If you have centerpull brakes, rigging the cross wire so it's at an approx. 90 degree included angle coming off the straddle, giving you the best mechanical advantage. See last picture. Also - the front brake fulcrum - mounted in the headset stack - is usually very flexible and that flexibility takes up lever travel. I replace these with an aluminum part, problem solvers or equivalent, for no "flex" and again contributing to a very solid lever feel which is critical on the front where you have about 70% of your brake effectiveness.
so in short- there's no single thing. to get good brake authority and solid lever feel, you have to do everything - pads, cable routing and rigging, and carefully observing where there is mechanical friction.
the good news is, the parts are relatively cheap and you get to play in your workshop (is that an oxymoron ?)
Mark Petry
Bainbridge Island, WA USA
Last edited by mpetry912; 08-28-19 at 12:33 PM.
08-28-19, 09:10 PM
#8
Me duelen las nalgas
Join Date: Aug 2015
Location: Texas
Posts: 13,513
Bikes: Centurion Ironman, Trek 5900, Univega Via Carisma, Globe Carmel
Mentioned: 199 Post(s)
Tagged: 0 Thread(s)
Quoted: 4559 Post(s)
Liked 2,802 Times
in
1,800 Posts
Some brakes just feel different. The Suntour GPX and Shimano 600 brakes on my road bikes look very similar. But the feel is very different. The GPX feel a bit grindy, even with new cables/housings and tweaking everything. The Shimano 600 brakes felt great, smooth and needing only one-finger pressure. I'd need to compare the internal leverage and routing to figure out why they feel so different.
08-29-19, 05:40 AM
#9
Senior Member

Join Date: Jan 2015
Posts: 3,240
Mentioned: 103 Post(s)
Tagged: 0 Thread(s)
Quoted: 1299 Post(s)
Likes: 0
Liked 103 Times
in
85 Posts
I'll add one more thing to the mix. I like the pads to start contacting the rim at a specific point in the lever travel where my hands have the best control. Generally, I don't set the pads as close as possible to the rim.
__________________
Inflate Hard
Inflate Hard
08-29-19, 06:01 AM
#10

feros ferio

Join Date: Jul 2000
Location: www.ci.encinitas.ca.us
Posts: 21,793
Bikes: 1959 Capo Modell Campagnolo; 1960 Capo Sieger (2); 1962 Carlton Franco Suisse; 1970 Peugeot UO-8; 1982 Bianchi Campione d'Italia; 1988 Schwinn Project KOM-10;
Mentioned: 44 Post(s)
Tagged: 0 Thread(s)
Quoted: 1390 Post(s)
Liked 1,322 Times
in
835 Posts
The brand of brake pads can make a huge difference, as well. I put a new set of nice-looking Shimanos on the Bianchi (early generation Campag. calipers) and scared myself on a foggy descent. In went early klunky looking KoolStop salmons -- problem solved. For me, the other big improvement was to replace the non-aero Modolo brake levers with aero Shimanos. I know ... Japanese brake levers and Japanese (SunTour) freewheel on an Italian Bianchi -- what is the world coming to?
__________________
"Far and away the best prize that life offers is the chance to work hard at work worth doing." --Theodore Roosevelt
Capo: 1959 Modell Campagnolo, S/N 40324; 1960 Sieger (2), S/N 42624, 42597
Carlton: 1962 Franco Suisse, S/N K7911
Peugeot: 1970 UO-8, S/N 0010468
Bianchi: 1982 Campione d'Italia, S/N 1.M9914
Schwinn: 1988 Project KOM-10, S/N F804069
08-29-19, 01:51 PM
#11
Old fart
Join Date: Nov 2004
Location: Appleton WI
Posts: 24,776
Bikes: Several, mostly not name brands.
Mentioned: 153 Post(s)
Tagged: 0 Thread(s)
Quoted: 3582 Post(s)
Liked 3,394 Times
in
1,928 Posts
I'm planning to buy a CAAD12/Ultegra with rim brakes. I noticed with some brands, the brakes have a smooth, buttery feel when you squeeze the brake lever. And with others, the cable feels sticky and resistant to movement through the housing. What accounts for the better feel, and how do you achieve it?
08-29-19, 06:12 PM
#12
Senior Member
hi guys, re: brake feel and stopping power.
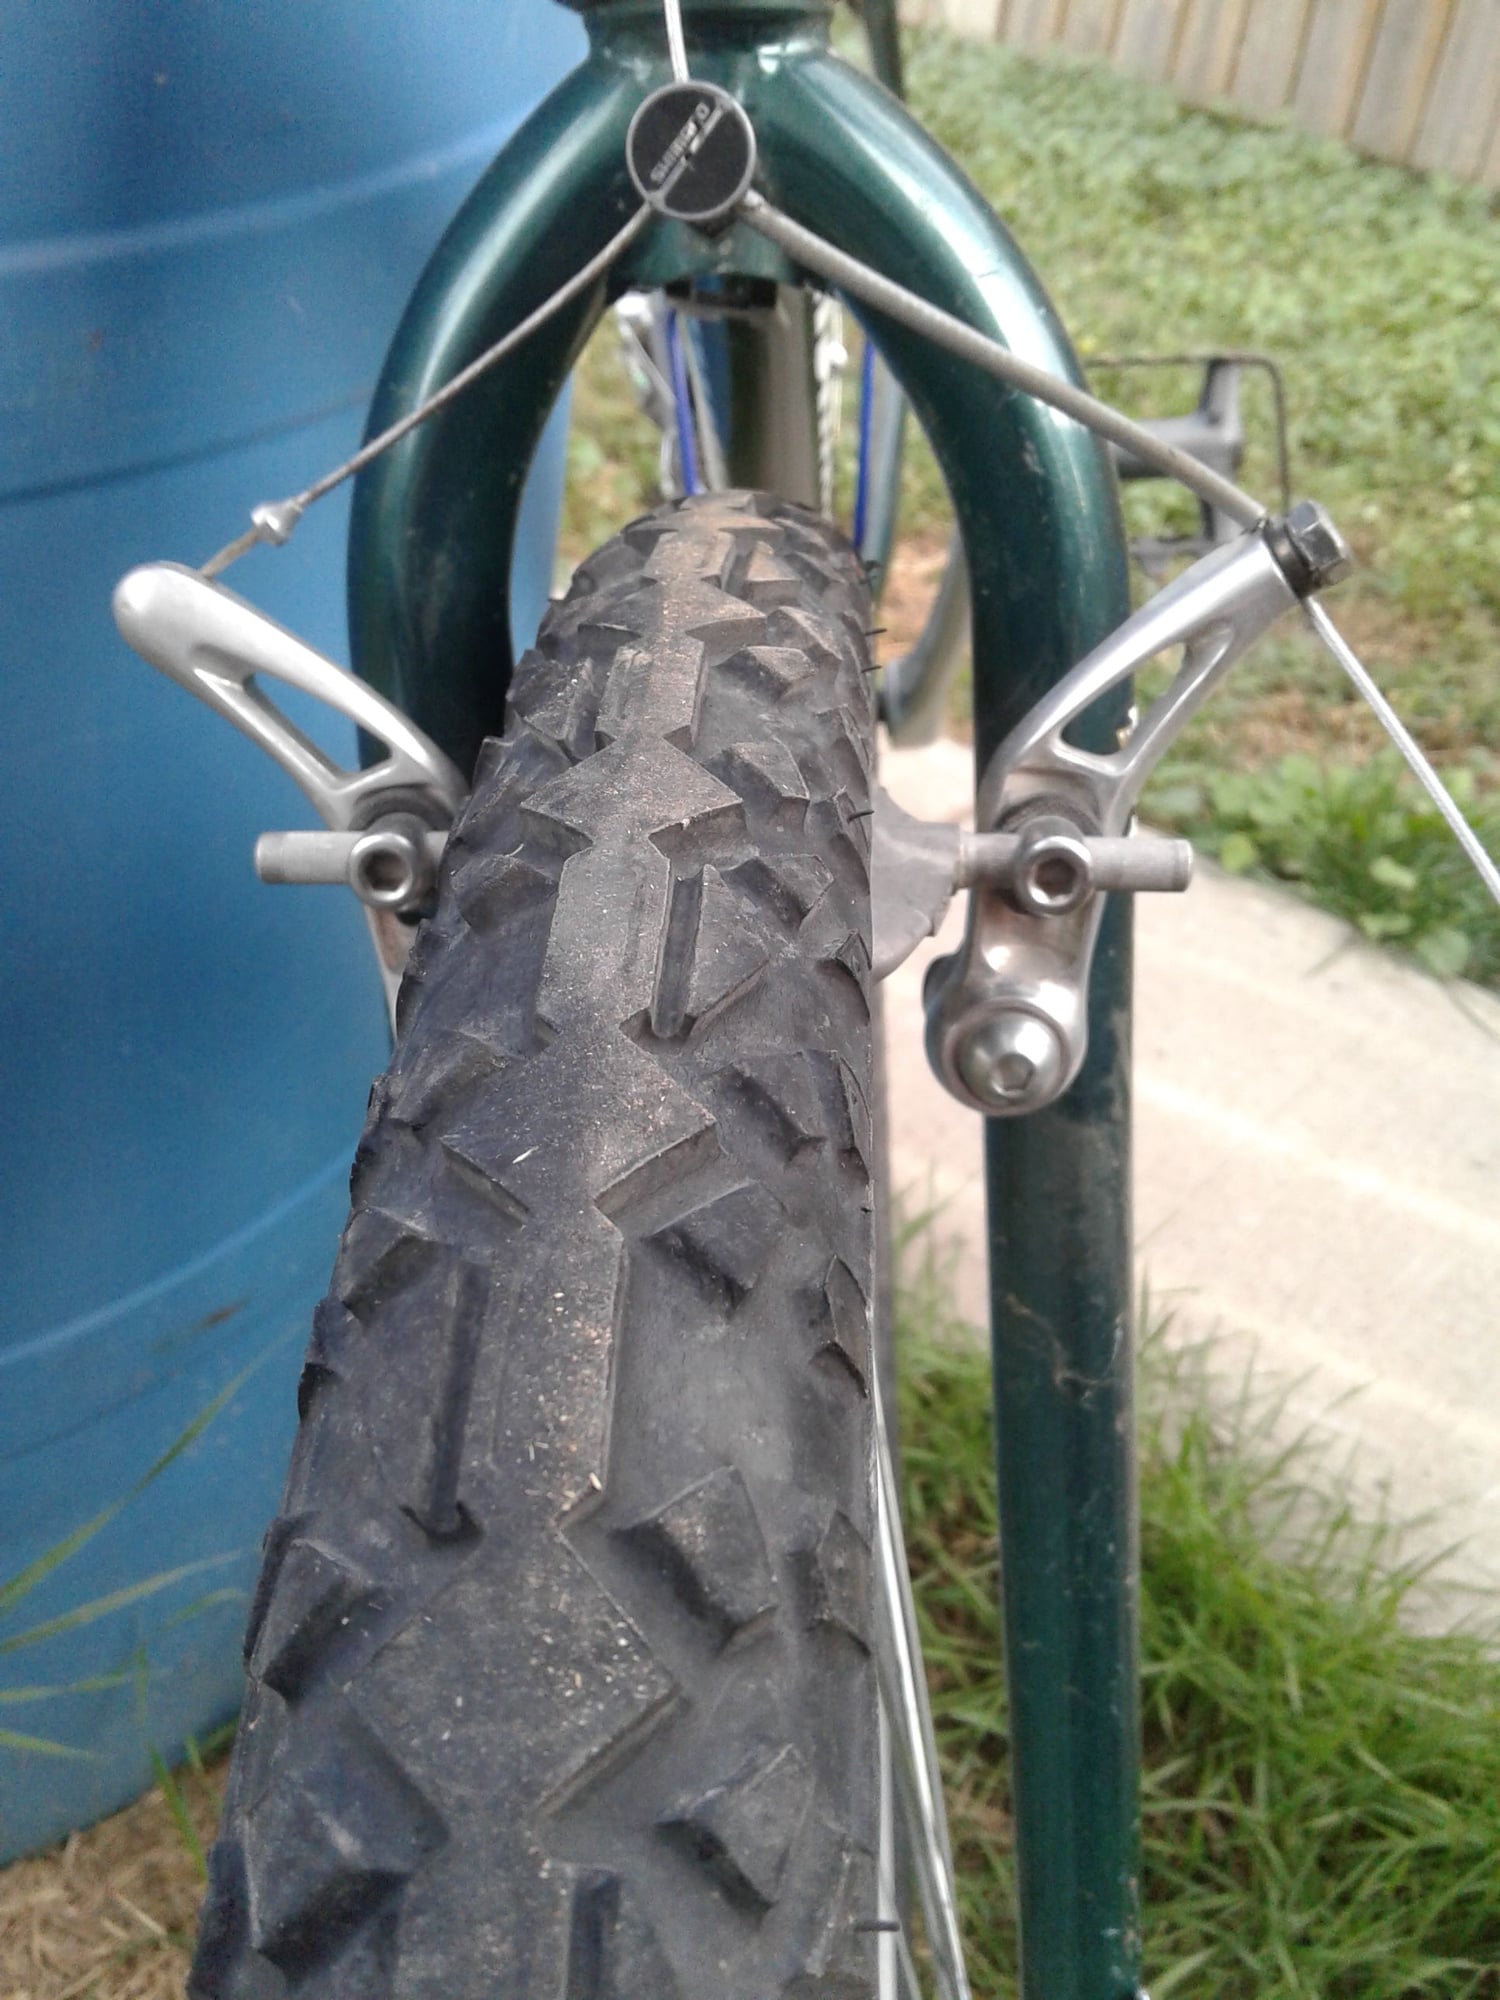
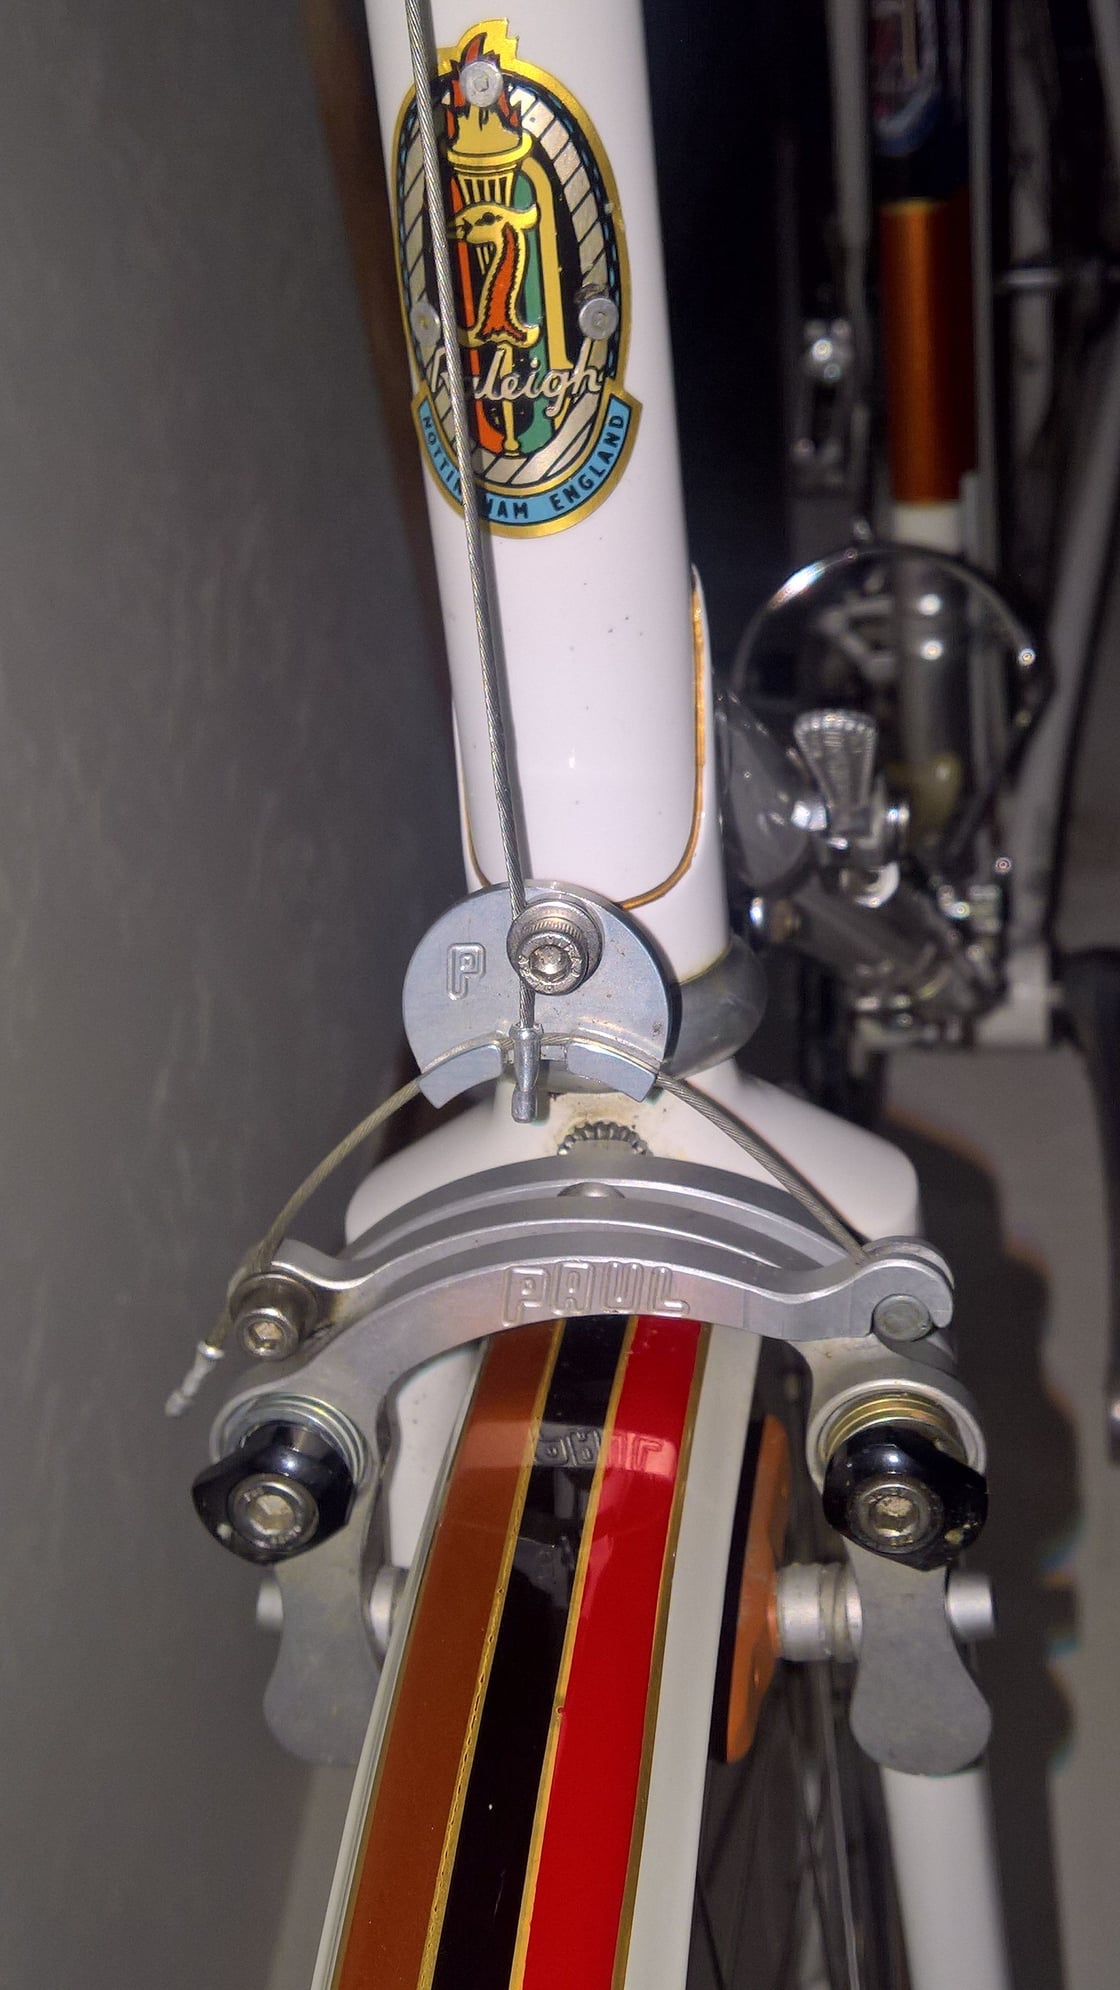
Hi all. The pads can be adjusted so that they are not far from the rim walls, but for improved feel, adjust the brakes so that the straddle cable is at the widest possible angle. When I worked in a bike shop, I always set brakes up for max performance, then got reprimanded. If you adjust the straddle cable so that the angle is the narrowest, you get what the bike shop owner calked "sellable" brakes. They feel "snappy" because that's what many wanted to feel when shopping. My brakes are adjusted to the widest possible angle and have incredible stopping power. I've actually adjusted brakes so the straddle cable is less than an inch above the tire, but you better be confident you have it tight enough.
Last edited by Nu2Miele; 08-29-19 at 06:21 PM. Reason: added photo
08-29-19, 06:26 PM
#13
Mother Nature's Son
Join Date: Mar 2016
Location: Sussex County, Delaware
Posts: 3,107
Bikes: 2014 Orbea Avant MD30, 2004 Airborne Zeppelin TI, 2003 Lemond Poprad, 2001 Lemond Tourmalet, 2014? Soma Smoothie
Mentioned: 15 Post(s)
Tagged: 0 Thread(s)
Quoted: 852 Post(s)
Liked 1,433 Times
in
815 Posts
I used KoolStop salmon pads for the first time when I replaced older, hardened pads back in the spring. What a big difference. I also like a bit of room between the pads and the rims. I like my rear brakes with a bit of softer feel compared to the front. I use regular Shimano brake and cable sets and never had a problem with them as long as they are installed properly as stated in previous posts.
08-29-19, 07:41 PM
#14
Senior Member

Join Date: Jan 2015
Location: Los Angeles
Posts: 4,693
Bikes: 82 Medici, 2011 Richard Sachs, 2011 Milwaukee Road
Mentioned: 55 Post(s)
Tagged: 0 Thread(s)
Quoted: 1946 Post(s)
Liked 2,004 Times
in
1,105 Posts
Considering single pivot: New kook stops can help. New cables and housing can help (don't get the cheapest and it won't hurt to get the most expensive.) Machined brake track on new alloy rims helps. Braking from the drops helps the most.
If you go dual pivot, it is all golden with matching period correct pieces sensibly maintained.
If you go dual pivot, it is all golden with matching period correct pieces sensibly maintained.
Likes For Classtime:


