


Any experience cold set 120 rear spacing to 130?
 02-04-20, 05:39 PM
#51

Bike Butcher of Portland

Join Date: Jul 2014
Location: Portland, OR
Posts: 11,637
Bikes: It's complicated.
Mentioned: 1299 Post(s)
Tagged: 0 Thread(s)
Quoted: 4680 Post(s)
Liked 5,798 Times
in
2,283 Posts
Not sure if its been mentioned, but if one desires significant change in cold setting a frame, highly suggest bracing near the seatstay and chainstay bridges. Otherwise you risk brazing coming apart during the required over expansion process.
Simplest is wood blocks with V- cut grooves to protect the tubes and next to the C clamp jaws.
Simplest is wood blocks with V- cut grooves to protect the tubes and next to the C clamp jaws.

__________________
If someone tells you that you have enough bicycles and you don't need any more, stop talking to them. You don't need that kind of negativity in your life.
If someone tells you that you have enough bicycles and you don't need any more, stop talking to them. You don't need that kind of negativity in your life.

Likes For gugie:
02-04-20, 06:11 PM
#52
Bike Butcher of Portland
Join Date: Jul 2014
Location: Portland, OR
Posts: 11,637
Bikes: It's complicated.
Mentioned: 1299 Post(s)
Tagged: 0 Thread(s)
Quoted: 4680 Post(s)
Liked 5,798 Times
in
2,283 Posts
Further comment on spreading a rear triangle: IF the drive side has an indentation for chainring clearance (fairly common on vintage frames), it will yield (permanently bend) long before the non-drive side. If you try to bend them both at the same time, the dropouts won't be centered.
Even if they're not symmetrically indented, I always bend one side at a time, figuring there's always one side that's a bit stiffer than the other.
1. Check spacing
2. Check centering
3. Bend one side
4. Rinse and repeat until you've got the spacing you want and the dropouts are centered.
5. Make dropouts parallel, check everything again.
__________________
If someone tells you that you have enough bicycles and you don't need any more, stop talking to them. You don't need that kind of negativity in your life.
If someone tells you that you have enough bicycles and you don't need any more, stop talking to them. You don't need that kind of negativity in your life.
Likes For gugie:
02-04-20, 11:05 PM
#53
Senior Member

Join Date: Aug 2015
Location: Murrieta Ca.
Posts: 537
Bikes: Teledyne Titan, Bob Jackson Audax Club, Bob Jackson World Tour, AlAn Record Ergal, 3Rensho Katana.
Mentioned: 9 Post(s)
Tagged: 0 Thread(s)
Quoted: 215 Post(s)
Liked 623 Times
in
245 Posts
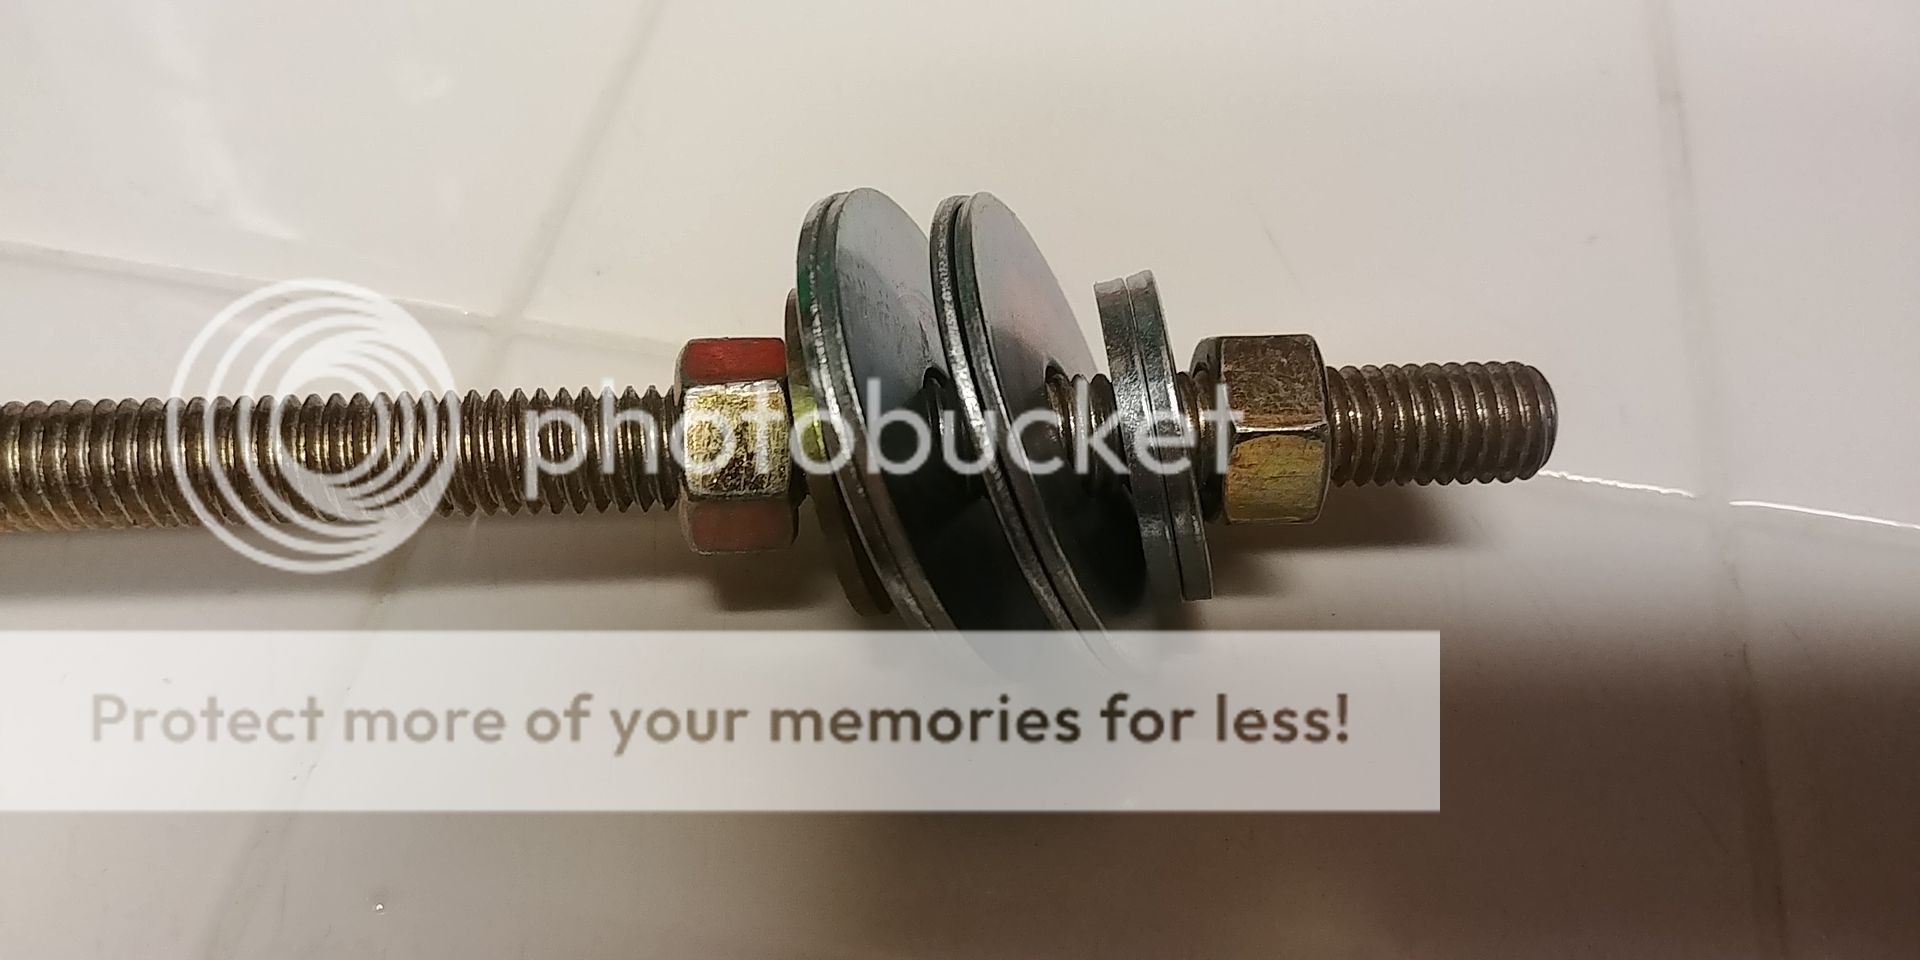
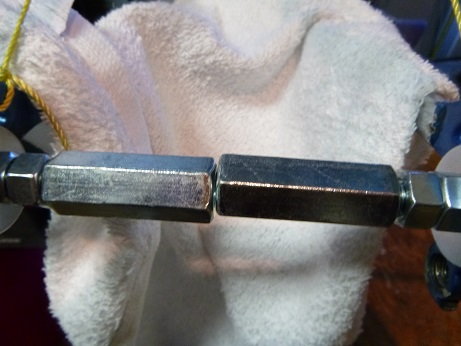
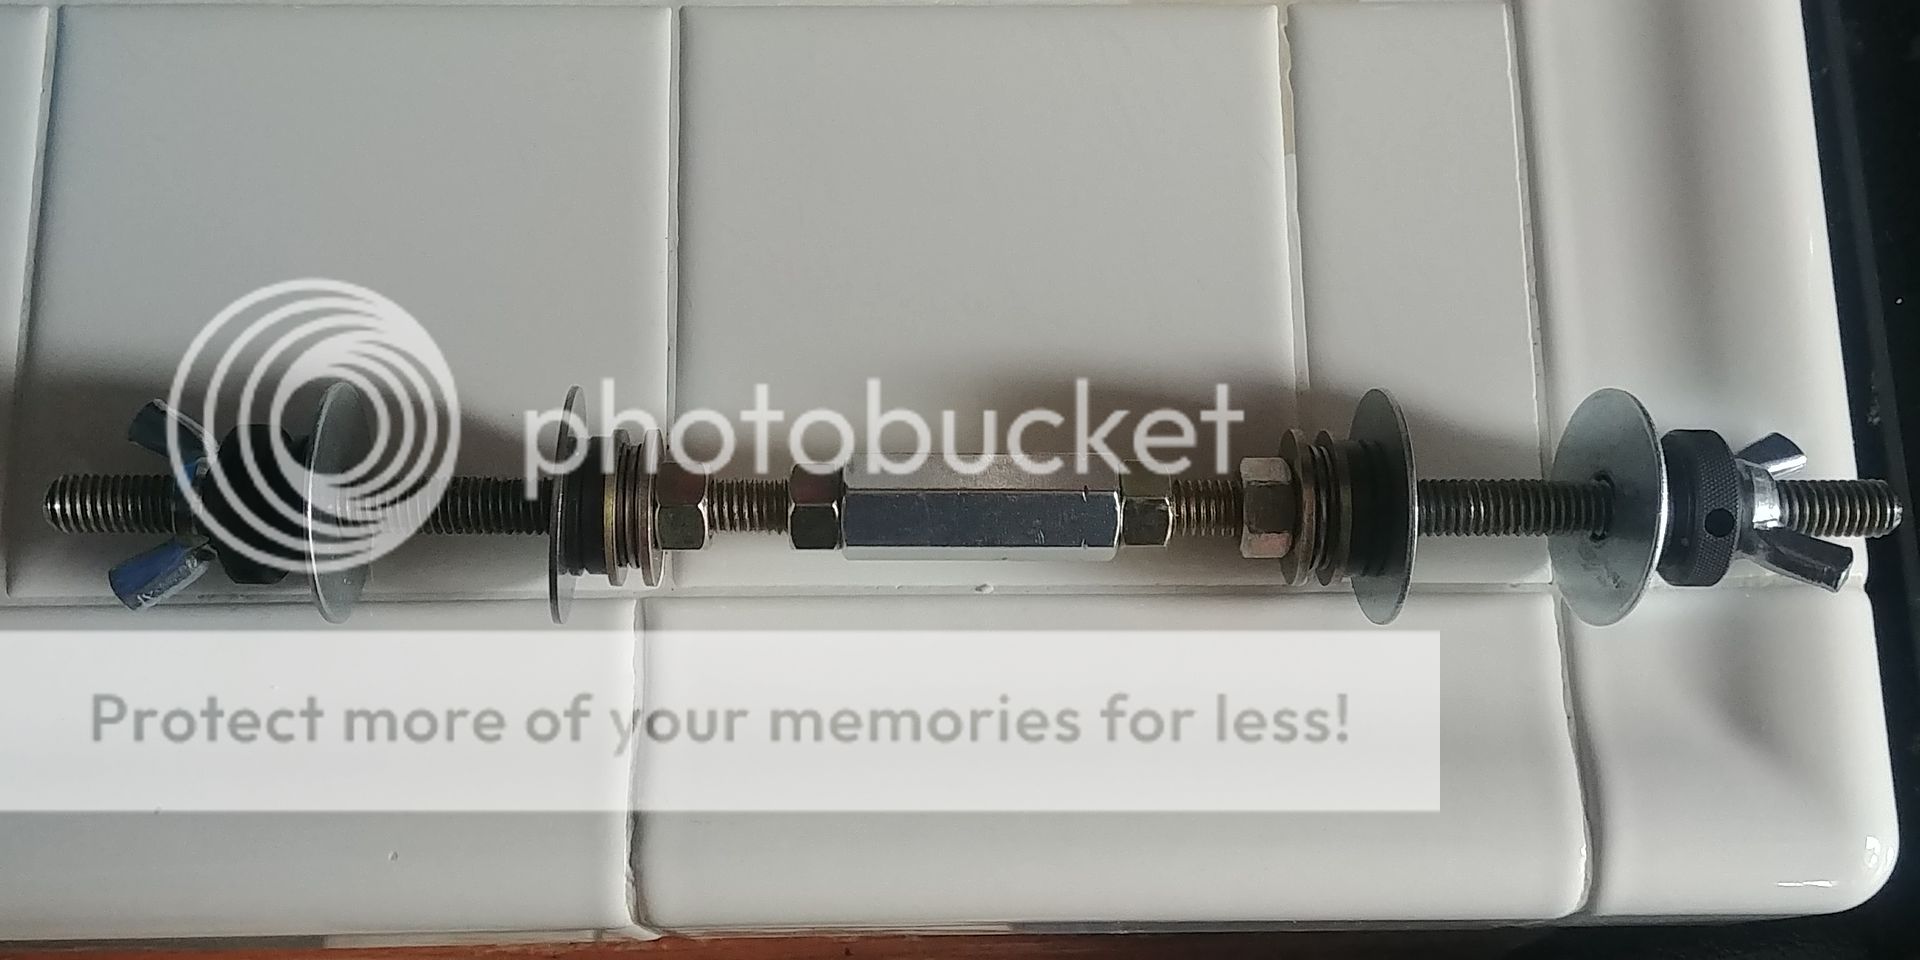
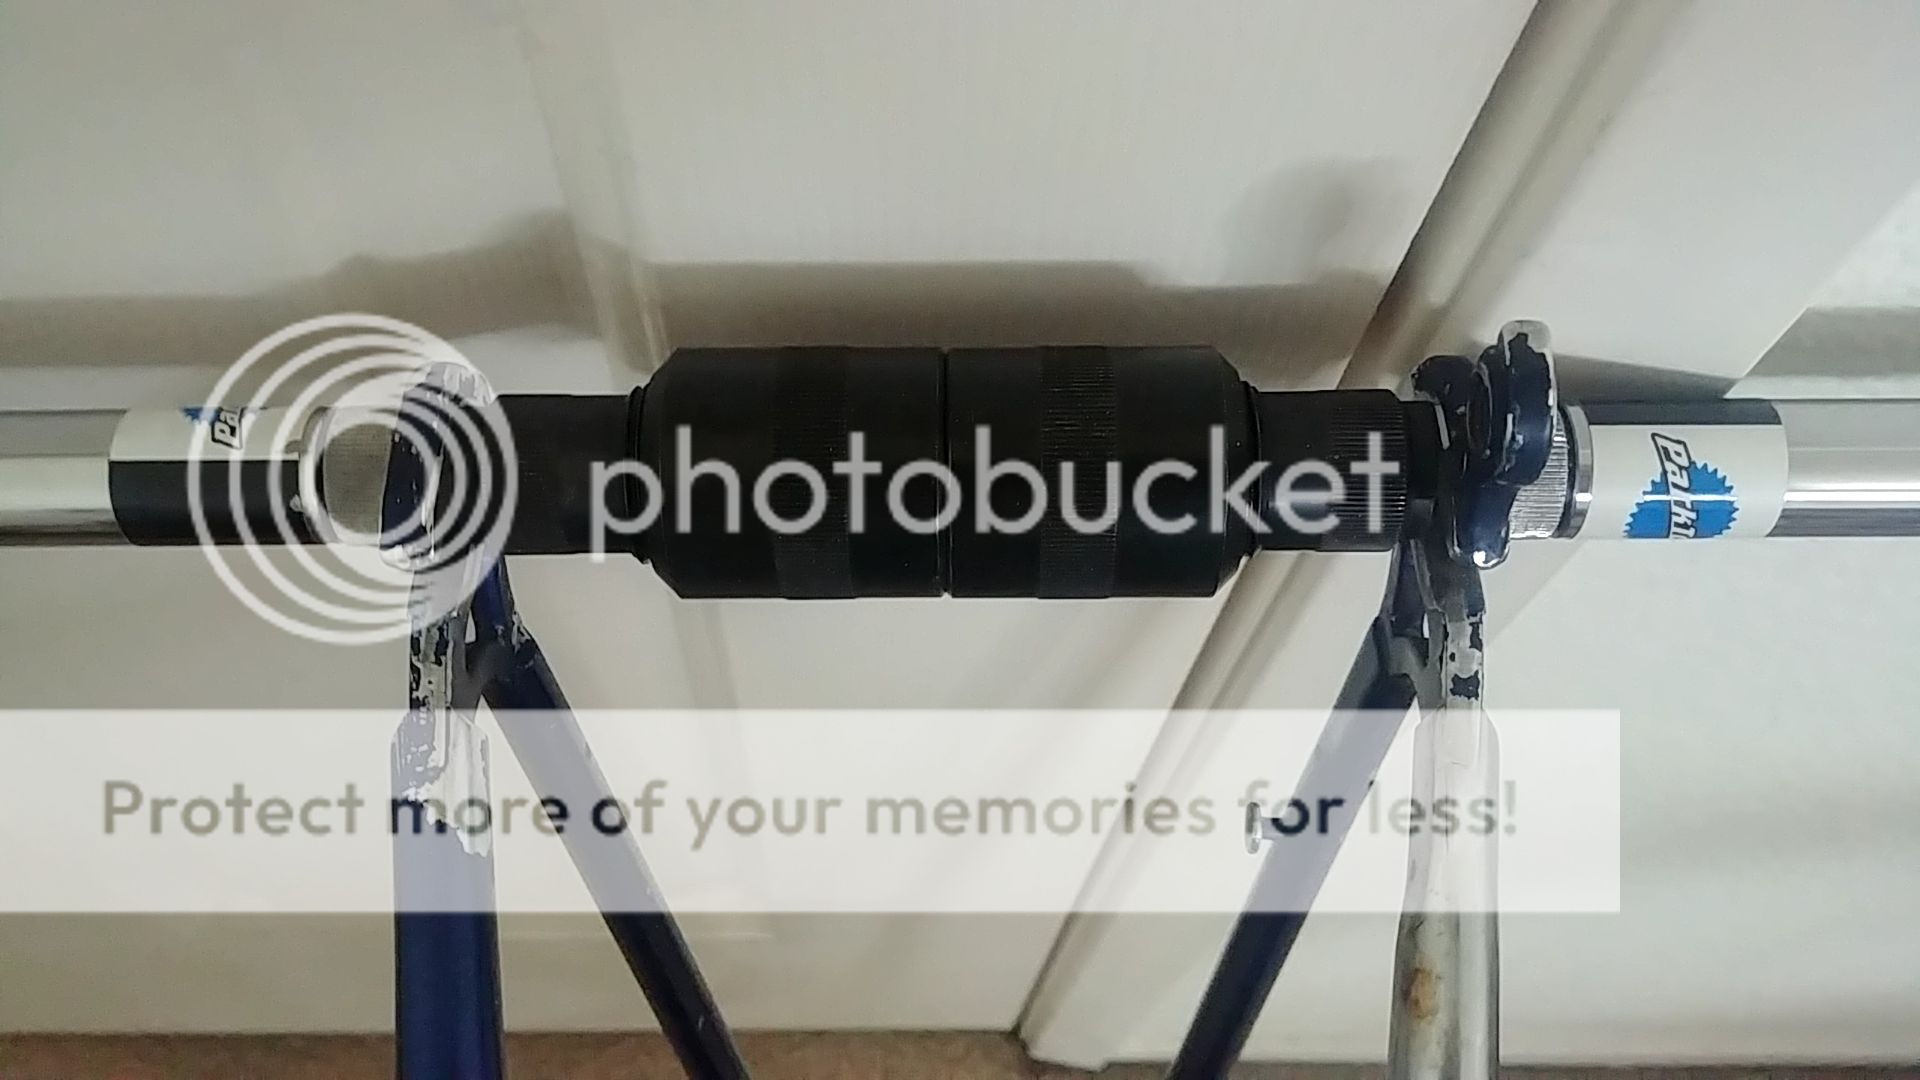
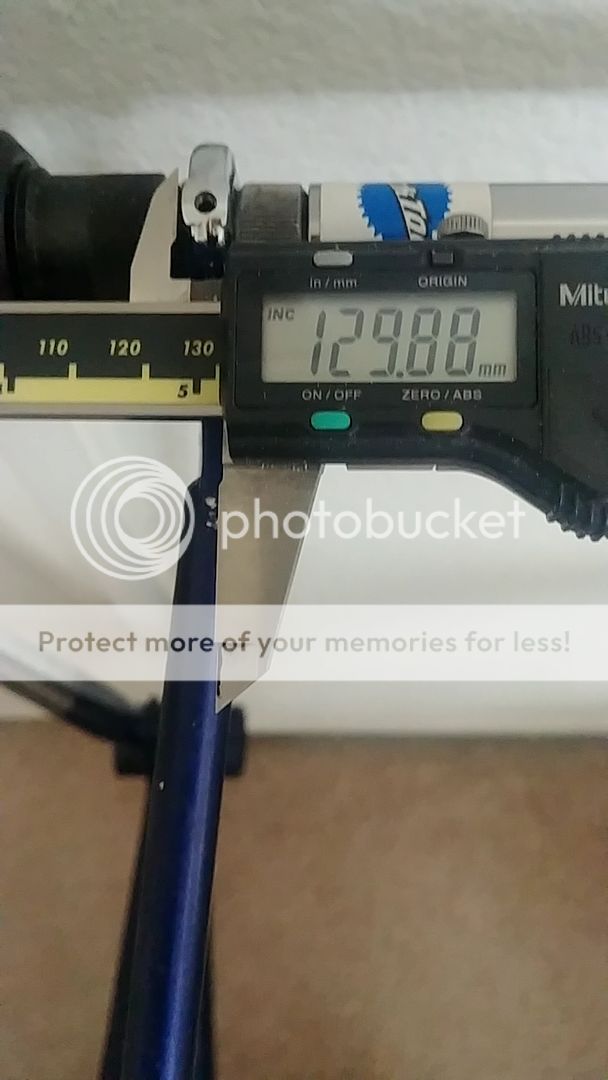
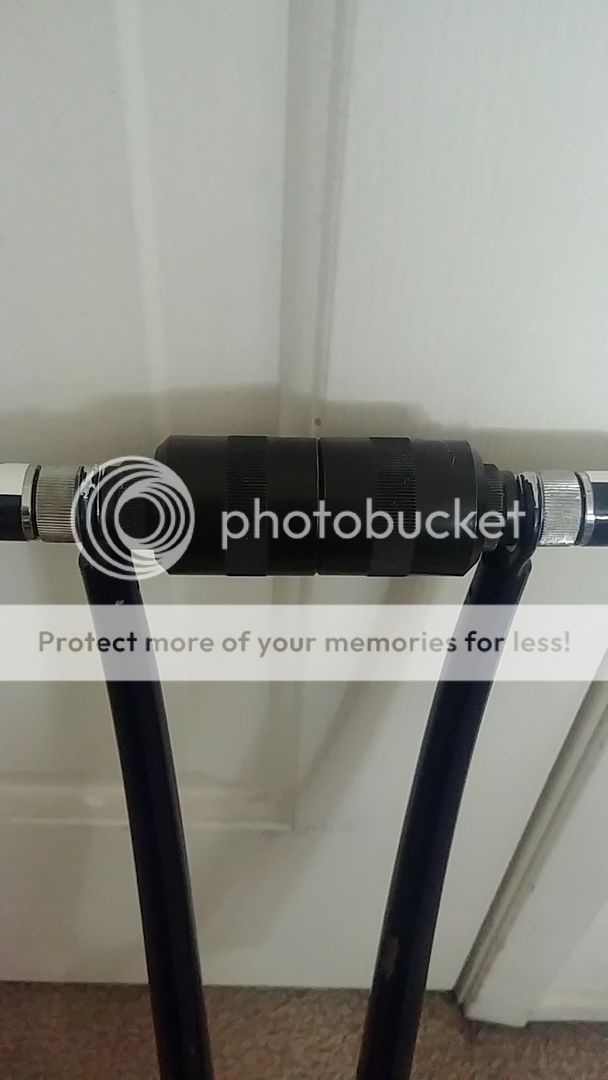
This was the final push to get a Raleigh Pro to 130mm, 531 is really springy stuff, the spreading tool is 10 inches of 3/8" X 16 grade 8 all-thread with two standard washers and two fender washers to spread the pushing forces evenly across the dropouts, there are 16 washers total on the tool. the outer nuts are are just there to follow the push and are never more than finger tight.
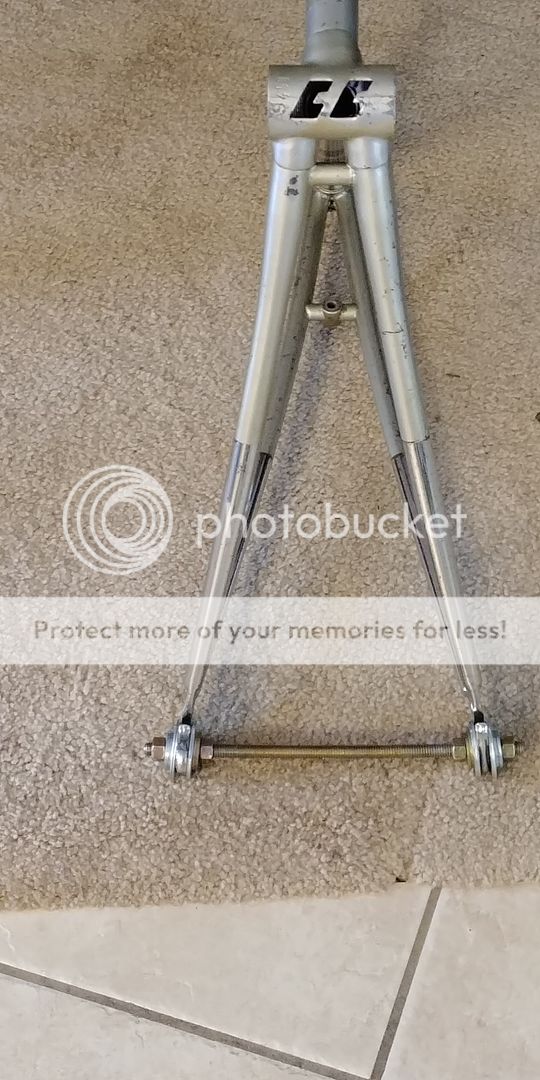
It took quite a few passes to spread the frame, once the frame started to take a set I was only turning each nut 1 full turn at a time, removing the tool measuring the drop-outs and repeating until I got to my desired spacing of 130mm.
Before and after the cold setting the drop-outs were aligned, the symmetry was verified to be on the money, Tools used were the Park drop-out alignment and Park frame alignment tools.
: Mike

It took quite a few passes to spread the frame, once the frame started to take a set I was only turning each nut 1 full turn at a time, removing the tool measuring the drop-outs and repeating until I got to my desired spacing of 130mm.
Before and after the cold setting the drop-outs were aligned, the symmetry was verified to be on the money, Tools used were the Park drop-out alignment and Park frame alignment tools.

: Mike
__________________
Booyah Hubba-Hubba!!!
Booyah Hubba-Hubba!!!
Likes For Nemosengineer:
02-22-20, 12:45 AM
#54
Senior Member
Thread Starter
Join Date: Apr 2007
Posts: 6,760
Mentioned: 10 Post(s)
Tagged: 0 Thread(s)
Quoted: 1109 Post(s)
Liked 1,200 Times
in
760 Posts
Further comment on spreading a rear triangle: IF the drive side has an indentation for chainring clearance (fairly common on vintage frames), it will yield (permanently bend) long before the non-drive side. If you try to bend them both at the same time, the dropouts won't be centered.
Even if they're not symmetrically indented, I always bend one side at a time, figuring there's always one side that's a bit stiffer than the other.
1. Check spacing
2. Check centering
3. Bend one side
4. Rinse and repeat until you've got the spacing you want and the dropouts are centered.
5. Make dropouts parallel, check everything again.
Even if they're not symmetrically indented, I always bend one side at a time, figuring there's always one side that's a bit stiffer than the other.
1. Check spacing
2. Check centering
3. Bend one side
4. Rinse and repeat until you've got the spacing you want and the dropouts are centered.
5. Make dropouts parallel, check everything again.
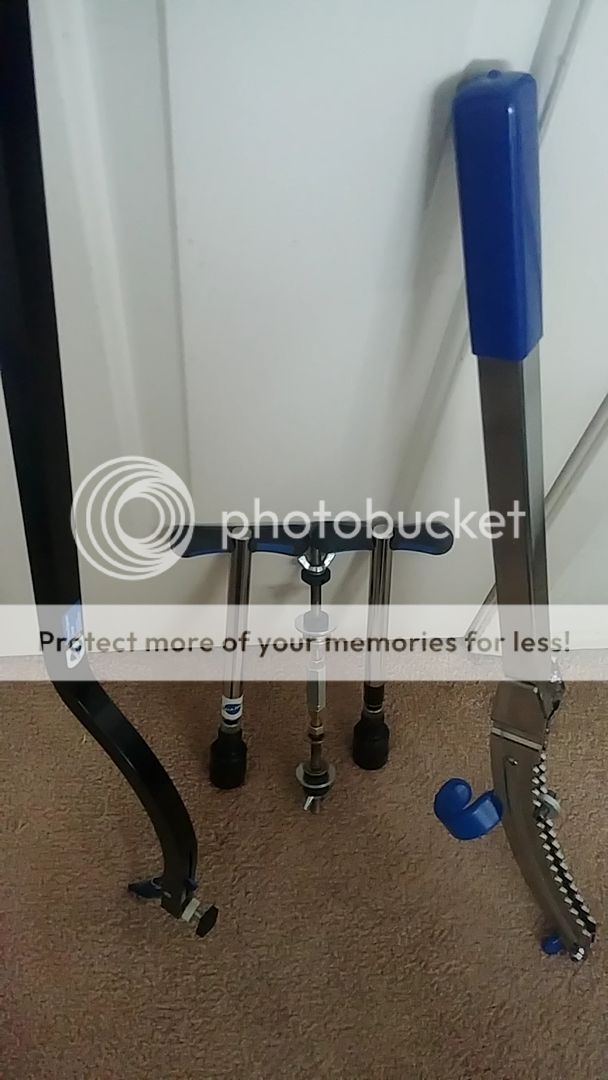
It's pretty easy to make a simple tool to square up (parallel up?) the dropouts with a couple of long threaded bolts and nuts.

In vice to spread by hand

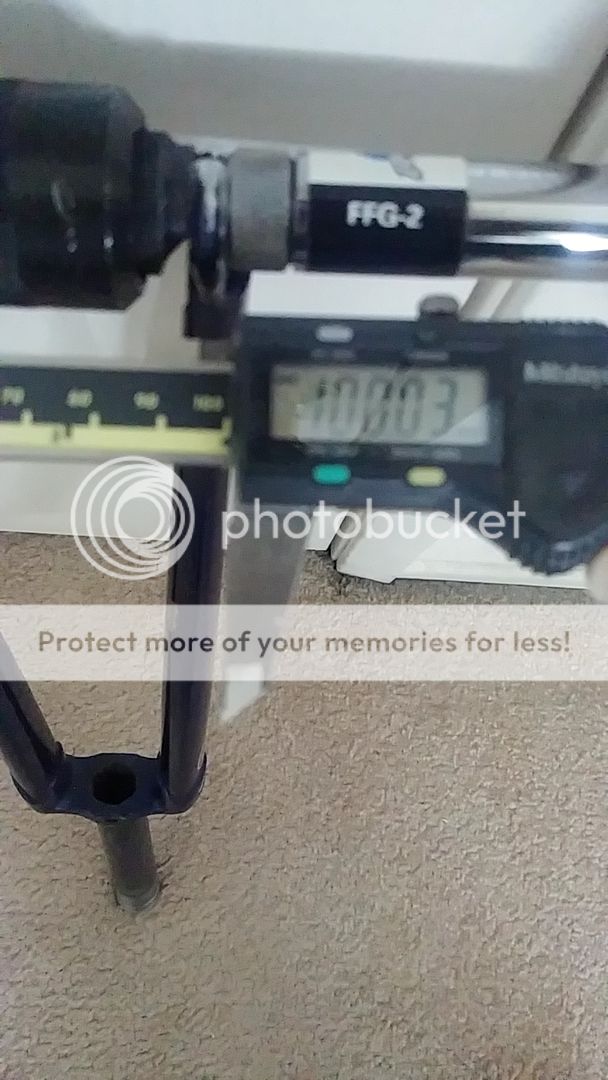
Checking rear spacing

Checking frame alignment

Parts needed to check drop out alignment

Attached to dropouts to check dropout alignment
Dropouts not aligned

Dropouts aligned
Last edited by Camilo; 02-22-20 at 02:36 PM.
Likes For Camilo:
02-22-20, 12:28 PM
#55
Senior Member

This was the final push to get a Raleigh Pro to 130mm, 531 is really springy stuff, the spreading tool is 10 inches of 3/8" X 16 grade 8 all-thread with two standard washers and two fender washers to spread the pushing forces evenly across the dropouts, there are 16 washers total on the tool. the outer nuts are are just there to follow the push and are never more than finger tight.
It took quite a few passes to spread the frame, once the frame started to take a set I was only turning each nut 1 full turn at a time, removing the tool measuring the drop-outs and repeating until I got to my desired spacing of 130mm.
Before and after the cold setting the drop-outs were aligned, the symmetry was verified to be on the money, Tools used were the Park drop-out alignment and Park frame alignment tools.
: Mike
If you try the same with unevenly-crimped stays, all bets are off.
04-05-20, 04:36 PM
#56
Senior Member
Join Date: Aug 2015
Location: Murrieta Ca.
Posts: 537
Bikes: Teledyne Titan, Bob Jackson Audax Club, Bob Jackson World Tour, AlAn Record Ergal, 3Rensho Katana.
Mentioned: 9 Post(s)
Tagged: 0 Thread(s)
Quoted: 215 Post(s)
Liked 623 Times
in
245 Posts
I recently completed a cold set of a S/R Triathlon frame from 120mm to 130mm, these are the tools that were used.

These are the results.
Dead straight and ready to build.
: Mike


These are the results.


Dead straight and ready to build.
: Mike
__________________
Booyah Hubba-Hubba!!!
Booyah Hubba-Hubba!!!
04-05-20, 05:09 PM
#57
Senior Member

Join Date: Jun 2010
Location: Medford MA
Posts: 2,089
Bikes: Ron Cooper touring, 1959 Jack Taylor 650b ladyback touring tandem, Vitus 979, Joe Bell painted Claud Butler Dalesman, Colin Laing curved tube tandem, heavily-Dilberted 1982 Trek 6xx, Ren� Herse tandem
Mentioned: 80 Post(s)
Tagged: 0 Thread(s)
Quoted: 964 Post(s)
Liked 1,451 Times
in
723 Posts
Going against canon, again
My Ron Cooper was spread from 126 to 130, toured on it for six months, then spread it again to 135. When we did this, we put clamps on the brake bridge and put an automobile scissor-jack between the dropouts. This worked great. But right at the maximum extension, the clamp on the brake bridge fell off! We were horrified, but that brake bridge still exists to this day. I'm thinking about de-brazing it and moving it to improve the fenderline sometime once my Trek is completed.
I've spread Vitus 979 frames from 126 to 130, not once but twice! From 126 to 130, so only 2mm each side, but as a rule I don't use mechanical tools on these frames because I want the feedback in my hands, to feel the metal so I can be delicate with them. They're pretty hard to do. I did mine, vowed I'd never do another, and then my friend wanted his done! Mostly I really hate the stress and anxiety it causes me to do something that isn't recommended by established canon. But usually what I find on these is people just spring the frame apart to stuff in a modern hub, which is likely worse that what I've done. So far they haven't broken (and I don't think they ever will).
I've spread Vitus 979 frames from 126 to 130, not once but twice! From 126 to 130, so only 2mm each side, but as a rule I don't use mechanical tools on these frames because I want the feedback in my hands, to feel the metal so I can be delicate with them. They're pretty hard to do. I did mine, vowed I'd never do another, and then my friend wanted his done! Mostly I really hate the stress and anxiety it causes me to do something that isn't recommended by established canon. But usually what I find on these is people just spring the frame apart to stuff in a modern hub, which is likely worse that what I've done. So far they haven't broken (and I don't think they ever will).
__________________
Owner & co-founder, Cycles Ren� Hubris. Unfortunately attaching questionable braze-ons to perfectly good frames since about 2015. With style.
Owner & co-founder, Cycles Ren� Hubris. Unfortunately attaching questionable braze-ons to perfectly good frames since about 2015. With style.
Likes For scarlson:

