


How to attach Coho trailer to Xiongda 12mm axle?
 04-11-21, 03:43 AM
#1
Junior Member
Thread Starter
How to attach Coho trailer to Xiongda 12mm axle?
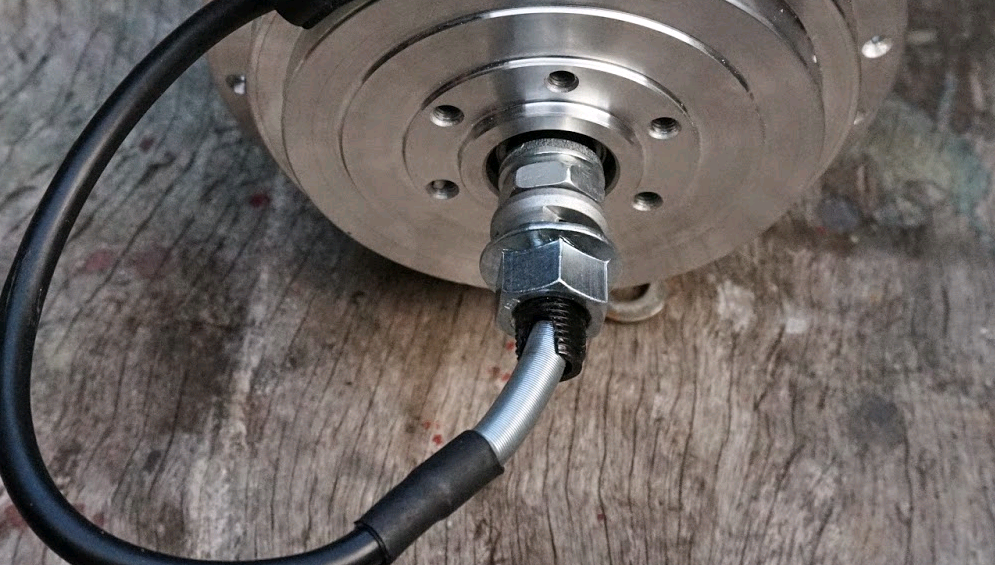
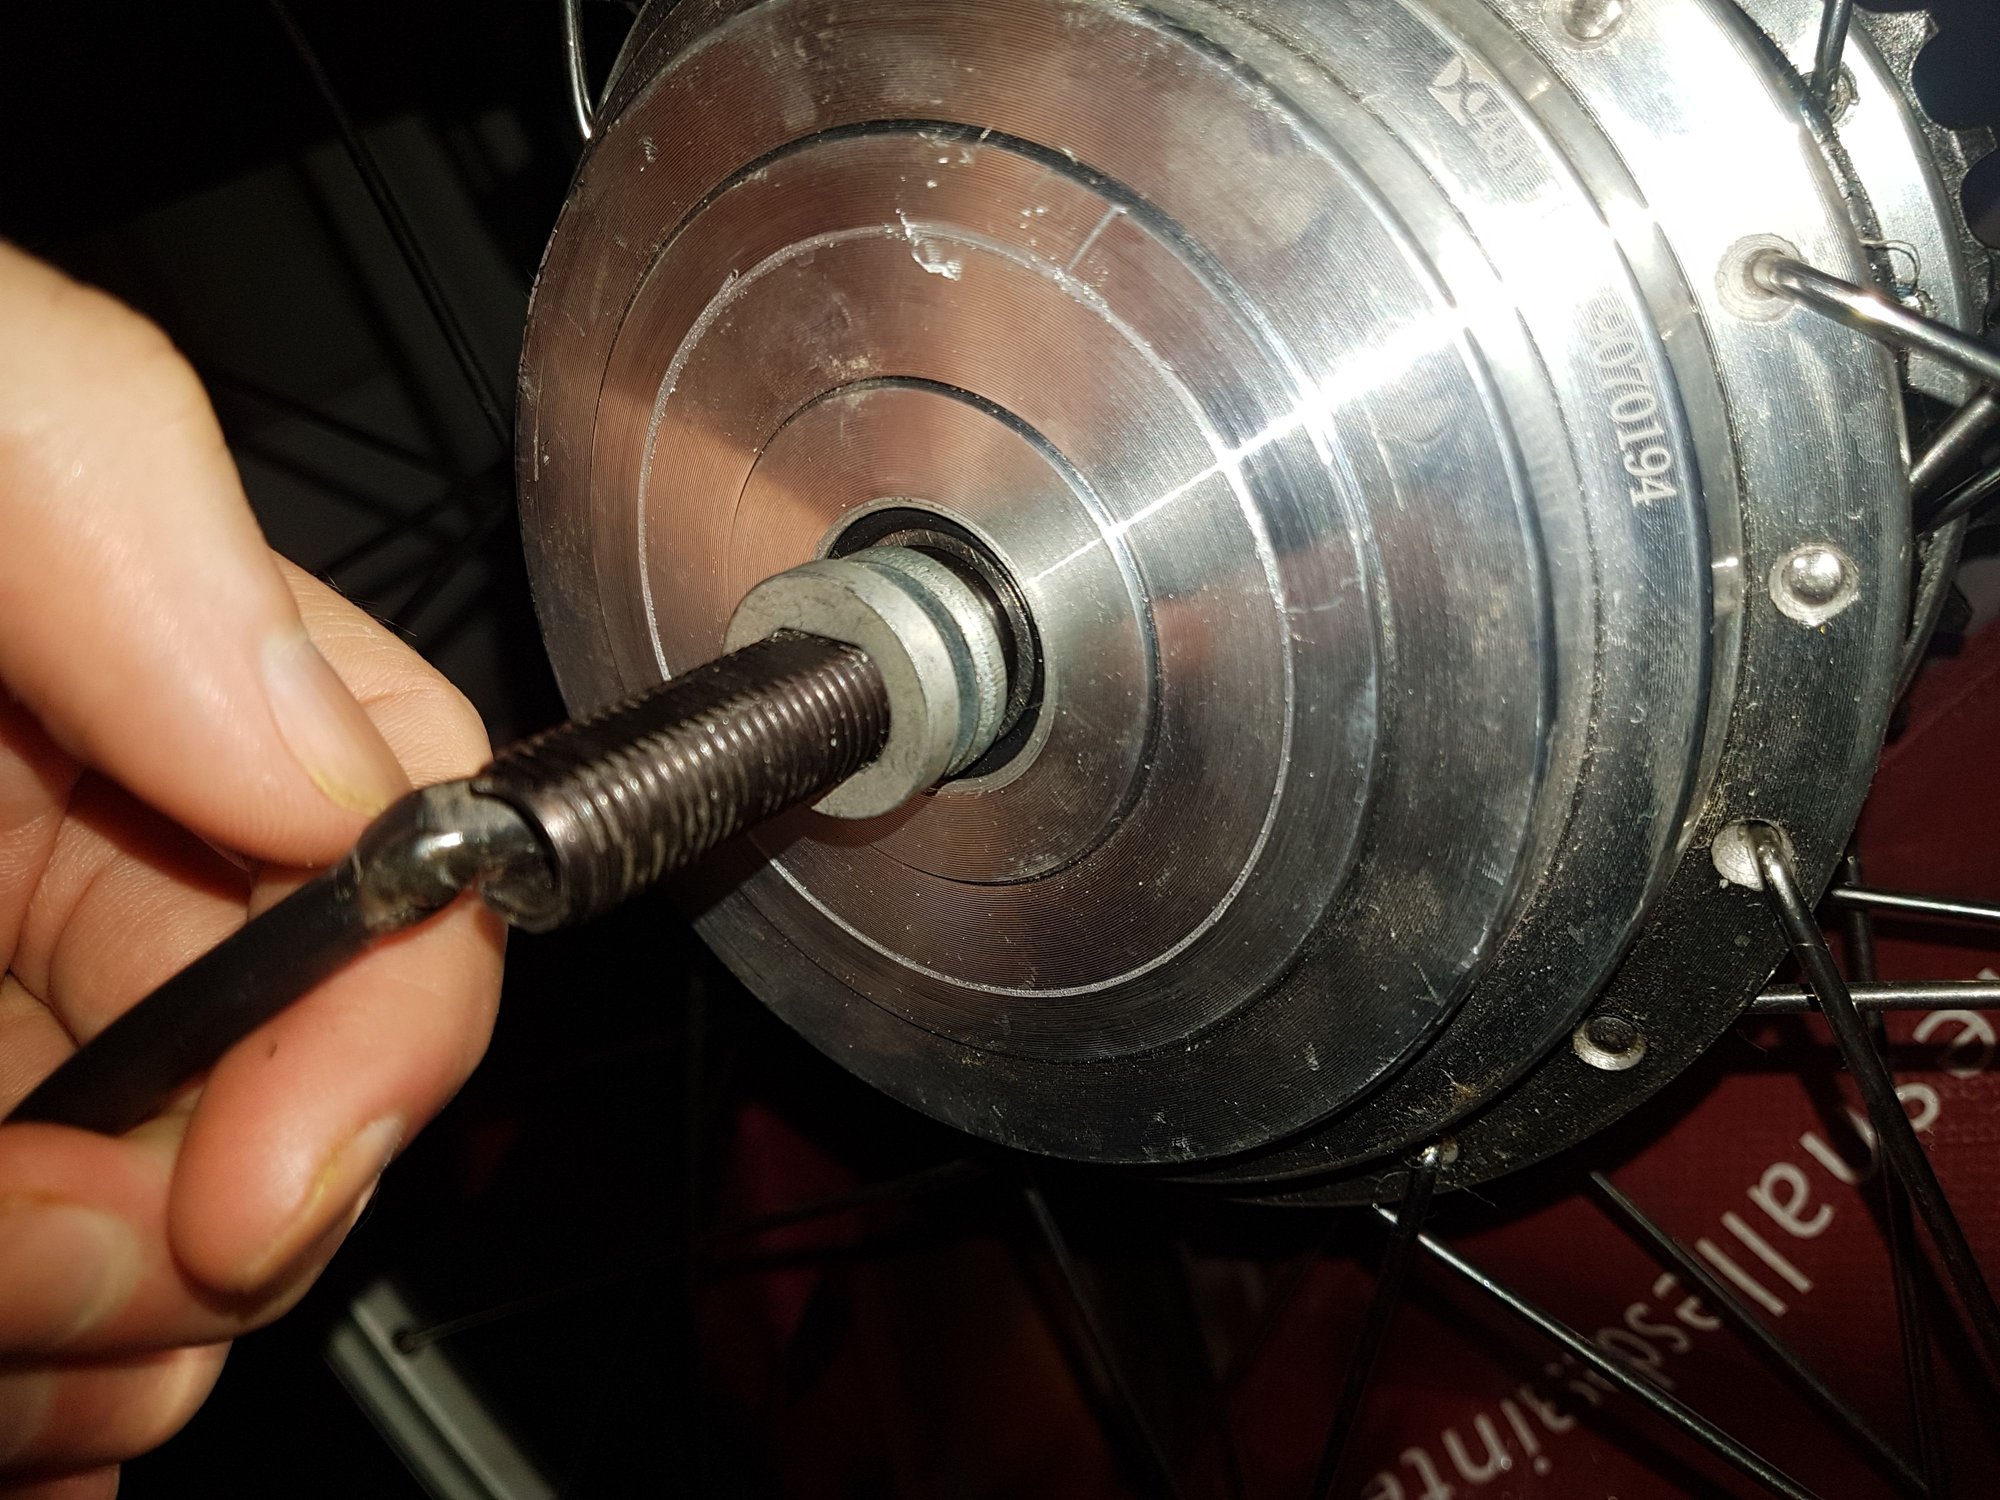
Hi 2speed xiongda has axle is round 12mm, flat 10mm, thread type is M12*1.25..
the coho xc has some ballz nut but i didnt find any fitting 12 mm axel...
how to solve this?
tx
the coho xc has some ballz nut but i didnt find any fitting 12 mm axel...
how to solve this?
tx
 04-11-21, 01:34 PM
#2
Full Member
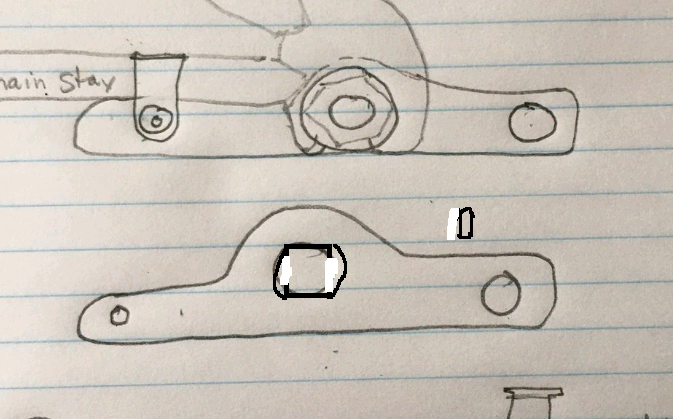
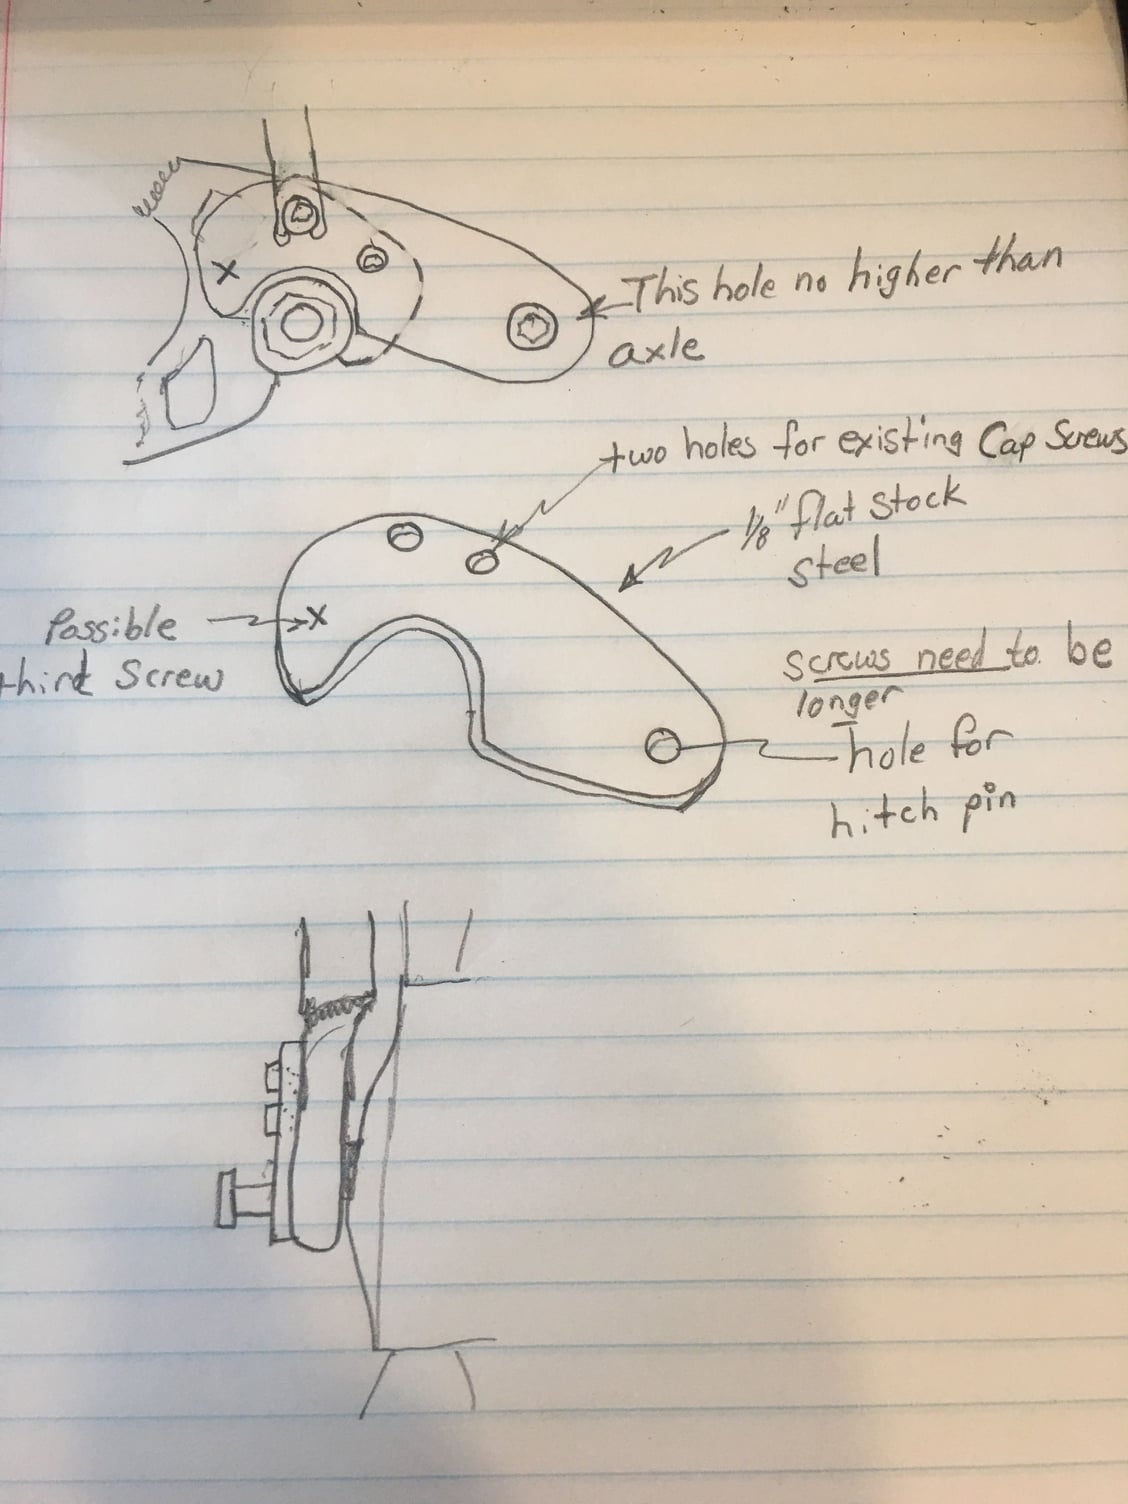
I think I would try designing something like this. Simple to make with hand tools and get soon. It's uses simple flat stock 1/8" steel. Available at most hardware stores. It utilizes a small torque arm for support and would bolt onto the axle against the dropouts.
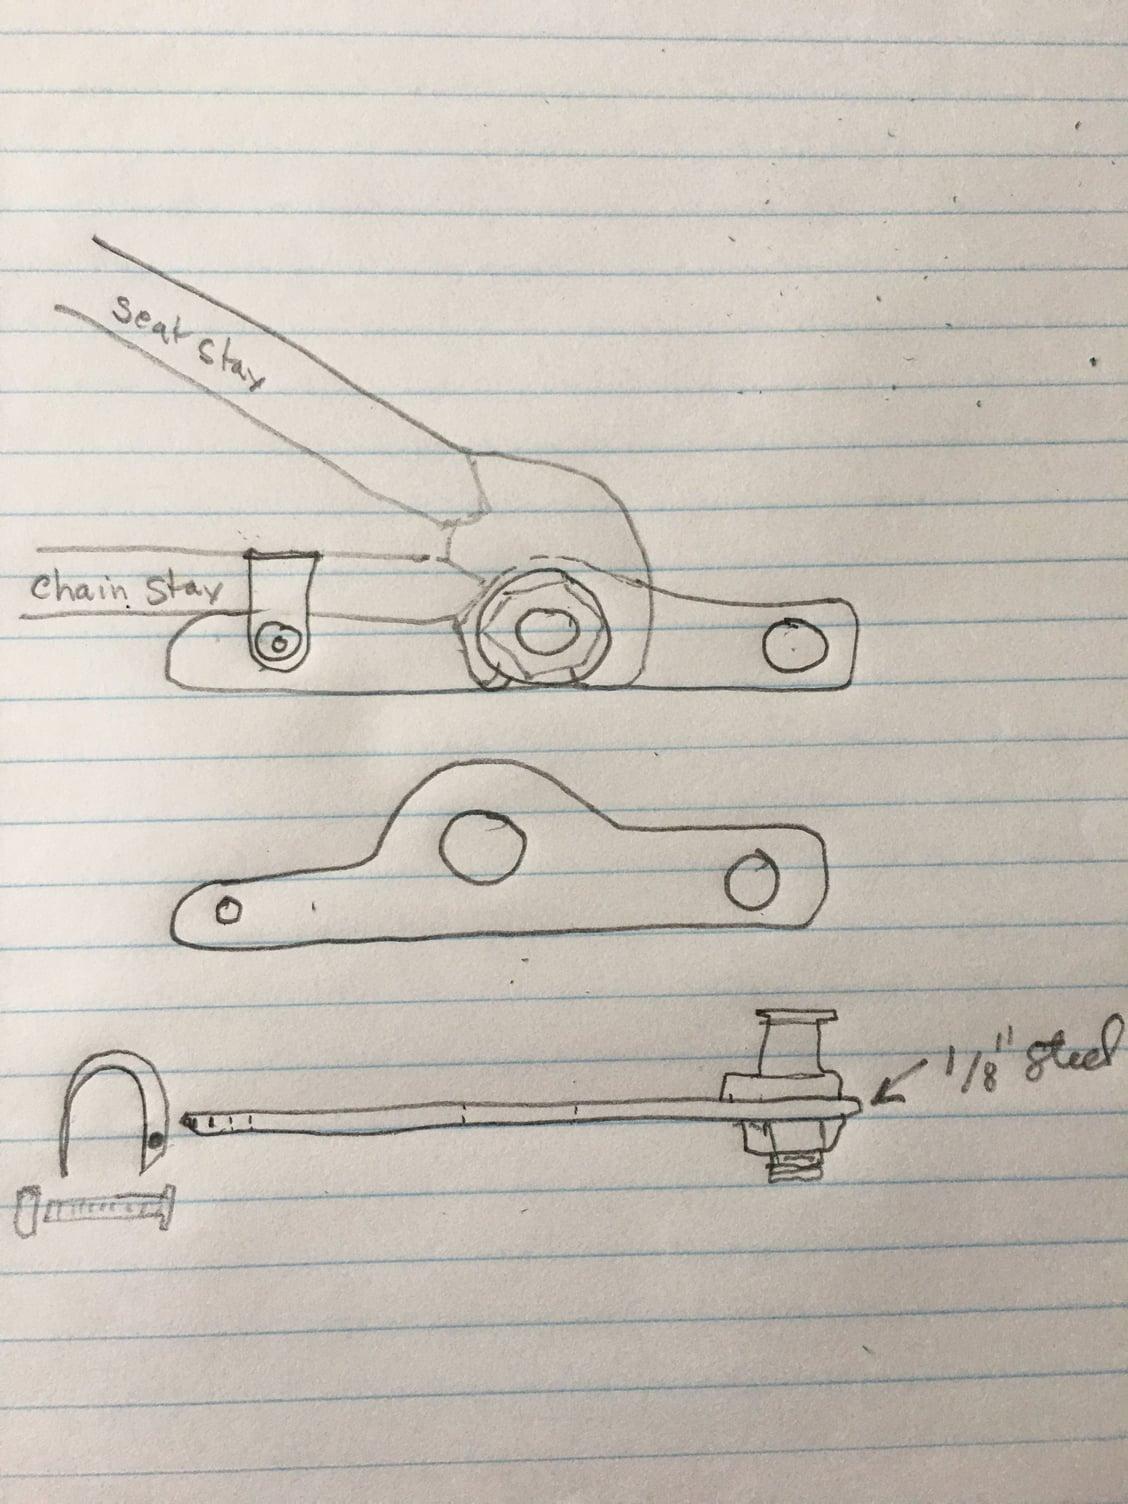
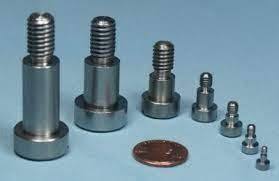
The hitch itself might be as simple as a 10mm shoulder bolt.
The hitch itself might be as simple as a 10mm shoulder bolt.
Likes For KPREN:
04-11-21, 02:33 PM
#3
Devil's Advocate

Too bad the Coho uses a 16� wheel. If it took a 20� then it might have been possible to install a Bafang 500W front hub drive and hang battery packs over it with the pannier rack to maximize traction.
Well, that�s what I wanted to do.
Well, that�s what I wanted to do.
04-11-21, 08:17 PM
#4
Full Member
My QuietKat single wheel uses a 20" fat tire in the rear.
04-12-21, 06:10 AM
#5
Devil's Advocate
Likes For andychrist:
04-12-21, 06:39 AM
#6
Full Member
It's larger than the advertise having a massive bed of 17" X 27"but it is dog snot heavy at 36 lb. Not a problem for me as I tow it behind a big electric fat bike with a huge battery.
04-14-21, 04:28 AM
#7
Junior Member
Thread Starter
how many mm drop out does that motor needs and what is its torque? tx
04-14-21, 04:35 AM
#8
Junior Member
Thread Starter
I think I would try designing something like this. Simple to make with hand tools and get soon. It's uses simple flat stock 1/8" steel. Available at most hardware stores. It utilizes a small torque arm for support and would bolt onto the axle against the dropouts.
The hitch itself might be as simple as a 10mm shoulder bolt.
The hitch itself might be as simple as a 10mm shoulder bolt.
when you talk abour shoulder bolt do you mean pass it throught the one eight metal piece and close it with a corresponding bolt?
Do you own a coho? what makes you say that such a head of bold would have the trailer stay put ?
i mean if it is too small it risks (if arm open) of letting the connector disconnect from the head bolt and bang on the tarmac?
tx
 04-14-21, 05:35 AM
#9
Full Member
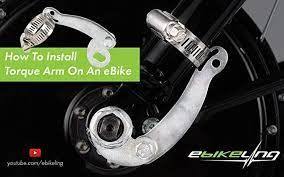
HI when you say torque arm do you mean a specific piece or anyting could do like this ?
when you talk abour shoulder bolt do you mean pass it throught the one eight metal piece and close it with a corresponding bolt?
Do you own a coho? what makes you say that such a head of bold would have the trailer stay put ?
i mean if it is too small it risks (if arm open) of letting the connector disconnect from the head bolt and bang on the tarmac?
tx
Yes you would use a 3/8" x 1/2" shoulder bolt and fasten it with a nut on the opposite side along with some blue loctite.
I do not own a Coho trailer but I do own a trailer that uses a Bob attachment from The Robert Axle Project.. I believe Coho uses the same but I might be wrong.
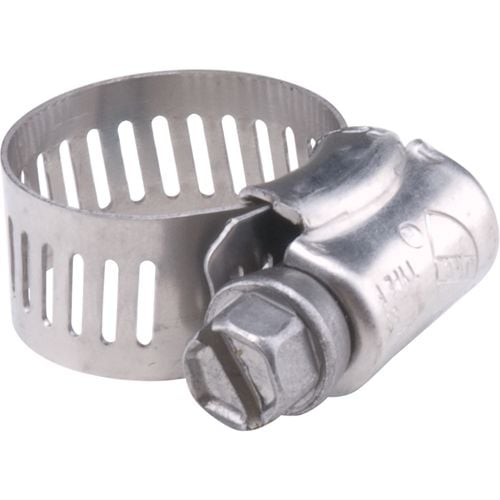
The clip is not a hose clamp. It too is also manufactured from a thinner piece of flat stock. Look up what the old coaster brake torque arms were fastened with to get an idea. You really should have a torque arm with that motor anyway.
If you are not capable of using simple tools to manufacture something than this is all mute unless you hire it done.
Likes For KPREN:
04-14-21, 06:31 AM
#10
Devil's Advocate
Have no idea what the dropout spacing is on the Coho or whether it would even support a hub motor though.
04-15-21, 10:01 PM
#11
Junior Member
Thread Starter
Hum ,,, yeah i am open to put a arm tork.
I ll think about your setup, meanwhile, could you tell me why the plumer piece would not work?
i found this pic too
I ll think about your setup, meanwhile, could you tell me why the plumer piece would not work?
i found this pic too
04-16-21, 12:13 PM
#12
Full Member
The trailer mount is built to double as a torque arm.
Last edited by KPREN; 04-16-21 at 12:28 PM.
04-18-21, 01:08 AM
#13
Junior Member
Thread Starter
shouldnt there be a non circle where you places a circle too ?
could you draw the unwanted force, what it is trying to do so that i understand better how it serves also as a torq arm?
i
 04-18-21, 08:13 AM
#14
Full Member
My drawing is only a general drawing to give you ideas. My drawing is not a blue print. I do not know the exact hole configuration or possible bends that you need to fit your motor and bike. If it requires a square hole, then drill a square hole. Drilling a square hole involves drilling a round hole that fits inside the square and filing the corners square. I do know that this is the path to take but, as I said, I have not seen your bike, your motor, or the trailer..
04-18-21, 09:04 PM
#15
Junior Member
Thread Starter
My drawing is only a general drawing to give you ideas. My drawing is not a blue print. I do not know the exact hole configuration or possible bends that you need to fit your motor and bike. If it requires a square hole, then drill a square hole. Drilling a square hole involves drilling a round hole that fits inside the square and filing the corners square. I do know that this is the path to take but, as I said, I have not seen your bike, your motor, or the trailer..
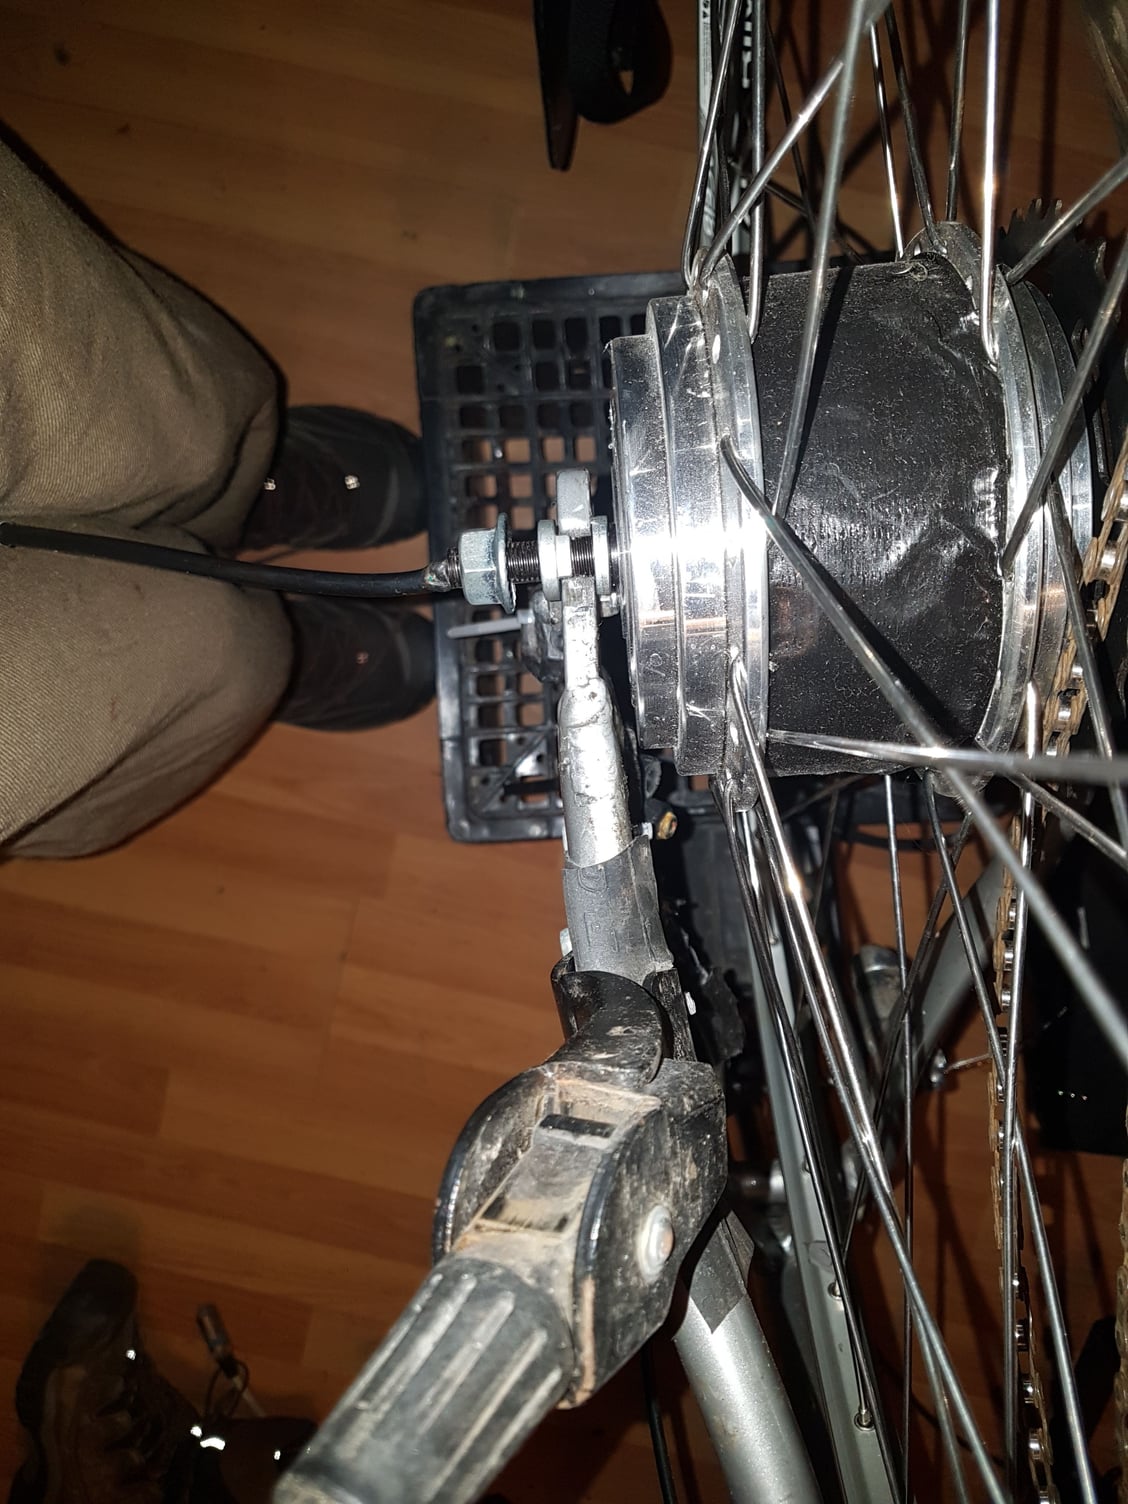
on the pic i just placed the xiongda in the fork but did not place the washer an nuts with precision i dont know in which order to place them to be honest

 04-18-21, 09:44 PM
#16
Junior Member
Thread Starter
HI
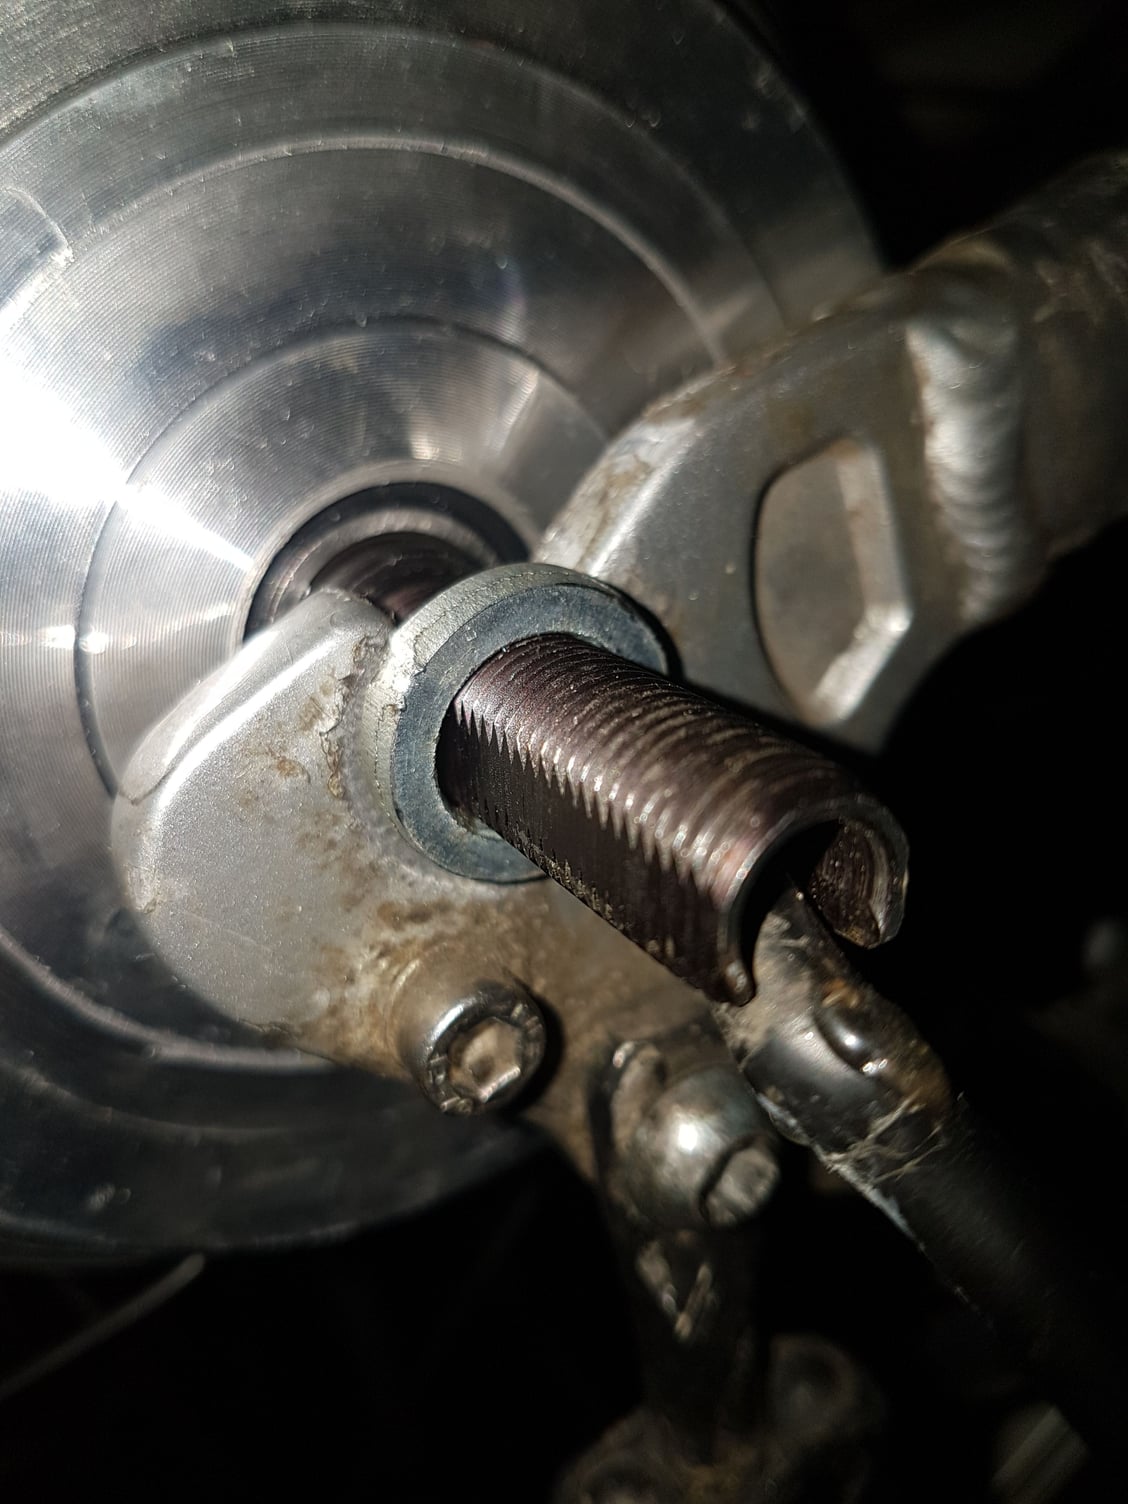
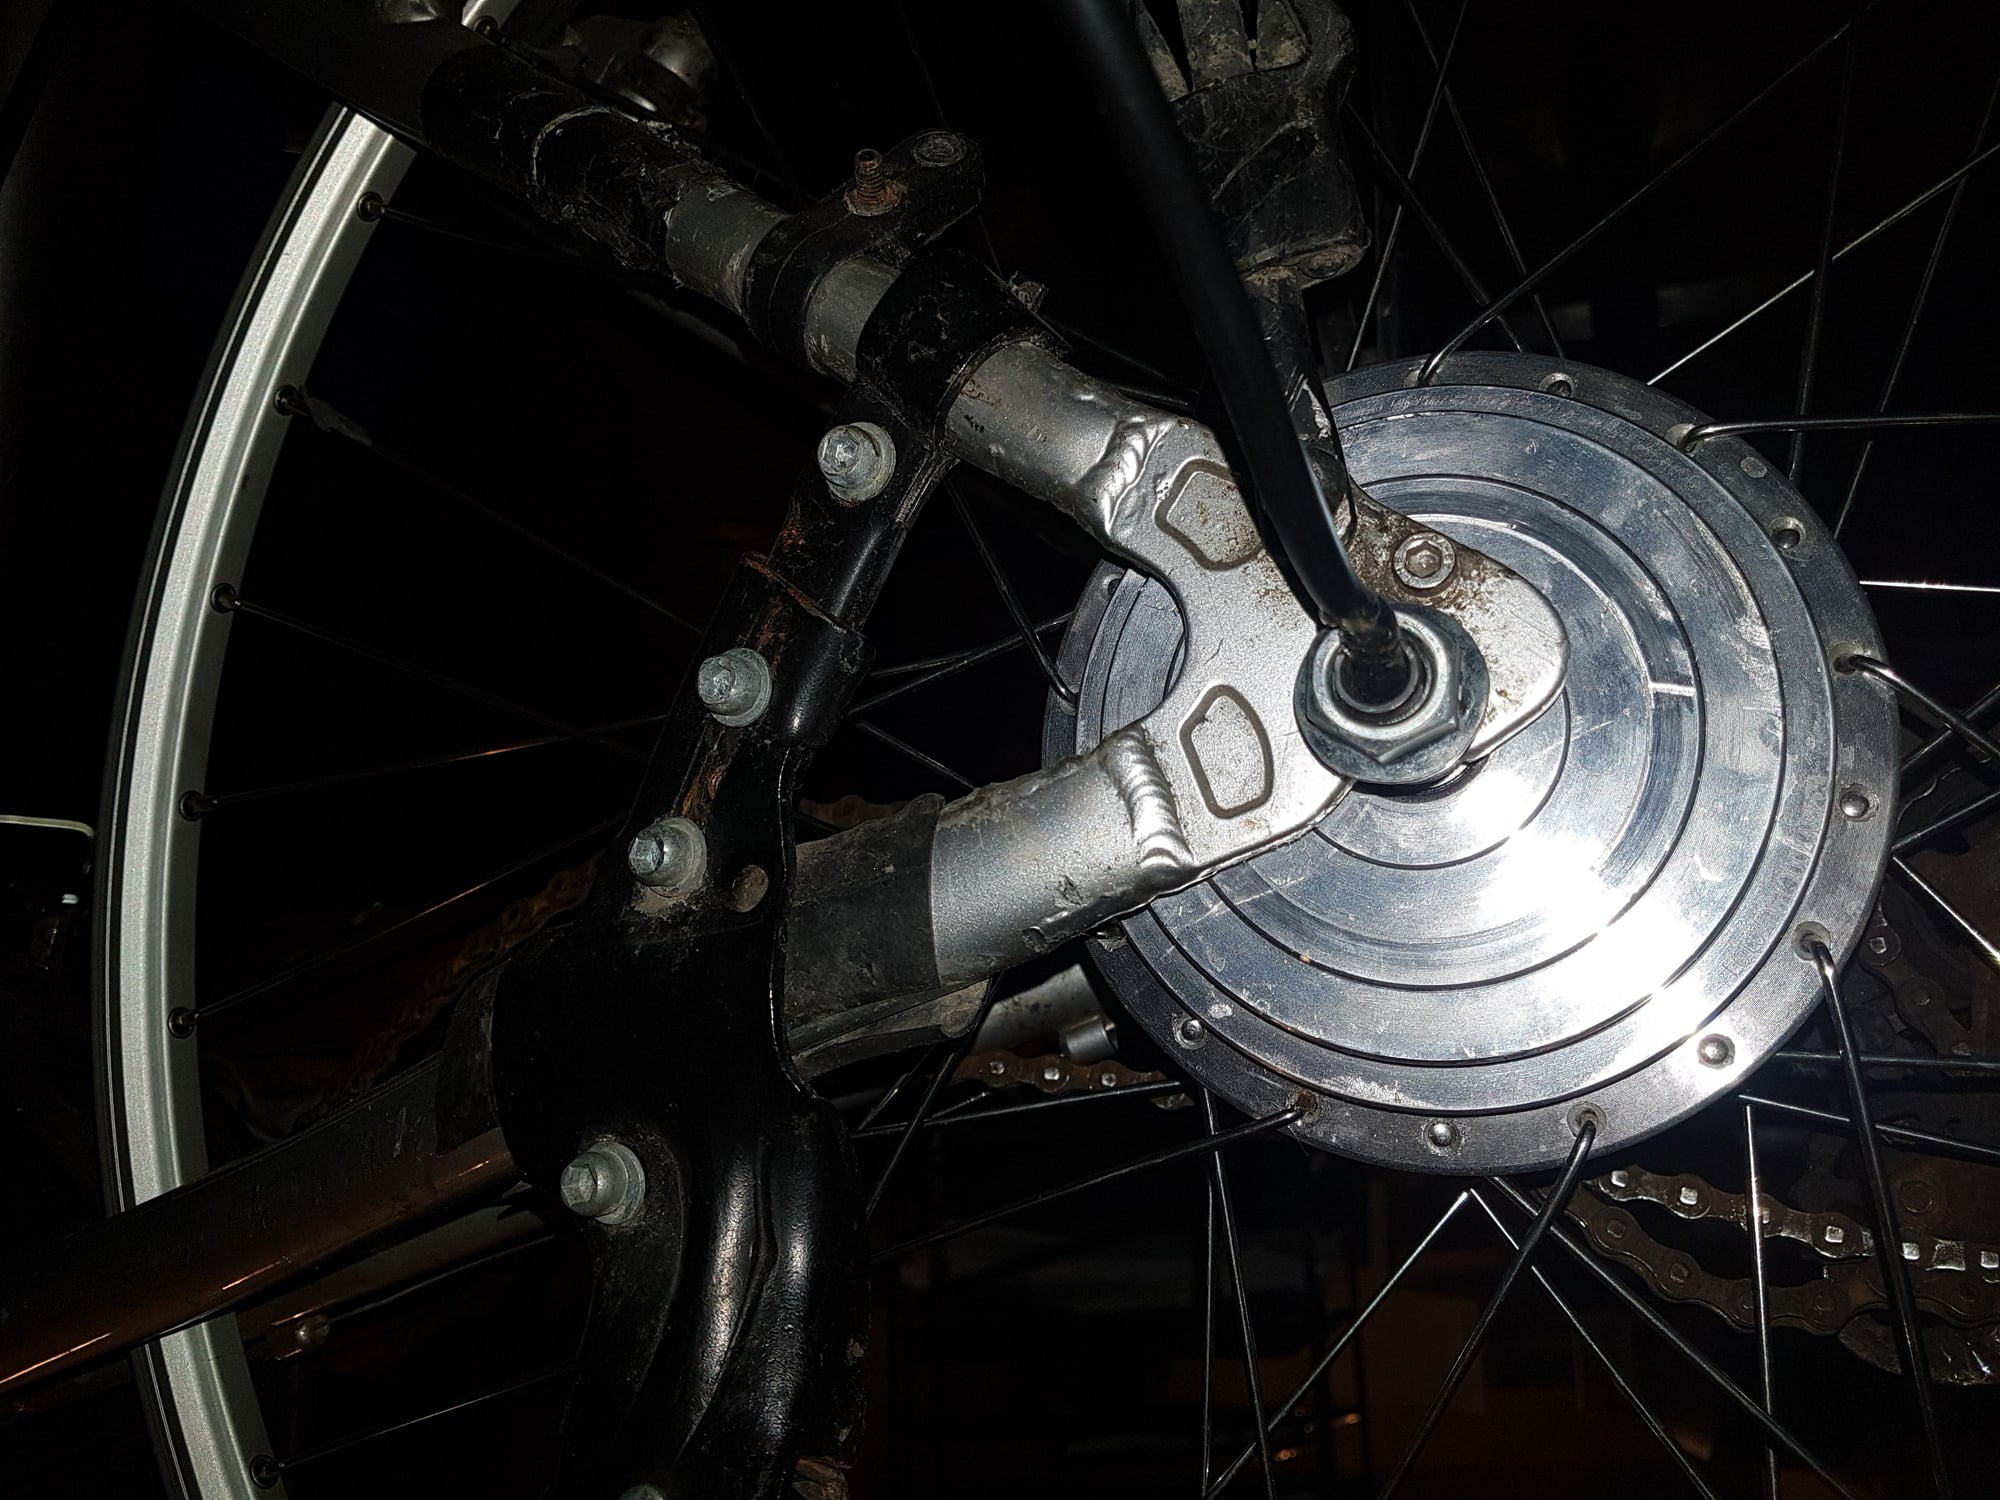
i took time to place the pieces in the best way i think they should be and took picture.
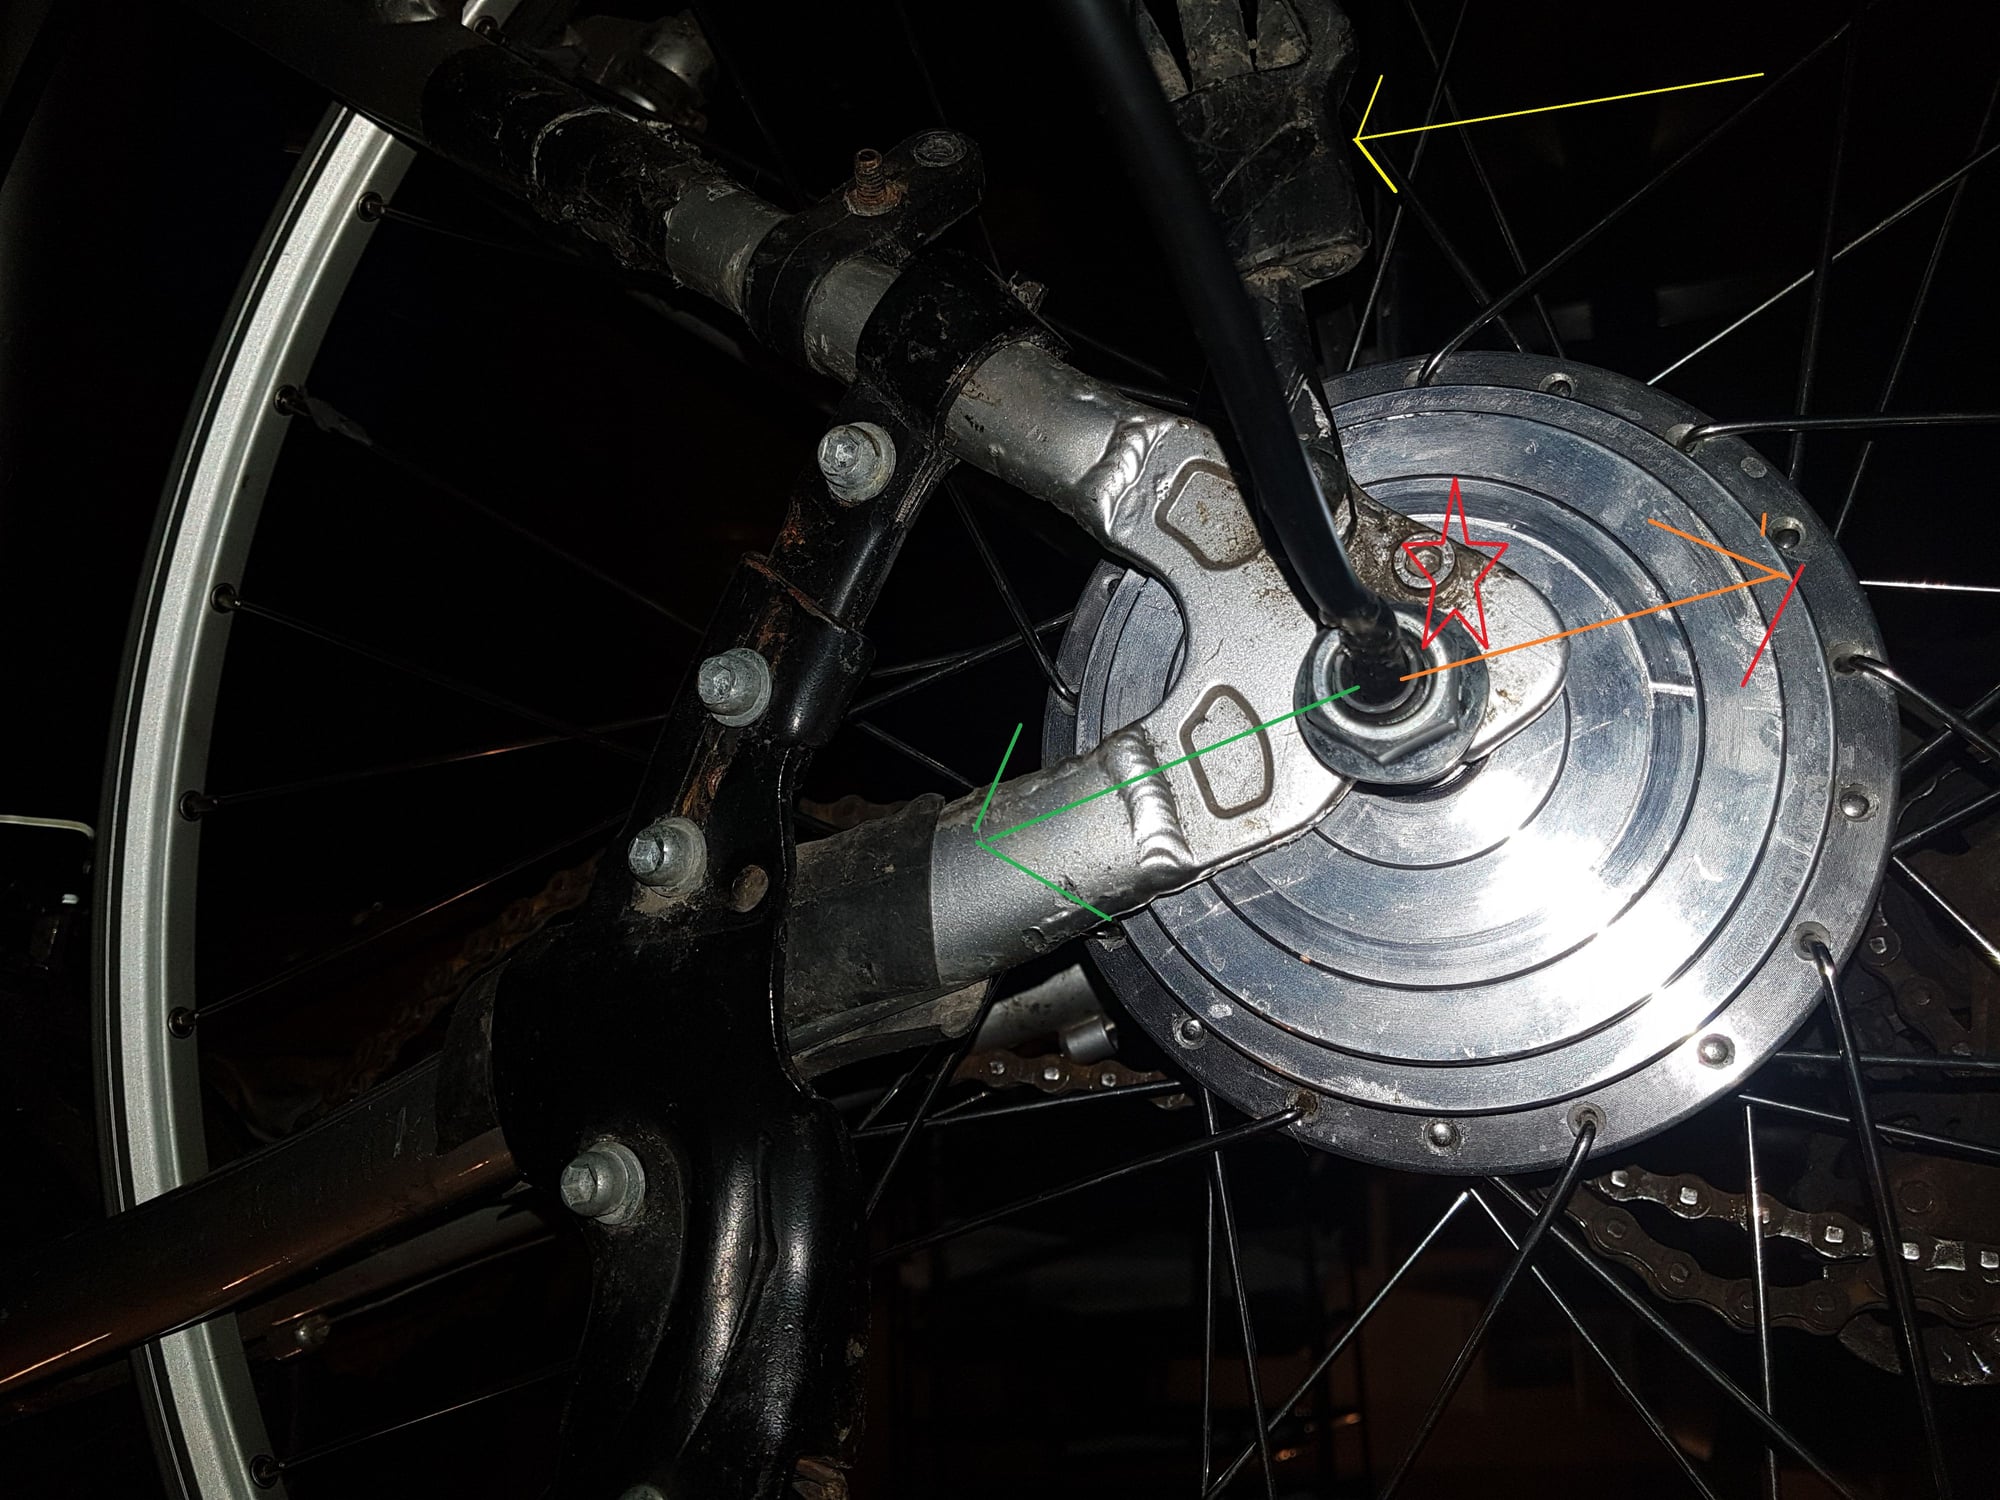
Also i watched some vid about tork and here is the way i understand it , feel free to add and correct
Yellow is direction of the moving bike
orange is the unwanted force that the motor will add when in action
red start is my estimation of where a crack would happen
green would be what your drawing is trying to achive wich is the add resistence to the orange arrow in the opposite direction.
that is on one plan. I do not know it there are forces created goin into the pcscreen and outside of the screen (right and left side of bike)
i took time to place the pieces in the best way i think they should be and took picture.
Also i watched some vid about tork and here is the way i understand it , feel free to add and correct
Yellow is direction of the moving bike
orange is the unwanted force that the motor will add when in action
red start is my estimation of where a crack would happen
green would be what your drawing is trying to achive wich is the add resistence to the orange arrow in the opposite direction.
that is on one plan. I do not know it there are forces created goin into the pcscreen and outside of the screen (right and left side of bike)
04-20-21, 03:33 PM
#17
Full Member
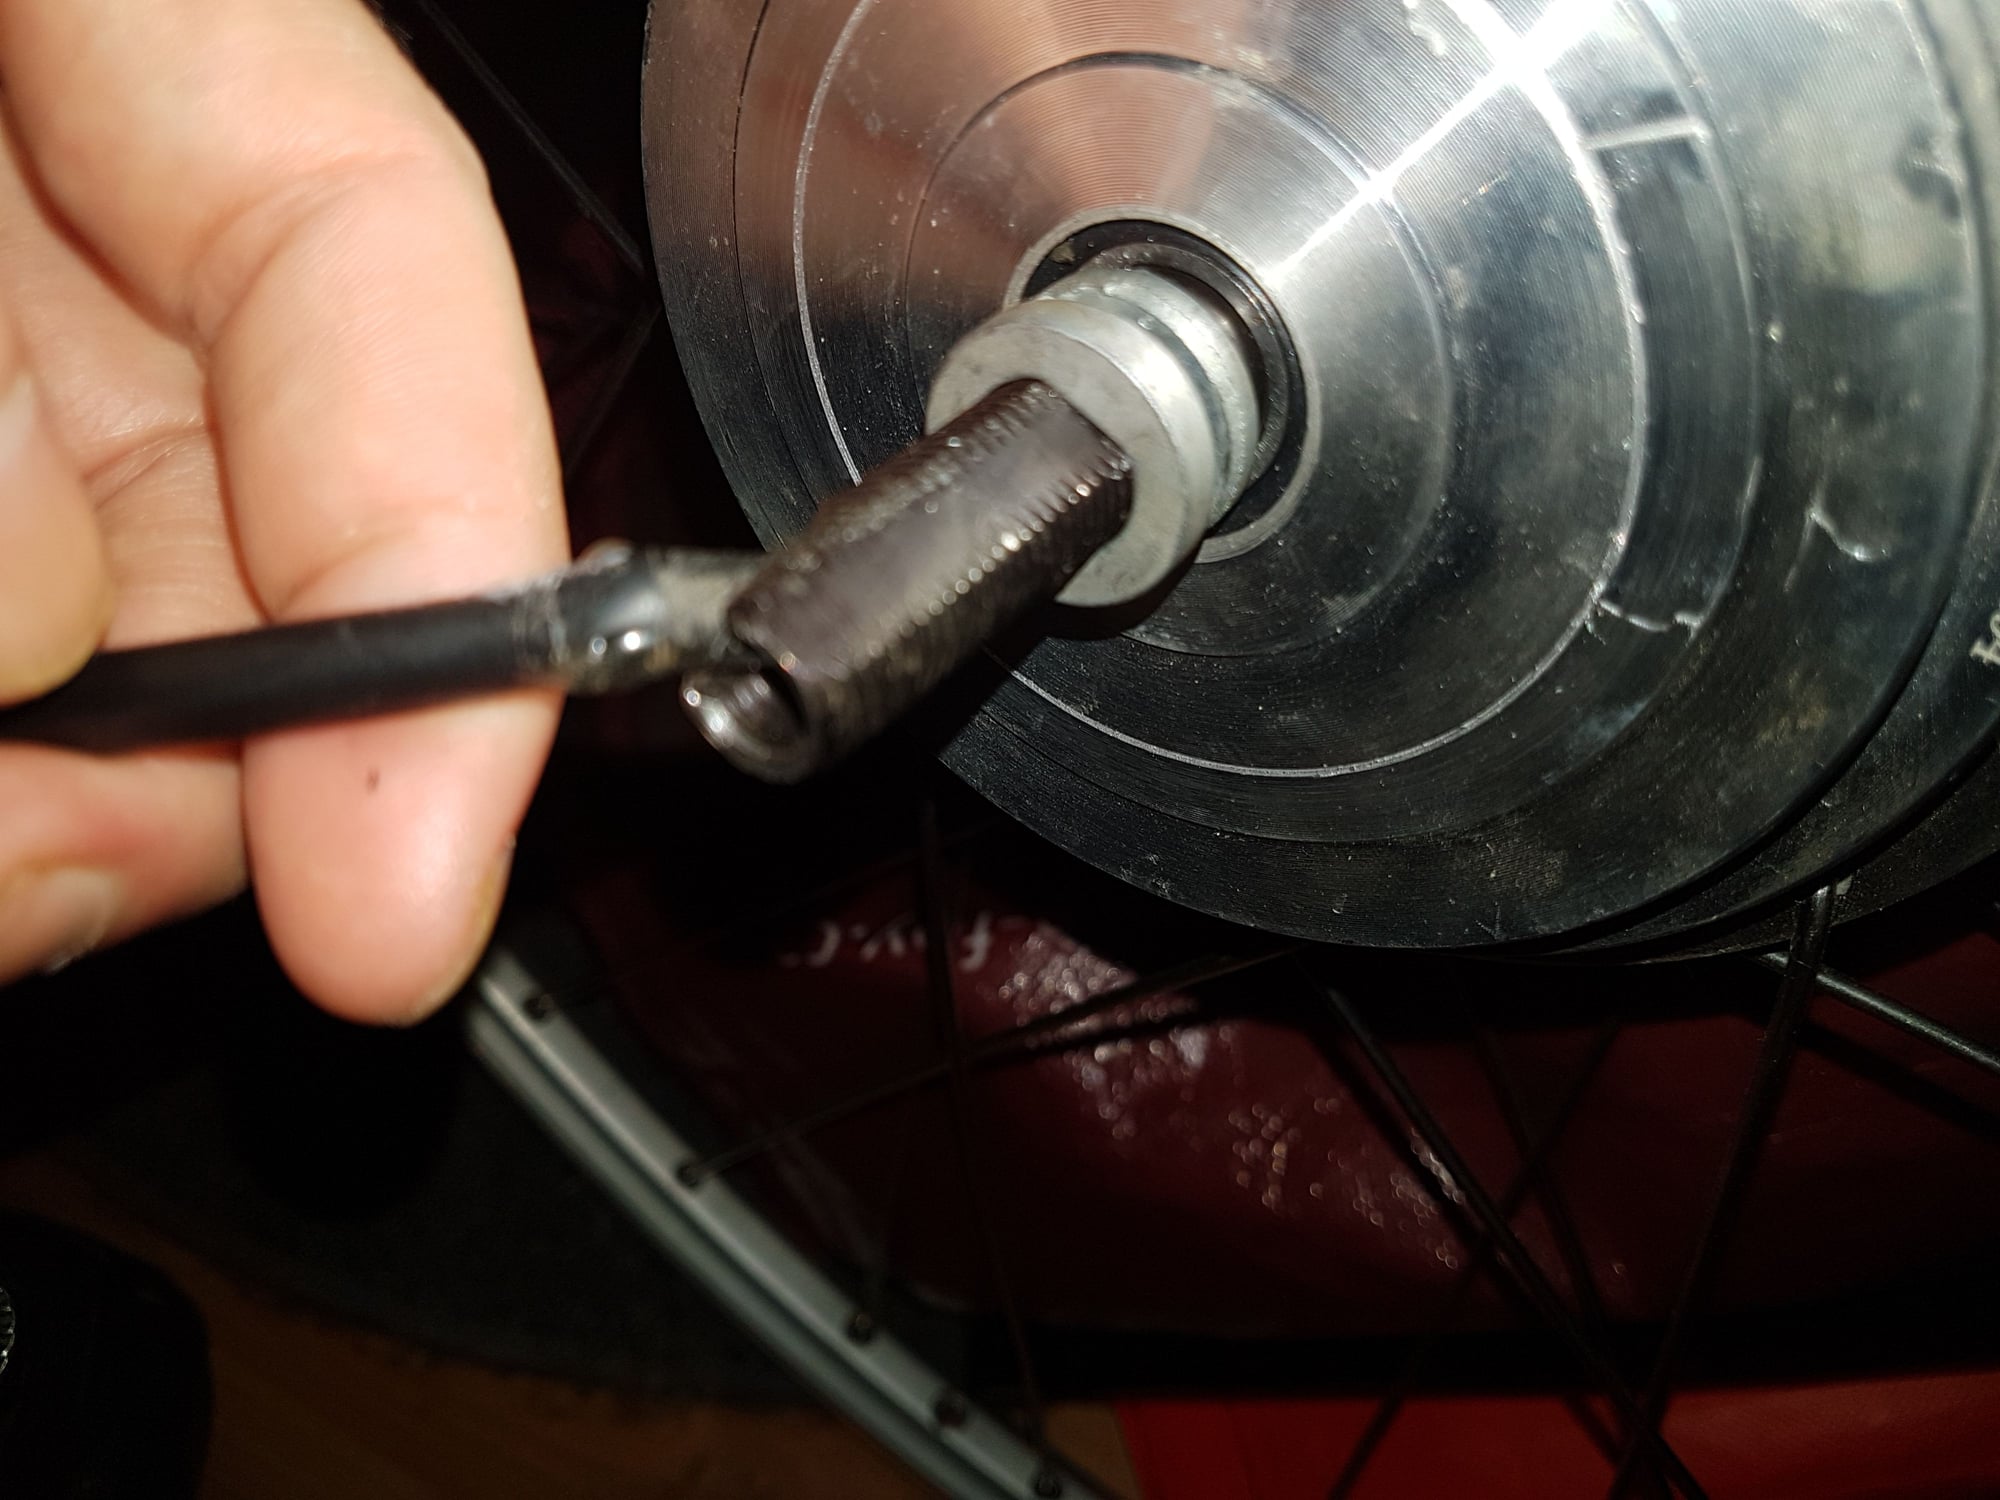
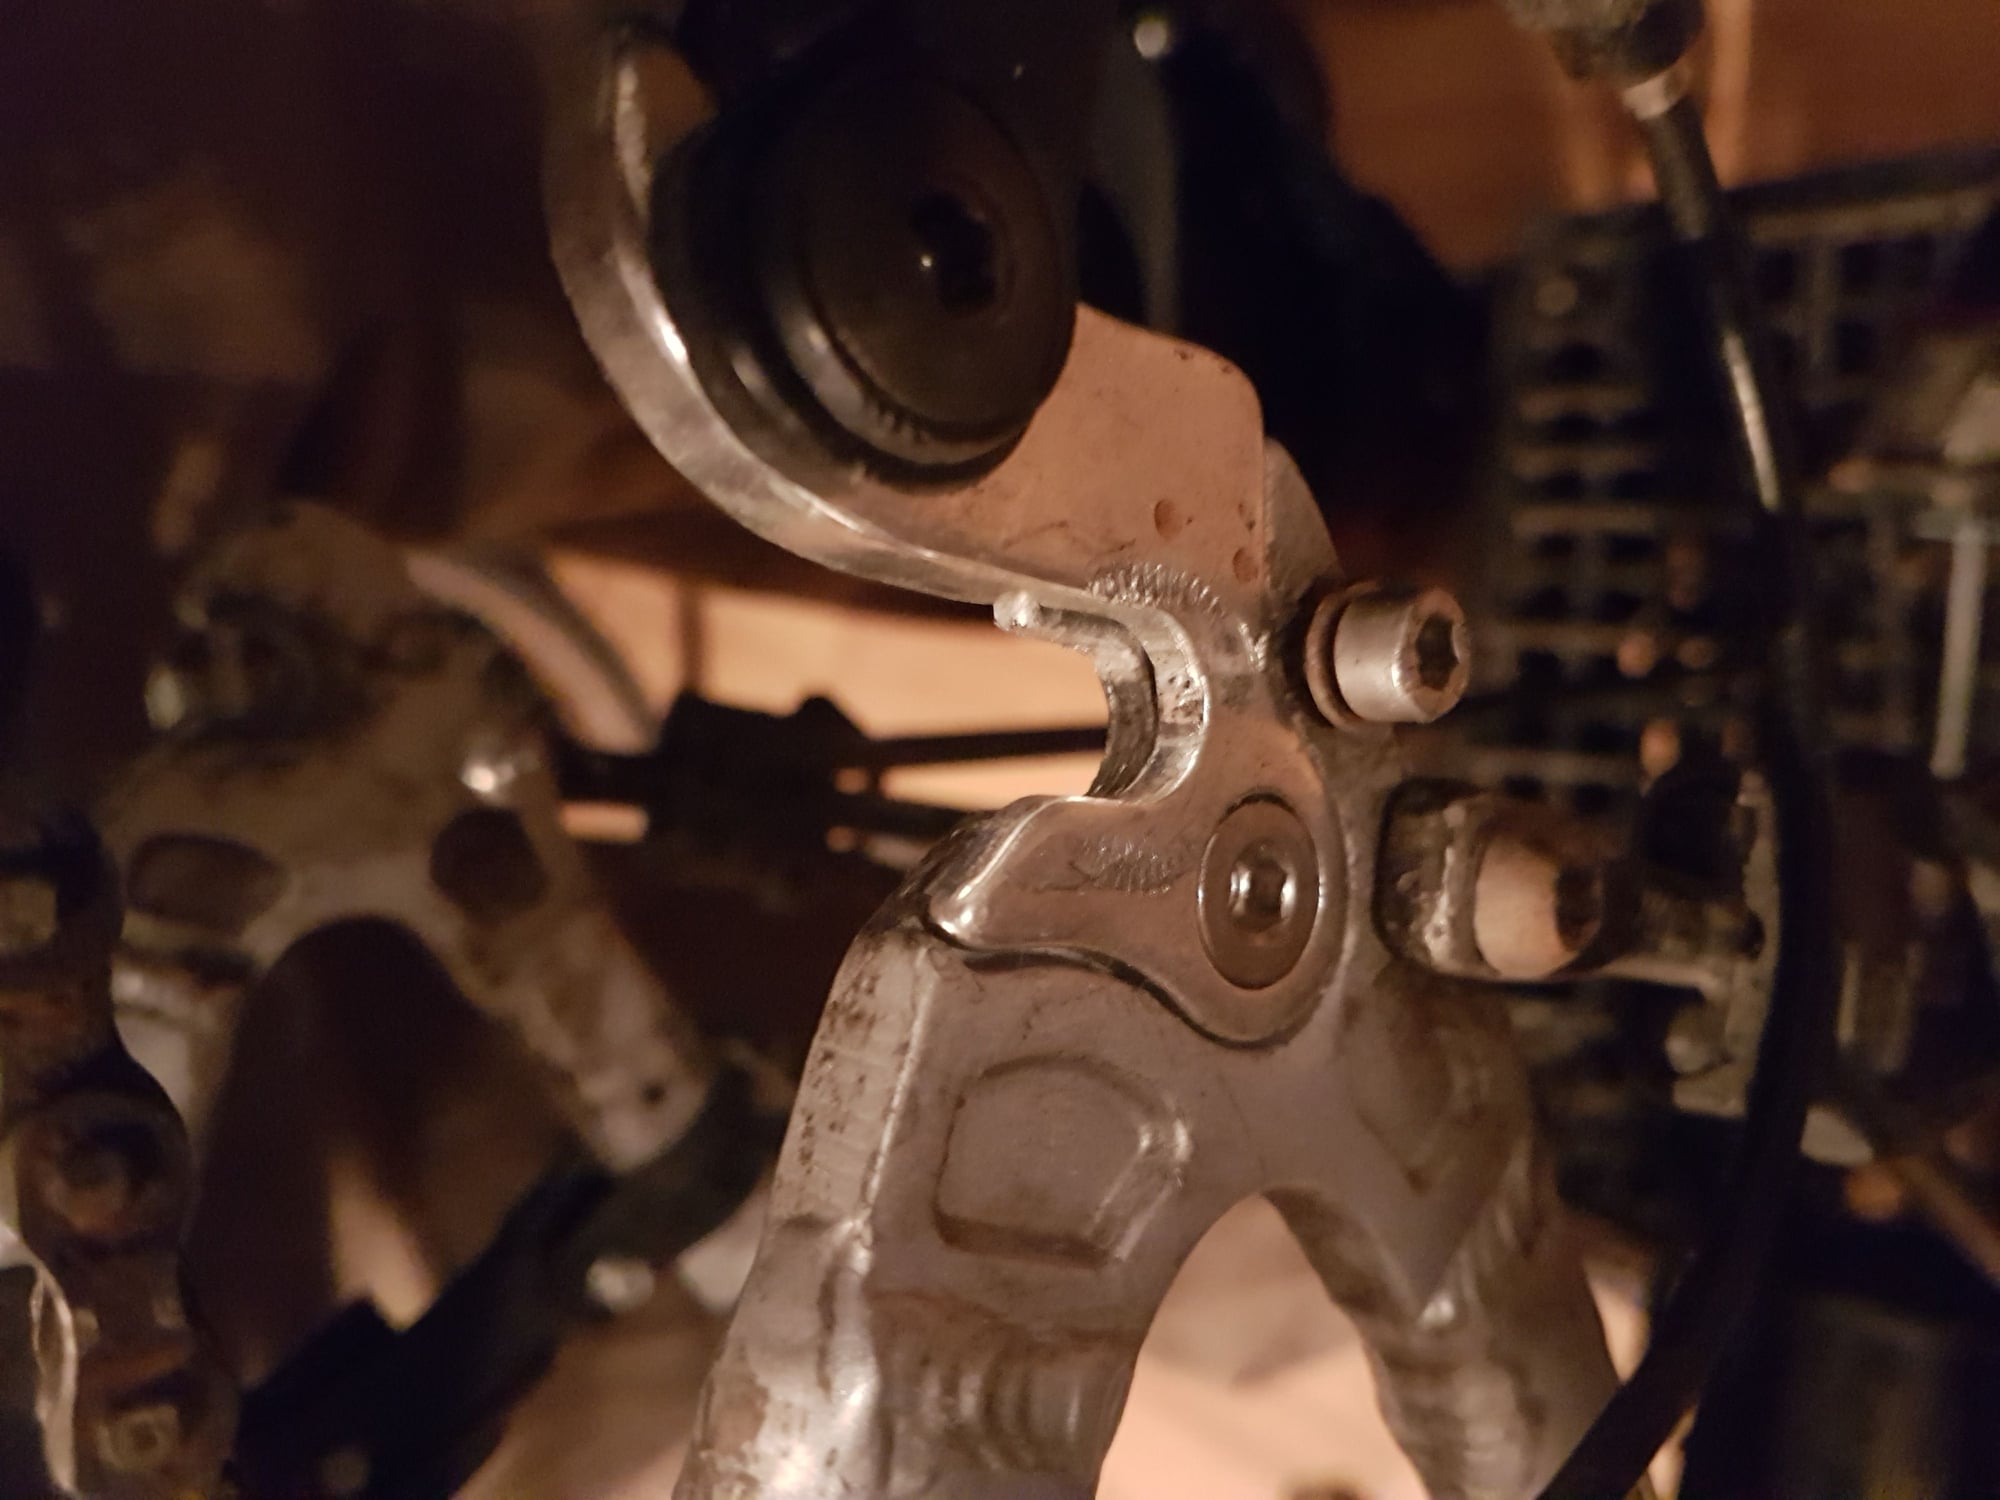
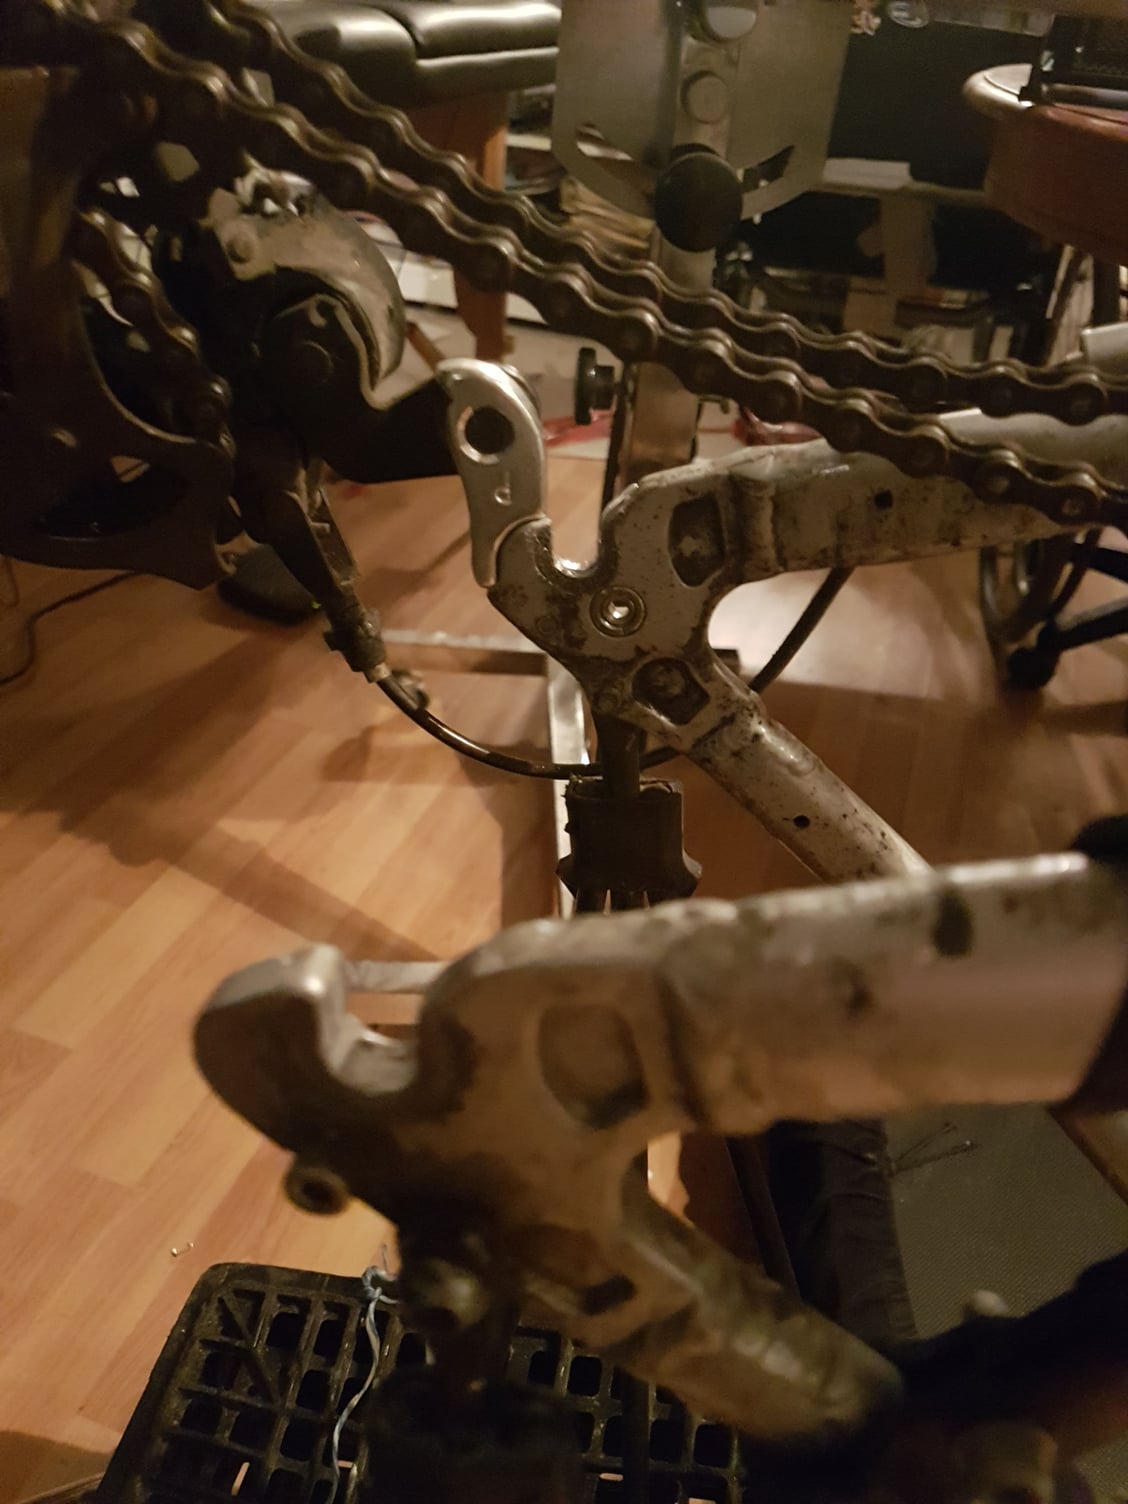
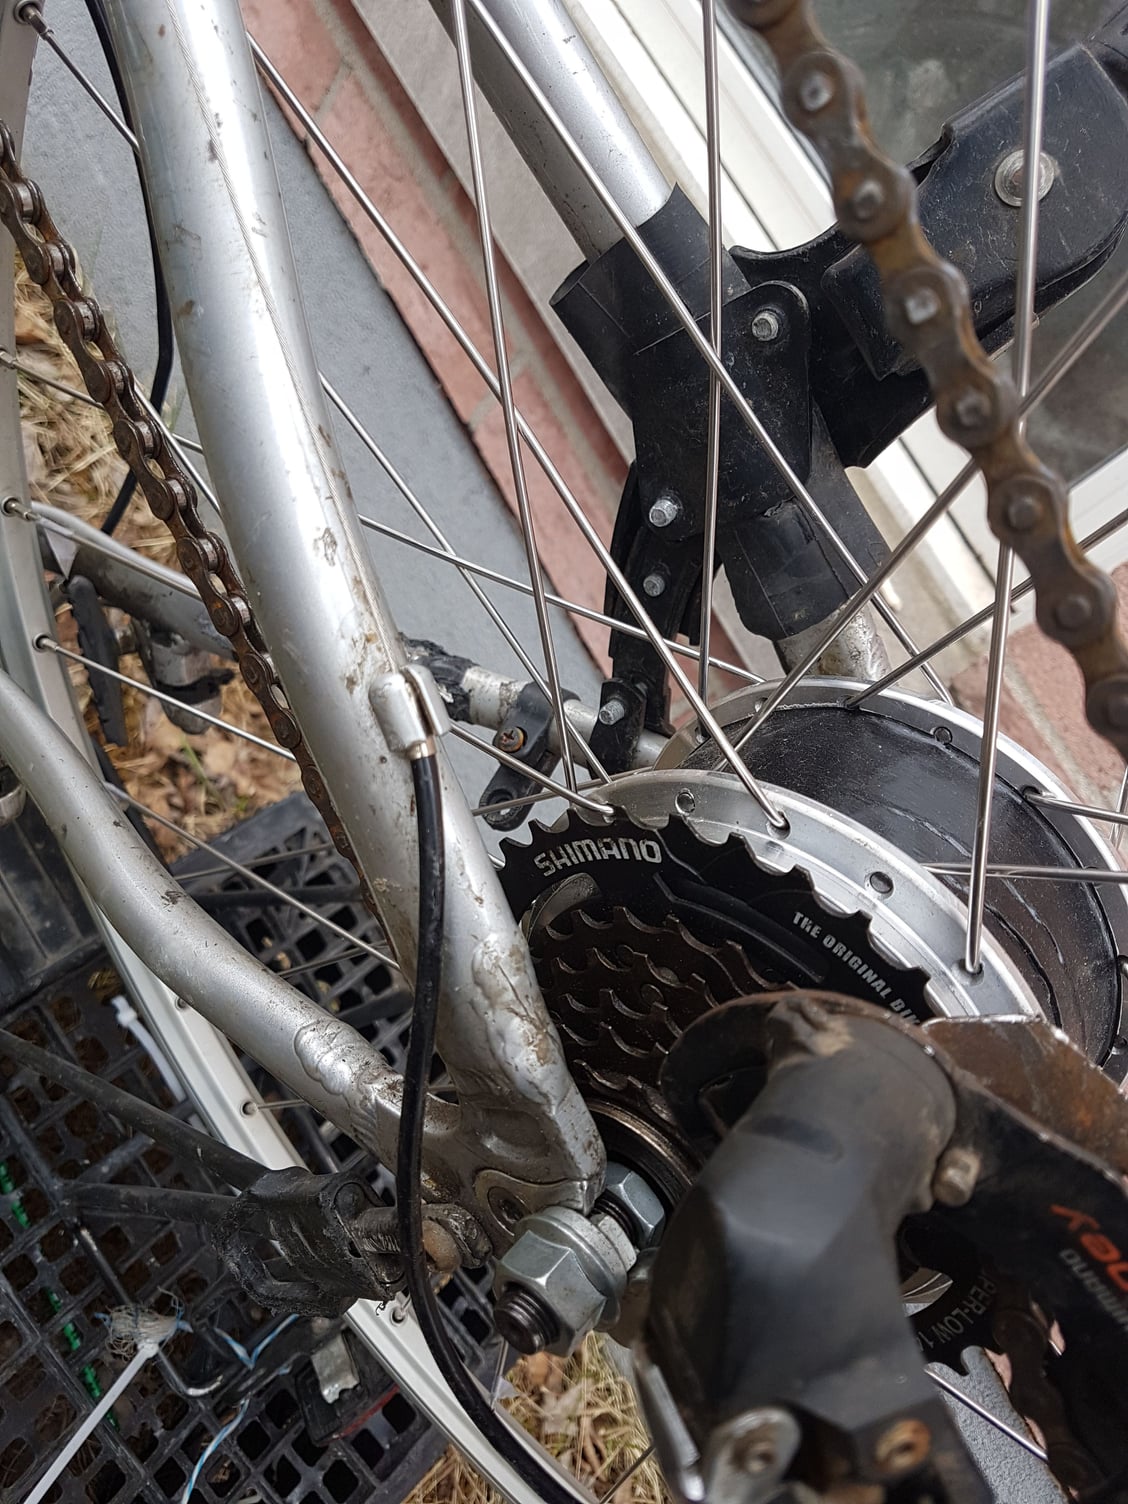
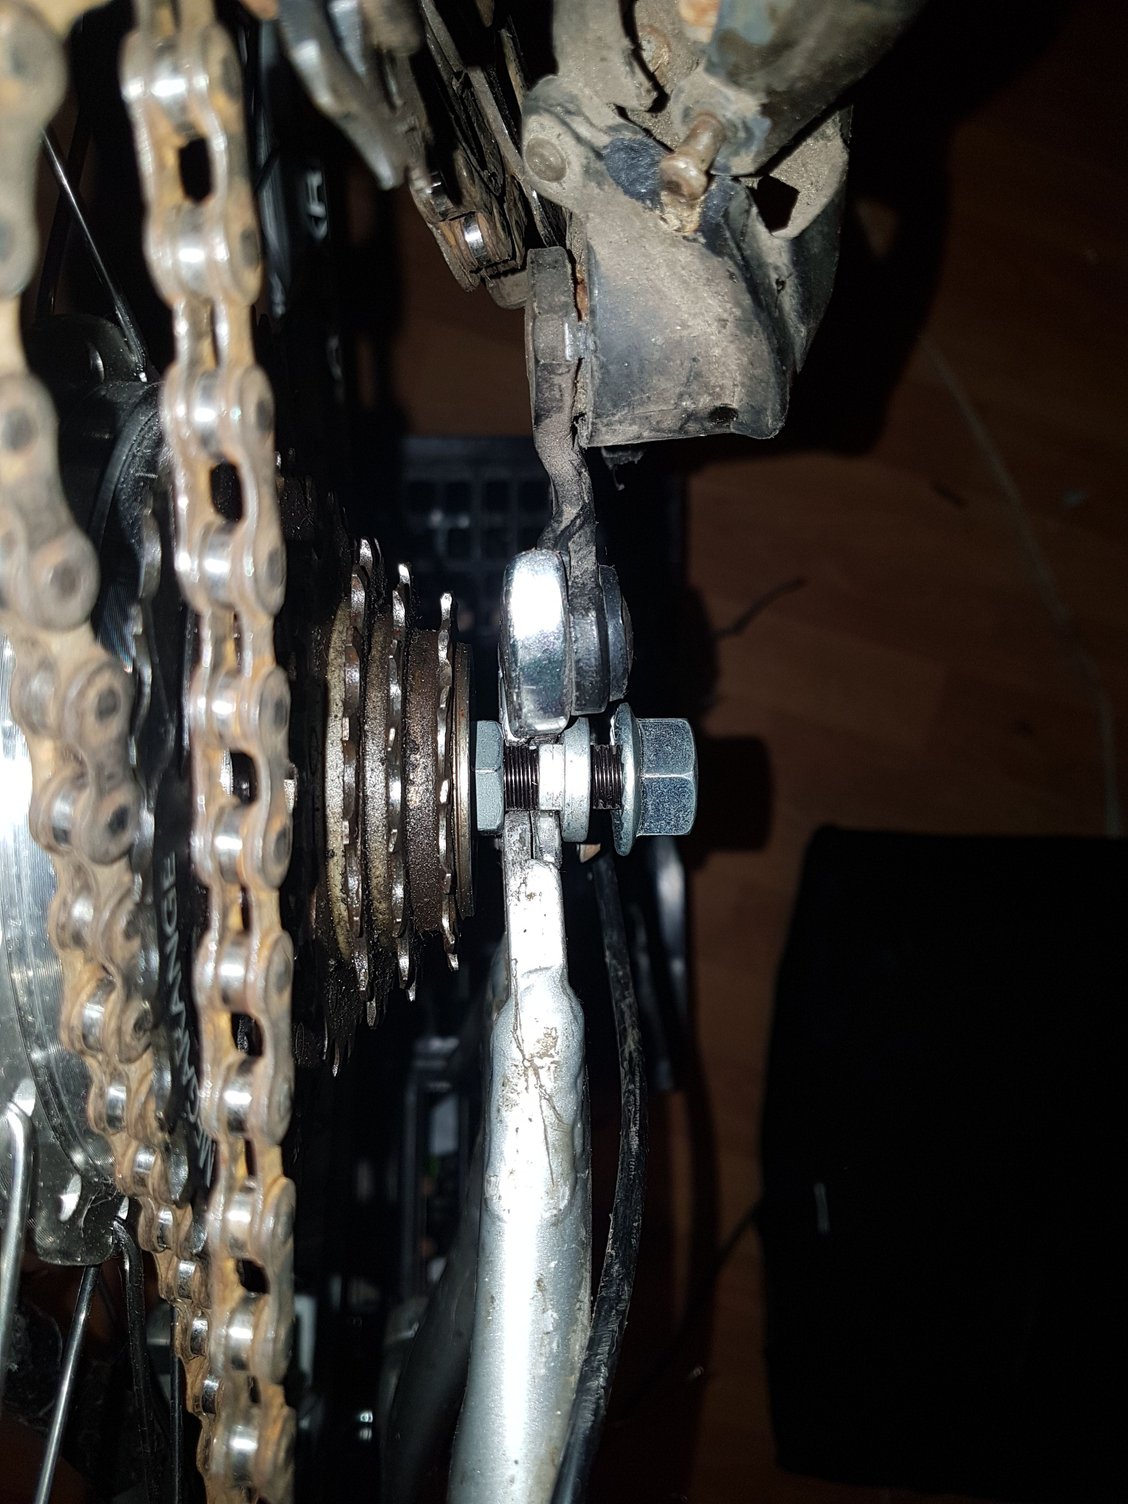
Given the design of that motor axle a torque are made from mild steel will not works so you can forget that avenue. The outer slotted washer shown in the bottom two pictures is suppose to take the place of a torque arm. Given what I see in the pictures I would likely build something like the drawing and use the two existing screws to secure it I would not involve the axle at all.
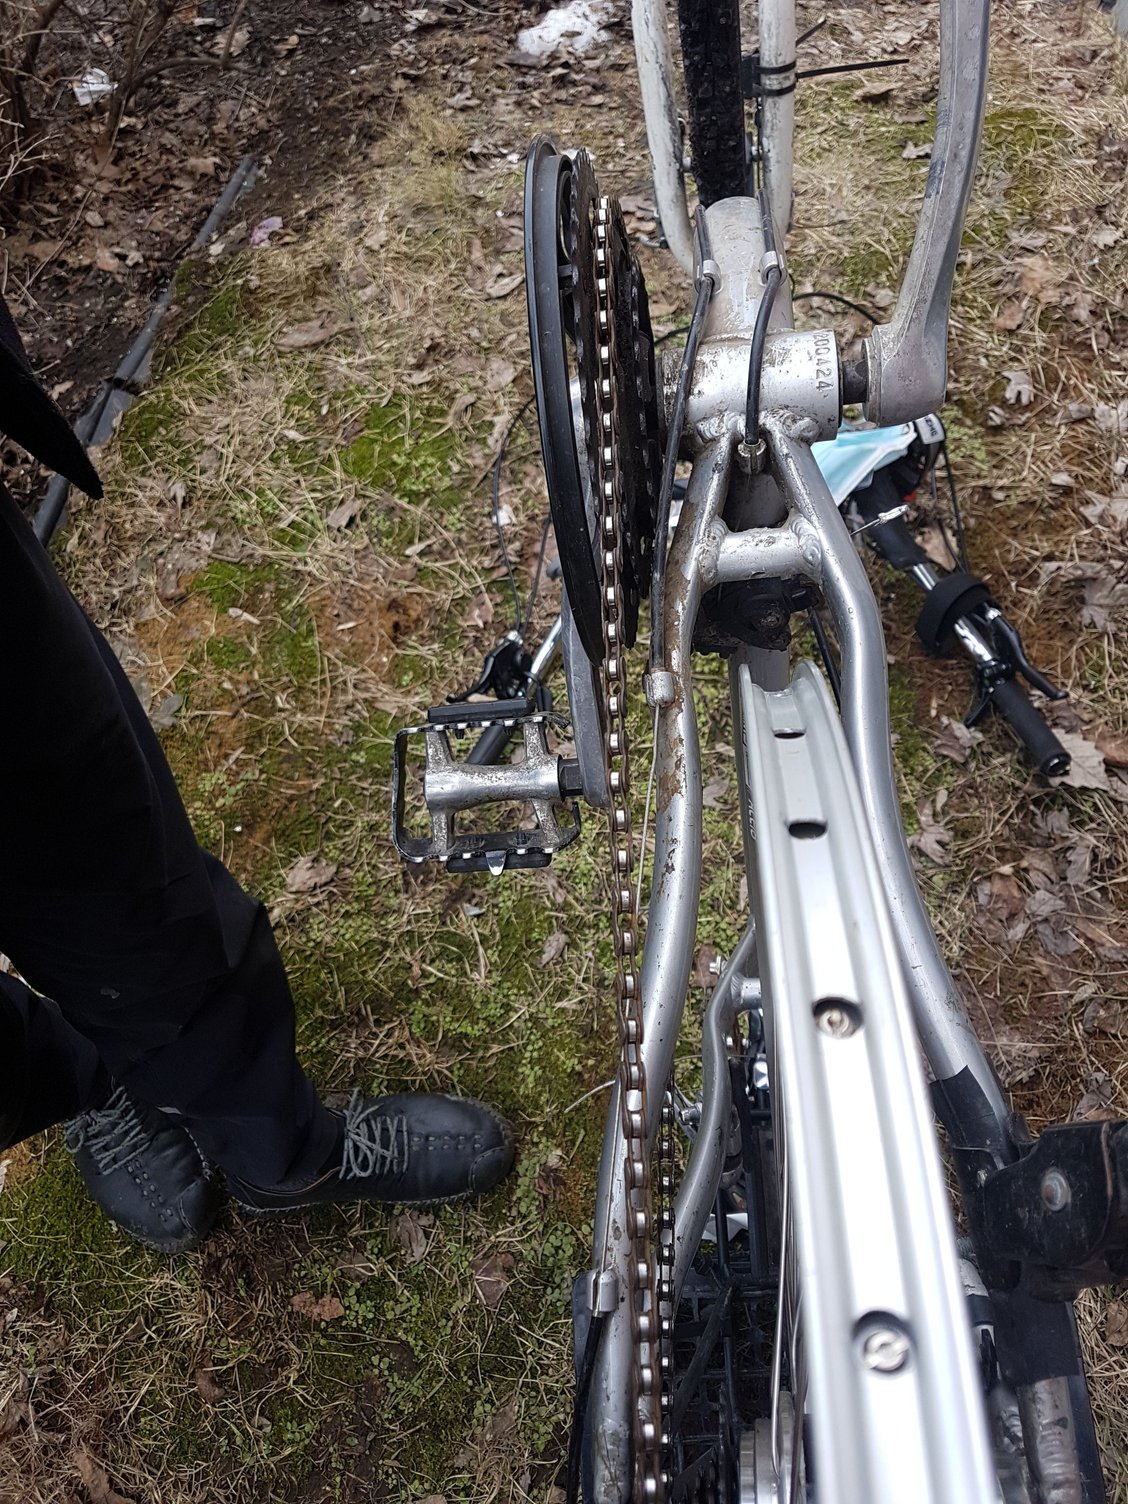
You have a definite chain problem and a definite rear derailleur problem just from the pictures.
You have a definite chain problem and a definite rear derailleur problem just from the pictures.
04-28-21, 08:44 PM
#18
Junior Member
Thread Starter
Given the design of that motor axle a torque are made from mild steel will not works so you can forget that avenue. The outer slotted washer shown in the bottom two pictures is suppose to take the place of a torque arm. Given what I see in the pictures I would likely build something like the drawing and use the two existing screws to secure it I would not involve the axle at all.
You have a definite chain problem and a definite rear derailleur problem just from the pictures.
You have a definite chain problem and a definite rear derailleur problem just from the pictures.
are those 2 slotted pieces enough ? or do i need a tork arm ... because the trailer hitch and tork arm are 2 different prob to my eyes
when you say ]Given the design of that motor axle a torque are made from mild steel will not works so you can forget th, im curious about what is it about the axle that makes the your first drawing a no go?
tx

Last edited by first trip; 05-01-21 at 06:45 PM.
05-01-21, 06:49 PM
#19
Junior Member
Thread Starter
hi yes i know about the chain derailleur i changed them both today and now, happily, not to put pressure on you at the same time my main project now is to create a piece where i can use the standard pieces to attache trailer .. will you help me with that explainations. And some questions about if i still need a torq arm are asking kindly to be looked at.
see you later
05-01-21, 09:17 PM
#20
Full Member
hi yes i know about the chain derailleur i changed them both today and now, happily, not to put pressure on you at the same time my main project now is to create a piece where i can use the standard pieces to attache trailer .. will you help me with that explanations. And some questions about if i still need a torq arm are asking kindly to be looked at.
see you later
see you later
Now what standard pieces would you like to use. Photos would help.
05-11-21, 08:17 PM
#21
Junior Member
Thread Starter
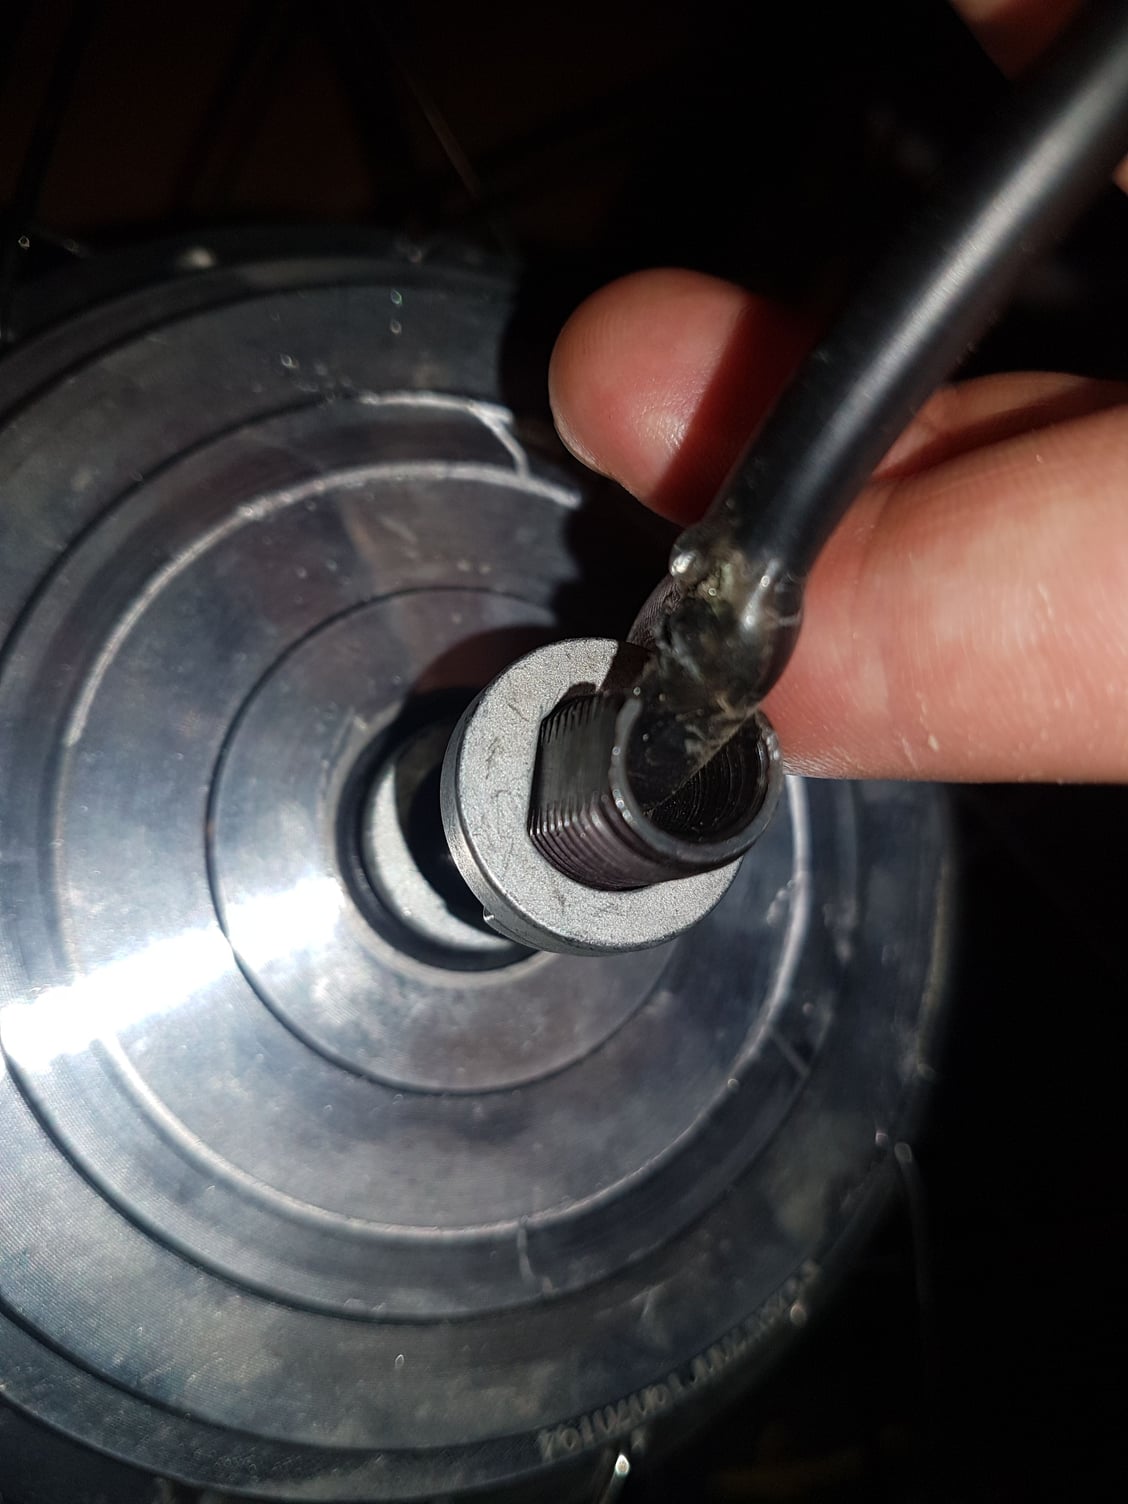
in this pic we see that the piece cannot turn around the axle cause i has the same form (a rectancircle)
is this what you want me to check?
https://imgur.com/vlRBqlR
https://imgur.com/vlRBqlR
what do you mean by standart piece?
some said not to put the weight of the trailer on the axle , is it because it would eventually bend it?
it would be safer and more versatil if i could have a piece in wich i can screw the regular screws that the trailers send in de facto.
i could acces a grinder. is your second drawing stil relevant?
where it is written
two holes for existing screw cap, those holes have threads how can i exactly drill hole in face of them, and do those screws need to have thread too?
05-21-21, 08:05 PM
#22
Full Member
in this pic we see that the piece cannot turn around the axle cause i has the same form (a rectancircle)
is this what you want me to check?
https://imgur.com/vlRBqlR
https://imgur.com/vlRBqlR
what do you mean by standart piece?
some said not to put the weight of the trailer on the axle , is it because it would eventually bend it?
it would be safer and more versatil if i could have a piece in wich i can screw the regular screws that the trailers send in de facto.
i could acces a grinder. is your second drawing stil relevant?
where it is written
two holes for existing screw cap, those holes have threads how can i exactly drill hole in face of them, and do those screws need to have thread too?
is this what you want me to check?
https://imgur.com/vlRBqlR
https://imgur.com/vlRBqlR
what do you mean by standart piece?
some said not to put the weight of the trailer on the axle , is it because it would eventually bend it?
it would be safer and more versatil if i could have a piece in wich i can screw the regular screws that the trailers send in de facto.
i could acces a grinder. is your second drawing stil relevant?
where it is written
two holes for existing screw cap, those holes have threads how can i exactly drill hole in face of them, and do those screws need to have thread too?
The standard pieces would be the parts that came with the trailer that you want to use and yes the second drawing is still relevant.
You do not need threads in the pieces you are going to make. The treads are already in the framed. The holes need to be large enough for the bolts to go through.
05-21-21, 10:31 PM
#23
Junior Member
Thread Starter
hi
it would be my fist diy piece
how to i do it? take a paper aproximate the hole place . put the paper on top of a metal board and drill holes way larger that needed so that it is over the frame holes?
how to effectively situate the holes on the metal plate to be build? tx
it would be my fist diy piece
how to i do it? take a paper aproximate the hole place . put the paper on top of a metal board and drill holes way larger that needed so that it is over the frame holes?
how to effectively situate the holes on the metal plate to be build? tx
05-23-21, 08:36 PM
#24
Junior Member
Thread Starter
You do not need a torque arm. The piece in the photo takes care of that.
The standard pieces would be the parts that came with the trailer that you want to use and yes the second drawing is still relevant.
You do not need threads in the pieces you are going to make. The treads are already in the framed. The holes need to be large enough for the bolts to go through.
The standard pieces would be the parts that came with the trailer that you want to use and yes the second drawing is still relevant.
You do not need threads in the pieces you are going to make. The treads are already in the framed. The holes need to be large enough for the bolts to go through.
05-24-21, 01:17 PM
#25
Junior Member
Thread Starter
hi is the outer slotted the piece in oval red in this pic? if yes when you say it is supposed to take the place of a trok arm what do you mean? do you mean there is no more place for a torq arm or do you mean there is no more need for a tork arm cause the outer slotted piece does the same job adequately?
are those 2 slotted pieces enough ? or do i need a tork arm ... because the trailer hitch and tork arm are 2 different prob to my eyes
when you say ]Given the design of that motor axle a torque are made from mild steel will not works so you can forget th, im curious about what is it about the axle that makes the your first drawing a no go?
tx
