No problems in this thread to answer but I thought I'd share results from my patching party. Typically each off season I hold a party where we all patch out rubes from the previous year. This was nixed for the last two winters so today I decided to party privately.
Here's the results. 16 rubes collected and saved for fixing. 11 were patched and now are testing for air retention over night. 3 tubes had no found hole (dipped into bucket of water multiple times) and are also being tested (could be crap in valve?) 2 tubes tossed due to impact flats (snake bite pairing of holes).
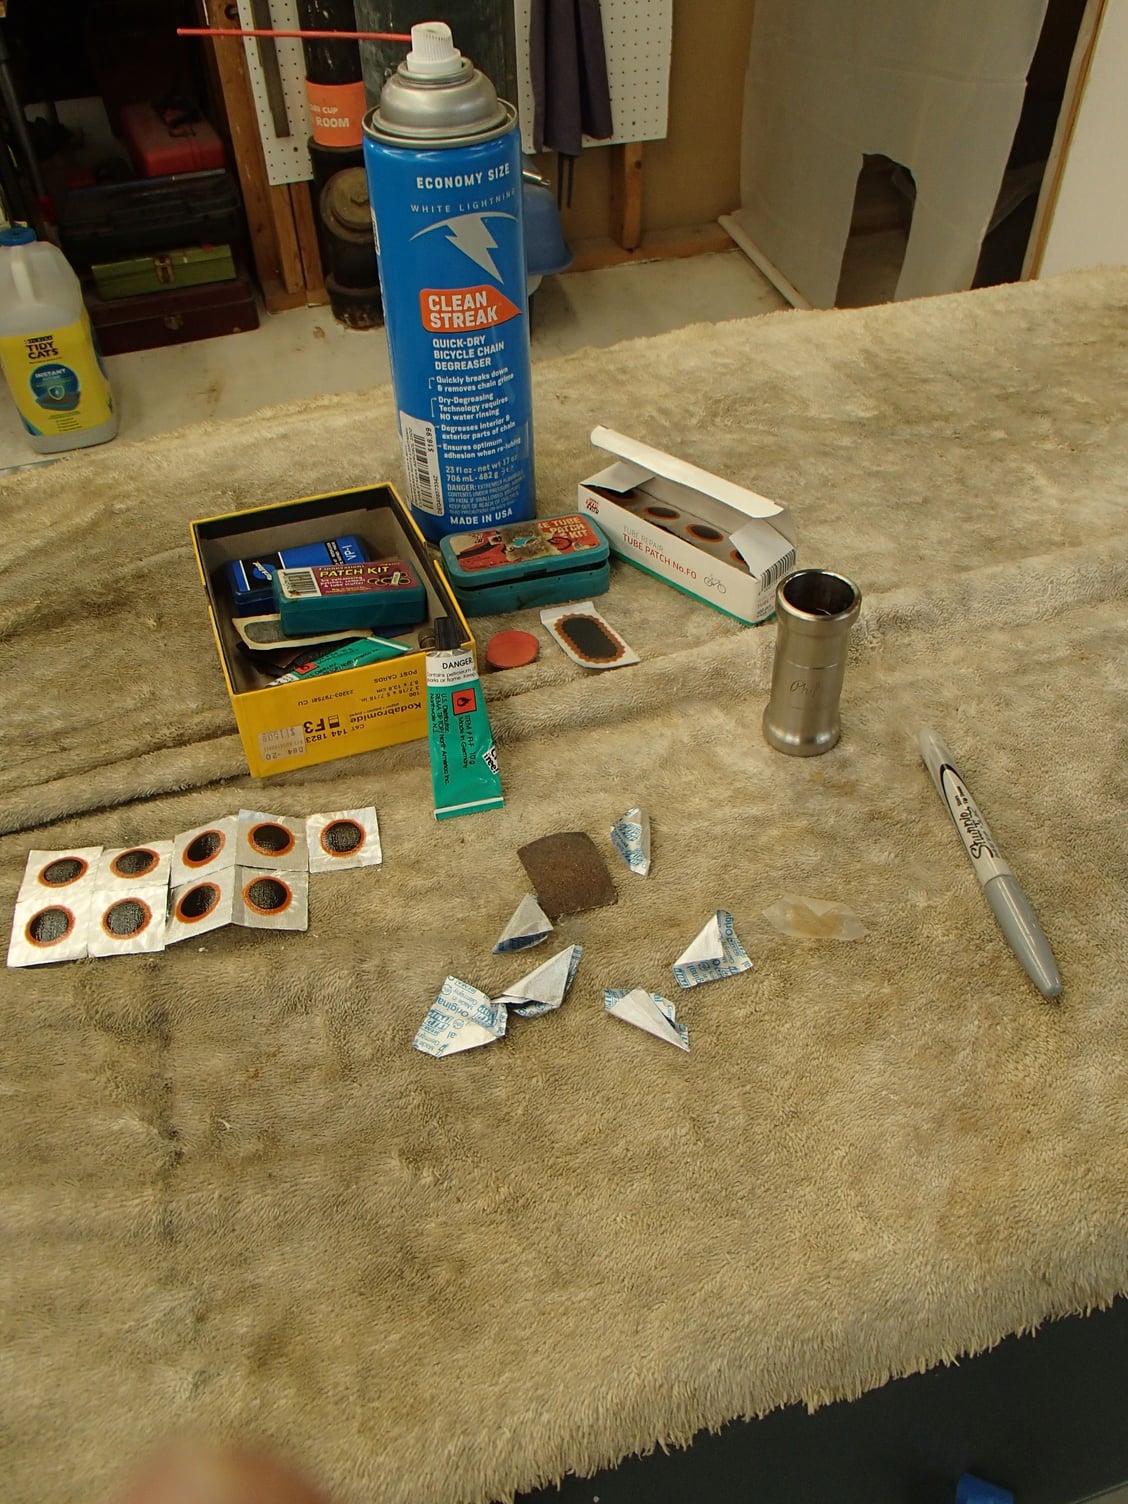
My "tools". Note the Clean streak and the Phil shot glass

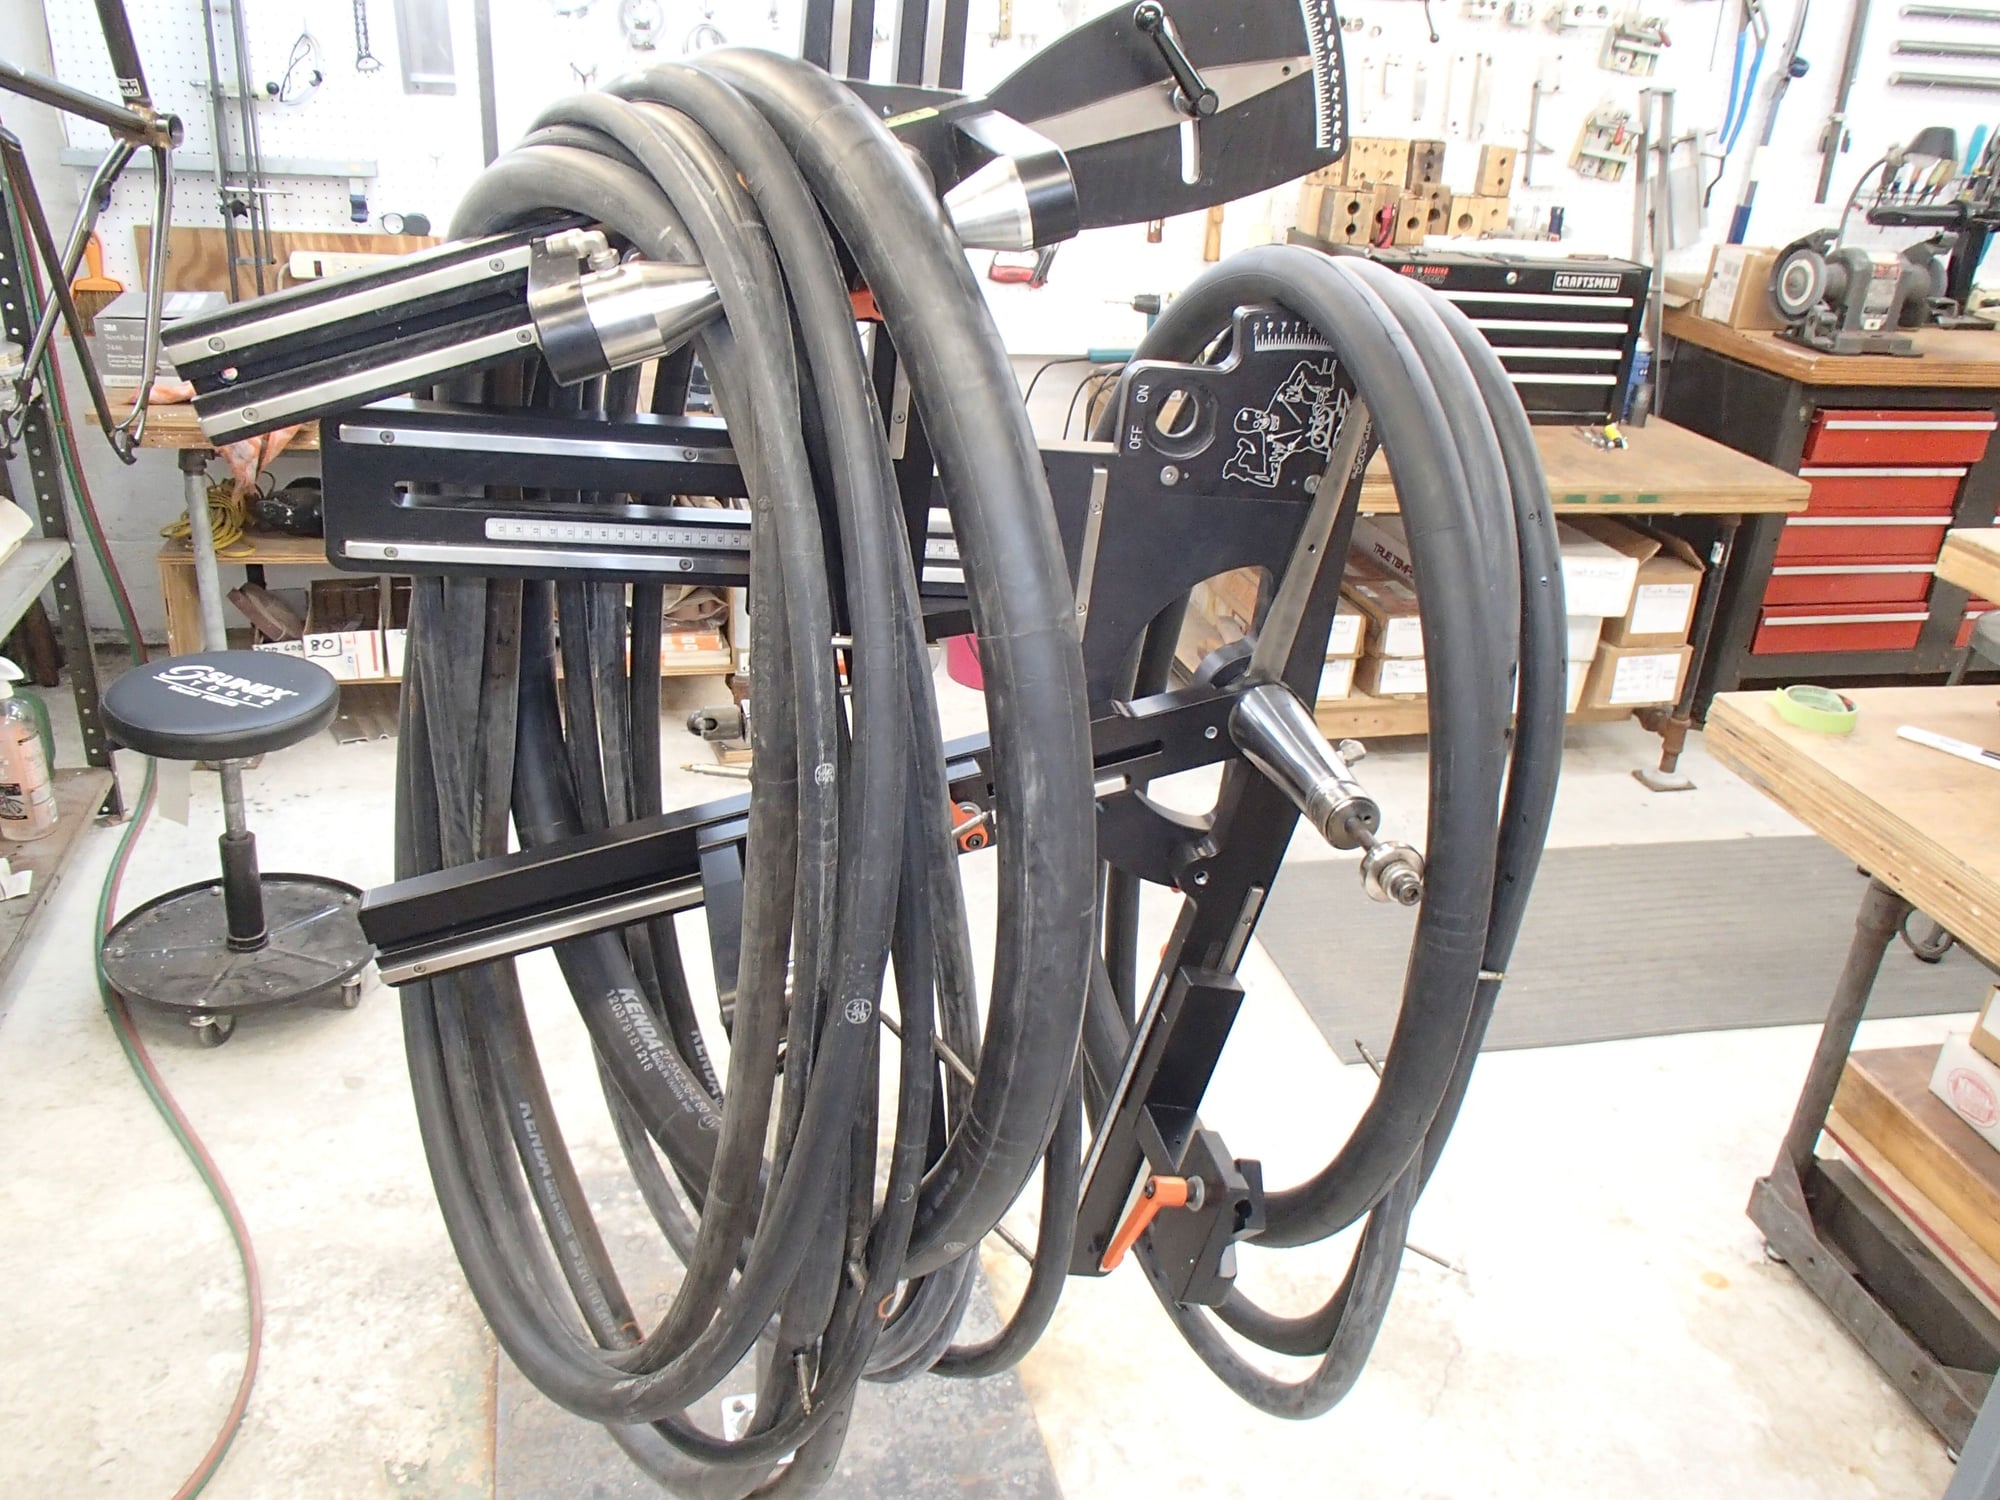
I first find the hole (water dipping as needed and mark it with silver sharpie (the first photo shows some marks on the tubes by the jig's cone). Then I sand as usual to roughen. because I talc my tubes and sanding doesn't always remove the talc I do a wipe off with a Clean Streak moistened paper towel. I found this trick a few years ago by experimentation with the various solvents I have about the shop. Clean Streak works very much like "Liquid Buffer" (a fluid that's likely now illegal to sell given the tightening hazardous material laws) did years ago. Then I lay a thin layer of glue and let it dry completely. If the hole is close to a seam or if the seams are prominent I will add a second more goopy layer. Sometimes I reinflate the tube a touch to open up the hole enough to get the glue to pop up at the hole to better aim the patch positioning. The patch gets applied and pressed in well. I generally leave the clear plastic "covering" on for now, set the tube aside for a few minutes. I'll peal off the clear covering carefully as often the edge of the patch wants to also peal up, finger nails help keep the patch edge down. The tube gets just enough air to slightly expand and test it for a day or so. When proven good I'll sprinkle talc on the glued surfaces and the tube is rolled up for the next installation.
Why do I do this when I buy tubes at dealer costs? because one way to reduce the need to recycle is to keep goods in use as long as possible. Besides when I have had friends over to patch their or other's tubes we have a blast (bad pun)
Here's a test for the old guys here. Who can ID the red round patches in the second photo? Andy