


Hints and tricks thread
 11-18-23, 02:54 PM
#751
Junior Member
Join Date: Aug 2023
Location: Norcal\San Joaquin County
Posts: 101
Bikes: Specialized Sirrus X 3.0, Trek 700 MultiTrack,Specialized Alibi,Benotto ?
Liked 96 Times
in
54 Posts
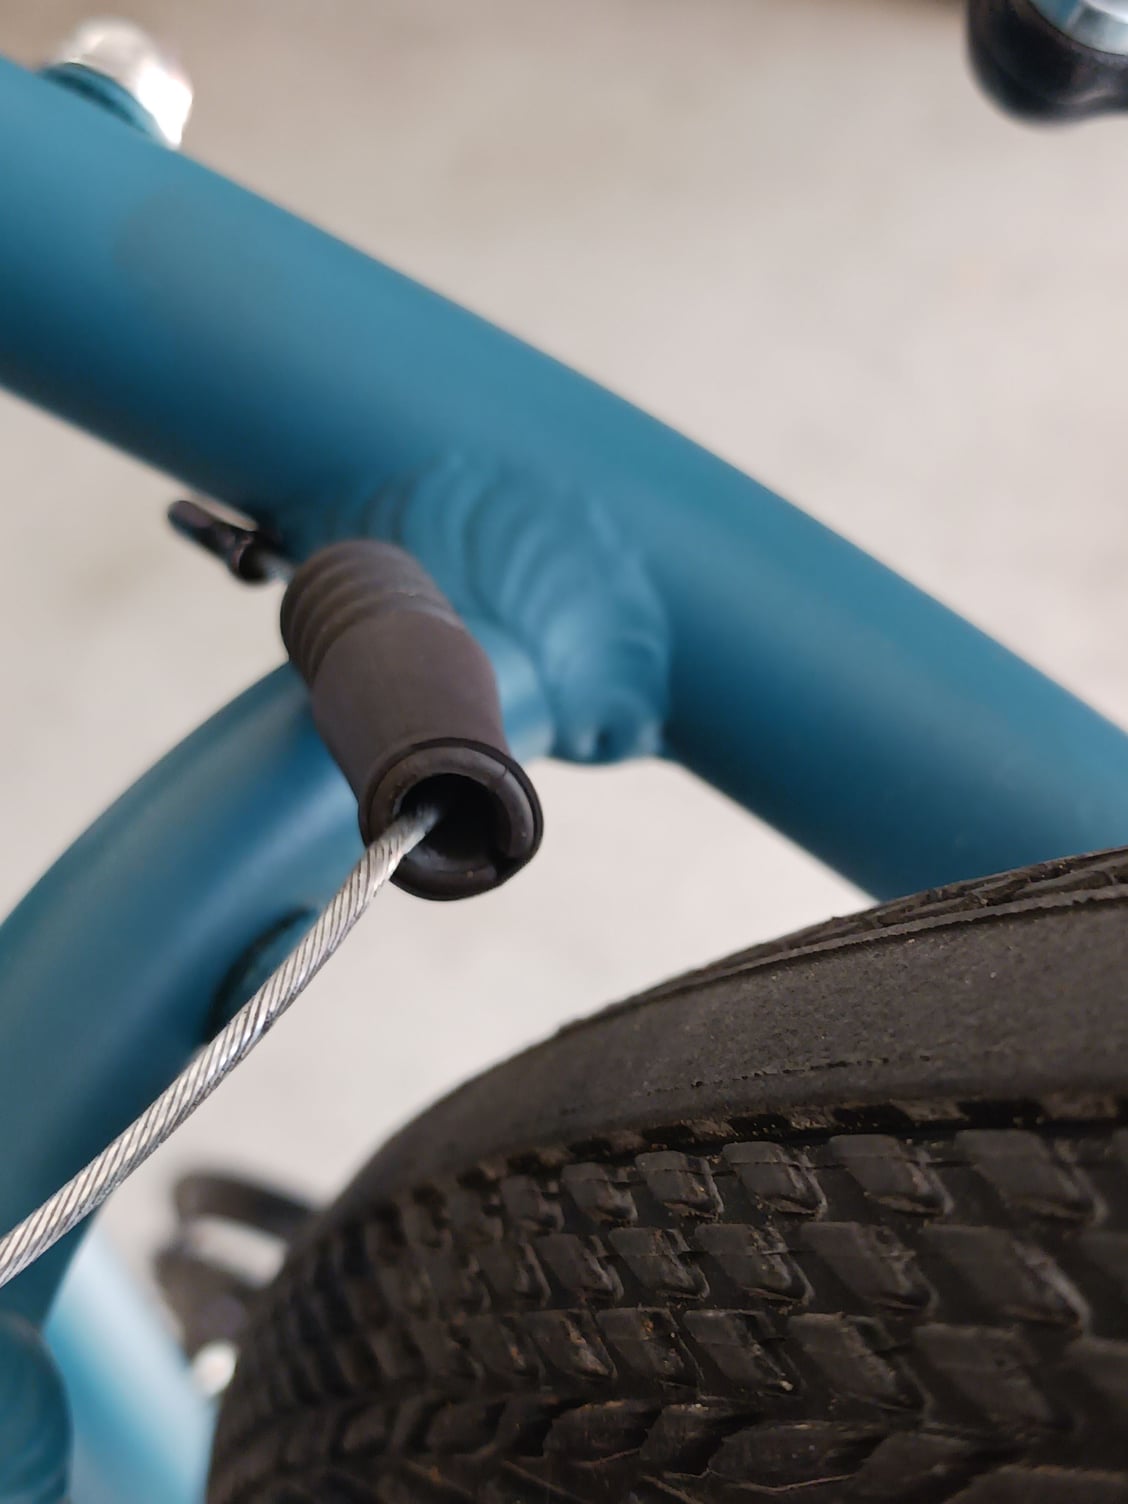
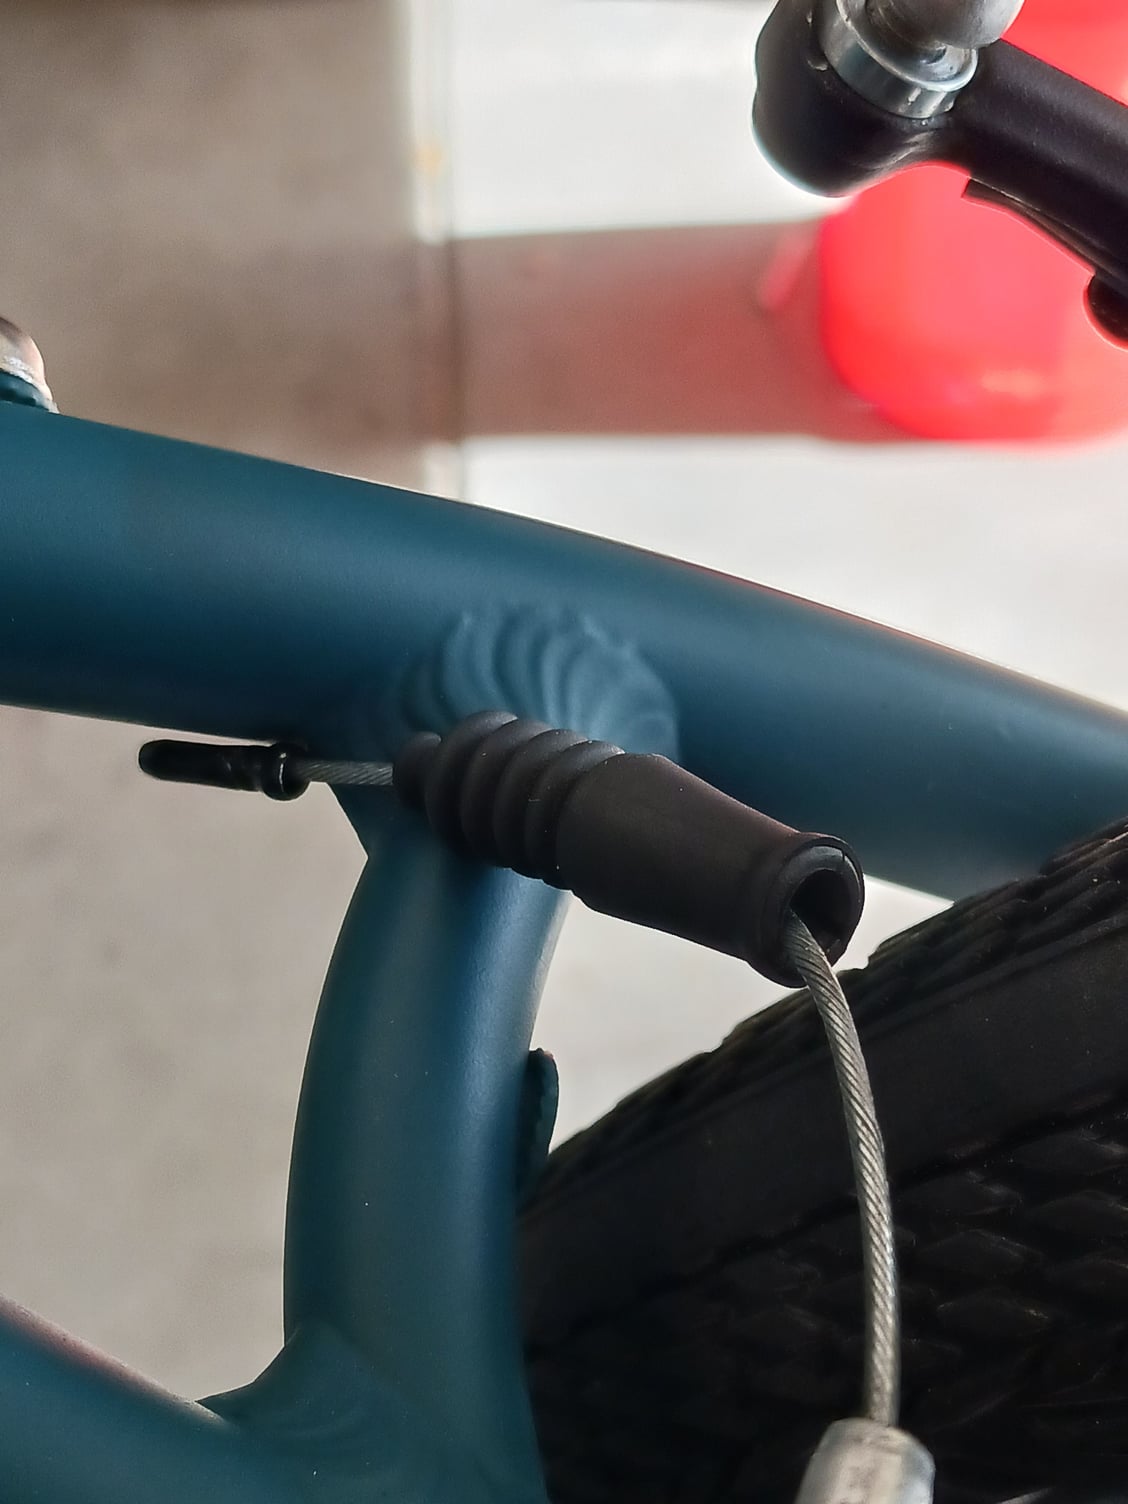
I picked up a used bike a few weeks ago. The back V brake boot was cracked and looking tired. Dug out my box of assorted shrink fit tubing. Pulled the old boot. Cut a piece of tubing and slid it over the cracked portion of the boot. Then slide it back over the cable and used a lighter to shrink it up. One day I'll buy a heat gun but somehow I've survived without one.
Here are a couple pics
Sorry if this has been posted before. So many tips here. I've barely made a dent in reading them.
Here are a couple pics
Sorry if this has been posted before. So many tips here. I've barely made a dent in reading them.
 11-20-23, 03:31 PM
#752
Newbie
Join Date: Nov 2023
Posts: 1
Likes: 0
Liked 0 Times
in
0 Posts
Whoa!
Another tip: if you find yourself cycling in some place in Africa, Indonesia etc. temporarily without access to good lubricants for your bike components, be it chain or bearings, you can use coconut oil. It will work fine for all the components that need lubing (usually it's the chain to cause these emergencies) and it's impervious to peroxidation. (in fact, coconut oil, virgin or refined, has the lowest peroxidation index of all organic non-mineral oils). In other words, it won't get rancid for a very long time.
It's less than ideal in very cold climates, but in the above example that's not a problem.
It's less than ideal in very cold climates, but in the above example that's not a problem.
11-20-23, 03:43 PM
#753

Likes For wroomwroomoops:
 01-28-24, 05:48 PM
#755
Would this "Fix":... a little bit of lithium grease on the strategic places...be good with other vehicle sealing locations like door seals and such ?
Last edited by Slohan47; 01-28-24 at 05:49 PM. Reason: spelling
02-04-24, 05:16 PM
#756
Newbie
Join Date: Sep 2022
Posts: 1
Likes: 0
Liked 0 Times
in
0 Posts
Noisy V-brakes
A tip I learned today...
Bike: 2023 Specialized Sirrus 1.0 with V-brakes
Problem: My front brake, when applied, has always been noisy. It would make a "shhhhhhh", hissing noise. I tried all of the suggestions for squeaky brakes to no avail. Then I found a technical diagram (sorry I�m a newb and apparently cannot send a link) on the Kool-Stop web site which shows a 90 deg angle between the brake pad and the rim. My angle was more like 110 deg.
Solution: To get the angle down to 90 deg, I would have to shorten the bushing that lies next to the pad. Fortunately, there is a quick fix: simply swap the two bushings. Now the thin bushing goes next to the pad and the thick bushing now goes up beneath the washer. I did this and my angle went down exactly to 90 deg. Now my brake is blissfully silent.
02-16-24, 11:30 AM
#757
Senior Member
Any time you replace a part on anything, hold the old and new parts side by side to verify. What's the same? What's different? What happened to the old part?
02-16-24, 12:09 PM
#758
Senior Member
Join Date: Mar 2007
Location: SF Bay Area, East bay
Posts: 7,981
Bikes: Miyata 618 GT, Marinoni, Kestral 200, Soma double cross 2002 Trek 5200, KHS Flite, Koga Miyata, Schwinn Spitfire 5, Mondia Special, Univega Alpina, Miyata team Ti, Santa Cruz Highball, Waterford rs11
Liked 3,061 Times
in
1,393 Posts
STI's get lazy sometimes. If you are riding and are trying to shift up to the big gear in front but the lever doesn't want to fully pull the cable, you can reach down and just pull the cable to complete the shift.
04-20-24, 06:46 PM
#759
Keepin it Wheel

Join Date: Aug 2011
Location: San Diego
Posts: 10,398
Bikes: Surly CrossCheck, Krampus
Liked 3,760 Times
in
2,797 Posts
Not sure if I posted this before, but I used it this afternoon and it worked so well!
When fitting a new cable on a rear derailleur, first use your hands to push the RD and turn the crank to force the chain onto the 2nd smallest cog -- while the shifter thinks the cable is let out all the way for the smallest cog.
Pull the cable taut with pliers with one hand while tightening the pinch bolt with the other hand.
The pliers will not have been able to pull the cable fully taut, it will have about 1 gear of play.
Spin the cranks and the chain will drop into the small cog, and odds are the shifter will be shifting well across all gears (I didn't even need any barrel adjuster at all today, with a 9sp RD)
04-21-24, 08:52 AM
#760
Senior Member
Not sure if I posted this before, but I used it this afternoon and it worked so well!
When fitting a new cable on a rear derailleur, first use your hands to push the RD and turn the crank to force the chain onto the 2nd smallest cog -- while the shifter thinks the cable is let out all the way for the smallest cog.
Pull the cable taut with pliers with one hand while tightening the pinch bolt with the other hand.
The pliers will not have been able to pull the cable fully taut, it will have about 1 gear of play.
Spin the cranks and the chain will drop into the small cog, and odds are the shifter will be shifting well across all gears (I didn't even need any barrel adjuster at all today, with a 9sp RD)
When fitting a new cable on a rear derailleur, first use your hands to push the RD and turn the crank to force the chain onto the 2nd smallest cog -- while the shifter thinks the cable is let out all the way for the smallest cog.
Pull the cable taut with pliers with one hand while tightening the pinch bolt with the other hand.
The pliers will not have been able to pull the cable fully taut, it will have about 1 gear of play.
Spin the cranks and the chain will drop into the small cog, and odds are the shifter will be shifting well across all gears (I didn't even need any barrel adjuster at all today, with a 9sp RD)
Likes For zacster:
06-19-24, 04:52 AM
#761
Newbie
Things to consider
- Safety First: Always wear a helmet and use lights at night.
- Maintenance: Keep your bike well-maintained with regular checks on brakes, tires, and chain.
- Adjust Properly: Ensure your bike fits you well for comfort and efficiency.
- Learn Basic Repairs: Know how to fix a flat tire and adjust brakes.
- Ride Defensively: Be aware of your surroundings and follow traffic rules.
- Use Gears Wisely: Shift gears before you need to and learn how to use them effectively.
- Practice Balance and Control: Especially useful for turns and avoiding obstacles.
- Stay Visible: Wear bright clothing and use reflectors or lights in low-light conditions.
- Hydrate and Fuel: Carry water and snacks for longer rides.
- Enjoy Yourself: Cycling should be fun and enjoyable, so explore new routes and challenge yourself safely.

