


2016 Giant Pre cosmetic restoration project
 03-16-23, 11:39 PM
#1
Newbie
Thread Starter
2016 Giant Pre cosmetic restoration project
Posted this elsewhere and just realized some people here might enjoy seeing it as well.
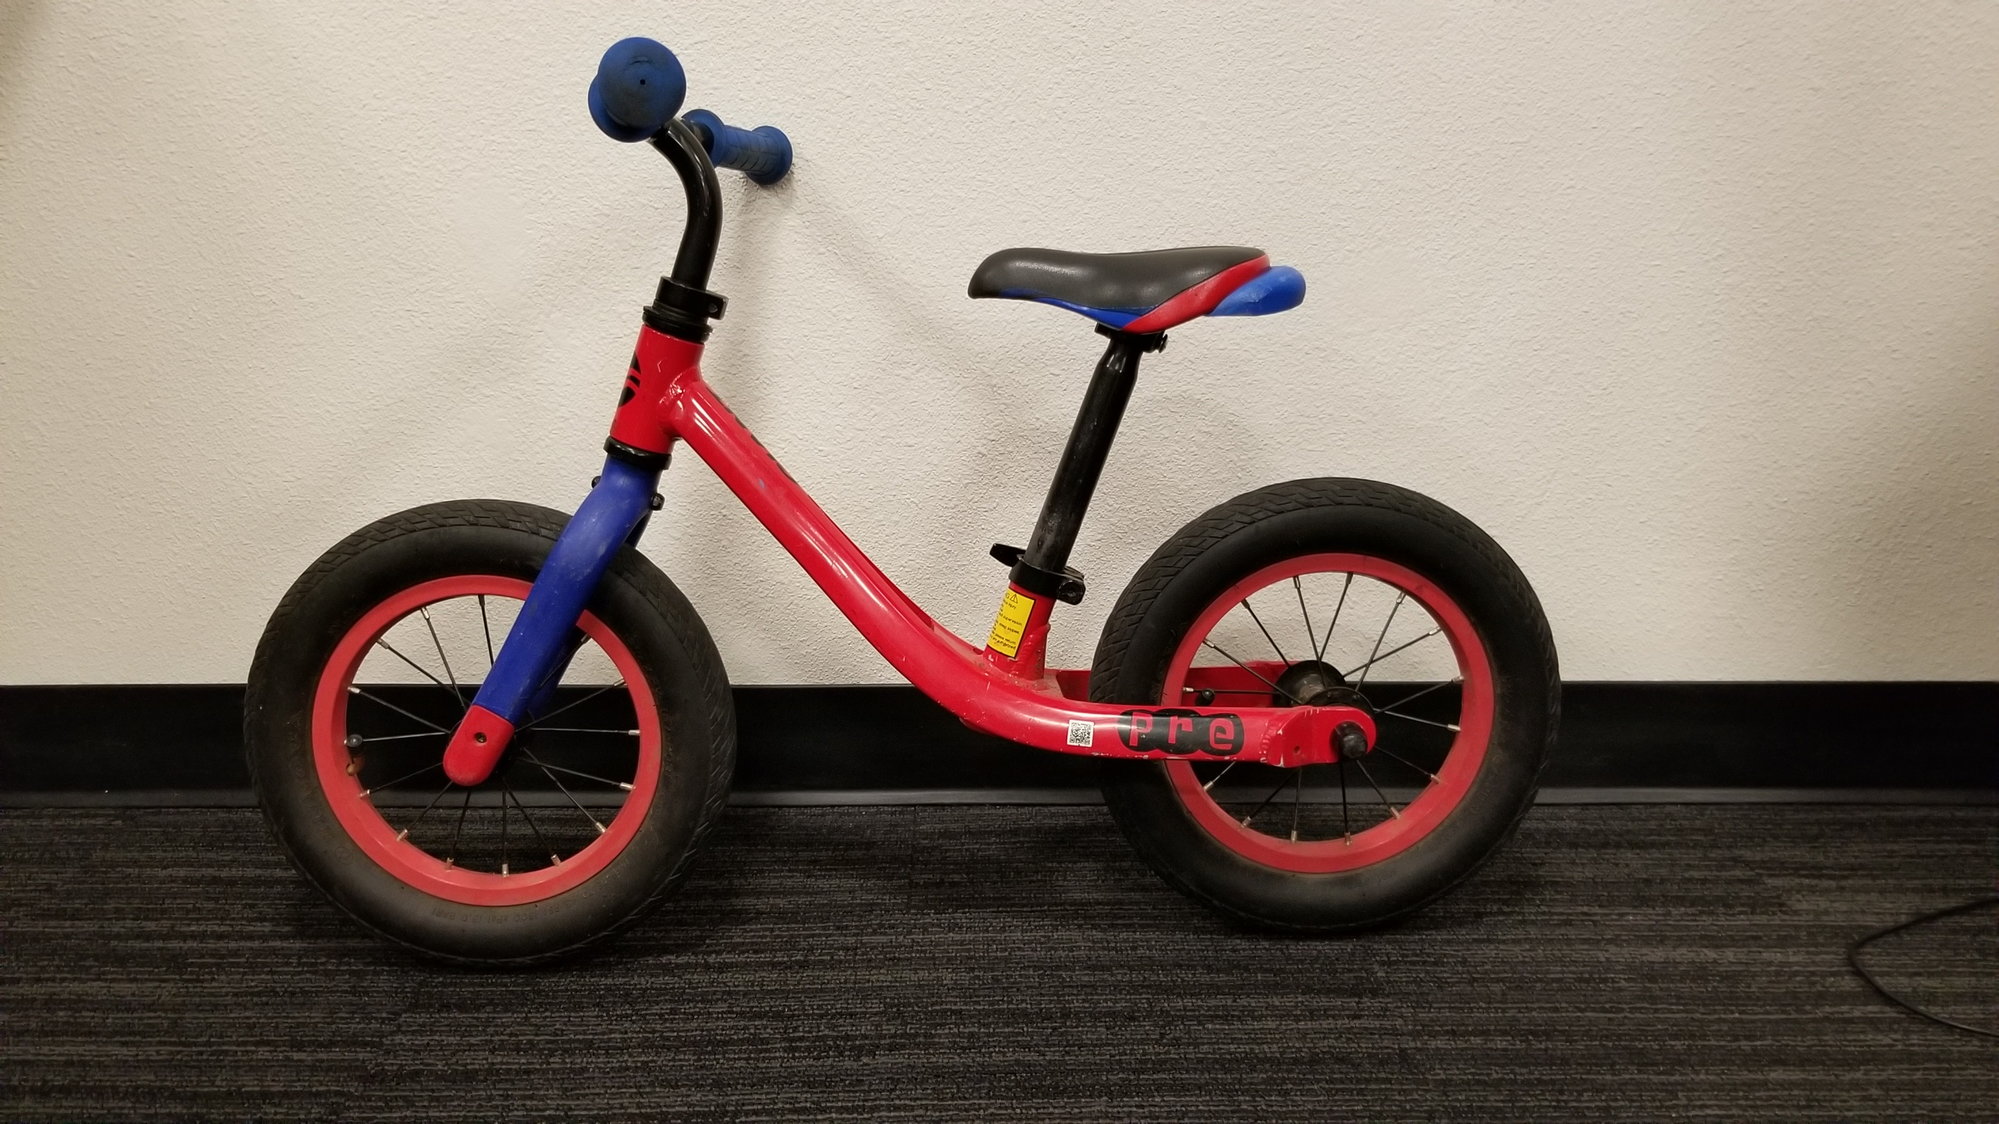
A coworker gave me his kid's Giant Pre balance bike when said kid outgrew it, which was super cool of him, but I wasn't digging the color combo at all. The red on the rims was faded to a sort of tomato soup color, and while none of the blue parts matched each other, they all managed to clash with everything else. And the grips just looked grimy, as dirty blues tend to do.
So I blew it all apart and refinished the whole thing. Frameset got sanded down and painted. The paint was Rust-Oleum Painter's Touch 2X. I have mixed feelings about this stuff. Gloss was excellent, especially with clear over the color, but it took forever to dry and never really cured as hard as I'd hoped.

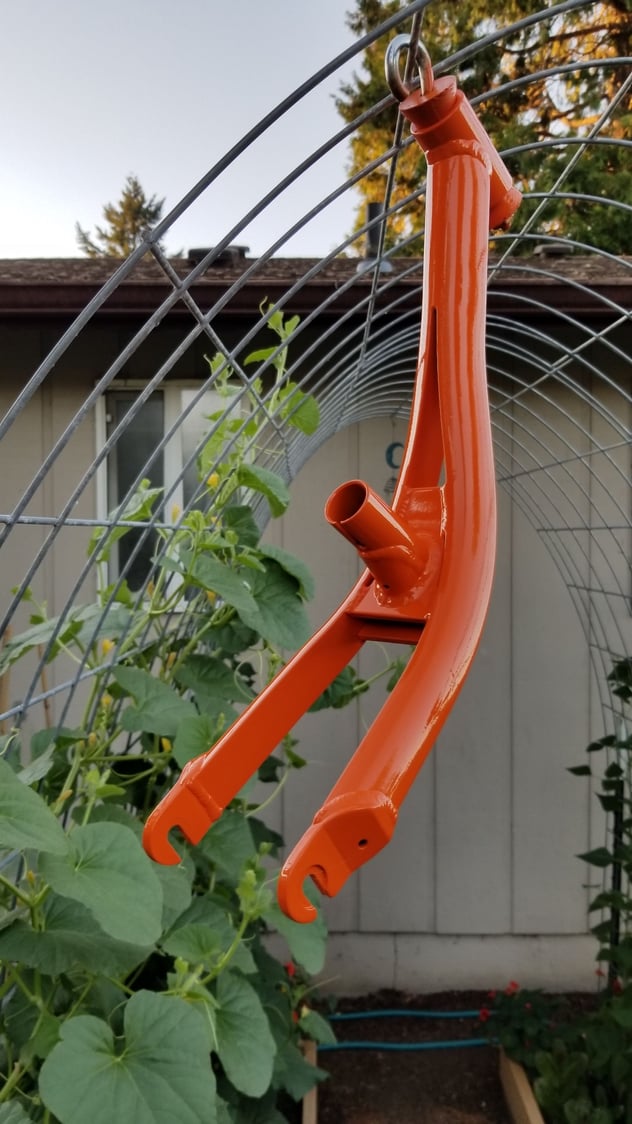
I made a frame hanger out of an eyebolt and two pieces of wood turned on the drill press into crude tapered spacers. That let the frame hang from a garden trellis while the paint dried.
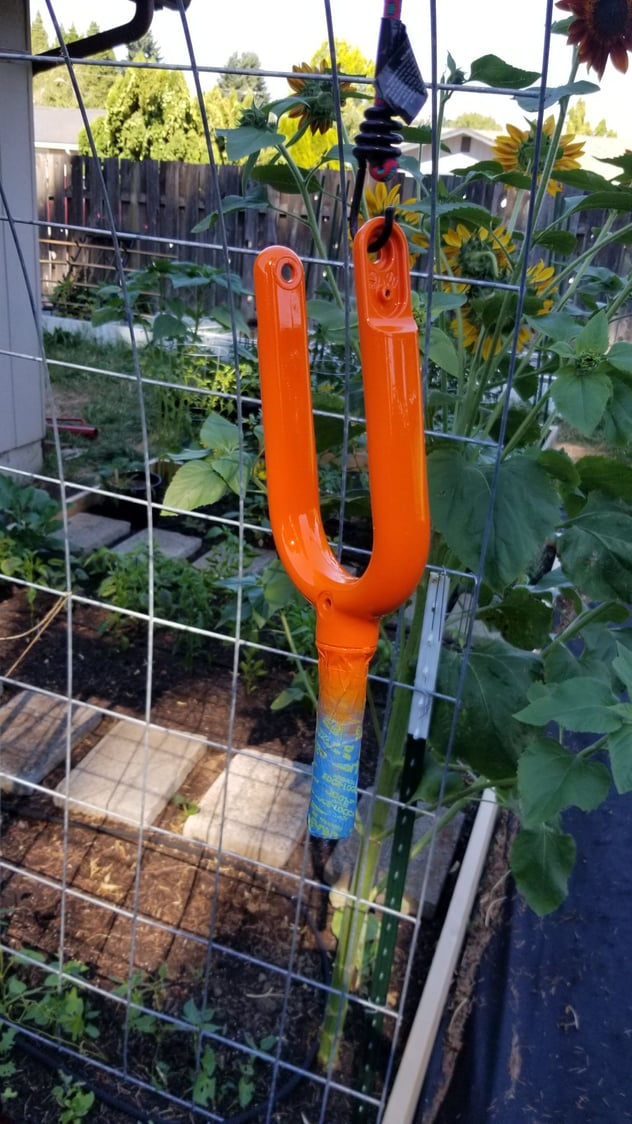
The fork was suspended from the trellis by a bungee cord. Considering the fork is plastic, the paint stuck remarkably well. Memory is weak here but I think I applied a coat of Krylon Fusion as a primer to help with adhesion.
The wheels got blown apart and the rims got stripped back to bare aluminum. Yep, aluminum rims and frame on this little thing. The factory red (almost pink) finish was incredibly tough to remove. Had to use one of those fibrous stripping wheels in the drill press. Eventually I sanded out most of my sins and gave the rims a really nice brushed finish. Lots of aggressive rubbing with a Scotchbrite pad was required to get here.
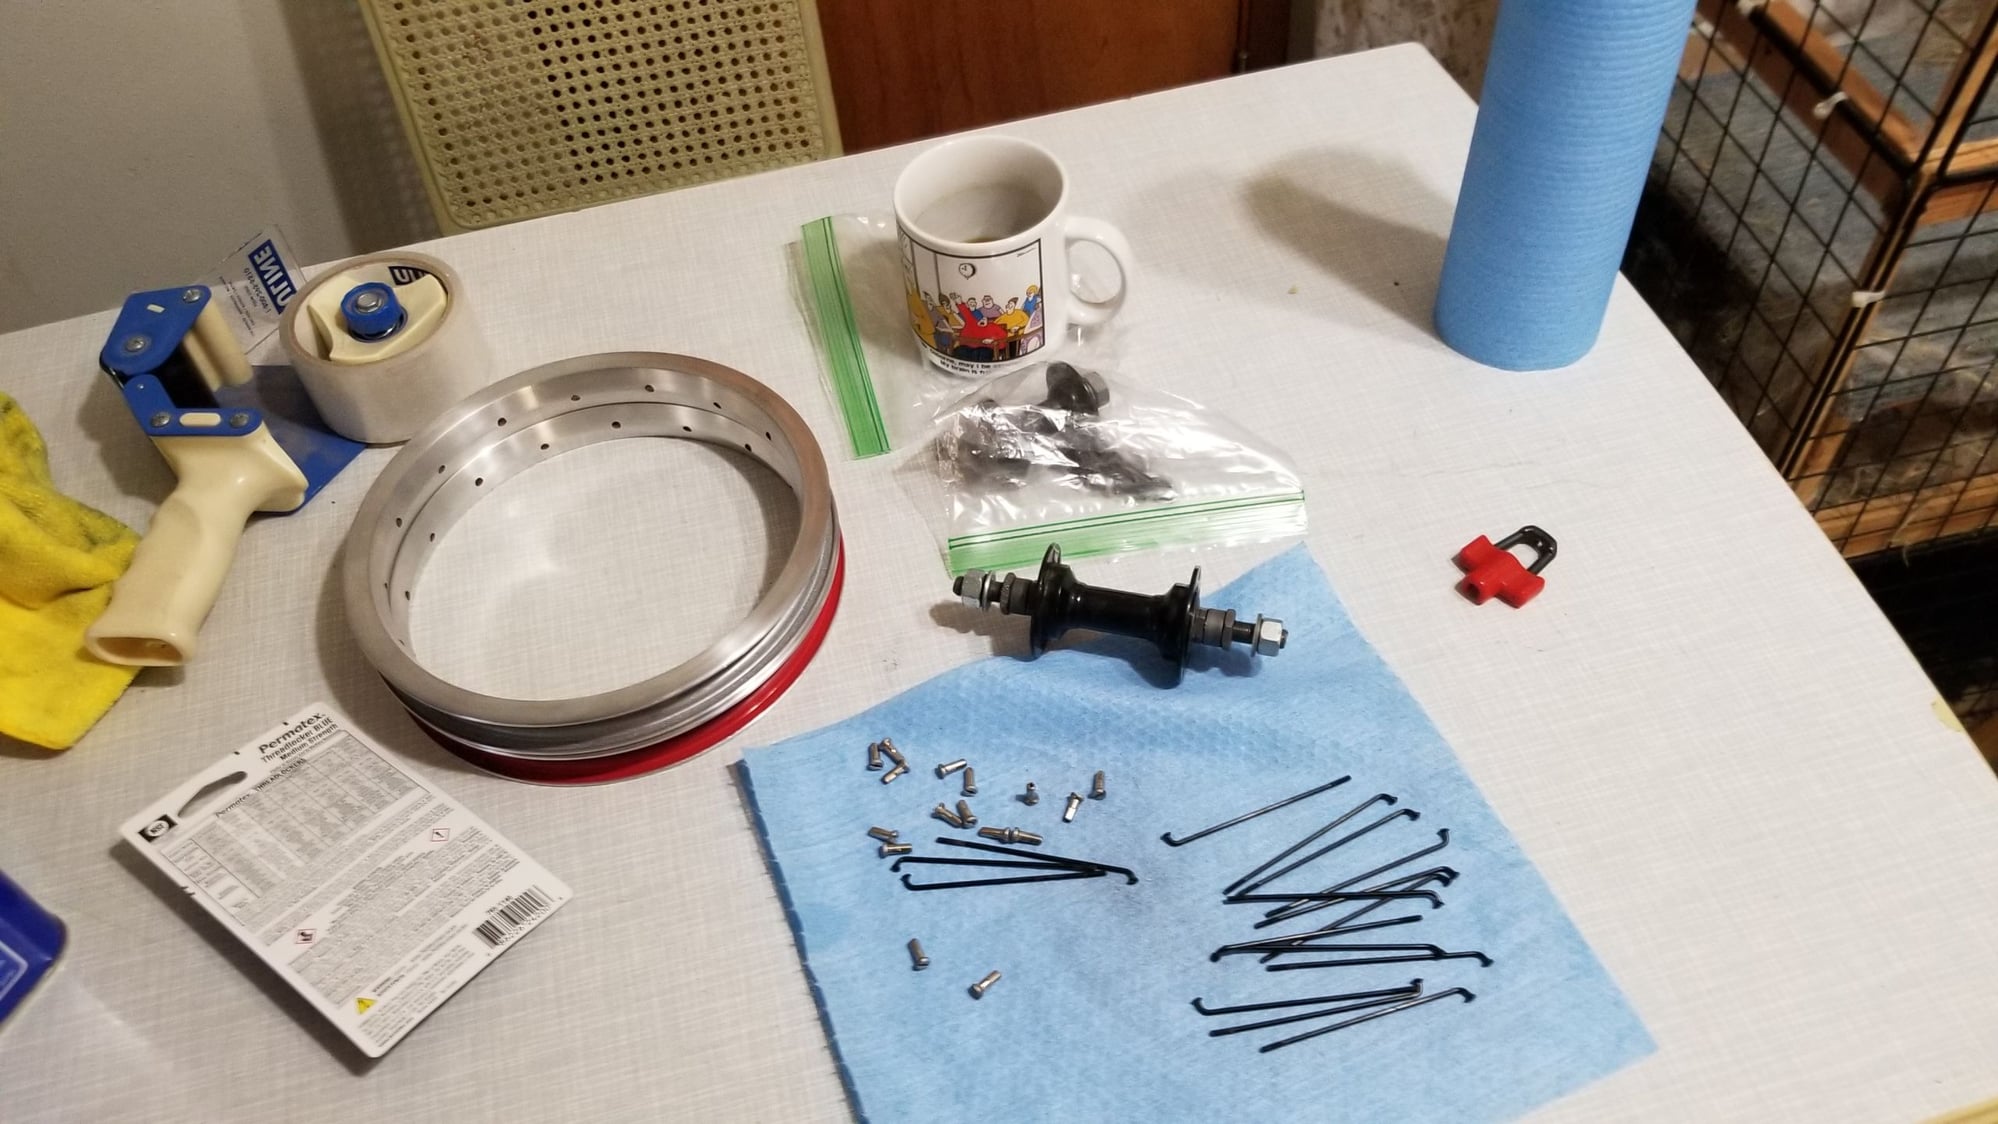
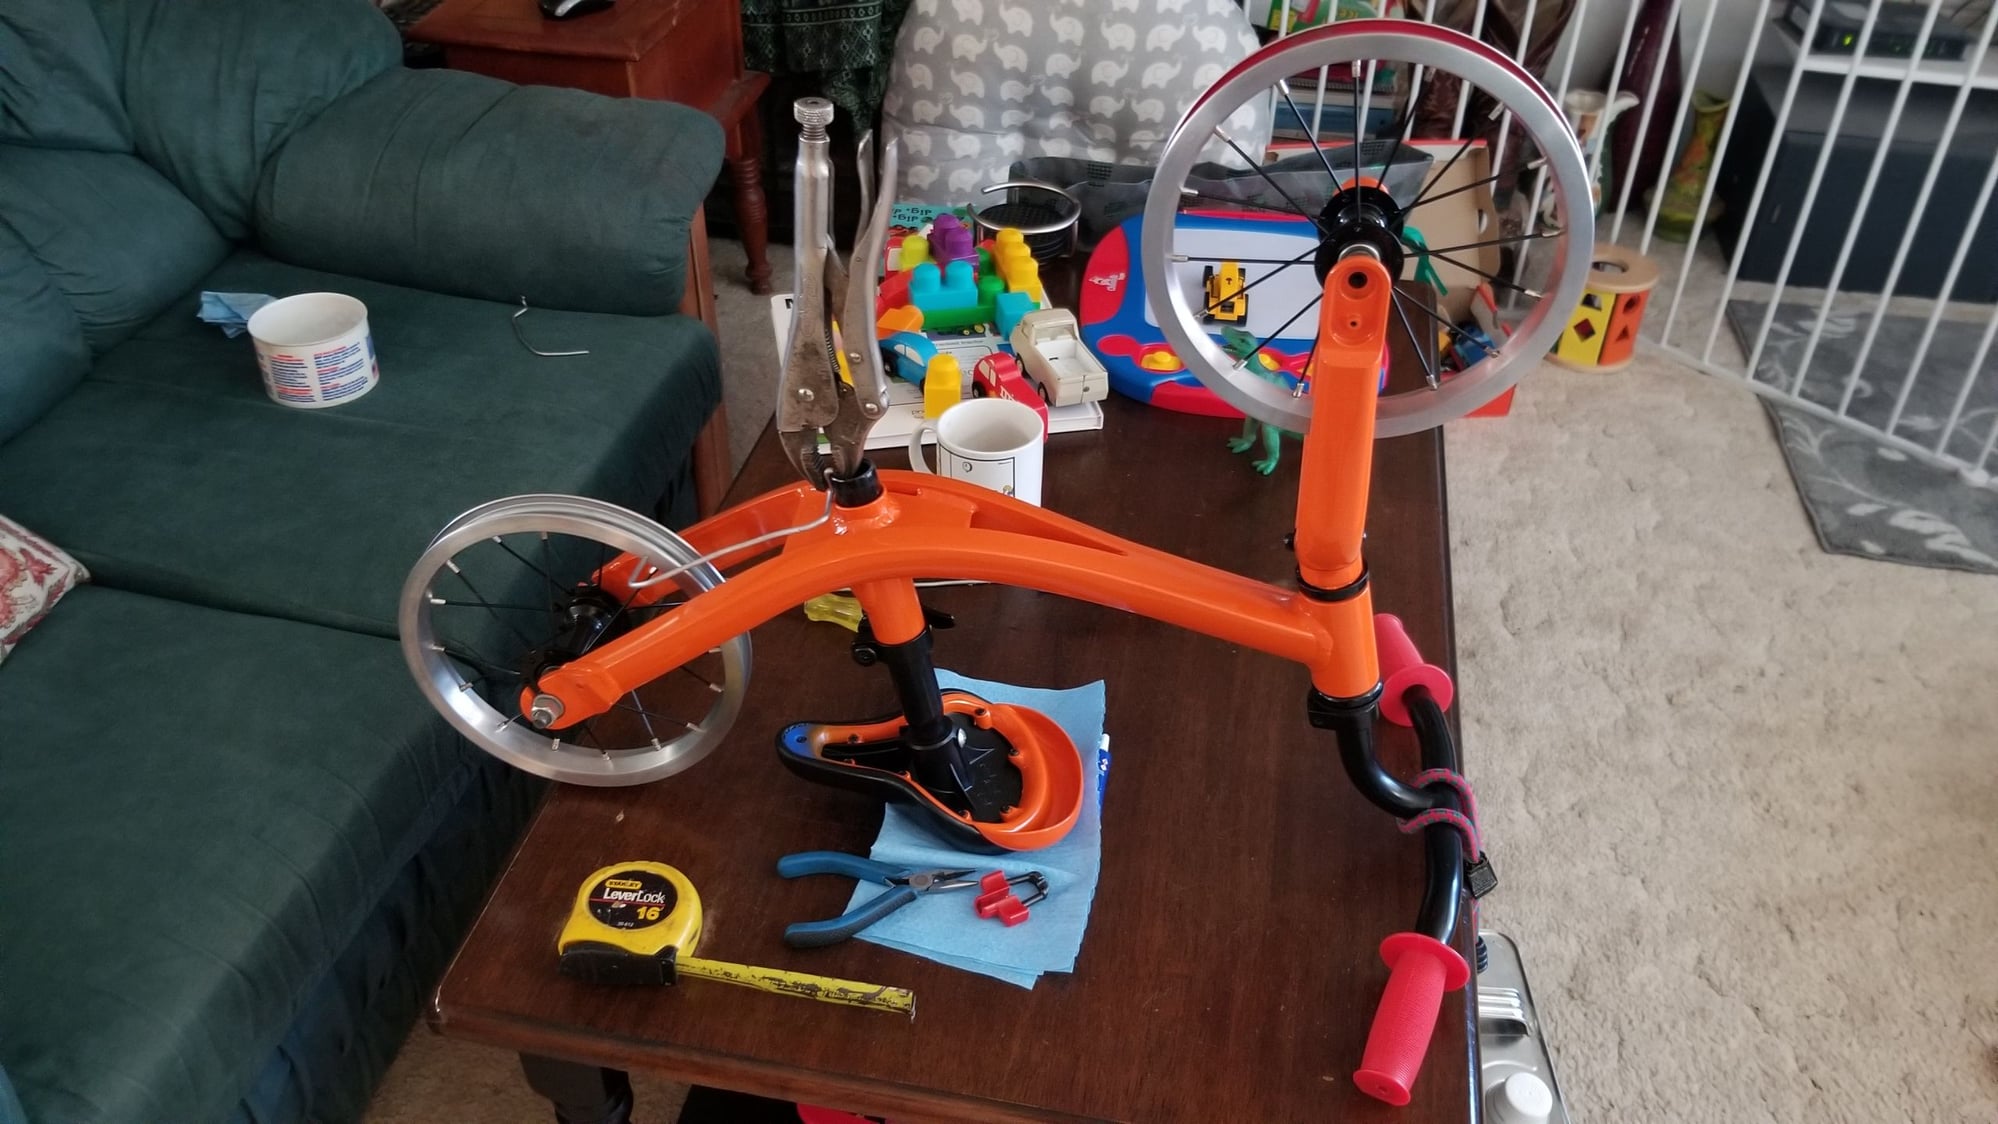
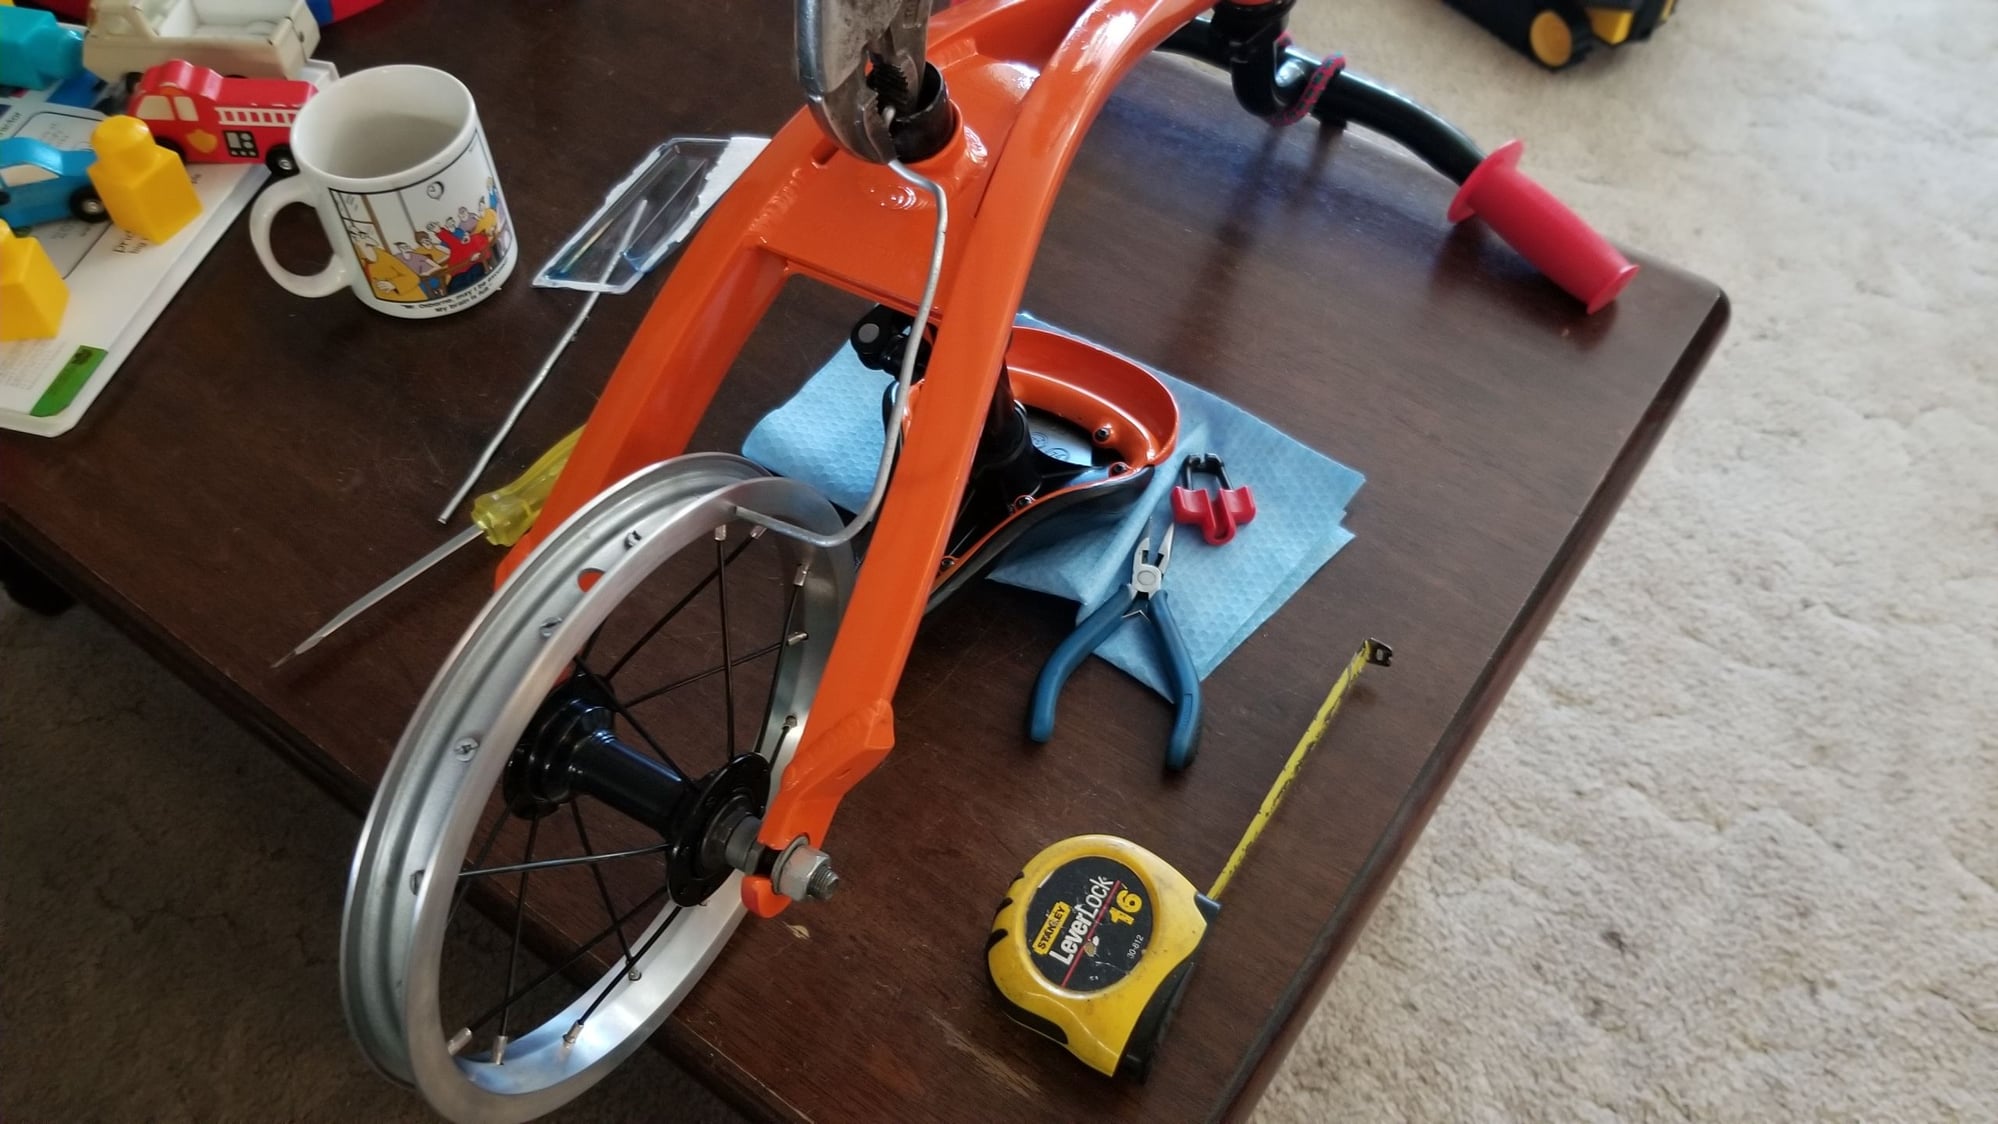
After that, the wheels were reassembled. I've trued bike wheels before but never actually built them. Not too bad an ordeal. Got the bike lashed down to the coffee table with a bungee cord and a gallon can of acetone for ballast in my traditional hillbilly fashion, then trued the wheels using some scrap aluminum ground conductor as a runout indicator. They came out pretty straight, actually. Certainly straight enough for brakes if we ever want to get crazy with this thing.
And here it is all assembled. Apologies for the non-drive-side photo, but...well....you know. The saddle got some SEM Color Coat to obscure the red and blue flashes. I would have preferred orange grips, or even black, but these handlebars are necked down to an oddball 3/4" size at the grip area for little hands, and options are limited.
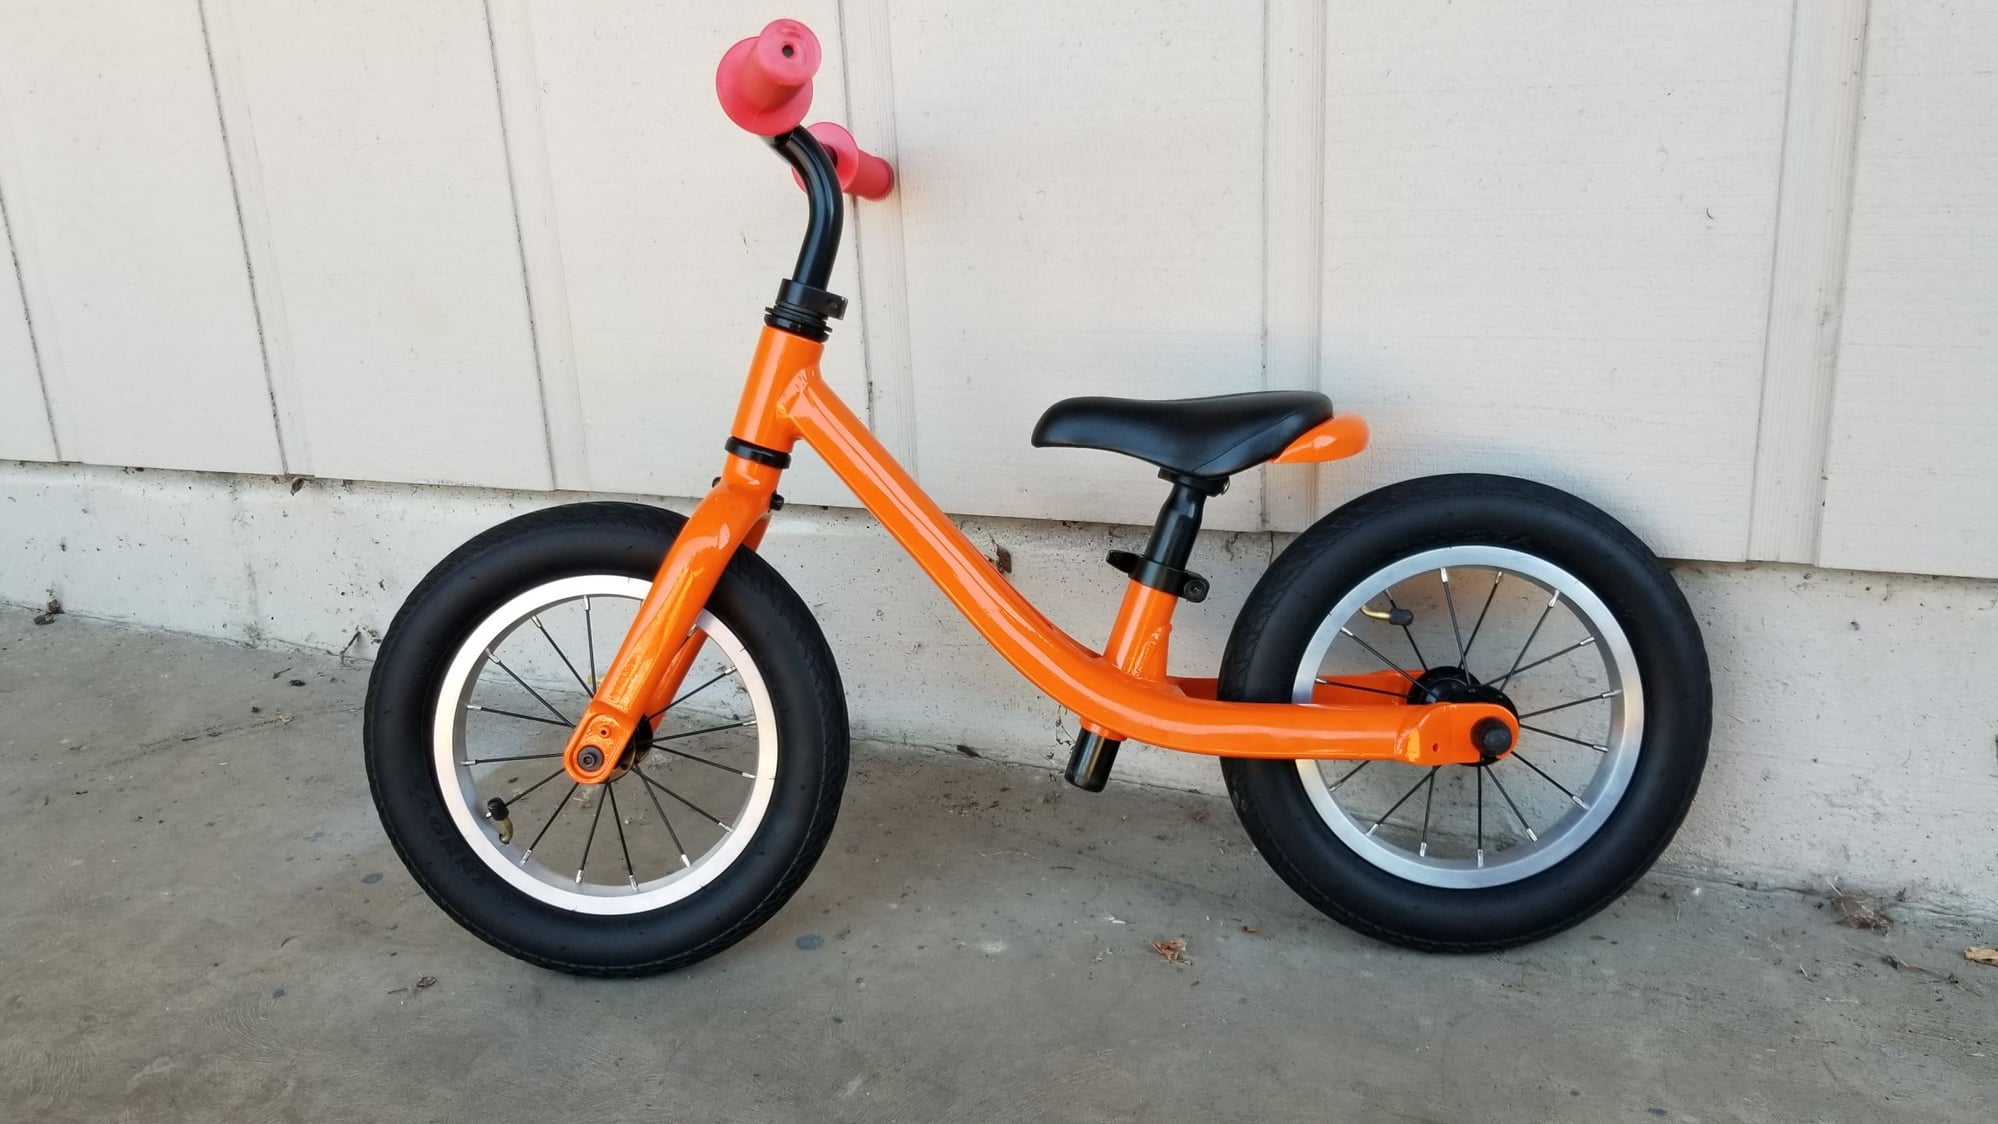
There are some flaws, but two-year-olds are pretty gracious about that sort of thing, and the color scheme lets me do Waylon Jennings voiceovers when the occasion calls for it. The kid will be four this summer and still enjoys riding it when the weather cooperates.
It really would have been cheaper and saved many hours just to buy something else. I justified it as practice for a motorcycle restoration when that becomes a possibility.
That's my time, folks! Goodnight!
A coworker gave me his kid's Giant Pre balance bike when said kid outgrew it, which was super cool of him, but I wasn't digging the color combo at all. The red on the rims was faded to a sort of tomato soup color, and while none of the blue parts matched each other, they all managed to clash with everything else. And the grips just looked grimy, as dirty blues tend to do.
So I blew it all apart and refinished the whole thing. Frameset got sanded down and painted. The paint was Rust-Oleum Painter's Touch 2X. I have mixed feelings about this stuff. Gloss was excellent, especially with clear over the color, but it took forever to dry and never really cured as hard as I'd hoped.
I made a frame hanger out of an eyebolt and two pieces of wood turned on the drill press into crude tapered spacers. That let the frame hang from a garden trellis while the paint dried.
The fork was suspended from the trellis by a bungee cord. Considering the fork is plastic, the paint stuck remarkably well. Memory is weak here but I think I applied a coat of Krylon Fusion as a primer to help with adhesion.
The wheels got blown apart and the rims got stripped back to bare aluminum. Yep, aluminum rims and frame on this little thing. The factory red (almost pink) finish was incredibly tough to remove. Had to use one of those fibrous stripping wheels in the drill press. Eventually I sanded out most of my sins and gave the rims a really nice brushed finish. Lots of aggressive rubbing with a Scotchbrite pad was required to get here.
After that, the wheels were reassembled. I've trued bike wheels before but never actually built them. Not too bad an ordeal. Got the bike lashed down to the coffee table with a bungee cord and a gallon can of acetone for ballast in my traditional hillbilly fashion, then trued the wheels using some scrap aluminum ground conductor as a runout indicator. They came out pretty straight, actually. Certainly straight enough for brakes if we ever want to get crazy with this thing.
And here it is all assembled. Apologies for the non-drive-side photo, but...well....you know. The saddle got some SEM Color Coat to obscure the red and blue flashes. I would have preferred orange grips, or even black, but these handlebars are necked down to an oddball 3/4" size at the grip area for little hands, and options are limited.
There are some flaws, but two-year-olds are pretty gracious about that sort of thing, and the color scheme lets me do Waylon Jennings voiceovers when the occasion calls for it. The kid will be four this summer and still enjoys riding it when the weather cooperates.
It really would have been cheaper and saved many hours just to buy something else. I justified it as practice for a motorcycle restoration when that becomes a possibility.
That's my time, folks! Goodnight!
 04-08-23, 05:54 AM
#3
Deraill this!
Join Date: Jun 2019
Location: Central Ohio
Posts: 617
Bikes: 18 Cdale Quick 1, 94 S-Works M2, 98 730 Multitrak, and a few others
Mentioned: 4 Post(s)
Tagged: 0 Thread(s)
Quoted: 143 Post(s)
Liked 427 Times
in
248 Posts
I appreciate the sweat equity angle! Thanks for sharing and watch out for that Waylon Jennings voiceovers... you could become infamous for something other than your rebuild skills. ;-)
Likes For Trav1s:

Likes For brianinc-ville:
05-13-23, 12:57 PM
#5
Newbie
Thread Starter
Thanks. Not many people have the poor time management and decision-making skills that I do...but it was a fun project, and the kid feels good when he gets compliments on it.
Likes For DarkMonohue:
