


That's the fact Jack
 09-16-21, 06:42 AM
#26
Full Member
Join Date: Feb 2013
Location: Worcester, Massachusetts
Posts: 311
Bikes: Fuji Sportif 1.7C, Shogun Metro AT, Fuji Special Road Racer, Mongoose ATB, Fuji SST 1.0 Team, Specialized Rockhopper SS, Univega Gran Turismo, Univega Supra Sport Mixte, Nishiki Tri-A, Diamondback Coil, Specialized Fuse, etc.
Liked 143 Times
in
80 Posts
If that's a Park Tool pin wrench you can order replacement pins, same thing happened to me last year.
 09-16-21, 09:05 AM
#27
Senior Member

Join Date: Nov 2003
Location: Soviet of Oregon or Pensacola FL
Posts: 5,358
Bikes: Still have a few left!
Liked 576 Times
in
276 Posts
Congratulations on a great find! Poor little orphan bike deserved a good home. My 1st look reaction: "Poor baby, lets get you cleaned up" Don
09-16-21, 10:02 AM
#28
Senior Member
Thread Starter

I like the Strada 175, but my build needs to be go geezer. 170 triple and a Rallly with a GS front to handle the three ringer. I've had these for a while just waiting for the right time to use.

I think I have a bb, I'll have to dive a little deeper in bin to find it.
I think I have a bb, I'll have to dive a little deeper in bin to find it.
09-16-21, 11:24 AM
#29
Senior Member
Join Date: Oct 2015
Location: PDX
Posts: 13,511
Bikes: Merz x 5 + Specialized Merz Allez x 2, Strawberry/Newlands/DiNucci/Ti x3, Gordon, Fuso/Moulton x2, Bornstein, Paisley,1958-74 Paramounts x3, 3rensho, 74 Moto TC, 73-78 Raleigh Pro's x5, Marinoni x2, 1960 Cinelli SC, 1980 Bianchi SC, PX-10 X 2
Liked 6,824 Times
in
3,898 Posts

That air tool is pretty stingy on air but does take a fair bit.
You could increase your reservoir capacity with another tank from another scrapped compressor or probably out dated propane tank.
Sounds like the Rotozip is a great alternative.

 09-17-21, 07:43 AM
#30
Senior Member

Join Date: Aug 2007
Location: California
Posts: 1,001
Bikes: '87 Serotta Colorado,'96 Moots VaMoots, Bertoni MAX, Eddy Merckx Grand Prix Team USA
Liked 388 Times
in
160 Posts
I never noticed the gear use markings on the Rally long cage before, that's really cool...and convenient. I'm really enjoying this thread. Great find.
Likes For velomateo:
09-18-21, 11:22 AM
#31
Senior Member
Thread Starter
09-18-21, 12:01 PM
#32
Senior Member
Thread Starter
The Taylors originally had a paint guy who would do box lining with a brush. He either retired or died at some point, and Jack took over the box lining, using the roller of which you speak. I don't know exactly when the transition occurred, but you can probably tell if yours was done with a brush or a roller. Jack was the paint guy, but Norman mostly did the brazing and Ken was wheelbuilder and assembler.
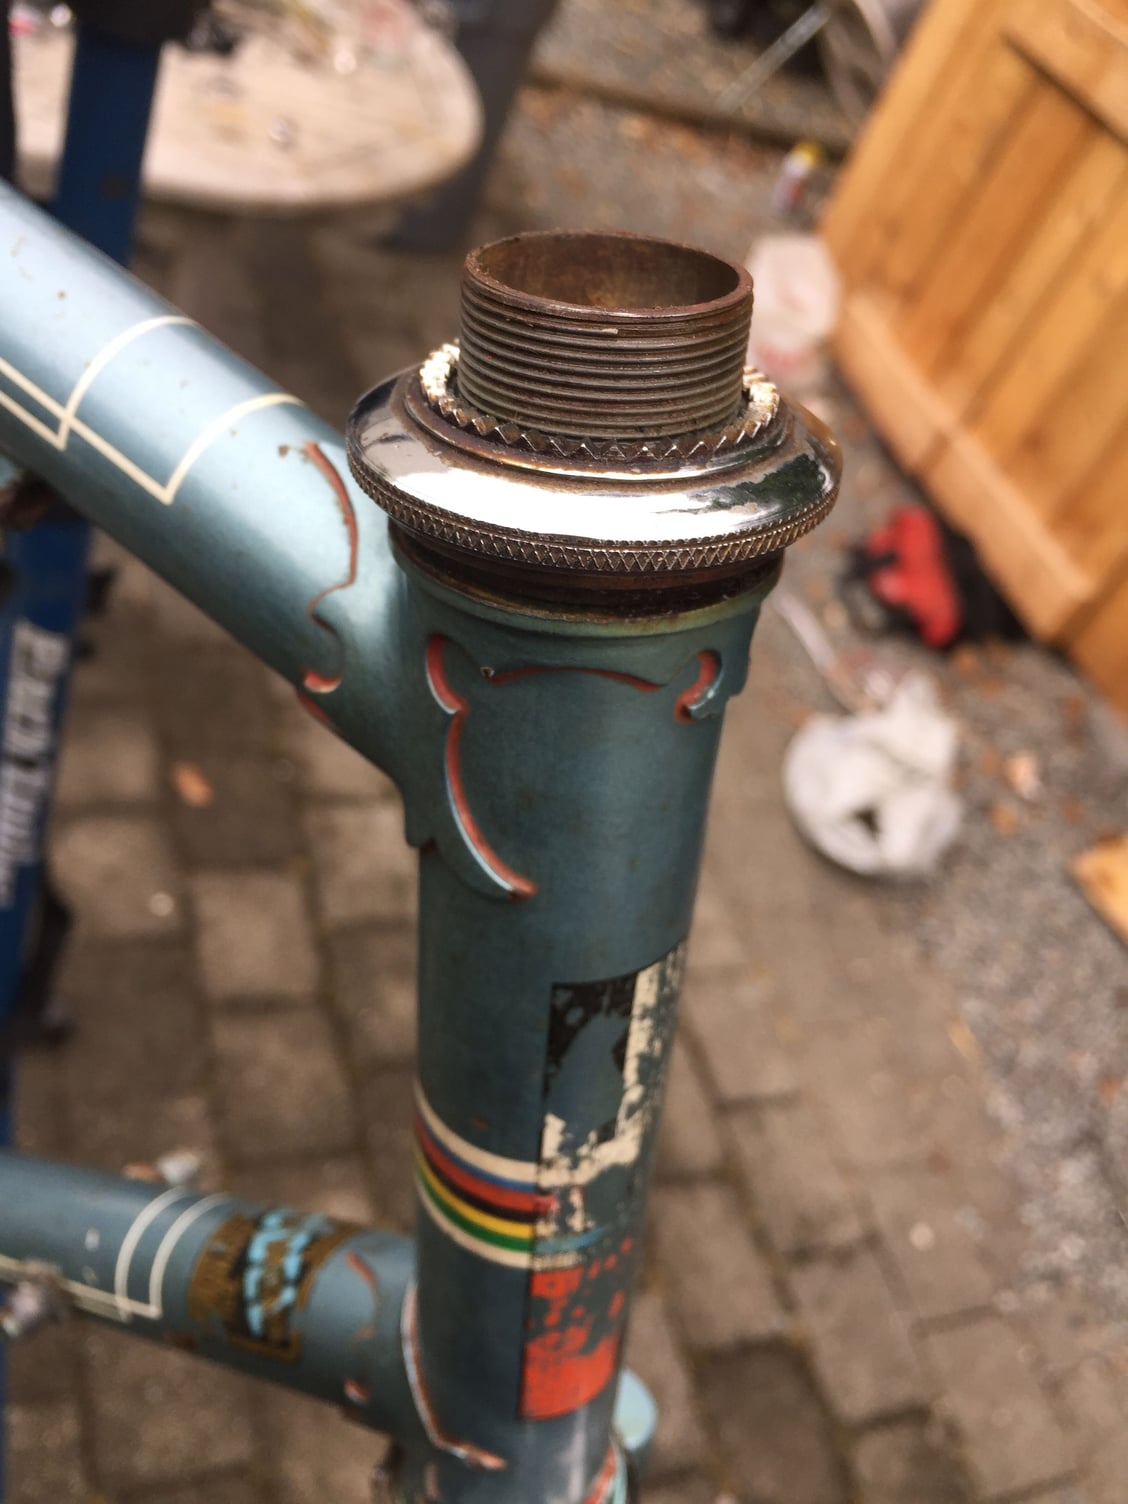
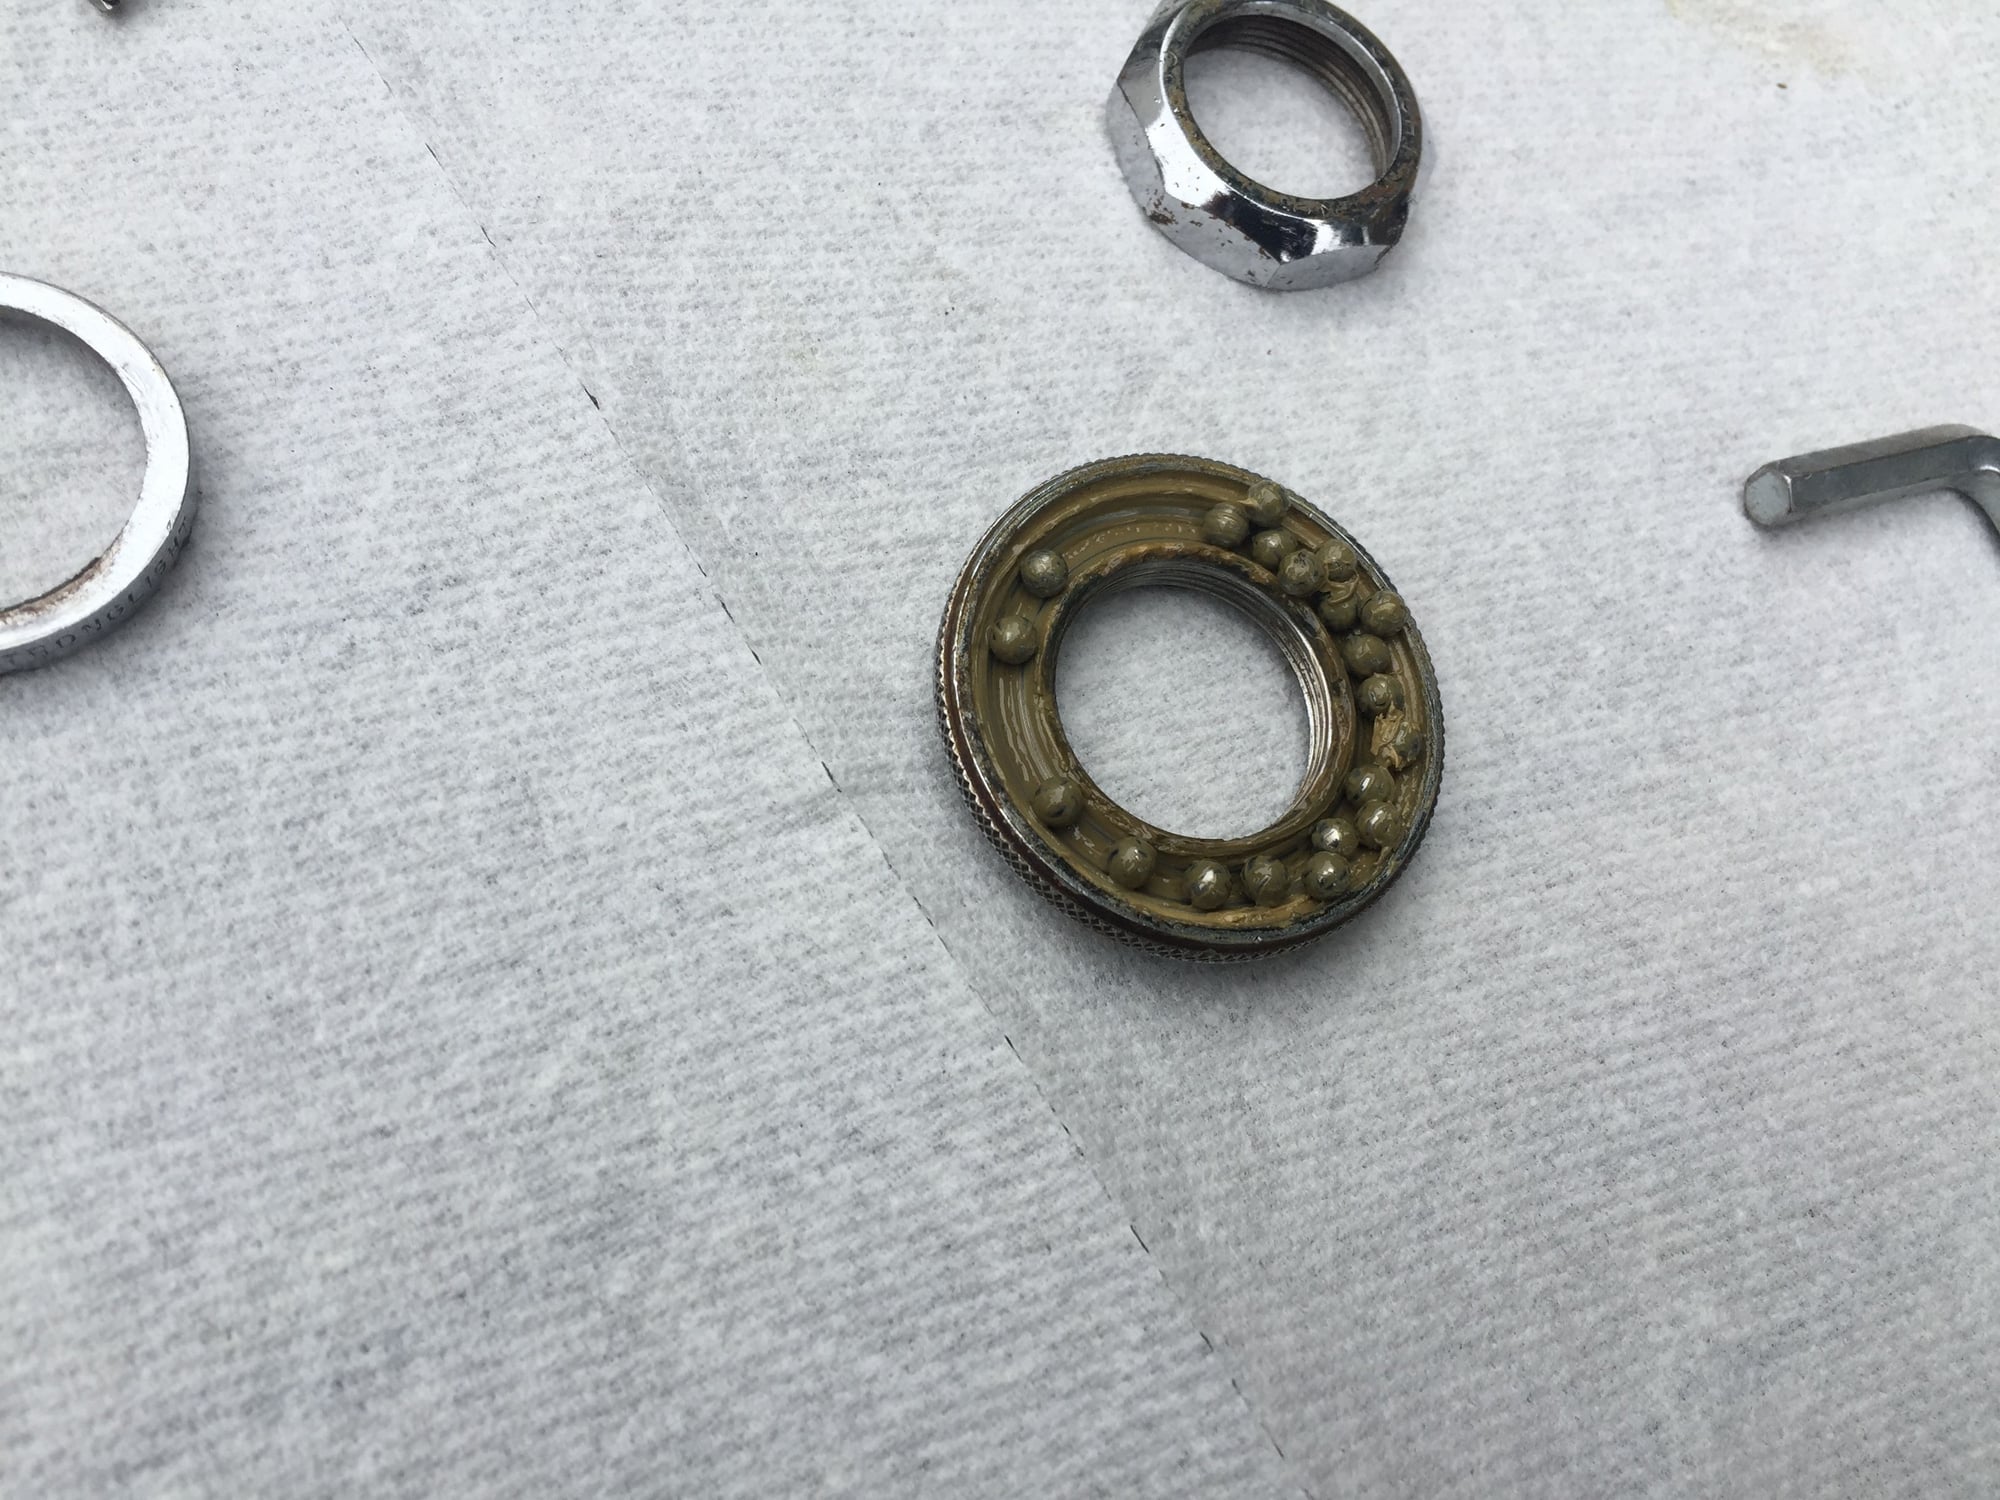
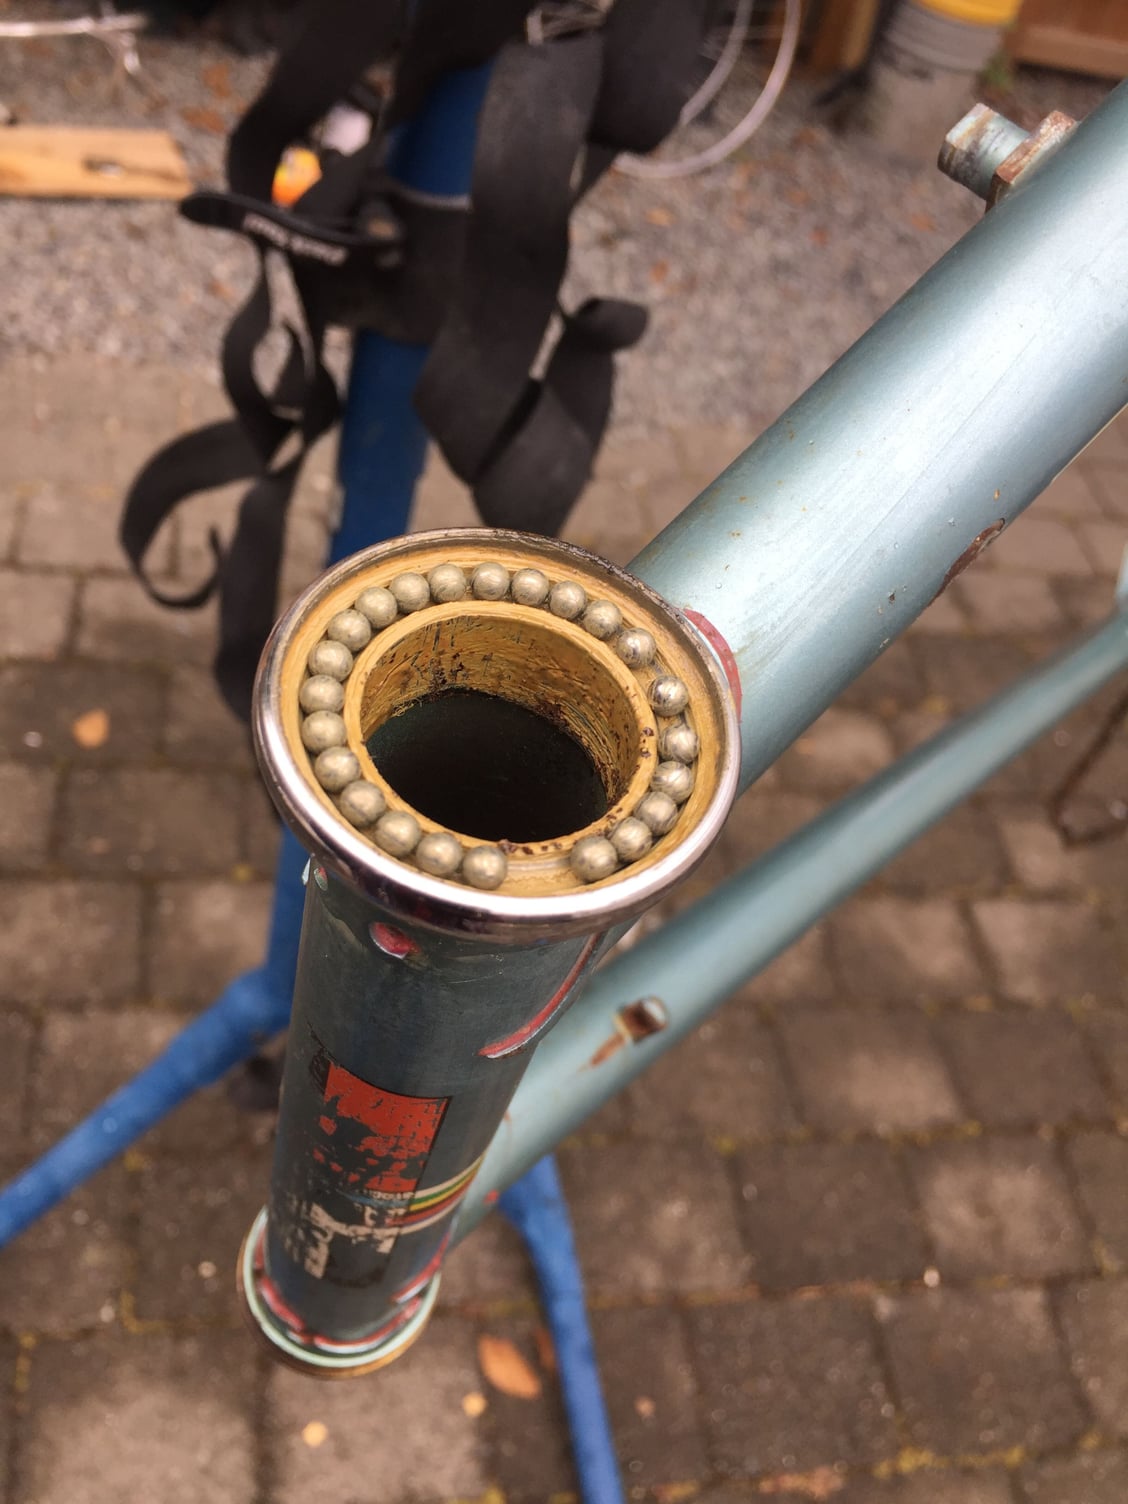
I was able to find some time yesterday and was able to clean and grease the headset. The HS grease was getting thick it would have been just as well if I did a couple of drops of oil, but given the age it's better off with new.
I started to match the details of the original parts with my spare auto paint. You can see the red directing the eye away from from the scrung that is the remaining paint.
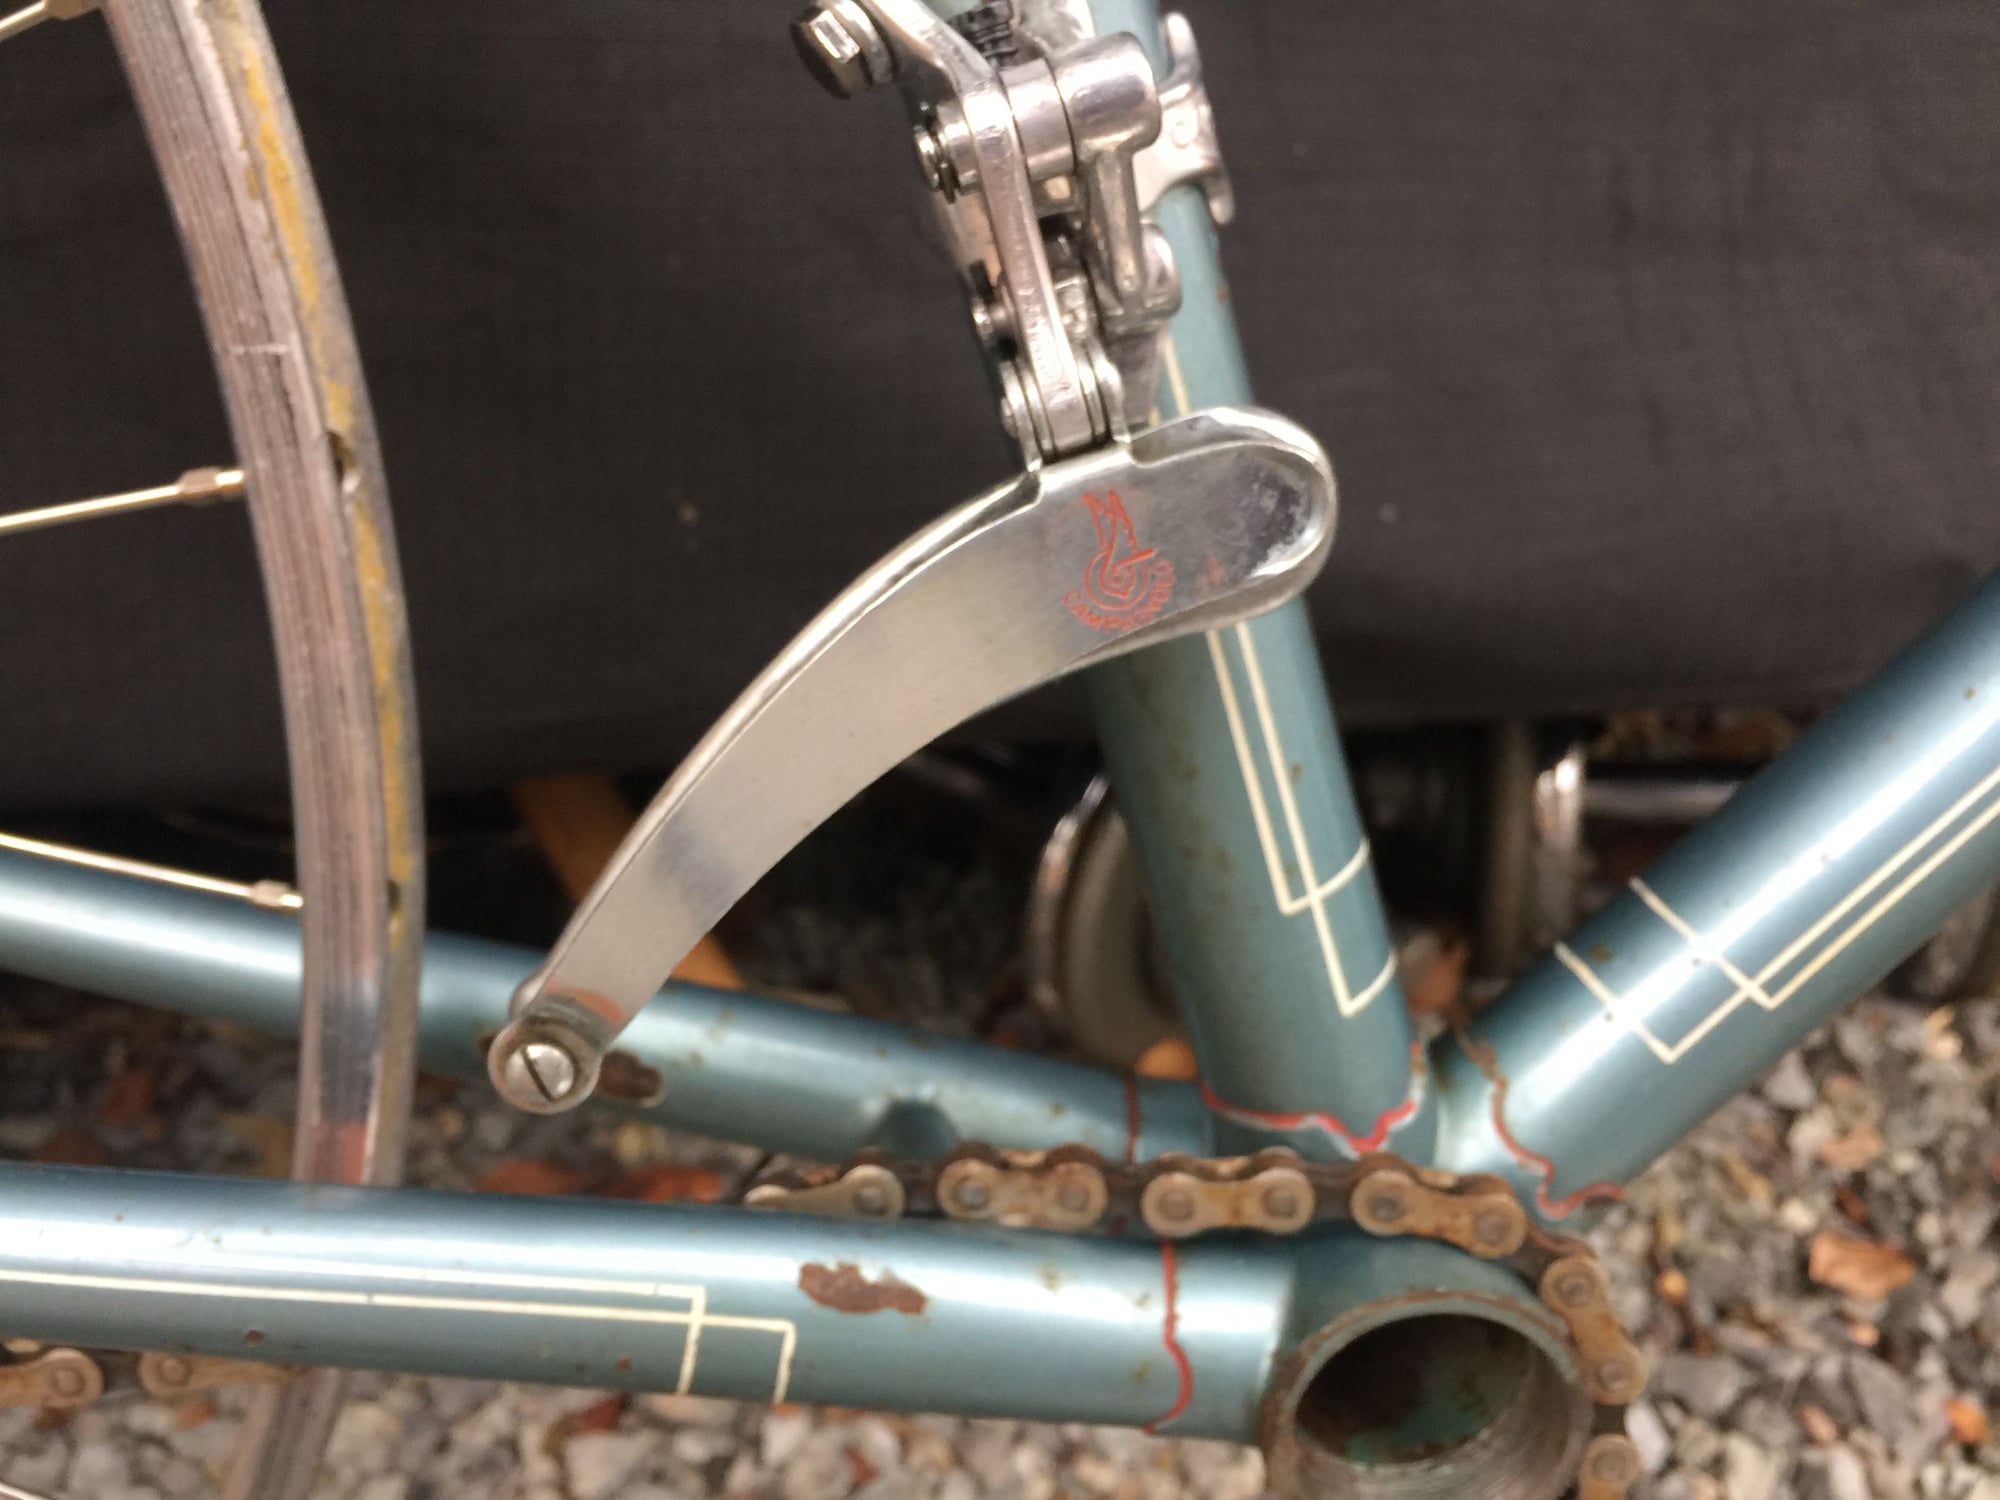

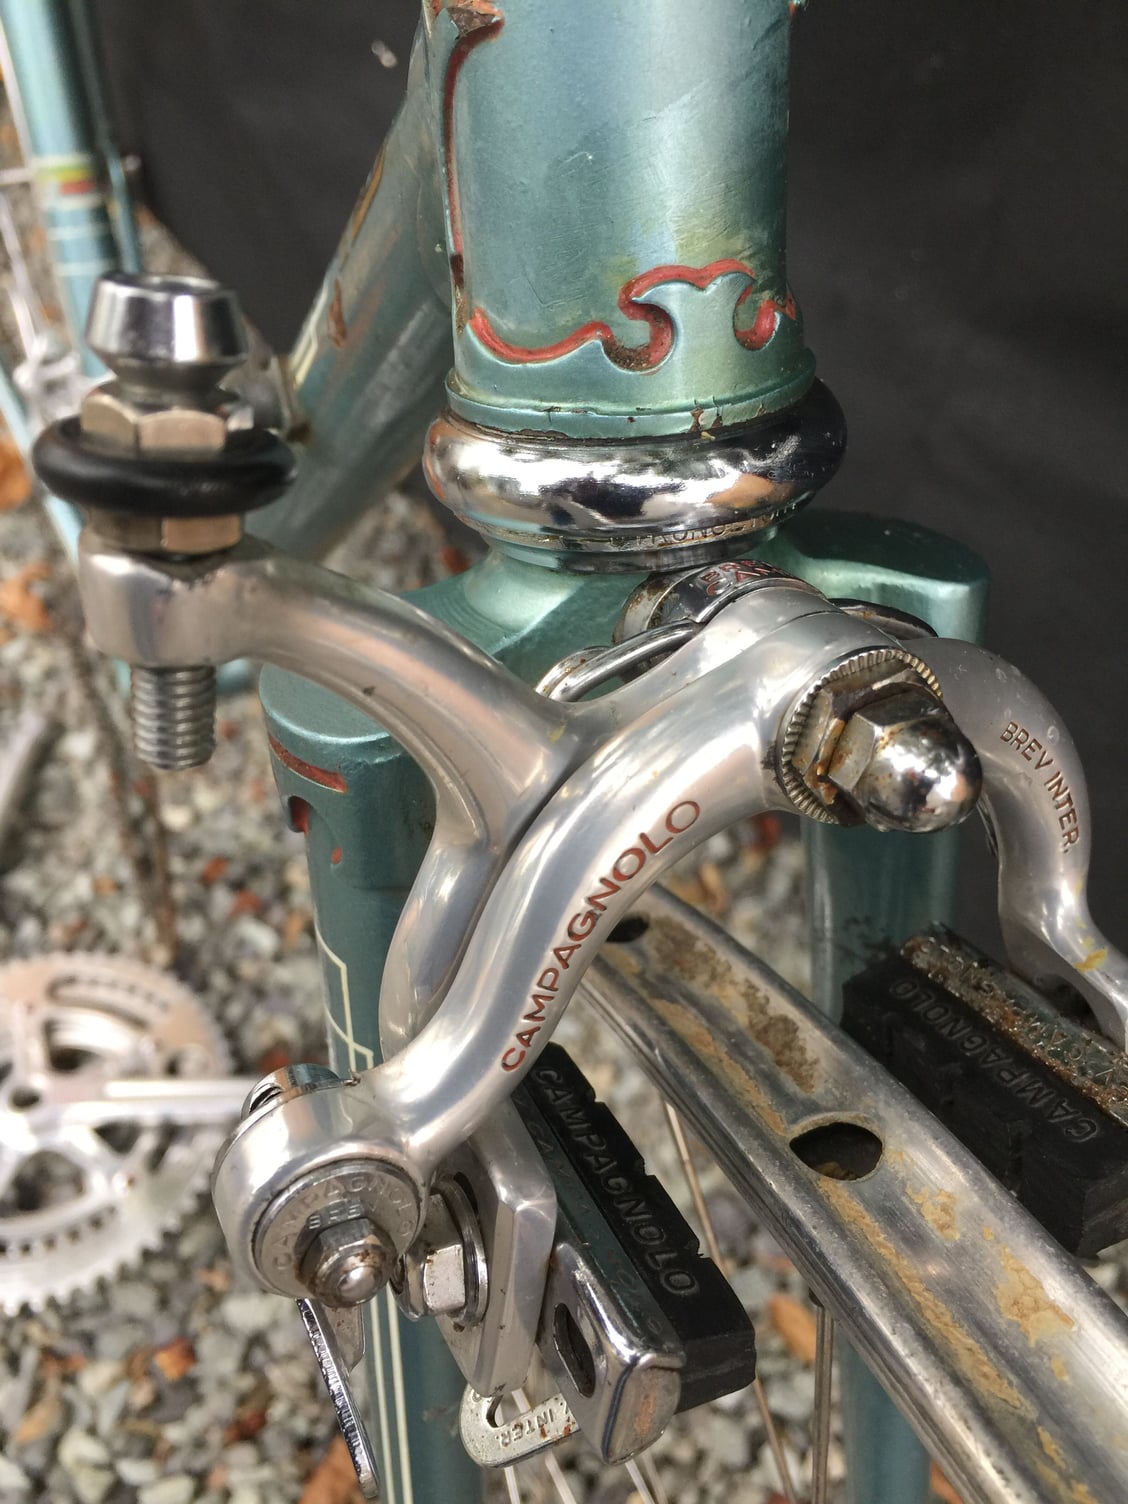
The panto on the calipers is original to my purchase.
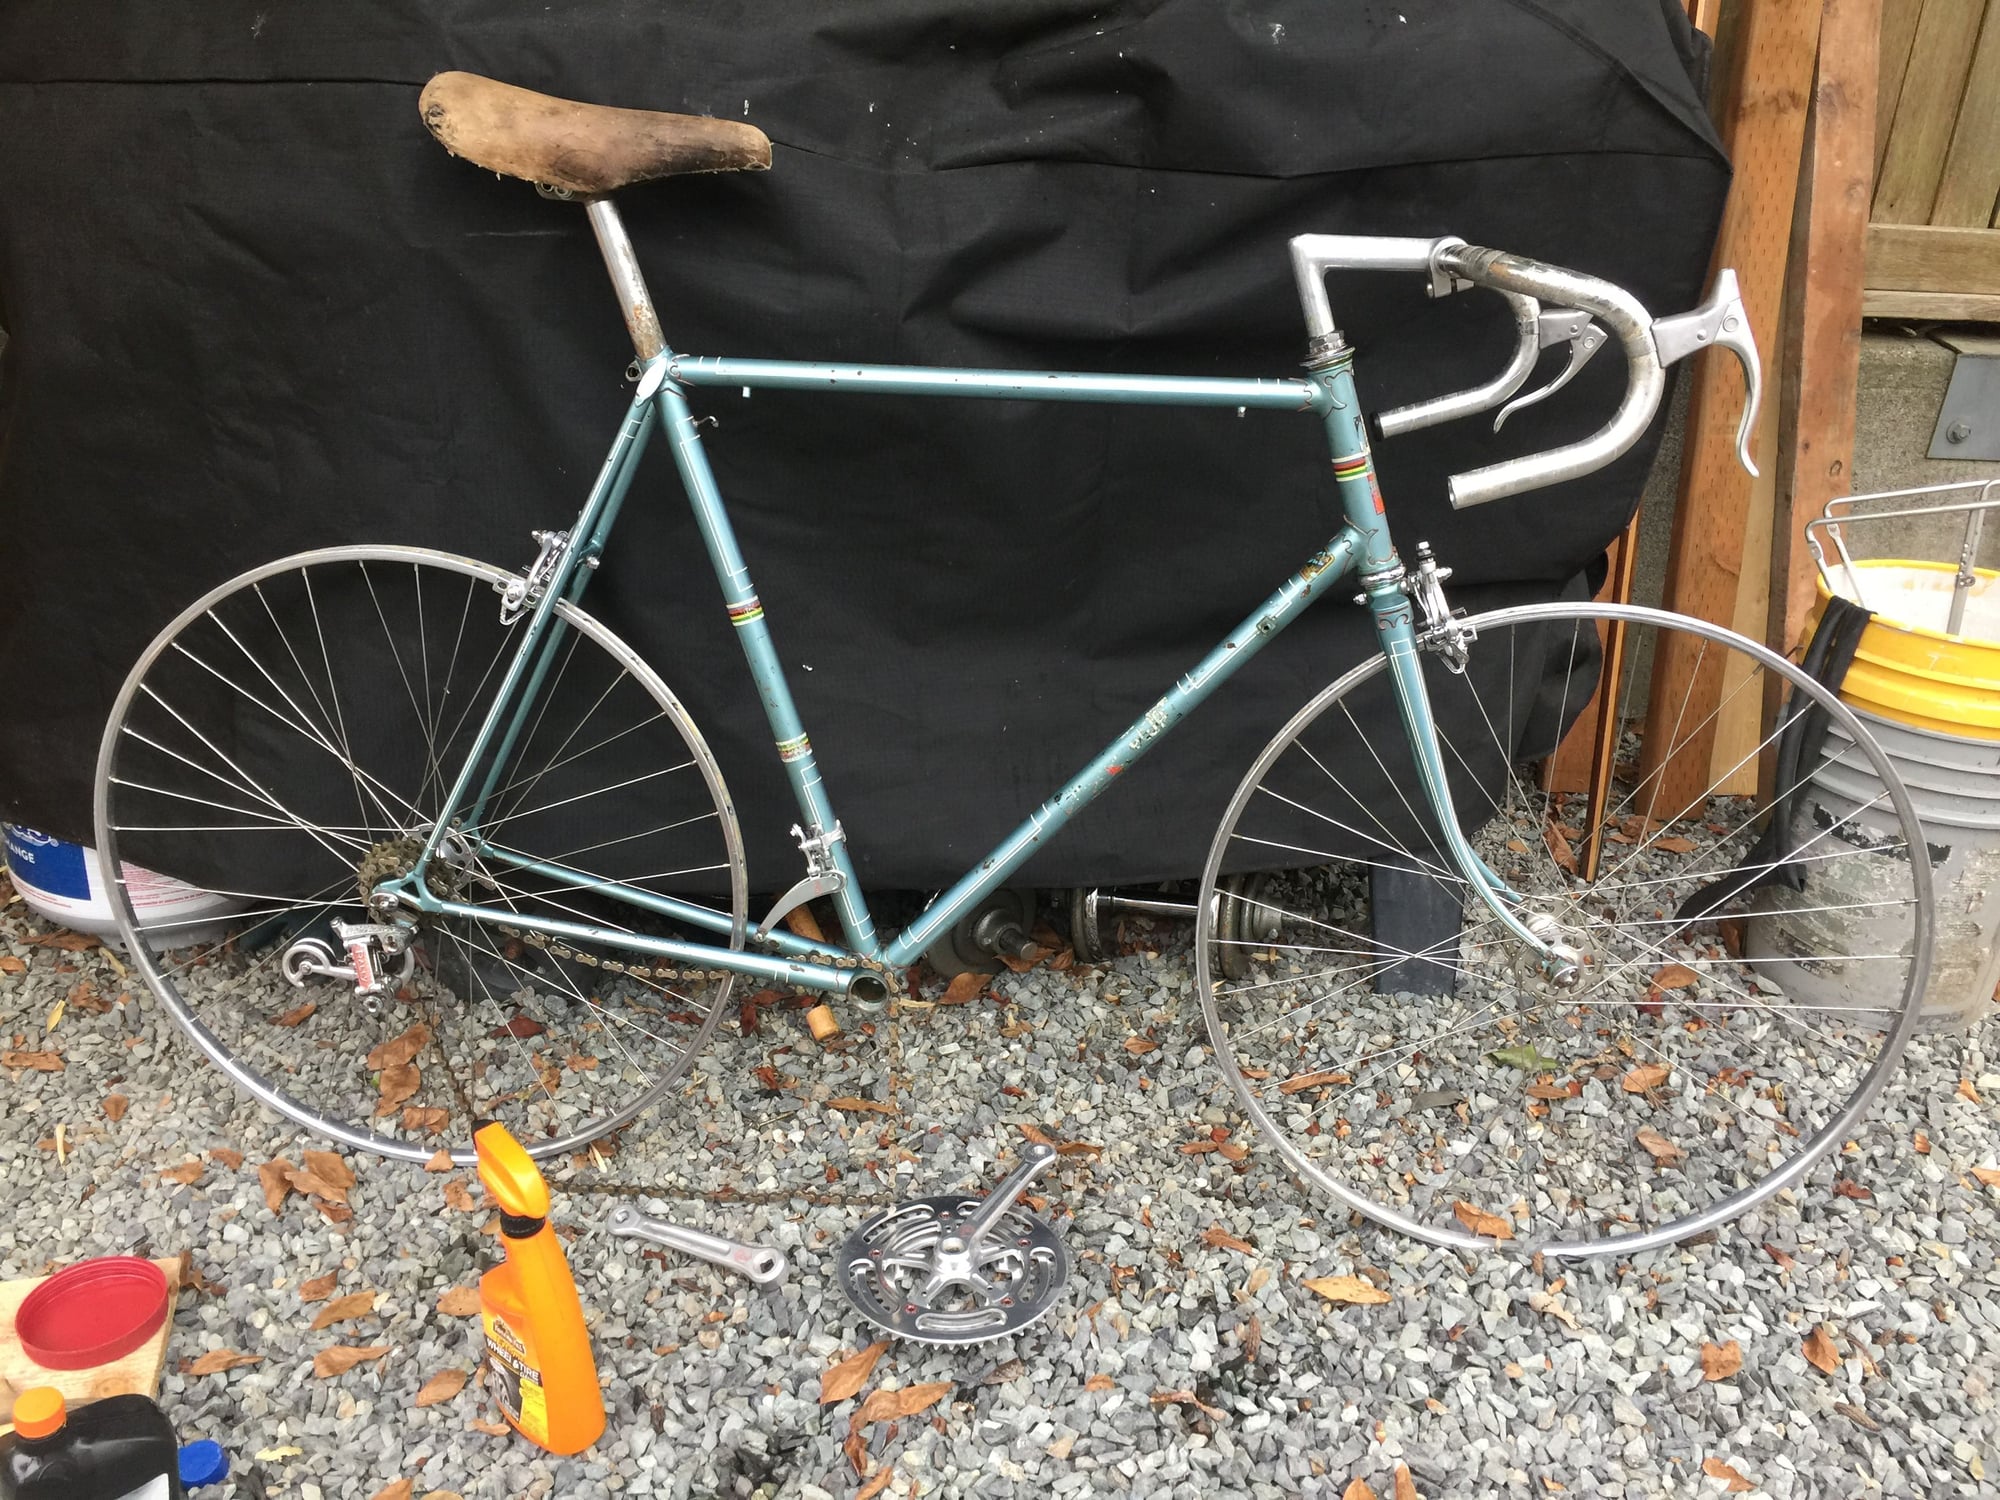
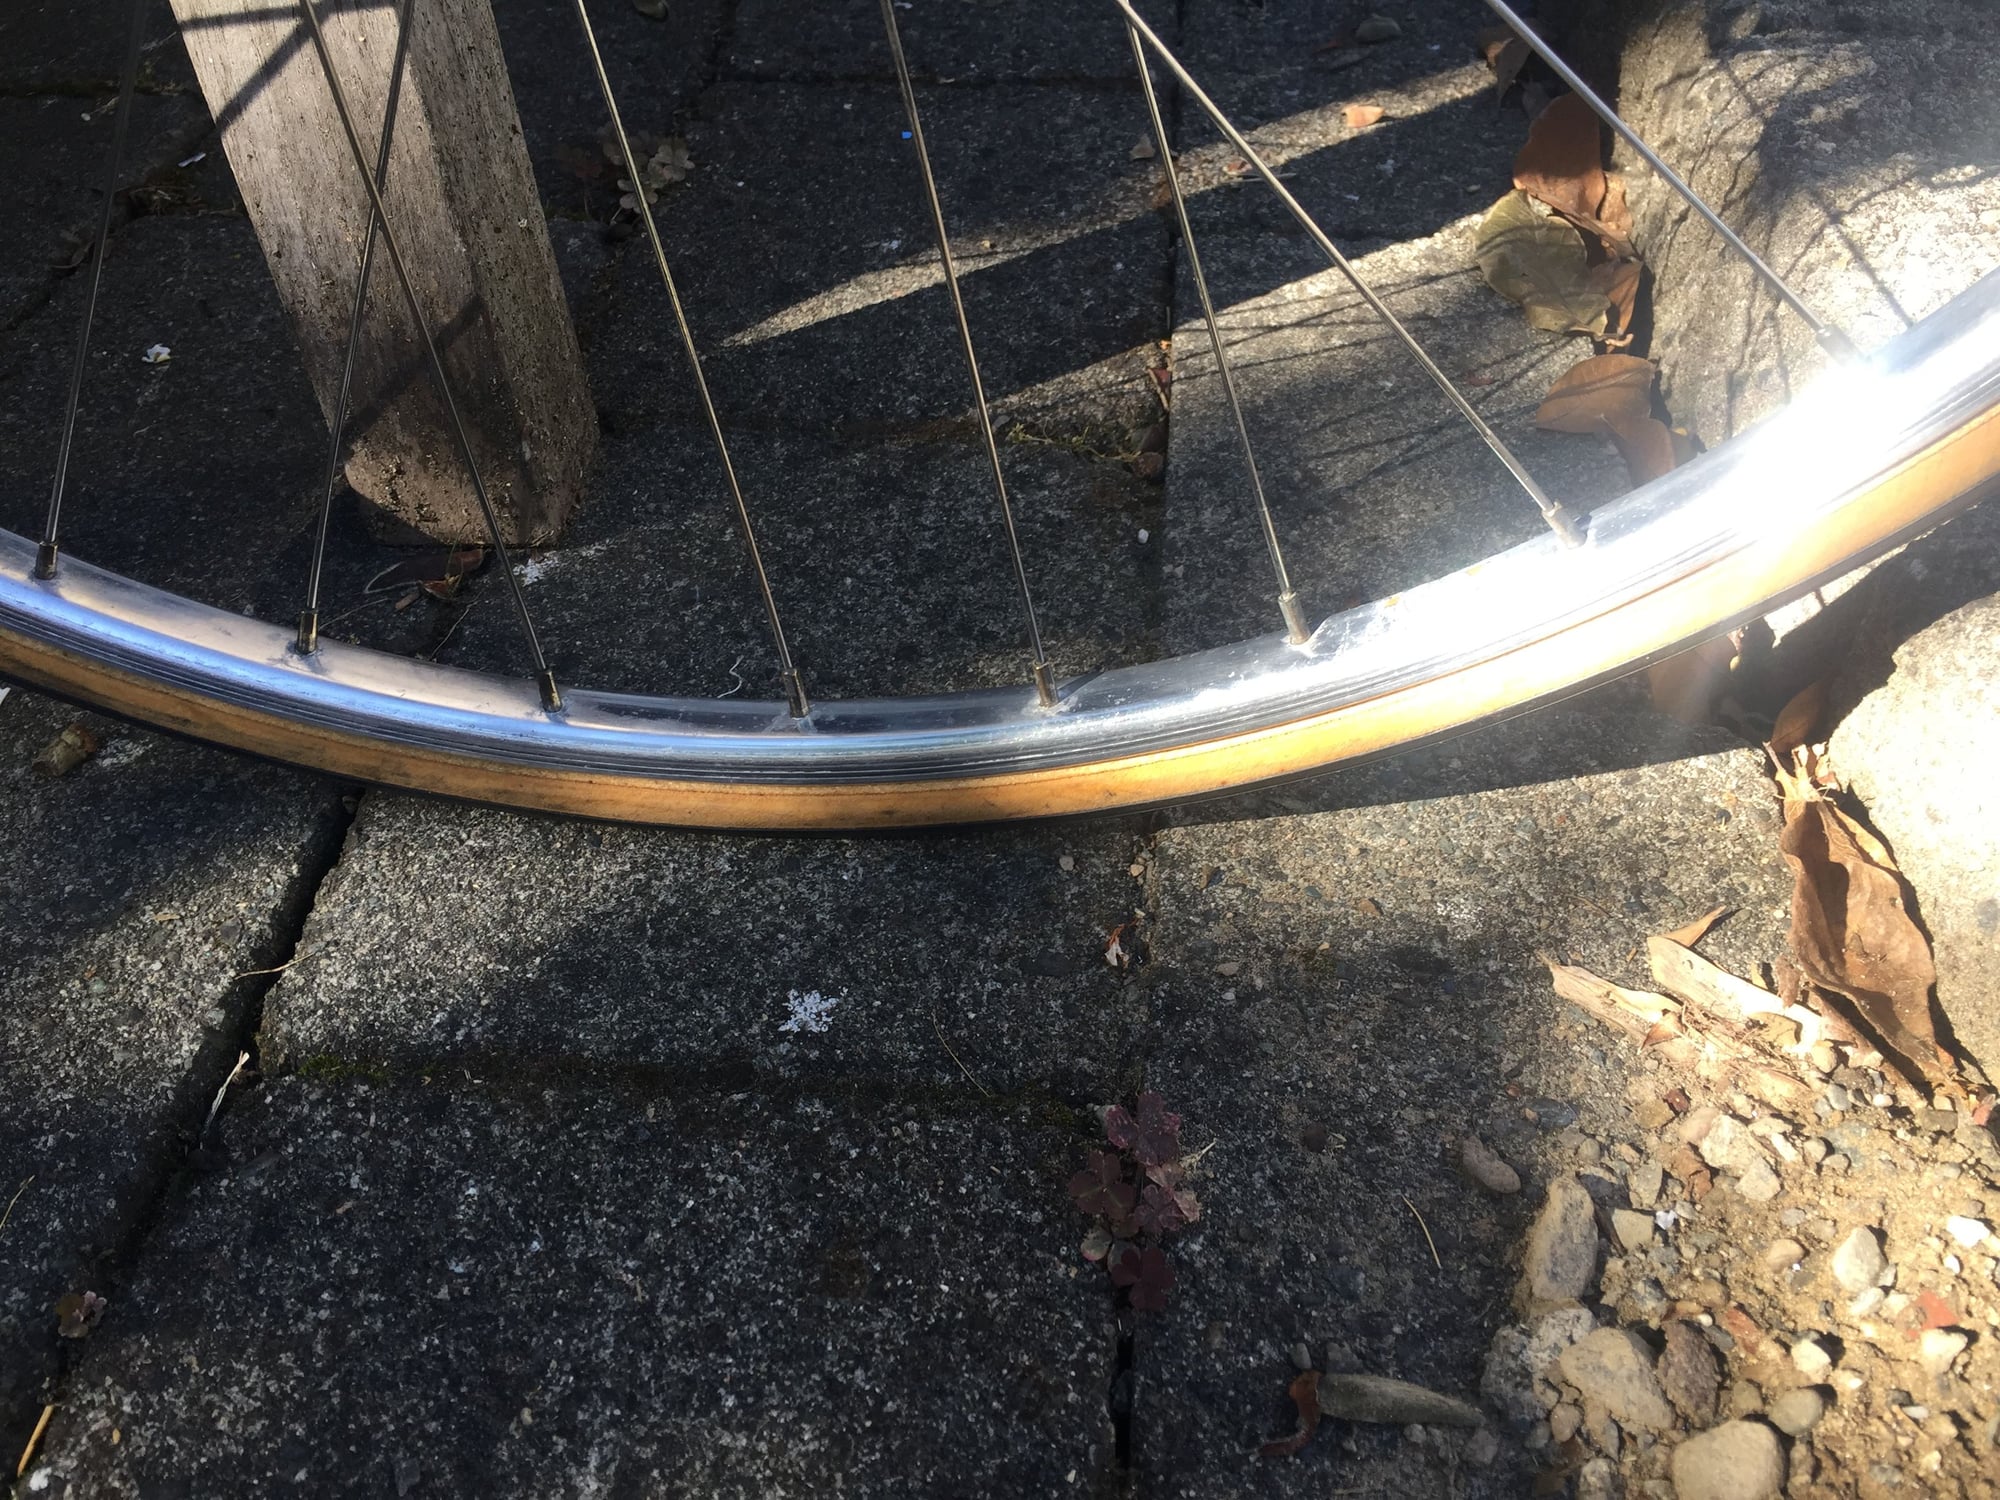
I've also started the the polishing of the rims, they need some true still usable. No dents very minor hop in the rear wheel, some runout side to side.
Can not see it in the picture but one of the crank bolts has been double die stamped, if it was US coin it would be worth something. I pantograph those just as the original were.
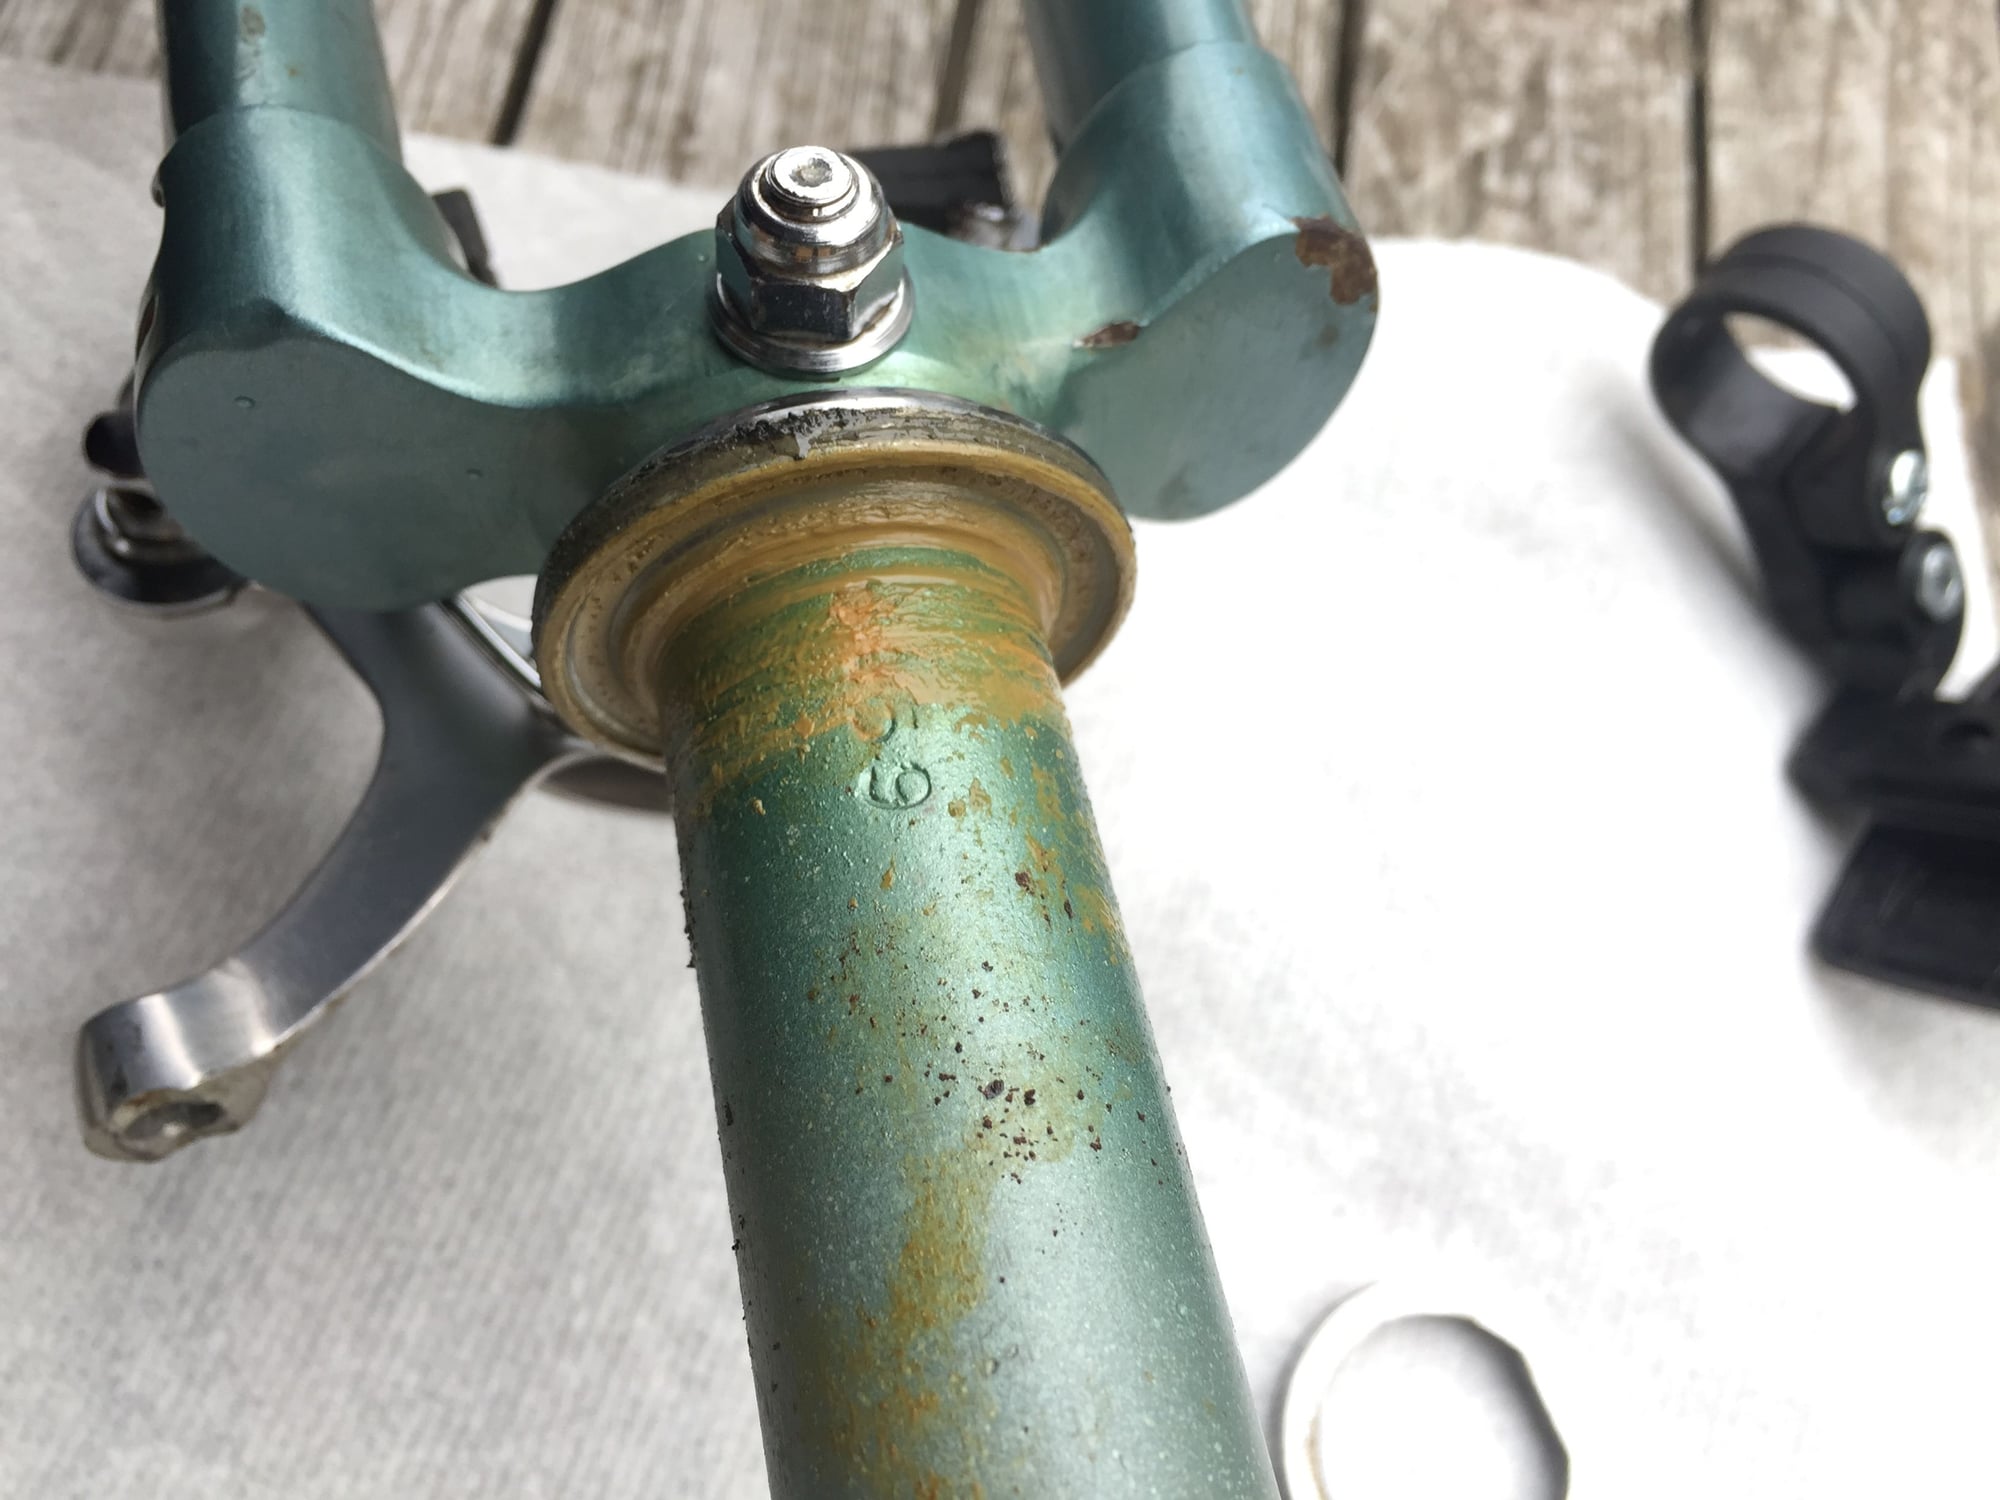
And for those that are of wonder, the serial number is 6459. With a seatpost size of 26.8, the post is the worst I've ever seen it will be scrapped for parts. I'm going to need a post that is slightly longer for this frame, which sucks cause I have 26.8 in Campy. I'll find something European if possible, if not I'll breakdown and use Sugino.
Likes For Mr. 66:
09-18-21, 12:21 PM
#33

Senior Member

Join Date: May 2010
Location: Bastrop Texas
Posts: 4,771
Bikes: Univega, Peu P6, Peu PR-10, Ted Williams, Peu UO-8, Peu UO-18 Mixte, Peu Dolomites
Liked 1,848 Times
in
1,184 Posts
Wow! Are those oil nipples on the Head Tube and Bottom Bracket?
I have never seen a Jack Taylor up close...
Oh... Thank you for posting your progress on this restoration.
I have never seen a Jack Taylor up close...
Oh... Thank you for posting your progress on this restoration.
__________________
 No matter where you're at... There you are... Δf:=f(1/2)-f(-1/2)
No matter where you're at... There you are... Δf:=f(1/2)-f(-1/2)Last edited by zandoval; 09-18-21 at 12:36 PM.
09-18-21, 03:31 PM
#34
PM me your cotters

Mr. 66 just a quick note about that saddle. While the skin on top of it may be wasted, there's often a matching black plastic saddle underneath. Degloving the saddle can lead to having a functional, UNICA saddle.
My Behringer has a sample of the plastic you (should?) finder underneath: https://www.bikeforums.net/classic-v...behringer.html
And here's one like yours with skin intact I donated to Henry III, to which he repurposed: https://www.bikeforums.net/classic-v...ara-sauce.html
My Behringer has a sample of the plastic you (should?) finder underneath: https://www.bikeforums.net/classic-v...behringer.html
And here's one like yours with skin intact I donated to Henry III, to which he repurposed: https://www.bikeforums.net/classic-v...ara-sauce.html
__________________
███████████████
███████████████
09-24-21, 01:20 PM
#35
Senior Member
Thread Starter
Mr. 66 just a quick note about that saddle. While the skin on top of it may be wasted, there's often a matching black plastic saddle underneath. Degloving the saddle can lead to having a functional, UNICA saddle.
My Behringer has a sample of the plastic you (should?) finder underneath: https://www.bikeforums.net/classic-v...behringer.html
And here's one like yours with skin intact I donated to Henry III, to which he repurposed: https://www.bikeforums.net/classic-v...ara-sauce.html
My Behringer has a sample of the plastic you (should?) finder underneath: https://www.bikeforums.net/classic-v...behringer.html
And here's one like yours with skin intact I donated to Henry III, to which he repurposed: https://www.bikeforums.net/classic-v...ara-sauce.html
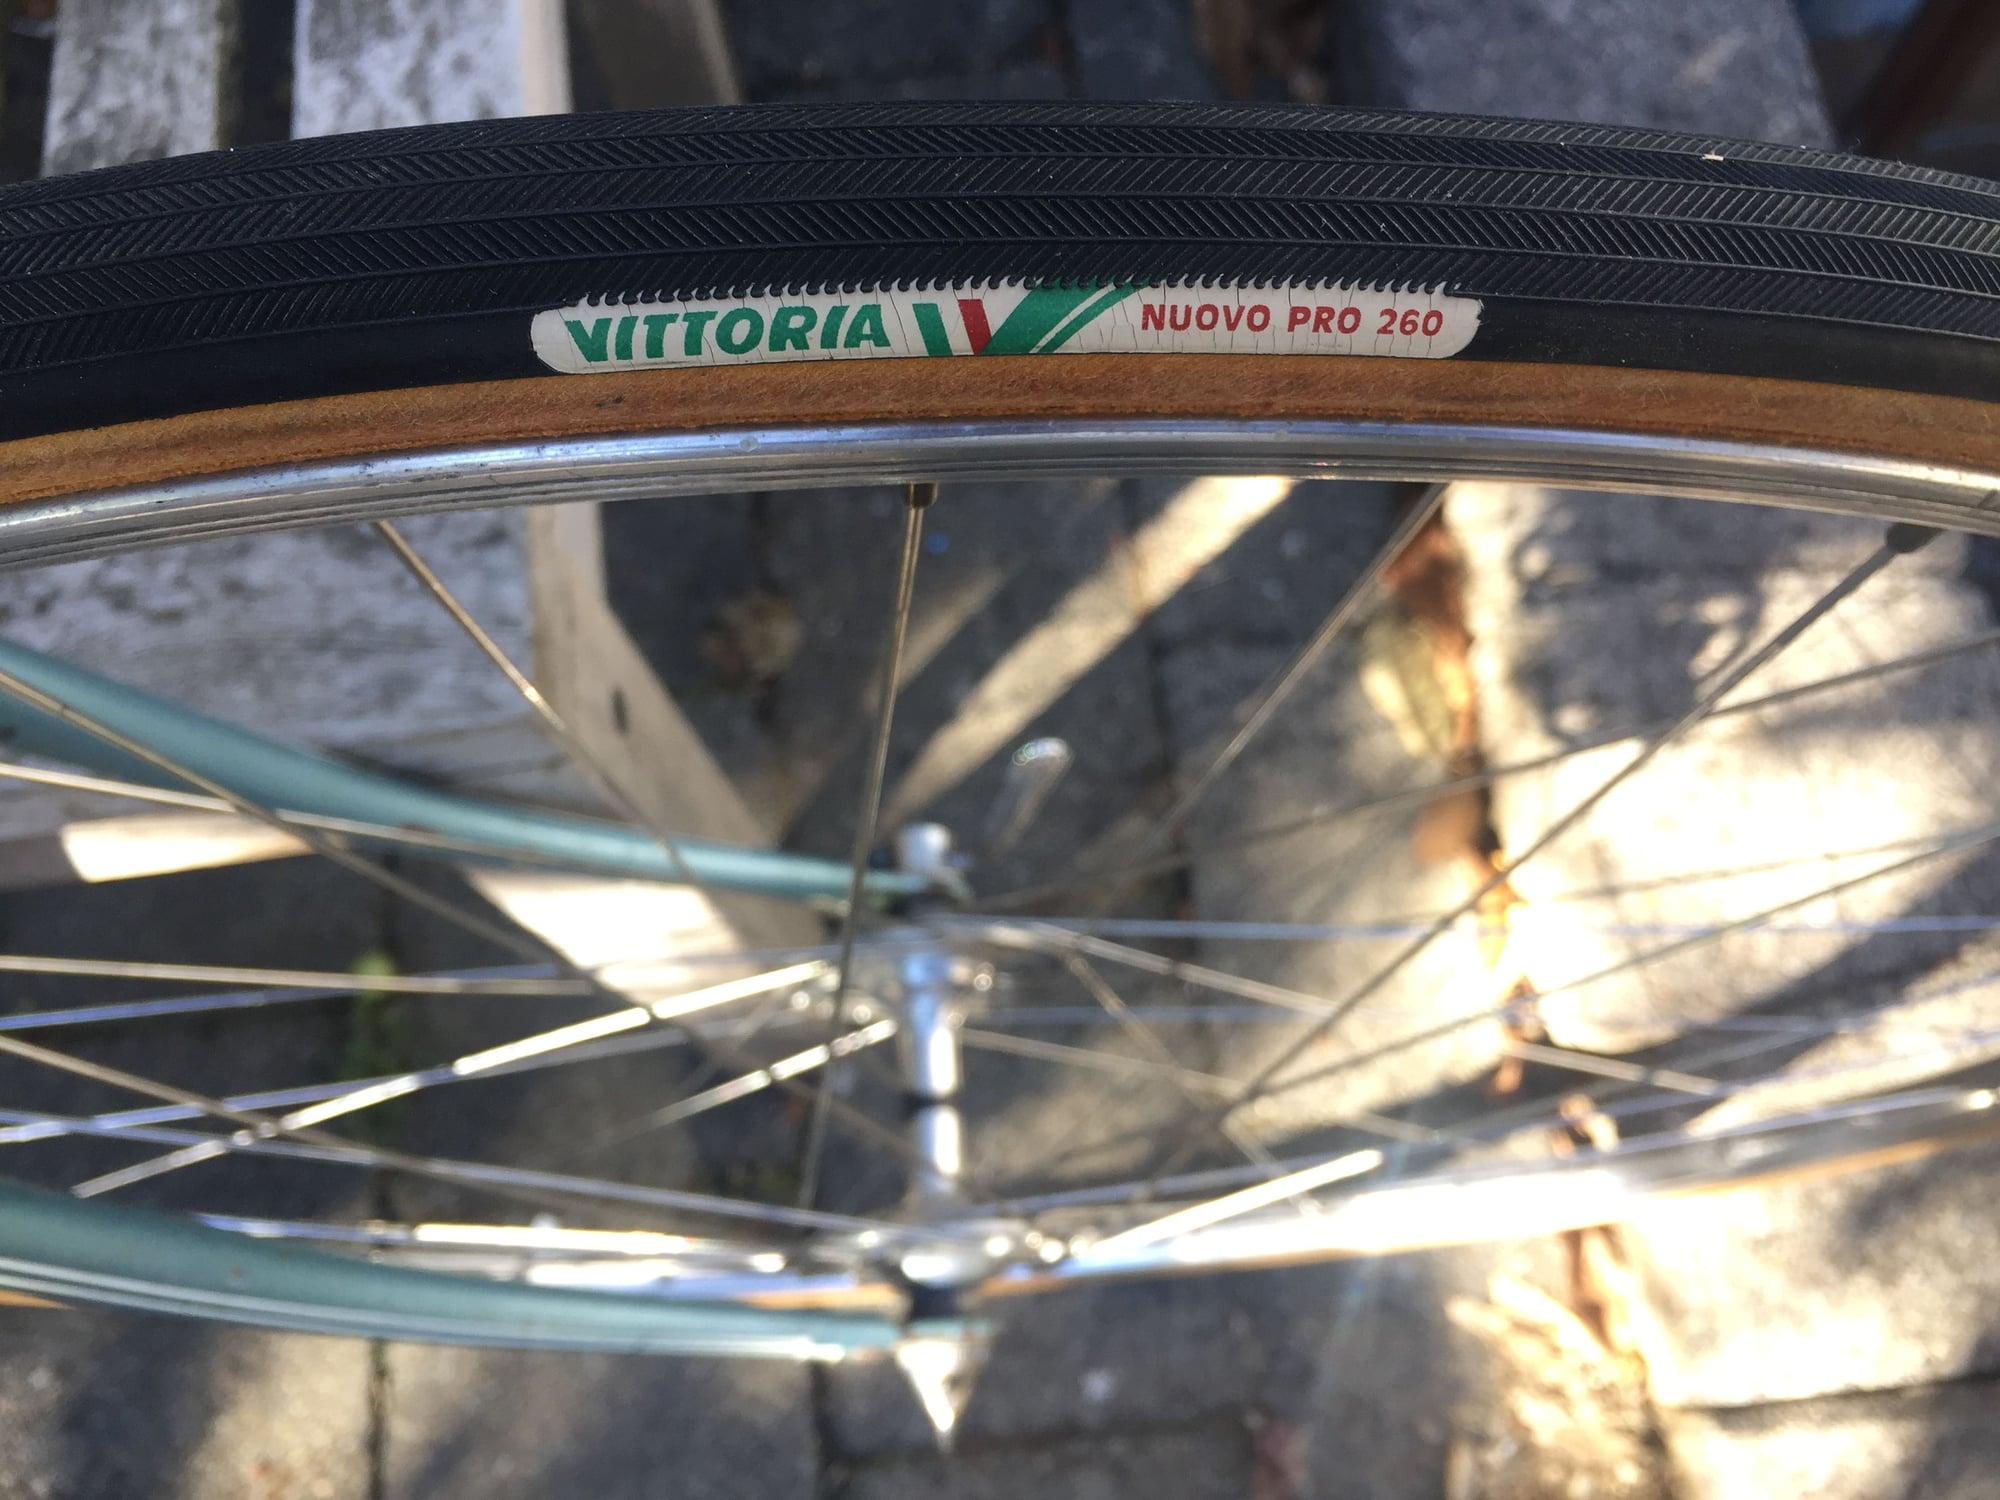
I did have a little progress. I went after the heavily oxidized rims. I put some wheel cleaner to them. That didn't do much, it did take the dirt off, most of it. The cleaner did help soften the crystalline glue on the groove, the glue shattered off with some 1 steel wool, that left a fresh surface for new treads. Then I drug some 0000 steel wool on the box sections and the brass nipples on the front. The back nipples got the wool as well they just didn't need the same effort as the front. After that I brought out the drill and polishing wheel mounted put some bling back to the thing.
The hubs themselves got some detail work, I did have to solvent a tooth brush to work the hard grease encrusting the surface. Cleaned that off and pulled the rubbing compound off the shelf to finish off my that time. I inspected the bearings, hell that grease was almost white. I closed them back up, that grease is better than what I have in my toolbox. The cones are marked as 1972 matching the rear derailleur.
With the wheels now cleaned I felt good about stretching some tires on.
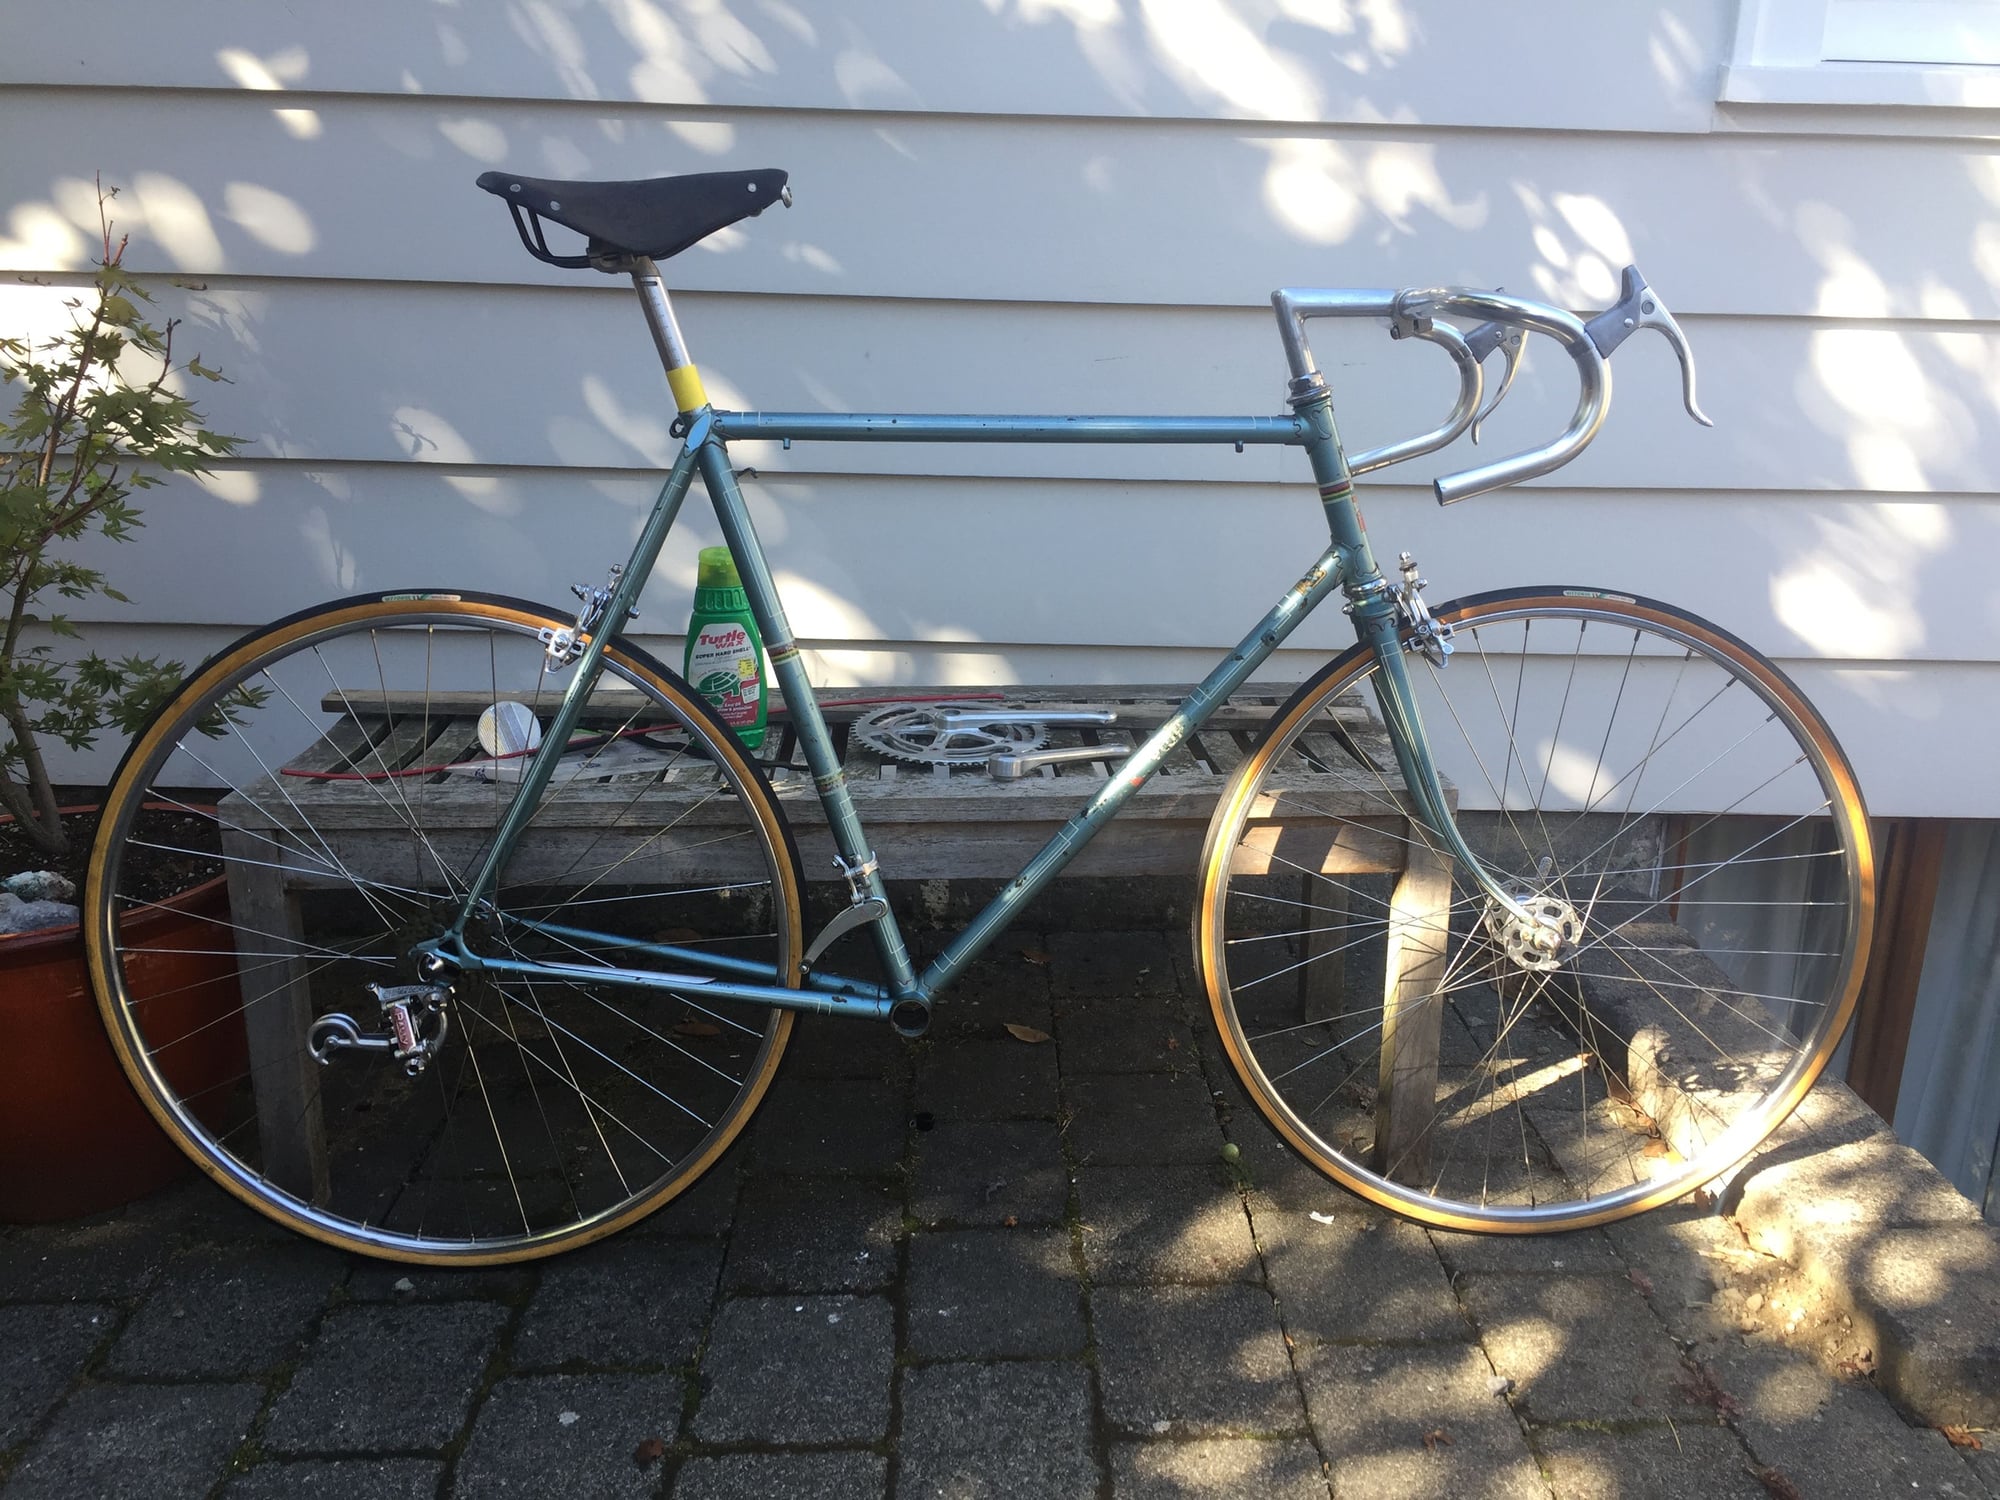
The saddle pictured is an Ideal 80? It's pretty crusty, it needs somebody shaping. I may or my not use it for the Taylor, I'm not real confident in it being usable.
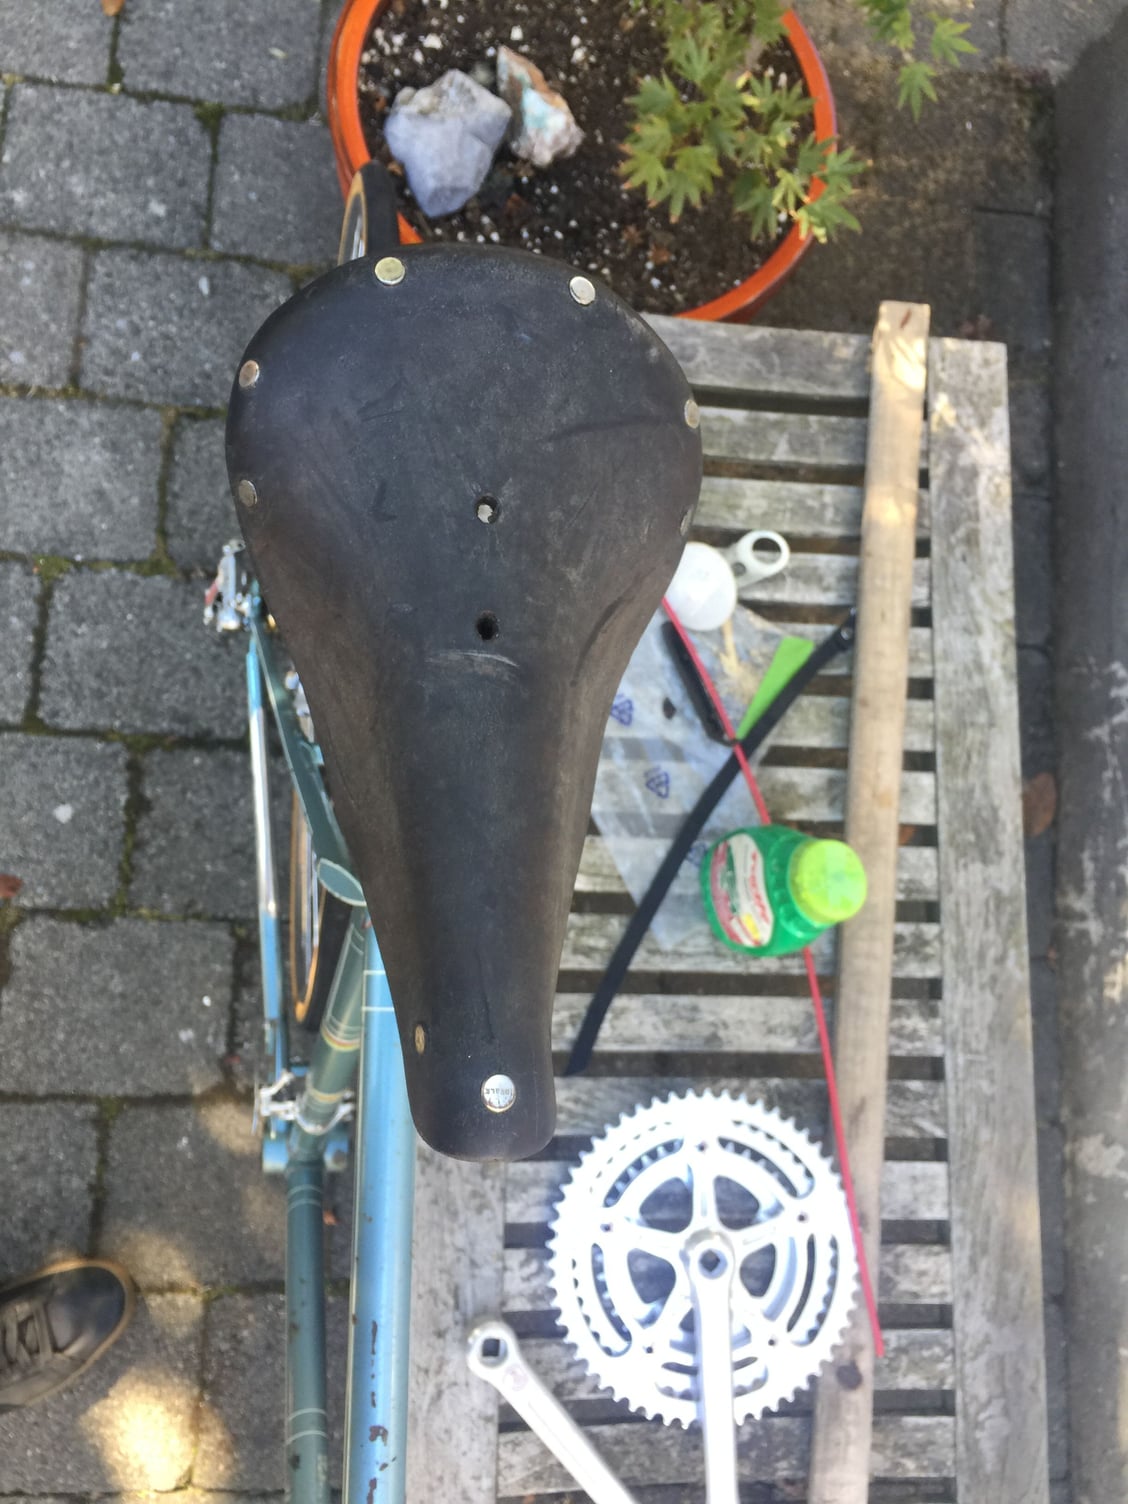
The seatpost is a Sugino, I feel dirty, but it will work. The bottom bracket is still being elusive, I tried a Specialized. The stays are not dimpled, this may put a kink in my plan of using the triple, and maintaining a correct chainline. I sure hope it's fine, I have the Campy somewhere in bag with some track bb spindles cause the use the same cup.
Last edited by Mr. 66; 09-24-21 at 01:25 PM.
Likes For Mr. 66:
