


What have you been wrenching on lately?
 07-12-23, 11:50 AM
#6551
Newbie
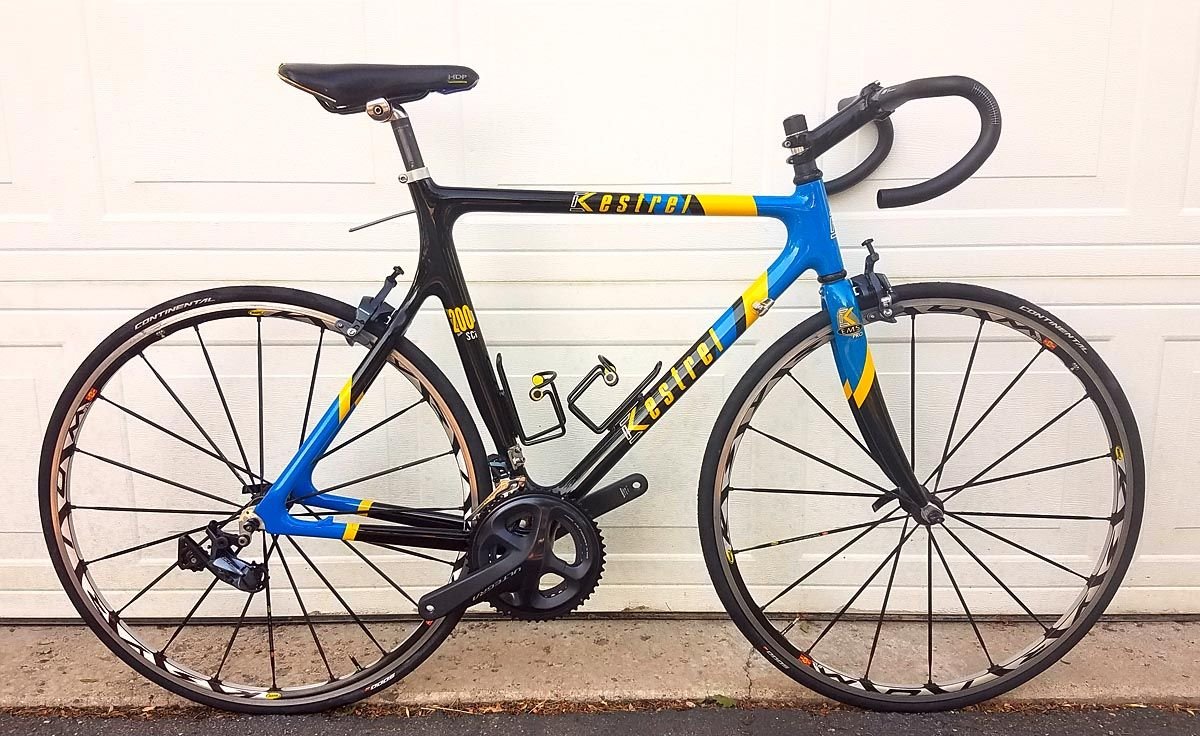
Nearly done
The Flite 300 is nearly done. Got distracted by the fixies at the co-op....and went over to the dark side (lol). Bought a fixed gear, put new a new chain, bars and a front brake and ...


Likes For DAbiker2023:
07-12-23, 11:14 PM
#6552
Steel IS Real
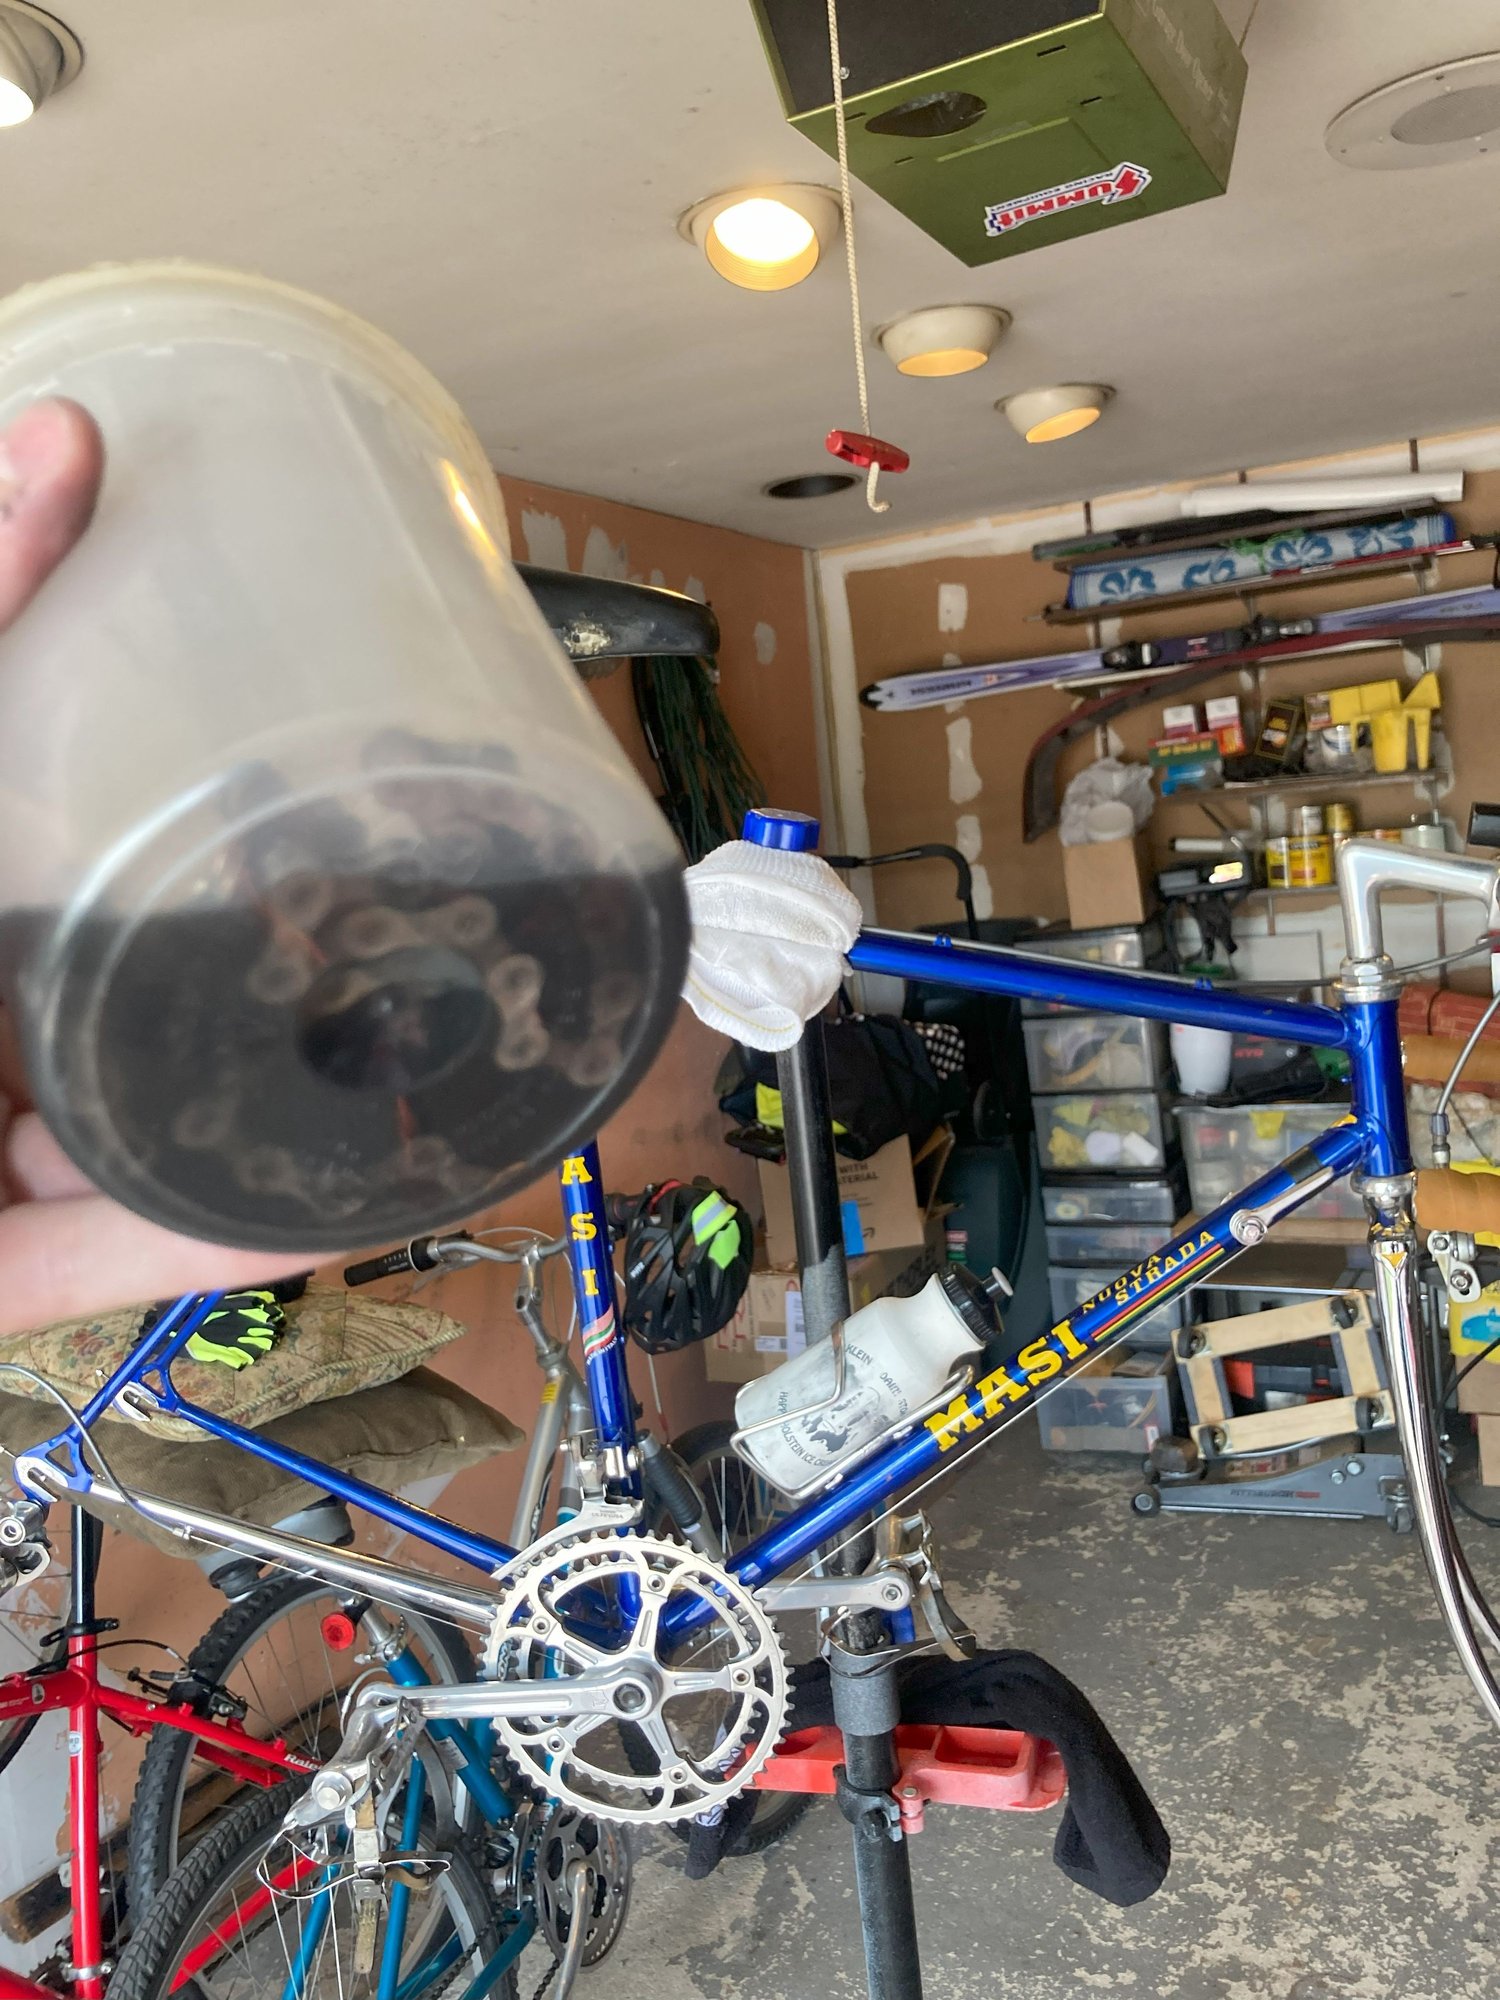
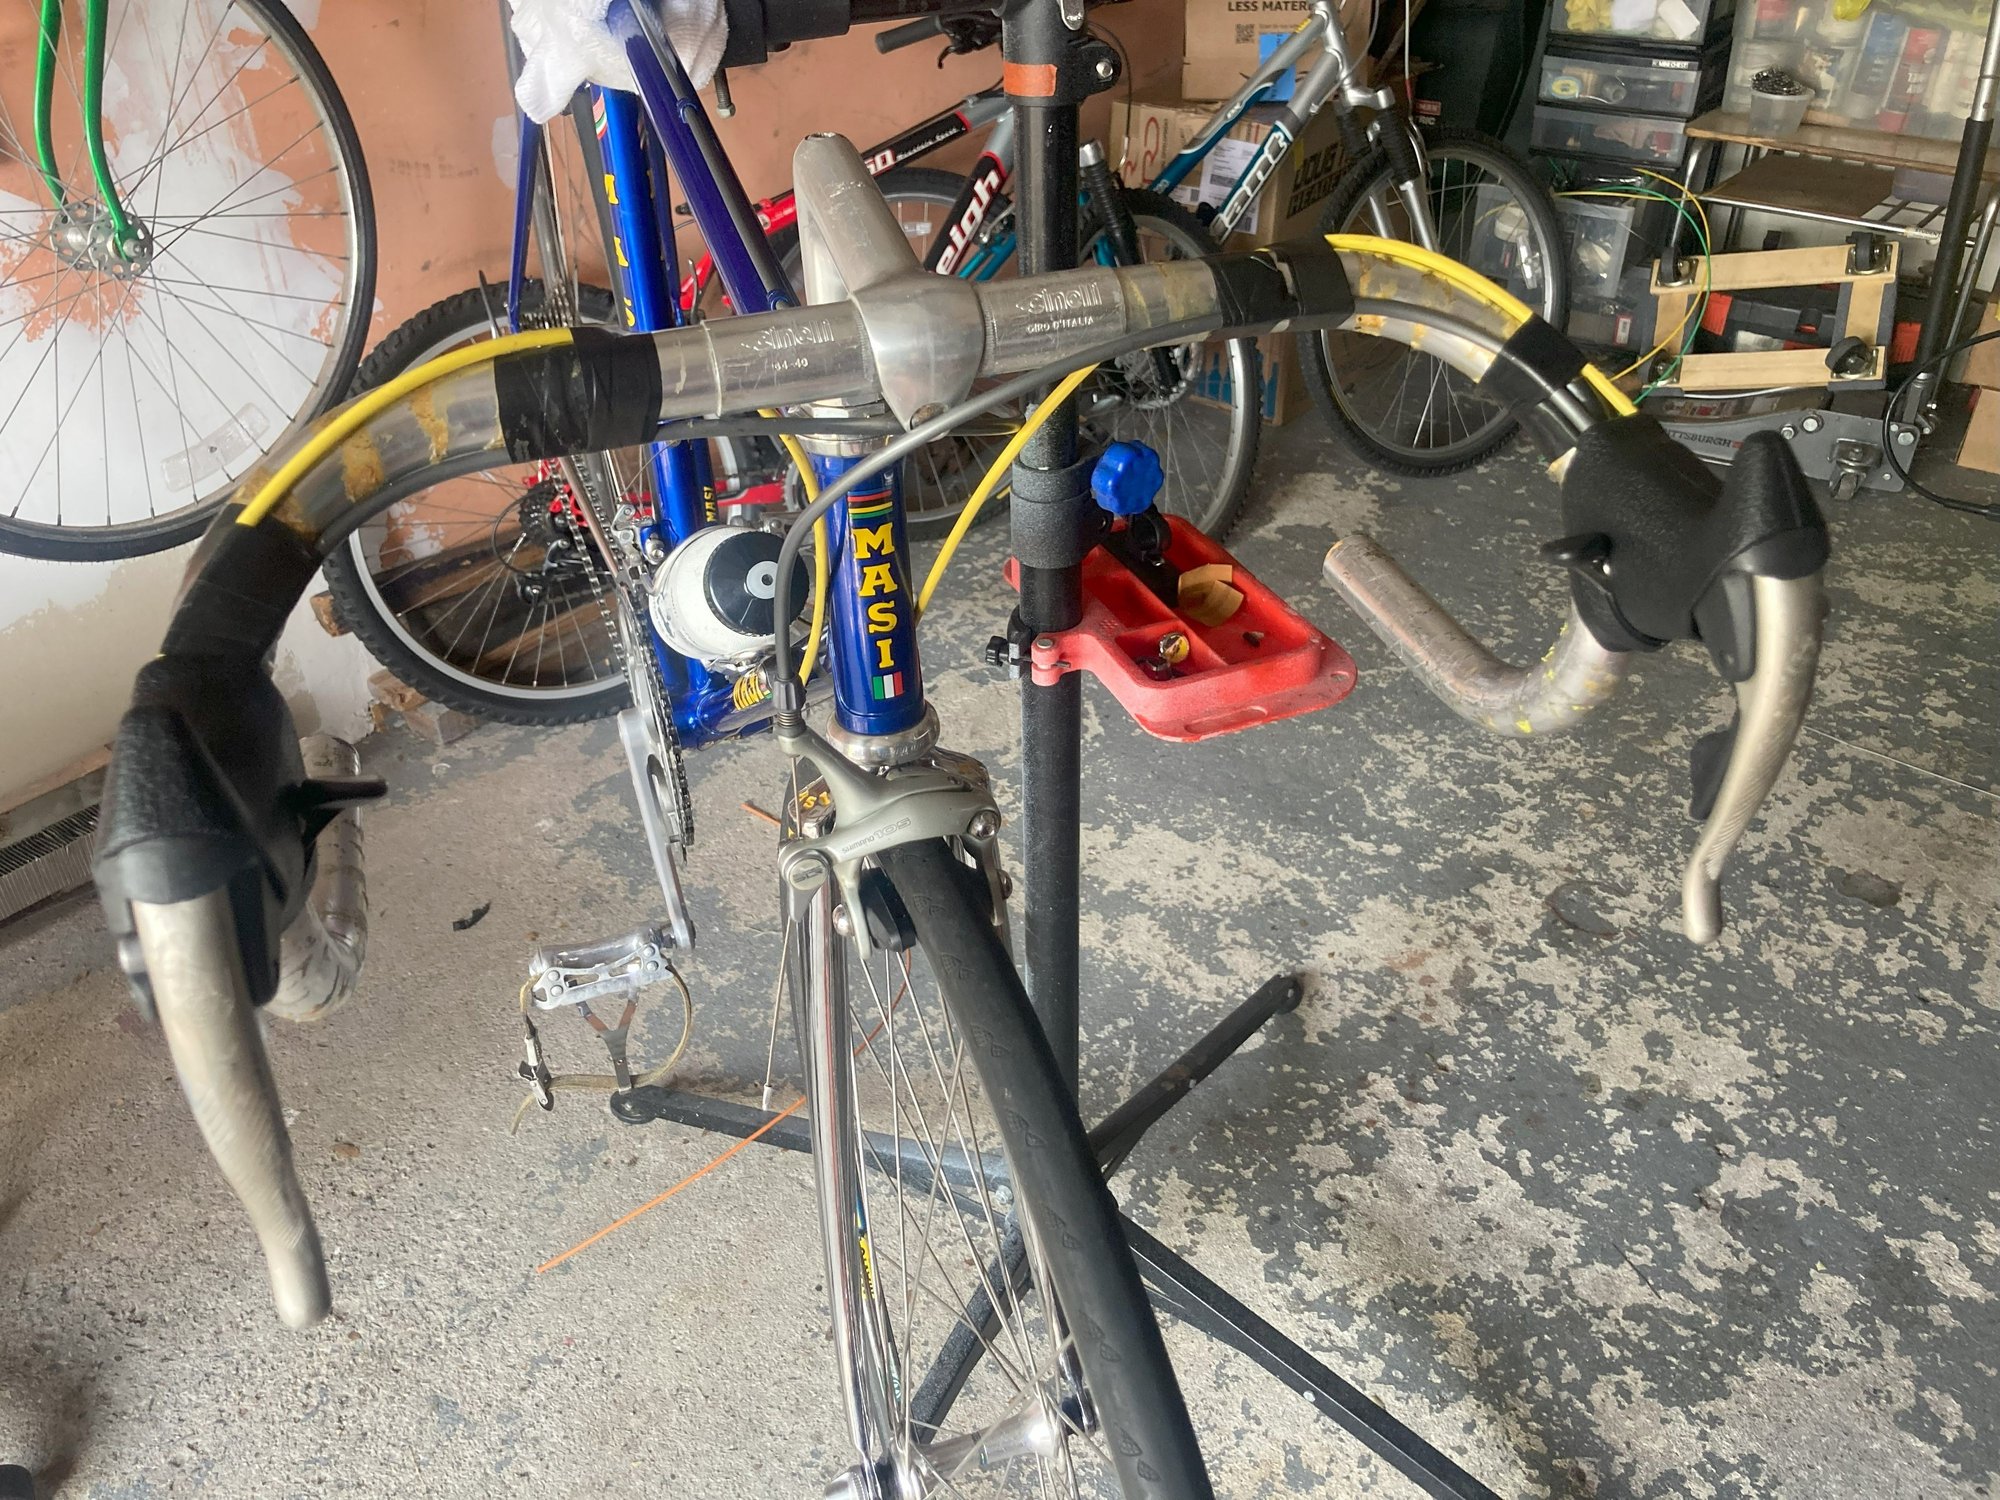
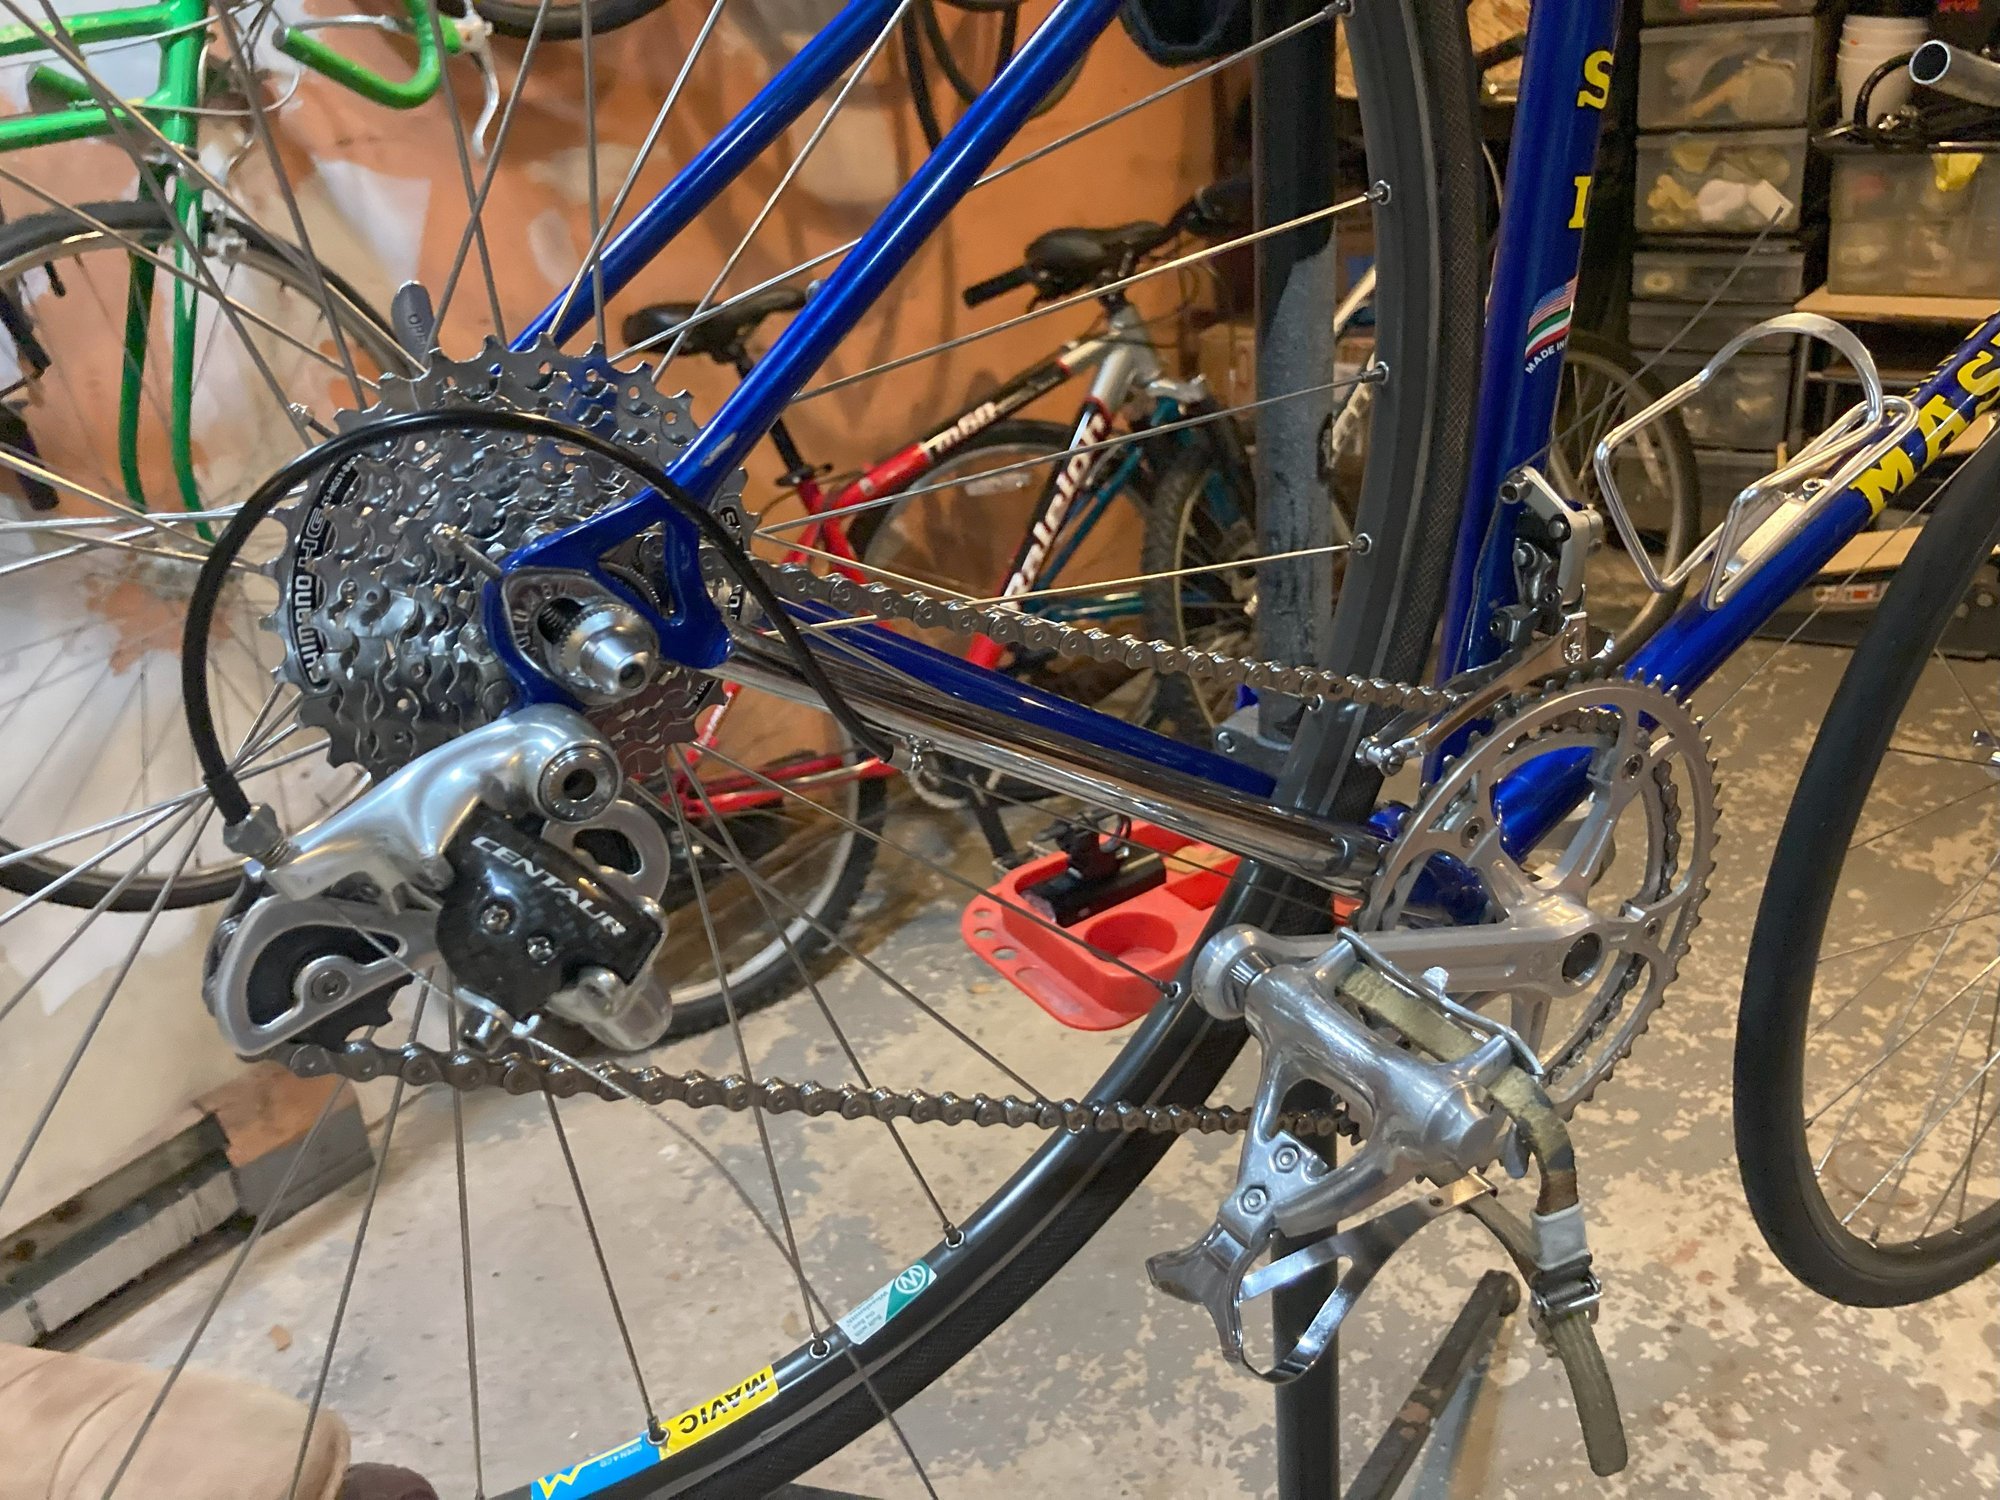
Re-did my hodgepodge friction shifted Victory/Ultegra/SR drivetrain on my Nuova Strada to a Shimergo 8 speed setup that I had laying around. Pretty fun making Campy Avanti levers work with a HG-51(11-32) cassette mounted on my lovely 600 Tricolor wheelset. 
Likes For greenscobie86:
07-14-23, 09:43 AM
#6553
Full Member
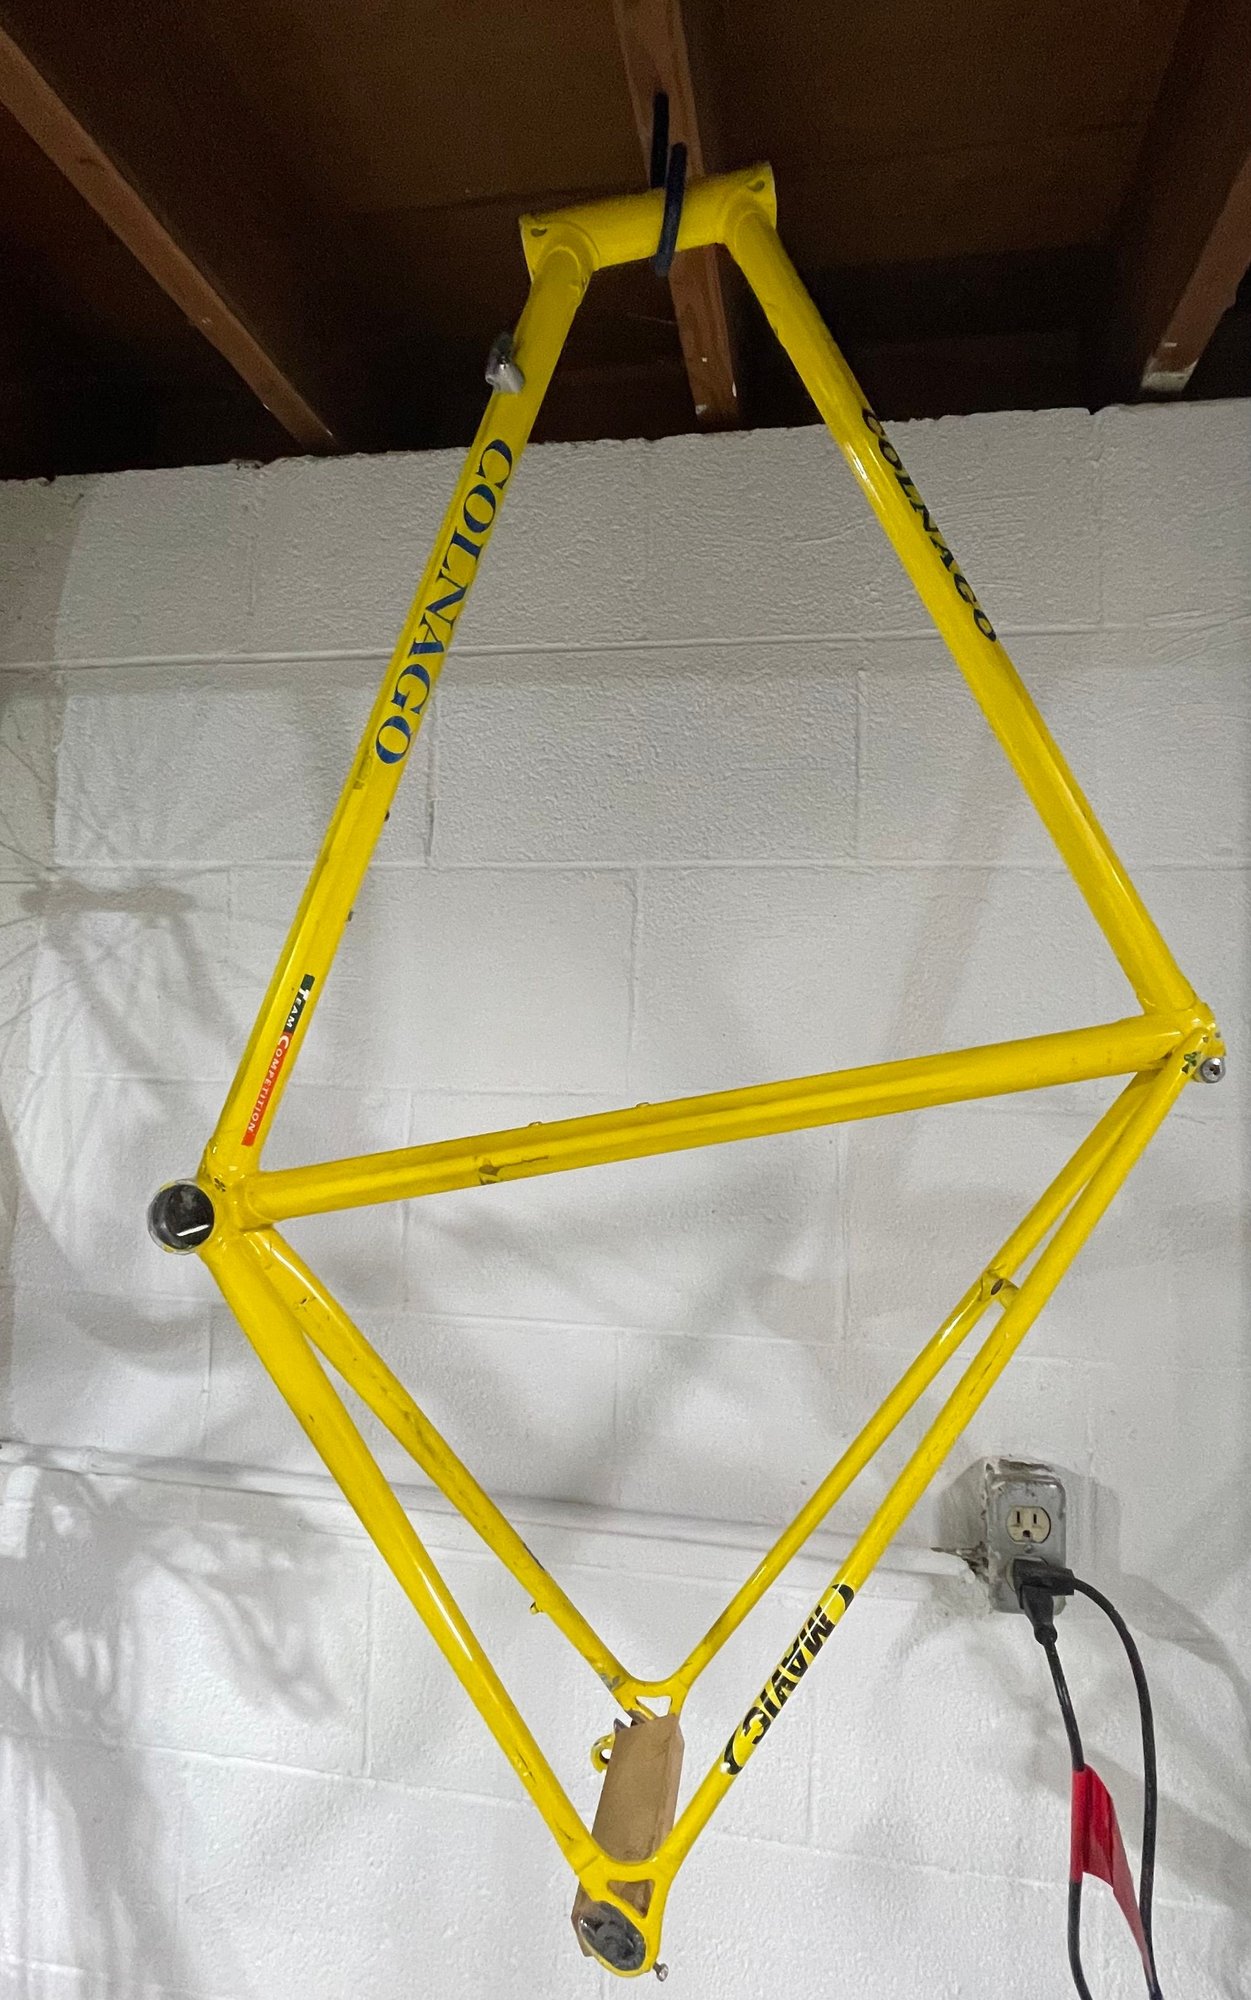
I just picked up this Colnago Master Piu frame and I am going to send it out to be chemically stripped lugs and stays polished and powder coated and clear coated and then it will return. Have several other small projects to finish so I can devote my time to this when it returns 
Likes For JRD:
07-14-23, 08:08 PM
#6554

Senior Member

Join Date: Aug 2015
Location: Murrieta Ca.
Posts: 537
Bikes: Teledyne Titan, Bob Jackson Audax Club, Bob Jackson World Tour, AlAn Record Ergal, 3Rensho Katana.
Liked 623 Times
in
245 Posts
The Serotta is making progress, the dropout faces have had the paint removed then the faces have been stoned to true them up in preparation for spreading the frame to 130mm, aligning the dropouts and verifying the frame is correctly aligned. The goal is to have the headset and bottom bracket installed by Sunday evening.
Now a preview of coming attractions...
 Untitled by nemosengineer, on Flickr
 Untitled by nemosengineer, on Flickr
: Mike
Now a preview of coming attractions...
Untitled by nemosengineer, on FlickrUntitled by nemosengineer, on Flickr: Mike
__________________
Booyah Hubba-Hubba!!!
Booyah Hubba-Hubba!!!
Likes For Nemosengineer:
07-15-23, 01:09 AM
#6555
Senior Member
Join Date: Aug 2015
Location: Murrieta Ca.
Posts: 537
Bikes: Teledyne Titan, Bob Jackson Audax Club, Bob Jackson World Tour, AlAn Record Ergal, 3Rensho Katana.
Liked 623 Times
in
245 Posts
The Serotta frame was successfully cold set to 129mm, all dropouts were aligned, frame rear triangle required a minor tweak to bring everything back to square, we have a green light for assembly... WOOT
So next up is a final clean of the seat tube, bottom bracket, and steer tube. Facing of the bottom bracket then fitting of the headset will be the first tasks in the morning.
The dropouts after rework with a 600 grit diamond stone. still a bit of clean up to do...
 Untitled by nemosengineer, on Flickr
: Mike
So next up is a final clean of the seat tube, bottom bracket, and steer tube. Facing of the bottom bracket then fitting of the headset will be the first tasks in the morning.
The dropouts after rework with a 600 grit diamond stone. still a bit of clean up to do...
Untitled by nemosengineer, on Flickr: Mike
__________________
Booyah Hubba-Hubba!!!
Booyah Hubba-Hubba!!!
07-15-23, 05:09 PM
#6556
Senior Member

Join Date: May 2021
Location: London
Posts: 564
Bikes: Motobecane C41, Matsu$hita Nashonaru
Liked 442 Times
in
254 Posts
Today I was sitting puzzled with the scales and hubs. 2 Ultegra 6400 hubs (to represent higher end of the 80's technology), with QR skewers and a generic 7 speed cassette turned out to weigh 885g. Out of curiosity I tossed two cheap Maillard hubs, both with solid axles, and a Suntour 6 speed freewheel. The combo weighs 775g. This exercise is because I'm planning to build another wheelset at some point and the idea is to see how light I can get to with a set of clincher wheels. Haven't figured out the hubs yet, I know I want them to be late 70's and 32 spoke holes each. I would even go for 28H, but finding a reasonable rim for that could be more painful. Anyhow, one idea was to look for Pelissier 2000 and the info I found was that a set weighs 450g with QR skewers. That basic Maillard (and I mean the cheap and cheerful model available everywhere for peanuts, be it with Maillard or Pelissier branding), with solid axles and track nuts, without the freewheel, weighs 455g. So as much as I suspect the 2000 to be of better general quality, I was expecting them to be at least somewhat lighter than an entry level hub. Oh well, thankfully not something that I have to sort out soon...
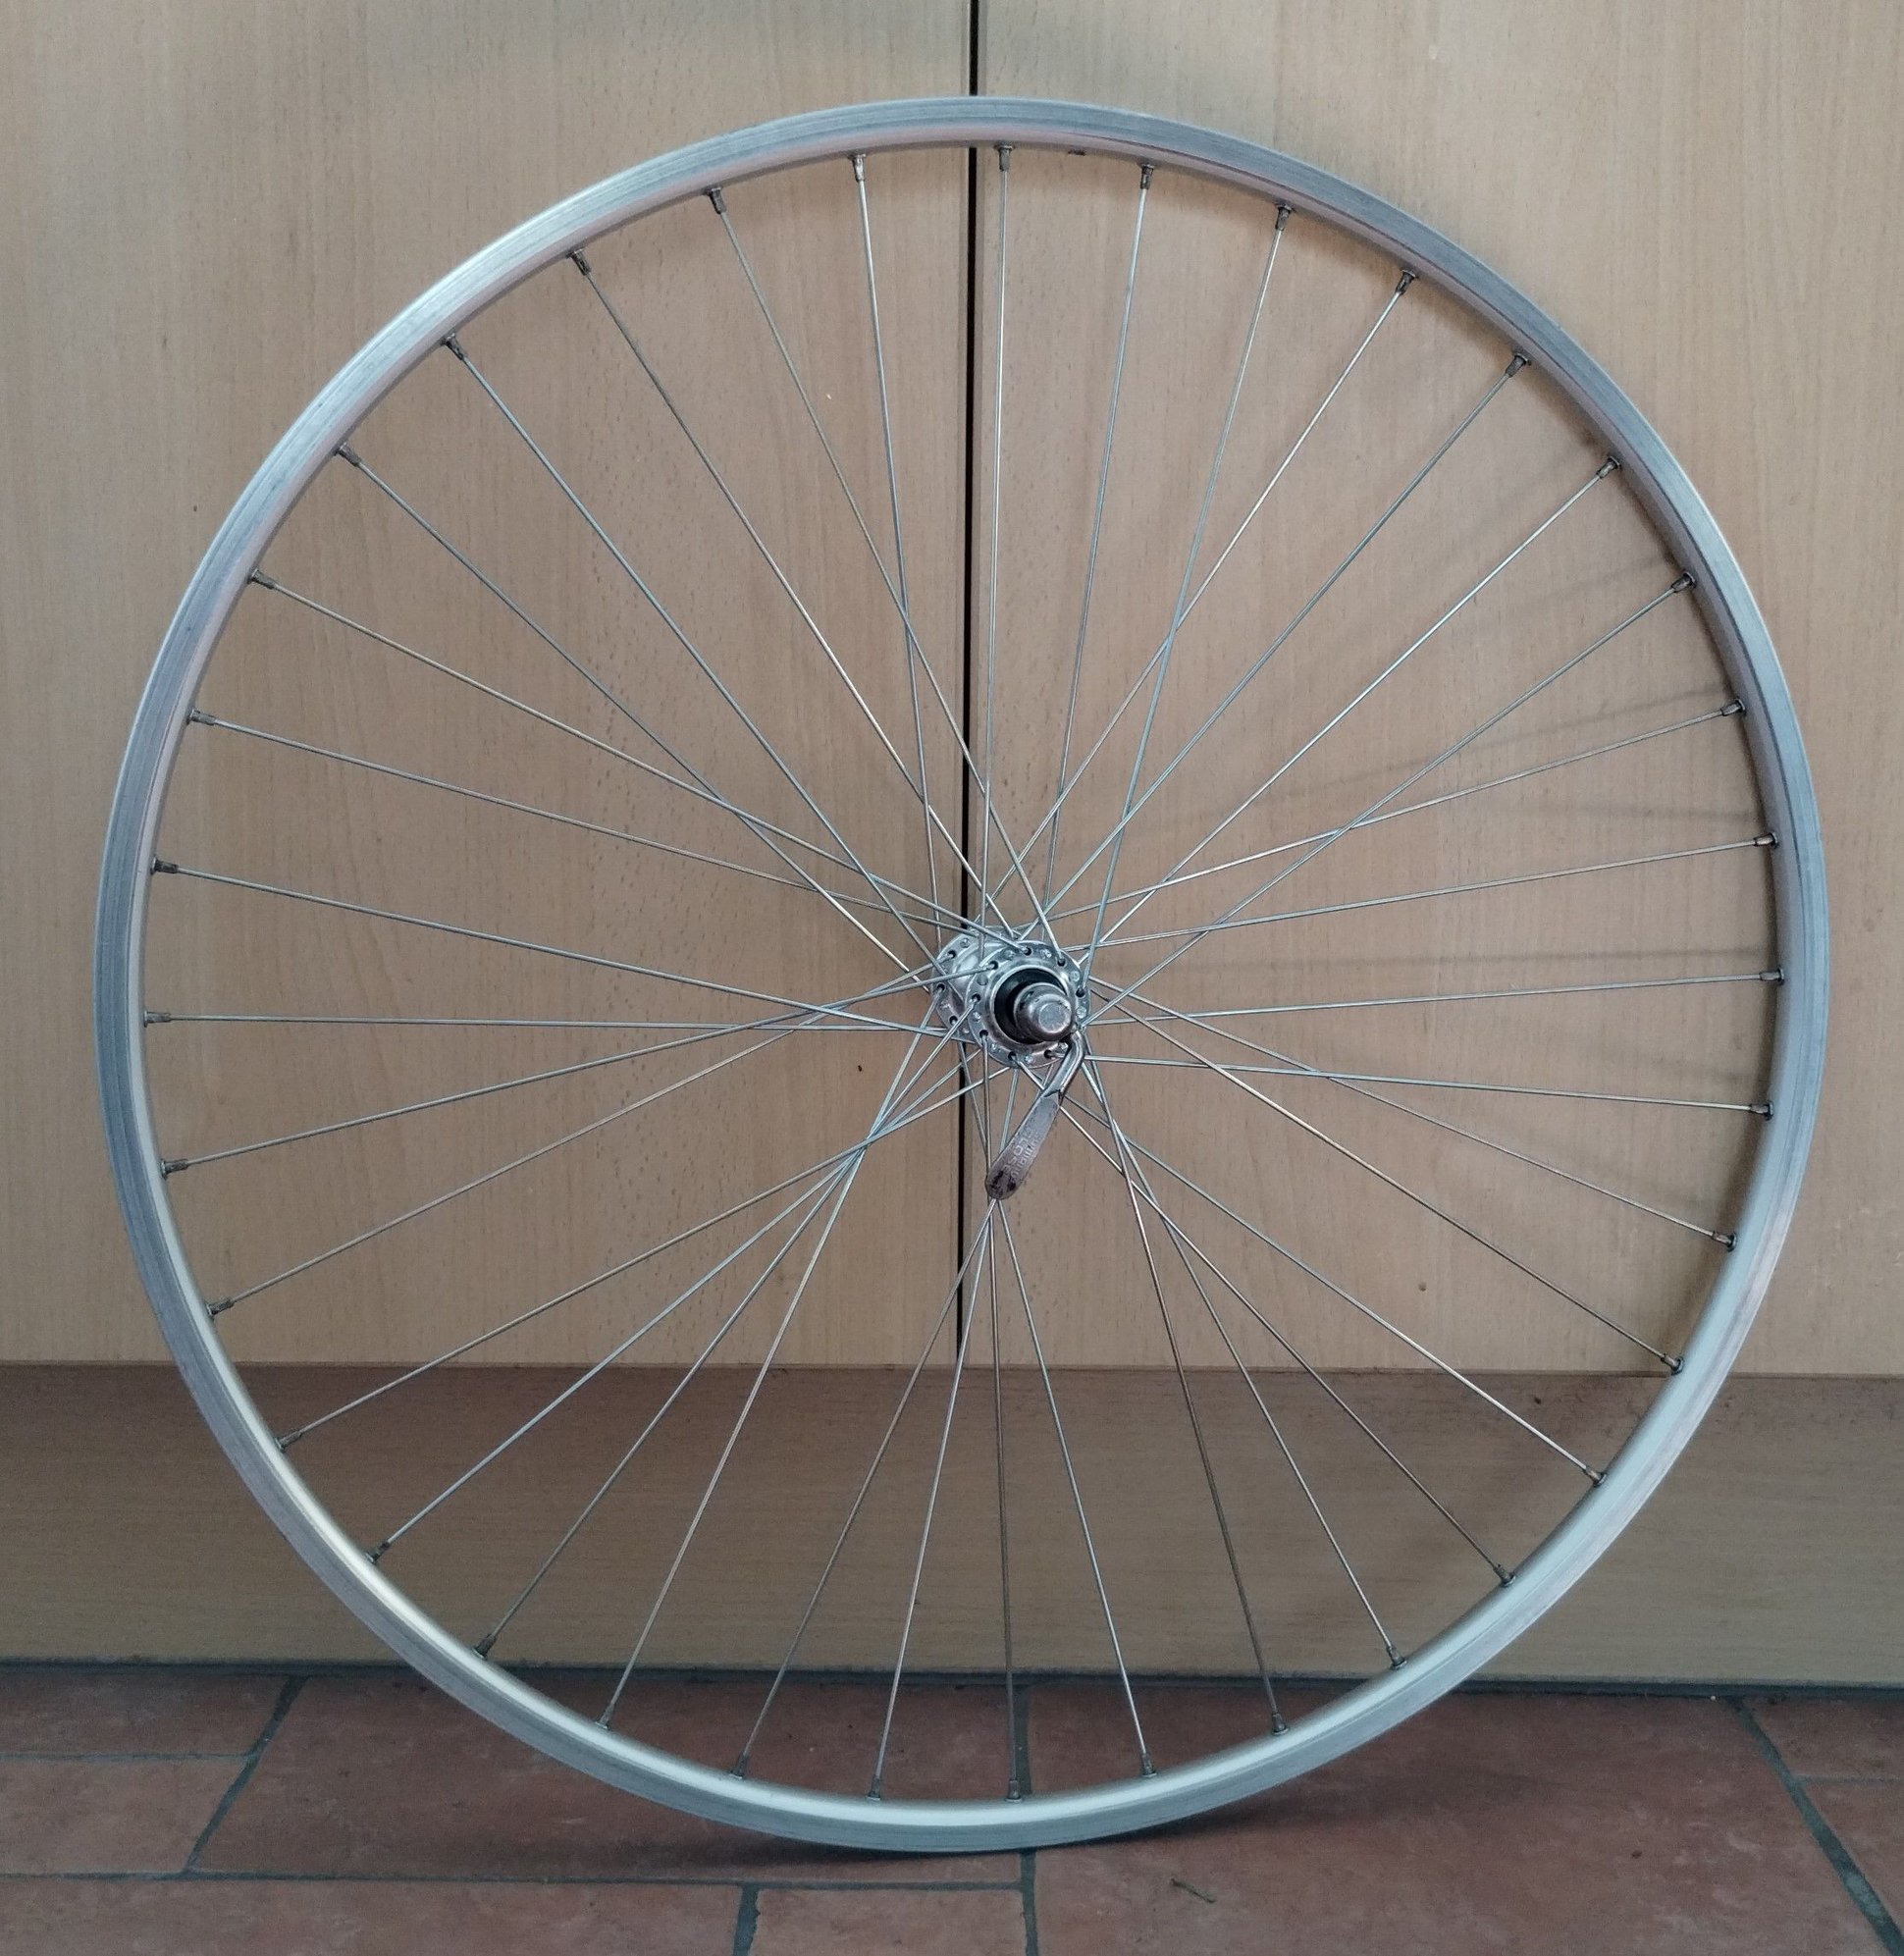
Last wheel for the time being has been completed. This time Exage HB-RM50 laced onto Mavic MA3. And that means I've used up most of the stock of spokes, nipples, hubs and rims I had and hopefully will manage to clear some space. That was quite a lot of wheel building over the past few weeks, I think I will need some break from it for now.
The rim itself seems fairly reasonable for what it is (an entry level rim) and looks quite alright. Holding it next to Ambrosio 19 Extra Elite I have on one bicycle, it's very similar. Don't know about its durability and read about the spokes pulling through issue back in the day, but all seems fine. I did definitely pay more mind to spokes tension when building this one up and looks quite solid. I'll probably try to find some time tomorrow to take it for a spin. I'm still not entirely sure whether to sell it or get another one in decent condition. Because it seems like MA3 might be actually a reasonable solution for a commuting bike.
Likes For VintageSteelEU:
07-16-23, 02:06 PM
#6557
Senior Member
Join Date: Aug 2015
Location: Murrieta Ca.
Posts: 537
Bikes: Teledyne Titan, Bob Jackson Audax Club, Bob Jackson World Tour, AlAn Record Ergal, 3Rensho Katana.
Liked 623 Times
in
245 Posts
Progress on the Serotta... Bottom bracket chased and faced, head tube faced and a corner radius was cut so the headset cups actually sit flat on the tube, it's all about the details... I have changed my mine on the brakes, I'm going with silver 7800 Dura-Ace brakes and not the black set of 9100's shown in a previous post.
 Untitled by nemosengineer, on Flickr
 Untitled by nemosengineer, on Flickr
 Untitled by nemosengineer, on Flickr
More to follow : Mike
Untitled by nemosengineer, on FlickrUntitled by nemosengineer, on FlickrUntitled by nemosengineer, on FlickrMore to follow : Mike
__________________
Booyah Hubba-Hubba!!!
Booyah Hubba-Hubba!!!
Likes For Nemosengineer:
07-16-23, 06:22 PM
#6558
Senior Member
Join Date: Aug 2015
Location: Murrieta Ca.
Posts: 537
Bikes: Teledyne Titan, Bob Jackson Audax Club, Bob Jackson World Tour, AlAn Record Ergal, 3Rensho Katana.
Liked 623 Times
in
245 Posts
More Progress on the Serotta, the seat tube and bottom bracket were cleaned out, gook and minor corrosion were removed, the headset got sorted with two headset washers, so I didn't have to cut the steer tube, yea.
The bars got wrapped and the good news is I did not screw it up. Next up is taking the AlAn apart so I have room to put the Serotta together.
 Untitled by nemosengineer, on Flickr
 Untitled by nemosengineer, on Flickr
: Mike
The bars got wrapped and the good news is I did not screw it up. Next up is taking the AlAn apart so I have room to put the Serotta together.
Untitled by nemosengineer, on FlickrUntitled by nemosengineer, on Flickr: Mike
__________________
Booyah Hubba-Hubba!!!
Booyah Hubba-Hubba!!!
07-18-23, 03:29 AM
#6559
Wheelman
Join Date: Aug 2021
Location: Putney, London UK
Posts: 1,018
Bikes: 1982 Holdsworth Avanti (531), 1961 Holdsworth Cyclone
Liked 844 Times
in
416 Posts
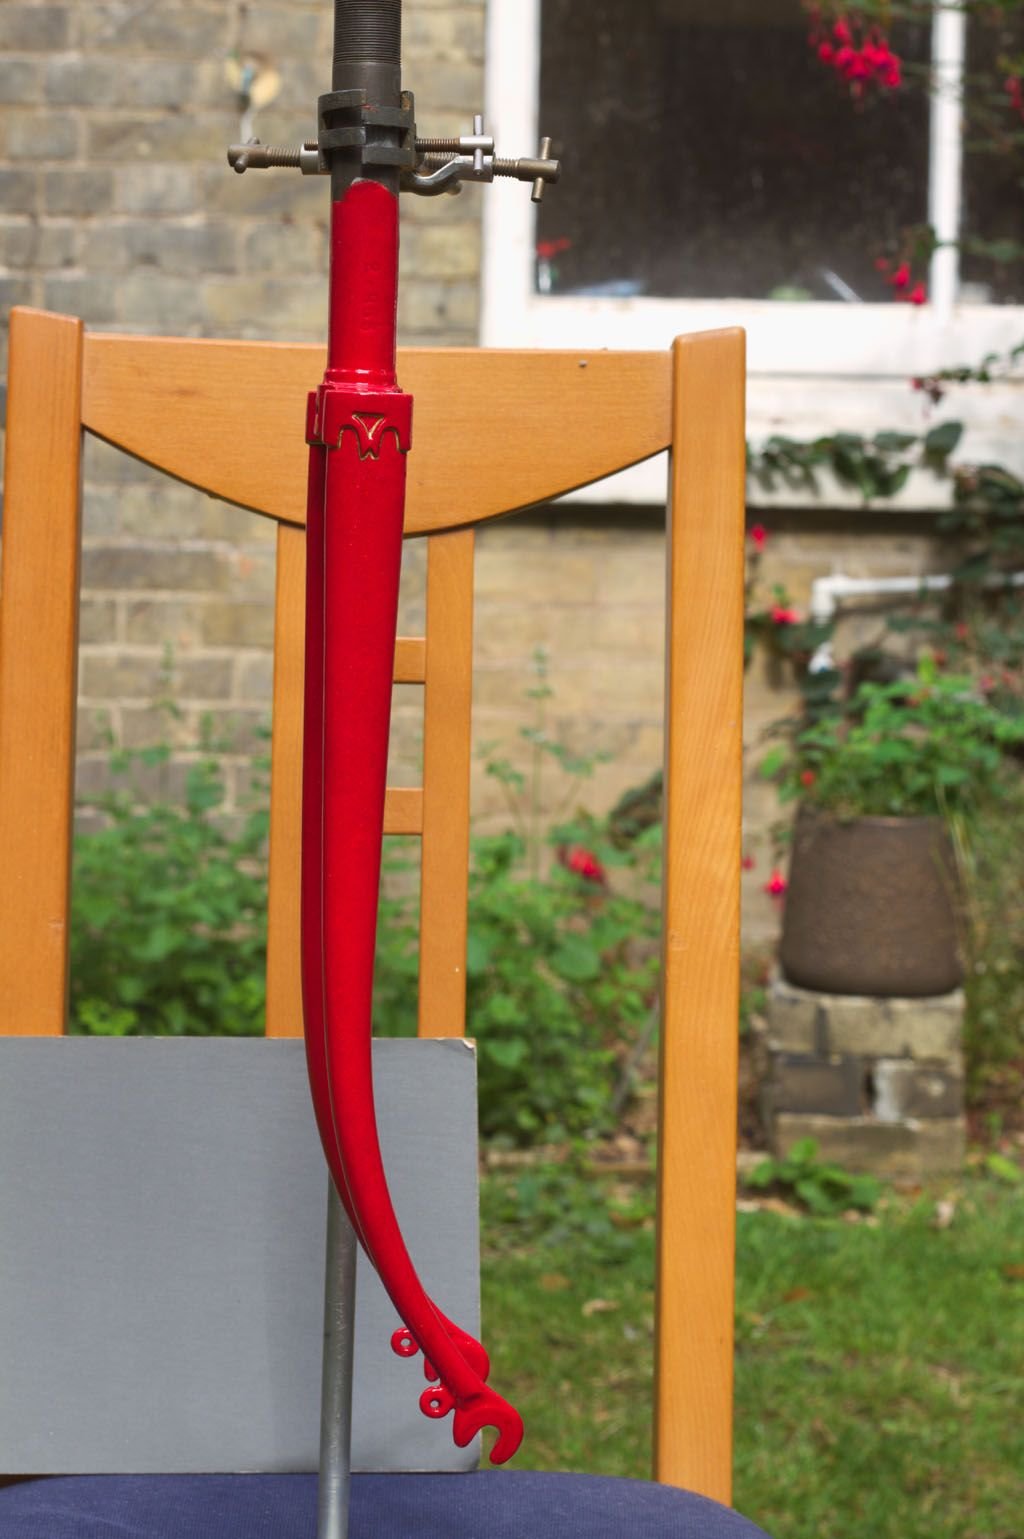
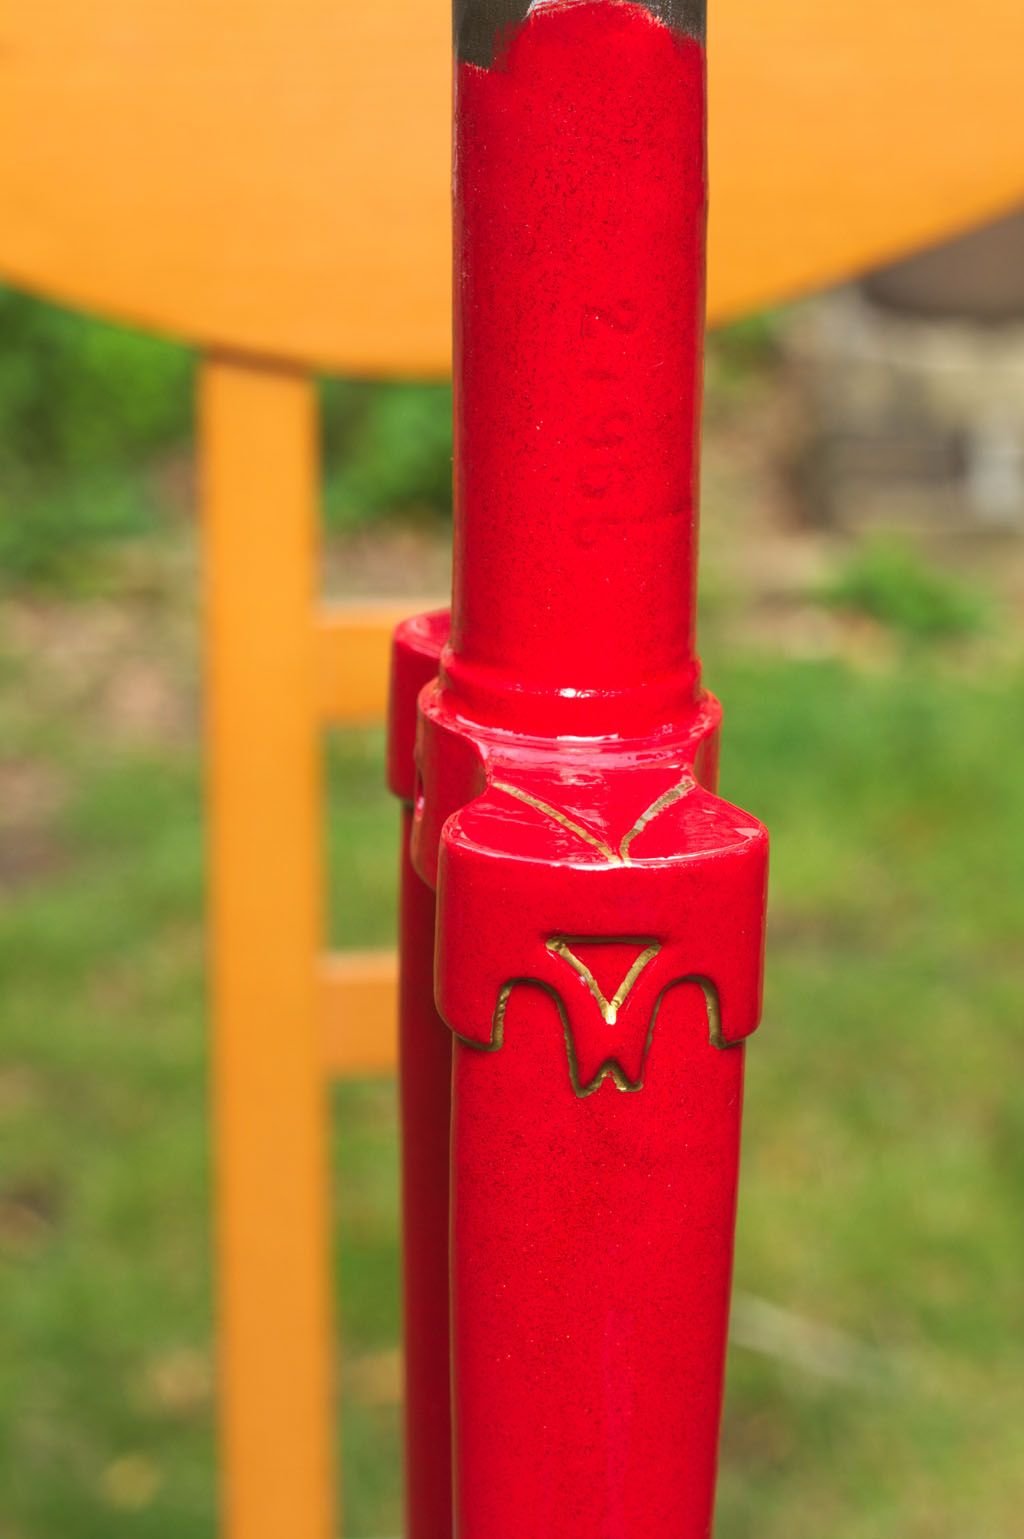
Lug Lining: The final result.
Took a while to find a method that works for me, but I think this is ok.
DecoColor Liquid Gold (extra fine) paint marker with 1 layer of UPol clear#1 over it to stop the solvent varnish from smearing it.
Paint process:
Took a while to find a method that works for me, but I think this is ok.
DecoColor Liquid Gold (extra fine) paint marker with 1 layer of UPol clear#1 over it to stop the solvent varnish from smearing it.
Paint process:
2x etch spray primer
2x white undercoat brush enamel
2x red brush enamel
2x red small metal flake in brush yacht varnish
DecoColor Liquid Gold paint marker (extra fine)
1x UPol clear #1 spray over lug lining
2x brush yacht varnish
That should be fairly well protected - I count 4 layer of 151 Yacht Varnish 2x white undercoat brush enamel
2x red brush enamel
2x red small metal flake in brush yacht varnish
DecoColor Liquid Gold paint marker (extra fine)
1x UPol clear #1 spray over lug lining
2x brush yacht varnish

Likes For Aardwolf:
07-18-23, 06:05 PM
#6560
Senior Member
Join Date: May 2021
Location: London
Posts: 564
Bikes: Motobecane C41, Matsu$hita Nashonaru
Liked 442 Times
in
254 Posts
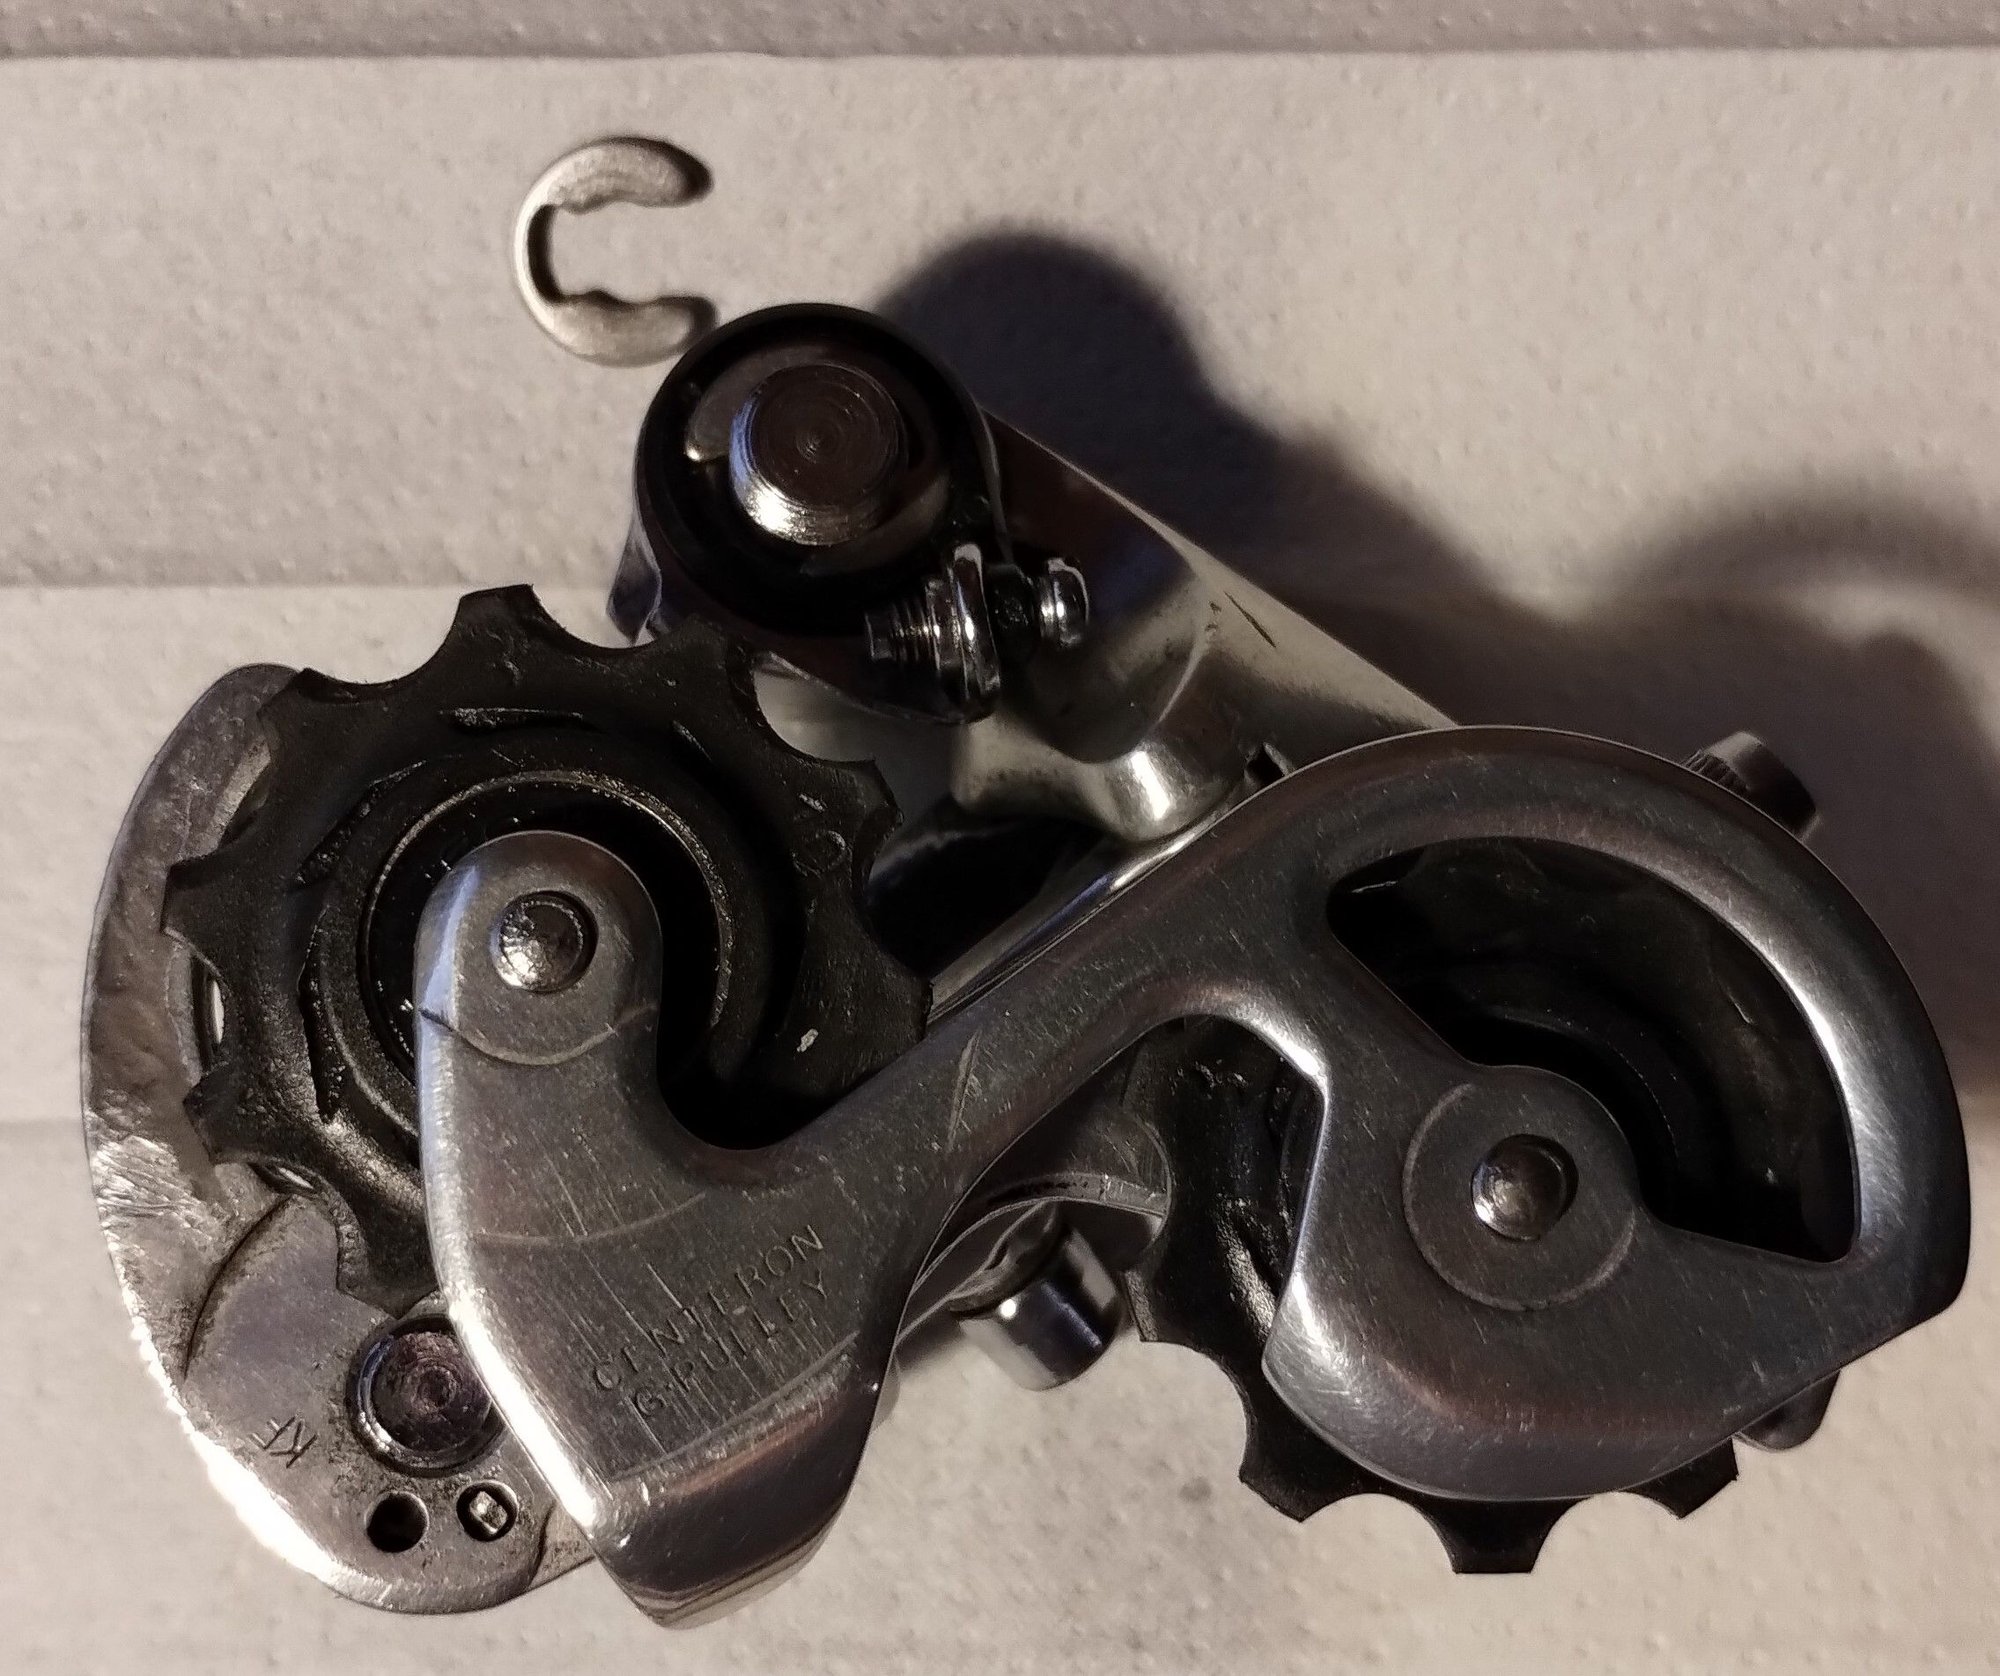
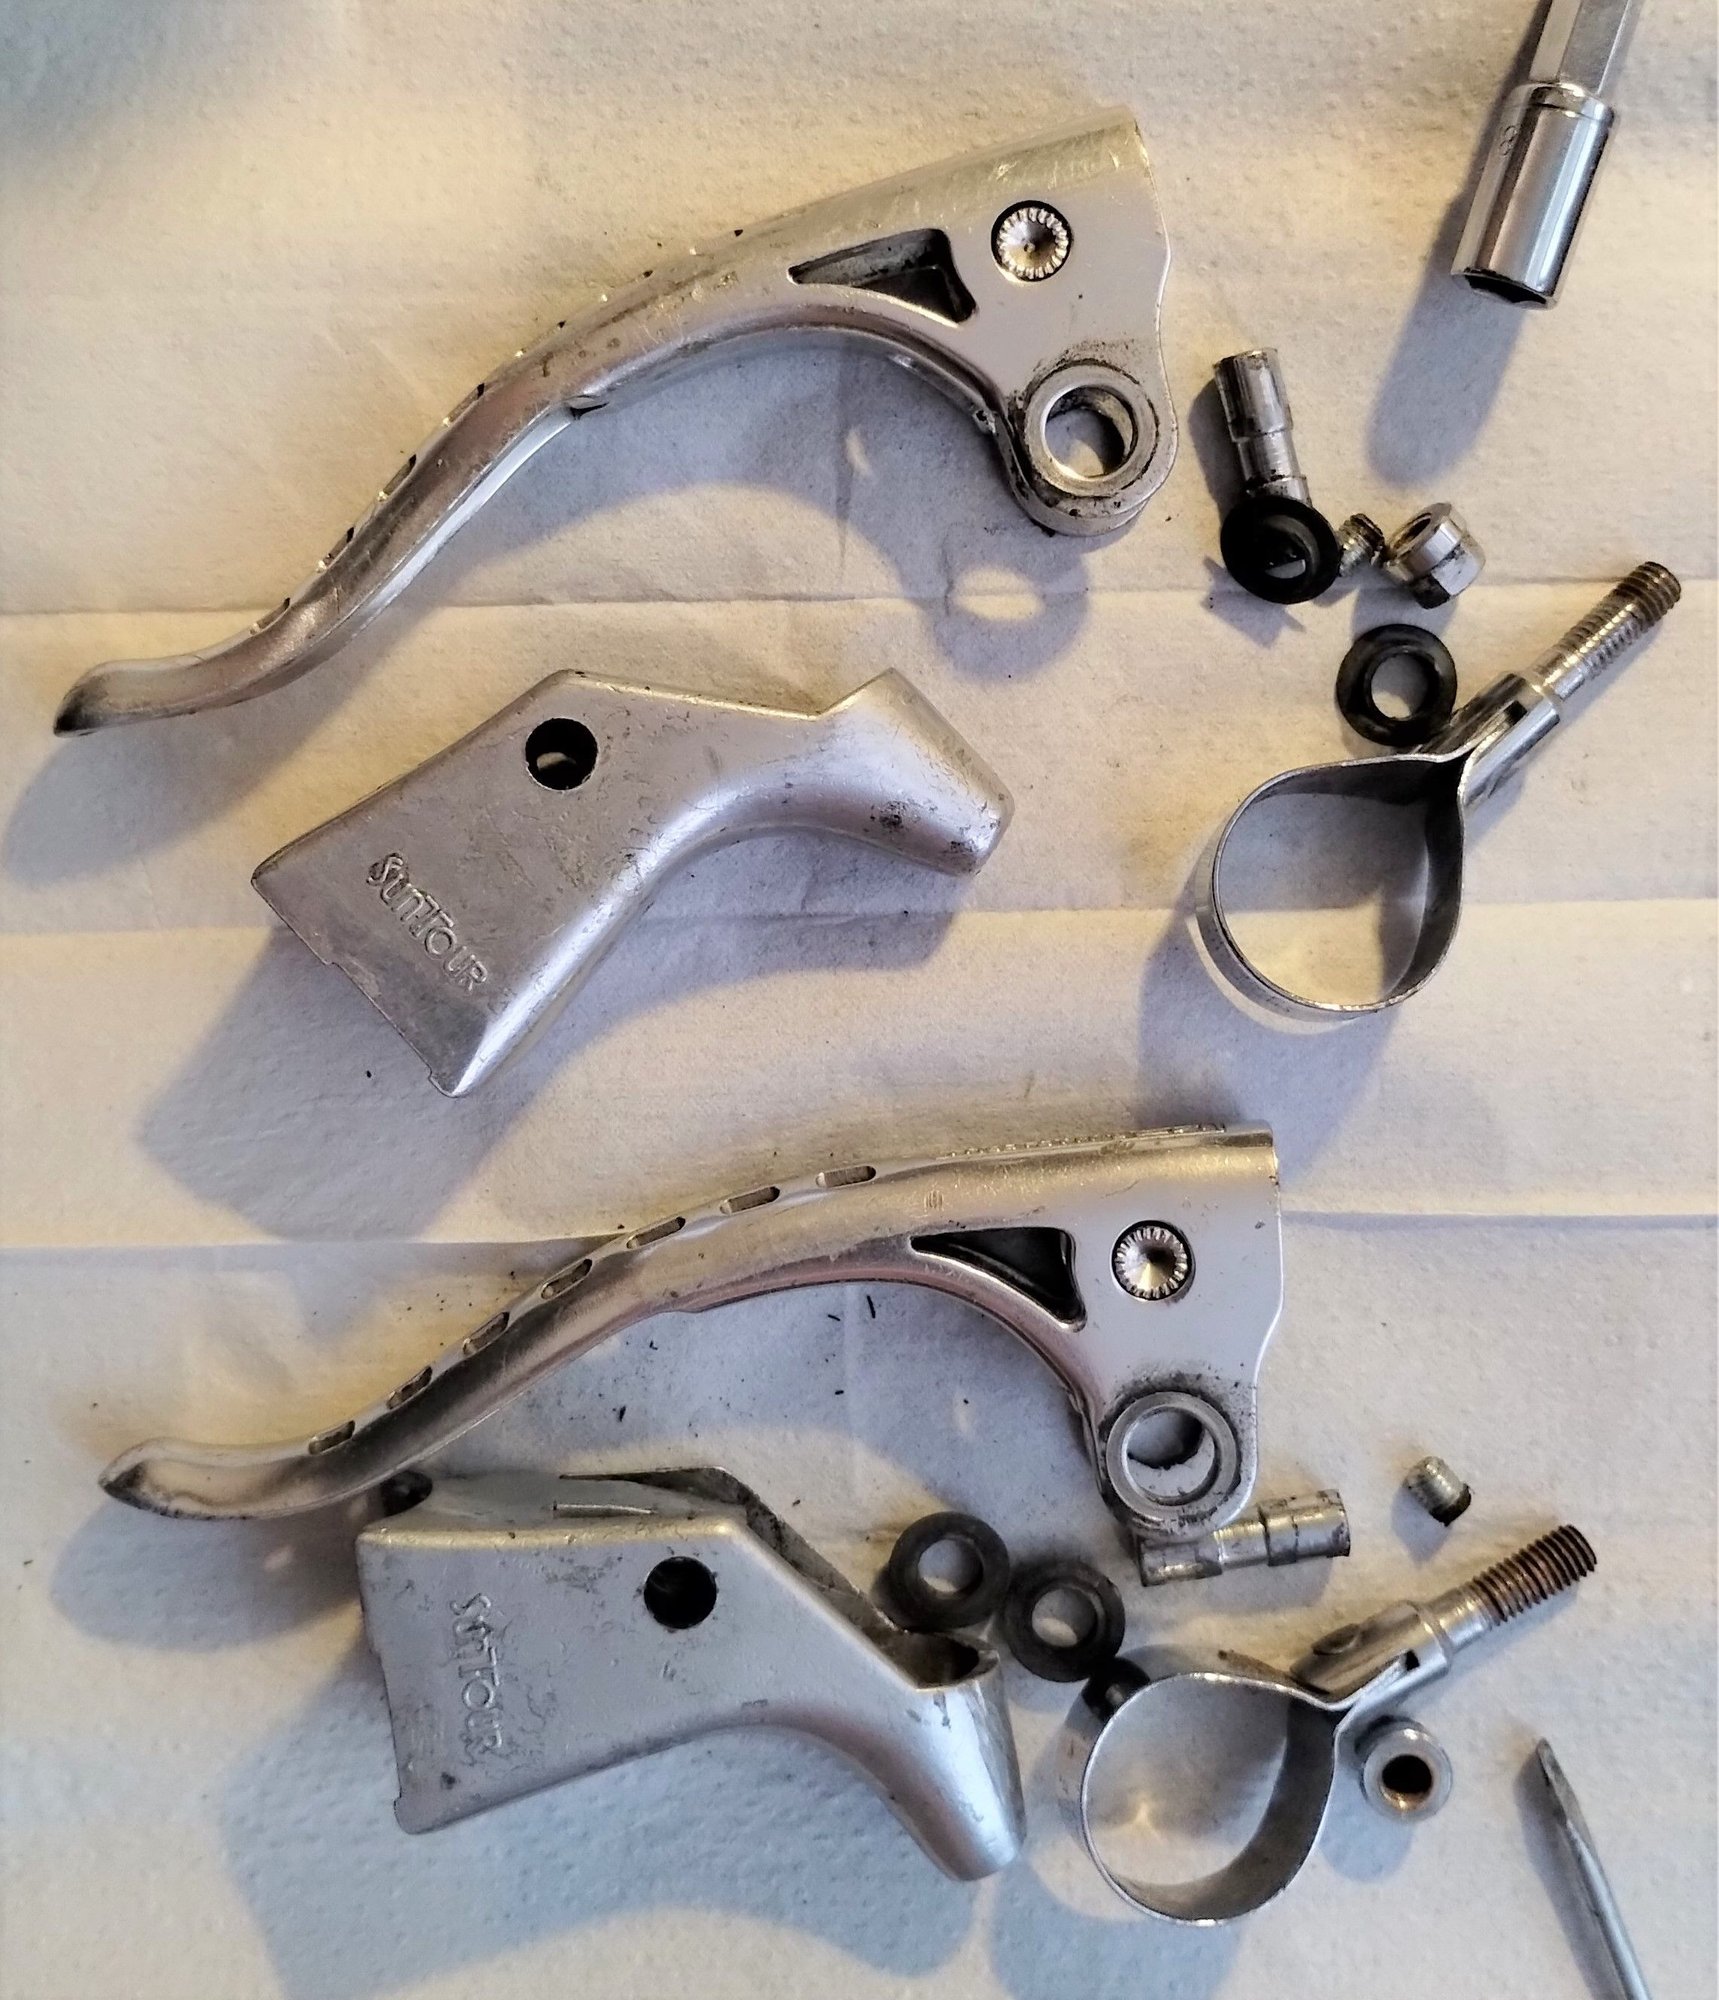
I decided to see if I can do something about the amount of play in the rear derailleur (at the mounting bolt). For the time being replaced it with RD-6500 I had around.
It would seem play in the RD-6208 stems from the amount of space between the mounting bolt and aluminium bushing / collar it goes through, as well as probably general tear and wear of the plastic seals in that area. I guess it's something to be expected after 35+ years of use. It's not tragic, but noticeable. Of course, there's no way really to put some shim around the bolt. And no chance for finding a bolt that's just a small fraction of a milimeter thicker (without going through a bin of old derailleurs and trying bolts from each of them). One possible solution could be a very thin washer under the head of the bolt, so I guess at some point I will have to go through the box with old and cheap friction shifters and try to find something. The other option, I thought, might be finding a slightly thicker E-clip to hold the whole mounting bolt assembly a little bit tighter. It appears that hoarding weird parts did pay back. I found an E-clip that's 1.5mm thick, compared to 1.4mm of the original one. I think it actually came from a faulty Sachs/Huret Aris (or was it Rival?). It seems to be keeping the mounting bolt assembly a bit more snug, There is still a tiny little bit of play, but it's definitely an improvement. I guess I will have to look for that very thin washer to put under the mounting bolt head.

RD-6208, mounting bolt assembly parts
And put back together. Old E-clip next to the derailleur.
And some cleaning. I got this set of levers some time ago, but haven't had time to clean it up yet. I was planning to use it for the next project, but it transpired Weinmann Carrera levers are 20g lighter, so I'm going to use those instead. Superbe ones will have to wait for now. I was thinking I should actually polish them, but for now taking them apart and cleaning has to suffice. At least all the gunk was taken care of, perhaps I will make them shinier some other time.
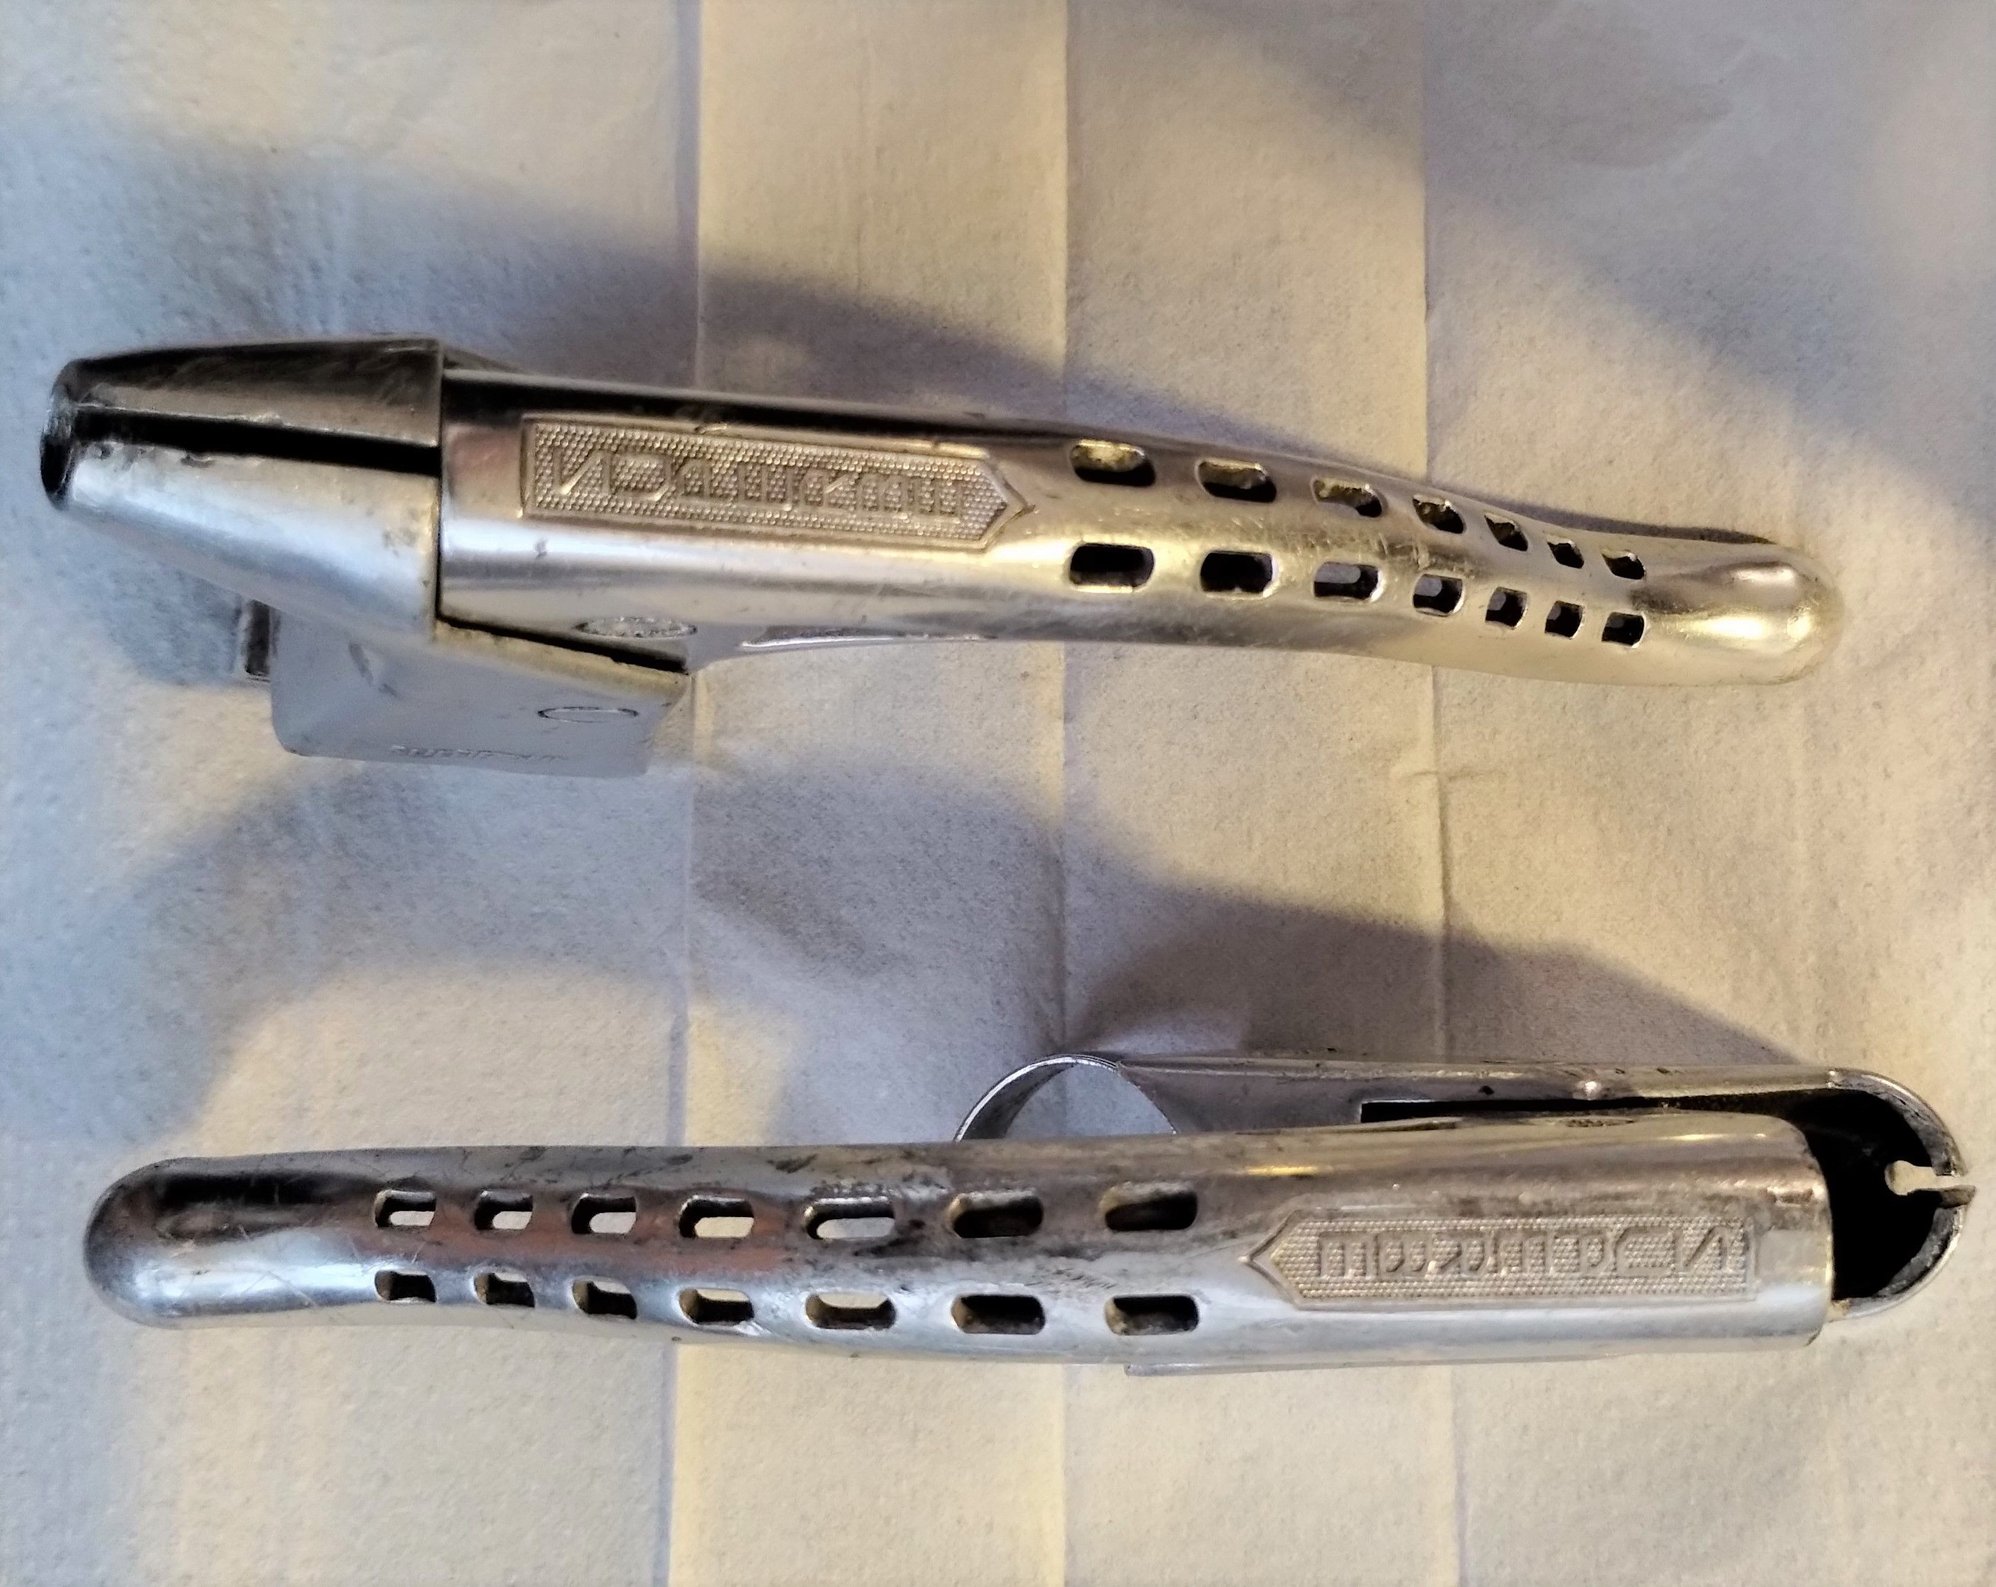
Scratches!
Both brake levers taken apart

AFter cleaning. Slightly better
It would seem play in the RD-6208 stems from the amount of space between the mounting bolt and aluminium bushing / collar it goes through, as well as probably general tear and wear of the plastic seals in that area. I guess it's something to be expected after 35+ years of use. It's not tragic, but noticeable. Of course, there's no way really to put some shim around the bolt. And no chance for finding a bolt that's just a small fraction of a milimeter thicker (without going through a bin of old derailleurs and trying bolts from each of them). One possible solution could be a very thin washer under the head of the bolt, so I guess at some point I will have to go through the box with old and cheap friction shifters and try to find something. The other option, I thought, might be finding a slightly thicker E-clip to hold the whole mounting bolt assembly a little bit tighter. It appears that hoarding weird parts did pay back. I found an E-clip that's 1.5mm thick, compared to 1.4mm of the original one. I think it actually came from a faulty Sachs/Huret Aris (or was it Rival?). It seems to be keeping the mounting bolt assembly a bit more snug, There is still a tiny little bit of play, but it's definitely an improvement. I guess I will have to look for that very thin washer to put under the mounting bolt head.
RD-6208, mounting bolt assembly parts
And put back together. Old E-clip next to the derailleur.
And some cleaning. I got this set of levers some time ago, but haven't had time to clean it up yet. I was planning to use it for the next project, but it transpired Weinmann Carrera levers are 20g lighter, so I'm going to use those instead. Superbe ones will have to wait for now. I was thinking I should actually polish them, but for now taking them apart and cleaning has to suffice. At least all the gunk was taken care of, perhaps I will make them shinier some other time.
Scratches!
Both brake levers taken apart
AFter cleaning. Slightly better
Likes For VintageSteelEU:
Likes For mrv:
07-19-23, 08:13 AM
#6562
Senior Member
Join Date: Nov 2005
Location: NW Ohio
Posts: 3,554
Bikes: 1984 Miyata 310, 1986 Schwinn Sierra, 2011 Jamis Quest, 1980 Peugeot TH8 Tandem, 1992 Performance Parabola, 1987 Ross Mt. Hood, 1988 Schwinn LeTour, 1988 Trek 400T, 1981 Fuji S12-S LTD, 197? FW Evans
Liked 1,238 Times
in
603 Posts
The instructions on my can of Rustoleum primer says you can either apply the top coat right away, within one hour, or to wait at least 48 hours. So waiting a week isn't necessary, but it wouldn't hurt anything.
Likes For Pompiere:
07-19-23, 01:21 PM
#6563
buy my bikes

Join Date: Jun 2014
Location: Michigan
Posts: 1,865
Bikes: my very own customized GUNNAR CrossHairs
Liked 498 Times
in
271 Posts
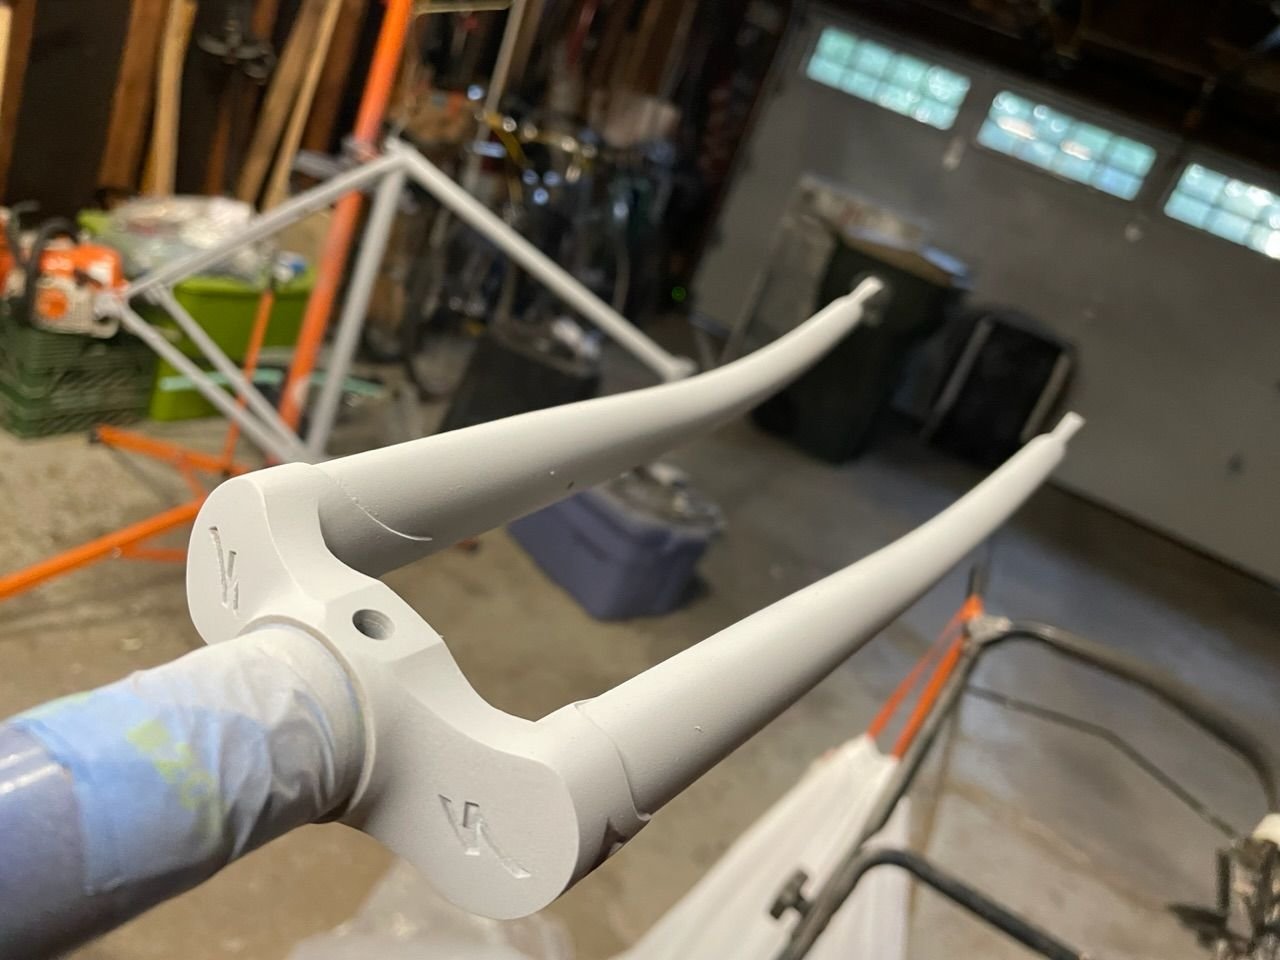
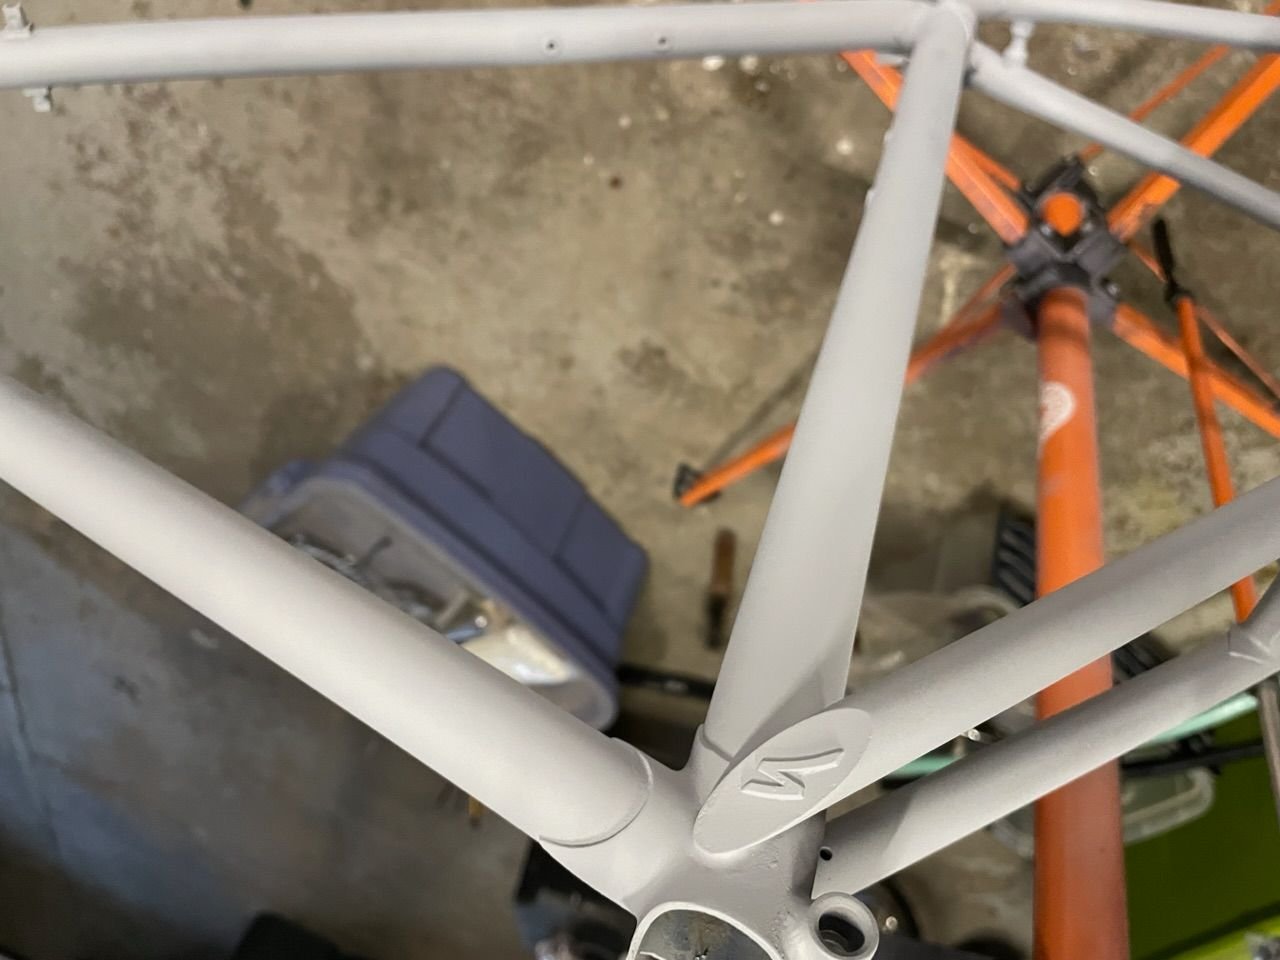
This time I thought I'd try whatever Spray.Bike primer is. The website says 20~30 minutes dry time, and doesn't say how long to wait between coats. I've read other stuff on the internets that talked about really long wait times if not baking. So that's why I said I'd be waiting a week. Then another week after color.
I haven't picked up any decals. I'm debating between no decals or possibly some kind of "Shazam" decals, that would make the bike completely un-saleable. With VeloCals gone I have been able to find duplicates of the original Specialized Allez branding. I've used DIYLettering for other stuff. No complaints about them. "SHAZAM!" -- dunno, seems really funny to me.
cheers!
07-19-23, 02:51 PM
#6564
Senior Member
Join Date: May 2021
Location: London
Posts: 564
Bikes: Motobecane C41, Matsu$hita Nashonaru
Liked 442 Times
in
254 Posts
Right! I've used that many times.
This time I thought I'd try whatever Spray.Bike primer is. The website says 20~30 minutes dry time, and doesn't say how long to wait between coats. I've read other stuff on the internets that talked about really long wait times if not baking. So that's why I said I'd be waiting a week. Then another week after color.
I haven't picked up any decals. I'm debating between no decals or possibly some kind of "Shazam" decals, that would make the bike completely un-saleable. With VeloCals gone I have been able to find duplicates of the original Specialized Allez branding. I've used DIYLettering for other stuff. No complaints about them. "SHAZAM!" -- dunno, seems really funny to me.
cheers!
Likes For VintageSteelEU:
07-19-23, 02:57 PM
#6565
Wheelman
Join Date: Aug 2021
Location: Putney, London UK
Posts: 1,018
Bikes: 1982 Holdsworth Avanti (531), 1961 Holdsworth Cyclone
Liked 844 Times
in
416 Posts
I know nothing about Specialized Allez but I think H Lloyd probably do.
Likes For Aardwolf:
07-19-23, 03:32 PM
#6566
buy my bikes
Join Date: Jun 2014
Location: Michigan
Posts: 1,865
Bikes: my very own customized GUNNAR CrossHairs
Liked 498 Times
in
271 Posts
Originally Posted by Aardwolf;[url=tel:22958226
22958226[/url]]https://h-lloyd-cycles.myshopify.com...ised-allez-set
I know nothing about Specialized Allez but I think H Lloyd probably do.
I know nothing about Specialized Allez but I think H Lloyd probably do.
I�d say your powers of the Googling is exceeding mines!!

pre-stripping when the quill stem was not yet dissolved in lye�. And never could get the pedals out the cranks
07-19-23, 03:41 PM
#6567
Wheelman
Join Date: Aug 2021
Location: Putney, London UK
Posts: 1,018
Bikes: 1982 Holdsworth Avanti (531), 1961 Holdsworth Cyclone
Liked 844 Times
in
416 Posts
Heh, not really.
I've just got a set from them for a 1961 Holdsworth and admired their extensive range while trying to work out which variants I actually wanted.
btw. They also sell via Ebay: https://www.ebay.co.uk/str/decals2000
I've just got a set from them for a 1961 Holdsworth and admired their extensive range while trying to work out which variants I actually wanted.
btw. They also sell via Ebay: https://www.ebay.co.uk/str/decals2000
Likes For Aardwolf:
07-19-23, 05:25 PM
#6568
Senior Member
Join Date: May 2021
Location: London
Posts: 564
Bikes: Motobecane C41, Matsu$hita Nashonaru
Liked 442 Times
in
254 Posts
As for the pedals, I'm assuming you've tried extensive soaking in some sort of penetrating oil. I had a similar problem with FC-6400 a few years back. I cut the pedal spindles (not fun) because I didn't care about the pedals anyway, and then drilled them out from the crank arms. Starting with a smaller guide hole and then going for progresively wider drill bits. Eventually the spindles budged. There was some cosmetic damage to the crank arms due to my slightly ham fisted treatment of them whilst cutting the spindles, but could be prevented by taking more care. I only tried because I was sceptical about my chances, but it turned out to actually do the trick. The idea was that eventually the structural integrity of the spindle is going to be compromised enough for it to twist, collapse or budge but probably what got it out eventually was the heat from drilling as well. I think I got to 8mm drill bit before I was able to get them out. Most likely you'll have to wave the drill bits goodbye though. YMMV
Likes For VintageSteelEU:
07-20-23, 07:11 AM
#6569
buy my bikes
Join Date: Jun 2014
Location: Michigan
Posts: 1,865
Bikes: my very own customized GUNNAR CrossHairs
Liked 498 Times
in
271 Posts
As for the pedals, I'm assuming you've tried extensive soaking in some sort of penetrating oil. I had a similar problem with FC-6400 a few years back. I cut the pedal spindles (not fun) because I didn't care about the pedals anyway, and then drilled them out from the crank arms. Starting with a smaller guide hole and then going for progresively wider drill bits. Eventually the spindles budged. There was some cosmetic damage to the crank arms due to my slightly ham fisted treatment of them whilst cutting the spindles, but could be prevented by taking more care. I only tried because I was sceptical about my chances, but it turned out to actually do the trick. The idea was that eventually the structural integrity of the spindle is going to be compromised enough for it to twist, collapse or budge but probably what got it out eventually was the heat from drilling as well. I think I got to 8mm drill bit before I was able to get them out. Most likely you'll have to wave the drill bits goodbye though. YMMV
I also got out the rubber 4lb mallet, and placed the pedal on the work bench, and started wailing on things in a kind of unsafe fashion, trying to get a 15mm wrench and crank arm to move - picture a triangle between the 15mm wrench, crank arm, and bench top, and I'm wailing on the peak of the triangle. Surprised I didn't bust a finger or something. Probably would have if the pedal spindle and finally loosened.... God works in mysterious ways to keep babies, drunks, and selected incompetent bike mechanics from great harm..... I guess being a drunk bike mechanic must give me some kind of double protection! (haha- take that, Satan!) I should really digress.... Let's be careful out on the roads and in the shoppe! Cheers!
Likes For mrv:
07-20-23, 08:42 AM
#6570
Senior Member
Join Date: May 2021
Location: London
Posts: 564
Bikes: Motobecane C41, Matsu$hita Nashonaru
Liked 442 Times
in
254 Posts
I placed the cranks pedal down and soaked the non-pedal side with penetrating oil for a week or so. I would once a day or so heat everything up with a heat-gun paint stripper deal.
I also got out the rubber 4lb mallet, and placed the pedal on the work bench, and started wailing on things in a kind of unsafe fashion, trying to get a 15mm wrench and crank arm to move - picture a triangle between the 15mm wrench, crank arm, and bench top, and I'm wailing on the peak of the triangle. Surprised I didn't bust a finger or something. Probably would have if the pedal spindle and finally loosened.... God works in mysterious ways to keep babies, drunks, and selected incompetent bike mechanics from great harm..... I guess being a drunk bike mechanic must give me some kind of double protection! (haha- take that, Satan!) I should really digress.... Let's be careful out on the roads and in the shoppe! Cheers!
I also got out the rubber 4lb mallet, and placed the pedal on the work bench, and started wailing on things in a kind of unsafe fashion, trying to get a 15mm wrench and crank arm to move - picture a triangle between the 15mm wrench, crank arm, and bench top, and I'm wailing on the peak of the triangle. Surprised I didn't bust a finger or something. Probably would have if the pedal spindle and finally loosened.... God works in mysterious ways to keep babies, drunks, and selected incompetent bike mechanics from great harm..... I guess being a drunk bike mechanic must give me some kind of double protection! (haha- take that, Satan!) I should really digress.... Let's be careful out on the roads and in the shoppe! Cheers!
Thankfully, FC-6207 are not exactly rare, so worst case scenario you should be able to find a replacement in a good shape. And the frame certainly looks well made, so it's always a win.Good luck with re-painting!
Likes For VintageSteelEU:
07-20-23, 08:55 AM
#6571
Senior Member
Join Date: Mar 2007
Location: SF Bay Area, East bay
Posts: 7,971
Bikes: Miyata 618 GT, Marinoni, Kestral 200, Soma double cross 2002 Trek 5200, KHS Flite, Koga Miyata, Schwinn Spitfire 5, Mondia Special, Univega Alpina, Miyata team Ti, Santa Cruz Highball, Waterford rs11
Liked 3,054 Times
in
1,388 Posts
I placed the cranks pedal down and soaked the non-pedal side with penetrating oil for a week or so. I would once a day or so heat everything up with a heat-gun paint stripper deal.
I also got out the rubber 4lb mallet, and placed the pedal on the work bench, and started wailing on things in a kind of unsafe fashion, trying to get a 15mm wrench and crank arm to move - picture a triangle between the 15mm wrench, crank arm, and bench top, and I'm wailing on the peak of the triangle. Surprised I didn't bust a finger or something. Probably would have if the pedal spindle and finally loosened.... God works in mysterious ways to keep babies, drunks, and selected incompetent bike mechanics from great harm..... I guess being a drunk bike mechanic must give me some kind of double protection! (haha- take that, Satan!) I should really digress.... Let's be careful out on the roads and in the shoppe! Cheers!
I also got out the rubber 4lb mallet, and placed the pedal on the work bench, and started wailing on things in a kind of unsafe fashion, trying to get a 15mm wrench and crank arm to move - picture a triangle between the 15mm wrench, crank arm, and bench top, and I'm wailing on the peak of the triangle. Surprised I didn't bust a finger or something. Probably would have if the pedal spindle and finally loosened.... God works in mysterious ways to keep babies, drunks, and selected incompetent bike mechanics from great harm..... I guess being a drunk bike mechanic must give me some kind of double protection! (haha- take that, Satan!) I should really digress.... Let's be careful out on the roads and in the shoppe! Cheers!
Likes For curbtender:
07-20-23, 02:57 PM
#6572
Senior Member

Join Date: Jan 2015
Location: Los Angeles
Posts: 4,918
Bikes: 82 Medici, 85 Ironman, 2011 Richard Sachs
Liked 2,236 Times
in
1,217 Posts
Wait at least a week between coats or you end up with soft layers under the top layer and the end result will take forever to dry hard if it ever does. Put it in your car parked in the sun between coats. Patience.
__________________
I don't do: disks, tubeless, e-shifting, or bead head nymphs.
I don't do: disks, tubeless, e-shifting, or bead head nymphs.
Likes For Classtime:
Likes For EJM73:
07-21-23, 08:24 AM
#6574
Senior Member
Join Date: Aug 2010
Location: Utah
Posts: 9,007
Bikes: Paletti,Pinarello Monviso,Duell Vienna,Giordana XL Super,Lemond Maillot Juane.& custom,PDG Paramount,Fuji Opus III,Davidson Impulse,Pashley Guv'nor,Evans,Fishlips,Y-Foil,Softride, Tetra Pro, CAAD8 Optimo,
Liked 6,206 Times
in
2,002 Posts
Finally got back to this for a few minutes this morning. Mounted the BB, crank, FD, and RD. Now I have to do a final decision on wheels and figure out a better solution for the handlebars. I'd like a bit more drop so I might have to go source another stem.
I'm either going to use a set of Zonda's on this or maybe I'll desticker the Fulcrum Racing One's and use those.
As far as I've gotten right now.
I'm either going to use a set of Zonda's on this or maybe I'll desticker the Fulcrum Racing One's and use those.
As far as I've gotten right now.
__________________
Steel is real...and comfy.
Steel is real...and comfy.
Likes For jamesdak:
07-21-23, 08:58 AM
#6575
se�or miembro

Join Date: Dec 2018
Location: Pac NW
Posts: 6,838
Bikes: '70s - '80s Campagnolo
Liked 6,972 Times
in
3,439 Posts