


Removing a stripped out crank arm fixing or pressure bolt
 01-06-24, 06:20 PM
#1
Senior Member
Thread Starter

Join Date: Aug 2005
Posts: 3,872
Mentioned: 14 Post(s)
Tagged: 0 Thread(s)
Quoted: 598 Post(s)
Liked 283 Times
in
194 Posts
Removing a stripped out crank arm fixing or pressure bolt
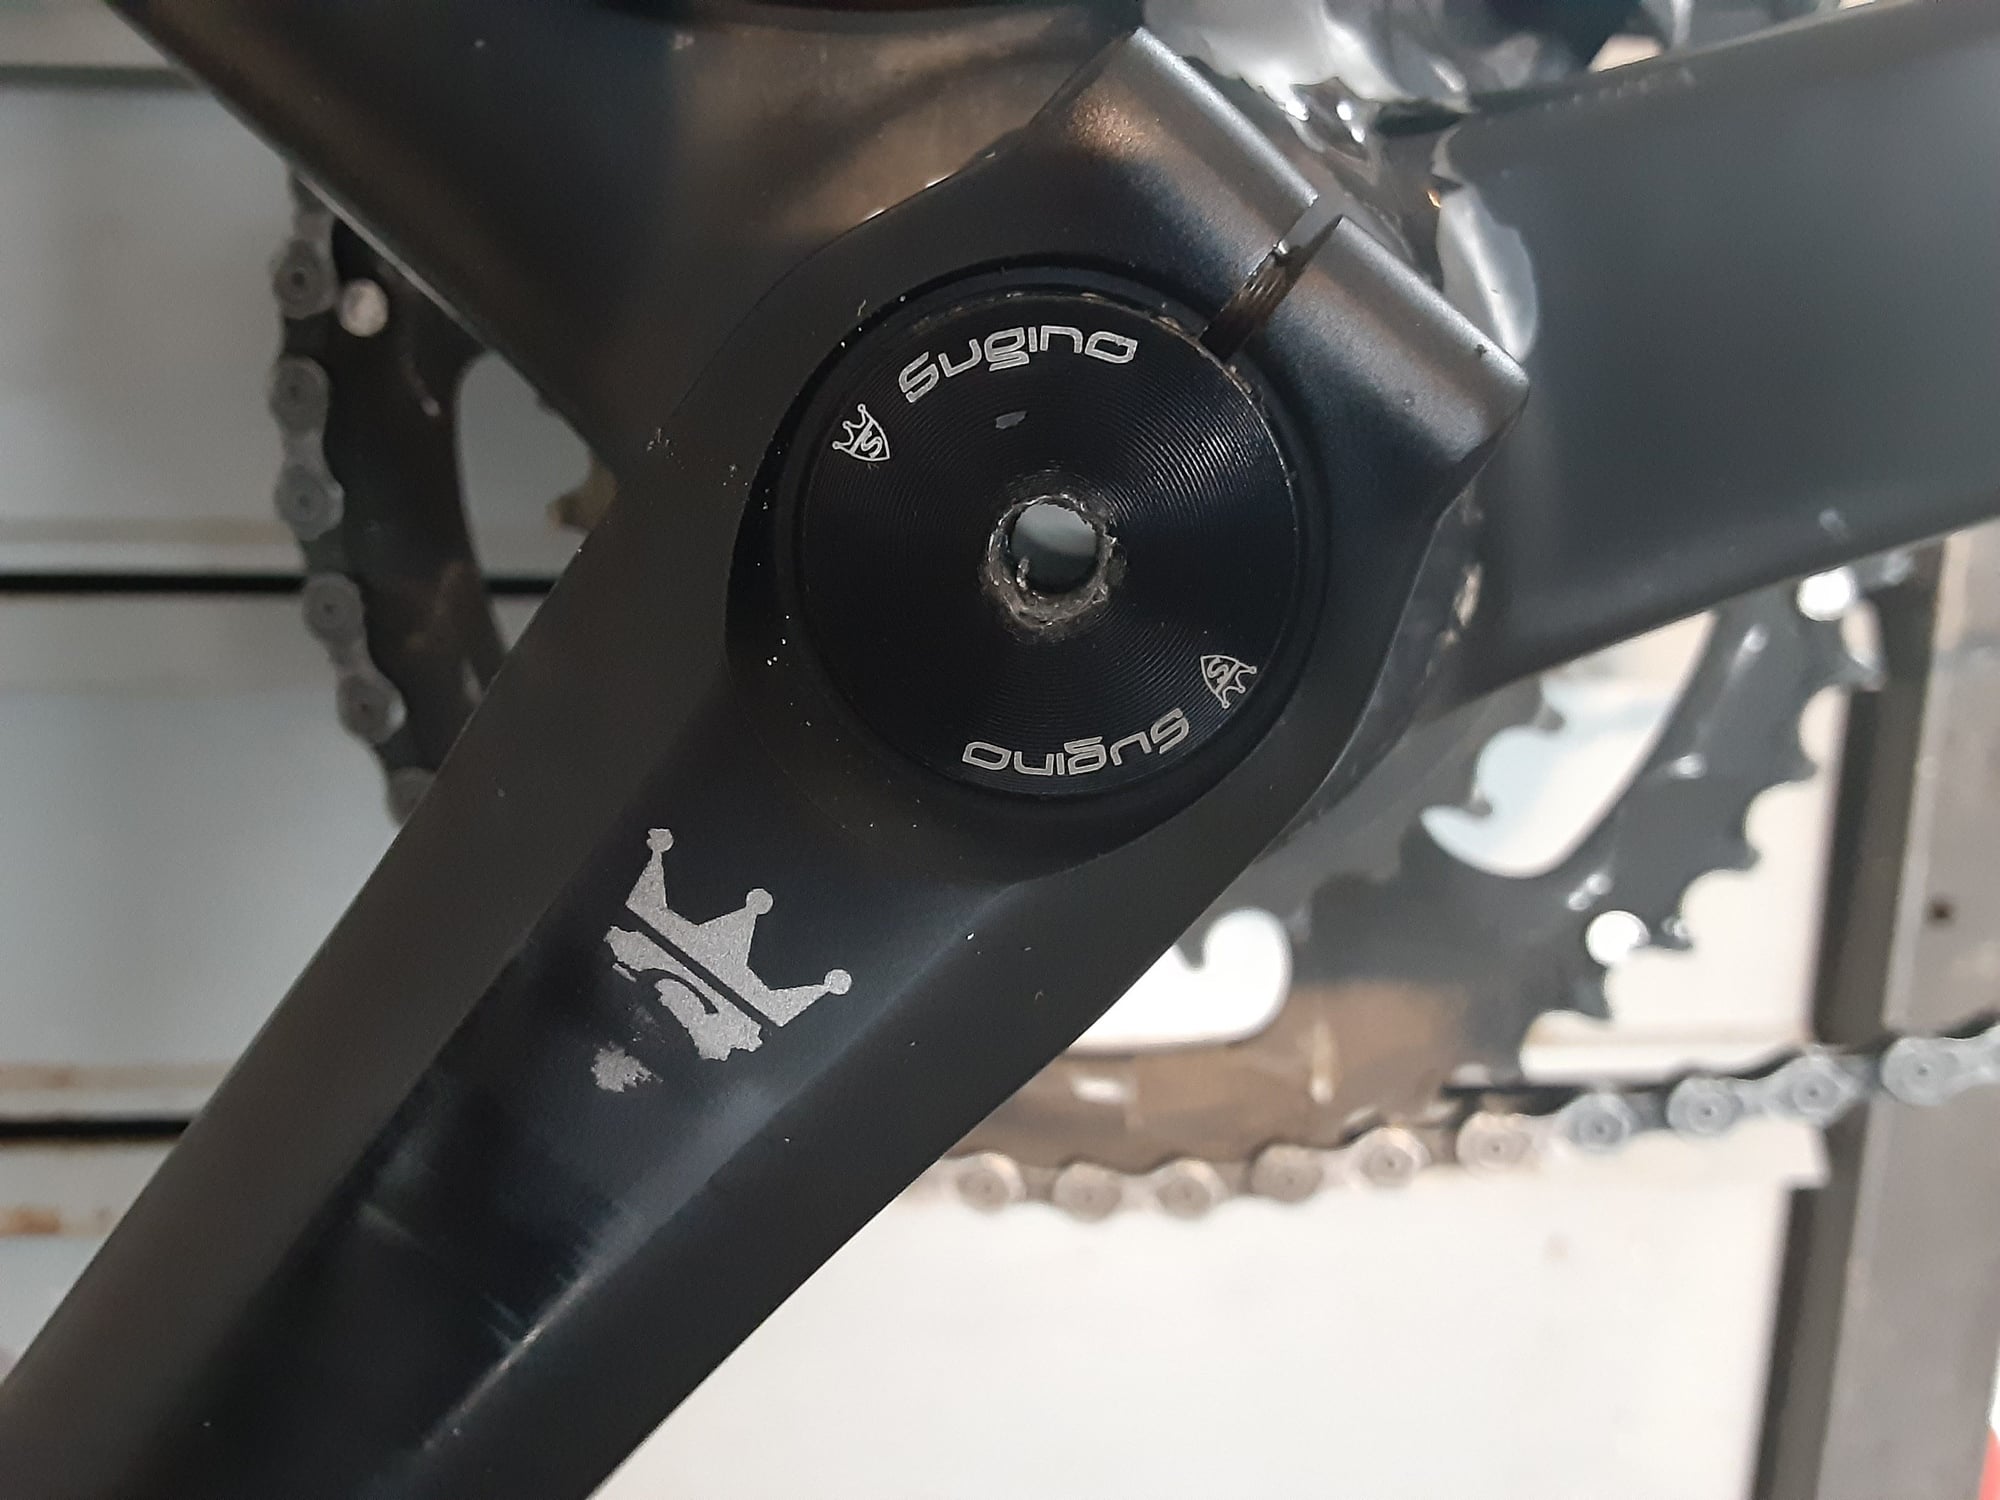
Anyone have any suggestions how you might remove a stripped out non drive side crank arm fixing or pressure bolt. I was surprised at just how easily the aluminum hex hole stripped out. I need to get it off so I can remove the crank to get to the bottom bracket. As always, thank you for your input.
 01-06-24, 06:25 PM
#2

Senior Member
Join Date: Mar 2021
Location: SoCal
Posts: 2,302
Bikes: Cuevas Custom, Cimmaron, 1988 "Pinalized Rockma", 1984 Trek 510, Moulton custom touring, Raleigh Competition GS, Bridgestone Mb-2 & 3, 1980's Peugeot - US, City, & Canyon Express (6)
Mentioned: 26 Post(s)
Tagged: 0 Thread(s)
Quoted: 1099 Post(s)
Liked 3,757 Times
in
1,842 Posts
carefully make a slot with a dremel or even drill bit and then use a flat head screwdriver bit to unscrew

Likes For wheelreason:
01-07-24, 08:55 AM
#4
Senior Member
Join Date: Jan 2009
Location: San Diego, CA
Posts: 3,674
Mentioned: 10 Post(s)
Tagged: 0 Thread(s)
Quoted: 839 Post(s)
Liked 1,062 Times
in
746 Posts
I have to ask. Did you undo the spindle clamp bolts first? Might come out easy if the bolts are loosened up or not at all if they are tight.
01-07-24, 11:33 AM
#5
Senior Member
Thread Starter
Join Date: Aug 2005
Posts: 3,872
Mentioned: 14 Post(s)
Tagged: 0 Thread(s)
Quoted: 598 Post(s)
Liked 283 Times
in
194 Posts
Unfortunately loosening those pinch bolts didn't help before. Do you think if you mixed up some JB Weld epoxy and took a bolt with a hex head and coated beneath the head and just inside the hole and on the upper bolt shank that when it cured the bolt might hold well enough to put a socket on the thing ?
01-07-24, 11:53 AM
#6
I'm good to go!
Join Date: Jul 2017
Location: Mississippi
Posts: 14,992
Bikes: Tarmac Disc Comp Di2 - 2020
Mentioned: 51 Post(s)
Tagged: 0 Thread(s)
Quoted: 6196 Post(s)
Liked 4,811 Times
in
3,319 Posts
Have you googled up the installation/removal instructions for that model of crank? The pn is usually on the backside of the arm. Many times around the pedal hole.
It might be good to know which direction that cap needs to spin to loosen. They don't look like self extracting cranks, but if they were, the cap normally threads opposite of the crank bolts. And the fact it has a pinch bolt tends to indicate it's not self extracting because with a pinch bolt they usually pull easy enough with a tap in the right place or just a careful pry with a large screwdriver or tool made for the purpose.
I might just find a torx bit that is just a size or two bigger than the buggered up hole in the cap and drive it in there and then try to loosen the cap. However if you are wanting to keep it to reuse, I favor drilling the two little holes in it and using a pin spanner.
But give the cap a few good whacks with a mallet first before doing anything. Then go ahead with whatever plans you have for removing it. But make sure you know which direction is loosening it.
Last edited by Iride01; 01-07-24 at 11:59 AM.
Likes For Iride01:
01-07-24, 12:10 PM
#7
Senior Member

Join Date: May 2010
Location: Bastrop Texas
Posts: 4,482
Bikes: Univega, Peu P6, Peu PR-10, Ted Williams, Peu UO-8, Peu UO-18 Mixte, Peu Dolomites
Mentioned: 13 Post(s)
Tagged: 0 Thread(s)
Quoted: 967 Post(s)
Liked 1,631 Times
in
1,047 Posts
Sugino non drive side crank arm fixing or pressure bolt... Cost?
I think this one is buggered up. Maybe you should get a replacement bolt first. That will tel ya allot about its threading and installation.
I would dig around in my old mismatched and odd tools bin and find an Allen wrench of the appropriate size then hammer it into the hole for removal. Just a thought...
__________________
 No matter where you're at... There you are... Δf:=f(1/2)-f(-1/2)
No matter where you're at... There you are... Δf:=f(1/2)-f(-1/2)Last edited by zandoval; 01-07-24 at 12:14 PM.
01-07-24, 02:44 PM
#8
Senior Member
Join Date: Jan 2009
Location: San Diego, CA
Posts: 3,674
Mentioned: 10 Post(s)
Tagged: 0 Thread(s)
Quoted: 839 Post(s)
Liked 1,062 Times
in
746 Posts
I wouldn't waste your time with the JB Weld in this case. If the nut is really stuck on there good the JB won't hold. Use some of the other recommendations mentioned such as trying a torx bit, cutting a slot in it or drilling some holes. Drip some penetrant on it too and let sit for at least a day which may help.
01-07-24, 04:00 PM
#9
Junior Member
If that is just a cap and unscrews anti-clockwise ( i.e. is a "normal" R.H. thread ), you could just try screwing in an appropriately sized 'Ezy-out" ( which for their usual use, are anything but easy... )
01-07-24, 04:38 PM
#10
Senior Member
Thread Starter
Join Date: Aug 2005
Posts: 3,872
Mentioned: 14 Post(s)
Tagged: 0 Thread(s)
Quoted: 598 Post(s)
Liked 283 Times
in
194 Posts
I tried an extracting bolt but the aluminum is too soft and it just won't grab enough, wallows hole out more so. Yes, the fixing bolt is shot and I know that I will need to drop at least $25 for a new Sugino one unless I can get a generic that would fit. It's not easy to drill a second hole to use a spanner or to put a second bolt in to allow for a screw driver for leverage without getting into the crank arm itself underneath or the threaded spindle that is attached to the drive side crank. I also tried a 1/4" hex headed fully threaded bolt thru there coming in from the drive side but still didn't move and I broke the head off of a stainless bolt with so much pressure. Ha This thing is really seized, I built the bike 10 years ago and it has almost right at 17,000 miles on it. I may just have to keep drilling it out gently, little by little to see if I can crack the wall without hopefully buggering up the threads on the crank's spindle. I really appreciate all the ideas.
Last edited by robow; 01-08-24 at 08:20 AM.
01-08-24, 04:09 AM
#11
Senior Member
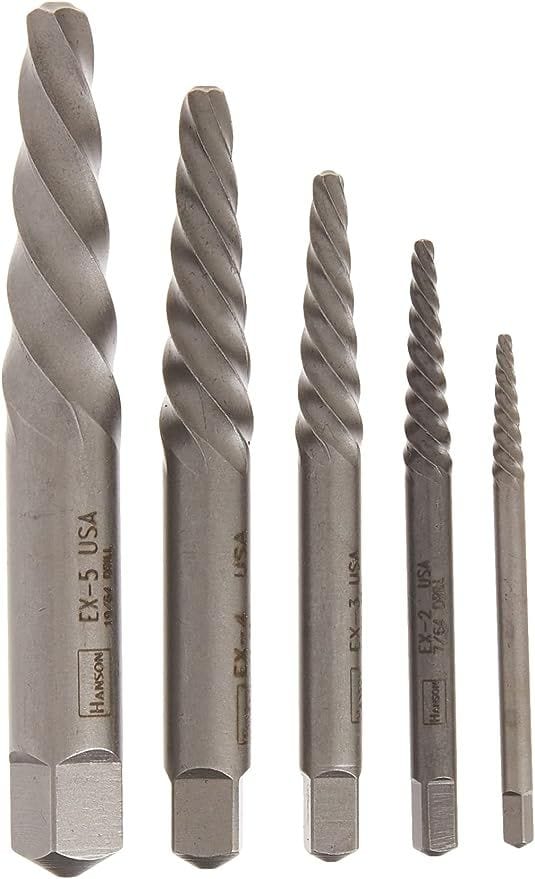
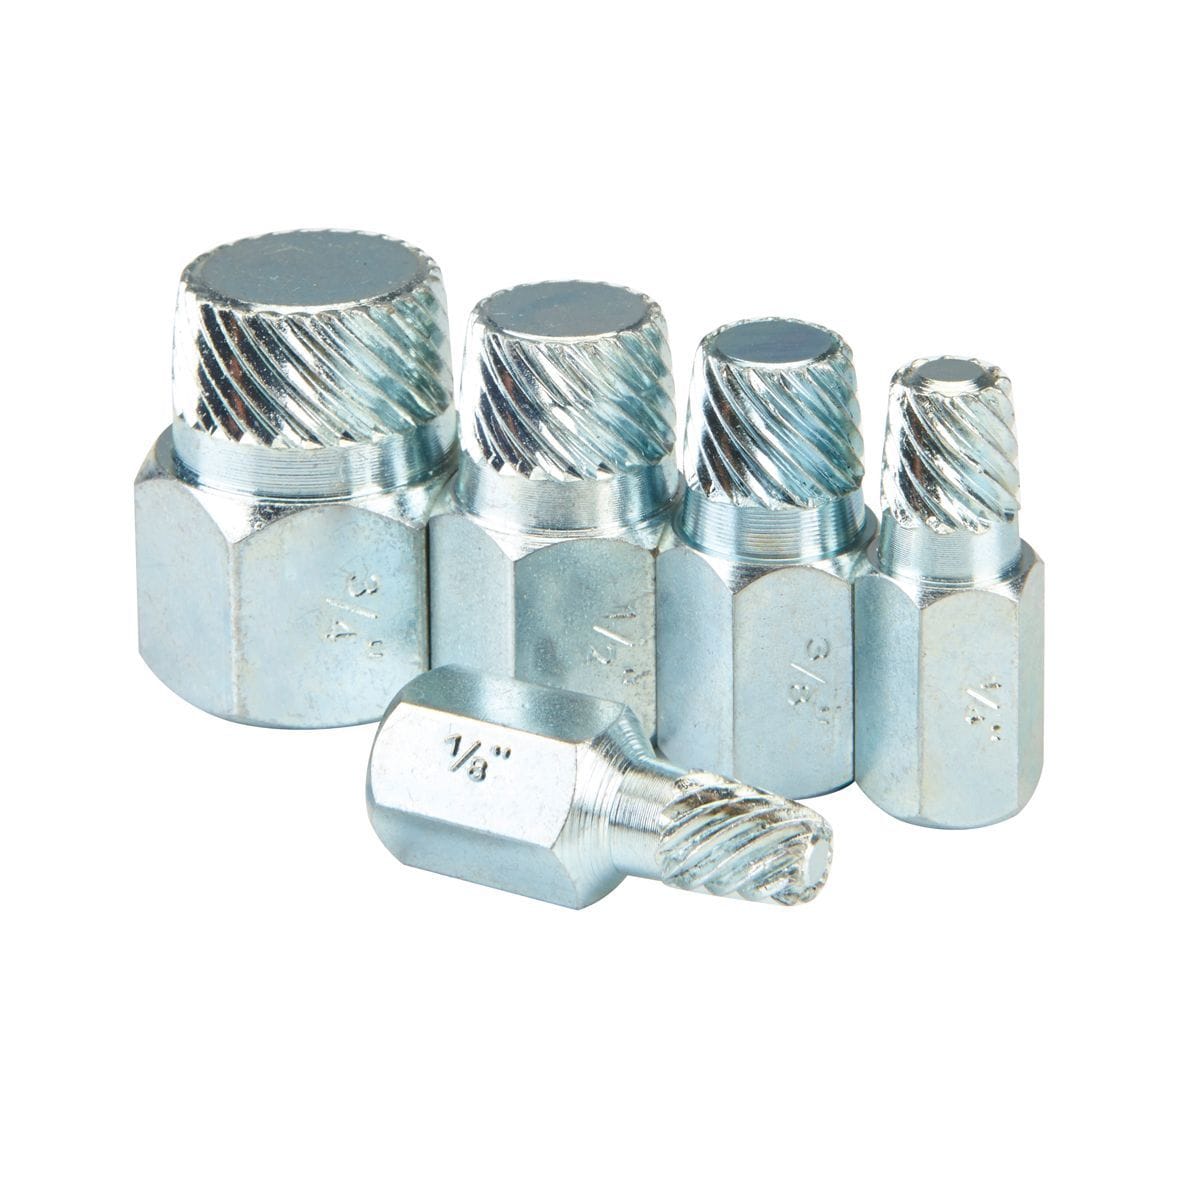
I used an extractor (like the ones pictured) with an electric impact wrench on my friend's crank bolt.. One "blip" and it was out.
Last edited by gearbasher; 01-08-24 at 04:35 AM.
01-08-24, 10:51 AM
#12
Senior Member
Thread Starter
Join Date: Aug 2005
Posts: 3,872
Mentioned: 14 Post(s)
Tagged: 0 Thread(s)
Quoted: 598 Post(s)
Liked 283 Times
in
194 Posts
Well I finally got that son of a b#### out of there. Had to do what some suggested and that was, take a Dremel and put a slice through that hole wide enough that I could hammer a flat bladed screw driver up in the thing and then placing a crescent wrench on the shaft near the handle to finally to get it to turn. It wasn't one of those things that once you break it free it comes right out, oh no, it was pain unto the end. Thanks guys.
Likes For robow:
