


My first "billboard" bike
 05-29-22, 06:50 PM
#1

Senior Member
Thread Starter
Join Date: May 2019
Location: Bloomington, IN
Posts: 2,949
Bikes: Paramount, Faggin, Ochsner, Ciocc, Basso
Mentioned: 117 Post(s)
Tagged: 0 Thread(s)
Quoted: 1303 Post(s)
Liked 1,911 Times
in
1,141 Posts
My first "billboard" bike
This is all the fault of @jdawginsc with the help of @SwimmerMike.
jdawg knows I ride a smaller frame bike and this one came up from SwimmerMike. So they got together, and this one is now in my possession. I remember calling out a lot of riders in the early 1980's for wearing "billboard jerseys" and when one of these Ten Speed Drive frames came in to the Bike Garage we all gathered round and counted the number of identifying decals on it. So today the frame and fork are finally done and ready for build. There will be a coat of 2K clear over all decals and then the build will begin. The parts list is going to be a period correct NR, or maybe SR with Cinelli stem and bars, and Mavic GP-4's. Here is what I'm starting with:

Frame with a lot of identifiers
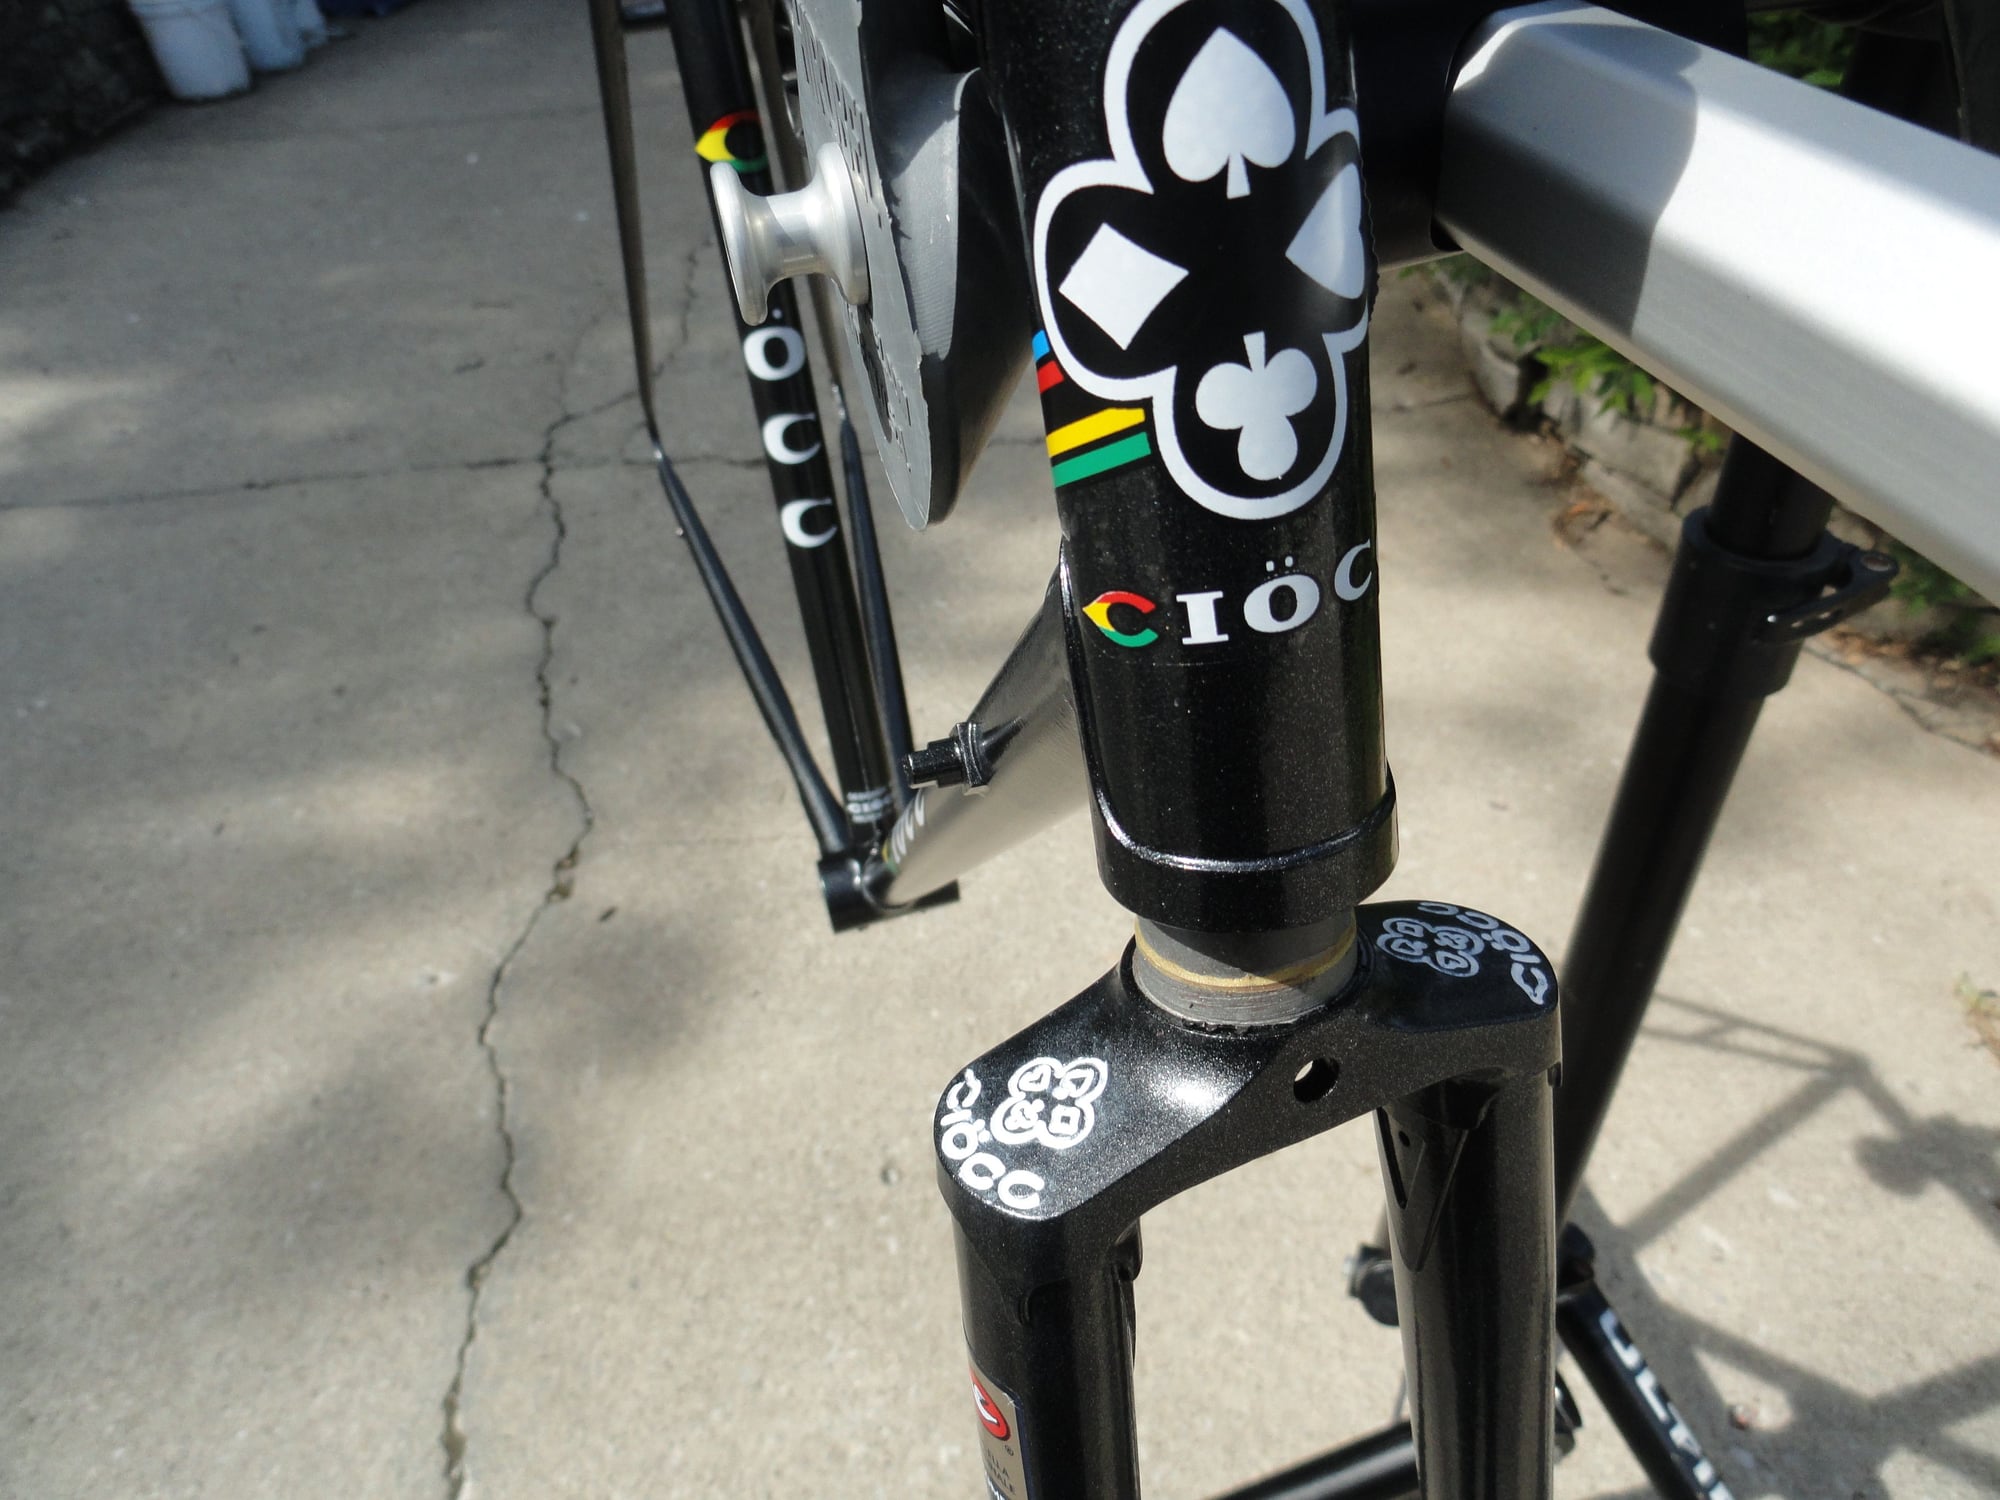
decals on headtube and pantograph parts

more panto, and builders signature

our old friend TSD rider

seat tube decals

I have opted to use only the Olympic logo without the reference to Moscow due to the current situation
more to come as the work begins this week. A great big thank you to Jdawg,and SwimmerMike for this one. Smiles, MH
jdawg knows I ride a smaller frame bike and this one came up from SwimmerMike. So they got together, and this one is now in my possession. I remember calling out a lot of riders in the early 1980's for wearing "billboard jerseys" and when one of these Ten Speed Drive frames came in to the Bike Garage we all gathered round and counted the number of identifying decals on it. So today the frame and fork are finally done and ready for build. There will be a coat of 2K clear over all decals and then the build will begin. The parts list is going to be a period correct NR, or maybe SR with Cinelli stem and bars, and Mavic GP-4's. Here is what I'm starting with:
Frame with a lot of identifiers
decals on headtube and pantograph parts
more panto, and builders signature
our old friend TSD rider
seat tube decals
I have opted to use only the Olympic logo without the reference to Moscow due to the current situation
more to come as the work begins this week. A great big thank you to Jdawg,and SwimmerMike for this one. Smiles, MH

Likes For Mad Honk:
05-29-22, 07:04 PM
#2
aka: Dr. Cannondale
Join Date: Jul 2009
Posts: 7,734
Mentioned: 234 Post(s)
Tagged: 0 Thread(s)
Quoted: 2155 Post(s)
Liked 3,404 Times
in
1,205 Posts
Is that a Ciocc?
Wasn�t sure, thought I�d ask�
Wasn�t sure, thought I�d ask�
__________________
Hard at work in the Secret Underground Laboratory...
Hard at work in the Secret Underground Laboratory...
Likes For rccardr:
05-29-22, 07:14 PM
#3
Senior Member

Join Date: May 2010
Location: Bastrop Texas
Posts: 4,479
Bikes: Univega, Peu P6, Peu PR-10, Ted Williams, Peu UO-8, Peu UO-18 Mixte, Peu Dolomites
Mentioned: 13 Post(s)
Tagged: 0 Thread(s)
Quoted: 966 Post(s)
Liked 1,629 Times
in
1,045 Posts
Nice, Nice, NICE!
It really does show all your meticulous work...
It really does show all your meticulous work...
__________________
 No matter where you're at... There you are... Δf:=f(1/2)-f(-1/2)
No matter where you're at... There you are... Δf:=f(1/2)-f(-1/2)
05-29-22, 07:32 PM
#4
Edumacator
Join Date: Jan 2018
Location: Goose Creek, SC
Posts: 6,808
Bikes: '87 Crestdale, '87 Basso Gap, '92 Rossin Performance EL-OS, 1990 VanTuyl, 1980s Losa, 1985 Trek 670, 1982 AD SLE, 1987 PX10, etc...
Mentioned: 59 Post(s)
Tagged: 0 Thread(s)
Quoted: 2439 Post(s)
Liked 3,128 Times
in
1,967 Posts
__________________
1987 Crest Cannondale, 1987 Basso Gap, 1992 Rossin Performance EL, 1990ish Van Tuyl, 1985 Trek 670, 1982 AD SLE, 2003 Pinarello Surprise, 1990ish MBK Atlantique, 1987 Peugeot Competition, 1987 Nishiki Tri-A, 1981 Faggin, 1996 Cannondale M500, 1984 Mercian, 1982 AD SuperLeicht, 1985 Massi (model unknown), 1988 Daccordi Griffe , 1989 Fauxsin MTB, 1981 Ciocc Mockba, 1992 Bianchi Giro, 1977 Colnago Super
1987 Crest Cannondale, 1987 Basso Gap, 1992 Rossin Performance EL, 1990ish Van Tuyl, 1985 Trek 670, 1982 AD SLE, 2003 Pinarello Surprise, 1990ish MBK Atlantique, 1987 Peugeot Competition, 1987 Nishiki Tri-A, 1981 Faggin, 1996 Cannondale M500, 1984 Mercian, 1982 AD SuperLeicht, 1985 Massi (model unknown), 1988 Daccordi Griffe , 1989 Fauxsin MTB, 1981 Ciocc Mockba, 1992 Bianchi Giro, 1977 Colnago Super

Likes For jdawginsc:
05-29-22, 08:36 PM
#5
Senior Member
Thread Starter
Join Date: May 2019
Location: Bloomington, IN
Posts: 2,949
Bikes: Paramount, Faggin, Ochsner, Ciocc, Basso
Mentioned: 117 Post(s)
Tagged: 0 Thread(s)
Quoted: 1303 Post(s)
Liked 1,911 Times
in
1,141 Posts
05-30-22, 06:58 AM
#6
Senior Member
Join Date: Nov 2004
Posts: 23,223
Mentioned: 654 Post(s)
Tagged: 1 Thread(s)
Quoted: 4722 Post(s)
Likes: 0
Liked 3,036 Times
in
1,874 Posts
Dang! I was hoping to see you riding one of these.... ")

Likes For T-Mar:
05-30-22, 07:13 AM
#7
Edumacator
Join Date: Jan 2018
Location: Goose Creek, SC
Posts: 6,808
Bikes: '87 Crestdale, '87 Basso Gap, '92 Rossin Performance EL-OS, 1990 VanTuyl, 1980s Losa, 1985 Trek 670, 1982 AD SLE, 1987 PX10, etc...
Mentioned: 59 Post(s)
Tagged: 0 Thread(s)
Quoted: 2439 Post(s)
Liked 3,128 Times
in
1,967 Posts
I wonder how much they pay me...might be the retirement gig I have been waiting for...
__________________
1987 Crest Cannondale, 1987 Basso Gap, 1992 Rossin Performance EL, 1990ish Van Tuyl, 1985 Trek 670, 1982 AD SLE, 2003 Pinarello Surprise, 1990ish MBK Atlantique, 1987 Peugeot Competition, 1987 Nishiki Tri-A, 1981 Faggin, 1996 Cannondale M500, 1984 Mercian, 1982 AD SuperLeicht, 1985 Massi (model unknown), 1988 Daccordi Griffe , 1989 Fauxsin MTB, 1981 Ciocc Mockba, 1992 Bianchi Giro, 1977 Colnago Super
1987 Crest Cannondale, 1987 Basso Gap, 1992 Rossin Performance EL, 1990ish Van Tuyl, 1985 Trek 670, 1982 AD SLE, 2003 Pinarello Surprise, 1990ish MBK Atlantique, 1987 Peugeot Competition, 1987 Nishiki Tri-A, 1981 Faggin, 1996 Cannondale M500, 1984 Mercian, 1982 AD SuperLeicht, 1985 Massi (model unknown), 1988 Daccordi Griffe , 1989 Fauxsin MTB, 1981 Ciocc Mockba, 1992 Bianchi Giro, 1977 Colnago Super
Likes For jdawginsc:
05-30-22, 07:40 AM
#8
aka: Dr. Cannondale
Join Date: Jul 2009
Posts: 7,734
Mentioned: 234 Post(s)
Tagged: 0 Thread(s)
Quoted: 2155 Post(s)
Liked 3,404 Times
in
1,205 Posts
Likes For rccardr:
05-30-22, 04:38 PM
#9
Senior Member
Join Date: Aug 2020
Location: Saratoga, CA
Posts: 825
Bikes: 1981 Bianchi Specialissim, 1976 Colnago Super. 1971 Bob Jackson. 2012 Kestrel 4000. 2012 Willier. 2016 Fuji Cross 1.1
Mentioned: 25 Post(s)
Tagged: 0 Thread(s)
Quoted: 276 Post(s)
Liked 952 Times
in
389 Posts
Wow, @Madhonk that's a great transformation! It's great to see the frame is going to get a new life. I've sent a picture to my friend that gave me the bike (it was his dad who's now about 90 and bought it new). I had told him I would find a good home for it. Thanks for helping me keep my word.
06-04-22, 02:41 PM
#10
Senior Member
Thread Starter
Join Date: May 2019
Location: Bloomington, IN
Posts: 2,949
Bikes: Paramount, Faggin, Ochsner, Ciocc, Basso
Mentioned: 117 Post(s)
Tagged: 0 Thread(s)
Quoted: 1303 Post(s)
Liked 1,911 Times
in
1,141 Posts
Today was clear coat day for the Ciocc. Nice day, sunshine, and reasonable temps made the job a little easier. The clear went on nicely and there is now the sheen I am always hoping for with the re-paints. Pics:
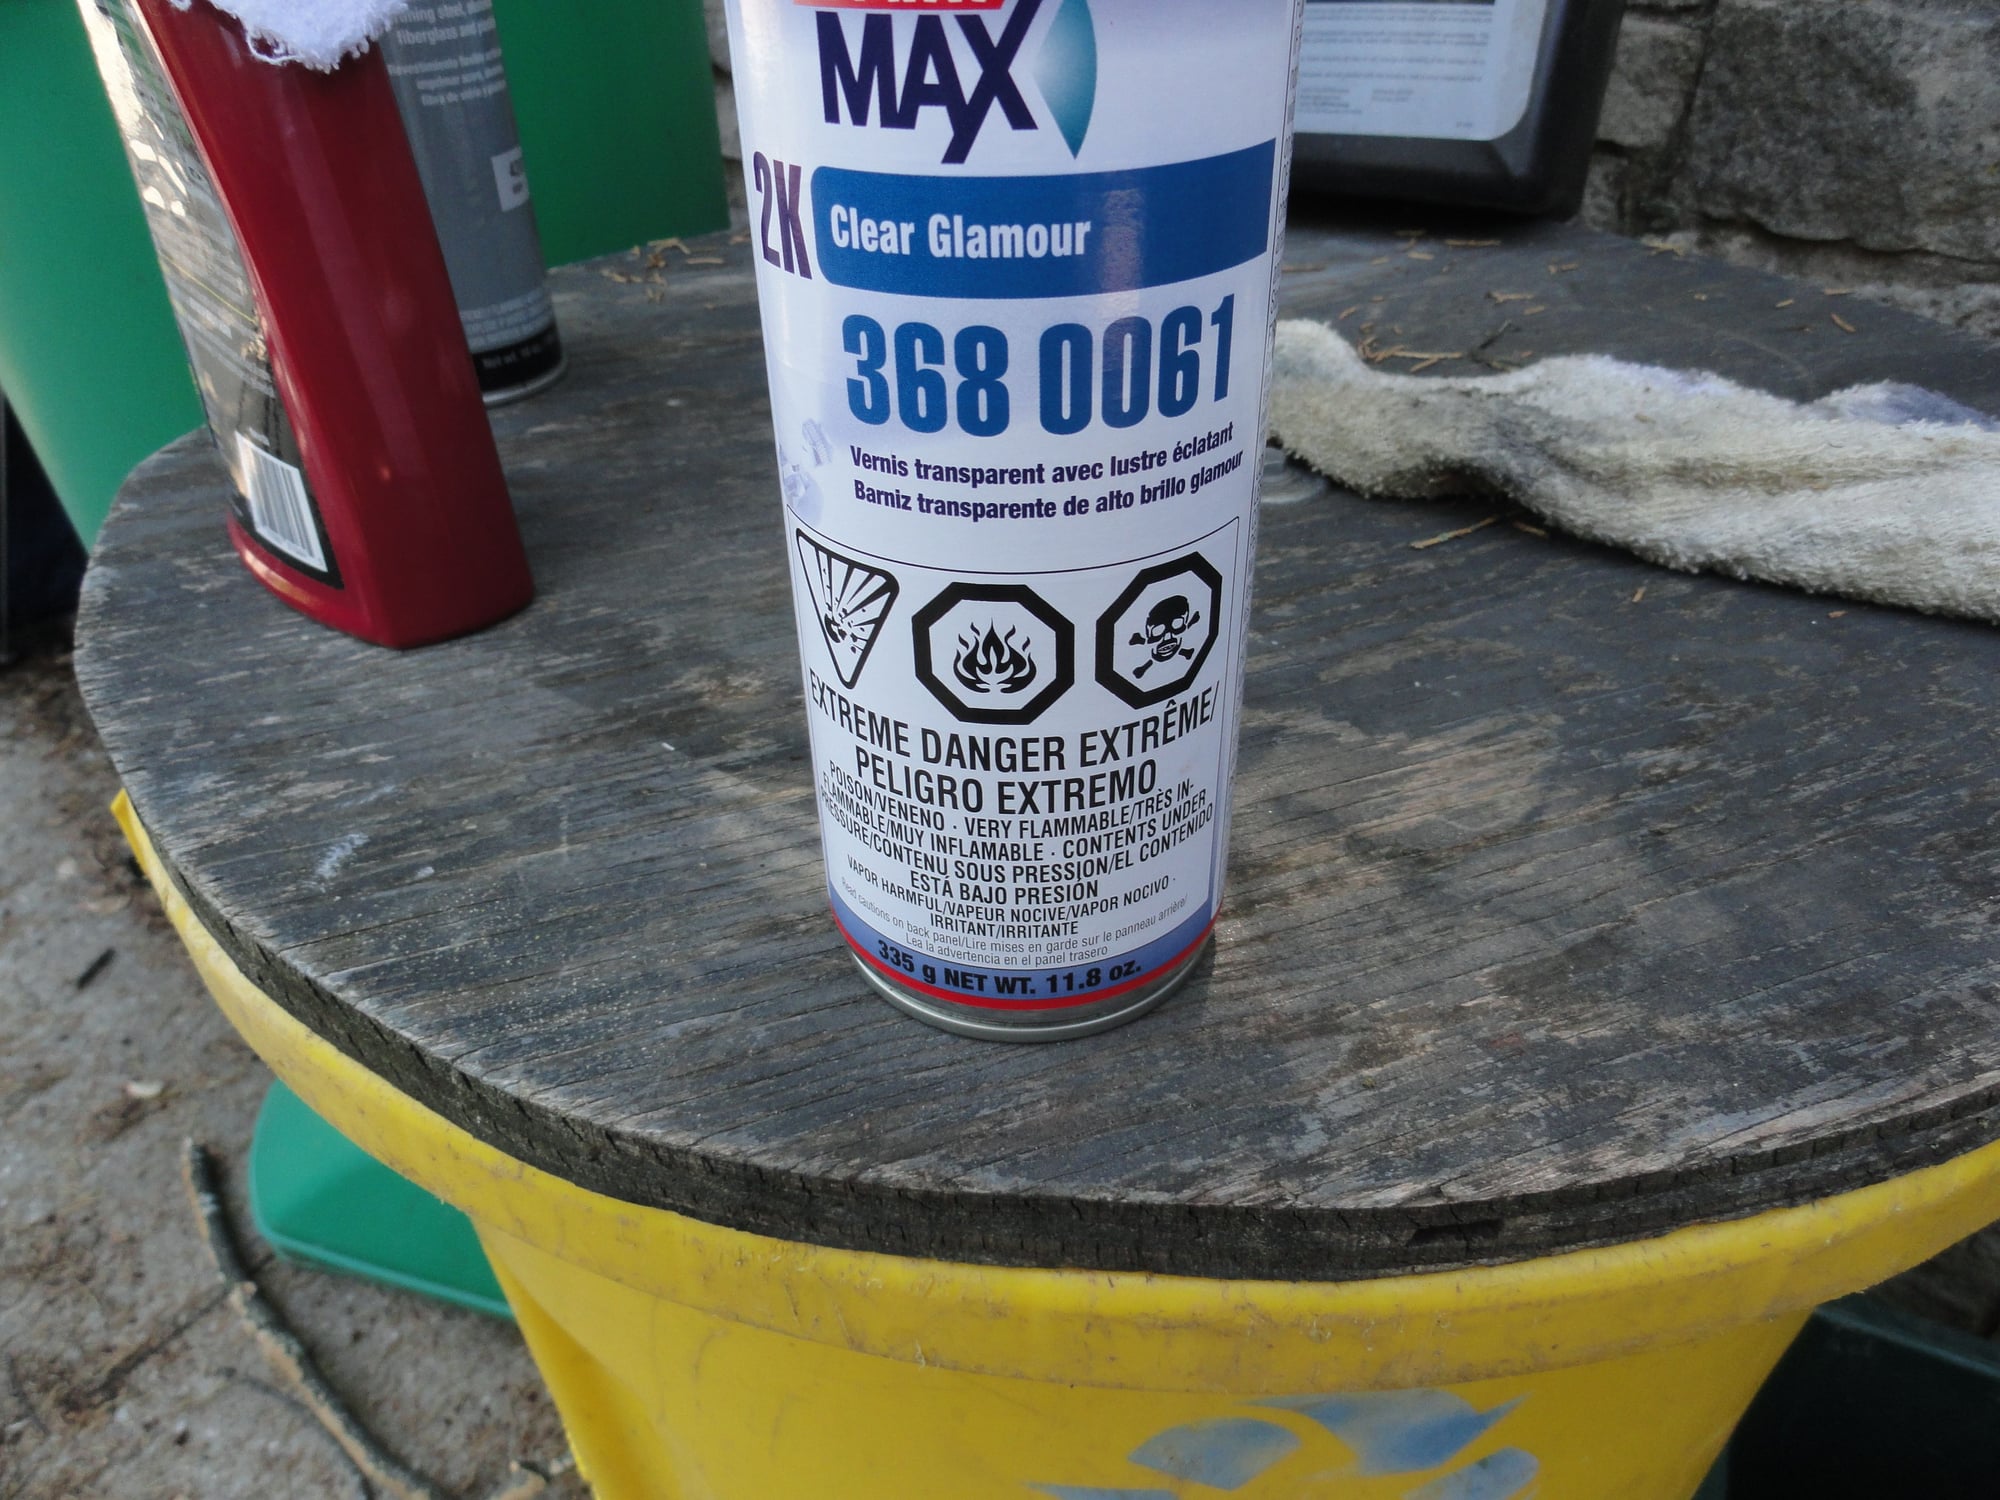
Clear Coat gloss

nice sheen after the spray. 24 hours of cure time and then wax
Clear Coat gloss
nice sheen after the spray. 24 hours of cure time and then wax
Likes For Mad Honk:
07-07-22, 02:33 PM
#11
Senior Member
Thread Starter
Join Date: May 2019
Location: Bloomington, IN
Posts: 2,949
Bikes: Paramount, Faggin, Ochsner, Ciocc, Basso
Mentioned: 117 Post(s)
Tagged: 0 Thread(s)
Quoted: 1303 Post(s)
Liked 1,911 Times
in
1,141 Posts
Wow, @Madhonk that's a great transformation! It's great to see the frame is going to get a new life. I've sent a picture to my friend that gave me the bike (it was his dad who's now about 90 and bought it new). I had told him I would find a good home for it. Thanks for helping me keep my word.

What is in the toolkit for today's surgery.

I buy the Stainless Steel screws by the 100 from Fastenal.
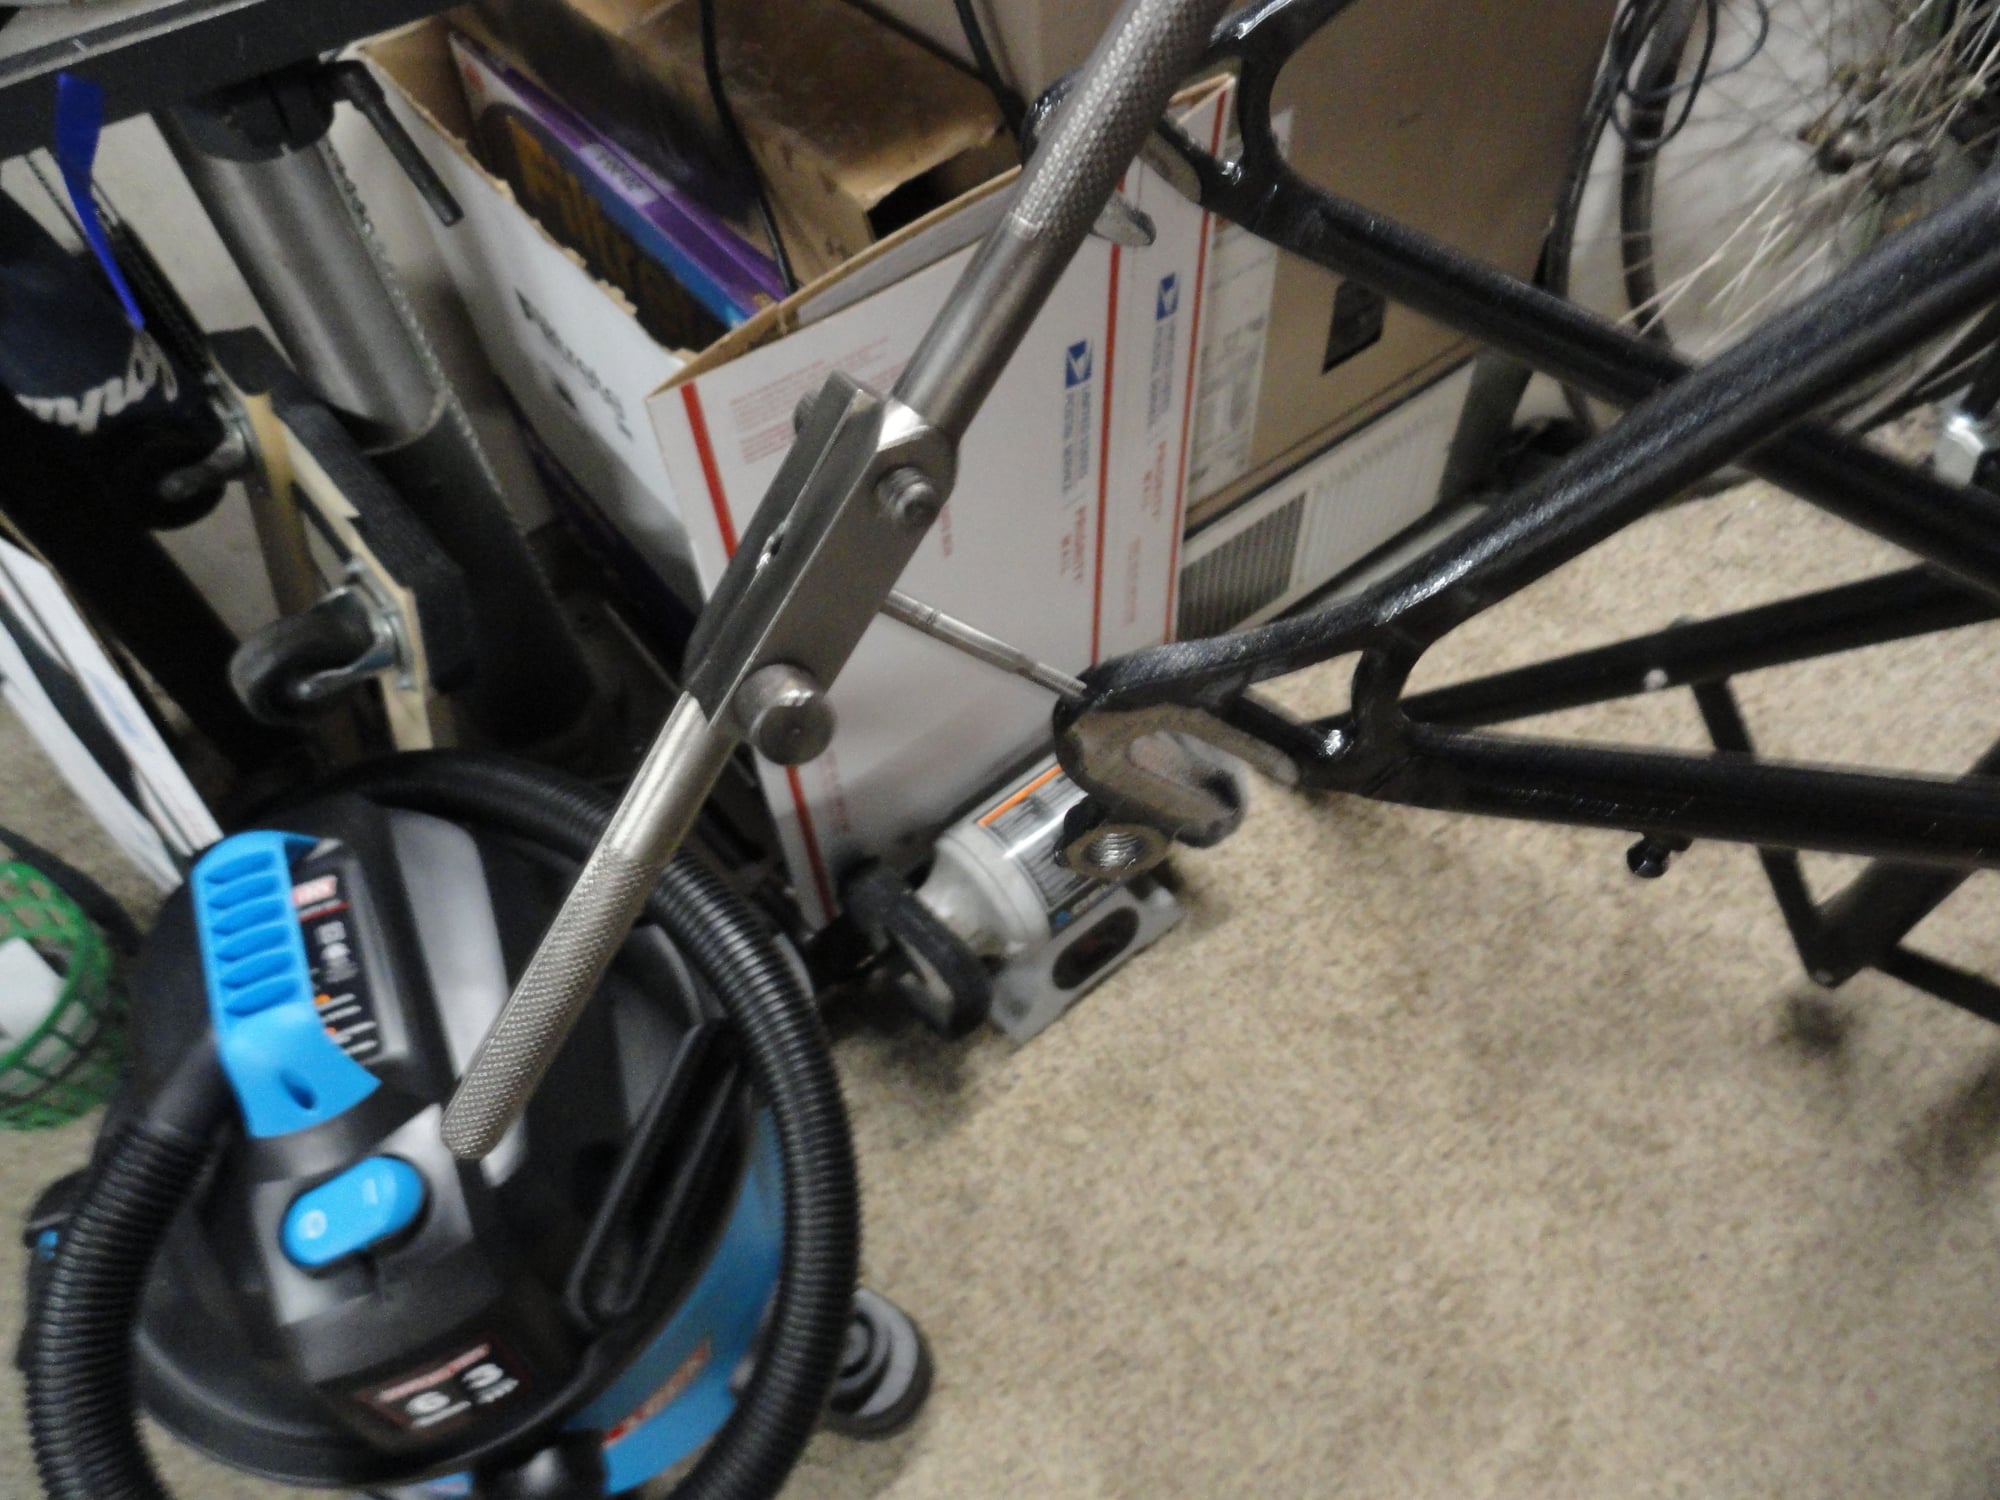
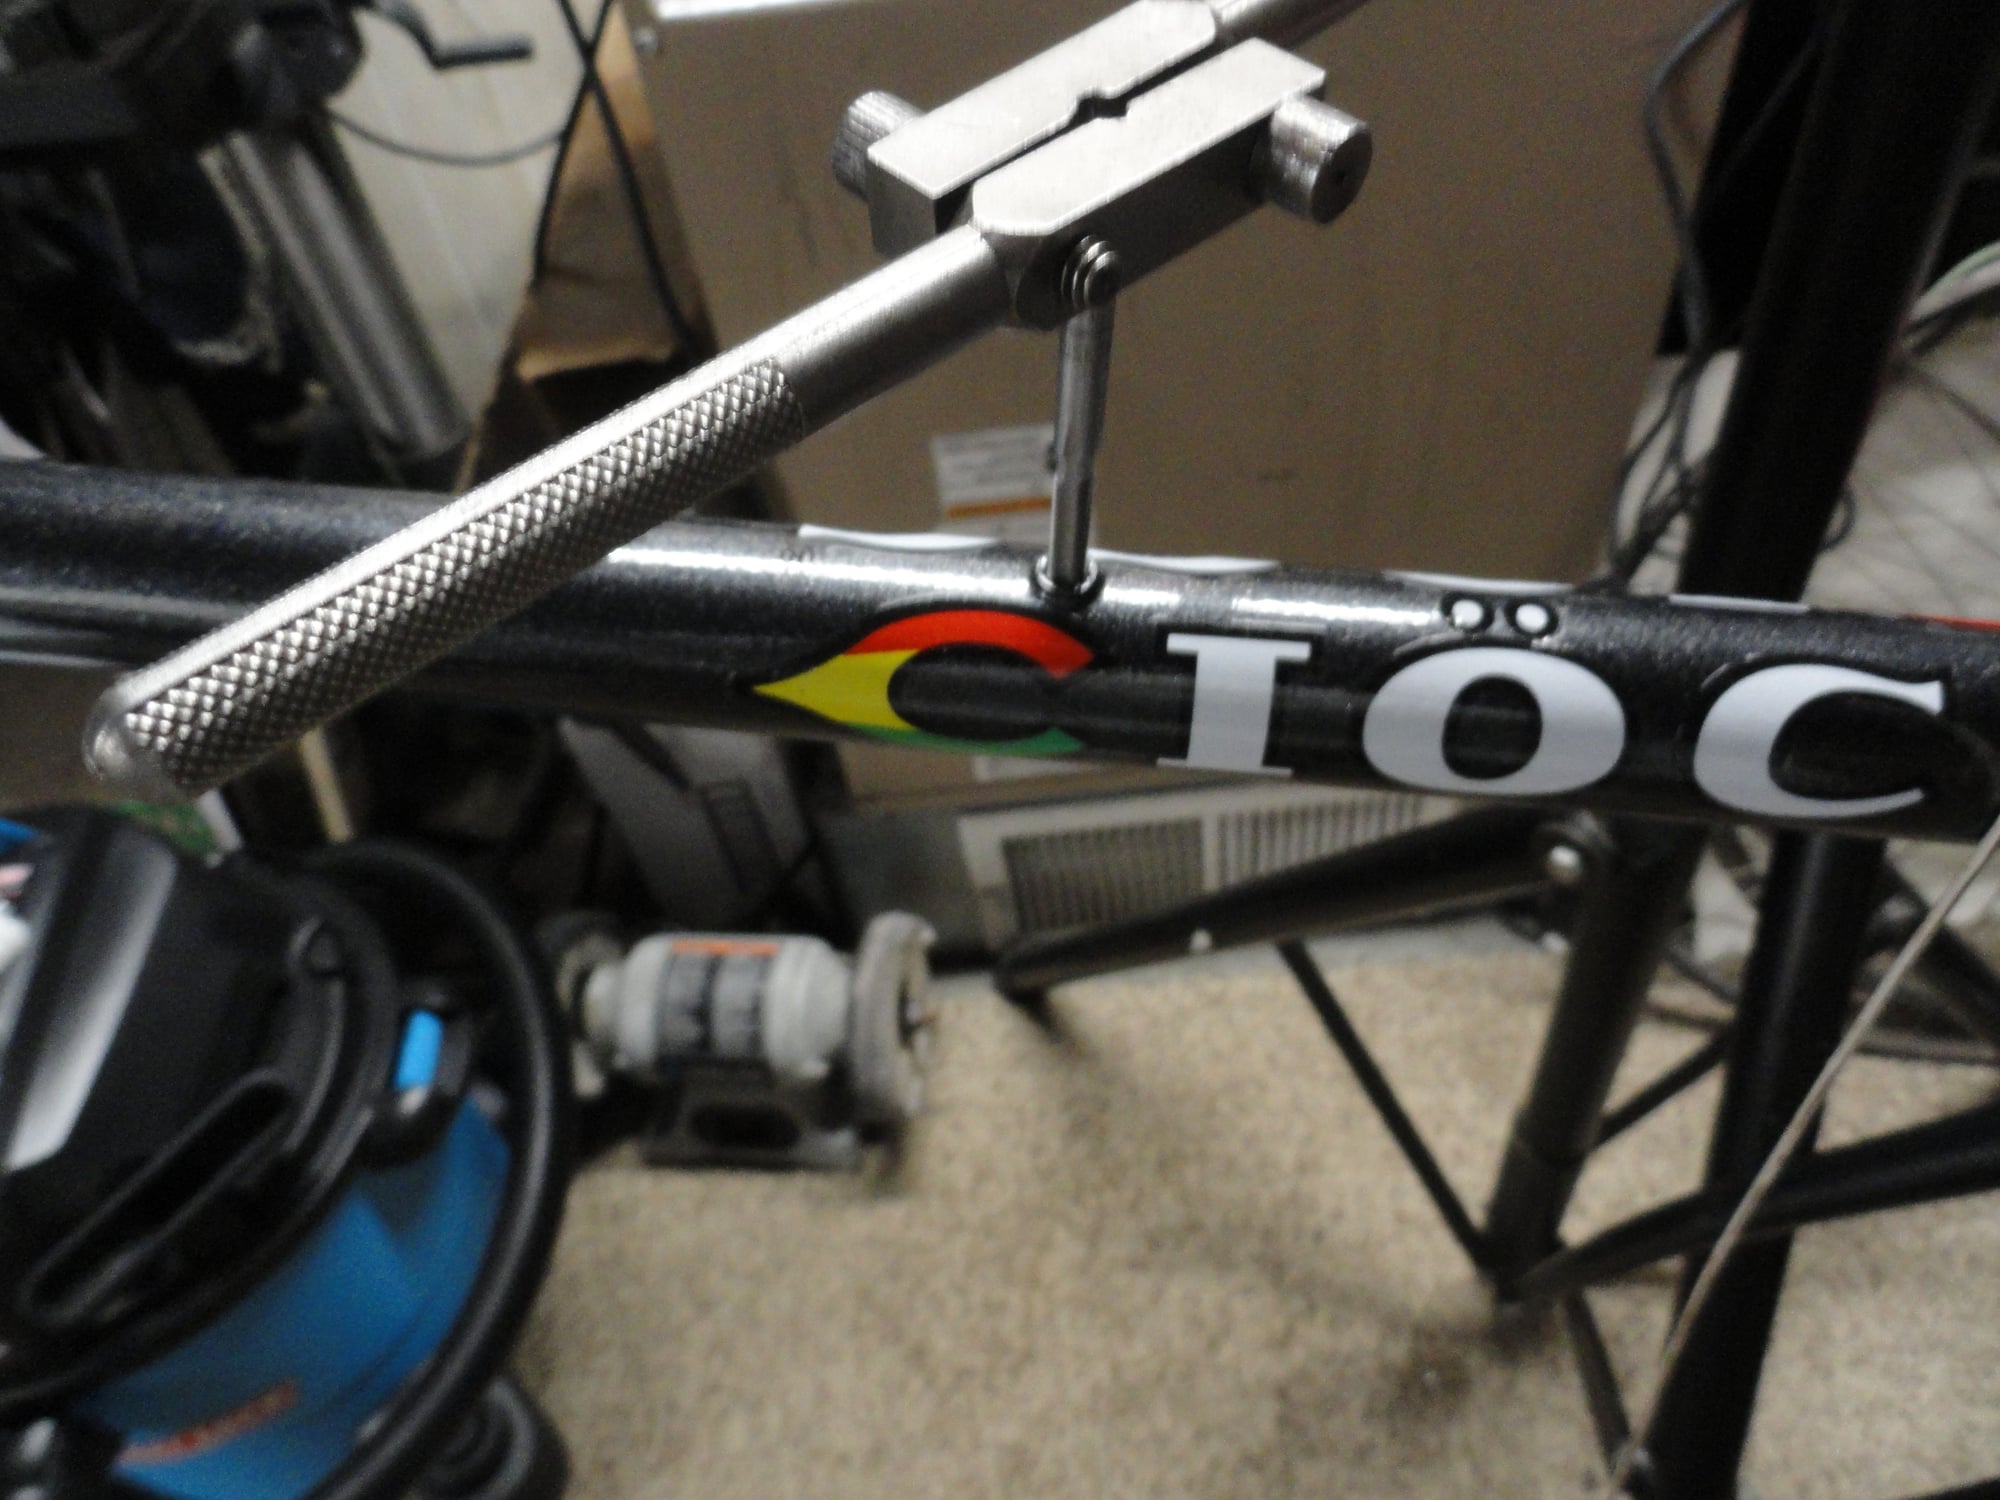
Removal of any paint or debris in the drop out adjuster holes. 3X.05mm tap and easy- peasy to clean.
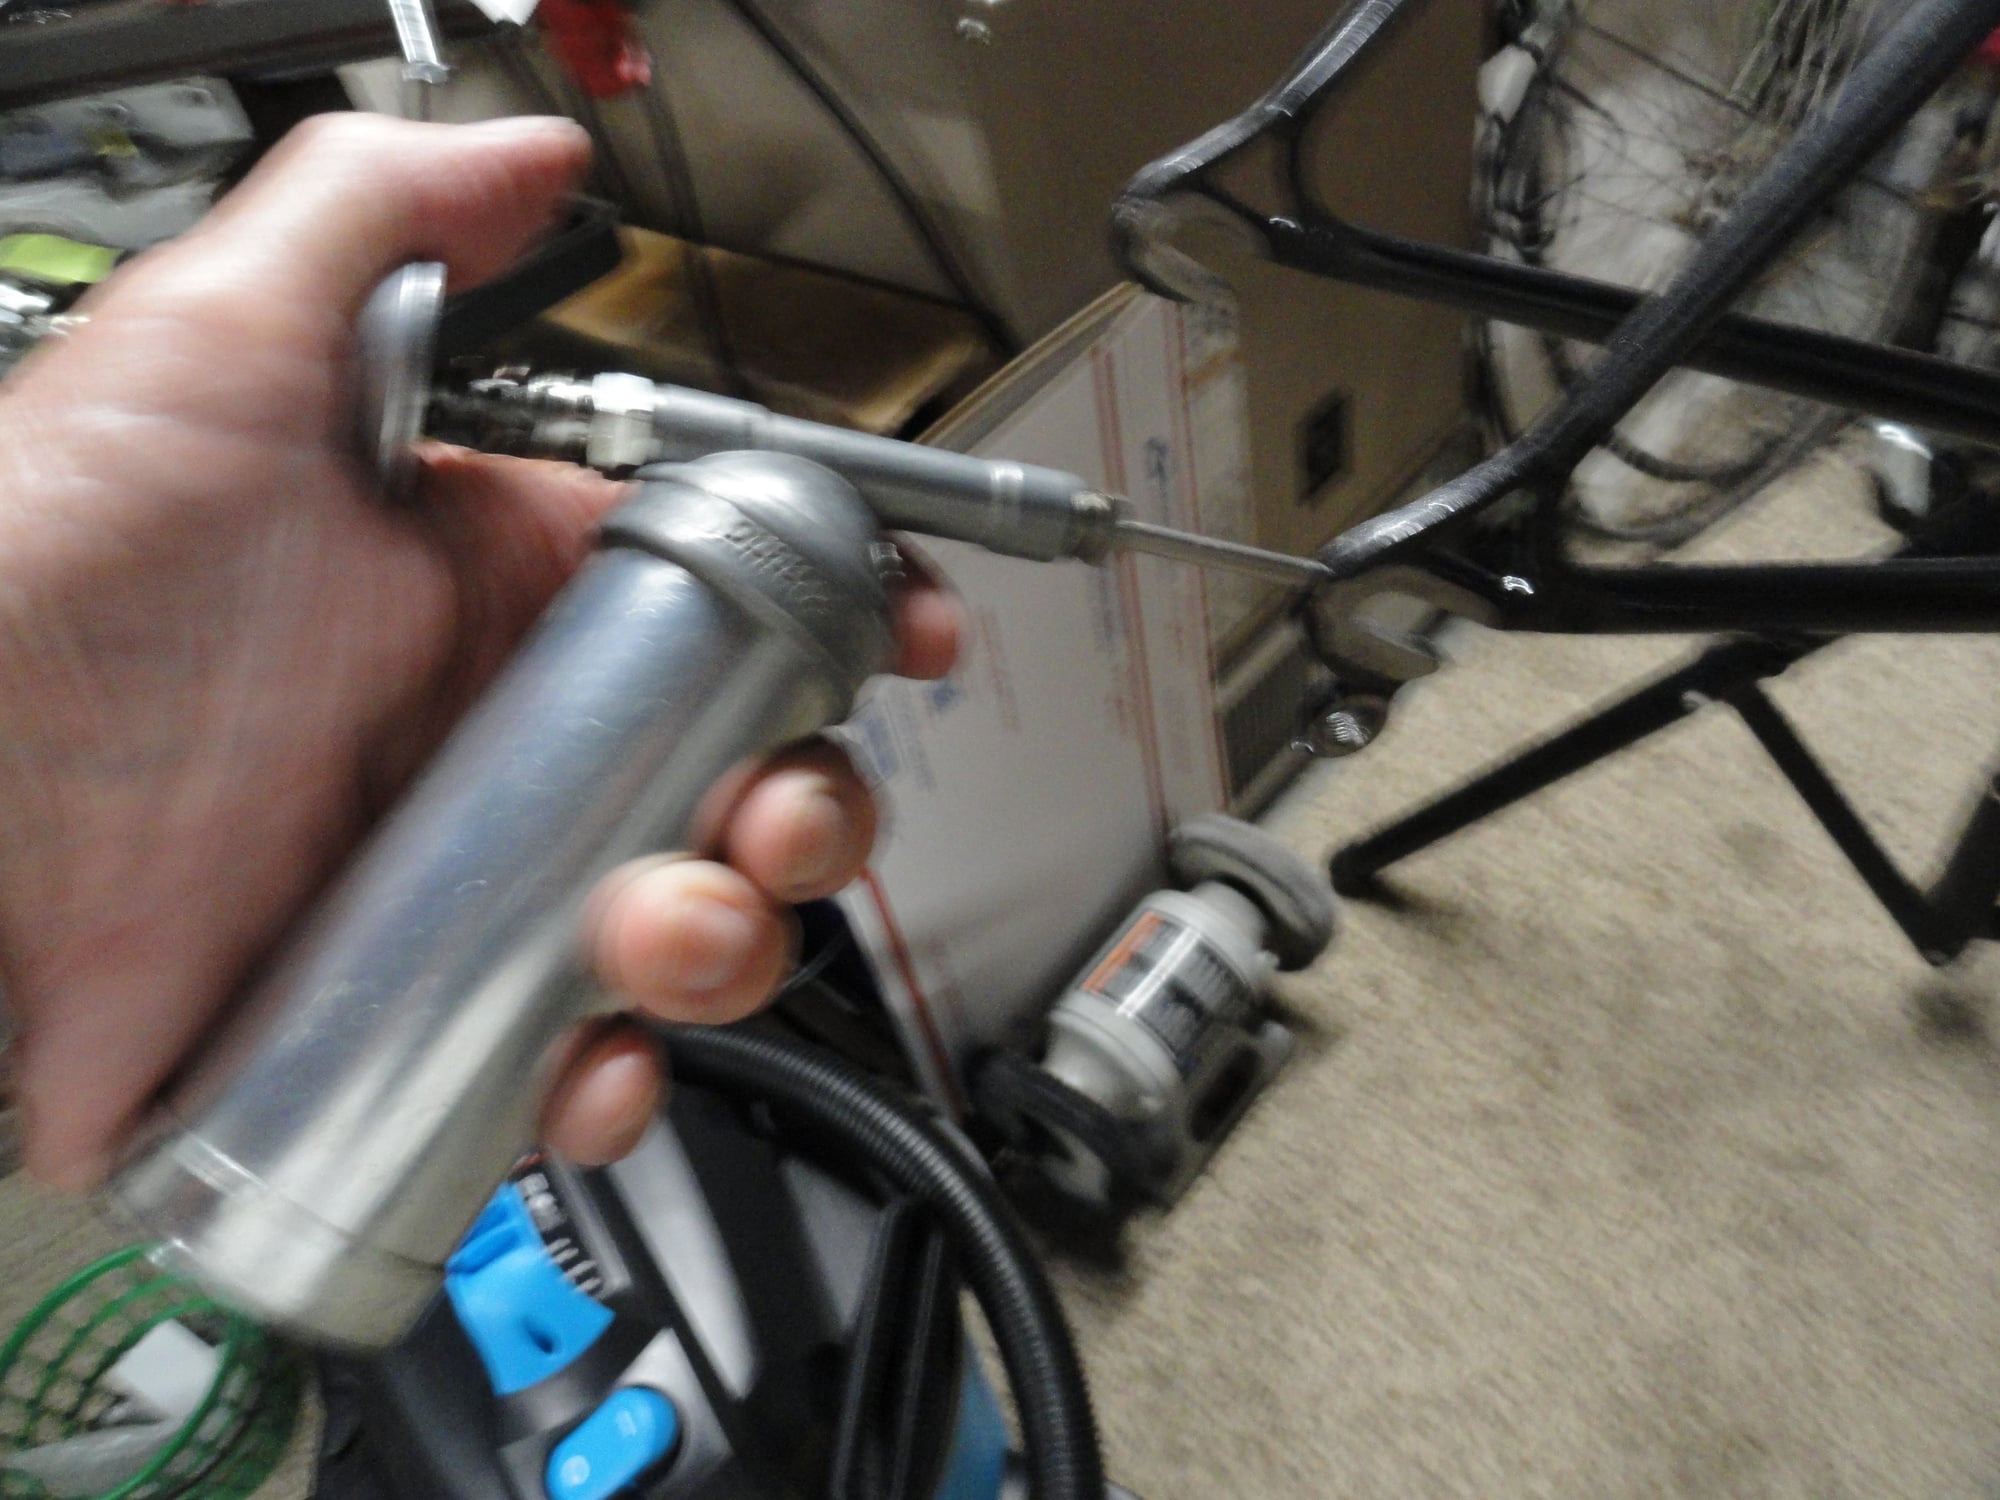
I have a light grease mix in the Dualco gun that I fill the screw opening with

When I install the adjuster screw the grease pushes out.( it confirms that I have indeed filled the threaded chamber).

I buy the barrel end caps from VieVelo on e-bay. A couple of bucks each and gives a nice finishing touch for the like new look.
Last edited by Mad Honk; 07-07-22 at 03:39 PM.
07-07-22, 02:39 PM
#12
It's MY mountain

Join Date: Sep 2006
Location: Mt.Diablo
Posts: 10,002
Bikes: Klein, Merckx, Trek
Mentioned: 70 Post(s)
Tagged: 0 Thread(s)
Quoted: 4338 Post(s)
Liked 2,981 Times
in
1,617 Posts
Did you get the one in back of the seat tube?
I always liked saying that the guy drafting me would know I was riding a Ciocc.
I always liked saying that the guy drafting me would know I was riding a Ciocc.
07-07-22, 03:48 PM
#13
Senior Member
Thread Starter
Join Date: May 2019
Location: Bloomington, IN
Posts: 2,949
Bikes: Paramount, Faggin, Ochsner, Ciocc, Basso
Mentioned: 117 Post(s)
Tagged: 0 Thread(s)
Quoted: 1303 Post(s)
Liked 1,911 Times
in
1,141 Posts
Scott,
First one I installed (and even have a spare in case it might get damaged)! I'm going to enjoy building this one up. I have dialed back a bit on the kit and I am thinking it will get the NR treatment. I have multiples of the NR low flange hubs and plenty of MA40's. I'm hoping Cycles 365 will have boxes of DT champion spokes back in stock by now. They were depleted in Feb. due to the supply chain issues. I'll call tomorrow after doing the length calculations and cross my fingers. Smiles, MH
First one I installed (and even have a spare in case it might get damaged)! I'm going to enjoy building this one up. I have dialed back a bit on the kit and I am thinking it will get the NR treatment. I have multiples of the NR low flange hubs and plenty of MA40's. I'm hoping Cycles 365 will have boxes of DT champion spokes back in stock by now. They were depleted in Feb. due to the supply chain issues. I'll call tomorrow after doing the length calculations and cross my fingers. Smiles, MH
07-07-22, 09:48 PM
#14
Senior Member
Join Date: Oct 2020
Location: Phoenix, AZ
Posts: 909
Bikes: 1964(?) Frejus Tour de France, 1967(?) Dawes Double Blue, 1979 Trek 710, 1982 Claud Butler Dalesman, 1983 Schwinn Paramount Elite, 2014 Brompton, maybe a couple more
Mentioned: 8 Post(s)
Tagged: 0 Thread(s)
Quoted: 310 Post(s)
Liked 679 Times
in
331 Posts
07-08-22, 04:01 AM
#16
Senior Member
Join Date: Nov 2013
Location: Near Pottstown, PA: 30 miles NW of Philadelphia
Posts: 2,186
Bikes: 2 Trek Mtn, Cannondale R600 road, 6 vintage road bikes
Mentioned: 83 Post(s)
Tagged: 0 Thread(s)
Quoted: 472 Post(s)
Liked 1,028 Times
in
404 Posts
You, Sir, must have magic fingers! I bought that tap too but could simply NOT put a tap wrench that large on it. I lost all feel for what the threads were doing. I made a special purpose small tap �key� which gives me only enough torque to do the job but so little torque that when the tap says �hold it, sumptin is wrong. Back out and try again� I can tell. I guess us �sparky�s� should fear such tiny tools.
07-09-22, 04:35 PM
#17
Senior Member
Thread Starter
Join Date: May 2019
Location: Bloomington, IN
Posts: 2,949
Bikes: Paramount, Faggin, Ochsner, Ciocc, Basso
Mentioned: 117 Post(s)
Tagged: 0 Thread(s)
Quoted: 1303 Post(s)
Liked 1,911 Times
in
1,141 Posts
SwimmerMike I got a bit of time today after retrieving my truck from a starter solenoid that was shooting sparks out of it and not wanting to start. So I picked up a new starter and will try to change it tomorrow. But back to bikes...
I used the 5x.8mm tap to clean a few frame parts and the 10X1.0mm to clean the hanger. I used a wire brush cleaning bit that I use for golf club repairs to clean the BB shell and then oiled the inner tubes of the frame to prevent corrosion from inside. Some more pics for the Original Owner. I hope he likes what I have doe to his frame thus far. Smiles, MH
Water bottle receiver cleaning with a 5X.8mm tap.

Shift boss cleaning with same tap.
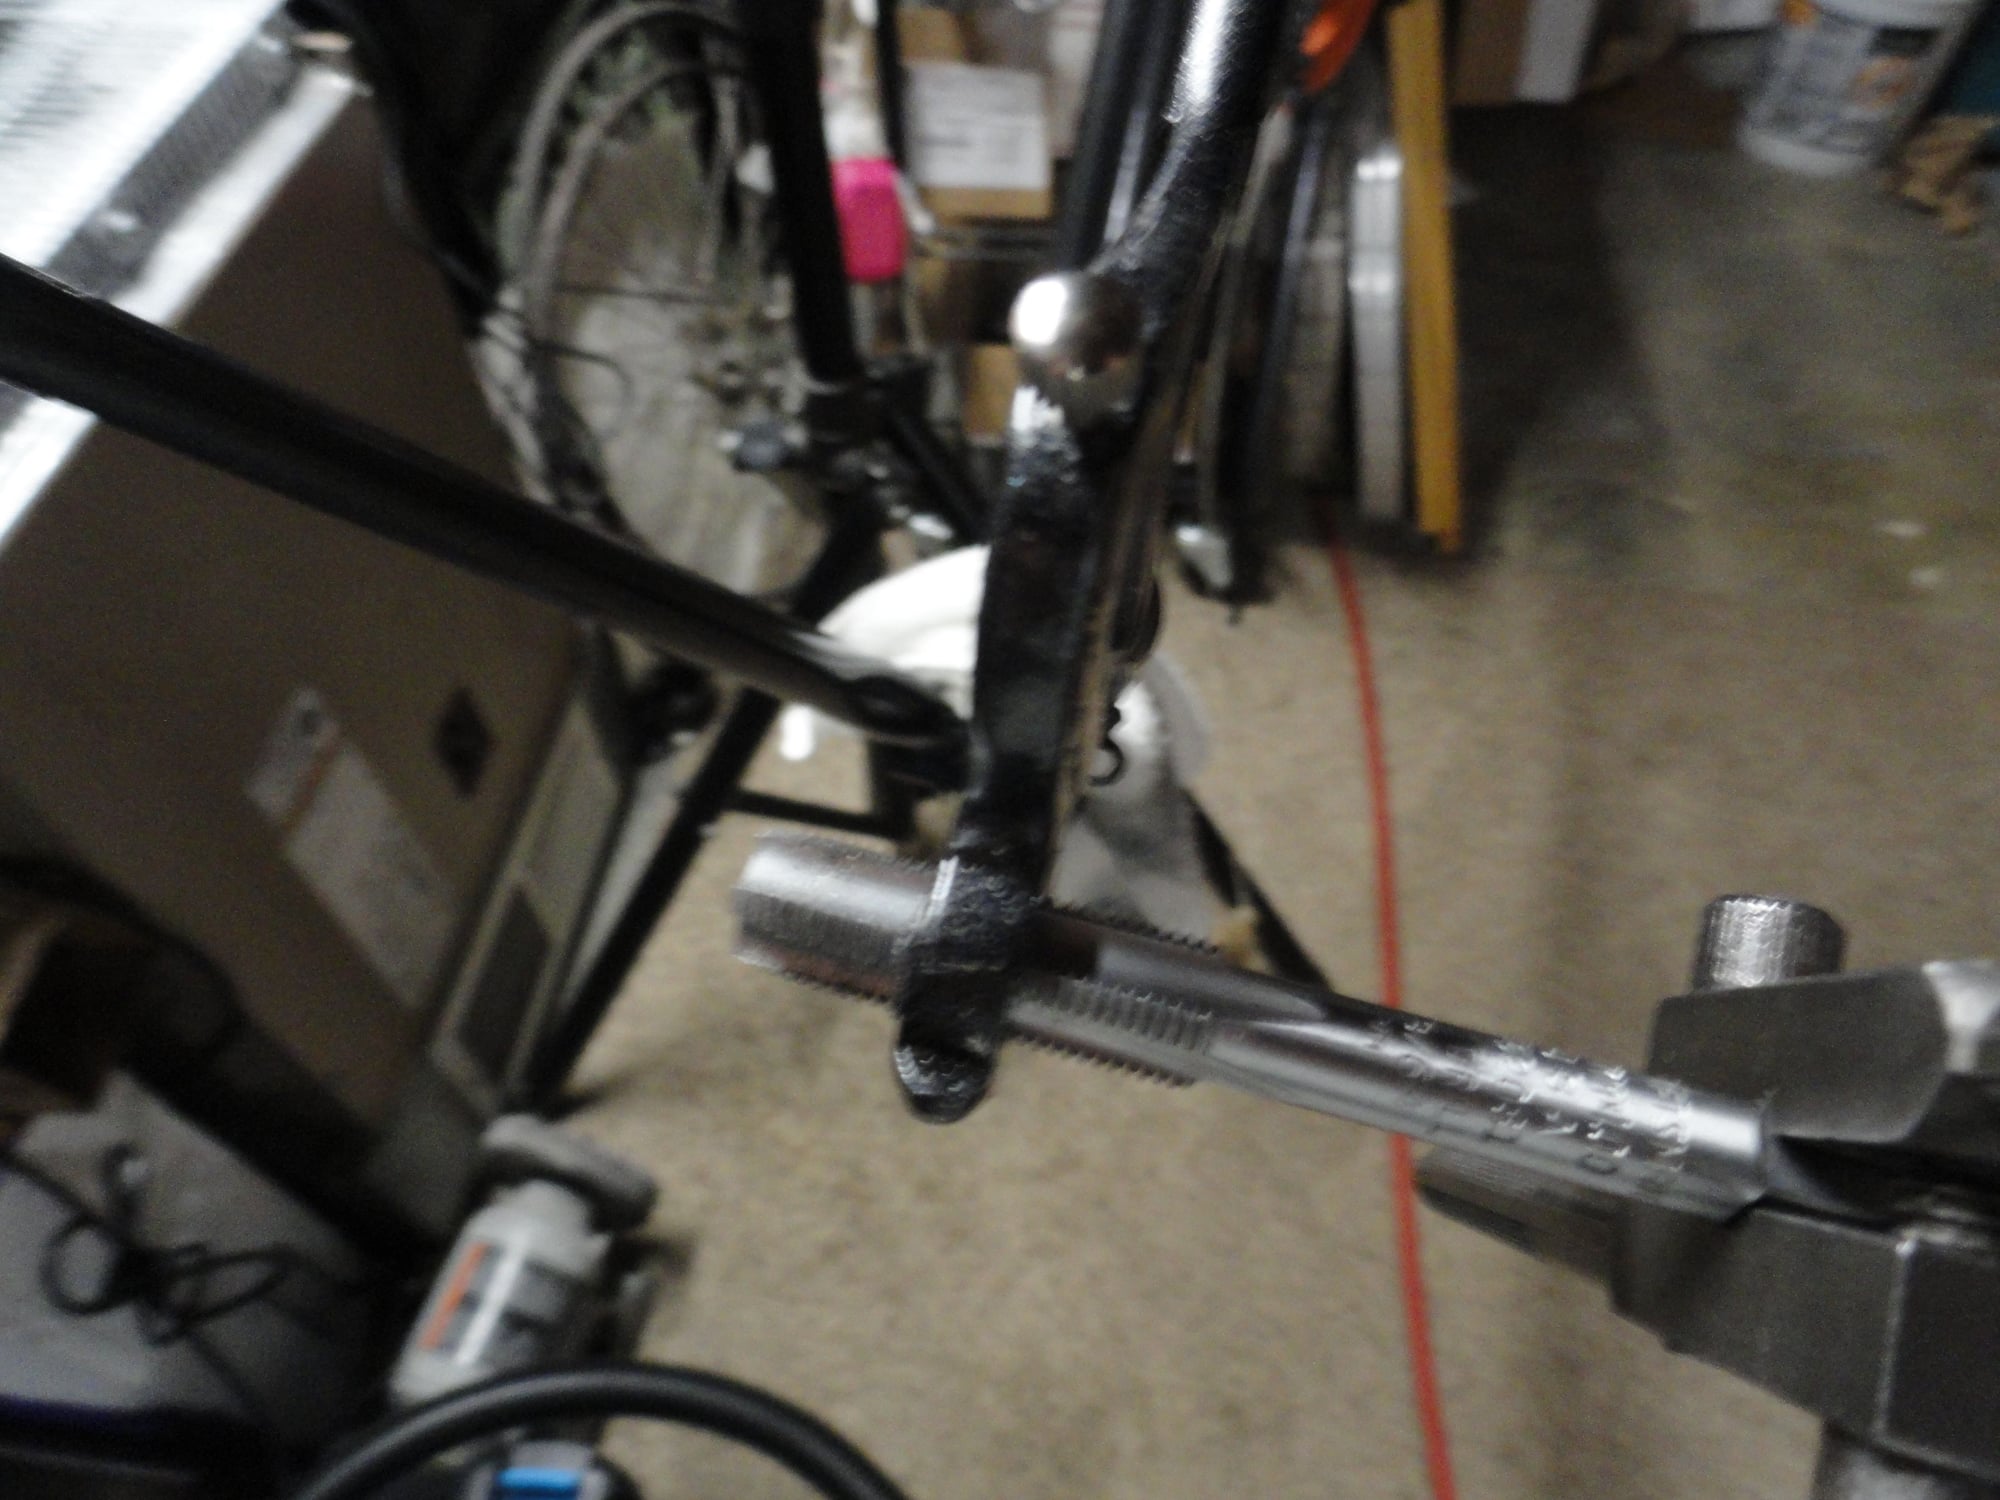
Cleaning up the threads for the derailleur.

The oil cloth on a wire used to oil the insides of the tubes.

Long screwdriver to push the oil cloth through the tubes.
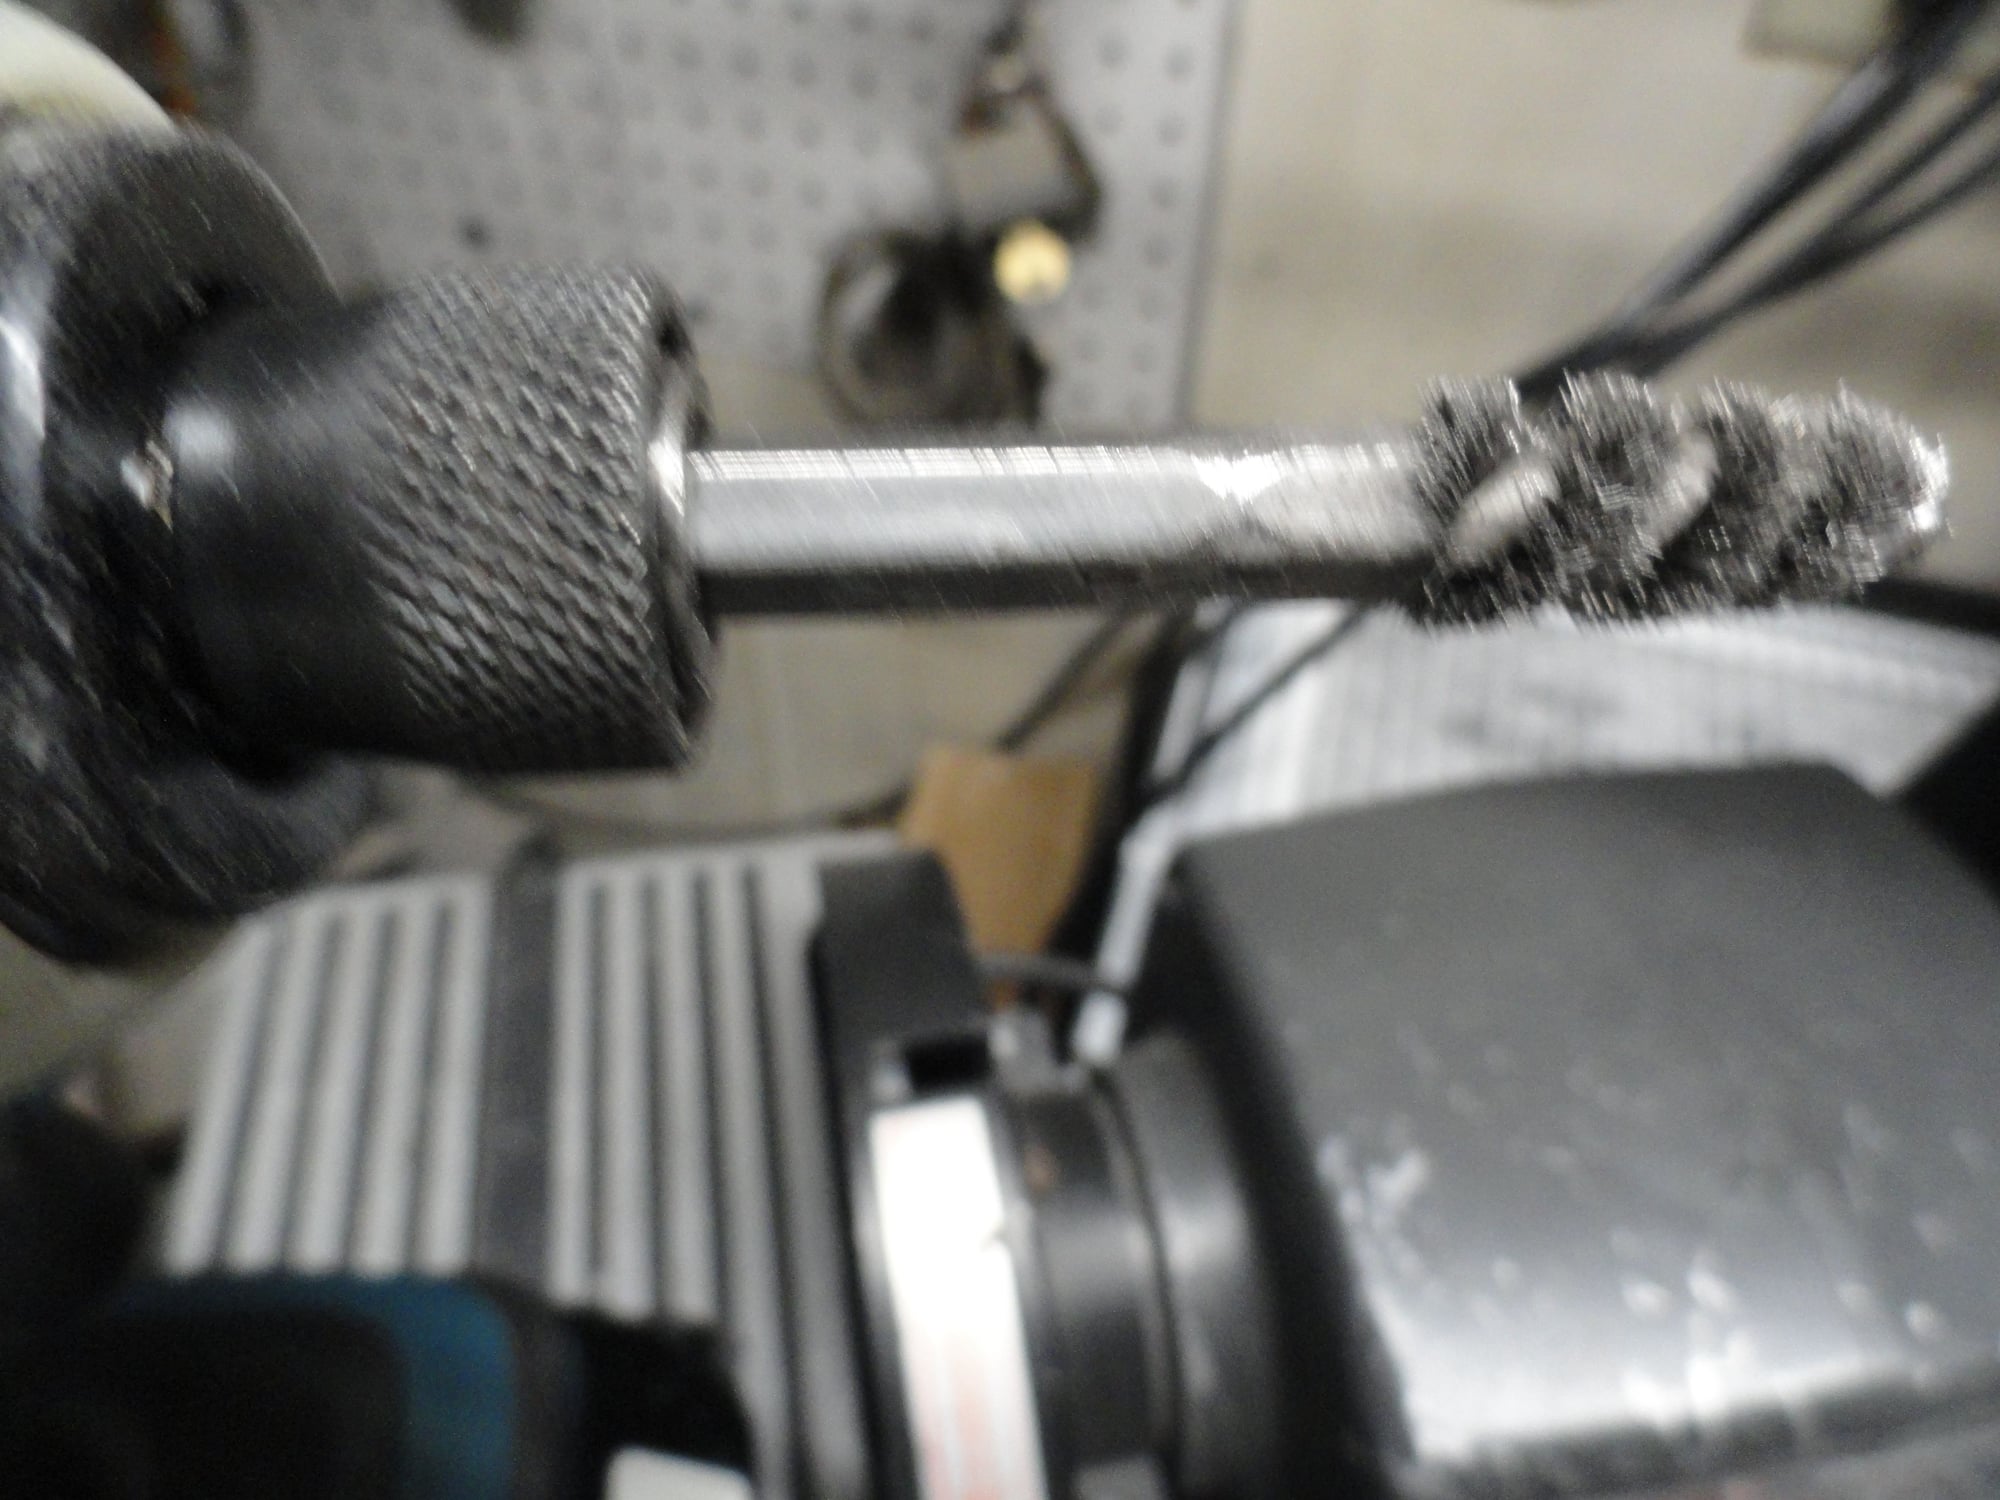
bit used to clean the BB threads
I used the 5x.8mm tap to clean a few frame parts and the 10X1.0mm to clean the hanger. I used a wire brush cleaning bit that I use for golf club repairs to clean the BB shell and then oiled the inner tubes of the frame to prevent corrosion from inside. Some more pics for the Original Owner. I hope he likes what I have doe to his frame thus far. Smiles, MH
Water bottle receiver cleaning with a 5X.8mm tap.
Shift boss cleaning with same tap.
Cleaning up the threads for the derailleur.
The oil cloth on a wire used to oil the insides of the tubes.
Long screwdriver to push the oil cloth through the tubes.
bit used to clean the BB threads
Likes For Mad Honk:
07-10-22, 05:58 PM
#18
Senior Member
Thread Starter
Join Date: May 2019
Location: Bloomington, IN
Posts: 2,949
Bikes: Paramount, Faggin, Ochsner, Ciocc, Basso
Mentioned: 117 Post(s)
Tagged: 0 Thread(s)
Quoted: 1303 Post(s)
Liked 1,911 Times
in
1,141 Posts
jdawginsc I got to work a bit on the Ciocc today. Started my day with a critter problem of a groundhog in the neighbors yard. About 1/2 hour in the groundhog Auschwitz and the problem was solved but it took part of the day. I used a few items that have been on my desk to put together a headset and install it. I used a set of bearings from a fella who owned a bike shop and still rides a J P Weigle bike. New bearings installed and some yellow grease to make the headset work. I need to find a couple of spacers and a Campy top nut but it will work for now. Pics:

Today's progress headset installed.
Today's progress headset installed.
Likes For Mad Honk:
07-14-22, 03:19 PM
#19
Senior Member
Thread Starter
Join Date: May 2019
Location: Bloomington, IN
Posts: 2,949
Bikes: Paramount, Faggin, Ochsner, Ciocc, Basso
Mentioned: 117 Post(s)
Tagged: 0 Thread(s)
Quoted: 1303 Post(s)
Liked 1,911 Times
in
1,141 Posts
jdawginsc Worked a bit on the build today and did some small things like adding the spacers for the headset stack height. Funny how about $2 worth of parts can hold up a build. Then off to the NR stash boxes of refurbished part to pick out the items to hang on the Christmas tree. I settled on a first generation SR band on that had the cable binder bot stripped out when it came in. It now sports the 6mmX1mm button head bolt for a cable binder that can't be distinguished from the original at first glance. Next item was a NR bottom bracket from the BB drawer. Not a lot of Italian left so I may have to restock a bit. I'll find a grease shield to add before buttoning the BB up. Rear derailleur is a NR that has been refurbished with matching sealed jockey pulleys. Pics:

These held up the headset install for a couple of days. No chrome rings available so the HS has a racing stripe now.

The box of reconditioned front derailleurs. I picked one that had damaged threads when it came in for the cable binder bolt. I re-tap the arm to 6X1 and use a button head stainless bolt to replace the original.

Nothing special on this BB choice. I am low on the Italian size but have plenty of English on hand. I guess I need to do a few more non-Italian frames.

Refurbished NR rear derailleur with new stainless adjuster bolts and sealed pulleys.

After refurbishing the part looks like new for the install. I am thinking the yellow might blend in with the yellow bits on the frame logo.
Hope the original owner likes what I have done to his bike. Smiles, MH
These held up the headset install for a couple of days. No chrome rings available so the HS has a racing stripe now.
The box of reconditioned front derailleurs. I picked one that had damaged threads when it came in for the cable binder bolt. I re-tap the arm to 6X1 and use a button head stainless bolt to replace the original.
Nothing special on this BB choice. I am low on the Italian size but have plenty of English on hand. I guess I need to do a few more non-Italian frames.
Refurbished NR rear derailleur with new stainless adjuster bolts and sealed pulleys.
After refurbishing the part looks like new for the install. I am thinking the yellow might blend in with the yellow bits on the frame logo.
Hope the original owner likes what I have done to his bike. Smiles, MH
07-14-22, 03:44 PM
#20
Edumacator
Join Date: Jan 2018
Location: Goose Creek, SC
Posts: 6,808
Bikes: '87 Crestdale, '87 Basso Gap, '92 Rossin Performance EL-OS, 1990 VanTuyl, 1980s Losa, 1985 Trek 670, 1982 AD SLE, 1987 PX10, etc...
Mentioned: 59 Post(s)
Tagged: 0 Thread(s)
Quoted: 2439 Post(s)
Liked 3,128 Times
in
1,967 Posts
I like the choice of the front derailleur, BB and the yellow/gold pulleys will look cool (and not crack). I was thinking maybe the SR treatment for the crank chain-rings would actually go nicely with the NR other stuff, even if not a perfect match.
Of course, you could go redonculous and live in fear of the war department..
Exhibit A https://www.ebay.com/itm/26559302596...Bk9SR56UxOq_YA
Exhibit B https://www.ebay.com/itm/26571591608...Bk9SR46fquq_YA
Exhibit C https://www.ebay.com/itm/26573741075...Bk9SR46fquq_YA
Exhibit D (as in fear of death) https://www.ebay.com/itm/13412503163...Bk9SR4qfquq_YA
There are water bottles and caps for cranks and pedals available too!
------------------------------------
And of course...one pops up in my size 1 year too late...
https://www.ebay.com/itm/22507041149...Bk9SR4ifquq_YA
__________________
1987 Crest Cannondale, 1987 Basso Gap, 1992 Rossin Performance EL, 1990ish Van Tuyl, 1985 Trek 670, 1982 AD SLE, 2003 Pinarello Surprise, 1990ish MBK Atlantique, 1987 Peugeot Competition, 1987 Nishiki Tri-A, 1981 Faggin, 1996 Cannondale M500, 1984 Mercian, 1982 AD SuperLeicht, 1985 Massi (model unknown), 1988 Daccordi Griffe , 1989 Fauxsin MTB, 1981 Ciocc Mockba, 1992 Bianchi Giro, 1977 Colnago Super
1987 Crest Cannondale, 1987 Basso Gap, 1992 Rossin Performance EL, 1990ish Van Tuyl, 1985 Trek 670, 1982 AD SLE, 2003 Pinarello Surprise, 1990ish MBK Atlantique, 1987 Peugeot Competition, 1987 Nishiki Tri-A, 1981 Faggin, 1996 Cannondale M500, 1984 Mercian, 1982 AD SuperLeicht, 1985 Massi (model unknown), 1988 Daccordi Griffe , 1989 Fauxsin MTB, 1981 Ciocc Mockba, 1992 Bianchi Giro, 1977 Colnago Super
07-14-22, 05:04 PM
#21
Senior Member
Thread Starter
Join Date: May 2019
Location: Bloomington, IN
Posts: 2,949
Bikes: Paramount, Faggin, Ochsner, Ciocc, Basso
Mentioned: 117 Post(s)
Tagged: 0 Thread(s)
Quoted: 1303 Post(s)
Liked 1,911 Times
in
1,141 Posts
Jdawg,
Greg gets enough of my $ as it is for decals and such. I doubt that panto-ed parts will make it ride any better, but I could get a magic marker and panto some myself. Smiles, MH
Greg gets enough of my $ as it is for decals and such. I doubt that panto-ed parts will make it ride any better, but I could get a magic marker and panto some myself. Smiles, MH
07-20-22, 01:42 PM
#22
Senior Member
Thread Starter
Join Date: May 2019
Location: Bloomington, IN
Posts: 2,949
Bikes: Paramount, Faggin, Ochsner, Ciocc, Basso
Mentioned: 117 Post(s)
Tagged: 0 Thread(s)
Quoted: 1303 Post(s)
Liked 1,911 Times
in
1,141 Posts
SwimmerMike jdawginsc ,
A little bit of golf work this morning and now back to the build process.... I had to open a new tub of grease to get started and then got out the big boy toys to do the bottom bracket. Some pics of the progress:

Used the Var cup installing tool for the fixed cup. Plenty of leverage to seat the cup properly.

More of the Var tools to set the adjustable cup. I have had this tool for at least 35 years and still have not had to replace the pins for it.

Same here for this lock ring tool about 35 years and still going strong.
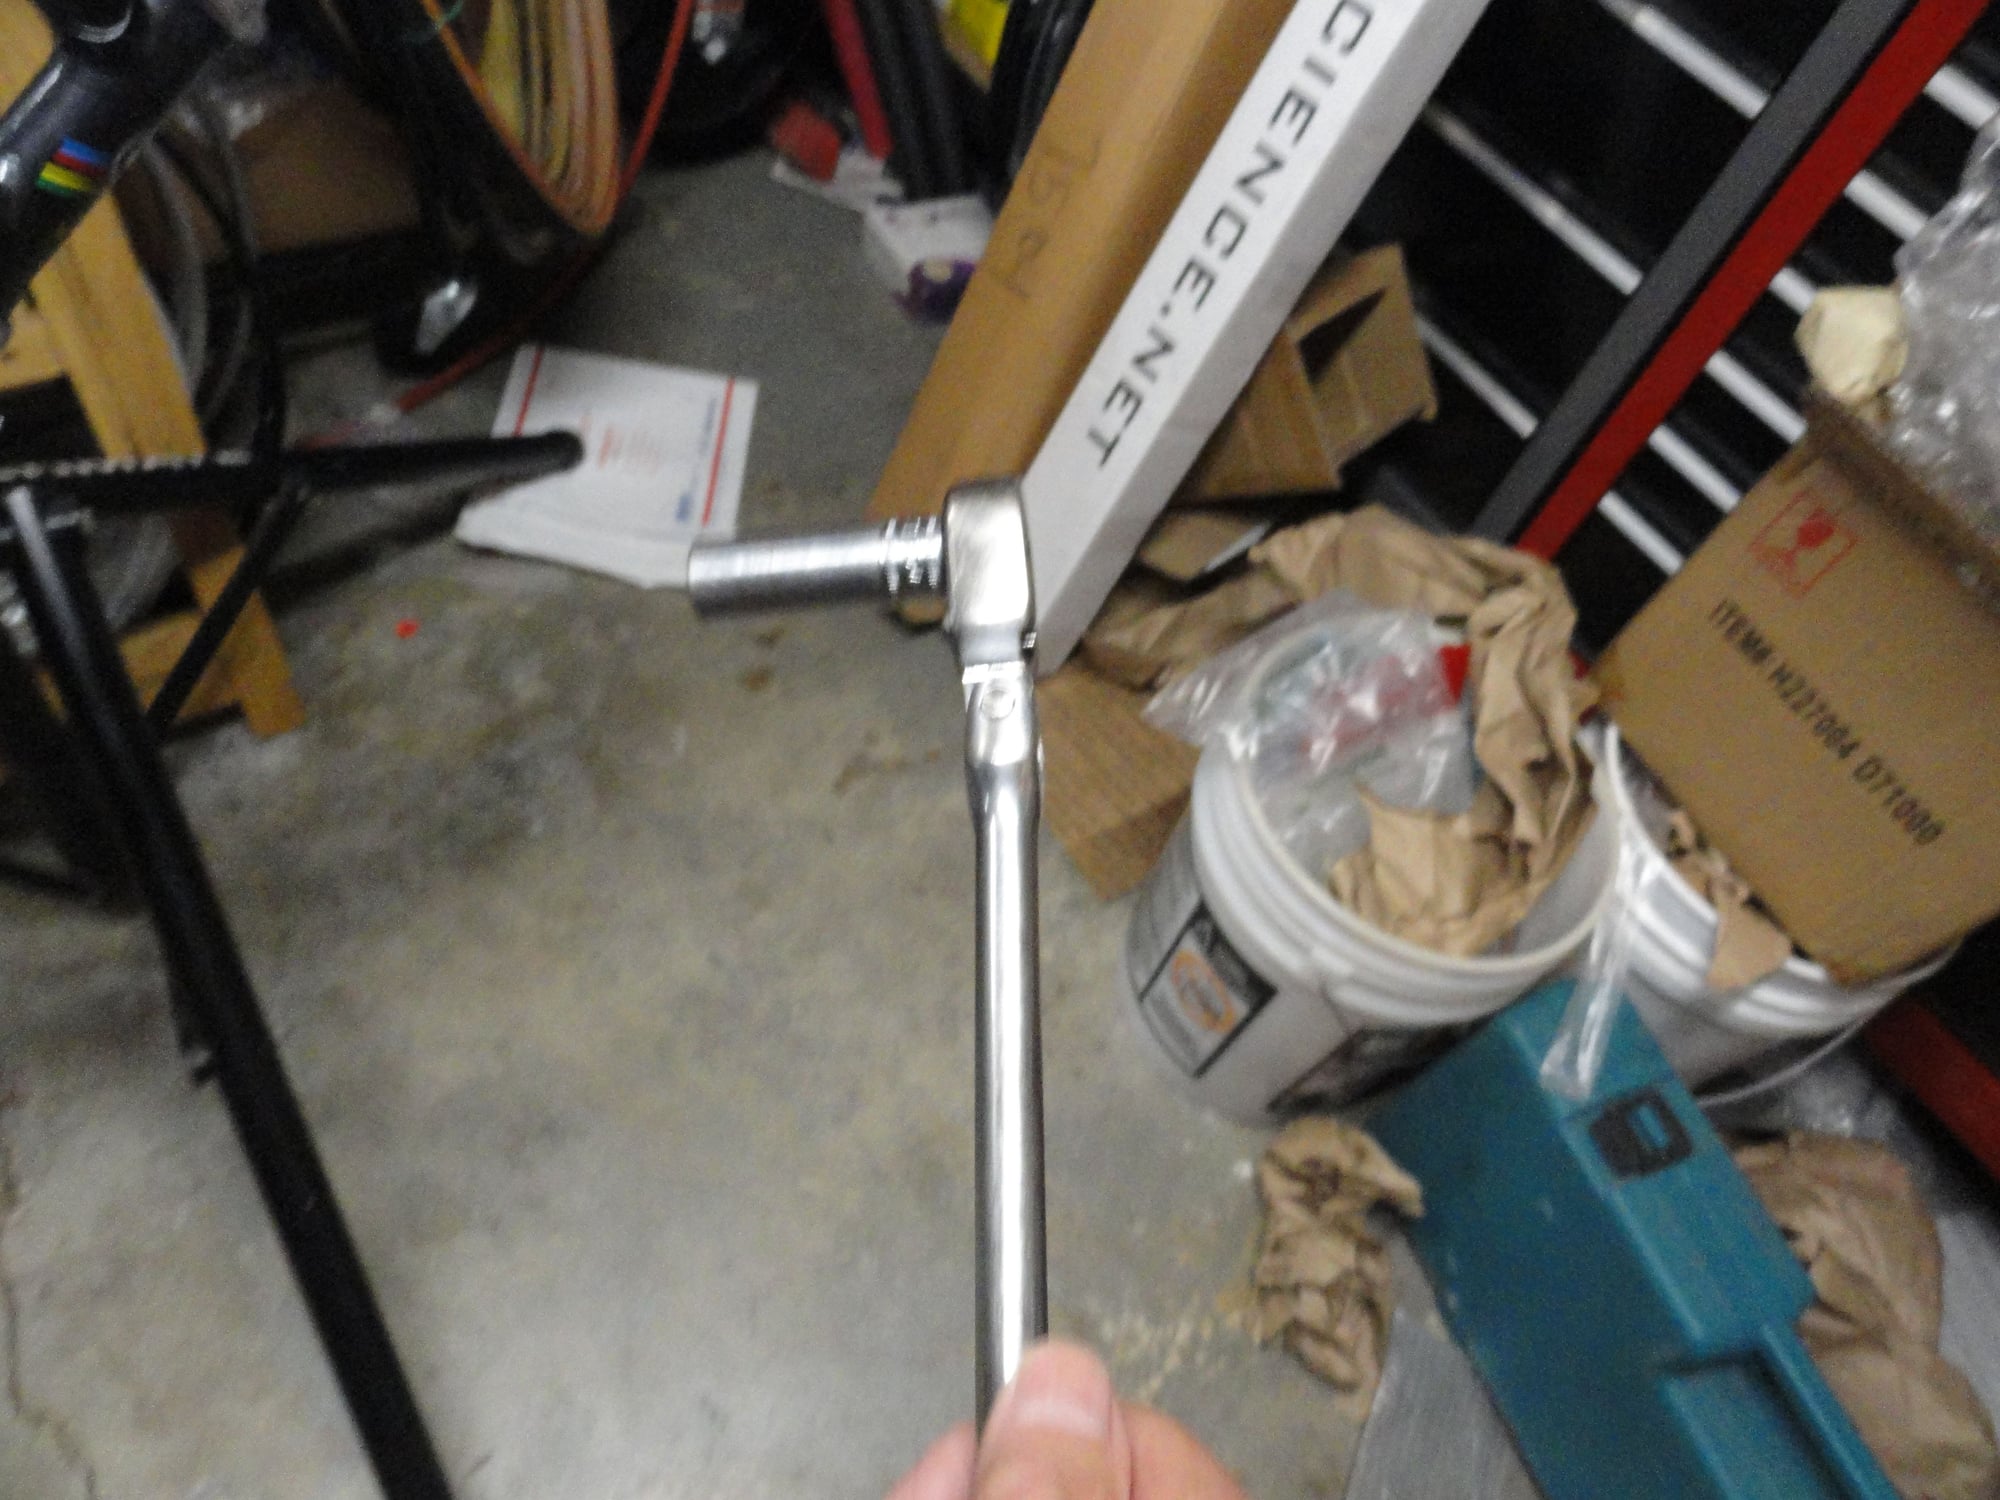
Mac tools ratchet with a long handle for plenty of torque and a six point socket. I use an 8 grade bolt with new washers for the spindle assembly.

Only a few turns and the arm is secure and ready for the FD install. I had this right arm that I bought from e-bay about a year ago, but it is an orphan. I am now looking for a rider quality left arm to complete the set.
Mike, I hope the previous owner likes what I am doing to this bike. Smiles, MH
A little bit of golf work this morning and now back to the build process.... I had to open a new tub of grease to get started and then got out the big boy toys to do the bottom bracket. Some pics of the progress:
Used the Var cup installing tool for the fixed cup. Plenty of leverage to seat the cup properly.
More of the Var tools to set the adjustable cup. I have had this tool for at least 35 years and still have not had to replace the pins for it.
Same here for this lock ring tool about 35 years and still going strong.
Mac tools ratchet with a long handle for plenty of torque and a six point socket. I use an 8 grade bolt with new washers for the spindle assembly.
Only a few turns and the arm is secure and ready for the FD install. I had this right arm that I bought from e-bay about a year ago, but it is an orphan. I am now looking for a rider quality left arm to complete the set.
Mike, I hope the previous owner likes what I am doing to this bike. Smiles, MH
Likes For Mad Honk:
07-20-22, 02:25 PM
#23
Senior Member

Join Date: Jun 2008
Location: Louisville, KY
Posts: 13,447
Mentioned: 33 Post(s)
Tagged: 0 Thread(s)
Quoted: 4235 Post(s)
Liked 2,949 Times
in
1,808 Posts
really nice
07-20-22, 03:57 PM
#24
Senior Member
Thread Starter
Join Date: May 2019
Location: Bloomington, IN
Posts: 2,949
Bikes: Paramount, Faggin, Ochsner, Ciocc, Basso
Mentioned: 117 Post(s)
Tagged: 0 Thread(s)
Quoted: 1303 Post(s)
Liked 1,911 Times
in
1,141 Posts
Ok I got back to the project this afternoon and found that the front derailleur I picked was too small to fit the tube so back to the box of FD's and found a larger diameter clamp and installed that on the frame. A few turns of an allen tri-wrench and the rear was on. Next up is getting a pair of of shift levers, and cleaning up a seat pillar for install. Pics: I sure hope the OO is liking this build. Smiles, MH

Newer style of FD but still the same old Campy.
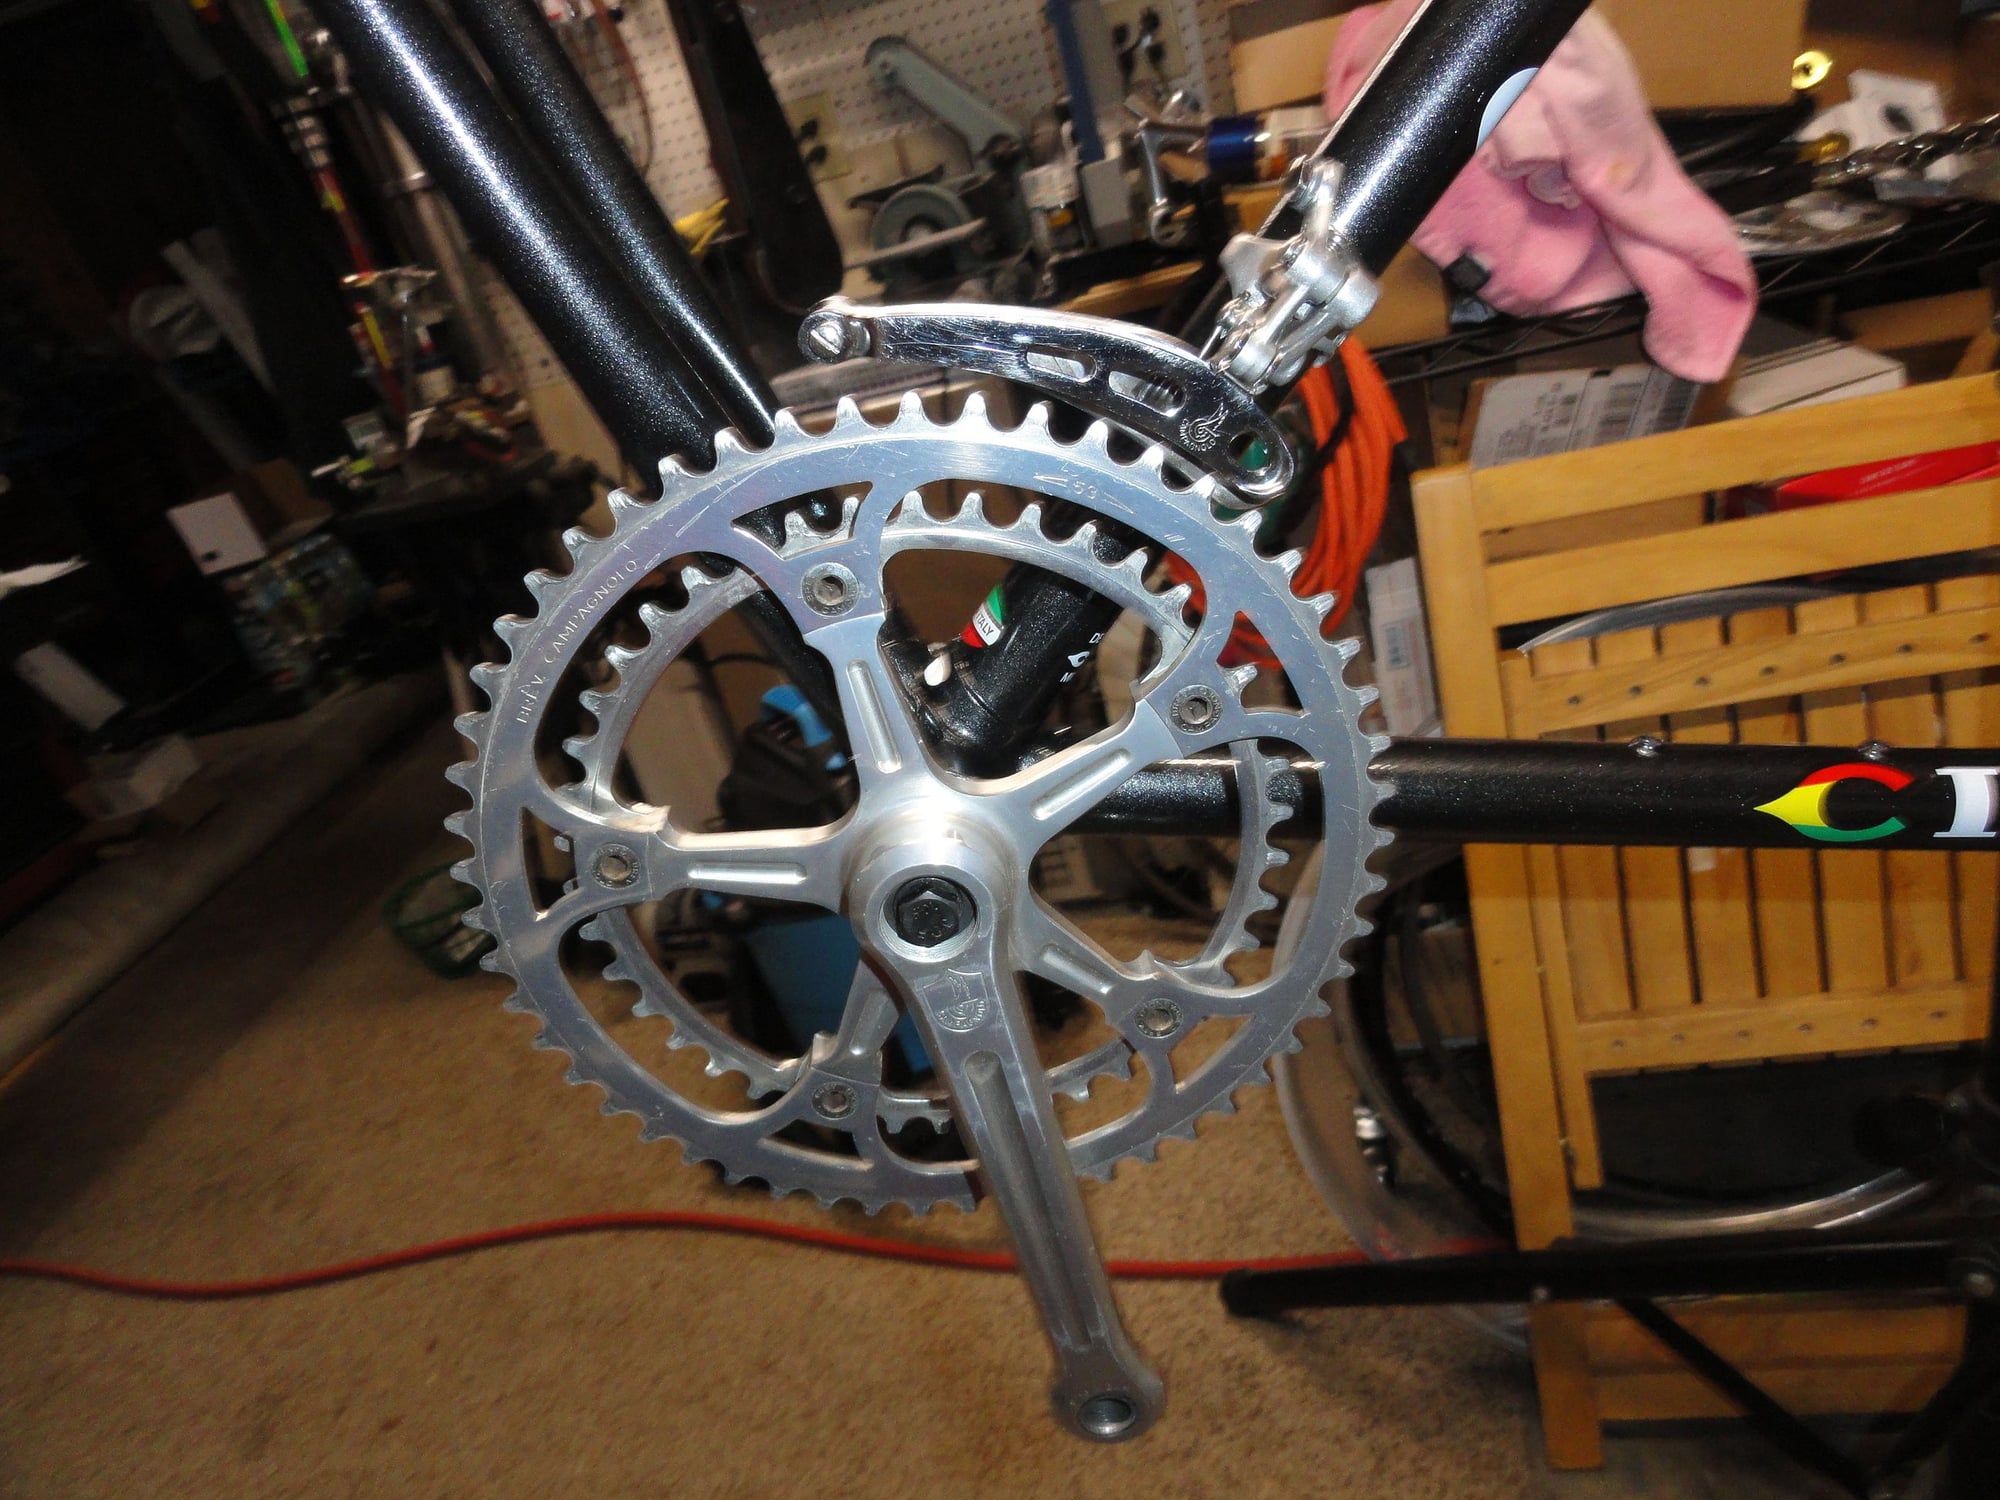
After setting and a quick adjustment it looks to be ready for action.

Rear derailleur out of it's packaging after refurbishing and a quick install.
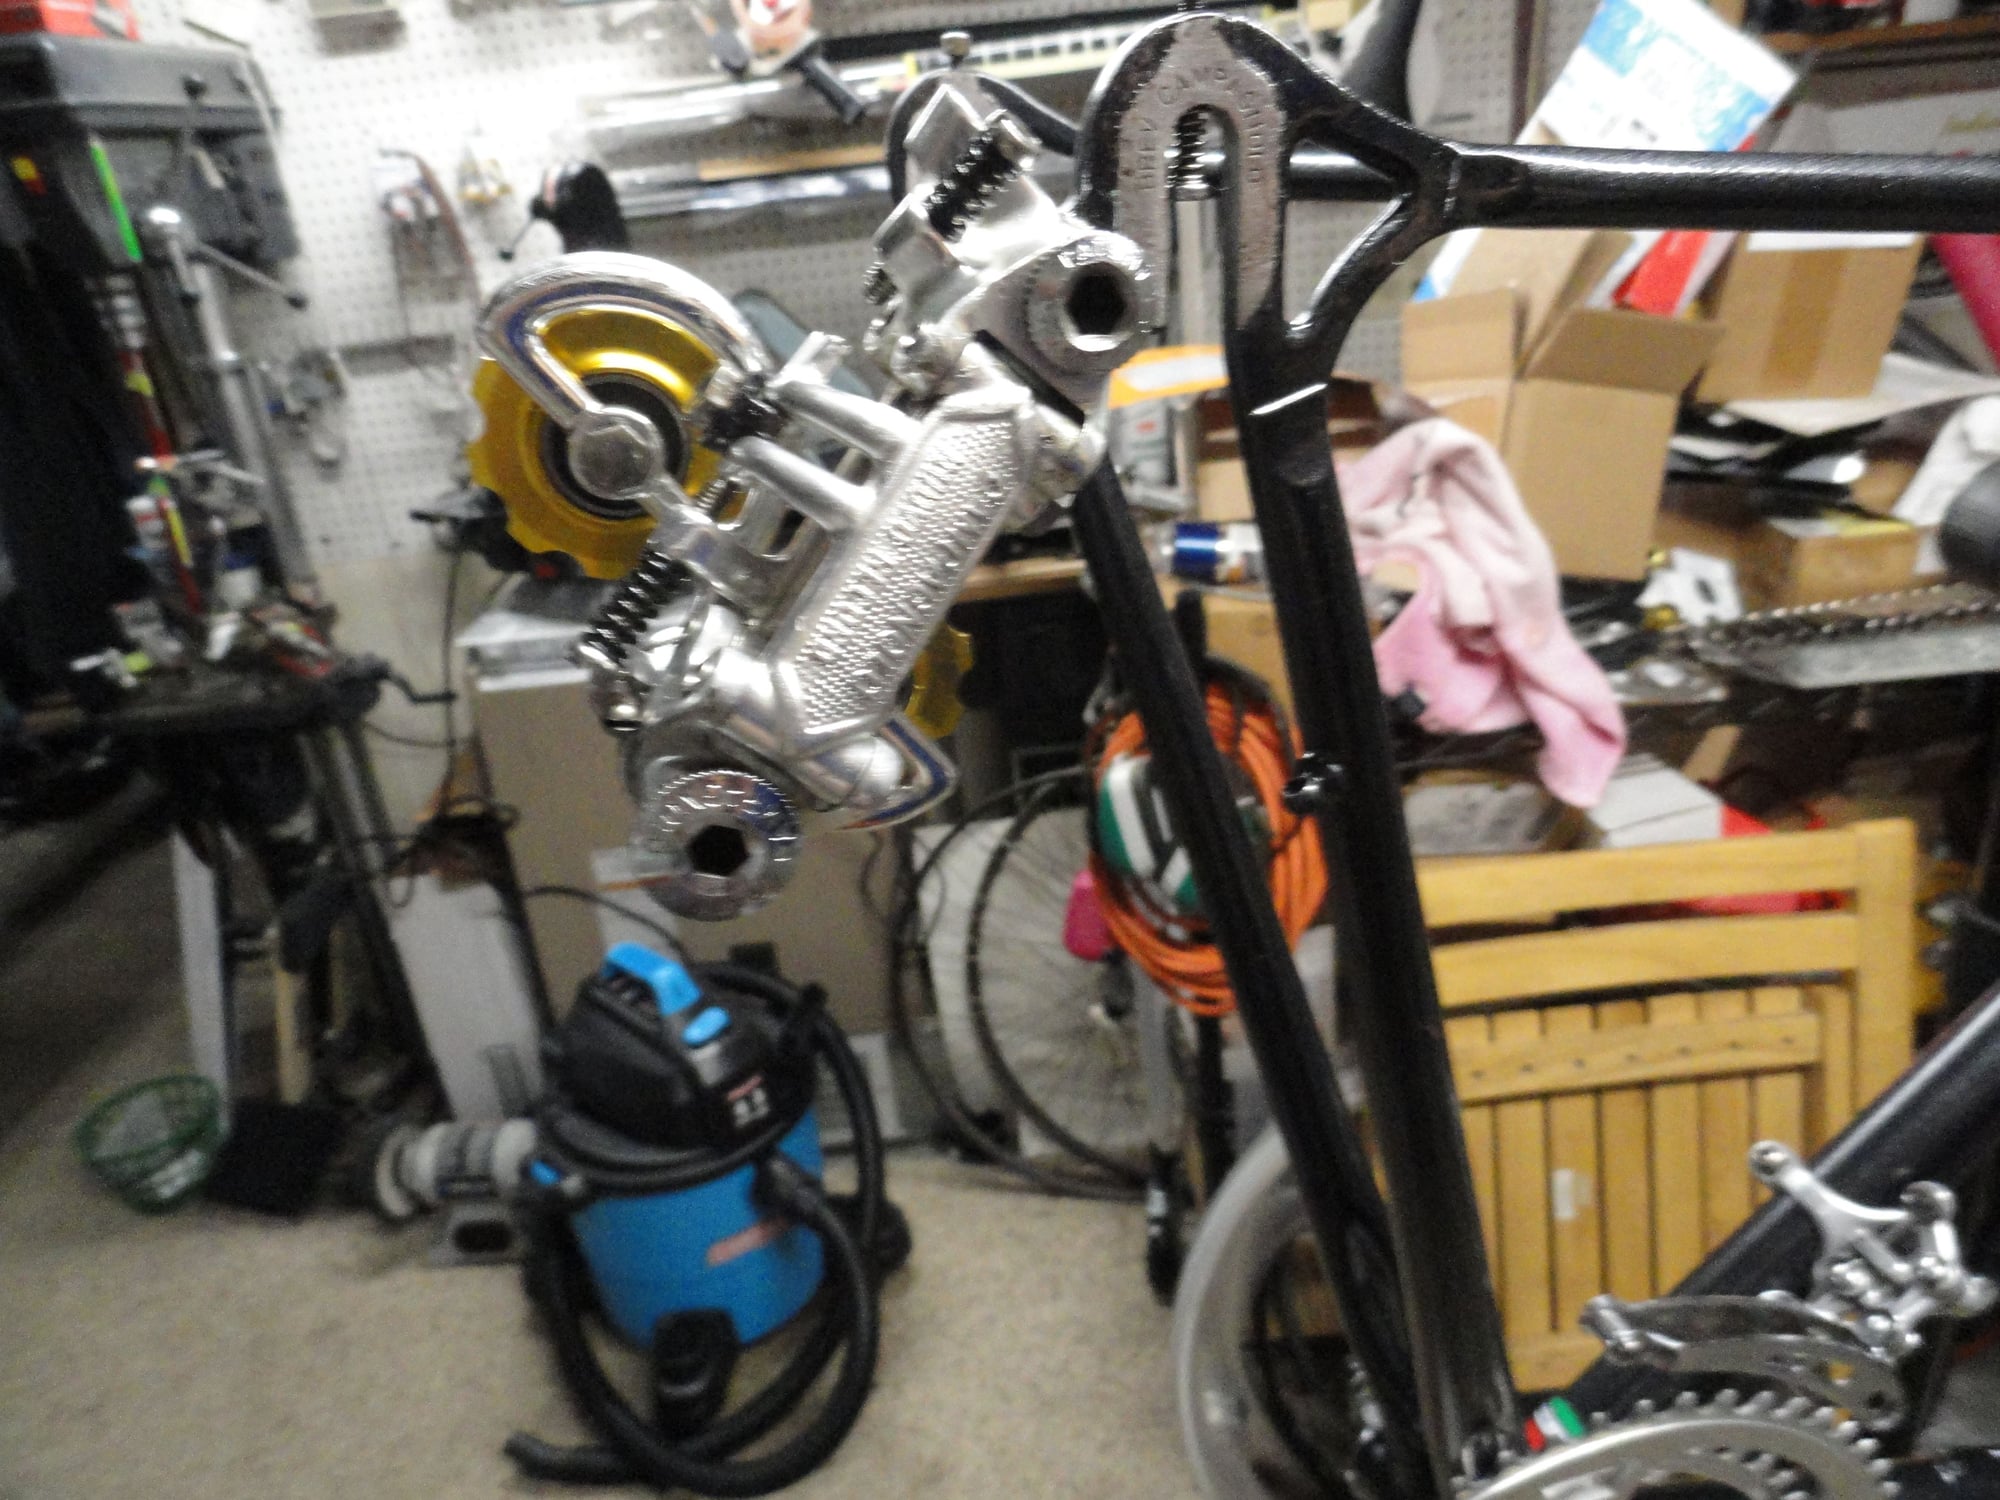
It sure is nice working on one when everything is new again.
Newer style of FD but still the same old Campy.
After setting and a quick adjustment it looks to be ready for action.
Rear derailleur out of it's packaging after refurbishing and a quick install.
It sure is nice working on one when everything is new again.
Likes For Mad Honk:
07-20-22, 06:48 PM
#25
Senior Member

Join Date: Mar 2014
Location: City of Angels
Posts: 4,870
Bikes: A few too many
Mentioned: 42 Post(s)
Tagged: 1 Thread(s)
Quoted: 1364 Post(s)
Liked 2,181 Times
in
1,183 Posts
SwimmerMike It has started to rain today for the first time in about two weeks, so some free time in the shop. I finished a rush golf club job this morning for some guy going to Carnoustie on Sunday so I can now focus on my bikes. I trust the original owner likes what I have done to his bike so far. Today starts the process of getting the small parts in place. I'll post some pics for the OO to follow along. Again thanks to both you and jdawginsc for getting this one to me.
What is in the toolkit for today's surgery.
I buy the Stainless Steel screws by the 100 from Fastenal.
Removal of any paint or debris in the drop out adjuster holes. 3X.05mm tap and easy- peasy to clean.
I have a light grease mix in the Dualco gun that I fill the screw opening with
When I install the adjuster screw the grease pushes out.( it confirms that I have indeed filled the threaded chamber).
I buy the barrel end caps from VieVelo on e-bay. A couple of bucks each and gives a nice finishing touch for the like new look.
It looks like the warhorse either smacked the camera or you a bit hard...the photos are out of focus.

Mooch
BTW, I don't think that there are enough graphic on the CIOCC, in my estimation it needs to be flying a banner like this but the 20x30 size might be a tad small.

I guess that one could buy several and make a complete kit to ride in.
__________________
"EVERY PERSON IS GUILTY OF ALL THE GOOD THEY DID NOT DO"
Voltaire
Voice recognition may sometimes create odd spelling and grammatical errors
"EVERY PERSON IS GUILTY OF ALL THE GOOD THEY DID NOT DO"
Voltaire
Voice recognition may sometimes create odd spelling and grammatical errors
Last edited by xiaoman1; 07-20-22 at 06:53 PM.