


My Miyata 1000 build and shakedown run with pics. This is my 1st resto build.
 07-05-10, 02:19 PM
#1
Senior Member
Thread Starter
Join Date: Jan 2008
Posts: 66
Bikes: 1973 concord fixie conversion, 2001 canondale
Mentioned: 0 Post(s)
Tagged: 0 Thread(s)
Quoted: 0 Post(s)
Likes: 0
Liked 0 Times
in
0 Posts
My Miyata 1000 build and shakedown run with pics. This is my 1st resto build.
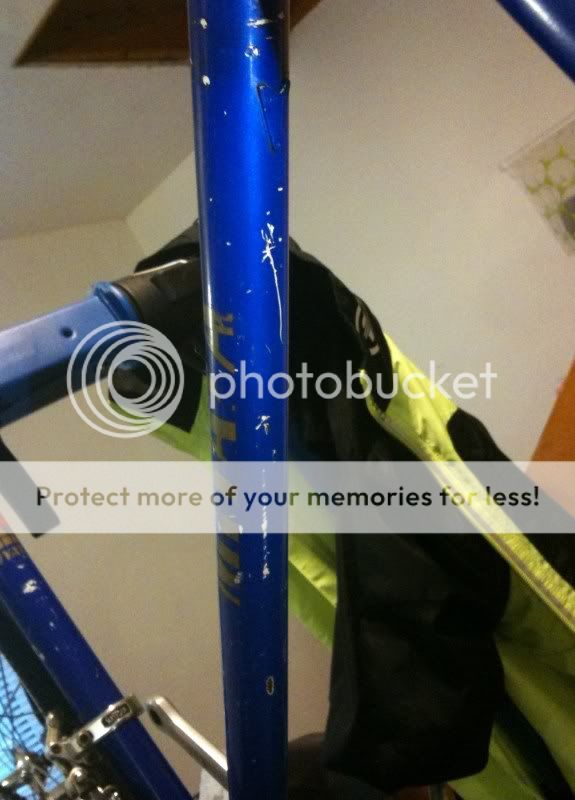
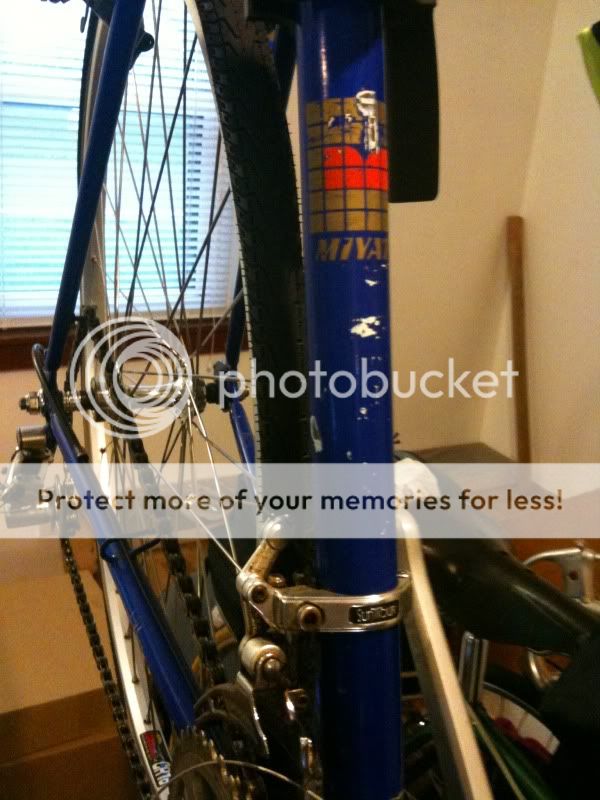
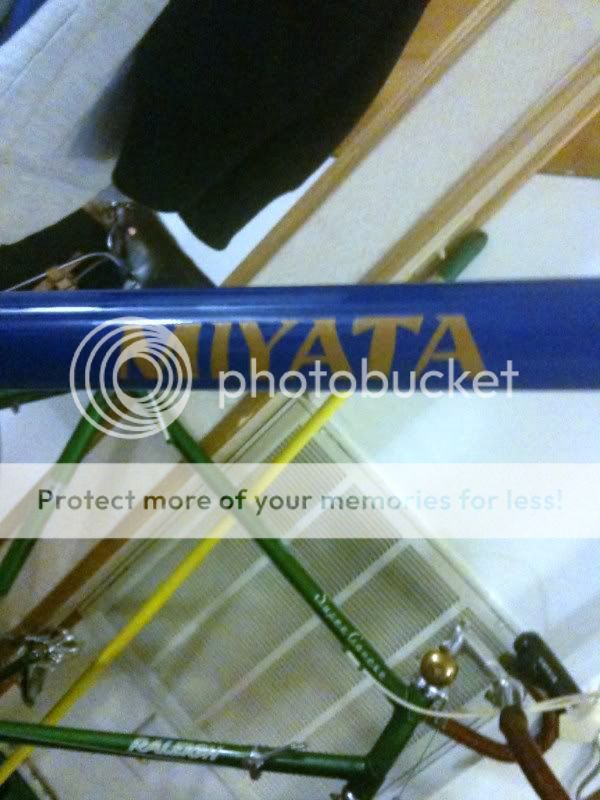
A few months ago I picked up a Miyata 1000 for pretty cheap. The paint on the frame was pretty rough and there was quite a bit of rust in the bottom bracket and in most of the larger scratches. I thought at 1st i'd just touch up the scratches after tending to the rust. So after doing some research I found that the best rust removal is oxalic acid. So I went and got a kiddie pool and gave the frameset a bath in the oxalic. Well after a good long soak the decals on the frame were no longer there. So then I thought well ill touch the scratches up with a very well matched nail polish I got from my wife. After the paint dried I wasnt satisfied. It didnt match nearly as perfect as when it was wet. So I opted to have a friend/ car painter/ pin striper/ sign painter repaint the frameset. I opted for a regular park tool colored blue instead of a flake or pearl like the original paint was. I did this for the ease of touchups later. He chemically stripped and then soda blasted the frame before painting it. I couldn't be happier with the end result. It cost me a total of $75. to get the paint and striping/ lettering put on it. This was my first complete teardown and rebuild. I think it turned out quite nice.
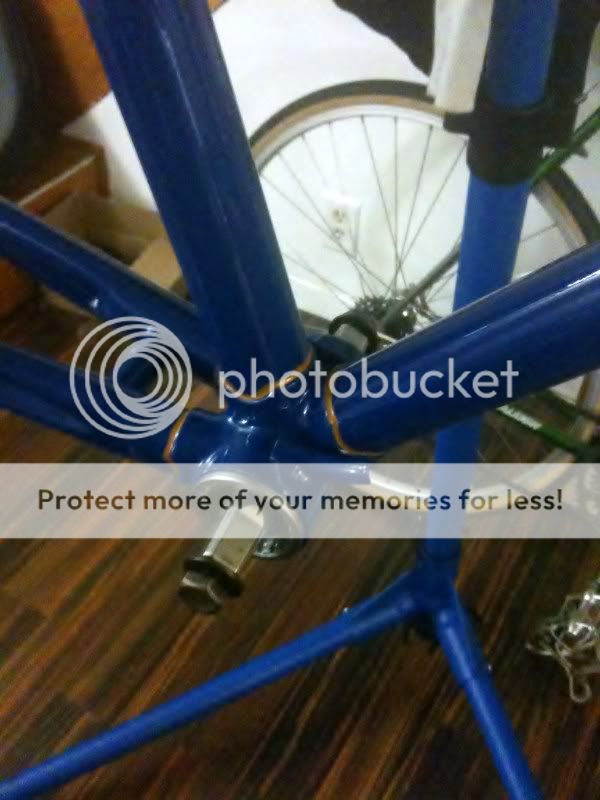
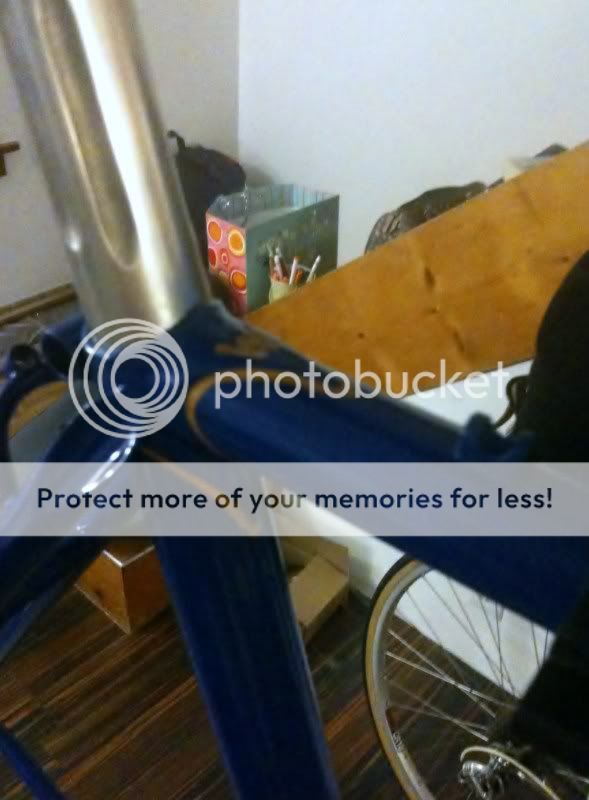
Here is the frame through various stages of build. I cleanes and hand polished some of the original components. I also used some parts from my small stash.
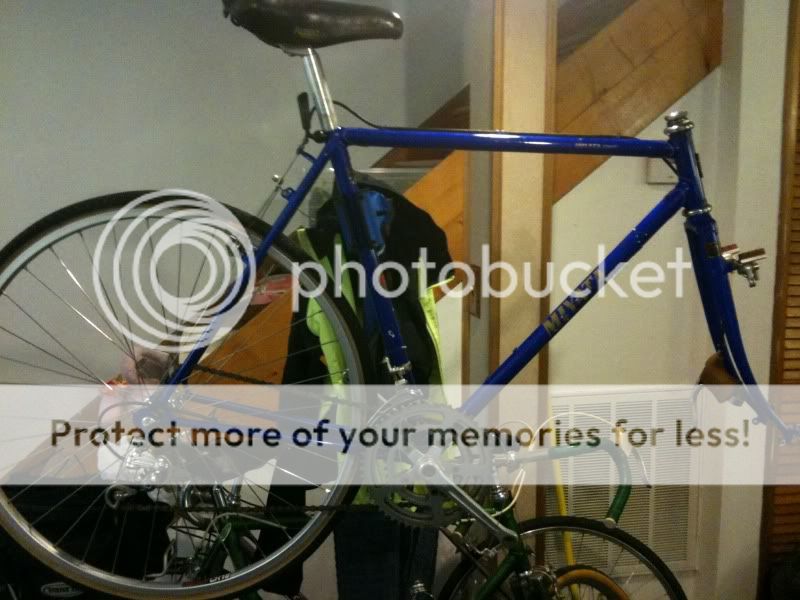
here is the frame after i got it back from Shane the painter
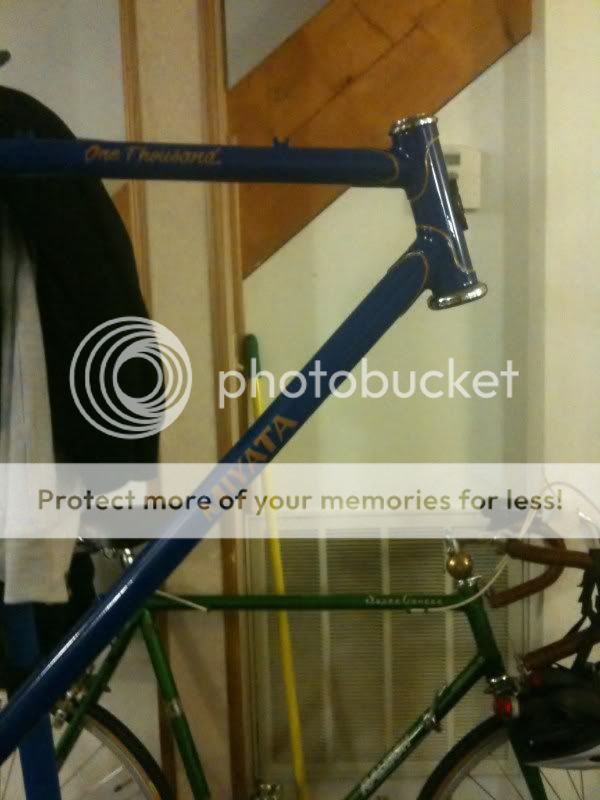
I liked the cursive on the top tube like the later 1000's have instead of the 81's Number 1000
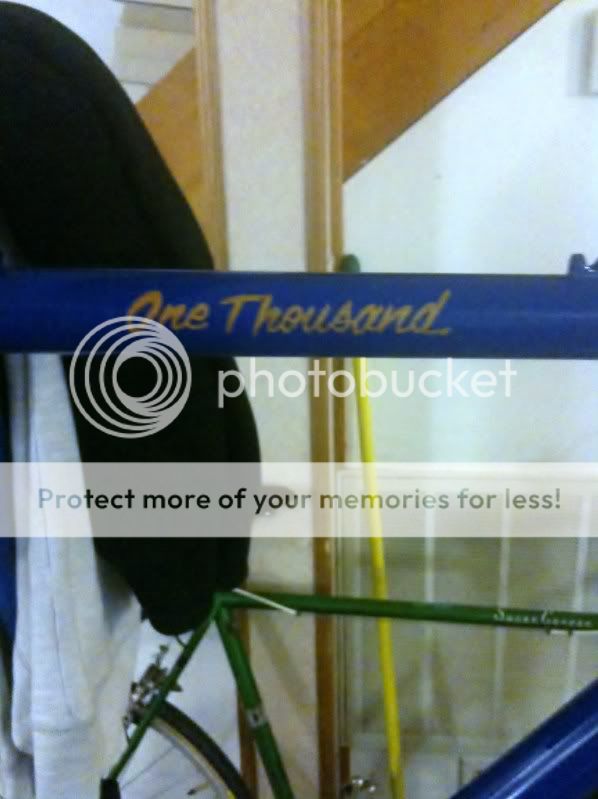
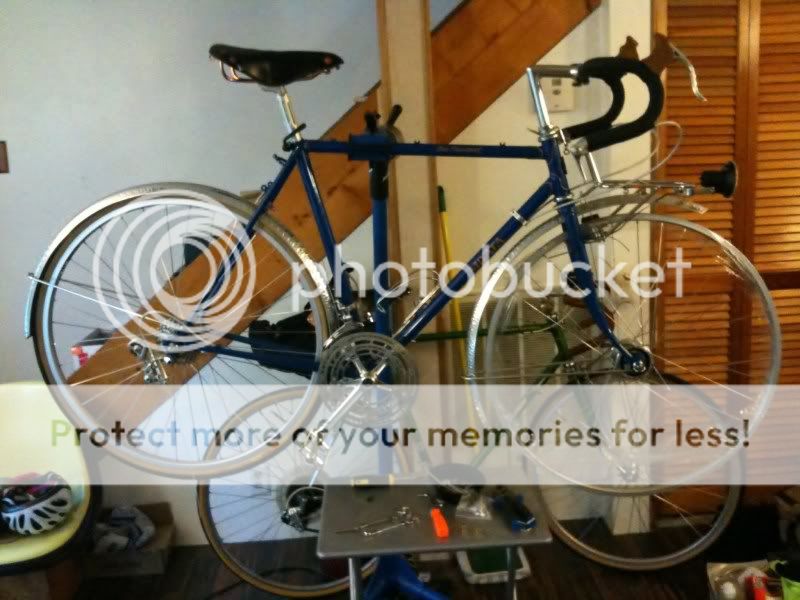
sorry all the build pics were take on a crappy iphone camera
Here is the frame through various stages of build. I cleanes and hand polished some of the original components. I also used some parts from my small stash.
here is the frame after i got it back from Shane the painter
I liked the cursive on the top tube like the later 1000's have instead of the 81's Number 1000
sorry all the build pics were take on a crappy iphone camera
 07-05-10, 02:21 PM
#2
Senior Member
Thread Starter
Join Date: Jan 2008
Posts: 66
Bikes: 1973 concord fixie conversion, 2001 canondale
Mentioned: 0 Post(s)
Tagged: 0 Thread(s)
Quoted: 0 Post(s)
Likes: 0
Liked 0 Times
in
0 Posts
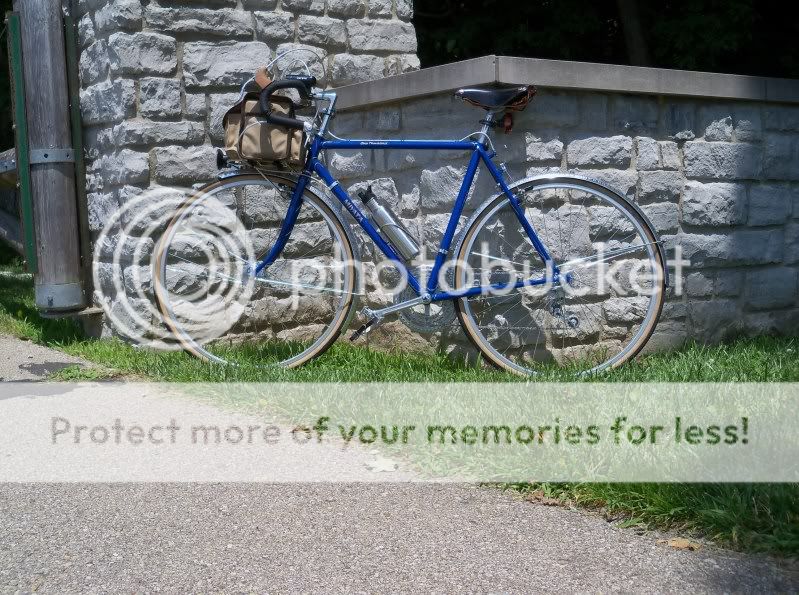
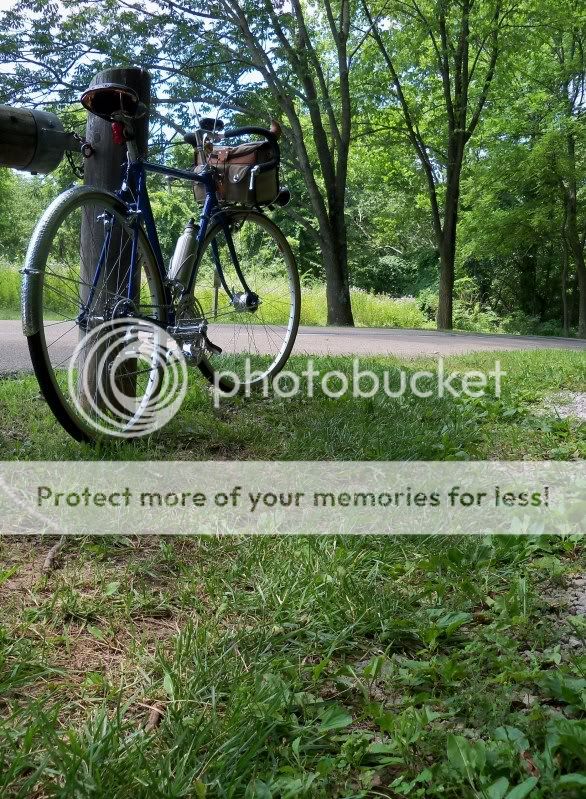
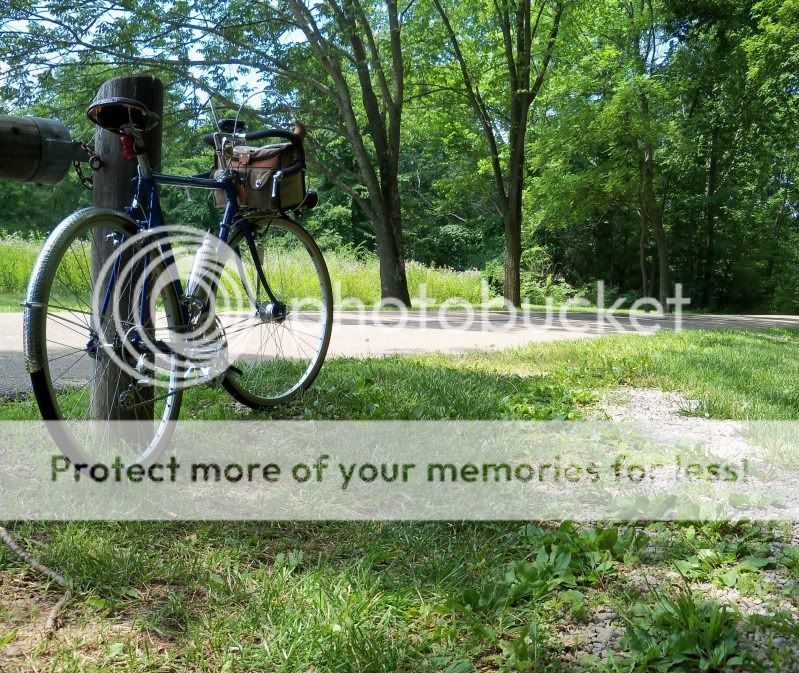
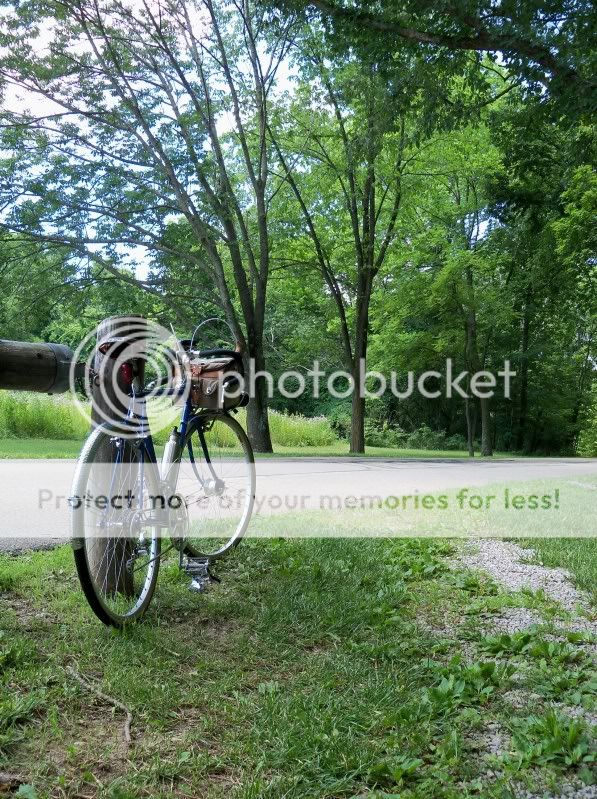
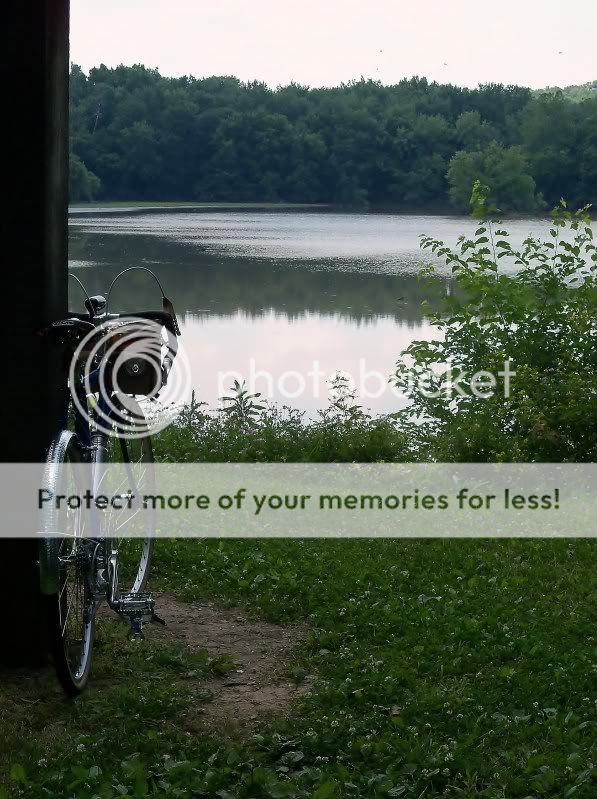
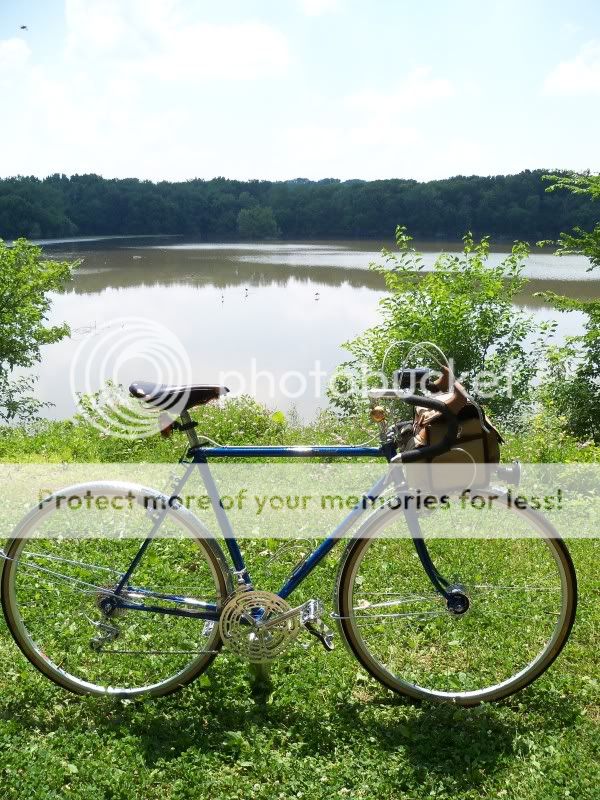
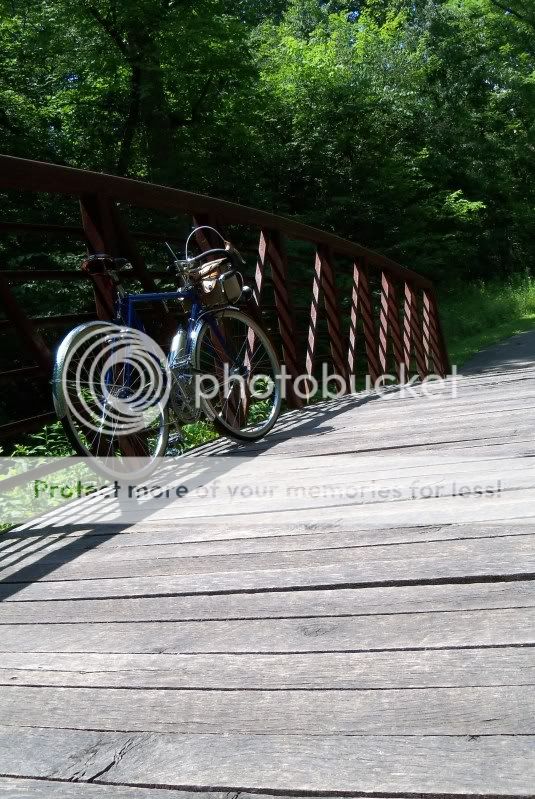
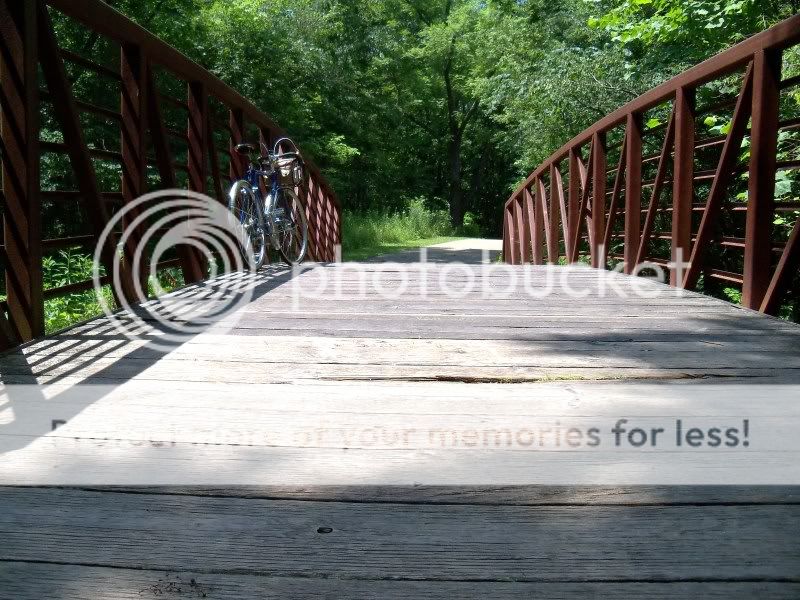
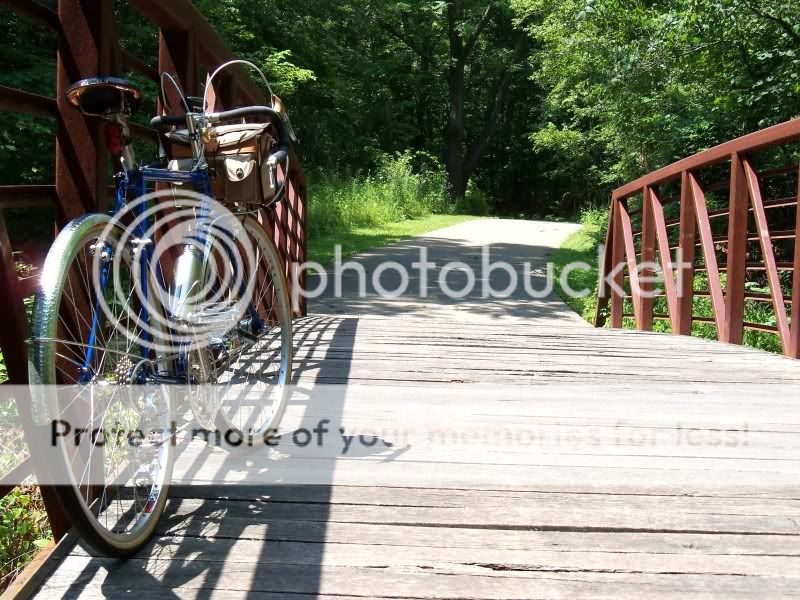
I took the 1st shakedown ride the other friday night on the way to work. Then yesterday I went on a 80 mile ride and here are some of the pics.


07-05-10, 02:26 PM
#3
Senior Member
Thread Starter
Join Date: Jan 2008
Posts: 66
Bikes: 1973 concord fixie conversion, 2001 canondale
Mentioned: 0 Post(s)
Tagged: 0 Thread(s)
Quoted: 0 Post(s)
Likes: 0
Liked 0 Times
in
0 Posts
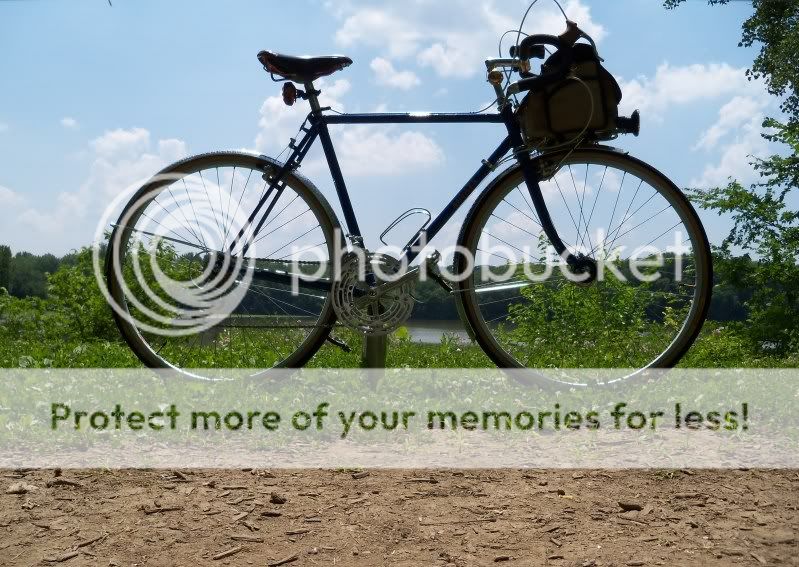

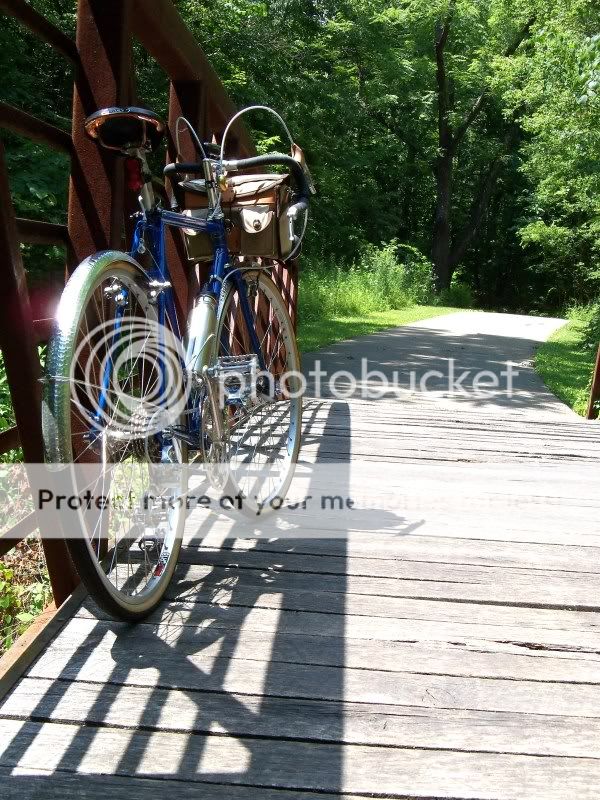
This build was a fun learning experience. I learned to build wheels during the buildup. The wheelset here on this build was my first set.
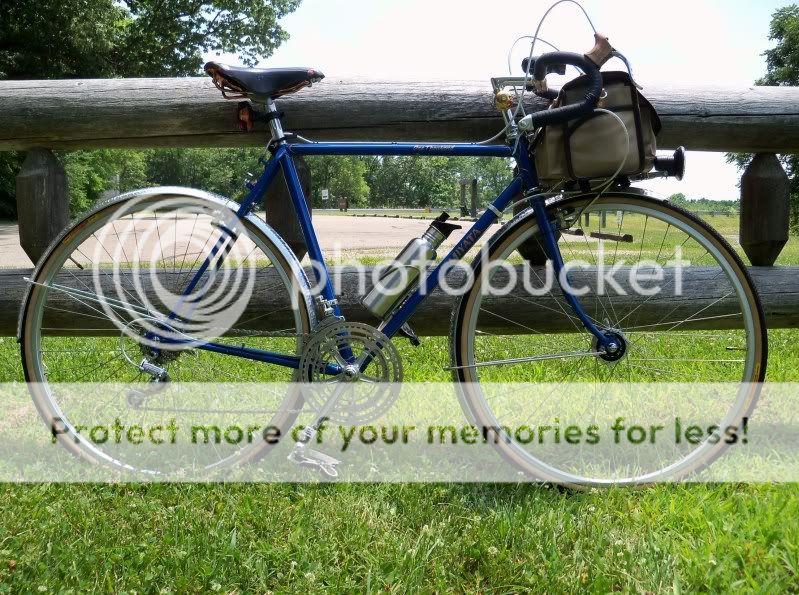
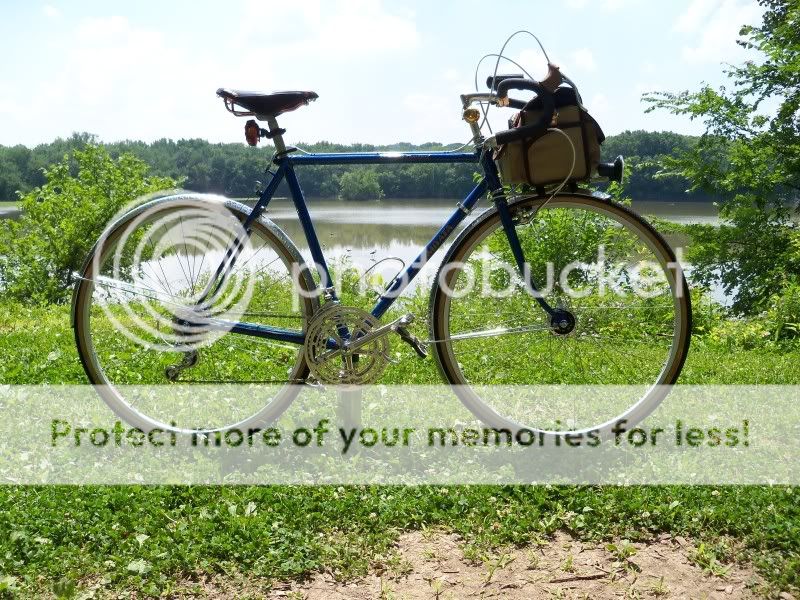
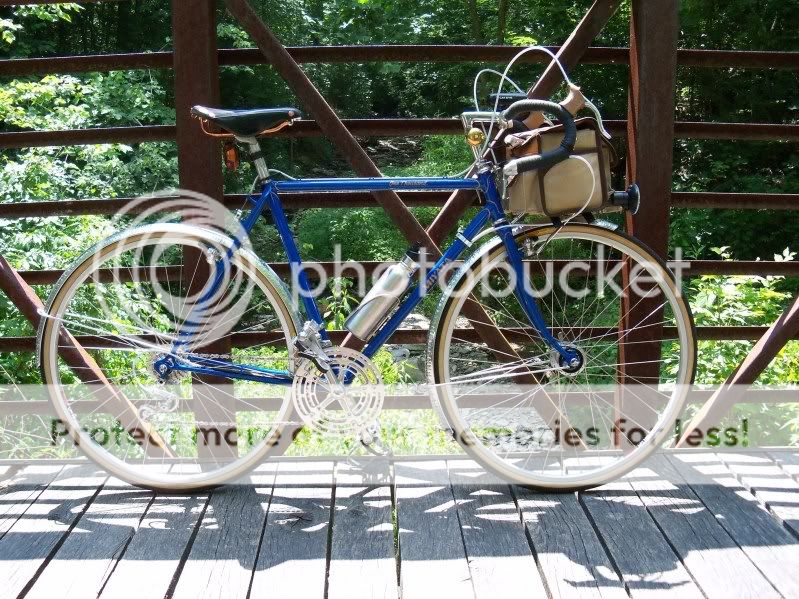
Rundown of build
Front and rear derailleurs are suntour cyclone
crankset is 50/39 dura ace
shifters are bar end silver dia compe's
original dia compe cantilever brakes
gran compe levers
nitto technomic 100mm stem
sr randoneur bars
sr seatpost
Brooks B17 special black
mks sylvan touring pedals and cages
rear wheel is dura ace 7400 hub, ird 7spd freewheel 13-28, sun cr18 rim
front wheel is shimano 3n72 dynohub and sun cr18 rim
panaracer pasela 700x32 itres front and rear
velo orange hammered fenders
velo orange front rack
acorn boxy rando bag
Last edited by king*stink; 07-05-10 at 02:41 PM.
07-05-10, 02:28 PM
#4


Senior Member
Join Date: Dec 2005
Posts: 17,160
Mentioned: 481 Post(s)
Tagged: 0 Thread(s)
Quoted: 3811 Post(s)
Liked 6,717 Times
in
2,614 Posts
Great resto! That new paint turned out very sweet. An 80-mile ride sounds like the ultimate shakedown cruise, and I couldn't help but notice the Raleigh Super Course in the background feeling a bit neglected!
Neal
Neal
 07-05-10, 02:49 PM
#7
Senior Member

fantastic! serious resto on that miyata. looks like you have very nice scenery for your rides, as well! makes me want to hop on my bike and get out of the city!
07-05-10, 03:23 PM
#8
Senior Member
Join Date: Aug 2009
Location: Houston, TX
Posts: 233
Bikes: 1953/54 Bianchi CdM, 63 Bianchi Record, 2~1968 Bianchi Record , 81 Raleigh Competition, 73 Italvega Nuovo Record , 76 Araya Randonneur, 72 Gitane Interclub, 87 Centurion Le Mans RS , 2008 Motobecane Hybrid, 86 Miyata 710, 91 Miyata Triple Cross
Mentioned: 0 Post(s)
Tagged: 0 Thread(s)
Quoted: 0 Post(s)
Likes: 0
Liked 0 Times
in
0 Posts
Great job! I like the new color. Is that replacement decals or did Shane hand paint them? If they are decals where did you get them?
Again...fantastic work!
Again...fantastic work!
07-05-10, 03:39 PM
#9
Senior Member
Amazing 1st restoration build! The paint job is really nice; wish I had a friend that was as talented in that domain.
07-05-10, 03:54 PM
#10
Senior Member
Thread Starter
Join Date: Jan 2008
Posts: 66
Bikes: 1973 concord fixie conversion, 2001 canondale
Mentioned: 0 Post(s)
Tagged: 0 Thread(s)
Quoted: 0 Post(s)
Likes: 0
Liked 0 Times
in
0 Posts
Shane hand painted the decals. I believe they can be ordered from velocals.com. Thats where i found the correct font for him to go from. Thanks for all the positive comments. I was worried I'd get some flack for the repaint.
Last edited by king*stink; 07-05-10 at 03:58 PM.

