


Show us your cold-setting!
 10-15-22, 07:40 PM
#1

www.theheadbadge.com
Thread Starter

Join Date: Sep 2005
Location: Southern Florida
Posts: 28,513
Bikes: https://www.theheadbadge.com
Mentioned: 124 Post(s)
Tagged: 0 Thread(s)
Quoted: 2422 Post(s)
Liked 4,395 Times
in
2,092 Posts
Show us your cold-setting!
Since it's come up so often - and since properly aligning a frameset is sometimes overlooked when it shouldn't be - it seems natural to have a thread all about it.
I'll start it off with a few recents:
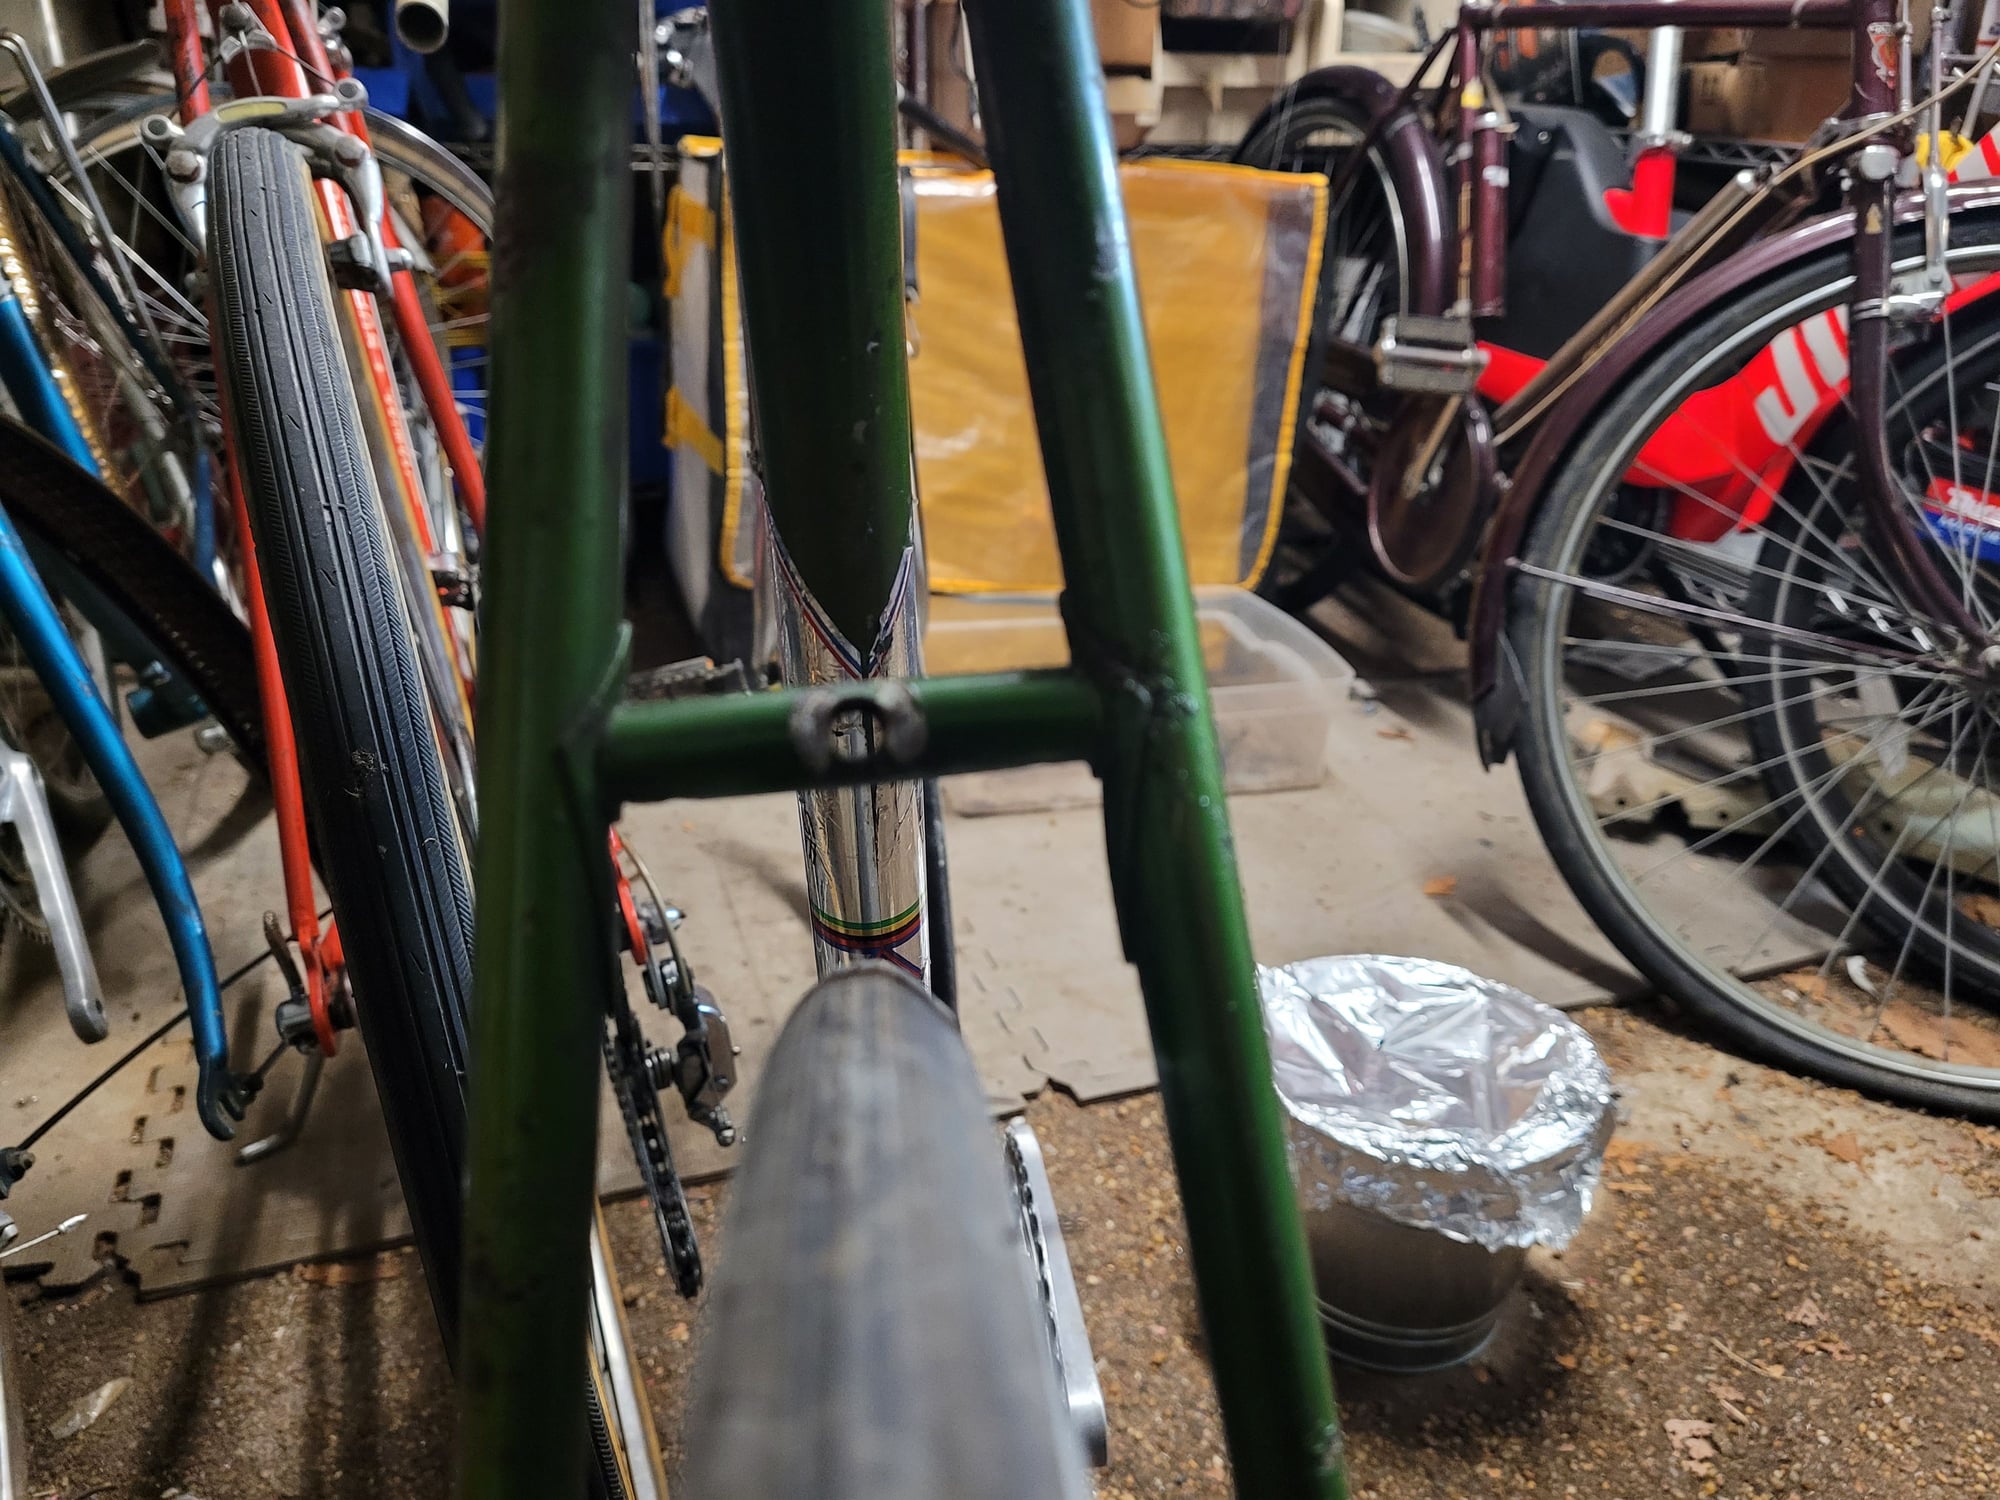
Gitane Professional TdF

No idea why it got kinked over this far; it doesn't look like an amateur's attempt to hit 126mm, as the left is kinked in. Was a bit of a pain to get right as the brake bridge wanted to come along for the ride.

Don't install the BB before doing this like I did. Brain fart; I usually soft-jaw the BB shell directly.
It's straight now, but it's clear the bridge wasn't jigged up well and was cockeyed from factory.
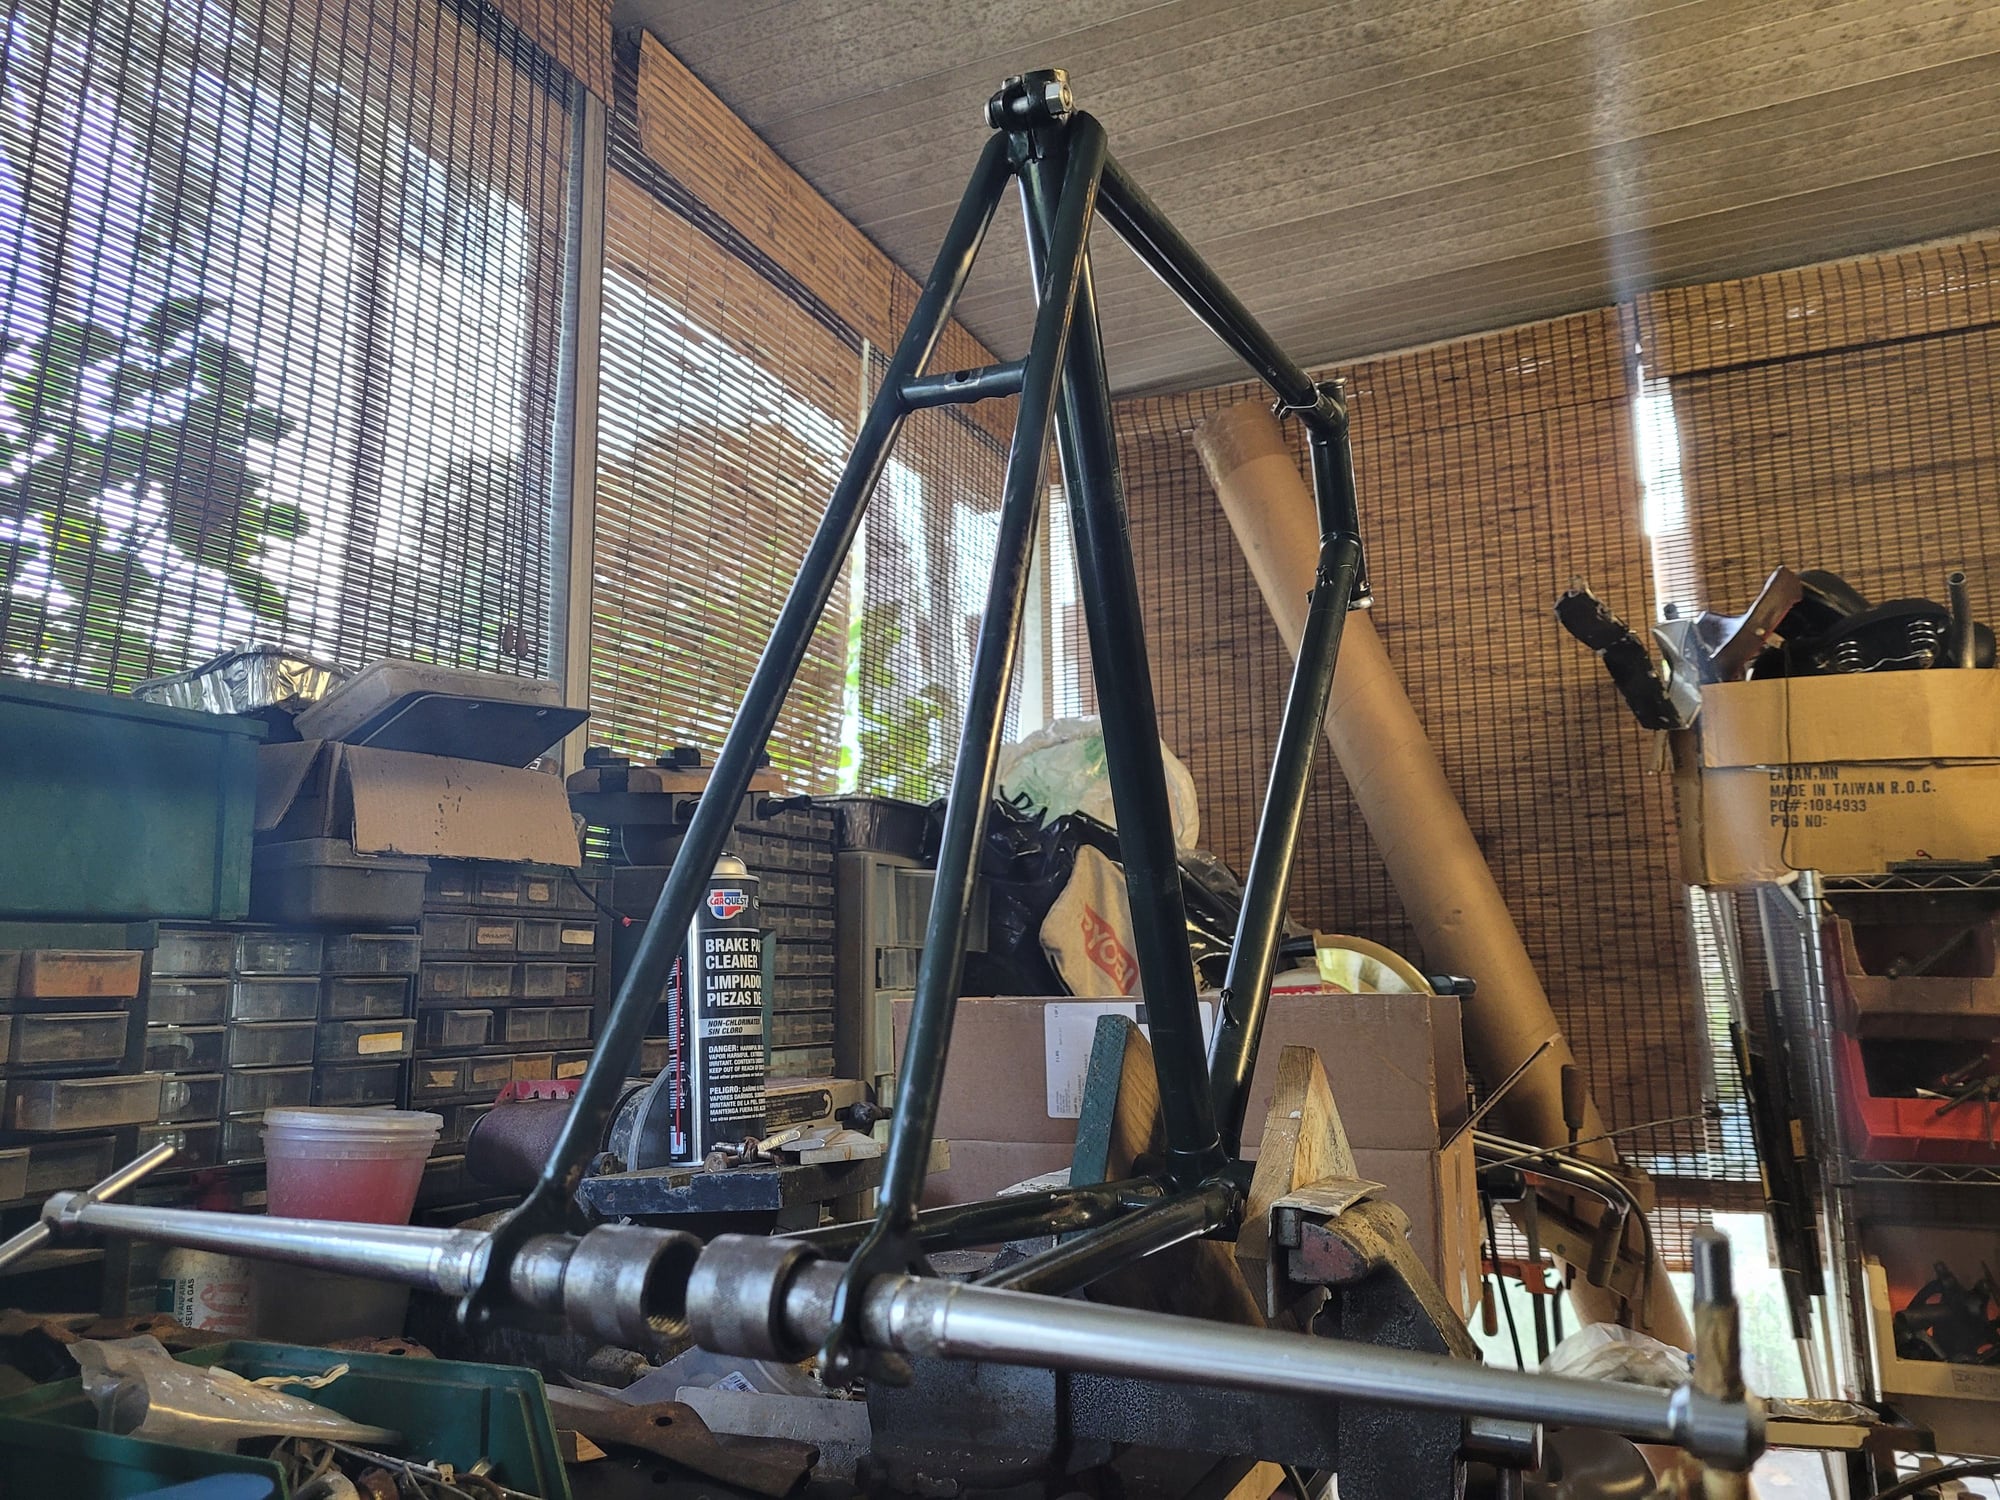
1952 Raleigh Sports
This one obviously took a hit on the left at one time; possibly falling onto a curb, as the rear rim is original to it and dead straight.
If this was high-end tubing, I would have called it a goner, but this soft, heavy steel from back in the day can deal with something this significant:

The big Park FFS-1 / FFS-2 isn't really ideal for a bend like this, as you need to keep both the bridge and dropout in the same place while affecting the middle only. It's a lot more manageable and easier on the tubing to use one of these stay straighteners (Park SS-1, since discontinued).
The SS-1 isn't always accurate and you can get into trouble with it if you're not careful - it's easy to fall off plane with the direction of the kink depending on the angle - but it's still the most ideal tool for the job until something better comes along.

1950 Raleigh Superbe Sports Tourist
Early in it's life, this bike was converted with a Cyclo 3-speed adapter on a Sturmey AG hub. It's clear that the shop that did the conversion obviously had a loose understanding of what "centering" a rear wheel requires.

Had to eyeball the rear drops using the Park adjusters set for the front fork, due to Raleigh's narrower dropouts used to accommodate Sturmey-Archer axles.
-Kurt
I'll start it off with a few recents:
Gitane Professional TdF
No idea why it got kinked over this far; it doesn't look like an amateur's attempt to hit 126mm, as the left is kinked in. Was a bit of a pain to get right as the brake bridge wanted to come along for the ride.
Don't install the BB before doing this like I did. Brain fart; I usually soft-jaw the BB shell directly.
It's straight now, but it's clear the bridge wasn't jigged up well and was cockeyed from factory.
1952 Raleigh Sports
This one obviously took a hit on the left at one time; possibly falling onto a curb, as the rear rim is original to it and dead straight.
If this was high-end tubing, I would have called it a goner, but this soft, heavy steel from back in the day can deal with something this significant:
The big Park FFS-1 / FFS-2 isn't really ideal for a bend like this, as you need to keep both the bridge and dropout in the same place while affecting the middle only. It's a lot more manageable and easier on the tubing to use one of these stay straighteners (Park SS-1, since discontinued).
The SS-1 isn't always accurate and you can get into trouble with it if you're not careful - it's easy to fall off plane with the direction of the kink depending on the angle - but it's still the most ideal tool for the job until something better comes along.
1950 Raleigh Superbe Sports Tourist
Early in it's life, this bike was converted with a Cyclo 3-speed adapter on a Sturmey AG hub. It's clear that the shop that did the conversion obviously had a loose understanding of what "centering" a rear wheel requires.
Had to eyeball the rear drops using the Park adjusters set for the front fork, due to Raleigh's narrower dropouts used to accommodate Sturmey-Archer axles.
-Kurt
__________________


Likes For cudak888:
10-15-22, 07:47 PM
#2
www.theheadbadge.com
Thread Starter
Join Date: Sep 2005
Location: Southern Florida
Posts: 28,513
Bikes: https://www.theheadbadge.com
Mentioned: 124 Post(s)
Tagged: 0 Thread(s)
Quoted: 2422 Post(s)
Liked 4,395 Times
in
2,092 Posts
Let's not forget our favorite: Bent forks.
Back to the 1952 Raleigh Sports:
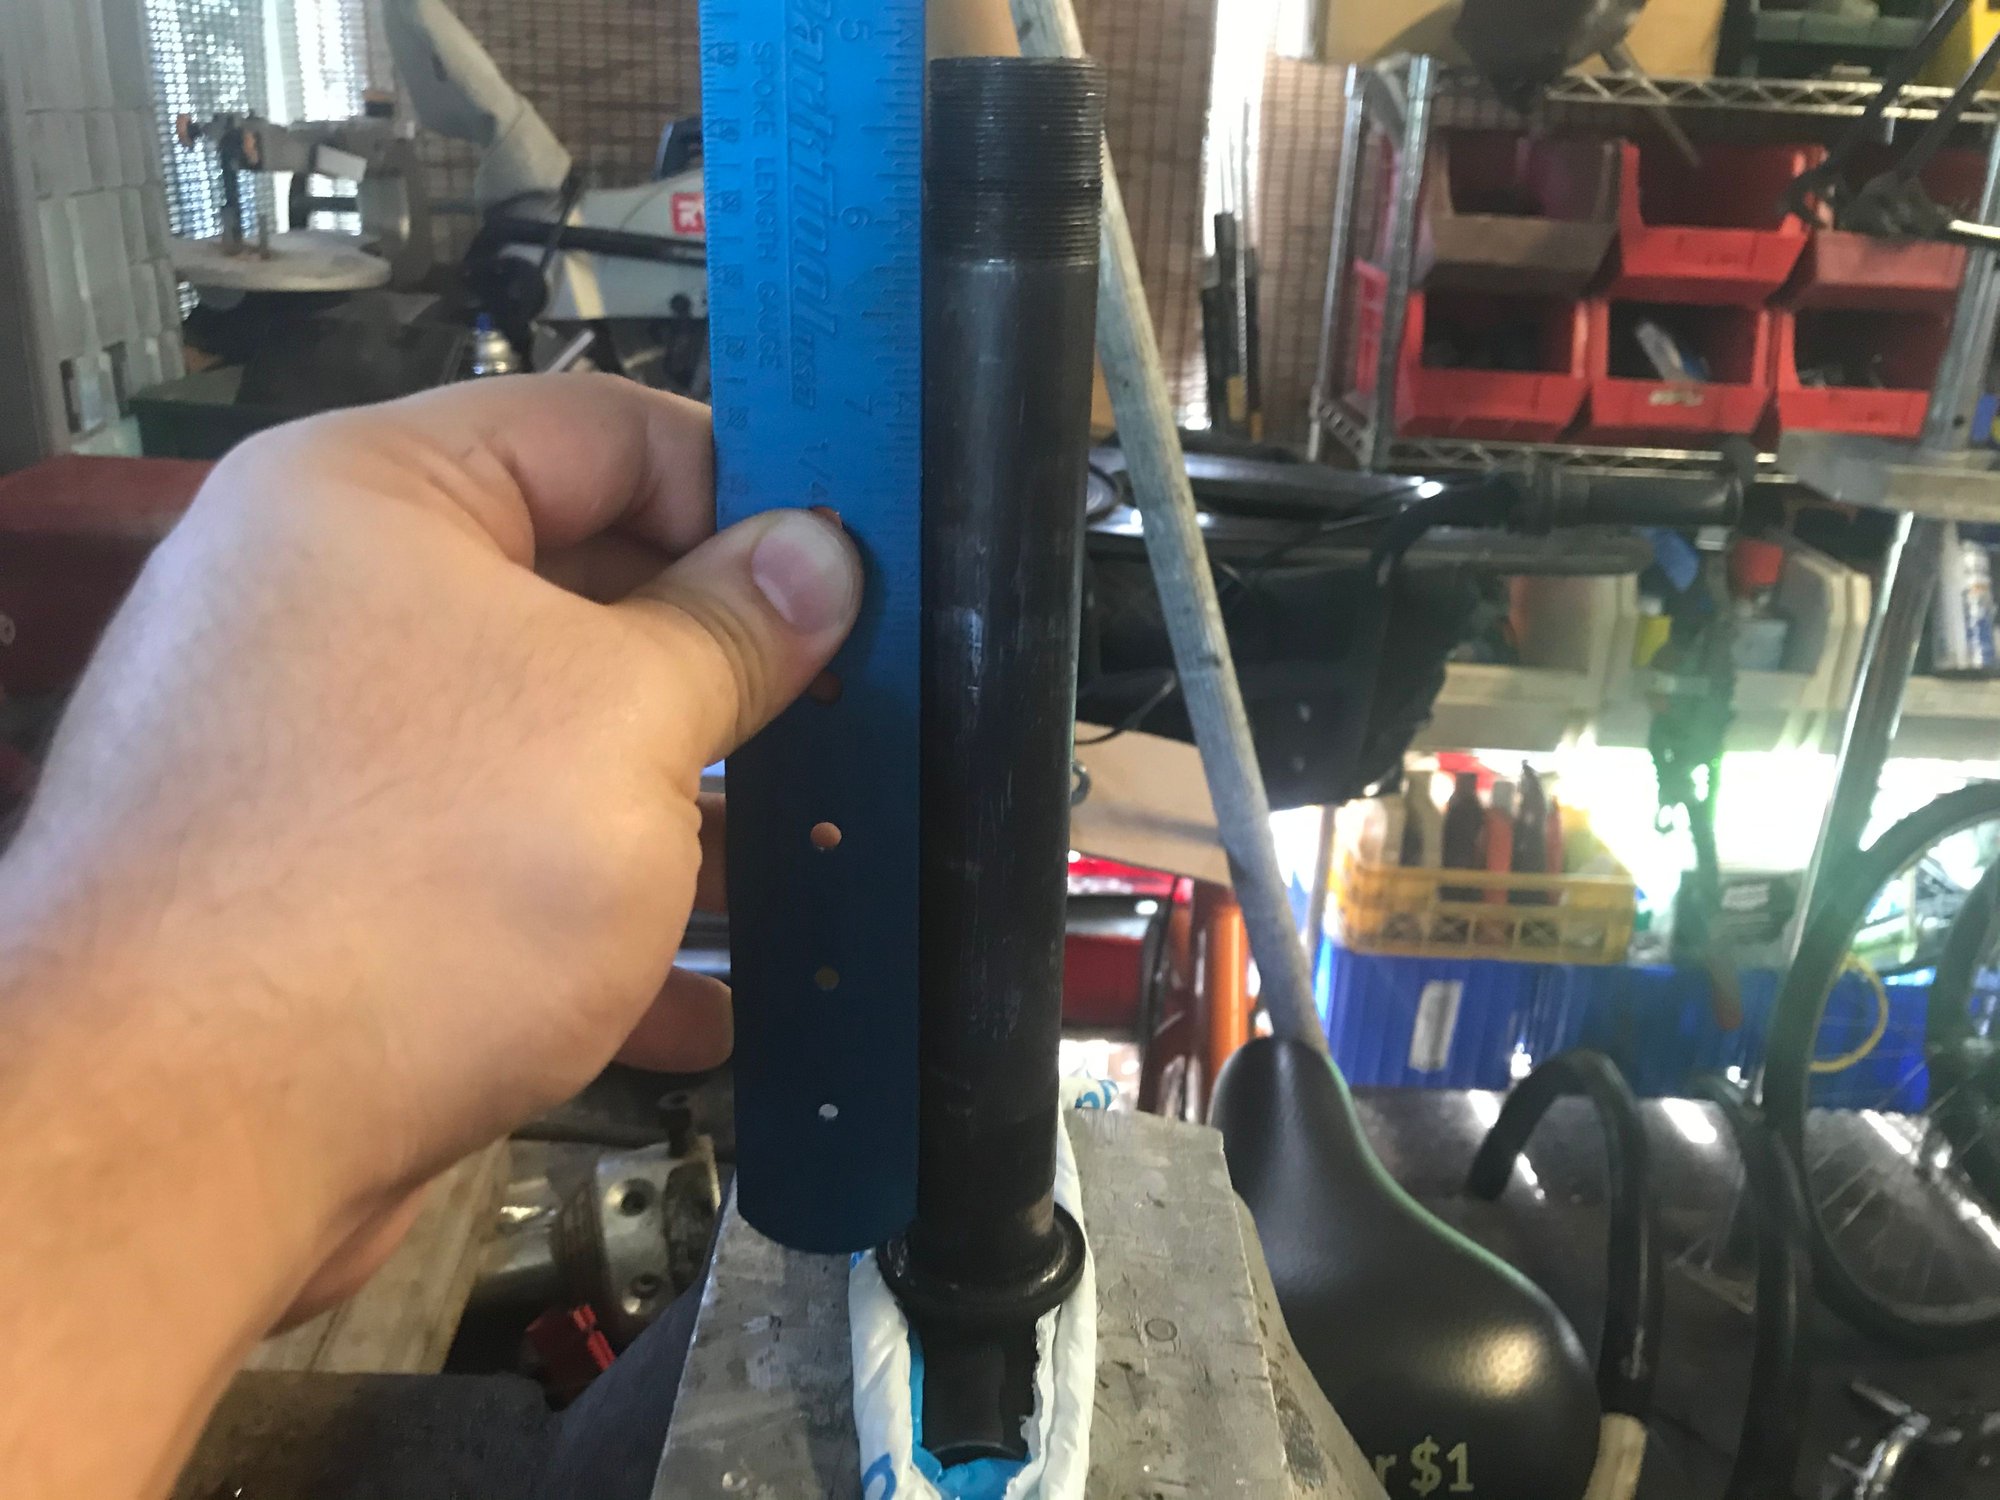
In addition to the rear triangle kerfuffle, this bike had apparently met with a few hard walls in its life, leading to a slightly bent steerer tube. Seems to be more common on these Raleighs than anything else I've come across, and - unlike just about anything with high-end tubing - you can bend these back, provided you are careful and precise about bending it back in the correct direction.

My preferred leverage: A damaged piece of unmitered Reynolds 531 downtube slipped over the Raleigh's steerer tube, carefully shoved in the right direction.
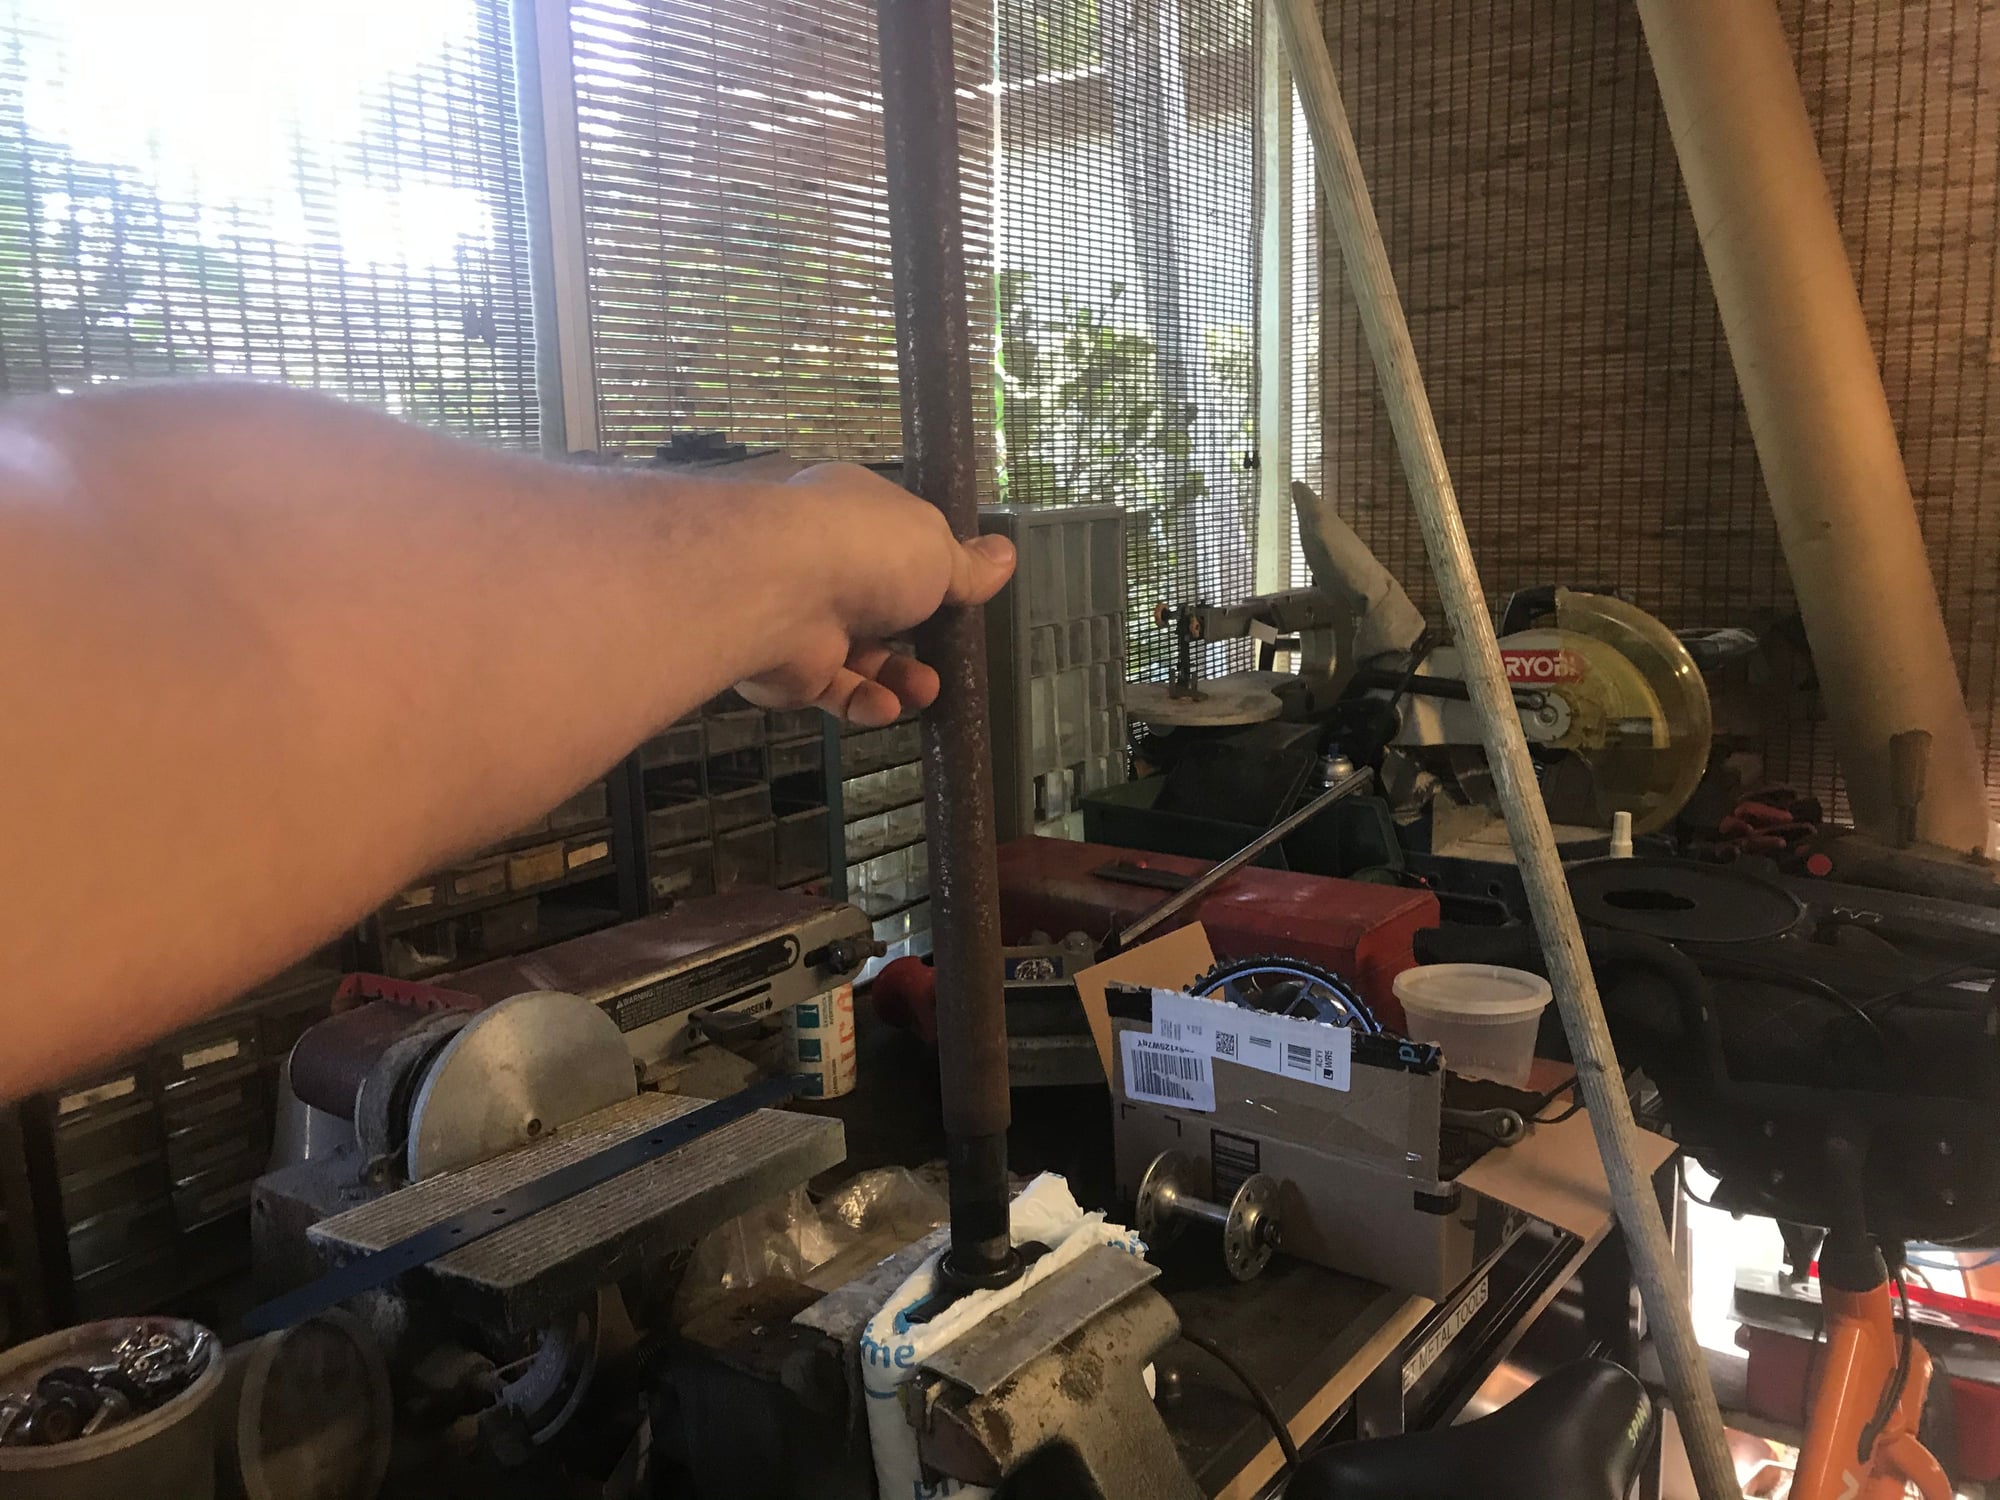
Fixed!
You honestly didn't think we'd get off THAT easy, did you?
Everyone join in now: "Fork's bent!"

"Not anymore!"


Unfortunately, can't seem to find many pictures of the FFS-1 or FFS-2 in use. Probably because I can't take a photo when both of my hands are occupied.
-Kurt
Back to the 1952 Raleigh Sports:
In addition to the rear triangle kerfuffle, this bike had apparently met with a few hard walls in its life, leading to a slightly bent steerer tube. Seems to be more common on these Raleighs than anything else I've come across, and - unlike just about anything with high-end tubing - you can bend these back, provided you are careful and precise about bending it back in the correct direction.
My preferred leverage: A damaged piece of unmitered Reynolds 531 downtube slipped over the Raleigh's steerer tube, carefully shoved in the right direction.
Fixed!
You honestly didn't think we'd get off THAT easy, did you?
Everyone join in now: "Fork's bent!"
"Not anymore!"
Unfortunately, can't seem to find many pictures of the FFS-1 or FFS-2 in use. Probably because I can't take a photo when both of my hands are occupied.
-Kurt
__________________
Likes For cudak888:

Likes For Roger M:
10-15-22, 10:36 PM
#4
www.theheadbadge.com
Thread Starter
Join Date: Sep 2005
Location: Southern Florida
Posts: 28,513
Bikes: https://www.theheadbadge.com
Mentioned: 124 Post(s)
Tagged: 0 Thread(s)
Quoted: 2422 Post(s)
Liked 4,395 Times
in
2,092 Posts

Likes For cudak888:
10-16-22, 10:03 AM
#5
Senior Member

Join Date: Apr 2007
Location: Thunder Bay, Ontario, Canada - burrrrr!
Posts: 11,674
Bikes: 1958 Rabeneick 120D, 1968 Legnano Gran Premio, 196? Torpado Professional, 2000 Marinoni Piuma
Mentioned: 210 Post(s)
Tagged: 0 Thread(s)
Quoted: 1372 Post(s)
Likes: 0
Liked 1,751 Times
in
938 Posts
I published a complete how to do cold setting on my website, MY "TEN SPEEDS" years ago. Sadly and stupidly, I sold the website which got hacked soon after the new owner took it over. Anyway, my methods were not sophisticated but I did get darn good results...


__________________
"98% of the bikes I buy are projects".
"98% of the bikes I buy are projects".
10-16-22, 11:21 AM
#6
Mad bike riding scientist

Join Date: Nov 2004
Location: Denver, CO
Posts: 27,362
Bikes: Some silver ones, a red one, a black and orange one, and a few titanium ones
Mentioned: 152 Post(s)
Tagged: 1 Thread(s)
Quoted: 6219 Post(s)
Liked 4,218 Times
in
2,365 Posts
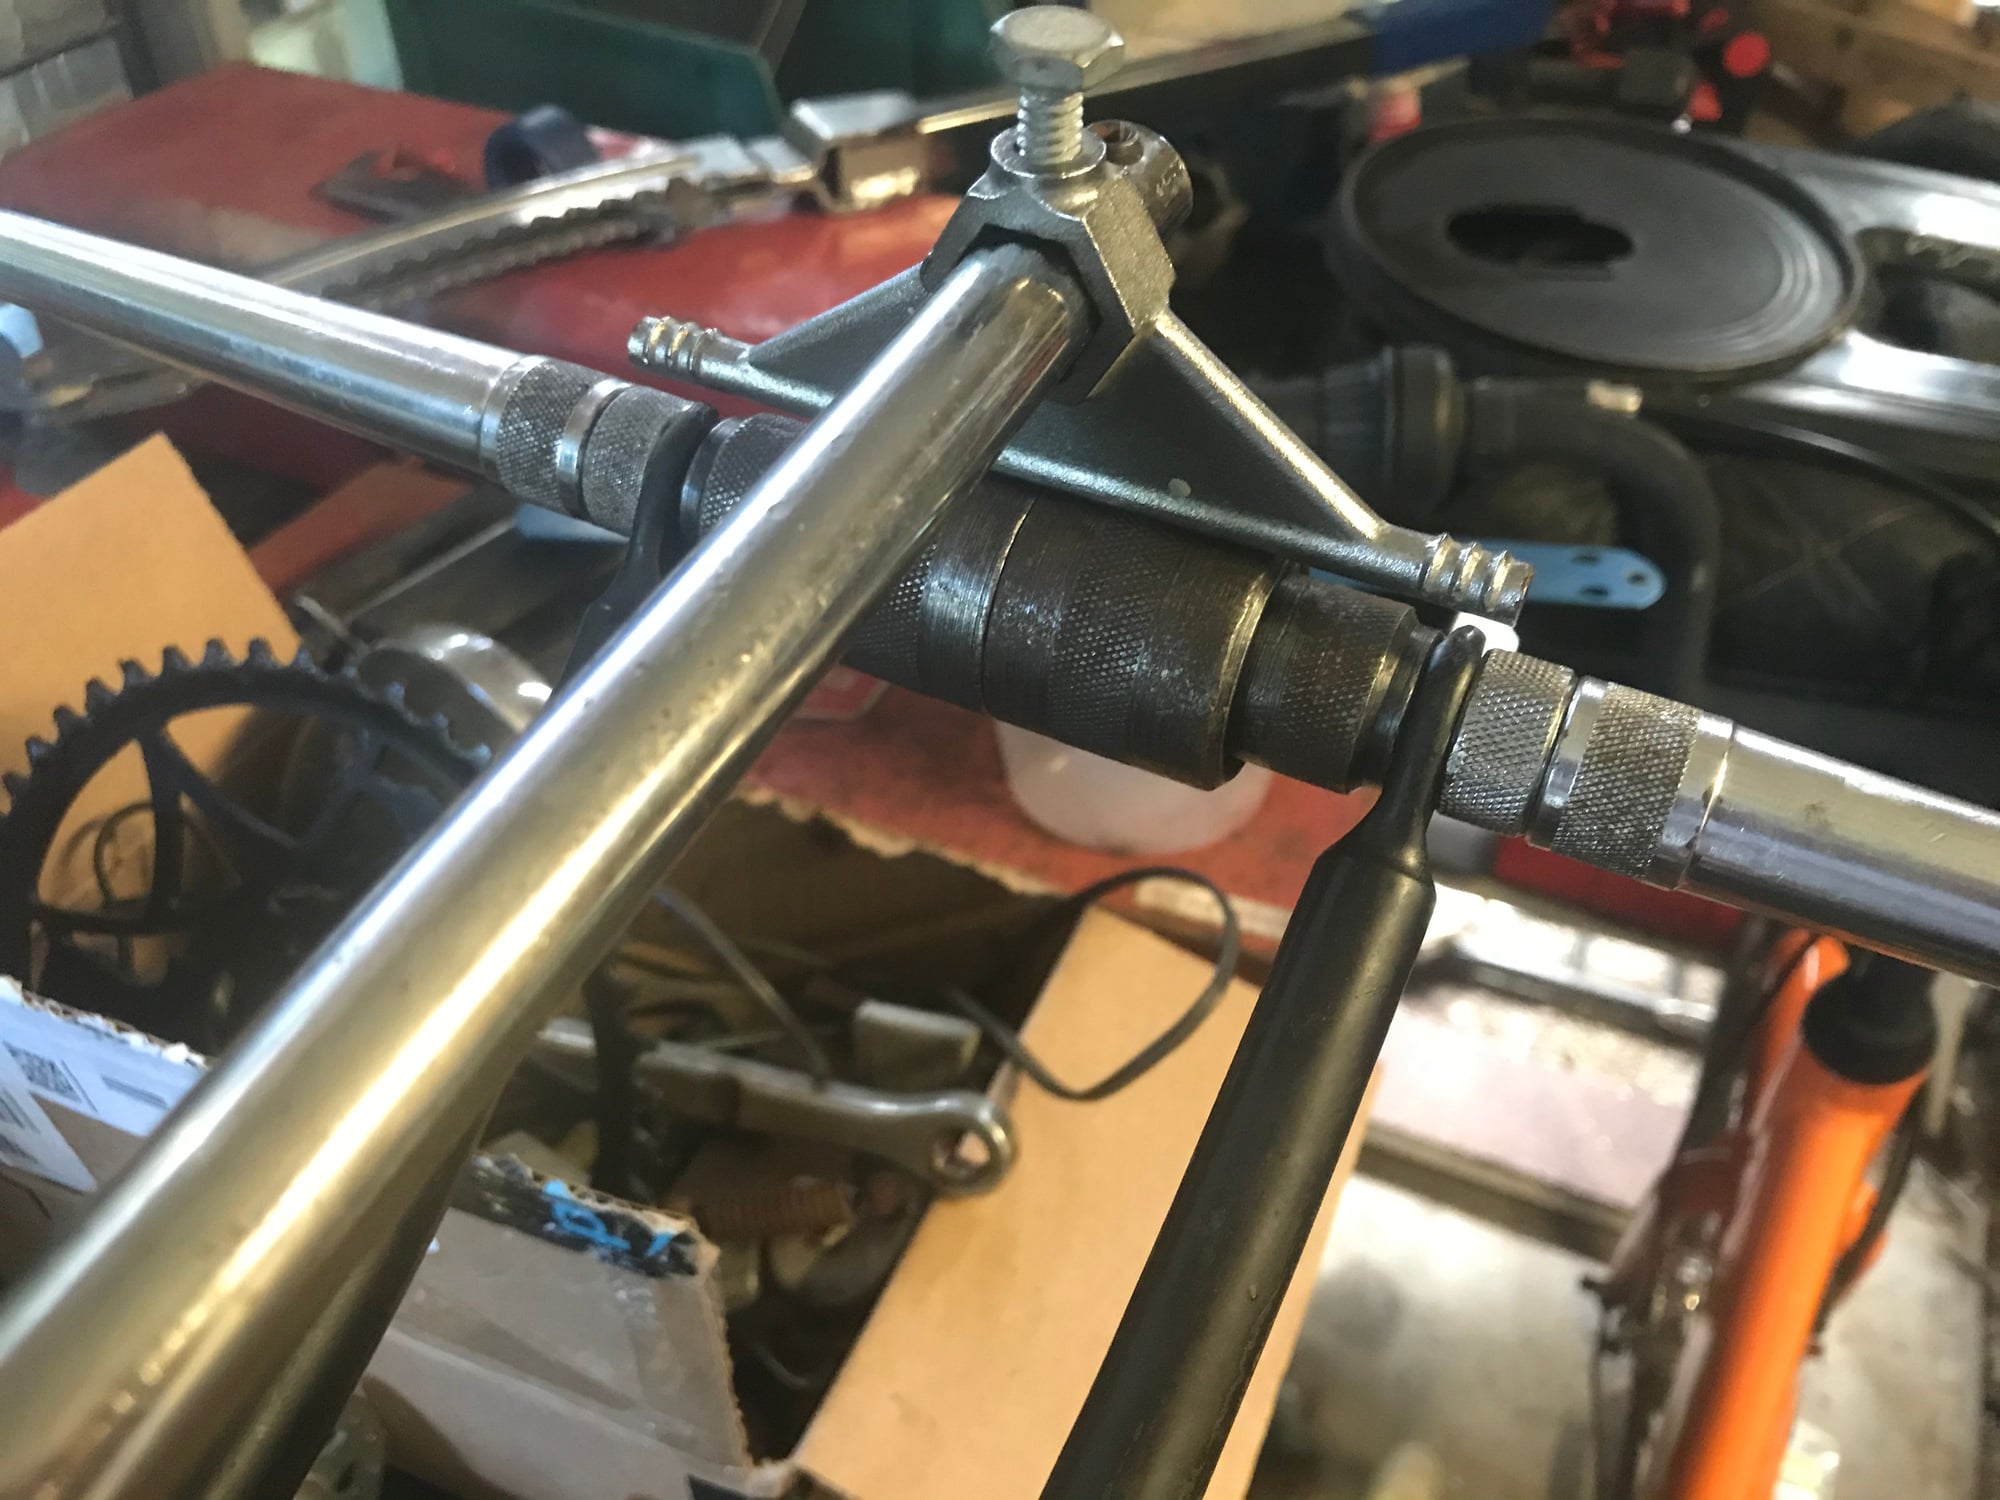
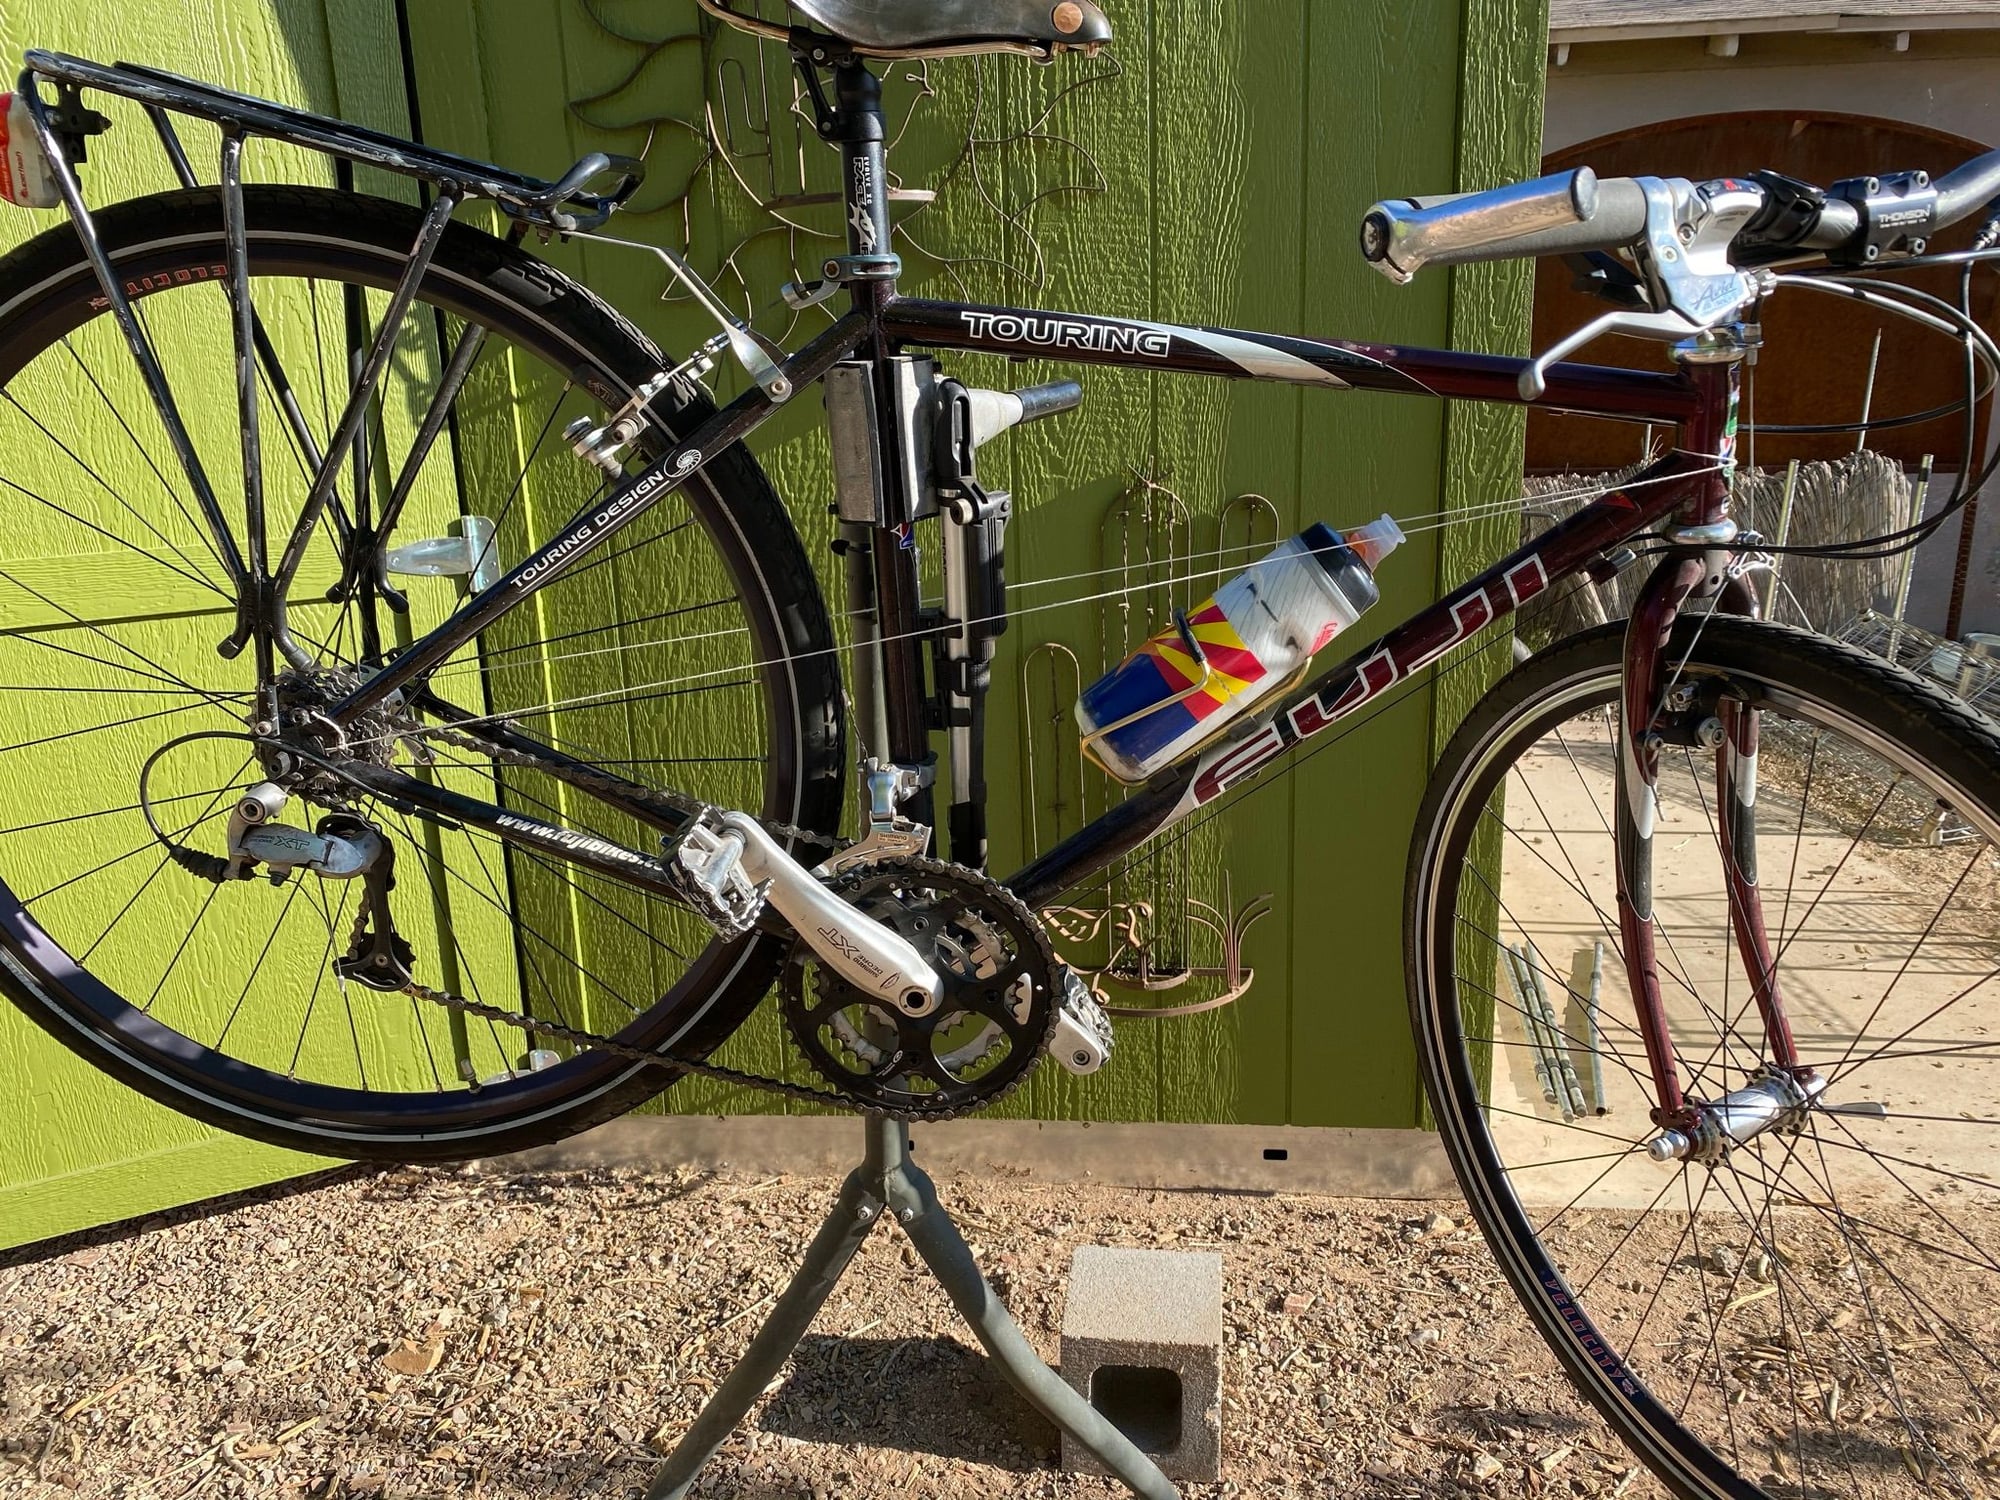
I cold set my daughters 2003 Fuji Touring to 135mm spacing using hardware parts as suggested by RJ the Bike Guy with some of my own changes.
The tools are made from all-thread, nuts, bolts, and washers.

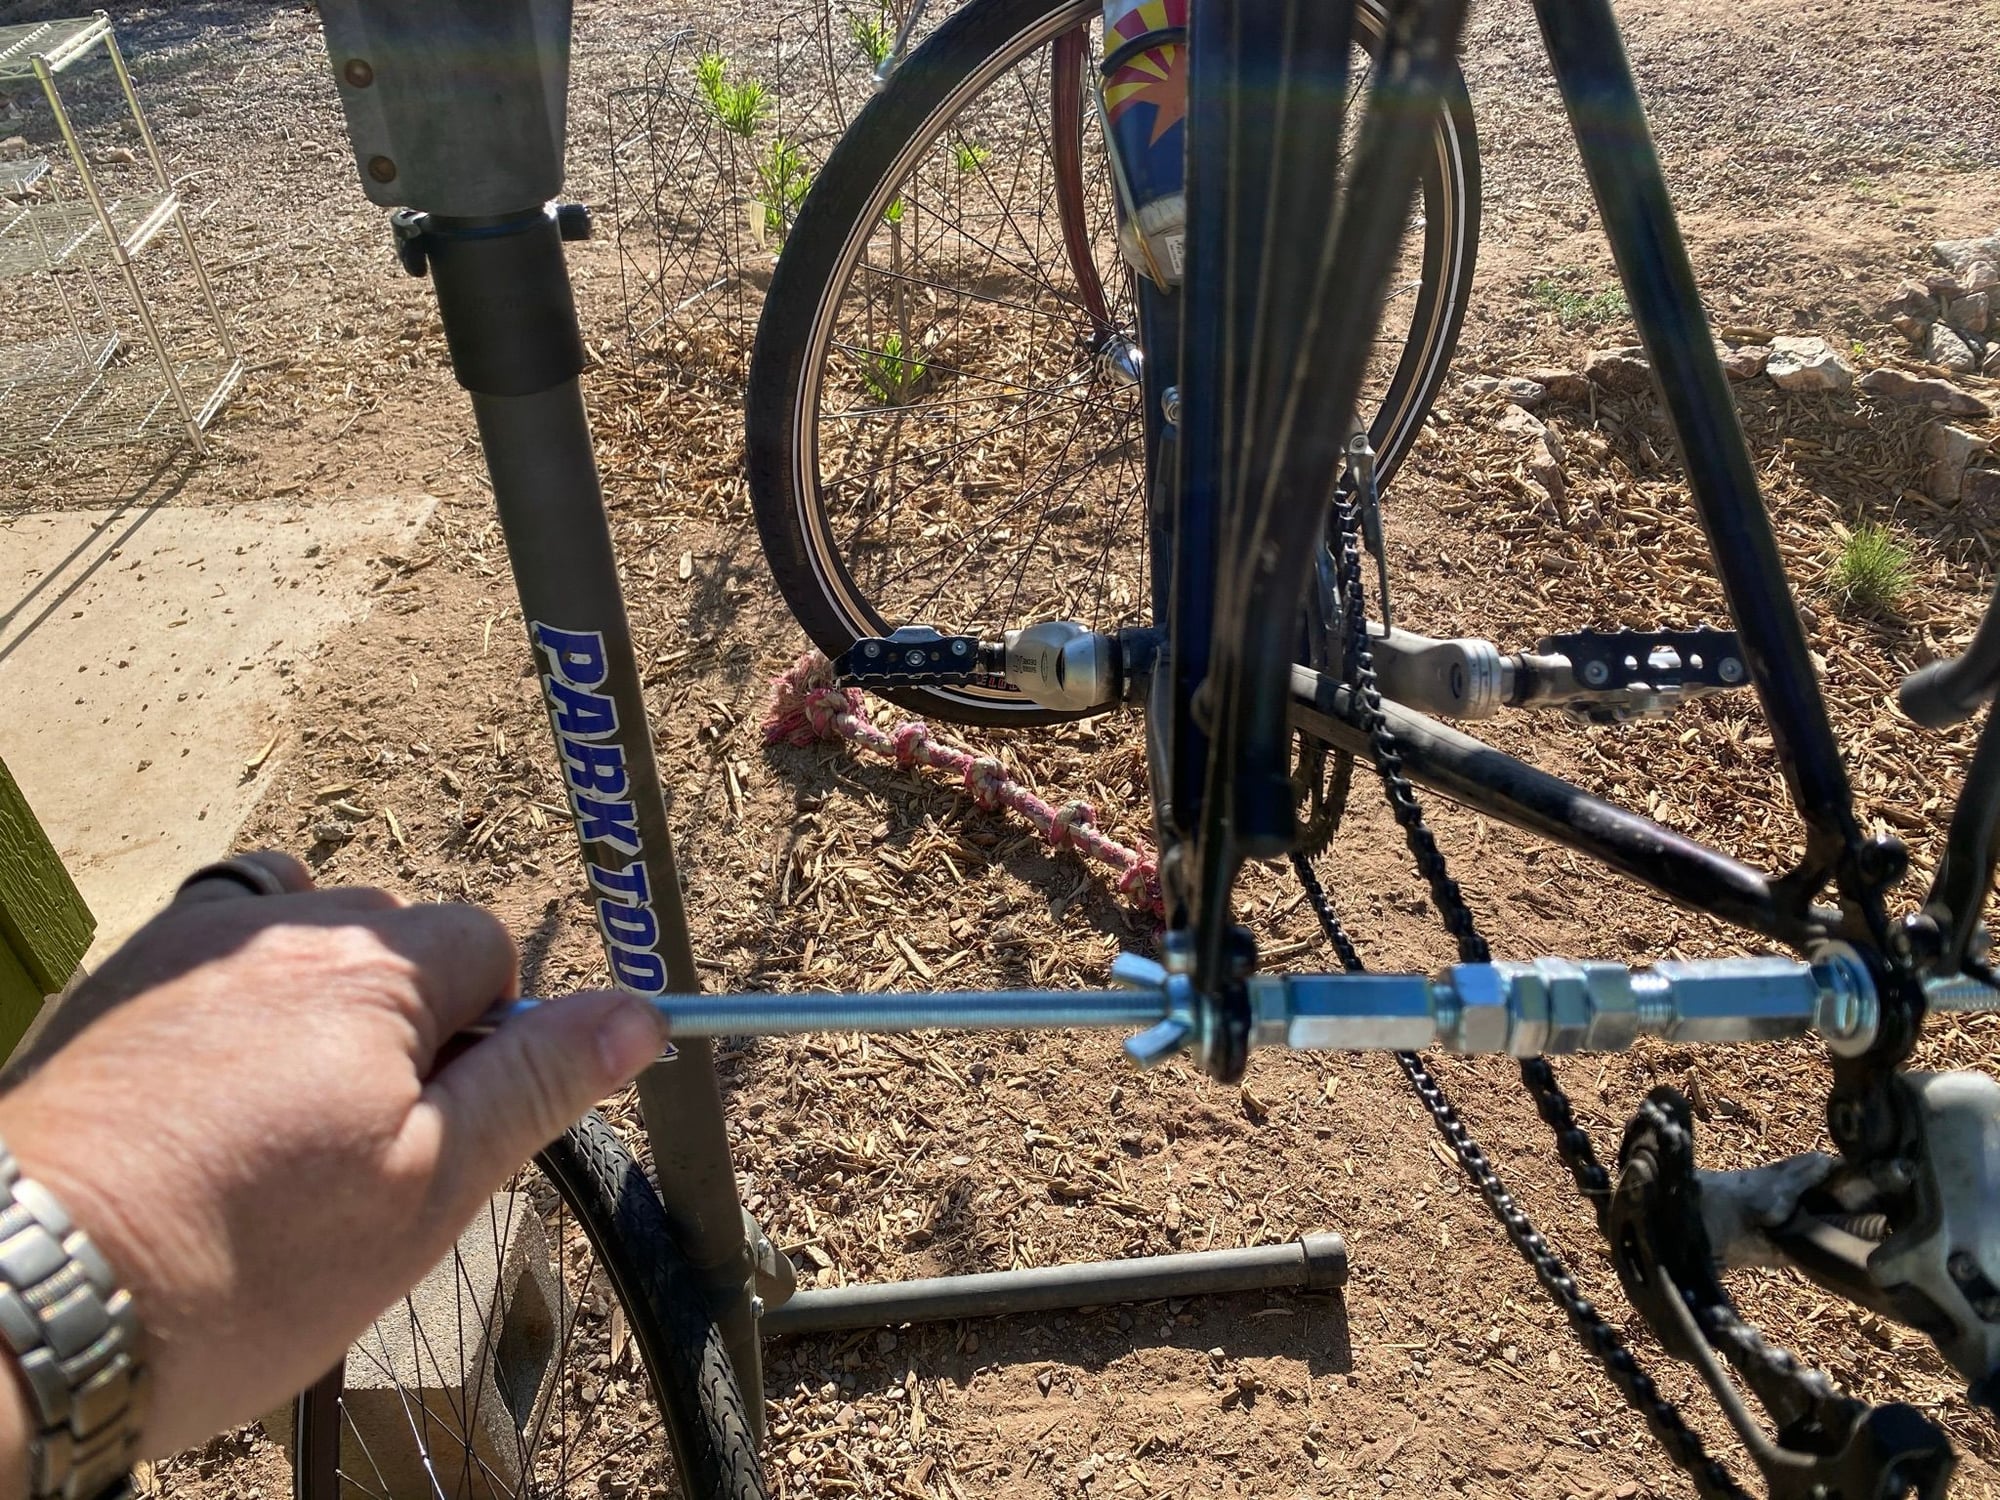
You widen the spreader (sorry for the photo) with a wrench to the width you need (and a little over). I actually over spread it and had to move it back a little. It was simple and a whole lot more elegant than the 2x4.
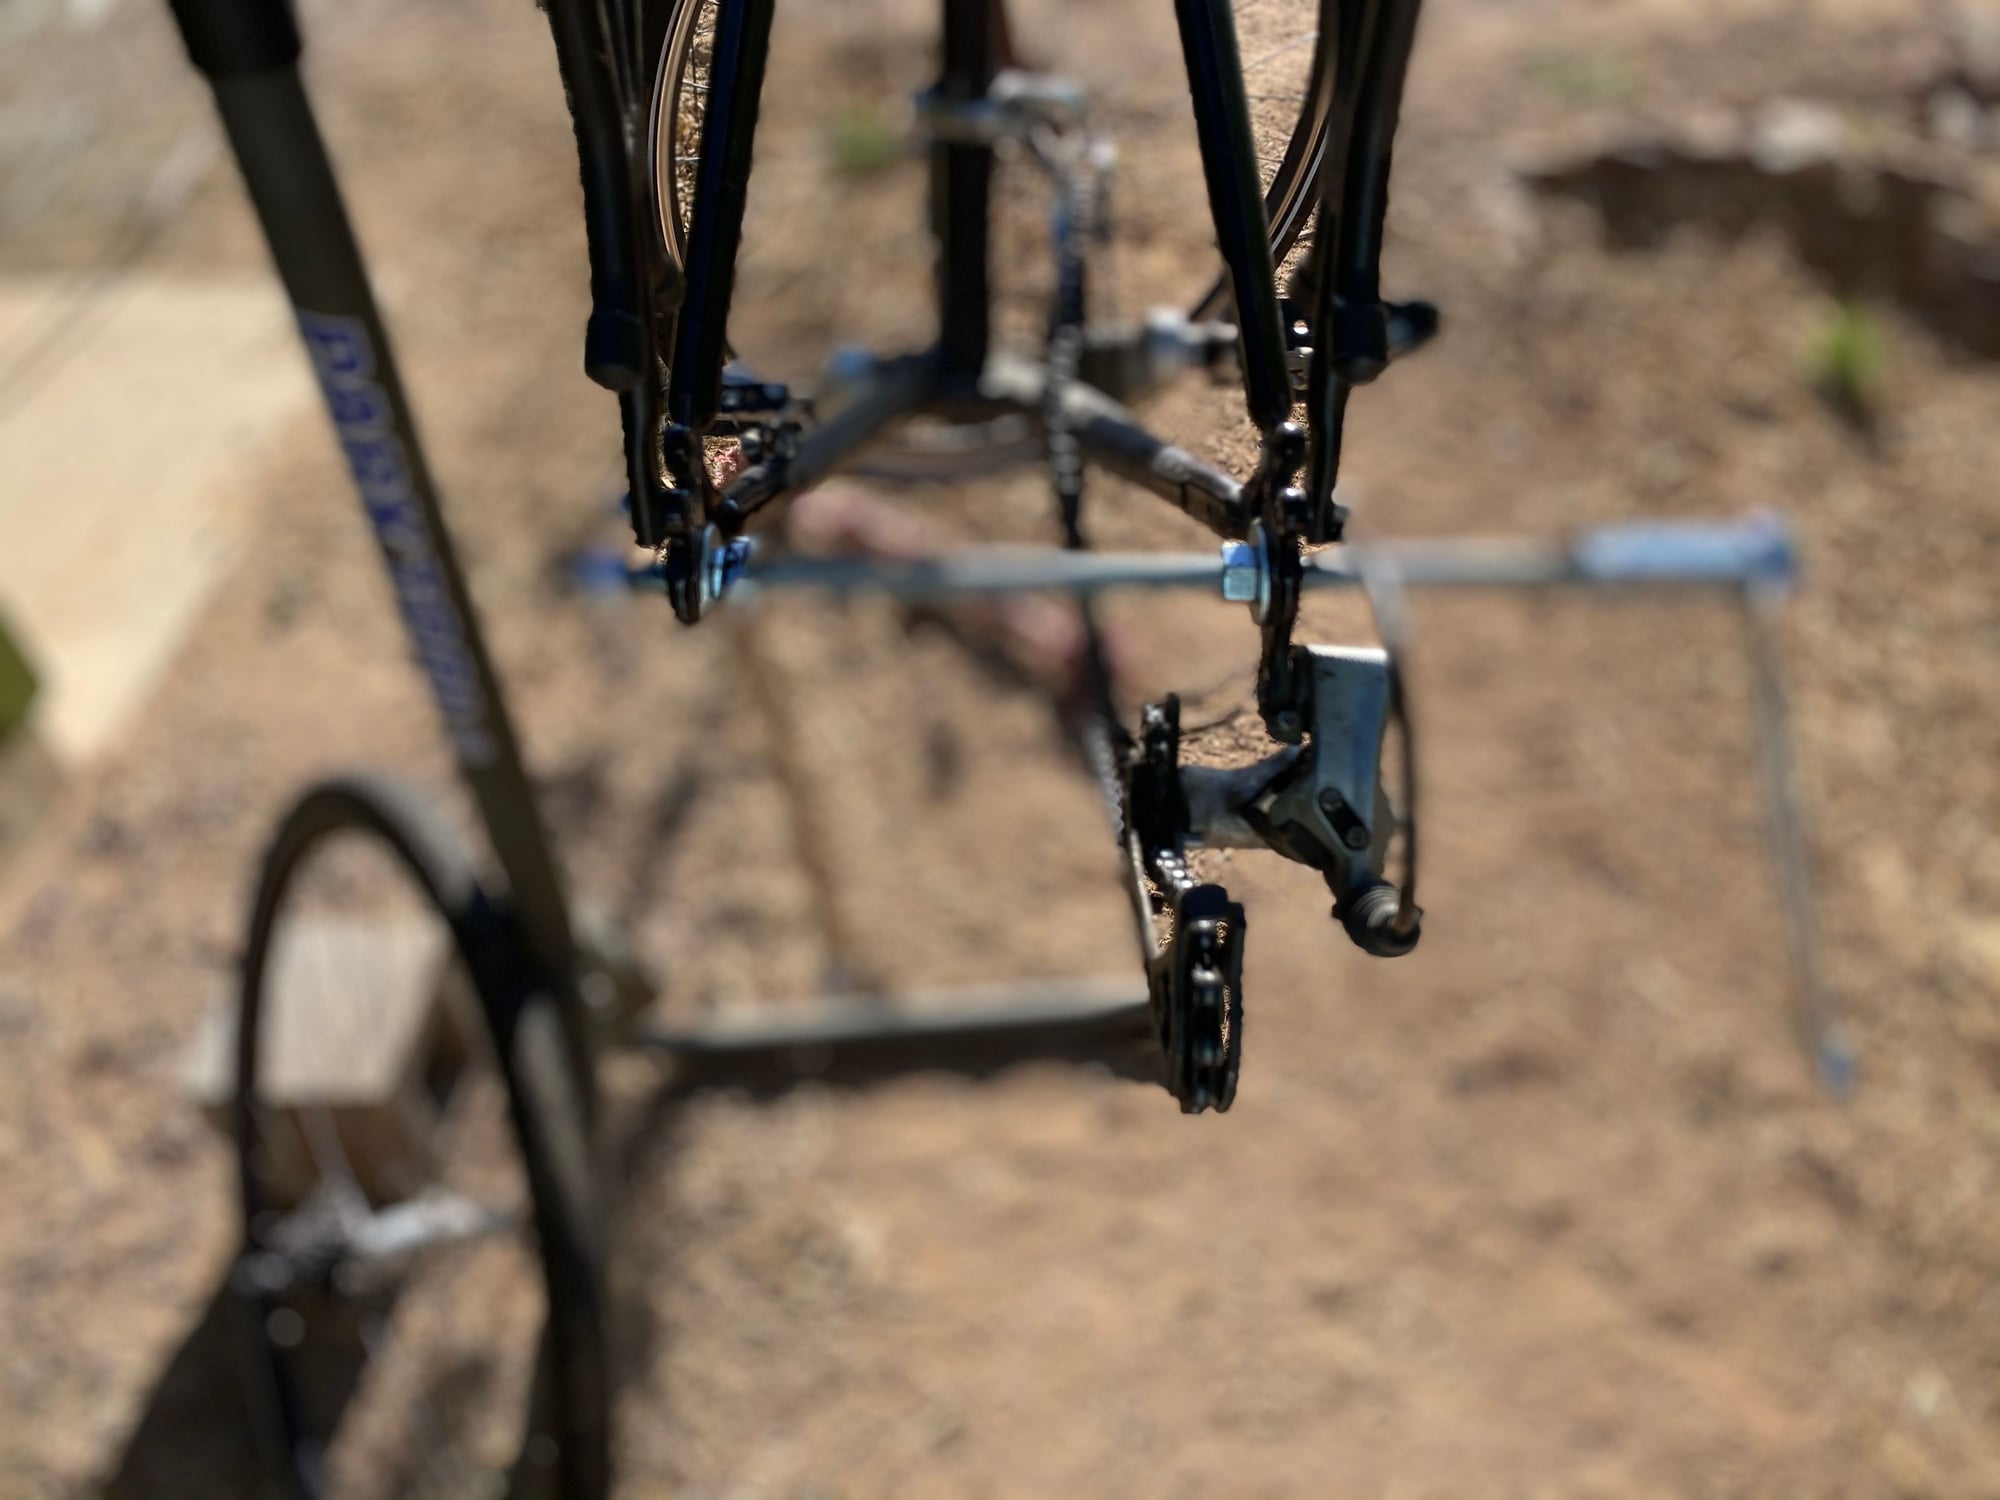
I made an aligner that will easily bend the drop outs back to parallel
And then checked the alignment with the string method.
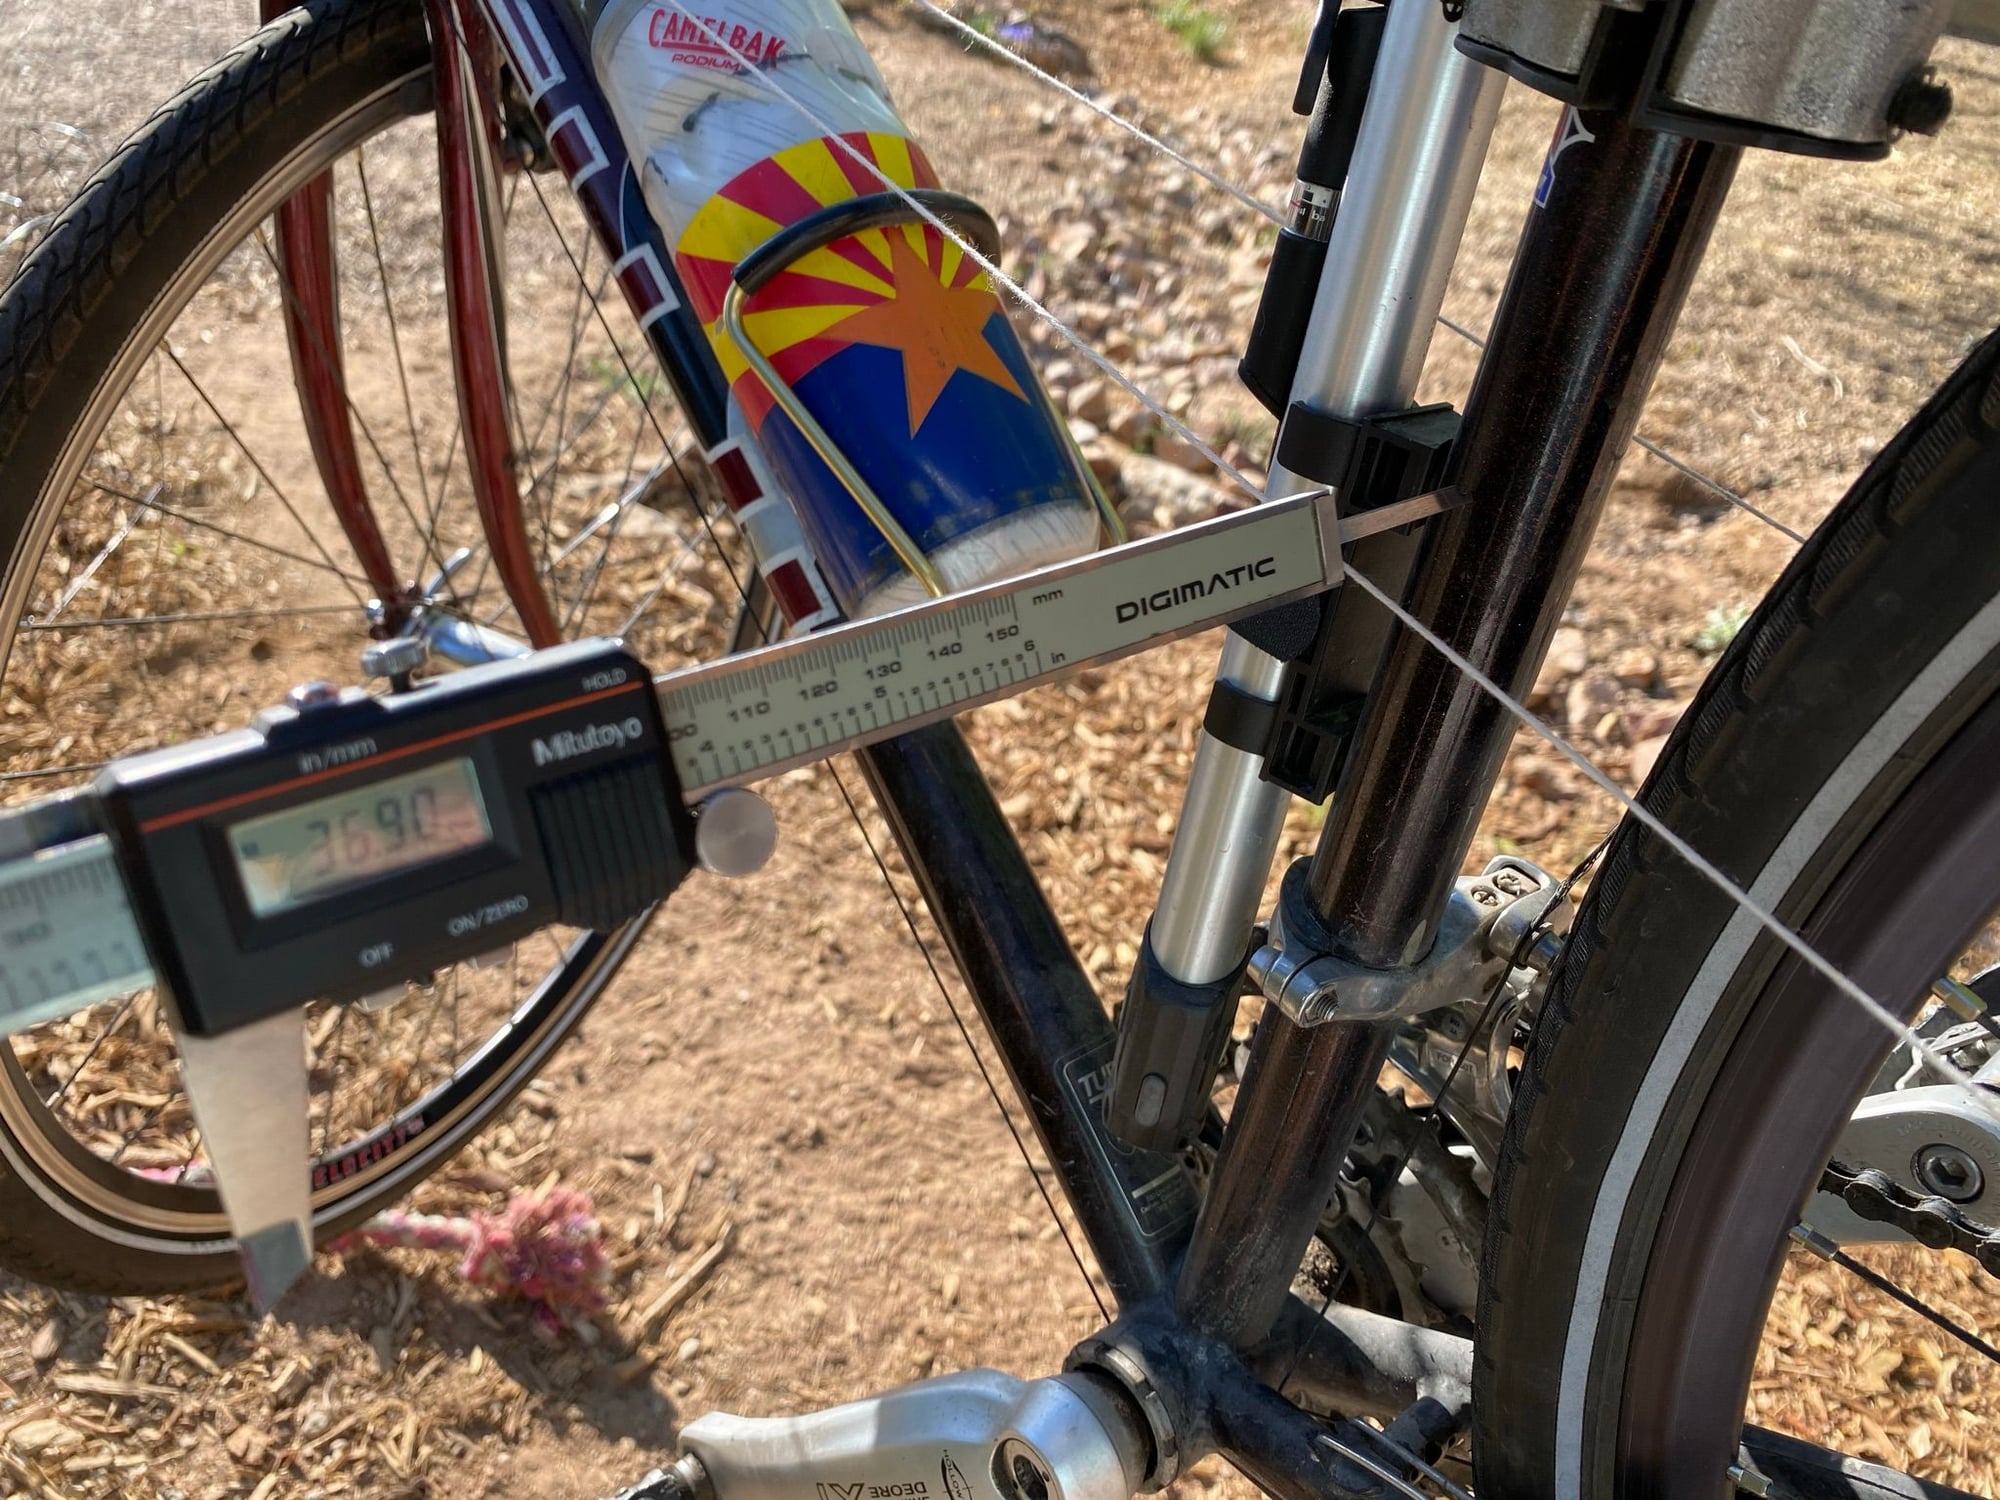
Easy peasy.
The tools are made from all-thread, nuts, bolts, and washers.
You widen the spreader (sorry for the photo) with a wrench to the width you need (and a little over). I actually over spread it and had to move it back a little. It was simple and a whole lot more elegant than the 2x4.
I made an aligner that will easily bend the drop outs back to parallel
And then checked the alignment with the string method.
Easy peasy.
__________________
Stuart Black
Plan Epsilon Around Lake Michigan in the era of Covid
Old School�When It Wasn�t Ancient bikepacking
Gold Fever Three days of dirt in Colorado
Pokin' around the Poconos A cold ride around Lake Erie
Dinosaurs in Colorado A mountain bike guide to the Purgatory Canyon dinosaur trackway
Solo Without Pie. The search for pie in the Midwest.
Picking the Scablands. Washington and Oregon, 2005. Pie and spiders on the Columbia River!
Likes For cyccommute:
10-16-22, 11:25 AM
#7
Senior Member

Join Date: Aug 2015
Posts: 3,299
Mentioned: 39 Post(s)
Tagged: 0 Thread(s)
Quoted: 1143 Post(s)
Liked 1,740 Times
in
961 Posts
I did happen to pick up a screwy Gitane last spring that needed way more than I thought. Here's that an the rigging that I setup. It needed needed headtube and fork alignment. I don't have pictures of seatube for Gitane so that was probably good.

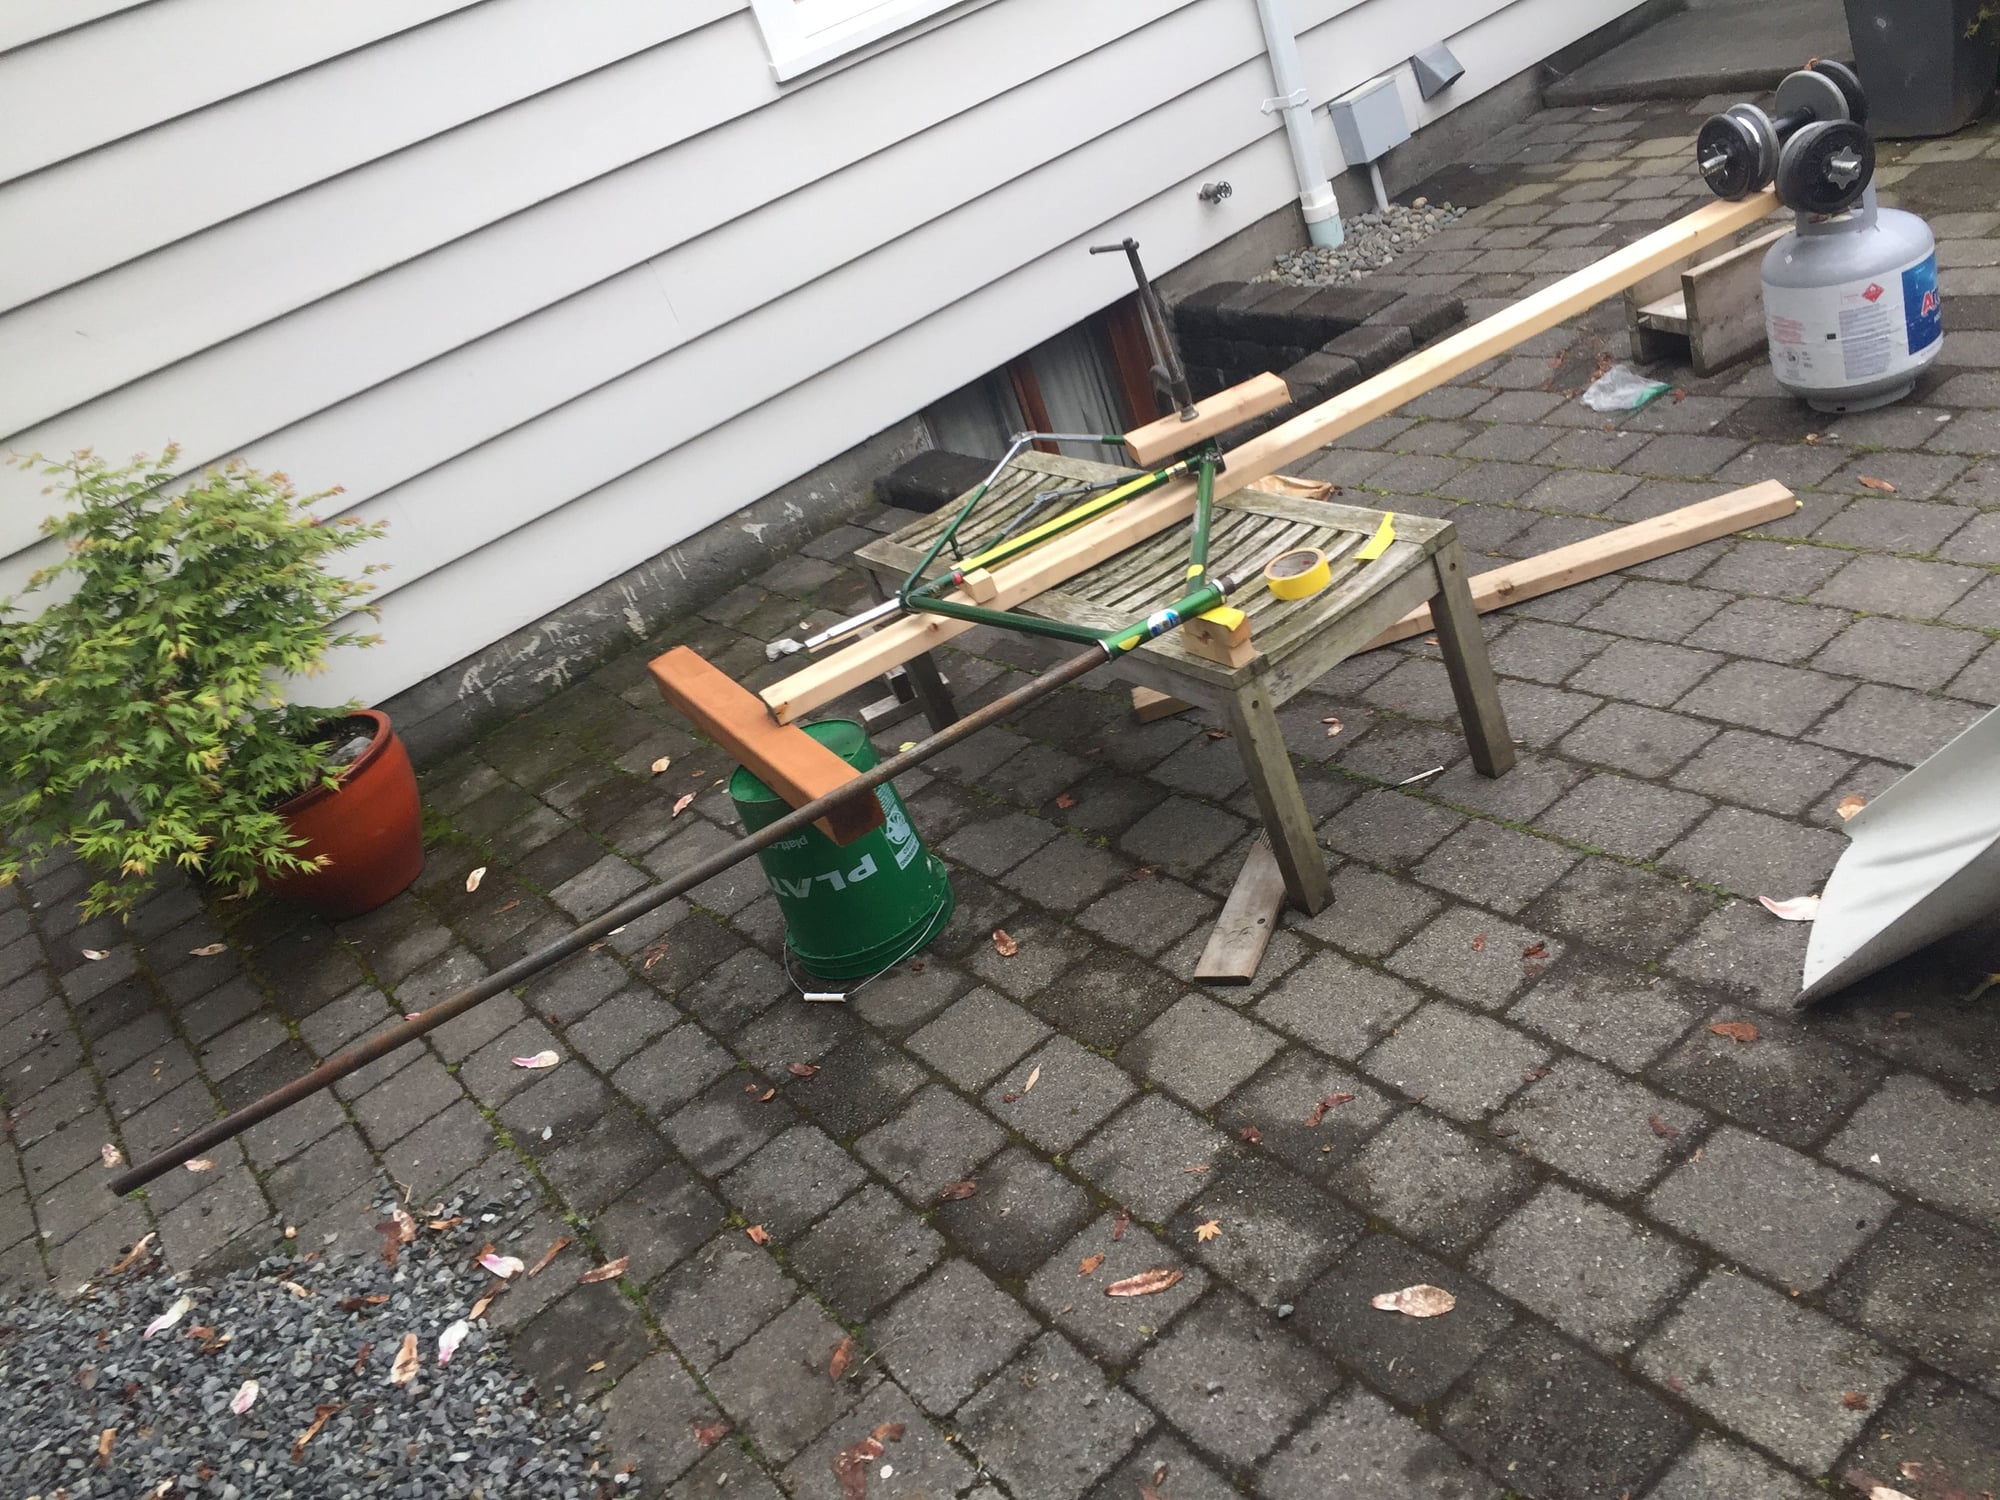
The rig needed a counter weight to keep steady.
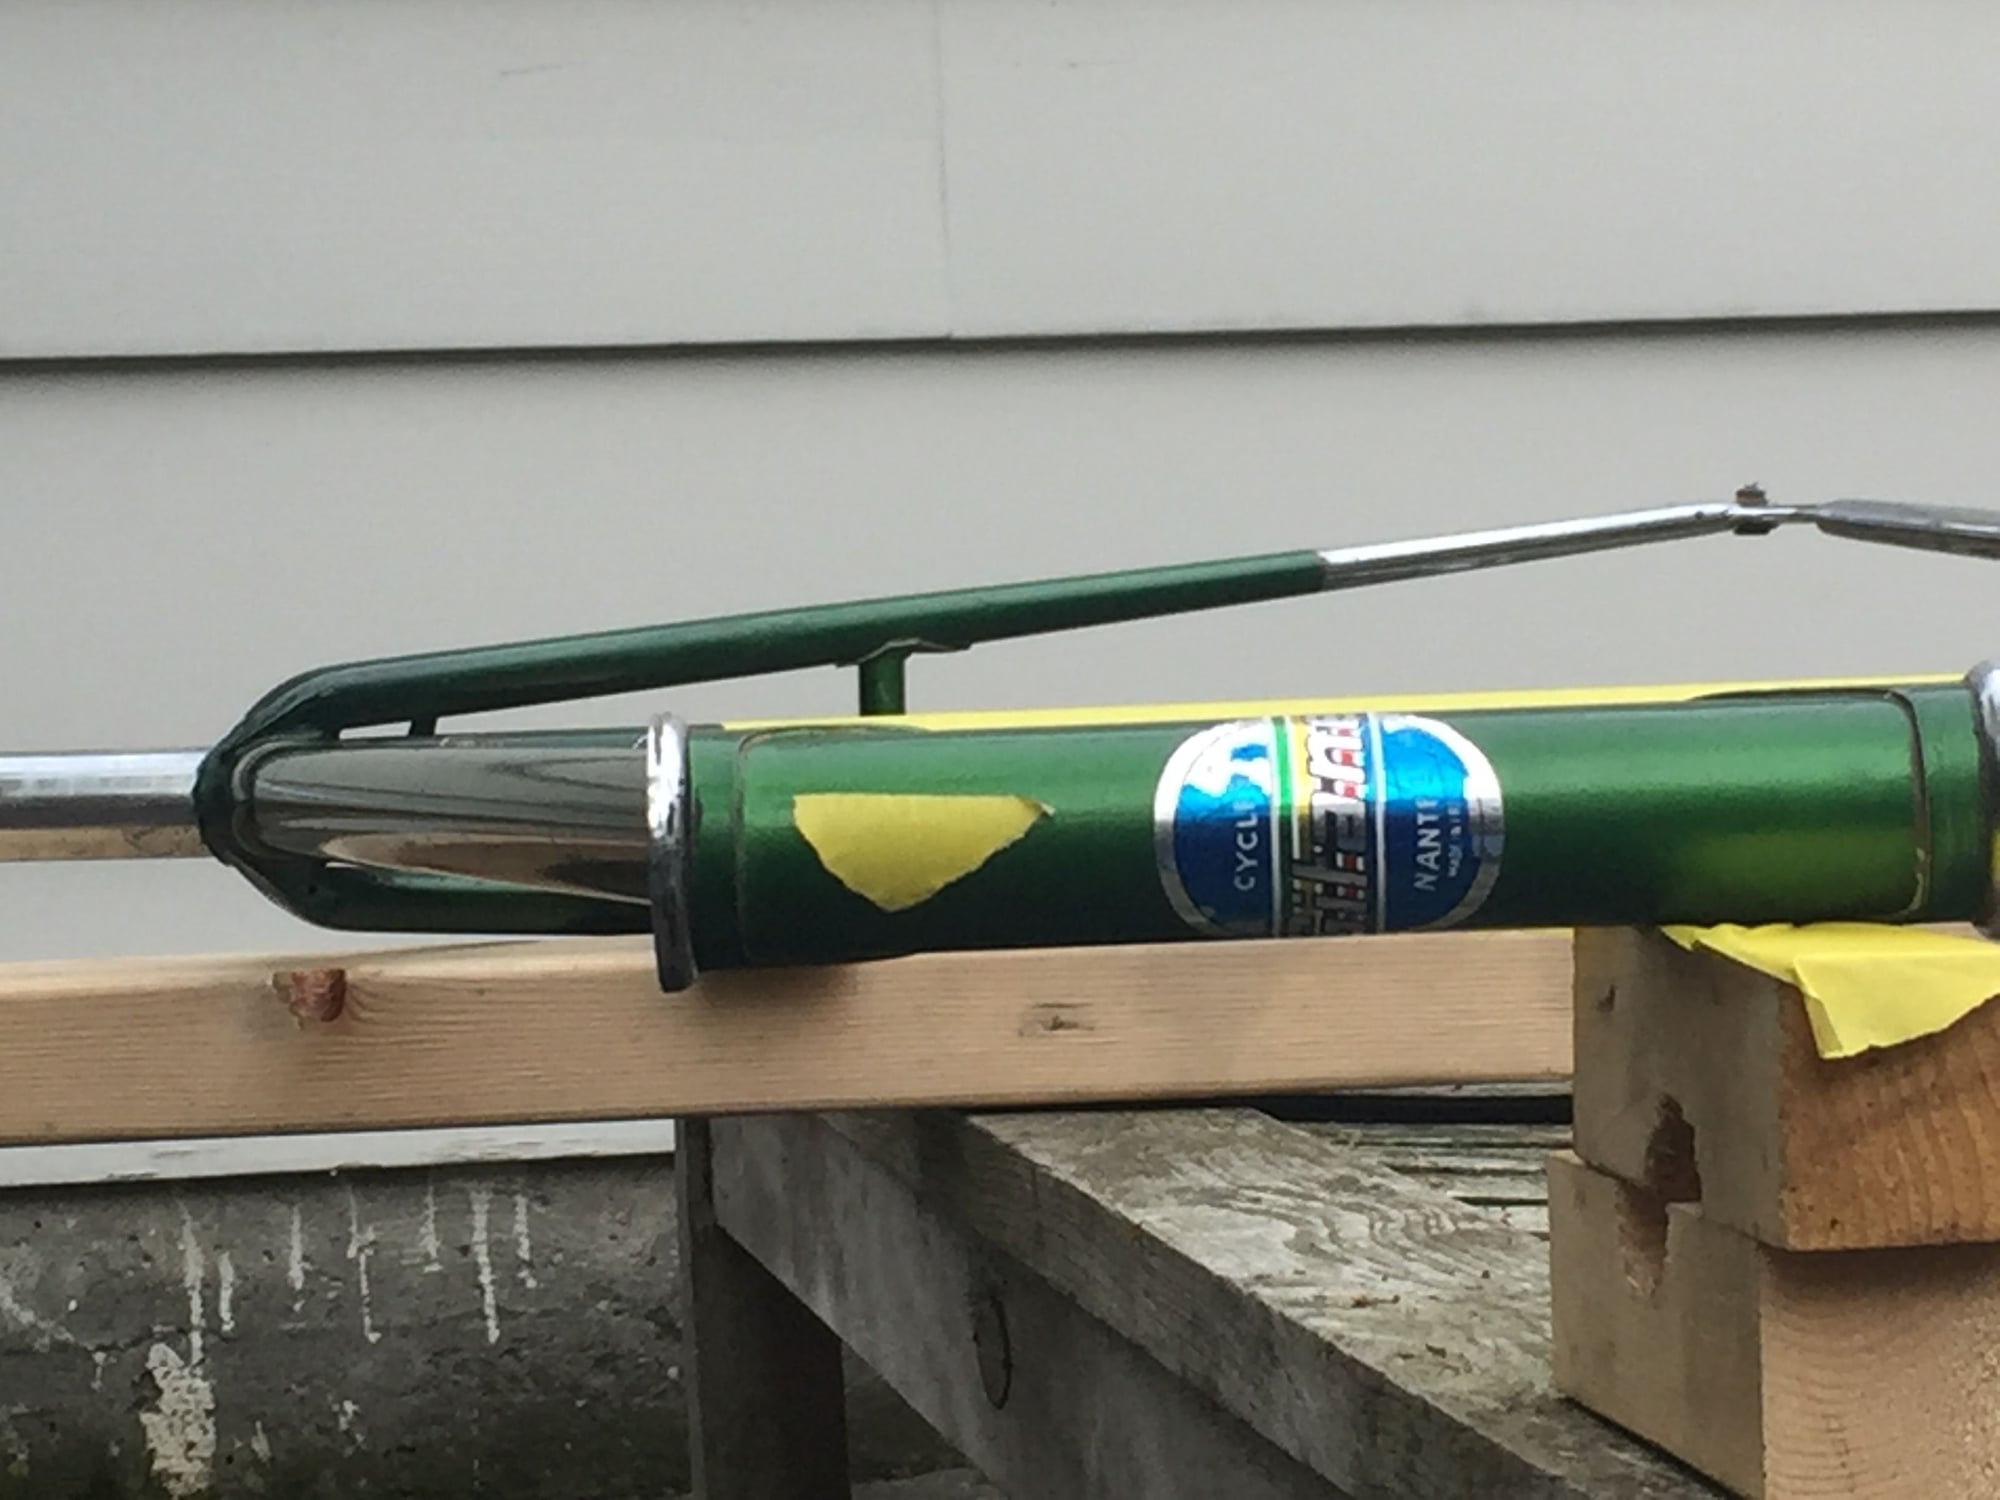

The drive side was lengthened.
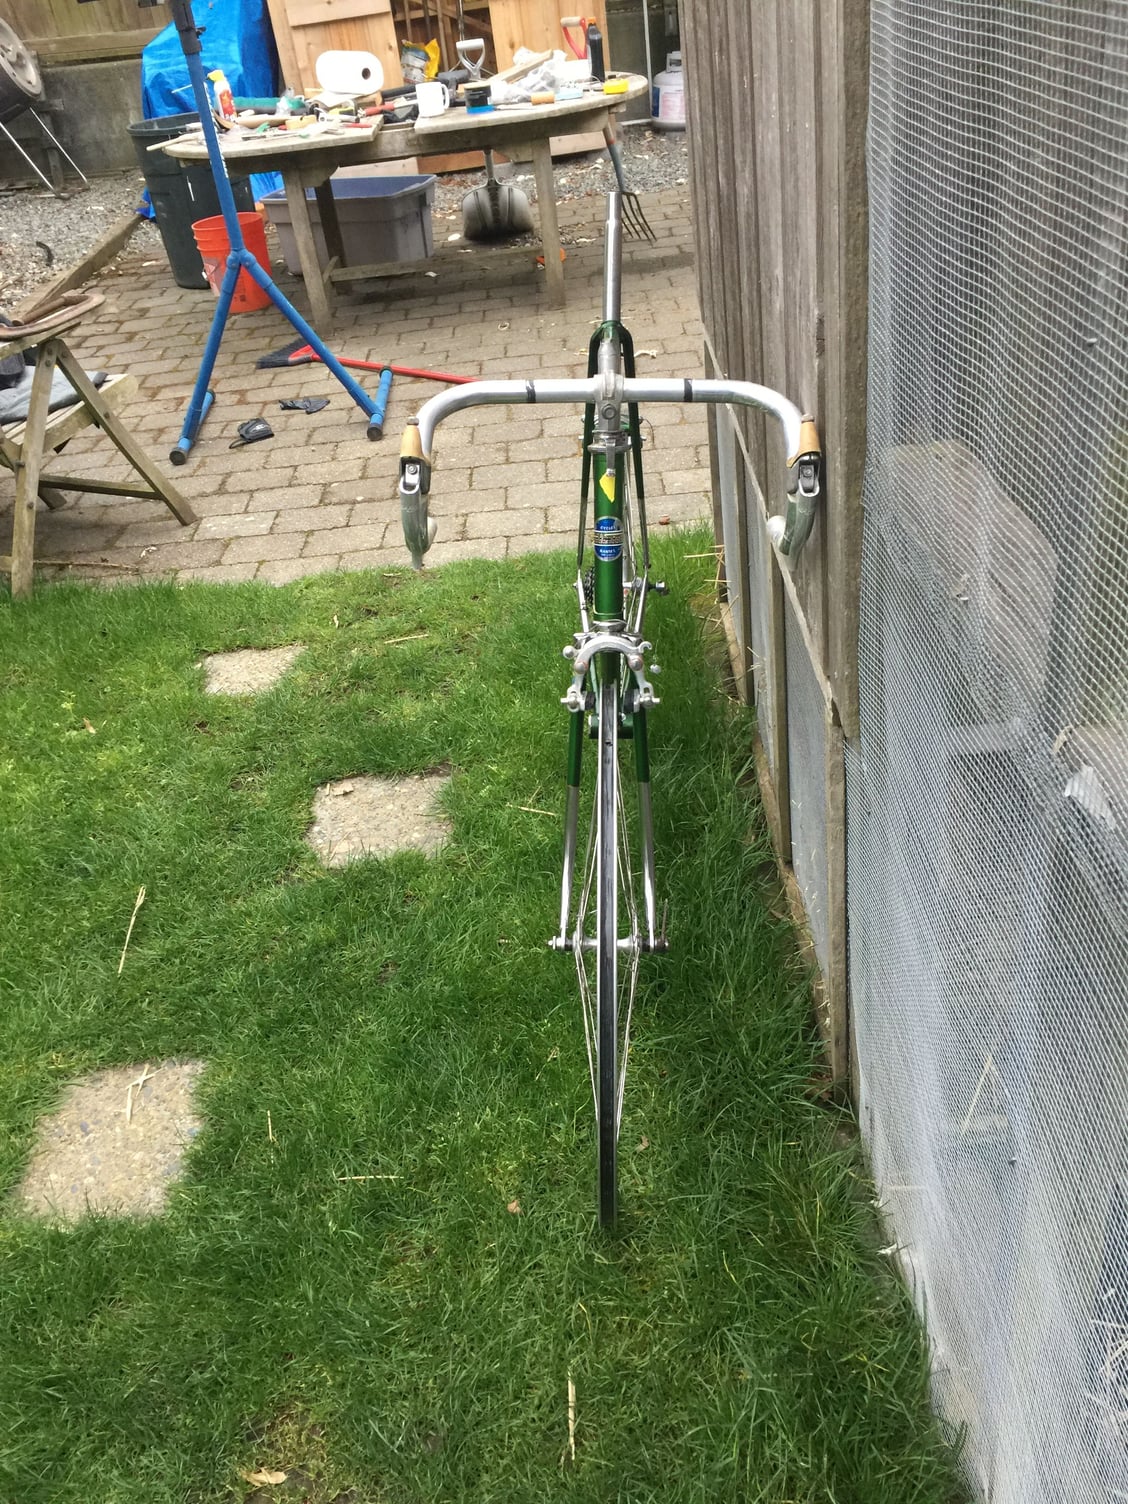
I have a setup for seatube as well, I'll post that later.
The rig needed a counter weight to keep steady.
The drive side was lengthened.
I have a setup for seatube as well, I'll post that later.
 10-16-22, 11:35 AM
#8
Senior Member

Join Date: Jun 2010
Location: Medford MA
Posts: 2,089
Bikes: Ron Cooper touring, 1959 Jack Taylor 650b ladyback touring tandem, Vitus 979, Joe Bell painted Claud Butler Dalesman, Colin Laing curved tube tandem, heavily-Dilberted 1982 Trek 6xx, Ren� Herse tandem
Mentioned: 80 Post(s)
Tagged: 0 Thread(s)
Quoted: 964 Post(s)
Liked 1,451 Times
in
723 Posts
Man, I do spread frames all the time but I never have thought to take pictures of it.
__________________
Owner & co-founder, Cycles Ren� Hubris. Unfortunately attaching questionable braze-ons to perfectly good frames since about 2015. With style.
Owner & co-founder, Cycles Ren� Hubris. Unfortunately attaching questionable braze-ons to perfectly good frames since about 2015. With style.
10-16-22, 02:41 PM
#9
Senior Member

Join Date: Jun 2006
Location: NW Burbs, Chicago
Posts: 12,054
Mentioned: 201 Post(s)
Tagged: 0 Thread(s)
Quoted: 3015 Post(s)
Liked 3,804 Times
in
1,408 Posts
1960s Umberto Dei. 120 to 130. Fairly certain I used a 2x4 , eyeballed it with the wheel in place. That was 6-7 years ago. No complaints.
 Umberto Dei 03 by iabisdb, on Flickr
Umberto Dei 03 by iabisdb, on Flickr
Likes For iab:
10-17-22, 06:15 AM
#10
Senior Member

Join Date: May 2008
Location: Fredericksburg, Va
Posts: 9,579
Bikes: '65 Frejus TDF, '73 Bottecchia Giro d'Italia, '83 Colnago Superissimo, '84 Trek 610, '84 Trek 760, '88 Pinarello Veneto, '88 De Rosa Pro, '89 Pinarello Montello, '94 Burley Duet, 97 Specialized RockHopper, 2010 Langster, Tern Link D8
Mentioned: 73 Post(s)
Tagged: 0 Thread(s)
Quoted: 1608 Post(s)
Liked 2,216 Times
in
1,103 Posts
@iab Cool chain set! I suppose this is a fairly new bike in your collection!
__________________
Bikes don't stand alone. They are two tired.
Bikes don't stand alone. They are two tired.
10-17-22, 06:47 AM
#11
Junior Member
You are a pro cudak888 ! Nice works there. Can you help me with some tips ? I am thinking to cold set my Peugeot frame from 120 to 126 to instal a bigger freewheel . So i am thinking to check dropout and chainstays alignment first and then coldset to 126. Turning from 120 to 126 means that i need new axle and some 3mm spacers put between cone and locknuts, right? Mine measure 132mm atm and my Simplex quick release 155mm. That quick release can still be reuse ? Regards, Sorin.

10-17-22, 06:59 AM
#12
www.theheadbadge.com
Thread Starter
Join Date: Sep 2005
Location: Southern Florida
Posts: 28,513
Bikes: https://www.theheadbadge.com
Mentioned: 124 Post(s)
Tagged: 0 Thread(s)
Quoted: 2422 Post(s)
Liked 4,395 Times
in
2,092 Posts
You are a pro cudak888 ! Nice works there. Can you help me with some tips ? I am thinking to cold set my Peugeot frame from 120 to 126 to instal a bigger freewheel . So i am thinking to check dropout and chainstays alignment first and then coldset to 126. Turning from 120 to 126 means that i need new axle and some 3mm spacers put between cone and locknuts, right? Mine measure 132mm atm and my Simplex quick release 155mm. That quick release can still be reuse ? Regards, Sorin.
First, you need a vice and soft aluminum vice jaws to hold the frame steady by the bottom bracket shell. Highly advise this, as you don't have to worry about any other mounting this way. Don't clamp directly to the vise - you'll do all sorts of damage to the BB shell - and use relatively soft aluminum if you're just using 90 degree stock as your jaws (not a bad idea).
A Park FFS1/2 can be used to pull the frame. Can be done by hand, but the FFS1 allows for more control, say, if you want to bend from the seatstay and pivot pressure below the brake bridge. Not a bad idea to do that on your Trek (or any bike with minimal visible brass or silver in the brake bridge). Yes, I've seen bridges split from the seatstay on older Treks because of this, though debates will go on forever whether this is a function of bad cold-setting or improper framebuilding. Doesn't matter; the takeaway is to be careful.
You then want the Park FAG1 (Frame Alignment Gauge) to make sure you've pulled an equal amount on each side. (The string method can replace this).
Also, if you have one, use one of the Park SBC1 spoke measuring tools to take periodic measurements between the drops; it's a handy tool in general and is a great measuring tool for this task. You'll wind up using it many times and you'll need it to check dropout spacing.
Last tool you'll need are a pair of FFG2's - the dropout alignment tool. After spreading the frame, the dropouts won't be parallel with each other. These tools measure that and will also give you the leverage to bend them square. (The threaded rod tools shown here can easily sub for these fairly expensive tools).
And, of course, heed the warning not to cold-set frames built with heat-treated steel tubing. Sure, you might be able to get away with it, but I wouldn't risk it. Too big a chance of cracking. Let the framebuilder get it right and then leave it alone.
-Kurt
__________________
