


Batavus Professional
 04-09-24, 05:20 PM
#1

WGB
Thread Starter
Join Date: Jul 2017
Location: Niagara Region
Posts: 2,920
Bikes: Panasonic PT-4500
Mentioned: 46 Post(s)
Tagged: 0 Thread(s)
Quoted: 1802 Post(s)
Liked 2,335 Times
in
1,378 Posts
Batavus Professional
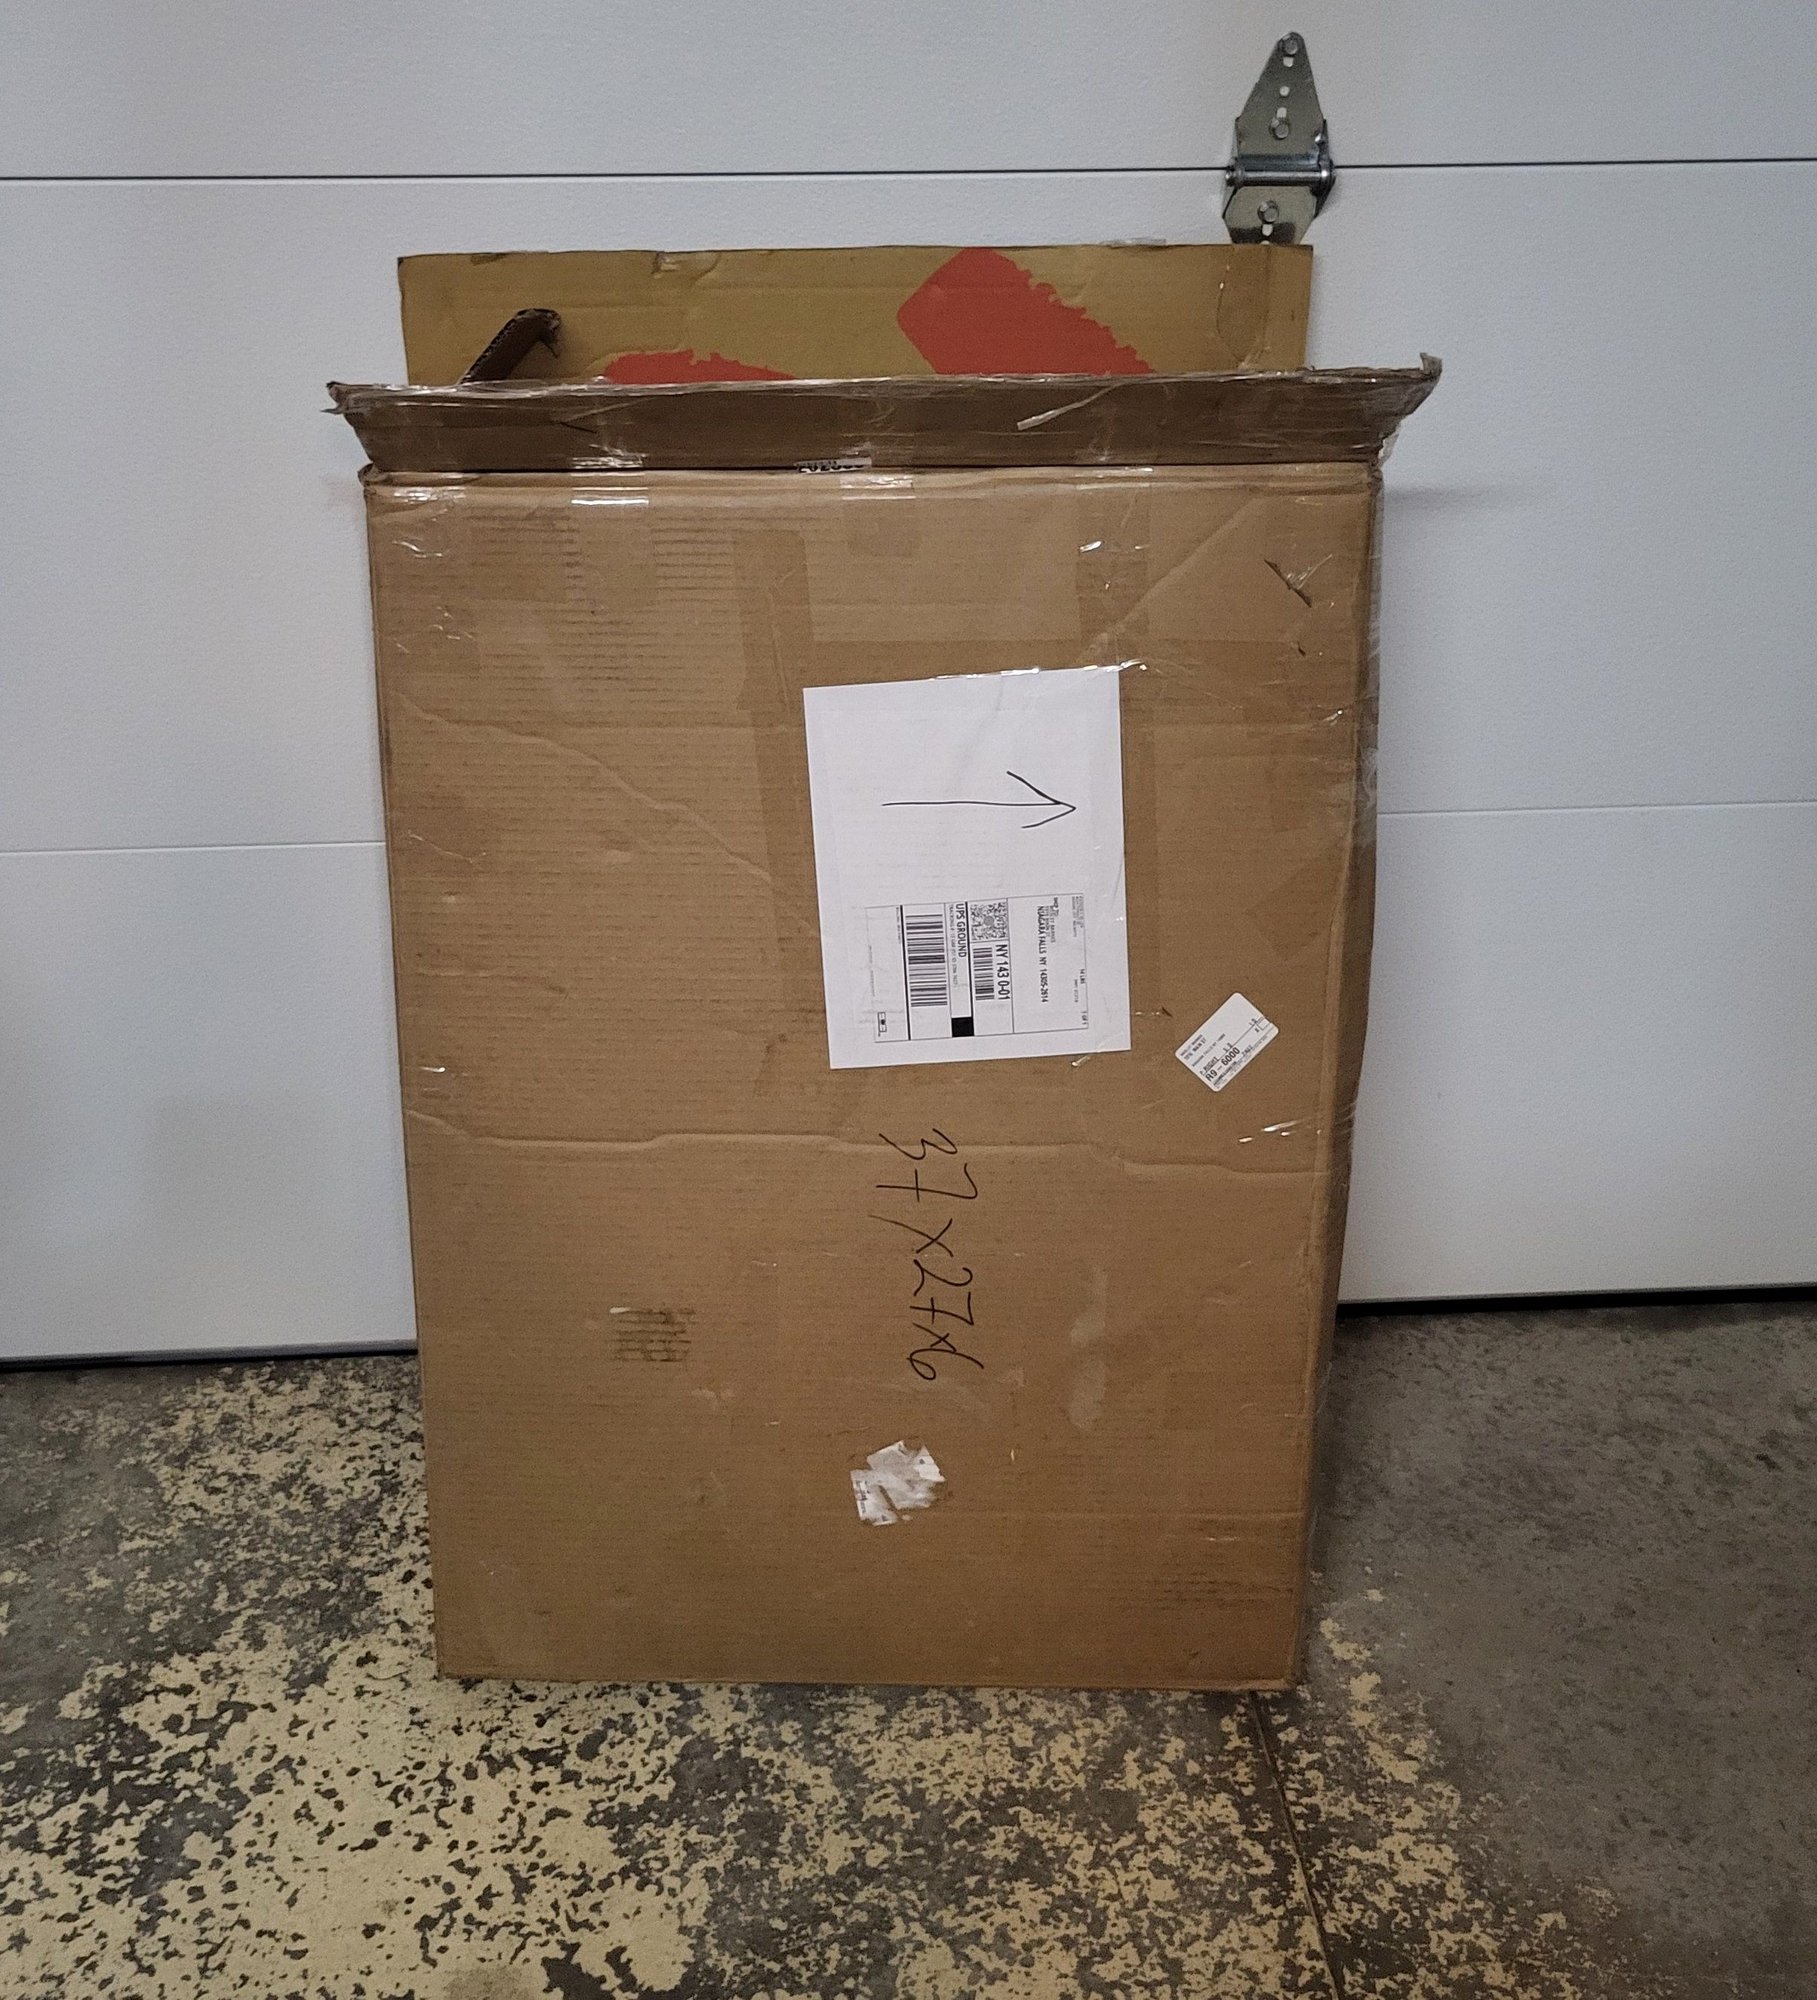
i bought this frameset from kansascity
He packed it so well that you could drive a tank over it.

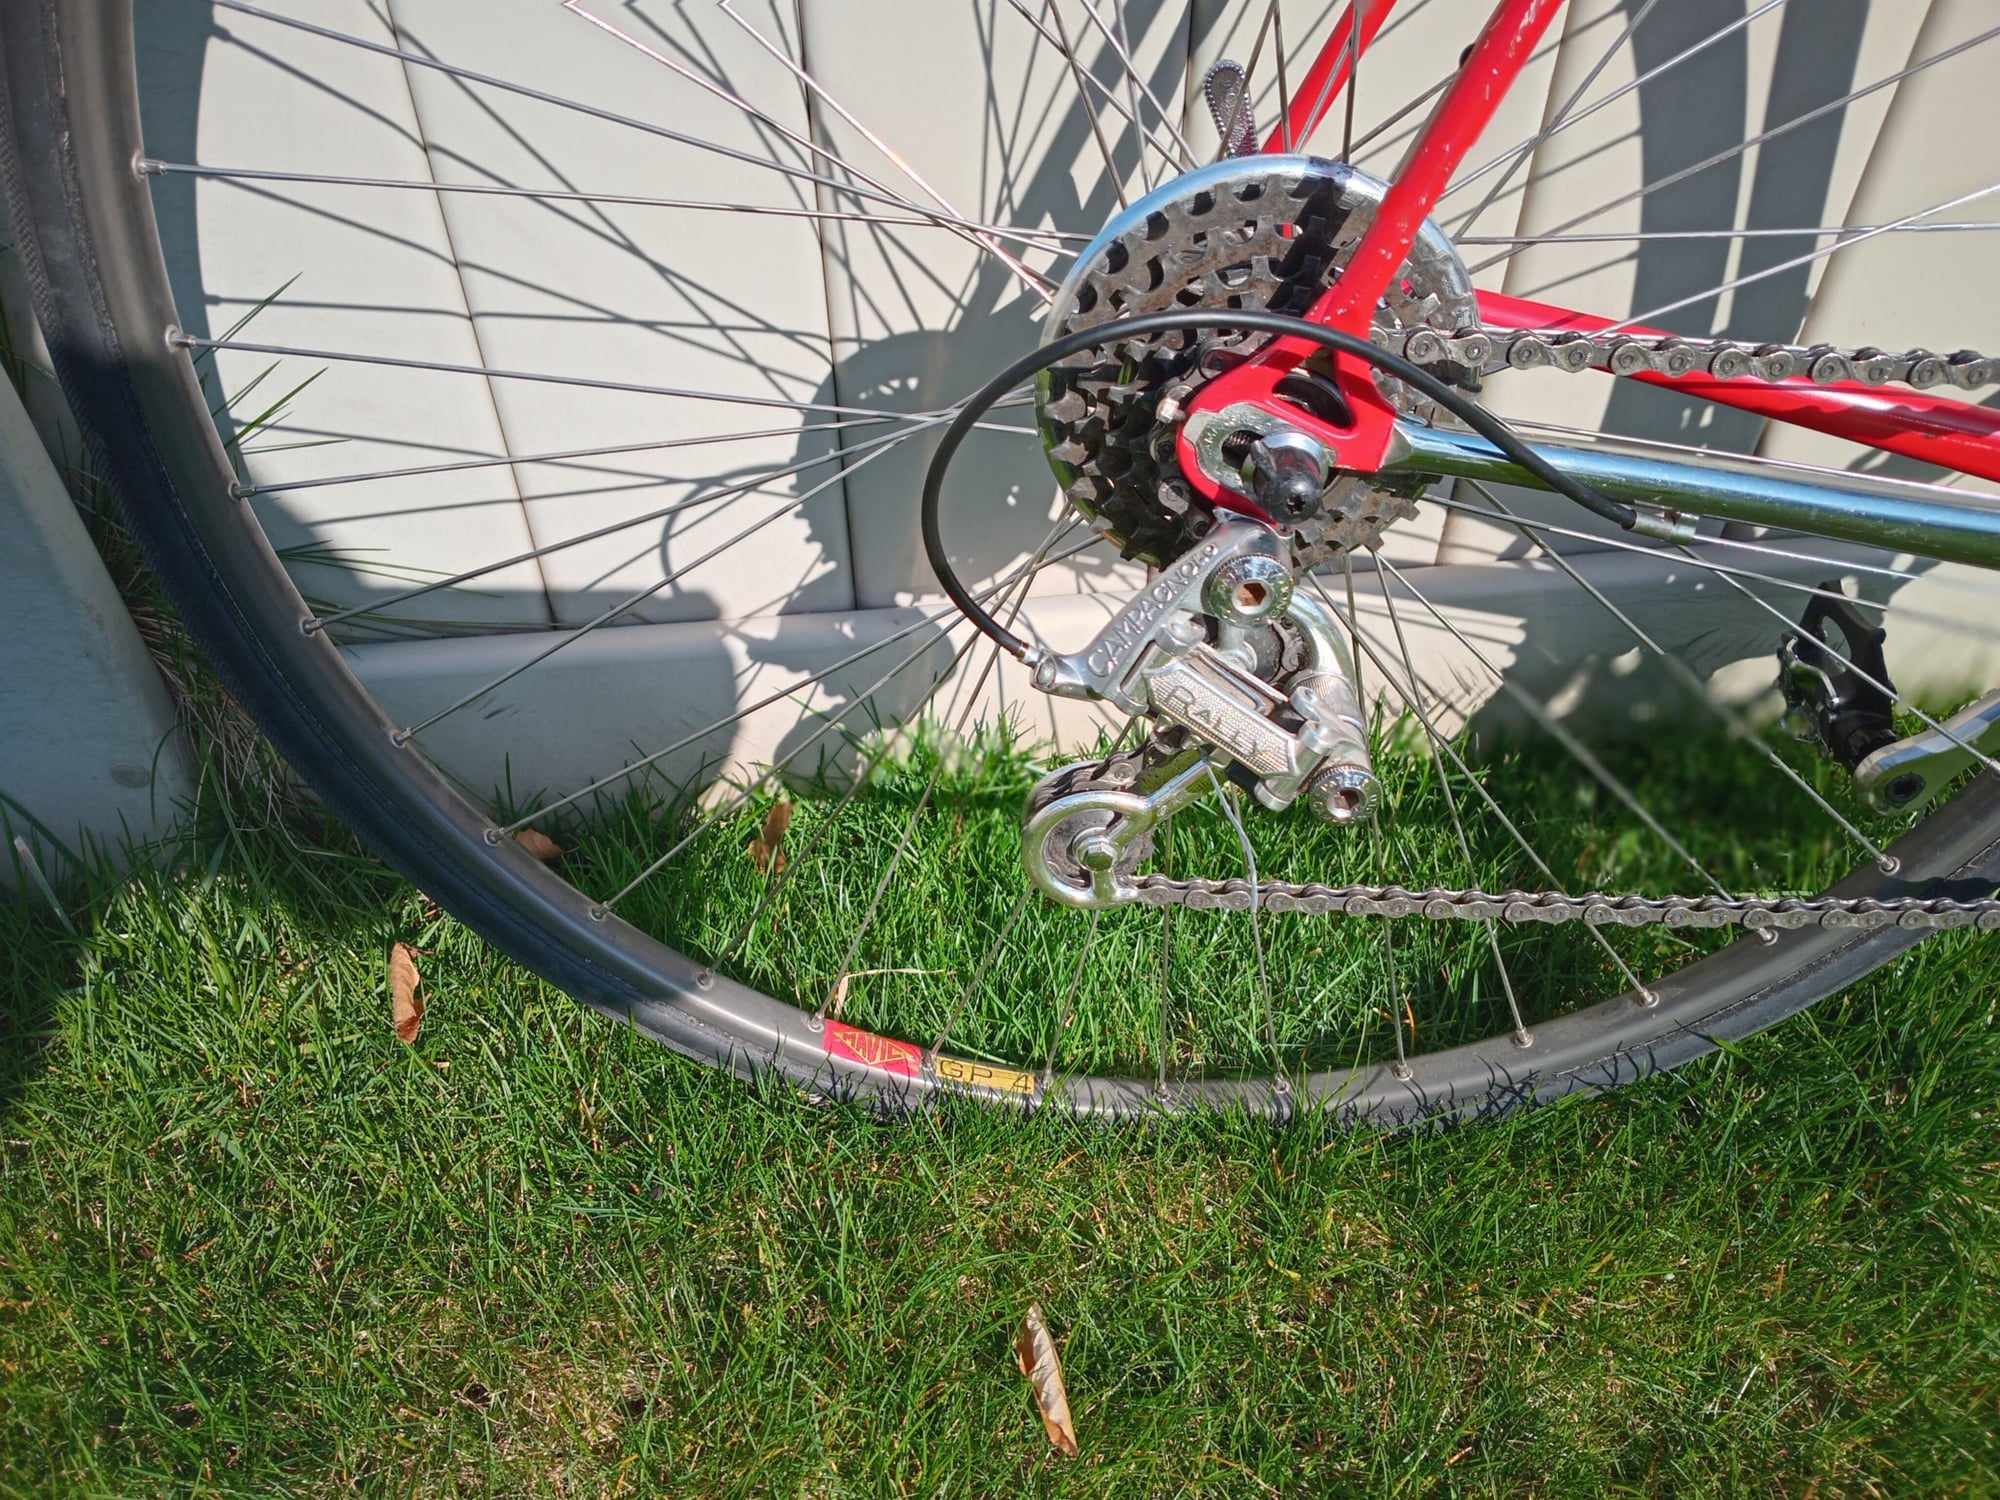
I originally had an NOS set of Mavic GP4s built up but the Vittoria 30mm tubulars rubbed on the bottom of the rear brake. I switched in the GP4 wheel set from my Miele which had GP4s with Continental 28mm's and now, both bikes are happy.
I will be adding cable caps to the cables tonight, and I know that the brake cables are excessively long. If I keep this bike, it will either be fully chromed or be repainted and so I would have the rear brake bridge raised about 3mm at that time, to accommodate larger tires. Unsure at this time, that if I do keep it, whether I would stay with friction or move to indexing.
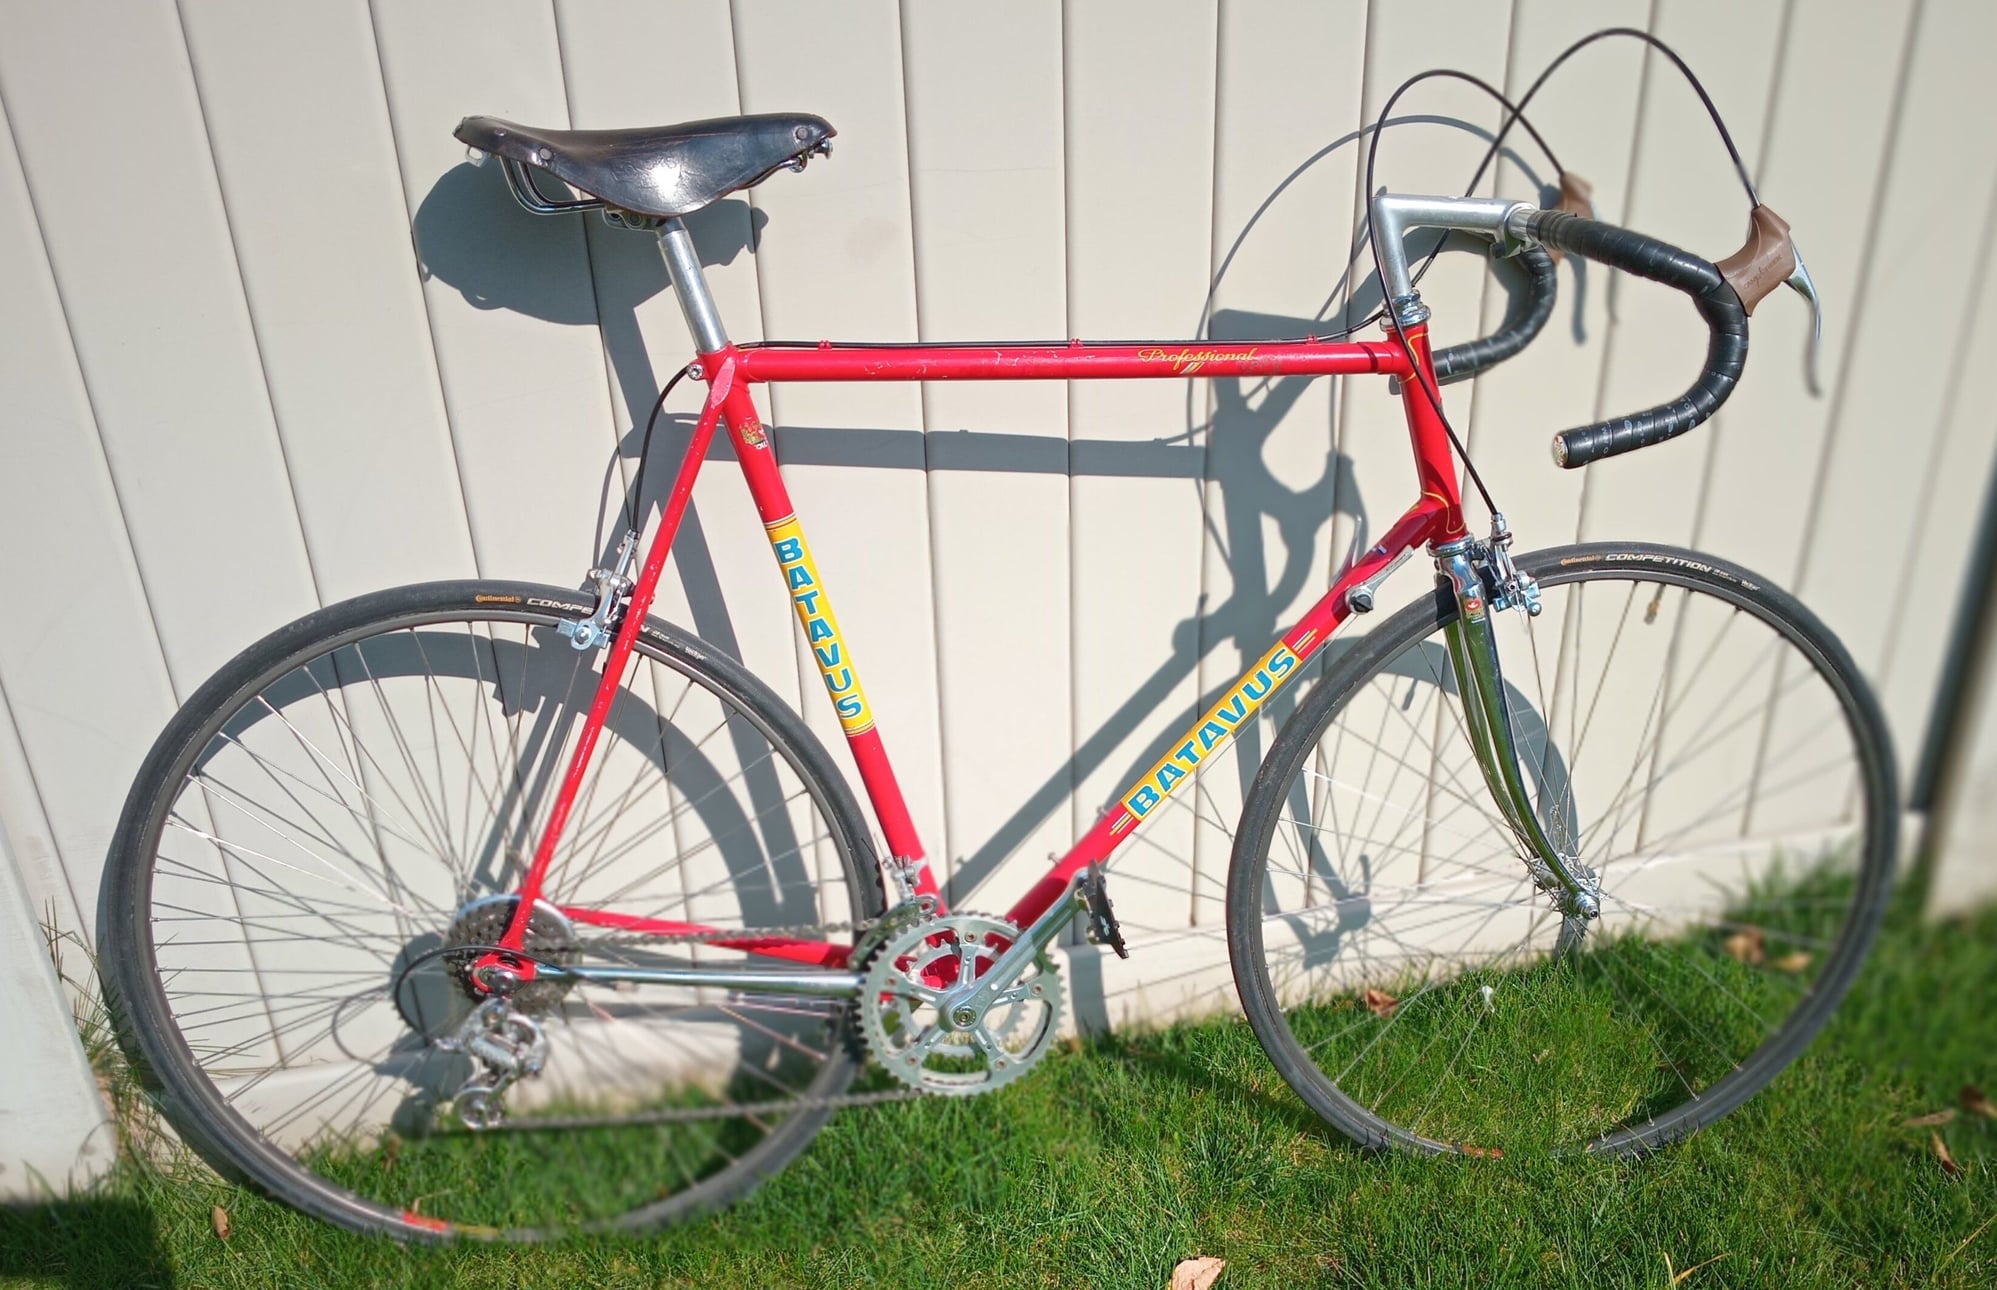
The only negative is that the cranks are 170mm.
My regular bikes have always had 175-177.5mm cranks. I had dismissed the difference between those and the 170s as "minor". I rode the Batavus today for the first time and the cranks seemed "odd" (if that makes sense).
I only did a mile as there were issues to correct and will ride again tonight. The rear derailleur cable housing was too long and the seat had to be raised almost an inch. I have to add a bottle cage but may have to source some cage bolts. The old B-17 I mounted is just that, it's old and the bolt spins. I have an NOS carved Selle San Marco leather seat in a box and I will install that if it stays with me. I will tighten that bolt, if I can, before I ride.
Edit: Please ignore the shifters! I have two sets of Record shifters but neither worked as the Belleville (sp?) washers are flat. I have to source replacements.

Posting this as a work in progress.....
He packed it so well that you could drive a tank over it.
I originally had an NOS set of Mavic GP4s built up but the Vittoria 30mm tubulars rubbed on the bottom of the rear brake. I switched in the GP4 wheel set from my Miele which had GP4s with Continental 28mm's and now, both bikes are happy.
I will be adding cable caps to the cables tonight, and I know that the brake cables are excessively long. If I keep this bike, it will either be fully chromed or be repainted and so I would have the rear brake bridge raised about 3mm at that time, to accommodate larger tires. Unsure at this time, that if I do keep it, whether I would stay with friction or move to indexing.
The only negative is that the cranks are 170mm.
My regular bikes have always had 175-177.5mm cranks. I had dismissed the difference between those and the 170s as "minor". I rode the Batavus today for the first time and the cranks seemed "odd" (if that makes sense).
I only did a mile as there were issues to correct and will ride again tonight. The rear derailleur cable housing was too long and the seat had to be raised almost an inch. I have to add a bottle cage but may have to source some cage bolts. The old B-17 I mounted is just that, it's old and the bolt spins. I have an NOS carved Selle San Marco leather seat in a box and I will install that if it stays with me. I will tighten that bolt, if I can, before I ride.
Edit: Please ignore the shifters! I have two sets of Record shifters but neither worked as the Belleville (sp?) washers are flat. I have to source replacements.
Posting this as a work in progress.....
Last edited by WGB; 04-09-24 at 07:31 PM.

Likes For WGB:
04-09-24, 05:29 PM
#2

feros ferio

Join Date: Jul 2000
Location: www.ci.encinitas.ca.us
Posts: 21,804
Bikes: 1959 Capo Modell Campagnolo; 1960 Capo Sieger (2); 1962 Carlton Franco Suisse; 1970 Peugeot UO-8; 1982 Bianchi Campione d'Italia; 1988 Schwinn Project KOM-10;
Mentioned: 44 Post(s)
Tagged: 0 Thread(s)
Quoted: 1393 Post(s)
Liked 1,334 Times
in
840 Posts
Why repaint it?
__________________
"Far and away the best prize that life offers is the chance to work hard at work worth doing." --Theodore Roosevelt
Capo: 1959 Modell Campagnolo, S/N 40324; 1960 Sieger (2), S/N 42624, 42597
Carlton: 1962 Franco Suisse, S/N K7911
Peugeot: 1970 UO-8, S/N 0010468
Bianchi: 1982 Campione d'Italia, S/N 1.M9914
Schwinn: 1988 Project KOM-10, S/N F804069
04-09-24, 05:31 PM
#3
Senior Member
Join Date: May 2019
Location: Bloomington, IN
Posts: 2,955
Bikes: Paramount, Faggin, Ochsner, Ciocc, Basso
Mentioned: 117 Post(s)
Tagged: 0 Thread(s)
Quoted: 1309 Post(s)
Liked 1,913 Times
in
1,143 Posts
Nice catch Wes! It looks like a rider but you are right you will need some longer crank arms. Smiles, MH
04-09-24, 05:49 PM
#4
Senior Member

Join Date: Feb 2013
Location: Alta California
Posts: 14,280
Mentioned: 415 Post(s)
Tagged: 1 Thread(s)
Quoted: 3815 Post(s)
Liked 3,348 Times
in
2,184 Posts
-----
t'is probably just perspective but in the above image it appears brake mount hole in crown may be not quite straight
one fork end forward of the other could also yield this appearance
-----
t'is probably just perspective but in the above image it appears brake mount hole in crown may be not quite straight
one fork end forward of the other could also yield this appearance
-----
04-09-24, 06:53 PM
#5
WGB
Thread Starter
Join Date: Jul 2017
Location: Niagara Region
Posts: 2,920
Bikes: Panasonic PT-4500
Mentioned: 46 Post(s)
Tagged: 0 Thread(s)
Quoted: 1802 Post(s)
Liked 2,335 Times
in
1,378 Posts
John E
Re: Painting
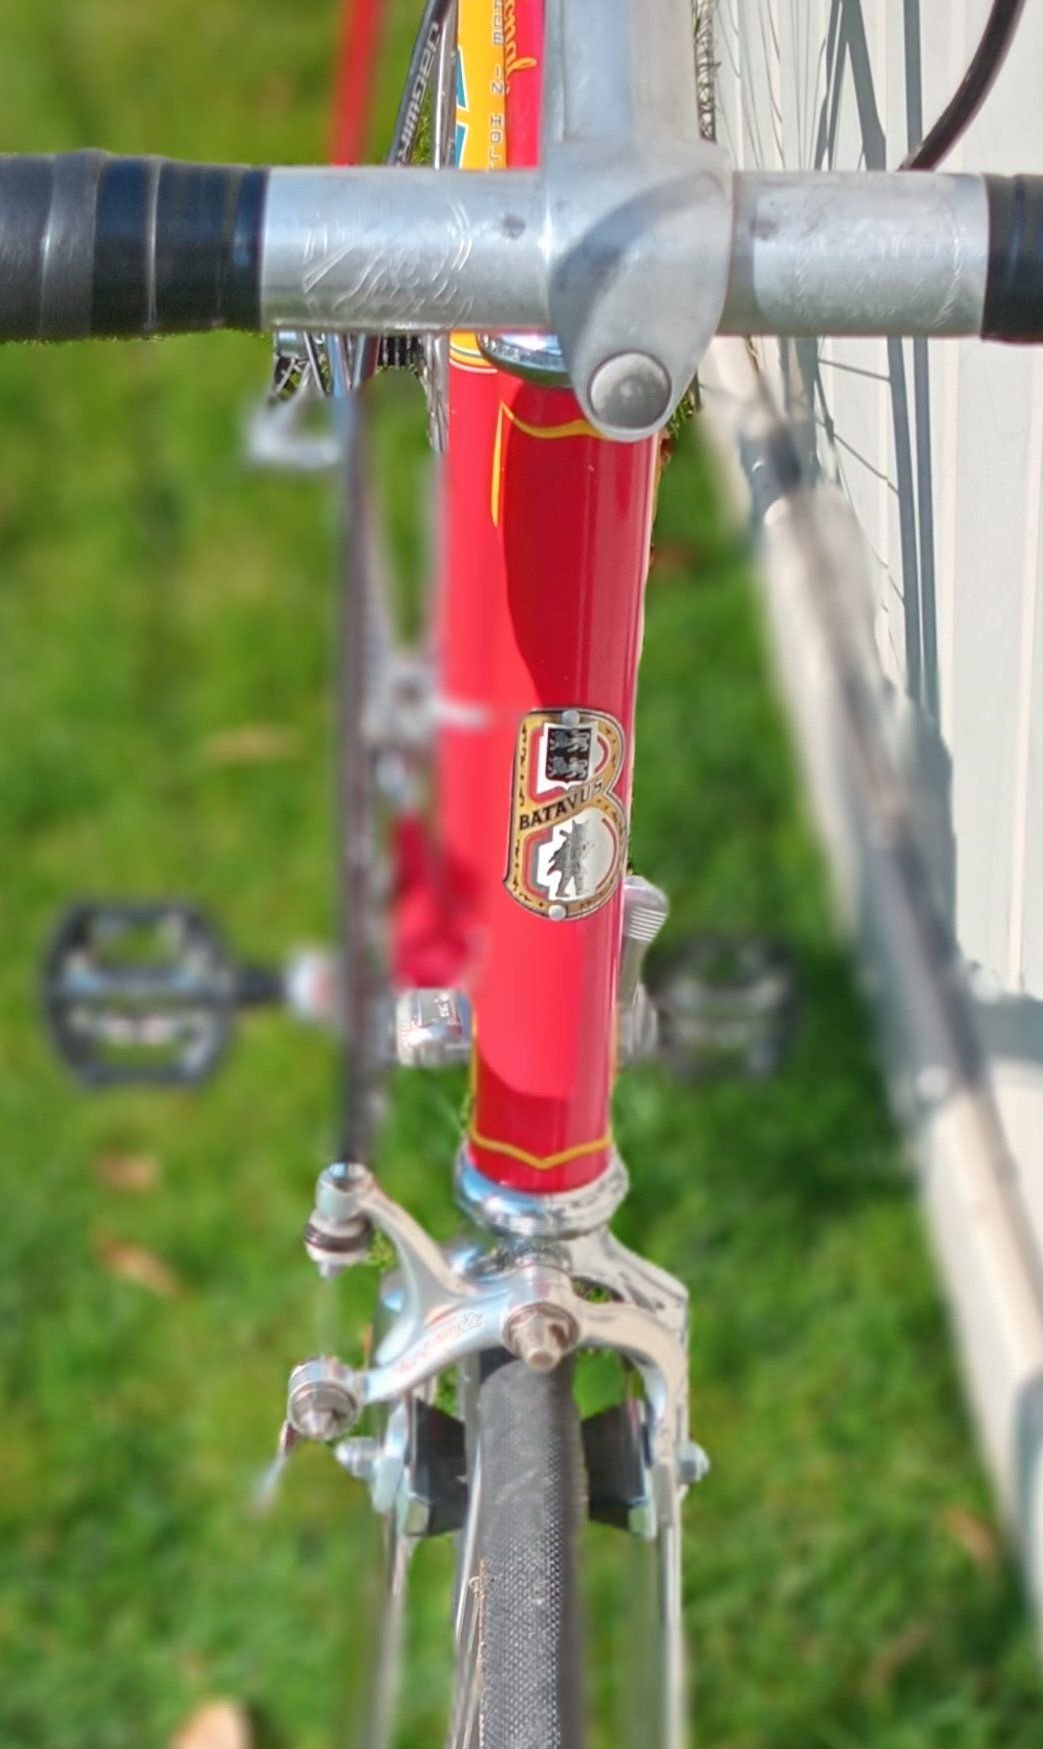
The top tube is rusted, with sub-paint bubbling. If you blow up the photo, you'll see it in front of the "Professional" decal. I didn't take a detailed photo of that.
Painting is a big step. Irreversible and expensive so there will be much thought first.
Mad Honk It does need them! Each chain wheel feels like it's the next size down and I'm spinning. Unfortunately, if inding 144 BCD chain wheels is an adventure, finding 144 BCD cranks will be even worse....


@juvela
Im hoping its just the camera angle.
It tracks beautifully and I was just visiting our local frame builder for his thoughts and he didn't say anything (though he didn't inspect it in detail). I can't go back tomorrow as he's leaving for a holiday. I will definitely harass him when he returns.
I just went for about 10km before the dark hit. Much better shifting after shortening the rear cable housing. The cranks definitely seem to be wrong as each chain wheel seems too small, almost as if the largest is the middle and the middle the smallest.
Just need to find my missing Brooks seat bolt wrench.
Also, in the dusk the shifters were a different gray, and we can't have that!
Re: Painting
The top tube is rusted, with sub-paint bubbling. If you blow up the photo, you'll see it in front of the "Professional" decal. I didn't take a detailed photo of that.
Painting is a big step. Irreversible and expensive so there will be much thought first.
Mad Honk It does need them! Each chain wheel feels like it's the next size down and I'm spinning. Unfortunately, if inding 144 BCD chain wheels is an adventure, finding 144 BCD cranks will be even worse....
@juvela
Im hoping its just the camera angle.
It tracks beautifully and I was just visiting our local frame builder for his thoughts and he didn't say anything (though he didn't inspect it in detail). I can't go back tomorrow as he's leaving for a holiday. I will definitely harass him when he returns.
I just went for about 10km before the dark hit. Much better shifting after shortening the rear cable housing. The cranks definitely seem to be wrong as each chain wheel seems too small, almost as if the largest is the middle and the middle the smallest.
Just need to find my missing Brooks seat bolt wrench.
Also, in the dusk the shifters were a different gray, and we can't have that!
Last edited by WGB; 04-09-24 at 06:58 PM.
Likes For WGB:
04-09-24, 08:36 PM
#6
Senior Member

Join Date: Mar 2012
Location: Niagara Region, Canada
Posts: 1,456
Bikes: 1970s Alex Singer, 1960s Peugeot PX 10, 1960s Bertin C37, 1973 Carre Bertin C 37, 1972 Carlton Kermesse, 1981 Peugeot PX 14 Super Competition
Mentioned: 65 Post(s)
Tagged: 0 Thread(s)
Quoted: 346 Post(s)
Liked 266 Times
in
157 Posts
Looks promising!
04-10-24, 04:24 AM
#7
Senior Member
Join Date: Feb 2020
Posts: 2,826
Mentioned: 49 Post(s)
Tagged: 0 Thread(s)
Quoted: 1110 Post(s)
Likes: 0
Liked 1,329 Times
in
785 Posts
One of my Cinellis had a front brake hole drilled about 15 degrees off.
I got a friend to put it in a jig-borer and then put a sleeve in the now-straight hole.
04-10-24, 04:43 AM
#8
Senior Member

Likes For Mackers:
 04-10-24, 09:10 AM
#11
WGB
Thread Starter
Join Date: Jul 2017
Location: Niagara Region
Posts: 2,920
Bikes: Panasonic PT-4500
Mentioned: 46 Post(s)
Tagged: 0 Thread(s)
Quoted: 1802 Post(s)
Liked 2,335 Times
in
1,378 Posts
LOL! I didn't see that until bertinjim pointed it out in an email. The brakes came from him and apparently he stored them that way to prevent loss of parts. I didn't even think of that when I installed them.
04-10-24, 09:50 AM
#12
Senior Member
Join Date: Jan 2004
Location: Madison, WI USA
Posts: 6,157
Mentioned: 50 Post(s)
Tagged: 0 Thread(s)
Quoted: 2365 Post(s)
Liked 1,753 Times
in
1,193 Posts
Silly me, I would have just put a twist-tie through the adjuster and the arm.....
Batavus and Bridgestone Kabuki have got to be the GOATs in the headbadge department.
Batavus and Bridgestone Kabuki have got to be the GOATs in the headbadge department.
