


Installing my first cleats in my first cycling shoes...?
 06-14-23, 11:49 PM
#1
Newbie
Thread Starter
Installing my first cleats in my first cycling shoes...?
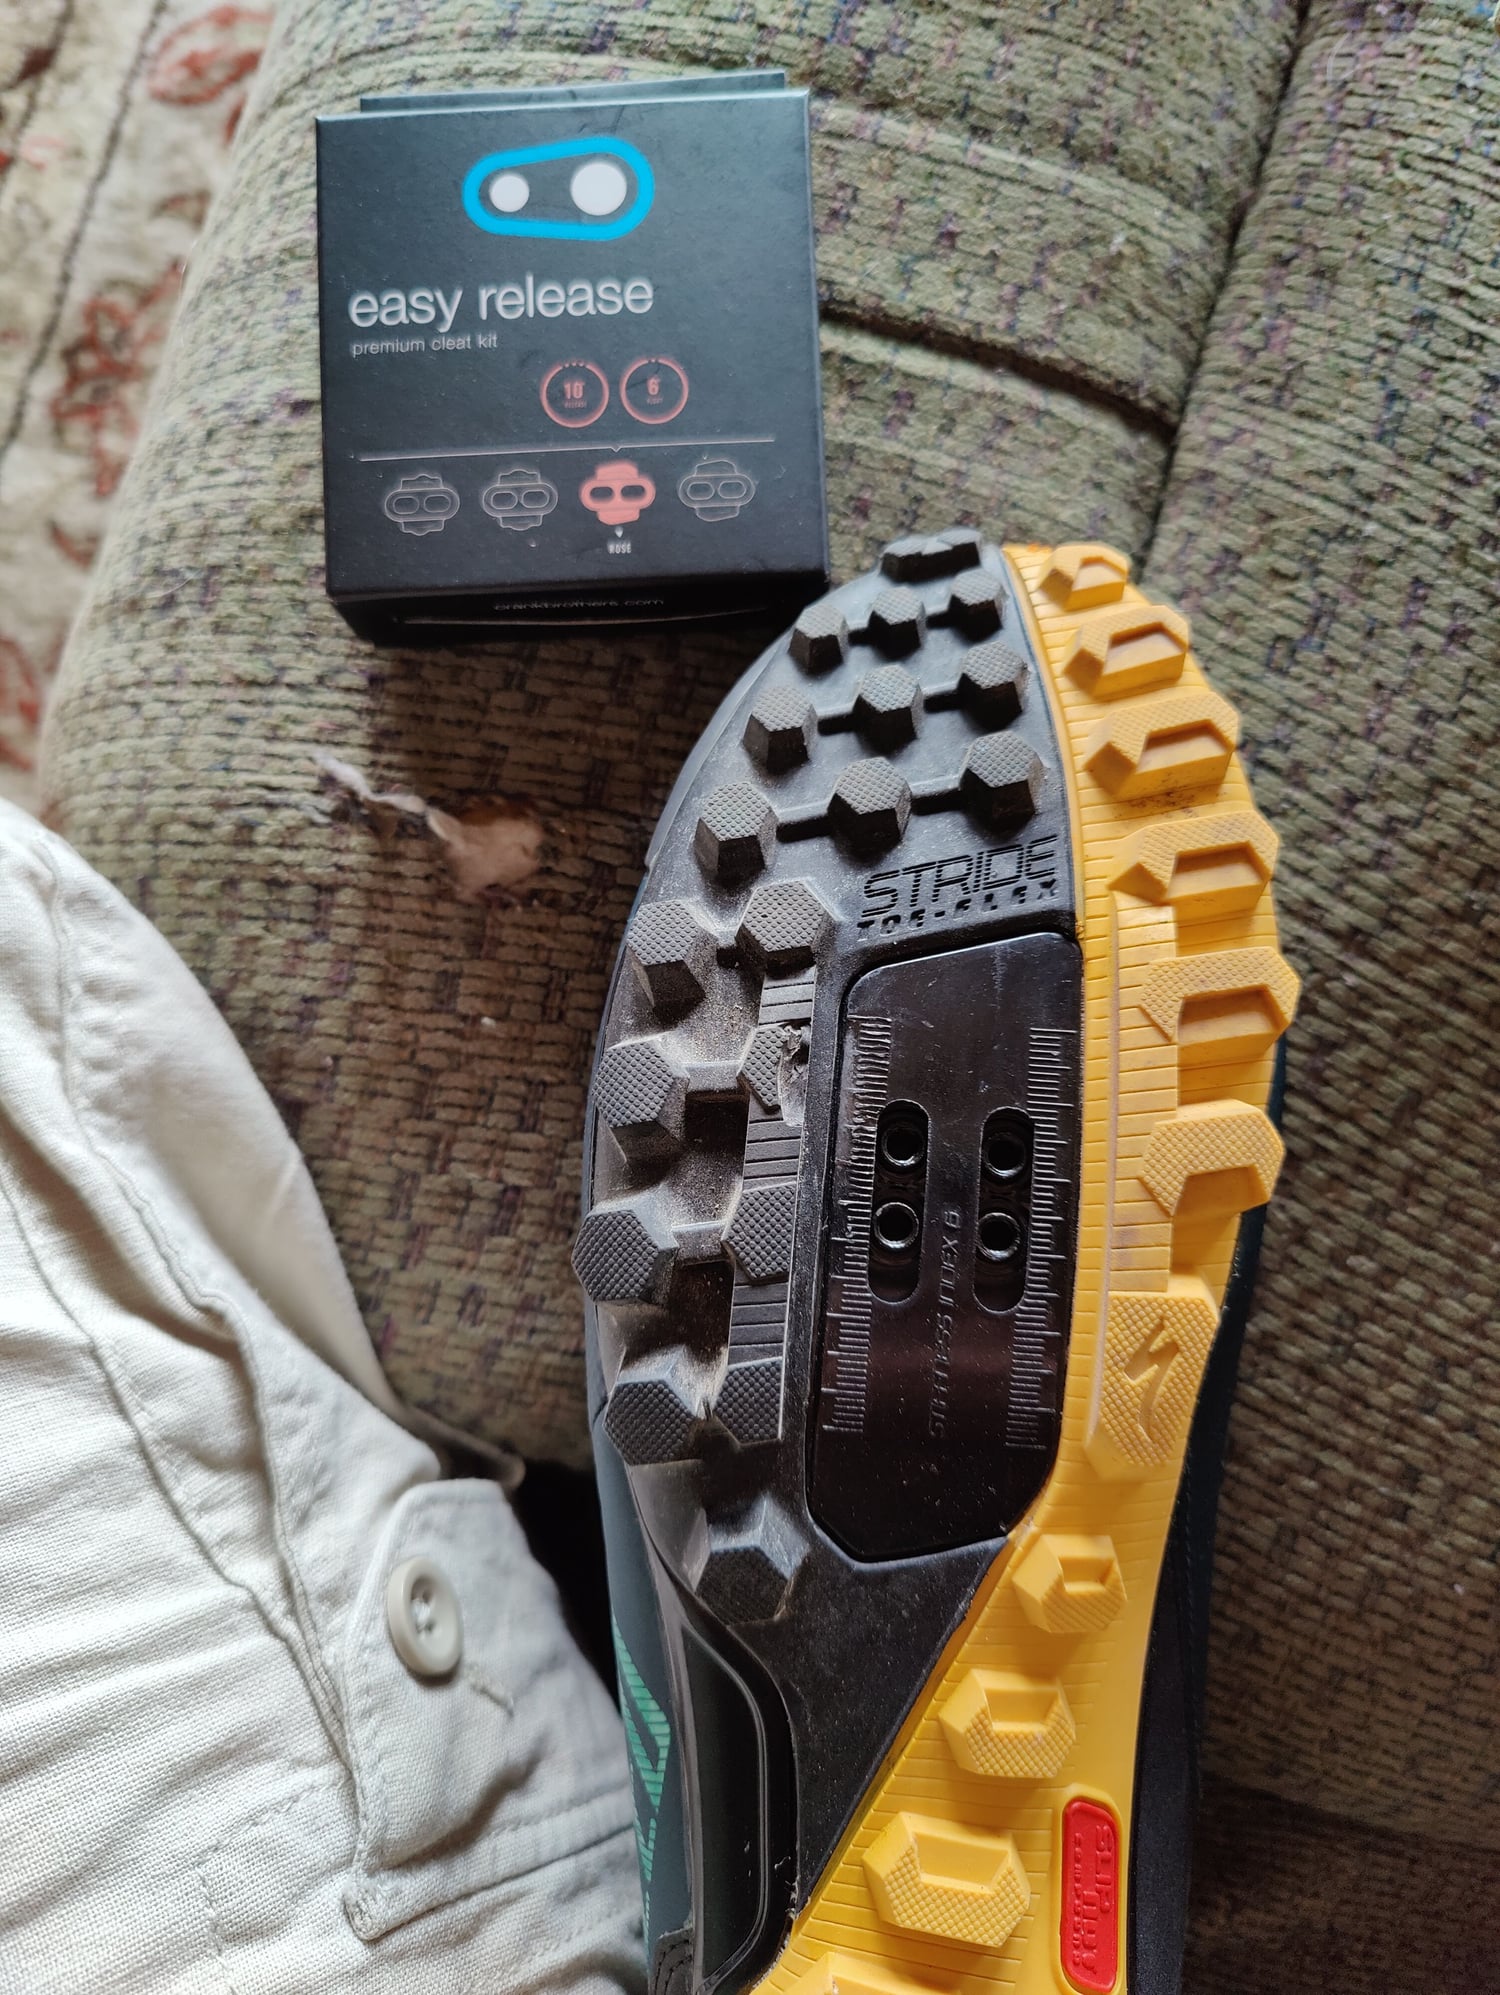
Wondering if anyone can help me out with basic instructions. I have my first cycling shoes and my first cleats. I figured you just screwed them in and were done with it. Opened them up and there are long screws, and shorts screws, and shims, and my shoes have two different places to screw the cleats in it looks like. Thanks for any info for a first timer. 
 06-15-23, 12:44 AM
#2
se�or miembro

Join Date: Dec 2018
Location: Pac NW
Posts: 6,629
Bikes: '70s - '80s Campagnolo
Mentioned: 92 Post(s)
Tagged: 0 Thread(s)
Quoted: 3891 Post(s)
Liked 6,491 Times
in
3,213 Posts
No smartphone to take a pic?
06-15-23, 01:05 AM
#3


Senior Member
Join Date: Jul 2005
Posts: 5,994
Mentioned: 26 Post(s)
Tagged: 0 Thread(s)
Quoted: 2497 Post(s)
Liked 740 Times
in
523 Posts
Put the cleats where you want them to be. Mid-foot is a thing these days, but not all shoes provide that alternative. Determine whether you need the long screws OR the short ones. The shims are optional.
06-15-23, 01:10 AM
#4
Veteran, Pacifist

Join Date: Dec 2004
Location: Seattle area
Posts: 13,334
Bikes: Bikes??? Thought this was social media?!?
Mentioned: 284 Post(s)
Tagged: 0 Thread(s)
Quoted: 3901 Post(s)
Liked 4,844 Times
in
2,233 Posts
Kinda like rocket science.
Confusing,... until after the first few (dozen) 'mishaps'.
Good to know you are off on the right foot.
Confusing,... until after the first few (dozen) 'mishaps'.
Good to know you are off on the right foot.
__________________
Vintage, modern, e-road. It is a big cycling universe.
Vintage, modern, e-road. It is a big cycling universe.
06-15-23, 04:06 AM
#5
Junior Member
Go to your local bike shop and ask for help. Repeat with different shops until you find one that knows what they are talking about because not all shops specialize in all things. For example my personal LBS is all about mountain bikes. They will service and maintain road bikes and do excellent work but have no idea about power meters, they aren't even logged on to say the Stages distributor to buy them. Almost all their customers are off road riders and almost all their customers use flat pedals so they are a terrible source for clipless pedals save warnings about how dangerous they are (for off road use) as both owners switched to flats after big crashes on downhills. My local Trek shop knows all about that stuff but aren't a Stages distributor either. Most people at that huge Trek corporate shop near me know nothing about Garmin except one person. So it goes, just call and email around or ride your bike around (use one that has flat pedals) until you find someone that can help. This is the most sure fire solution to any bike componentry or accessory related jam I have found myself. Just keep looking not every shop knows about every thing.
Likes For Attilio:
06-15-23, 08:06 AM
#6
I'm good to go!
Join Date: Jul 2017
Location: Mississippi
Posts: 15,002
Bikes: Tarmac Disc Comp Di2 - 2020
Mentioned: 51 Post(s)
Tagged: 0 Thread(s)
Quoted: 6199 Post(s)
Liked 4,816 Times
in
3,323 Posts
SPD cleats (2 holes) or SPD-SL (3 holes). Many times just referred to as mountain bike cleats vs road bike cleats. Though many of us use the SPD cleats on our road bikes.
SPD is really just put them on and see if your foot is in a comfortable position on the pedal. If not move the cleat to a different position and try again. Rinse and repeat till you are happy. Some SPD shoes have a lot of tread on the bottom and with some pedals the cleat sits too deep to easily engage and lock in the pedal, so the shim and longer screws are for that purpose. But only if really needed.
SPD-SL are pretty much the same, but a little more finicky about shimming for some as they don't have as much free float as SPD's do. Shims under the SPD-SL are for getting that foot angle correct on the pedal since they have little float.
Likes For Iride01:
 06-15-23, 02:58 PM
#8
I'm good to go!
Join Date: Jul 2017
Location: Mississippi
Posts: 15,002
Bikes: Tarmac Disc Comp Di2 - 2020
Mentioned: 51 Post(s)
Tagged: 0 Thread(s)
Quoted: 6199 Post(s)
Liked 4,816 Times
in
3,323 Posts
You haven't got the cleats on yet?
Don't let worrying about it stop you from putting them on. You'll know they are right enough or wrong pretty quickly. I'd use the short screws and no shim till you know for certain it's needed.
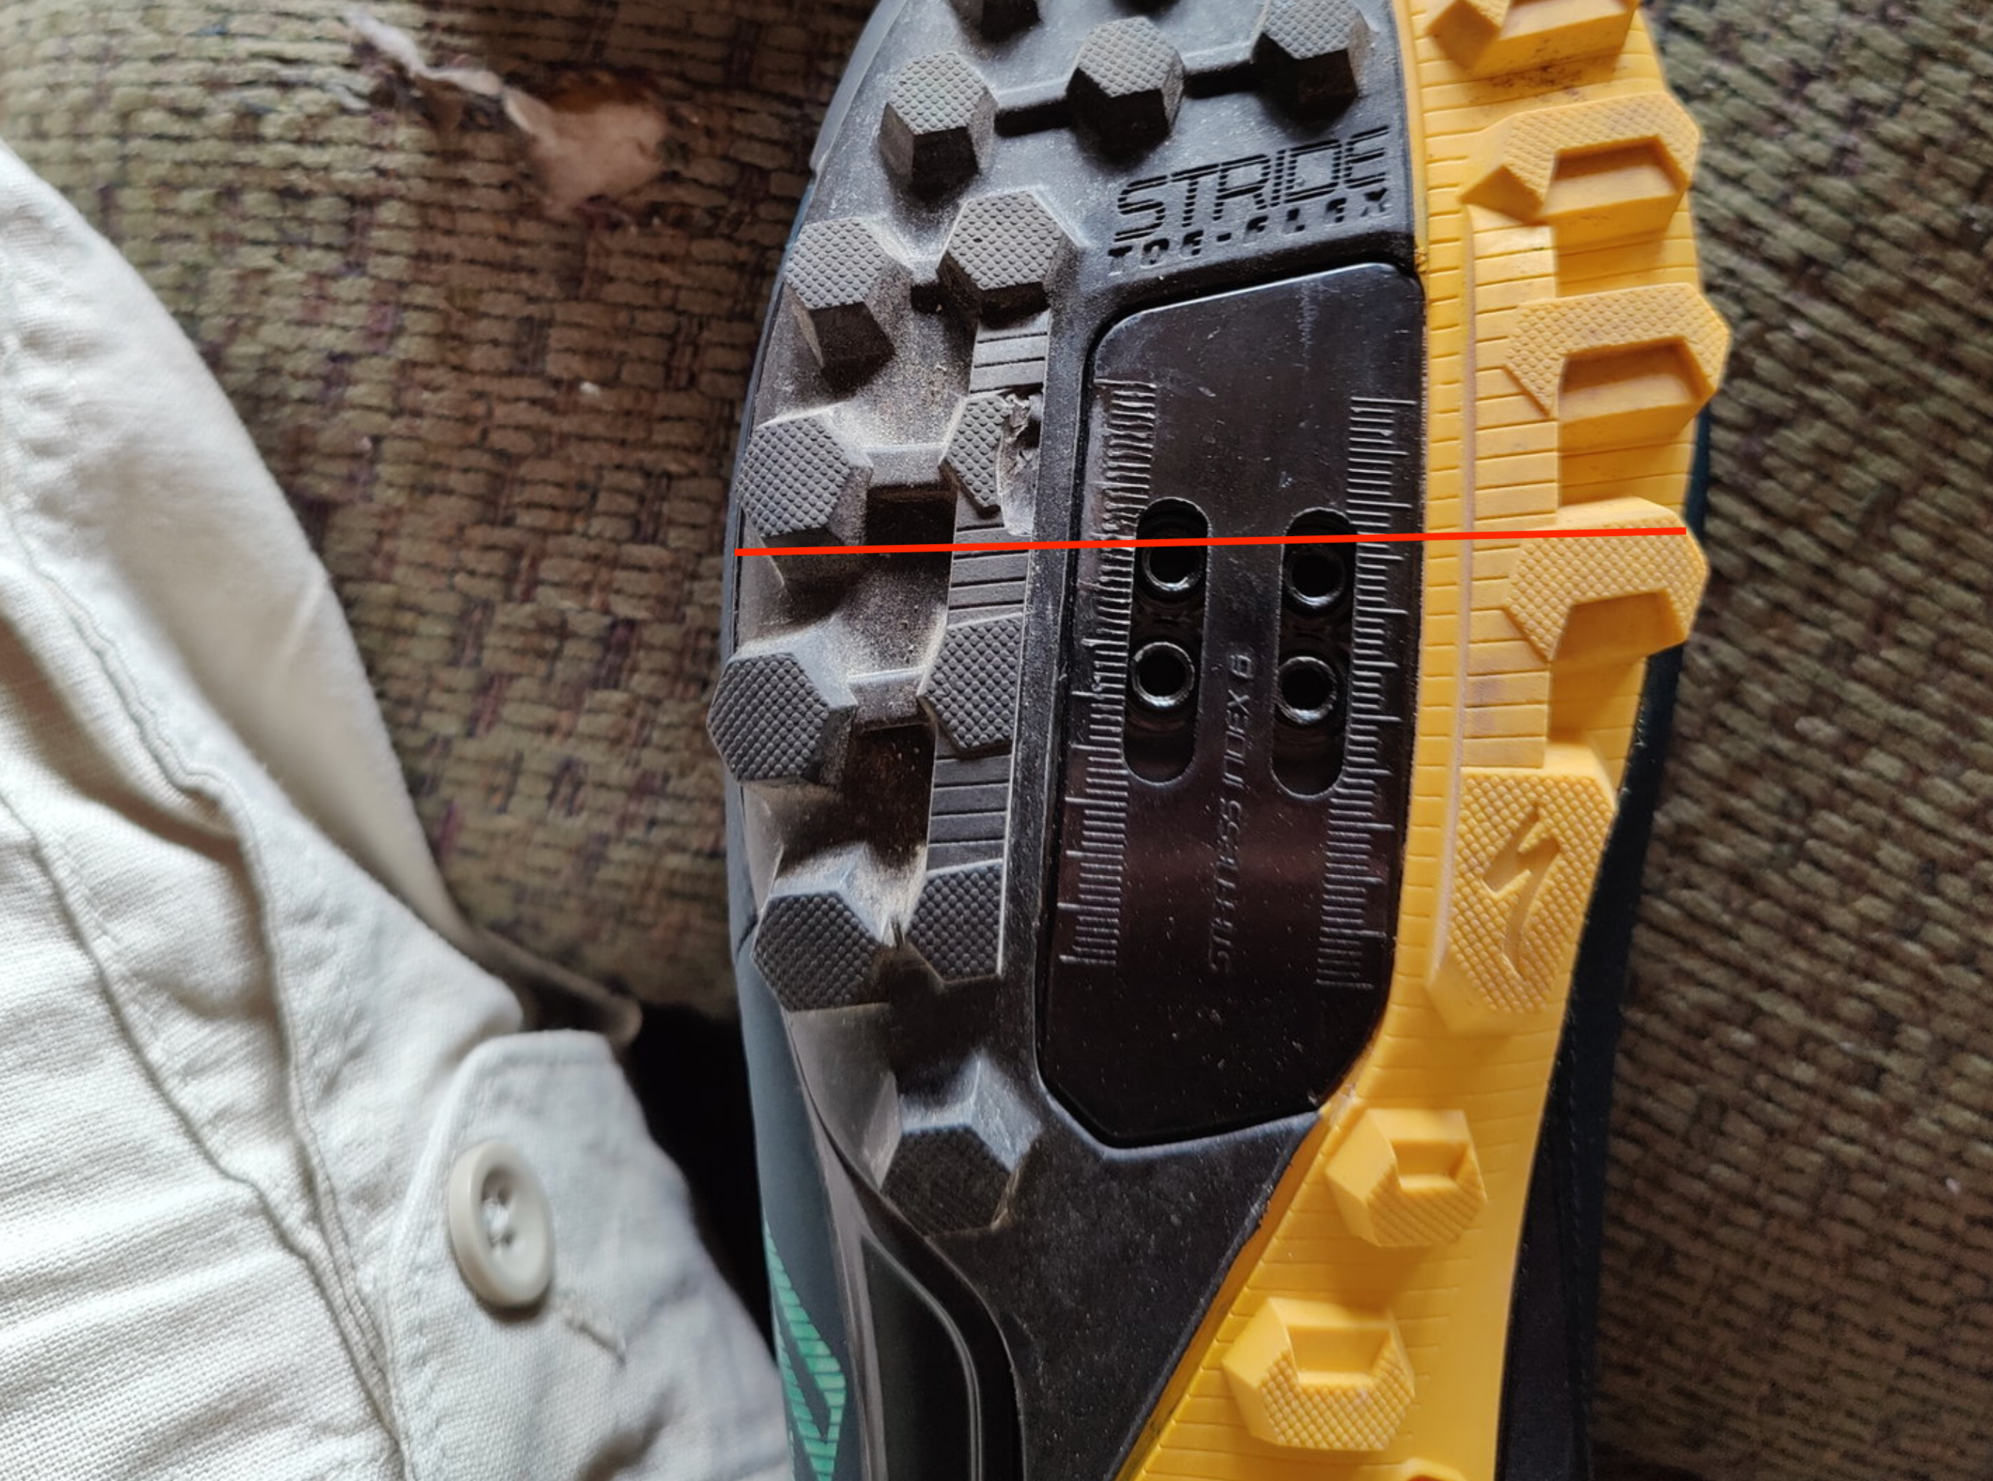
The holes at the front will probably give you anything you want initially. However as you get more use to having the cleats towards the rear... if in fact you ever do, then you can move them to the rear set of holes later.
Rember this is something you might need to change the position of the cleat multiple times. Both fore and aft, sideways and the angle, heel in or heel out to get your foot pointed in the direction that keeps you from having knee pains or your heel hitting the crank arm.
There really aren't any formulas to calculate what will be perfect for you.
Don't let worrying about it stop you from putting them on. You'll know they are right enough or wrong pretty quickly. I'd use the short screws and no shim till you know for certain it's needed.
The holes at the front will probably give you anything you want initially. However as you get more use to having the cleats towards the rear... if in fact you ever do, then you can move them to the rear set of holes later.
Rember this is something you might need to change the position of the cleat multiple times. Both fore and aft, sideways and the angle, heel in or heel out to get your foot pointed in the direction that keeps you from having knee pains or your heel hitting the crank arm.
There really aren't any formulas to calculate what will be perfect for you.
Last edited by Iride01; 06-15-23 at 03:03 PM.
06-15-23, 05:28 PM
#9
Newbie
Thread Starter
You haven't got the cleats on yet?
Don't let worrying about it stop you from putting them on. You'll know they are right enough or wrong pretty quickly. I'd use the short screws and no shim till you know for certain it's needed.
The holes at the front will probably give you anything you want initially. However as you get more use to having the cleats towards the rear... if in fact you ever do, then you can move them to the rear set of holes later.
Rember this is something you might need to change the position of the cleat multiple times. Both fore and aft, sideways and the angle, heel in or heel out to get your foot pointed in the direction that keeps you from having knee pains or your heel hitting the crank arm.
There really aren't any formulas to calculate what will be perfect for you.
So no shim, front holes, go for a ride and then adjust if they don't feel comfortable before the next ride?
06-15-23, 05:56 PM
#10
Just a person on bike

Join Date: Aug 2013
Location: Seattle, WA
Posts: 2,140
Bikes: 2015 Trek 1.1, 2021 Specialized Roubaix, 2022 Tern HSD S+
Mentioned: 2 Post(s)
Tagged: 0 Thread(s)
Quoted: 132 Post(s)
Liked 86 Times
in
56 Posts
Yeah, that's what I do when I get a new pair of shoes. I put the cleats on so they are positioned right under the balls of my feet, go out for a ride to see how I feel, and adjust the cleat positions as necessary. It's possible that you only start experiencing discomfort on a long ride. No worries, though. Cleats are very easy to adjust.
__________________
The value of your life doesn't change based on the way you travel. - Dawn Schellenberg (SDOT)
The value of your life doesn't change based on the way you travel. - Dawn Schellenberg (SDOT)
06-15-23, 08:35 PM
#11
The Wheezing Geezer

Join Date: Oct 2021
Location: Espa�ola, NM
Posts: 1,060
Bikes: 1976 Fredo Speciale, Jamis Citizen 1, Ellis-Briggs FAVORI, Rivendell Clem Smith Jr.
Mentioned: 1 Post(s)
Tagged: 0 Thread(s)
Quoted: 414 Post(s)
Liked 925 Times
in
448 Posts
You'll need:
Hammer
Nails
Shoe Anvil
Unless you're talking about this current century, that is.
Hammer
Nails
Shoe Anvil
Unless you're talking about this current century, that is.
06-15-23, 09:44 PM
#12
Grupetto Bob

Join Date: Sep 2020
Location: Seattle-ish
Posts: 6,227
Bikes: Bikey McBike Face
Mentioned: 2 Post(s)
Tagged: 0 Thread(s)
Quoted: 2589 Post(s)
Liked 5,650 Times
in
2,924 Posts
Go to your local bike shop and get them set up properly there. Take your bike too. You don’t want to screw up your knees by not positioning the cleats correctly.
__________________
Road 🚴🏾♂️ & Mountain 🚵🏾♂️
Road 🚴🏾♂️ & Mountain 🚵🏾♂️
06-16-23, 04:58 AM
#13
Senior Member
Here is what I would do.
Any hint of knee pain may be an indication the toe in is off. Take notice whether favoring one side of the free play in the pedal to see if maybe adjusting the toe in/out in that direction might be in order. Some tweaking might be in order as you adjust to clipless riding. Once you are settled into it you should just be able to duplicate the settings from your old shoes on any new pair.
Oh by the way, firmly tighten the screws so that the cleats don't slip. Slipping will make it impossible to clip out. Also do not believe those who say to tighten them as tight as you can, they can be stripped more easily than you might guess. Just good and tight is good enough. If they bed in a little with use in the beginning a titte tweak to tighten won't hurt, but don't go crazy and strip them out. Don't ask me how I know that they aren't that hard to strip out if you go nuts tightening
- Take note of how far forward your foot is naturally when you are riding.
- If that seems reasonable mount the cleats there. I'd be a little suspicious if they are super far forward or back, but start out with that.
- Start out by setting the toe in/out rotation to something that is pretty neutral.
- Take a short spin on the bike and see how it all feels. If the toe in/out feels off adjust a little. If the pedal has a little freeplay your natural riding position should be in the middle of the freeplay.
- Repeat step 4 as necessary. Also adjust the fore and aft if you find that to be off.
- Repeat any and all steps taking your time. Also take care in the beginning with short hops and planned stops if you are not yet used to clipping out. That way by the time you are done you will have a good setup and will be already trained to have the automatic muscle memory for clipping out.
Any hint of knee pain may be an indication the toe in is off. Take notice whether favoring one side of the free play in the pedal to see if maybe adjusting the toe in/out in that direction might be in order. Some tweaking might be in order as you adjust to clipless riding. Once you are settled into it you should just be able to duplicate the settings from your old shoes on any new pair.
Oh by the way, firmly tighten the screws so that the cleats don't slip. Slipping will make it impossible to clip out. Also do not believe those who say to tighten them as tight as you can, they can be stripped more easily than you might guess. Just good and tight is good enough. If they bed in a little with use in the beginning a titte tweak to tighten won't hurt, but don't go crazy and strip them out. Don't ask me how I know that they aren't that hard to strip out if you go nuts tightening
06-16-23, 05:50 AM
#14
Full Member
Join Date: Mar 2020
Location: NW Minnesota
Posts: 209
Bikes: Lemond Poprad, Cervelo Soloist, Cannondale F4, RANS Velocity Squared
Mentioned: 0 Post(s)
Tagged: 0 Thread(s)
Quoted: 42 Post(s)
Liked 67 Times
in
45 Posts
And don't be surprised if Left/right aren't exactly the same. My right points out more than the left.
06-16-23, 06:02 AM
#15
Senior Member
Join Date: Mar 2006
Location: Chicago, IL, USA
Posts: 2,881
Mentioned: 3 Post(s)
Tagged: 0 Thread(s)
Quoted: 1461 Post(s)
Liked 1,486 Times
in
870 Posts
This isn't that complicated - You literally just screw them on and ride. Use whichever screws fit. If you tighten both screws and the cleats are loose, use the shorter screws and/or shims. Most SPD cleats have shims that go between the bolts and cleat.
I wouldn't worry about getting the fit perfect the first time. Just place them in the middle of the marks and go try them out. bring your tool with you and plan to spend the first few rides making small adjustments until they feel good. Also practice clipping/unclipping in a park on grass so when you inevitably tip over it hurts less.
Yes, a shop can help - though unless you're paying for a fitting the results probably aren't going to be any different.
06-16-23, 07:40 AM
#17
I'm good to go!
Join Date: Jul 2017
Location: Mississippi
Posts: 15,002
Bikes: Tarmac Disc Comp Di2 - 2020
Mentioned: 51 Post(s)
Tagged: 0 Thread(s)
Quoted: 6199 Post(s)
Liked 4,816 Times
in
3,323 Posts
And as others have suggested you could go to a bike shop and ask them for help.
Also, practice clipping in and out before you ride. Lean against a wall with your shoulder while you try if you don't have a trainer to mount the bike in. Some clip out by moving their heels inward. I clip out by moving my heels outward. Not sure which is most common but figure out what you prefer and also adjust your cleats to maximize that while maintaining the position your foot needs. SPD's have a lot of float or slop in their movement that allows this.
When riding, clip out early when you see you have to come to a stop and even clip out for times you might have to stop till you get completely use to cleats.
If you find yourself stopped and not clipped out, then I recommend you don't reach out with your arms and try to break your fall. That might result in a broken collarbone. Just keep your hands on the bars/hoods and roll with the fall similar to how they use to tell paratroopers to hit the ground back in the days of round chutes.
06-16-23, 09:53 AM
#18

Senior Member

Join Date: Jul 2006
Location: San Jose (Willow Glen) Ca
Posts: 9,849
Bikes: Kirk Custom JK Special, '84 Team Miyata,(dura ace old school) 80?? SR Semi-Pro 600 Arabesque
Mentioned: 106 Post(s)
Tagged: 0 Thread(s)
Quoted: 2339 Post(s)
Liked 2,830 Times
in
1,545 Posts
2 things
1) most clipless pedals come adjusted to maximum retentions, suggest loosening (evenly) quite a bit to start
2) I eyeball a position that puts the ball of my foot over the pedal spindle and neutral in terms of shoe twist
3) ride, see how they feel, adjust a bit repeat as needed
4 ) once in a good position, my hack is to use spray paint around the cleats so the position can be repeated when they are changed out
and also note the little washer thingy as 2 sides, make sure the side with bevels for the screws is up (just had this lack of attending with new cleats last night....one correct and one wrong and noticable when riding)
__________________
Life is too short not to ride the best bike you have, as much as you can
(looking for Torpado Super light frame/fork or for Raleigh International frame fork 58cm)
Life is too short not to ride the best bike you have, as much as you can
(looking for Torpado Super light frame/fork or for Raleigh International frame fork 58cm)
 06-16-23, 04:10 PM
#20
Newbie
Thread Starter
06-17-23, 09:00 AM
#21
I'm good to go!
Join Date: Jul 2017
Location: Mississippi
Posts: 15,002
Bikes: Tarmac Disc Comp Di2 - 2020
Mentioned: 51 Post(s)
Tagged: 0 Thread(s)
Quoted: 6199 Post(s)
Liked 4,816 Times
in
3,323 Posts
Don't assume the bike shop people will get them lined up perfectly for you. They might, but like anything else, it might take a few tries to get it right. So if your knees feel like the joint is twisting as you pedal then that will only become pain miles down the road. It's not something you just get use to. So don't be afraid to go back to them or begin figuring out how to do this yourself.
Likes For Iride01:
06-17-23, 01:45 PM
#22
Senior Member
Join Date: Jul 2017
Location: Walnut Creek, CA
Posts: 760
Bikes: 1969 Peugeot PX10, 1992 Della Santa, Linus Roadster 8, Biria 700C ST-8
Mentioned: 3 Post(s)
Tagged: 0 Thread(s)
Quoted: 794 Post(s)
Liked 508 Times
in
322 Posts
That one rang a bell with me. My first cleats were metal on my Detto shoes, circa 1968. It was easy then, first ride the shoes with toe clips and no cleats for a while which would make a mark on the sole. Take the shoes and cleats down to the shoe repair place on Main street and hand them over. A day or two later pick them up. Cleats nicely nailed onto the shoes. Can't remember the price. There is still a shoe repair place on Main street but I can't be sure it's the same one. This great internet age has killed off most skilled repair shops and I am not convinced that's a good thing at all.
06-17-23, 03:15 PM
#24
Newbie
dont overcomplicate, there are 2 screws yoiu need to to use for each of the metal thing to screw them to your shoes. Before doing this (and this was mentioned in the thread) - go for 5 minute ride and eyball how your shoes are located on pedal, if you are flexible and brave, take a marker with you and mark on both sides of the shoe where the axle is located, then put your cleats on that line and screw them on, test and move cleats more forward or backwards if you dont feel comfortable.
06-18-23, 12:20 AM
#25
The Wheezing Geezer
Join Date: Oct 2021
Location: Espa�ola, NM
Posts: 1,060
Bikes: 1976 Fredo Speciale, Jamis Citizen 1, Ellis-Briggs FAVORI, Rivendell Clem Smith Jr.
Mentioned: 1 Post(s)
Tagged: 0 Thread(s)
Quoted: 414 Post(s)
Liked 925 Times
in
448 Posts
That one rang a bell with me. My first cleats were metal on my Detto shoes, circa 1968. It was easy then, first ride the shoes with toe clips and no cleats for a while which would make a mark on the sole. Take the shoes and cleats down to the shoe repair place on Main street and hand them over. A day or two later pick them up. Cleats nicely nailed onto the shoes. Can't remember the price. There is still a shoe repair place on Main street but I can't be sure it's the same one. This great internet age has killed off most skilled repair shops and I am not convinced that's a good thing at all.
BITD, I eventually turned to (short) sheet-metal screws to be able to mount the cleats myself. I remember the ritual of riding cleat-less first, too.
