


'69 Bottecchia upgrades & tubeless conversion
 04-06-23, 12:04 PM
#26

Full Member
Thread Starter
Join Date: Jul 2019
Posts: 270
Mentioned: 2 Post(s)
Tagged: 0 Thread(s)
Quoted: 98 Post(s)
Likes: 0
Liked 154 Times
in
62 Posts
A question for the wheelbuilders: I see conflicting advice on lubricating the threads when using new, modern, clean brass nipples and spokes. I will lubricate the nipples as they pass through the eyelets but curious to know what you all do for the threads themselves.
Says Sheldon:Spoke threads and spoke holes in the rim should generally be lubricated with light grease or oil to allow the nipples to turn freely enough to get the spokes really tight. This is less important than it used to be due to the higher quality of modern spokes, nipples and rims, but it is still a good practice. In the case of derailer rear wheels, only the right-side spokes and spoke holes need to be lubricated.
Spoke threads are easily lubricated by holding the spokes together in a bunch, tapping it on the workbench to get them even with each other, and dipping them into a gob of grease which you have spread out on a paper plate or other surface. Spoke holes in rims may be lubricated using a spoke to carry the grease.
The left-side spokes will be loose enough that it will not be hard to turn the nipples even dry, and if you grease them they may loosen up of their own accord on the road. In fact, it is often a good idea to use a thread adhesive such as Wheelsmith Spoke Prep on the left-side spokes to make sure they stay put. This is only necessary on a rim with recessed spoke holes. On other rims, the rim tape and pressure from the inner tube will prevent the nipples from turning, at least with a high-pressure tire.
 04-07-23, 10:12 AM
#27
climber has-been

Join Date: Dec 2004
Location: Palo Alto, CA
Posts: 7,109
Bikes: Scott Addict R1, Felt Z1
Mentioned: 10 Post(s)
Tagged: 0 Thread(s)
Quoted: 3430 Post(s)
Liked 3,566 Times
in
1,792 Posts
A question for the wheelbuilders: I see conflicting advice on lubricating the threads when using new, modern, clean brass nipples and spokes. I will lubricate the nipples as they pass through the eyelets but curious to know what you all do for the threads themselves.
Lubricated spoke threads makes wheel building easier, as it reduces the tendency of the spoke to "wind up" (twist) when you are bringing the spokes up to tension. "Wind up" is a bad thing, as the spoke will unwind in use, changing the spoke tension.
__________________
Ride, Rest, Repeat. ROUVY: terrymorse

Ride, Rest, Repeat. ROUVY: terrymorse
04-07-23, 10:18 AM
#28
Newbie
Join Date: Apr 2023
Location: SF Bay
Posts: 21
Mentioned: 0 Post(s)
Tagged: 0 Thread(s)
Quoted: 5 Post(s)
Likes: 0
Liked 17 Times
in
9 Posts
Lubricating threads is generally a good idea for all applications, as it makes achieving the specified clamping force easier (and may prevent a fastener from seizing up). The only time when you should not use lubrication is when the installation instructions say not to.
Lubricated spoke threads makes wheel building easier, as it reduces the tendency of the spoke to "wind up" (twist) when you are bringing the spokes up to tension. "Wind up" is a bad thing, as the spoke will unwind in use, changing the spoke tension.
Lubricated spoke threads makes wheel building easier, as it reduces the tendency of the spoke to "wind up" (twist) when you are bringing the spokes up to tension. "Wind up" is a bad thing, as the spoke will unwind in use, changing the spoke tension.
04-08-23, 03:17 PM
#29
Full Member
Thread Starter
Join Date: Jul 2019
Posts: 270
Mentioned: 2 Post(s)
Tagged: 0 Thread(s)
Quoted: 98 Post(s)
Likes: 0
Liked 154 Times
in
62 Posts
Thanks, I'll do that.
I just realized I did not pay attention to the offset holes in my rim and laced the spokes so they "travel further" ie the left side of the flange goes to the holes offset to the right. Confirming this is categorically wrong?
The Jobst Brandt book presumes that the hole to the left of the valve is offset UP. On my wheel it is offset down.
Sheldon says the following. What I can't visualize is: if I transpose the lacing one hole to the left I will correct the offset issue but there will not be a nice clean shot to the valve with both spokes running horizontal at that point. Am I missing something?
Rims are drilled either "right handed" or "left handed". This has to do with the relationship between the valve hole and the spoke holes. The spoke holes do not run down the middle of the rim, but are offset alternately from side to side. The holes on the left side of the rim are for spokes that run to the left flange of the hub. With some rims, the spoke hole just forward of the valve hole is offset to the left, with others it is offset to the right (as illustrated). Which type is "right handed" and which "left handed"? I have never met anyone who was willing to even make a guess!
The key spoke will be next to the valve hole in the rim, or one hole away.
Last edited by somebikeguy; 04-08-23 at 03:28 PM.
04-09-23, 06:18 AM
#30
Full Member
Thread Starter
Join Date: Jul 2019
Posts: 270
Mentioned: 2 Post(s)
Tagged: 0 Thread(s)
Quoted: 98 Post(s)
Likes: 0
Liked 154 Times
in
62 Posts
With some close reading of Sheldon Brown's site I managed to remedy this by simply clocking the spokes the other way to account for the fact that the keyspoke hole is to the right not left of the valve hole. A surprising number of wheelbuilding tutorials don't mention this!
04-11-23, 11:21 AM
#31
Full Member
Join Date: Oct 2021
Location: San Antonio, Texas
Posts: 363
Mentioned: 4 Post(s)
Tagged: 0 Thread(s)
Quoted: 116 Post(s)
Liked 374 Times
in
156 Posts
Very nice build, love the PC finish, very utilitarian. If it were me, I'd get some decals on that frame. I built up wheels for my Zullo re-build and used Grand Bois hubs I got out of a shop in Belgium. I wonder if they are the same as the VO hubs? They look very similar to mine.

04-27-23, 05:12 PM
#32
Full Member
Thread Starter
Join Date: Jul 2019
Posts: 270
Mentioned: 2 Post(s)
Tagged: 0 Thread(s)
Quoted: 98 Post(s)
Likes: 0
Liked 154 Times
in
62 Posts
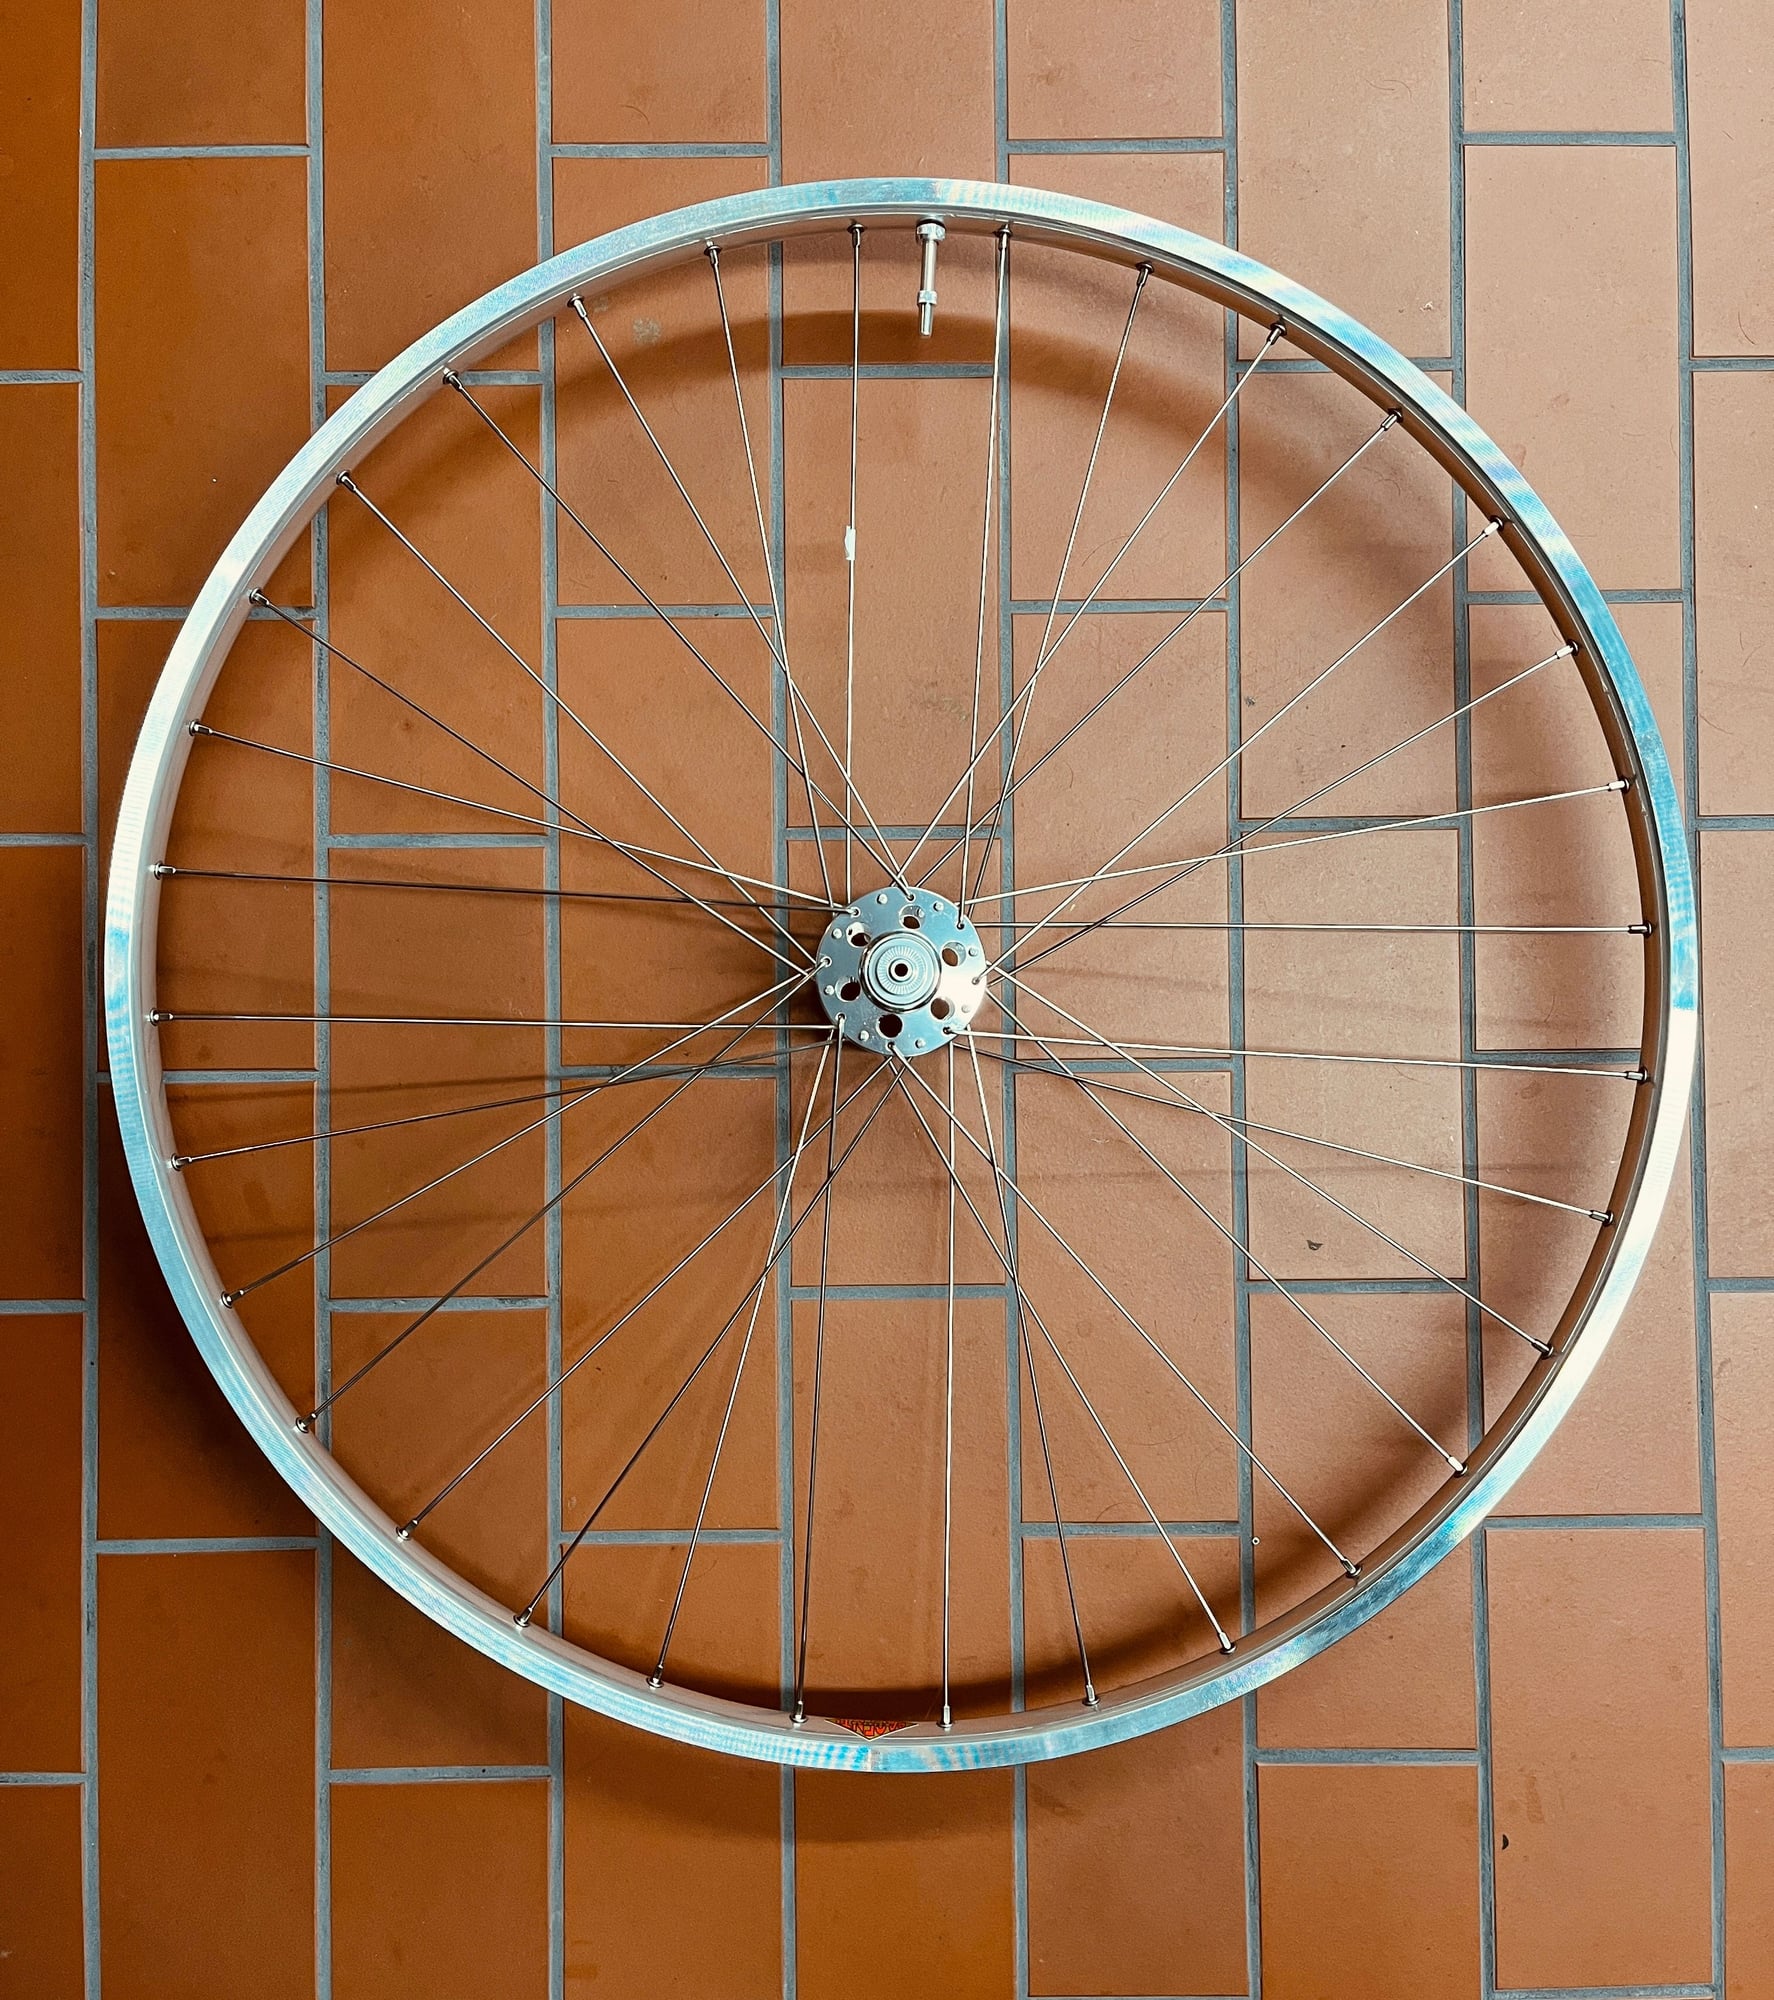
I am happy to say my tubeless conversion is complete! Well as complete as any big project requiring shakedown. But I took a ride tonight and I am quite pleased with the results. I'm running pressure on the higher side for safety but even at ~55psi it is a very nice ride indeed.
In my conversion I swapped from 120mm 7sp freewheel to a 130mm hub, 9sp cassette. Went from 25mm tubed to 30mm tubeless. 36h to 32h front and rear. Used double butted spokes. All in, including sealant this saved darn near a full pound (433g), and where it counts! \

In my conversion I swapped from 120mm 7sp freewheel to a 130mm hub, 9sp cassette. Went from 25mm tubed to 30mm tubeless. 36h to 32h front and rear. Used double butted spokes. All in, including sealant this saved darn near a full pound (433g), and where it counts! \
Likes For somebikeguy:
