


What have you been wrenching on lately?


Likes For 2cam16:
 01-05-24, 02:30 PM
#7177
Senior Member

Join Date: May 2021
Location: London
Posts: 564
Bikes: Motobecane C41, Matsu$hita Nashonaru
Liked 443 Times
in
254 Posts
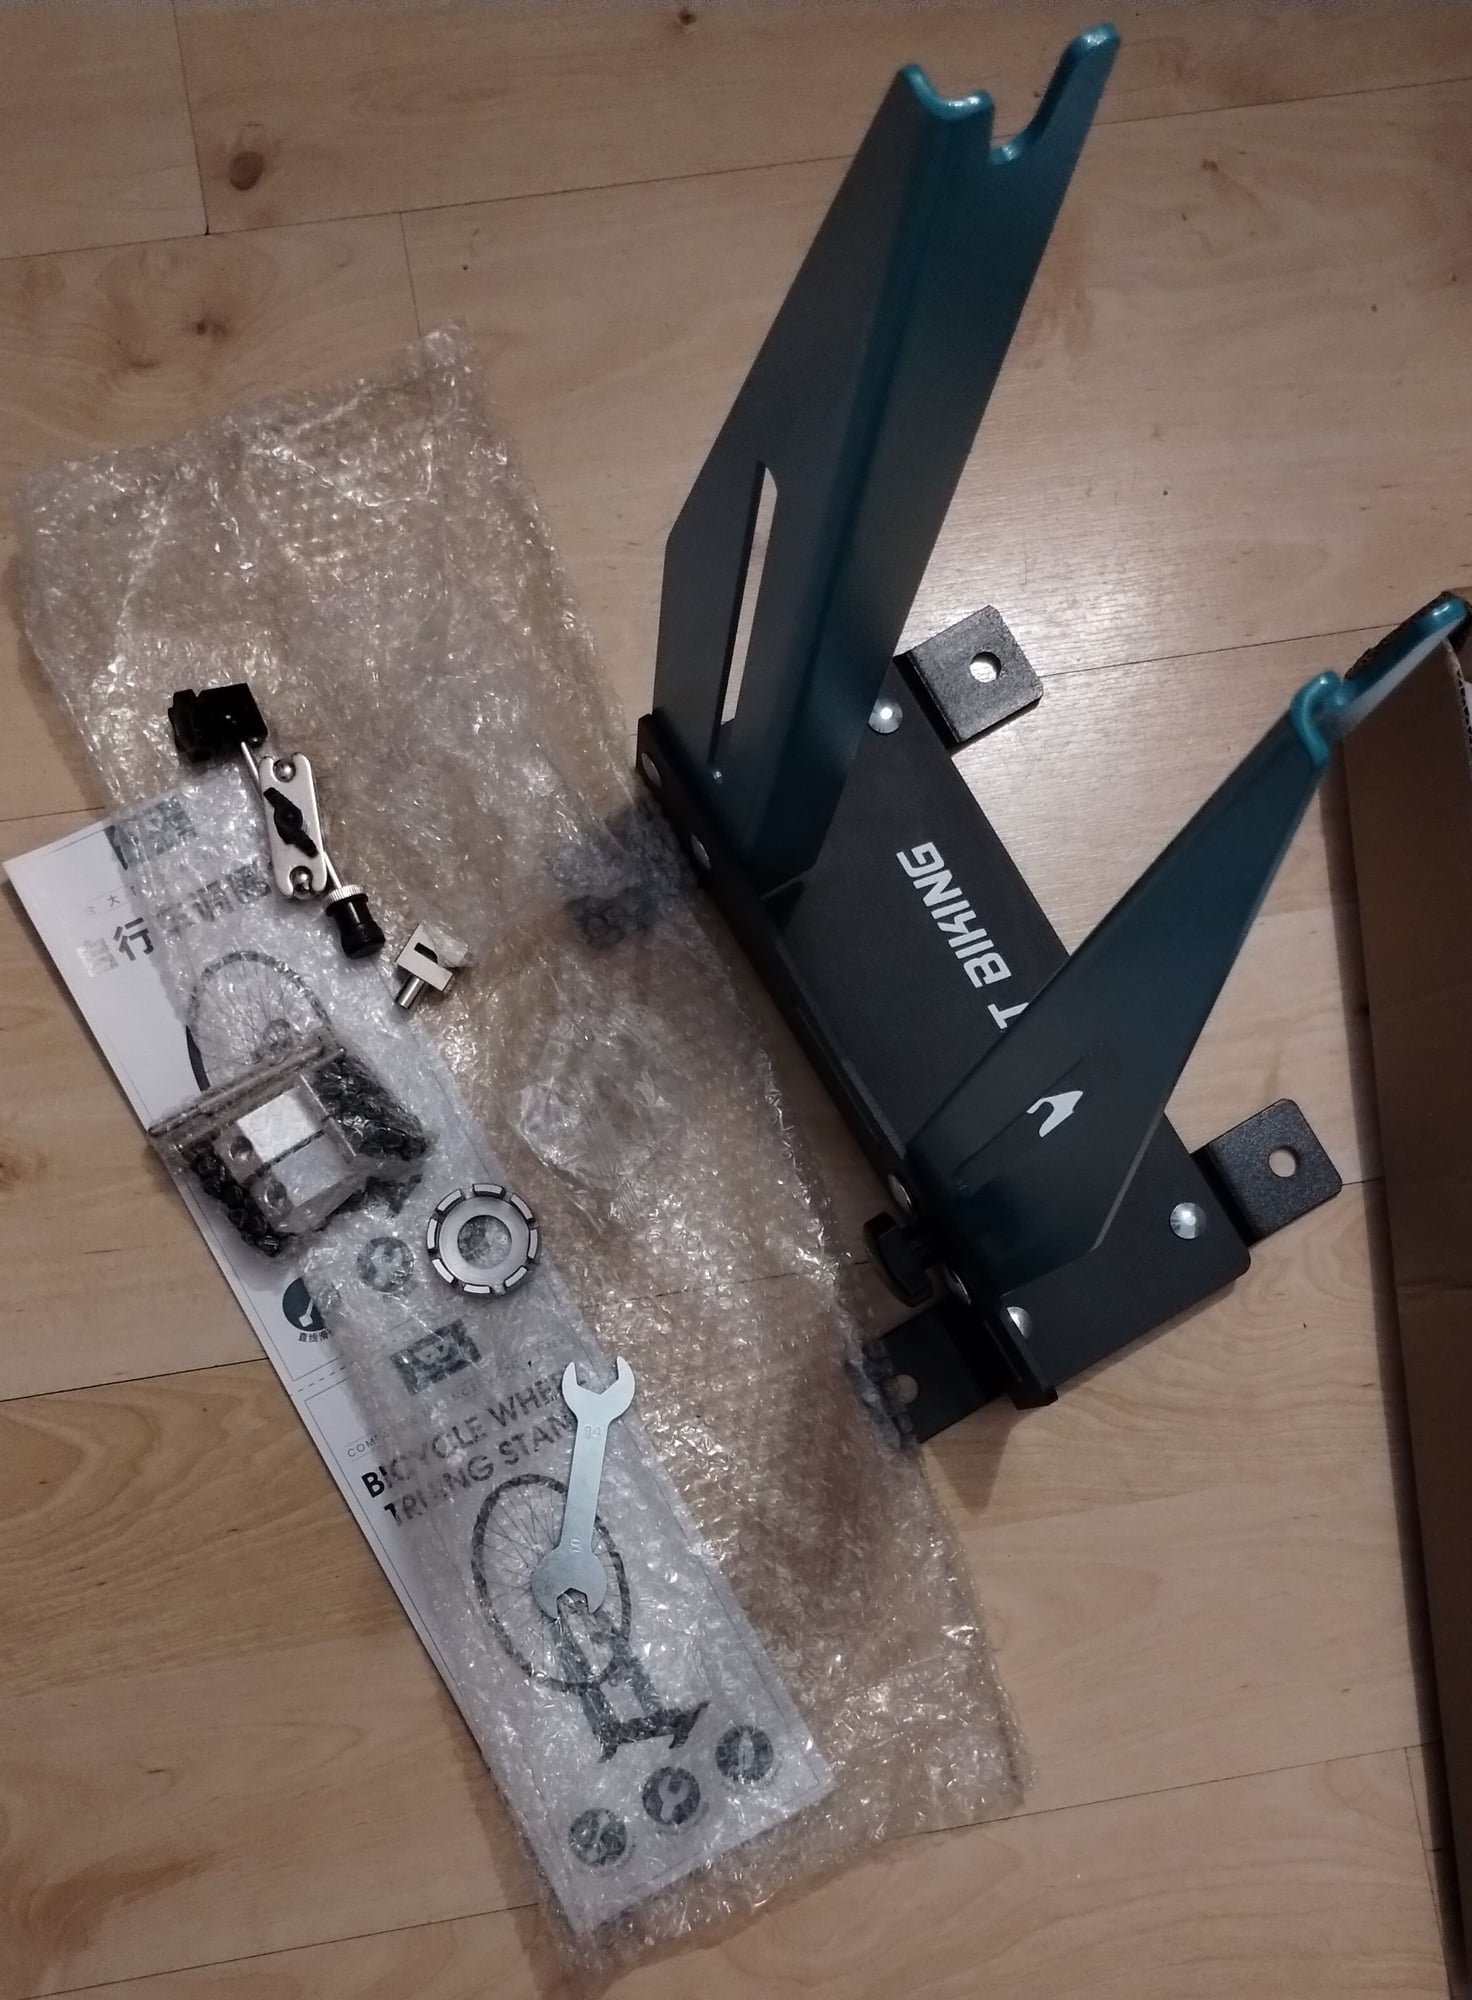
I decided to upgrade my crappy wheel truing stand. I have three sets of new Ambrosio rims on their way and until now I was getting by using a rubbish, portable and folding truing stand. It does the job, but requires extra care and extra time. Just too finicky and I needed something more solid if I'm going to be working on multiple wheelsets. I found the thing below on sale for 30 quid (with delivery). Sure, I'd rather get a Preciray, but that's not something I have budget for or could justify as I don't build wheels commercially. Not mentioning those are not exacly easy to find.
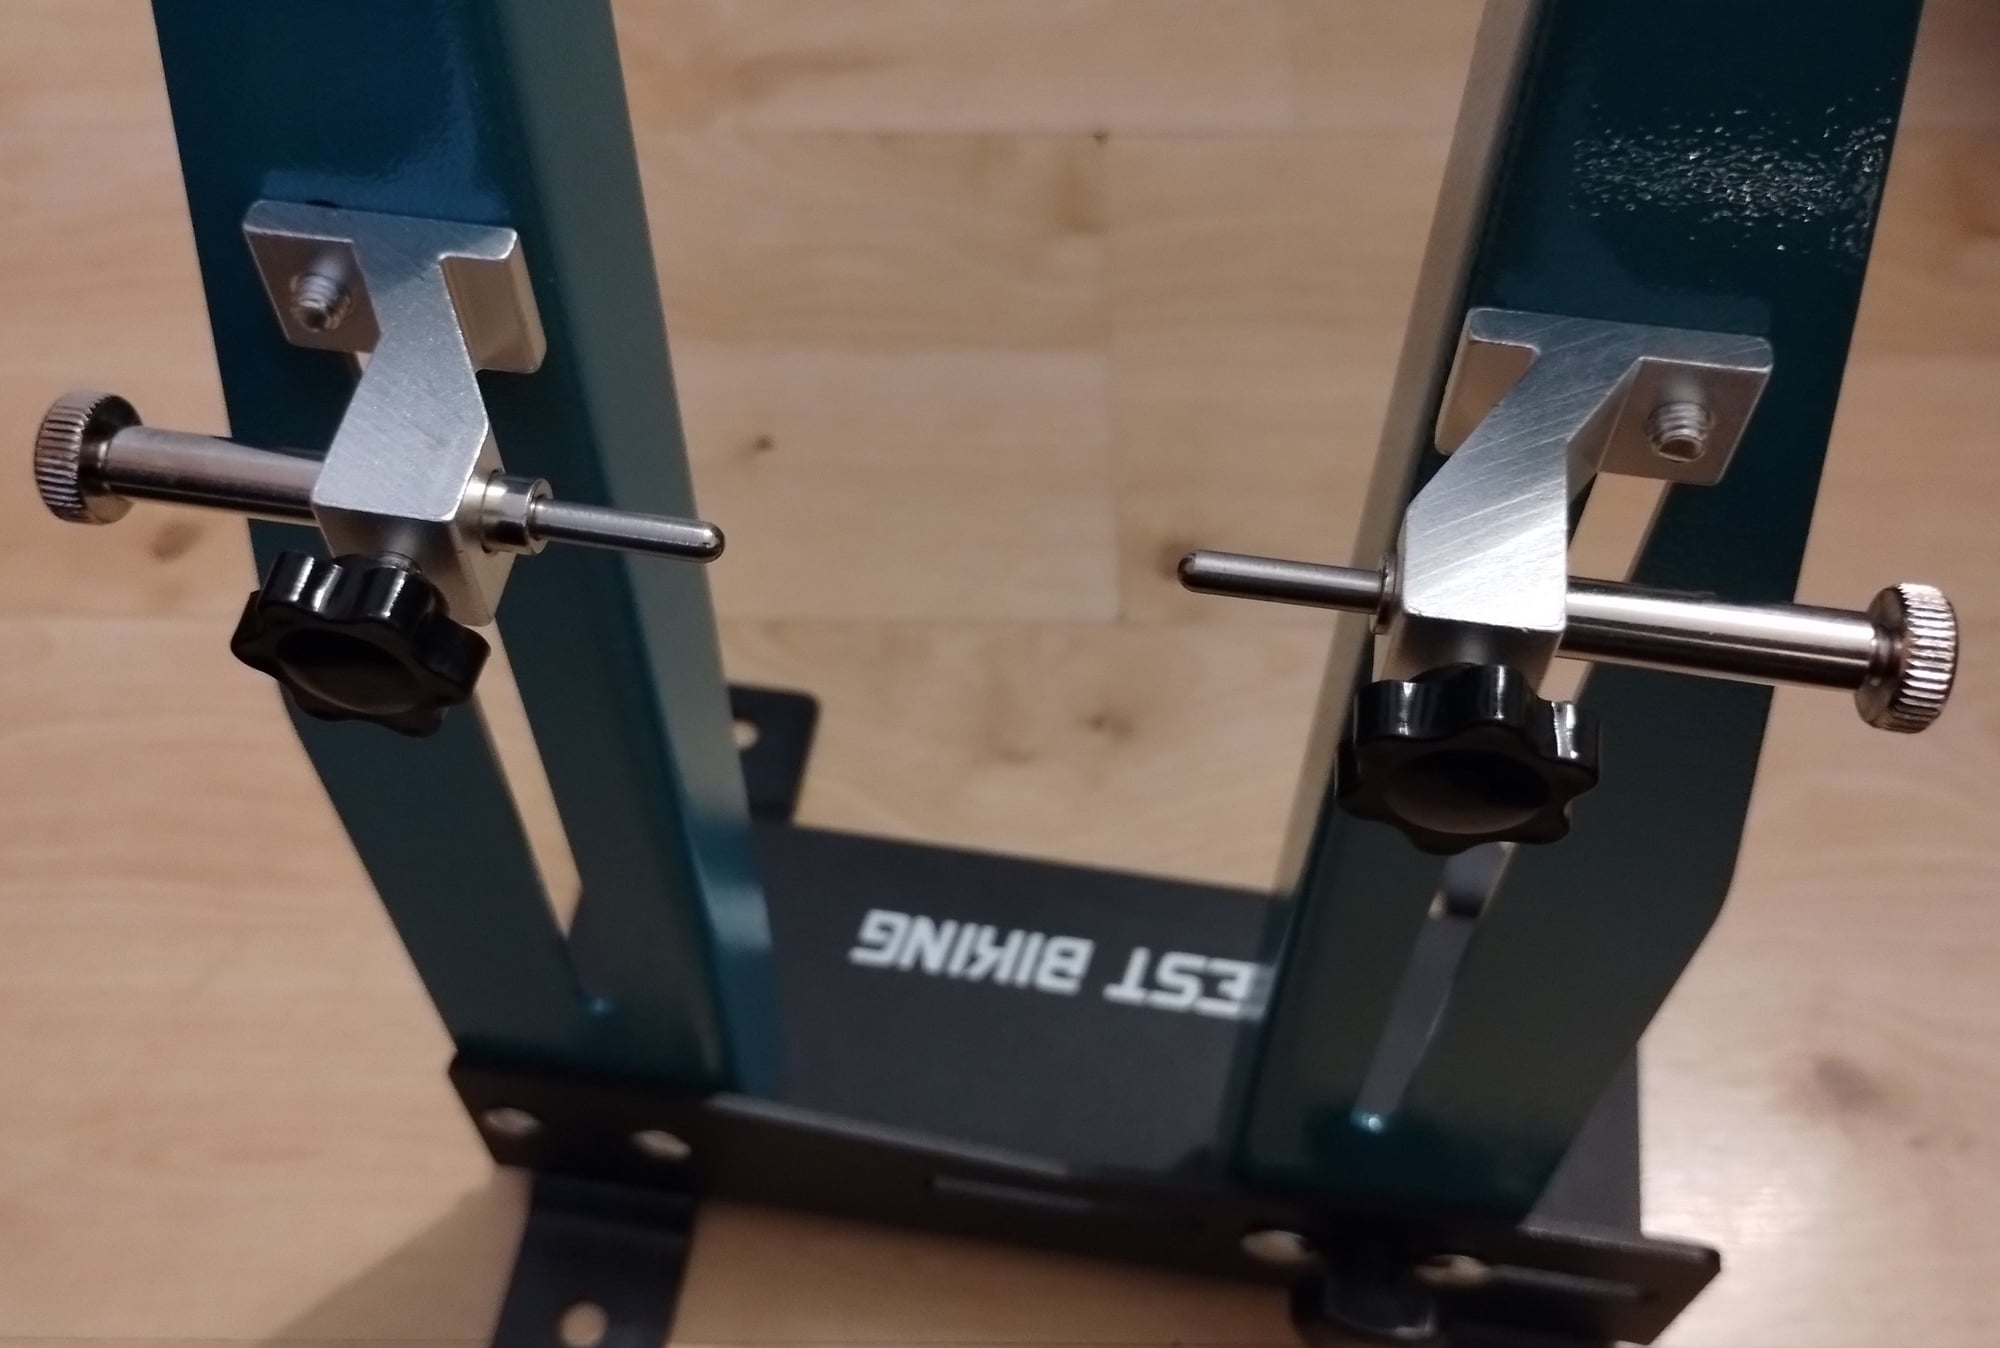
The thing below is Chinese-made, West Biking truing stand. Came flat-packed, so earlier today found a moment to assemble it.
And actually, it's quite alright. Not perfect, I can already see making sure the indicating needles are not slanted will require extra care (and a spirit level, probably). They are mounted on the arms using one bolt each, probably exactly to be able to change angle and use them as roundness indicators and I think a better solution could be found. But, other than that, and short of Preciray it's well worth that 30 quid.
It looks like the next couple of months might be quite busy, actually. Firstly, wheel building. Secondly, cleaning and polishing components for the new build. Got nearly everything, haven't decided on the final pedals and brake calipers yet (but have some I can still use). And finally, today I cheated on Motobecane (again) and got myself a Super Vitus 971 frame by Bernard Carre. What can I say? It was my size and weighs less than 2.6kg, which makes it perfect for a lightweight classic build. It might end up with an unusual componentry for Bernard Carre from the late 70's as most of the stuff I have to put on it is Japanese (SR and Suntour), but with a bit of good luck I might just get the total weight of the built bike to below 8kg.
Of course, now all searching for the Swiss-threaded bottom brackets is going to be pointless and need to find a French threaded one for a change.
Likes For VintageSteelEU:
01-05-24, 07:17 PM
#7178

Senior Member
Join Date: May 2019
Location: Bloomington, IN
Posts: 3,194
Bikes: Paramount, Faggin, Ochsner, Ciocc, Basso
Liked 2,185 Times
in
1,273 Posts
I have spent a few hours repainting the panto in these levers before mounting them for the Paramount, and now actually doing the tedious work of getting the bars wrapped. I have found that a first layer of Benotto tape protects the bars from a lot of adhesive build up from the tape. Smiles, MH
Levers have been repainted and new covers added.

The first layer of tape is in place and now ready for final color over this layer.
Levers have been repainted and new covers added.
The first layer of tape is in place and now ready for final color over this layer.
Likes For Mad Honk:
01-05-24, 10:17 PM
#7179
Junior Member
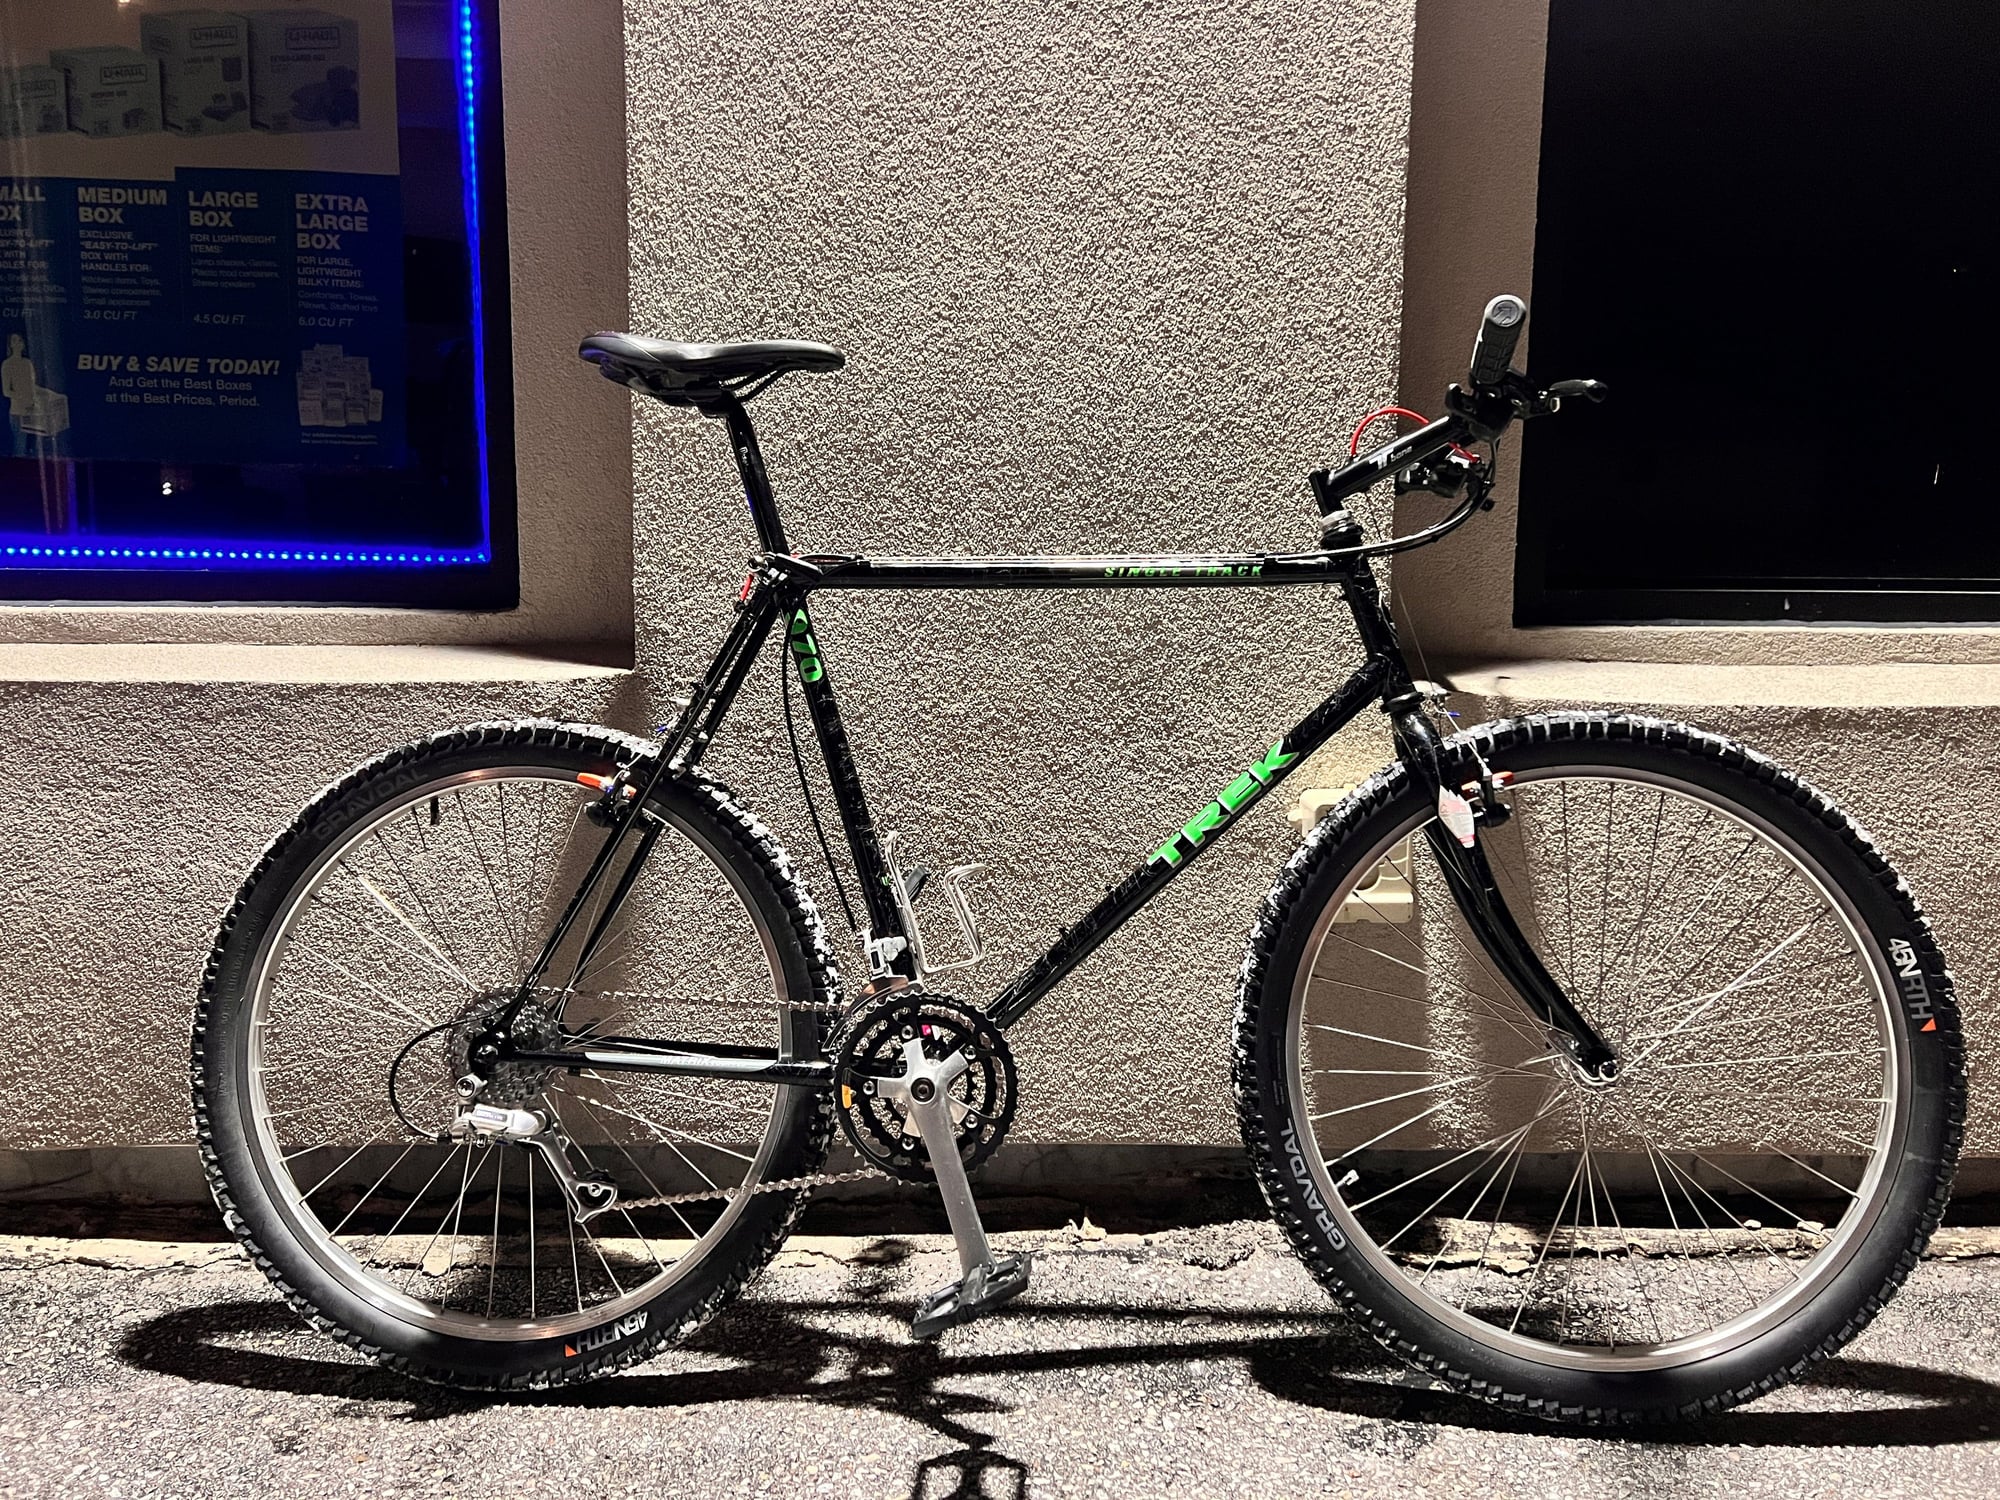
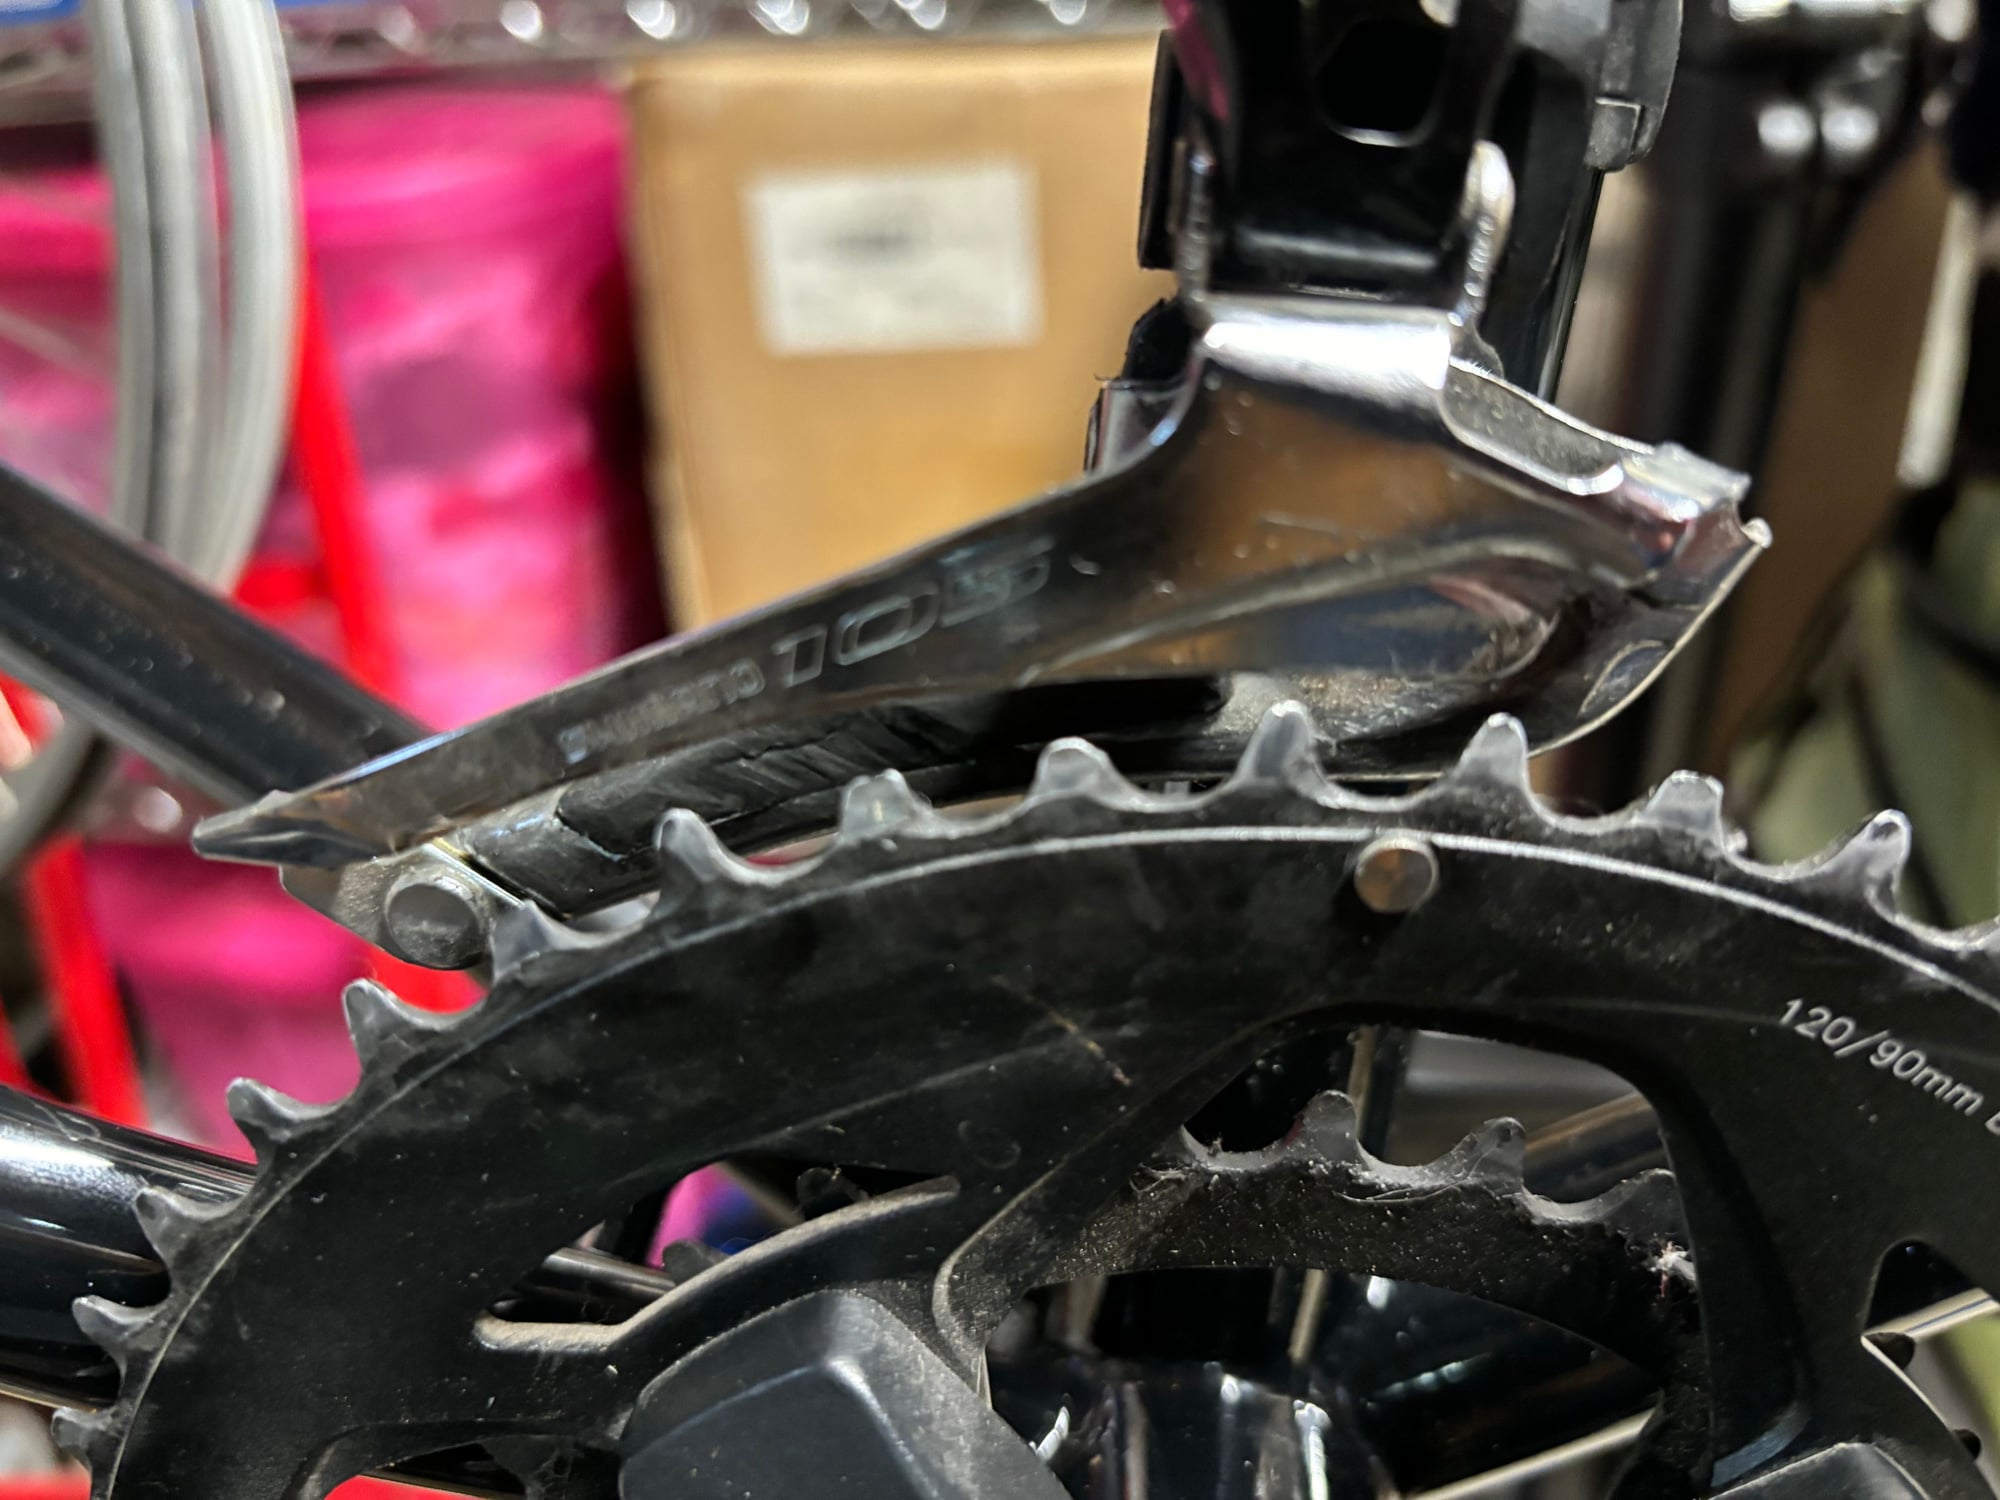
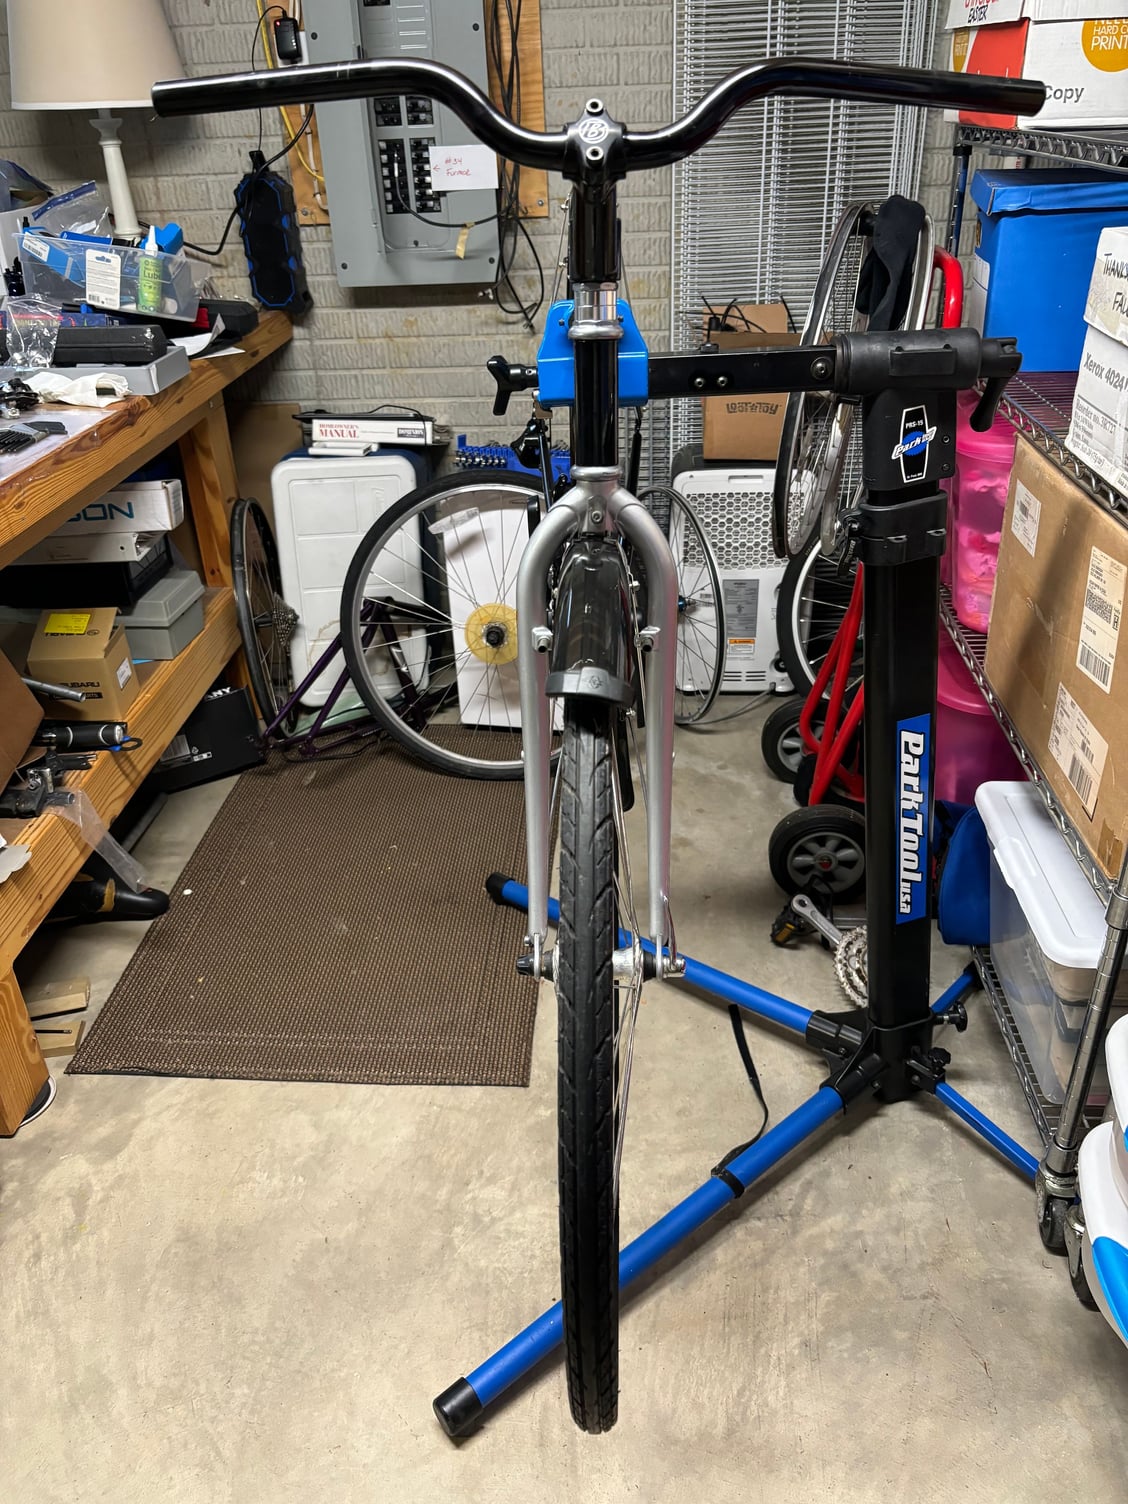
I�ve been playing around with this Trek 970, decided to restore it back to as close to original as possible after playing around with it as a single speed.
I had some Biopace chainrings on but they didn�t play nicely with the setup. Now I�m on the hunt for suitable
replacements as the middle ring is pretty rough.
01-06-24, 08:57 AM
#7180
Edumacator
Join Date: Jan 2018
Location: Goose Creek, SC
Posts: 7,569
Bikes: '87 Crestdale, '87 Basso Gap, '92 Rossin Performance EL-OS, 1990 VanTuyl, 1980s Losa, 1985 Trek 670, 1982 AD SLE, 1987 PX10, etc...
Liked 3,594 Times
in
2,258 Posts
Toilet Bowlnago complete...
...and rideably utilitarian.

After
Before
There will be 2 more iterations...the more permanent version of this present state (more modern components)
And the restored version Waaaayyyy down the line.
After
Before
There will be 2 more iterations...the more permanent version of this present state (more modern components)
And the restored version Waaaayyyy down the line.
__________________
1987 Crest Cannondale, 1987 Basso Gap, 1992 Rossin Performance EL, 1990ish Van Tuyl, 1985 Trek 670, 2003 Pinarello Surprise, 1990ish MBK Atlantique, 1987 Peugeot Competition, 1987 Nishiki Tri-A, 1981 Faggin, 1996 Cannondale M500, 1984 Mercian, 1982 AD SuperLeicht, 1985 Massi (model unknown), 1988 Daccordi Griffe , 1989 Fauxsin MTB, 1981 Ciocc Mockba, 1992 Bianchi Giro, 1977 Colnago Super, 1971 Raleigh International, 1998 Corratec Ap & Dun, 1991 Peugeot Slimestone
1987 Crest Cannondale, 1987 Basso Gap, 1992 Rossin Performance EL, 1990ish Van Tuyl, 1985 Trek 670, 2003 Pinarello Surprise, 1990ish MBK Atlantique, 1987 Peugeot Competition, 1987 Nishiki Tri-A, 1981 Faggin, 1996 Cannondale M500, 1984 Mercian, 1982 AD SuperLeicht, 1985 Massi (model unknown), 1988 Daccordi Griffe , 1989 Fauxsin MTB, 1981 Ciocc Mockba, 1992 Bianchi Giro, 1977 Colnago Super, 1971 Raleigh International, 1998 Corratec Ap & Dun, 1991 Peugeot Slimestone
Likes For jdawginsc:
01-06-24, 04:18 PM
#7181
Deraill this!
Join Date: Jun 2019
Location: CMH is close
Posts: 819
Bikes: 18 Cdale Quick 1, 16 Cdale Synapse 105, 88 Cdale M500, and a few others
Liked 659 Times
in
348 Posts
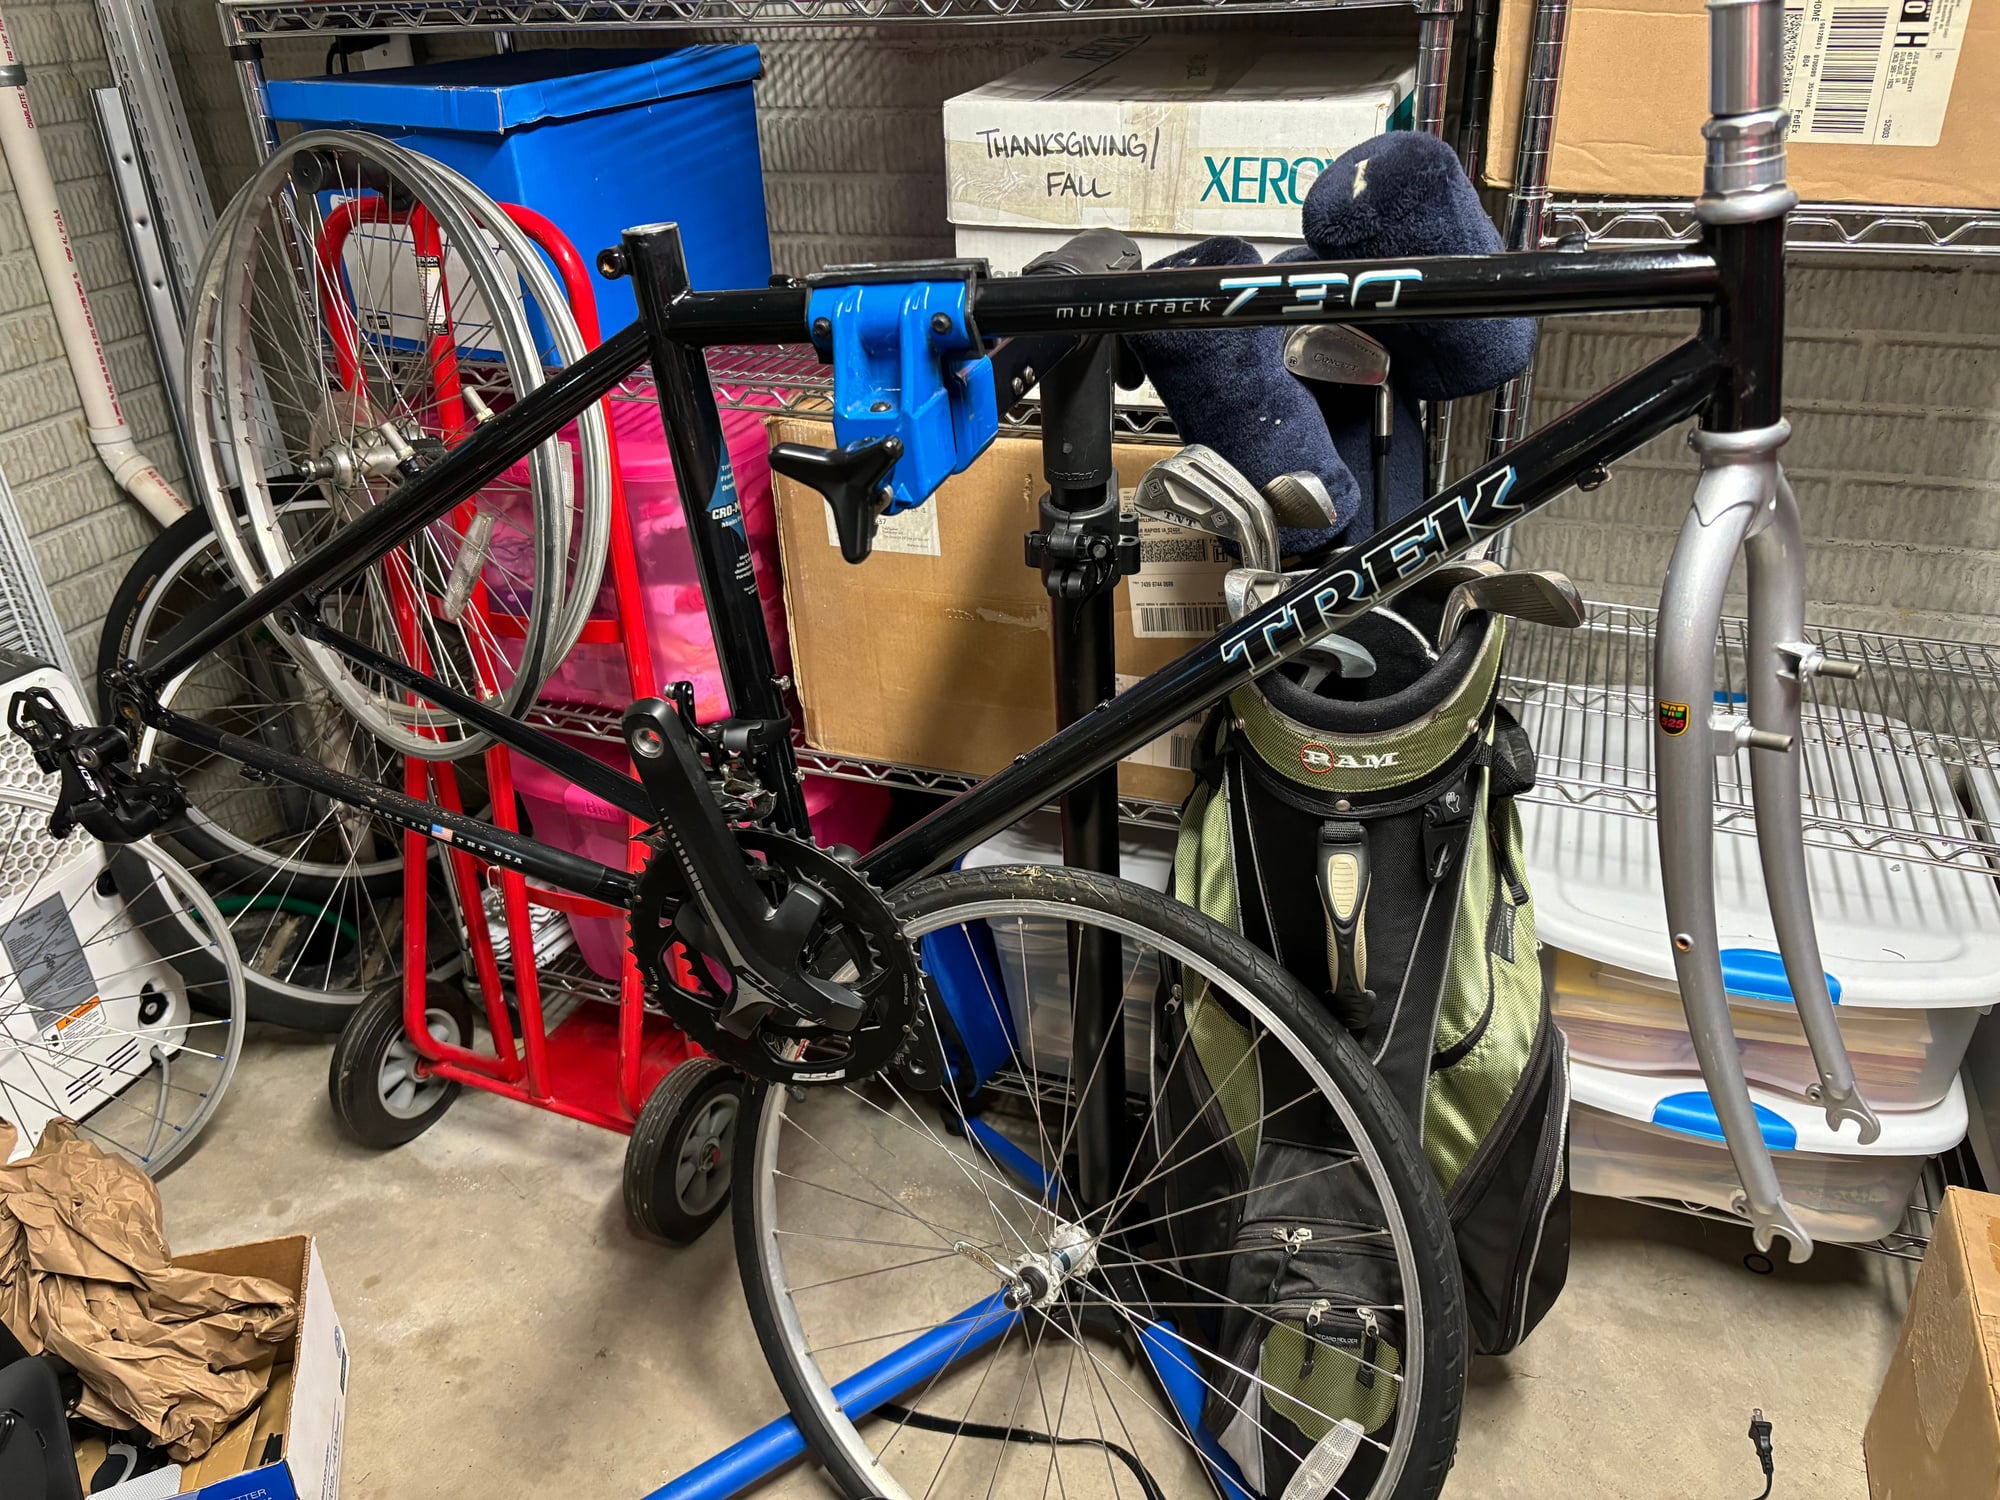
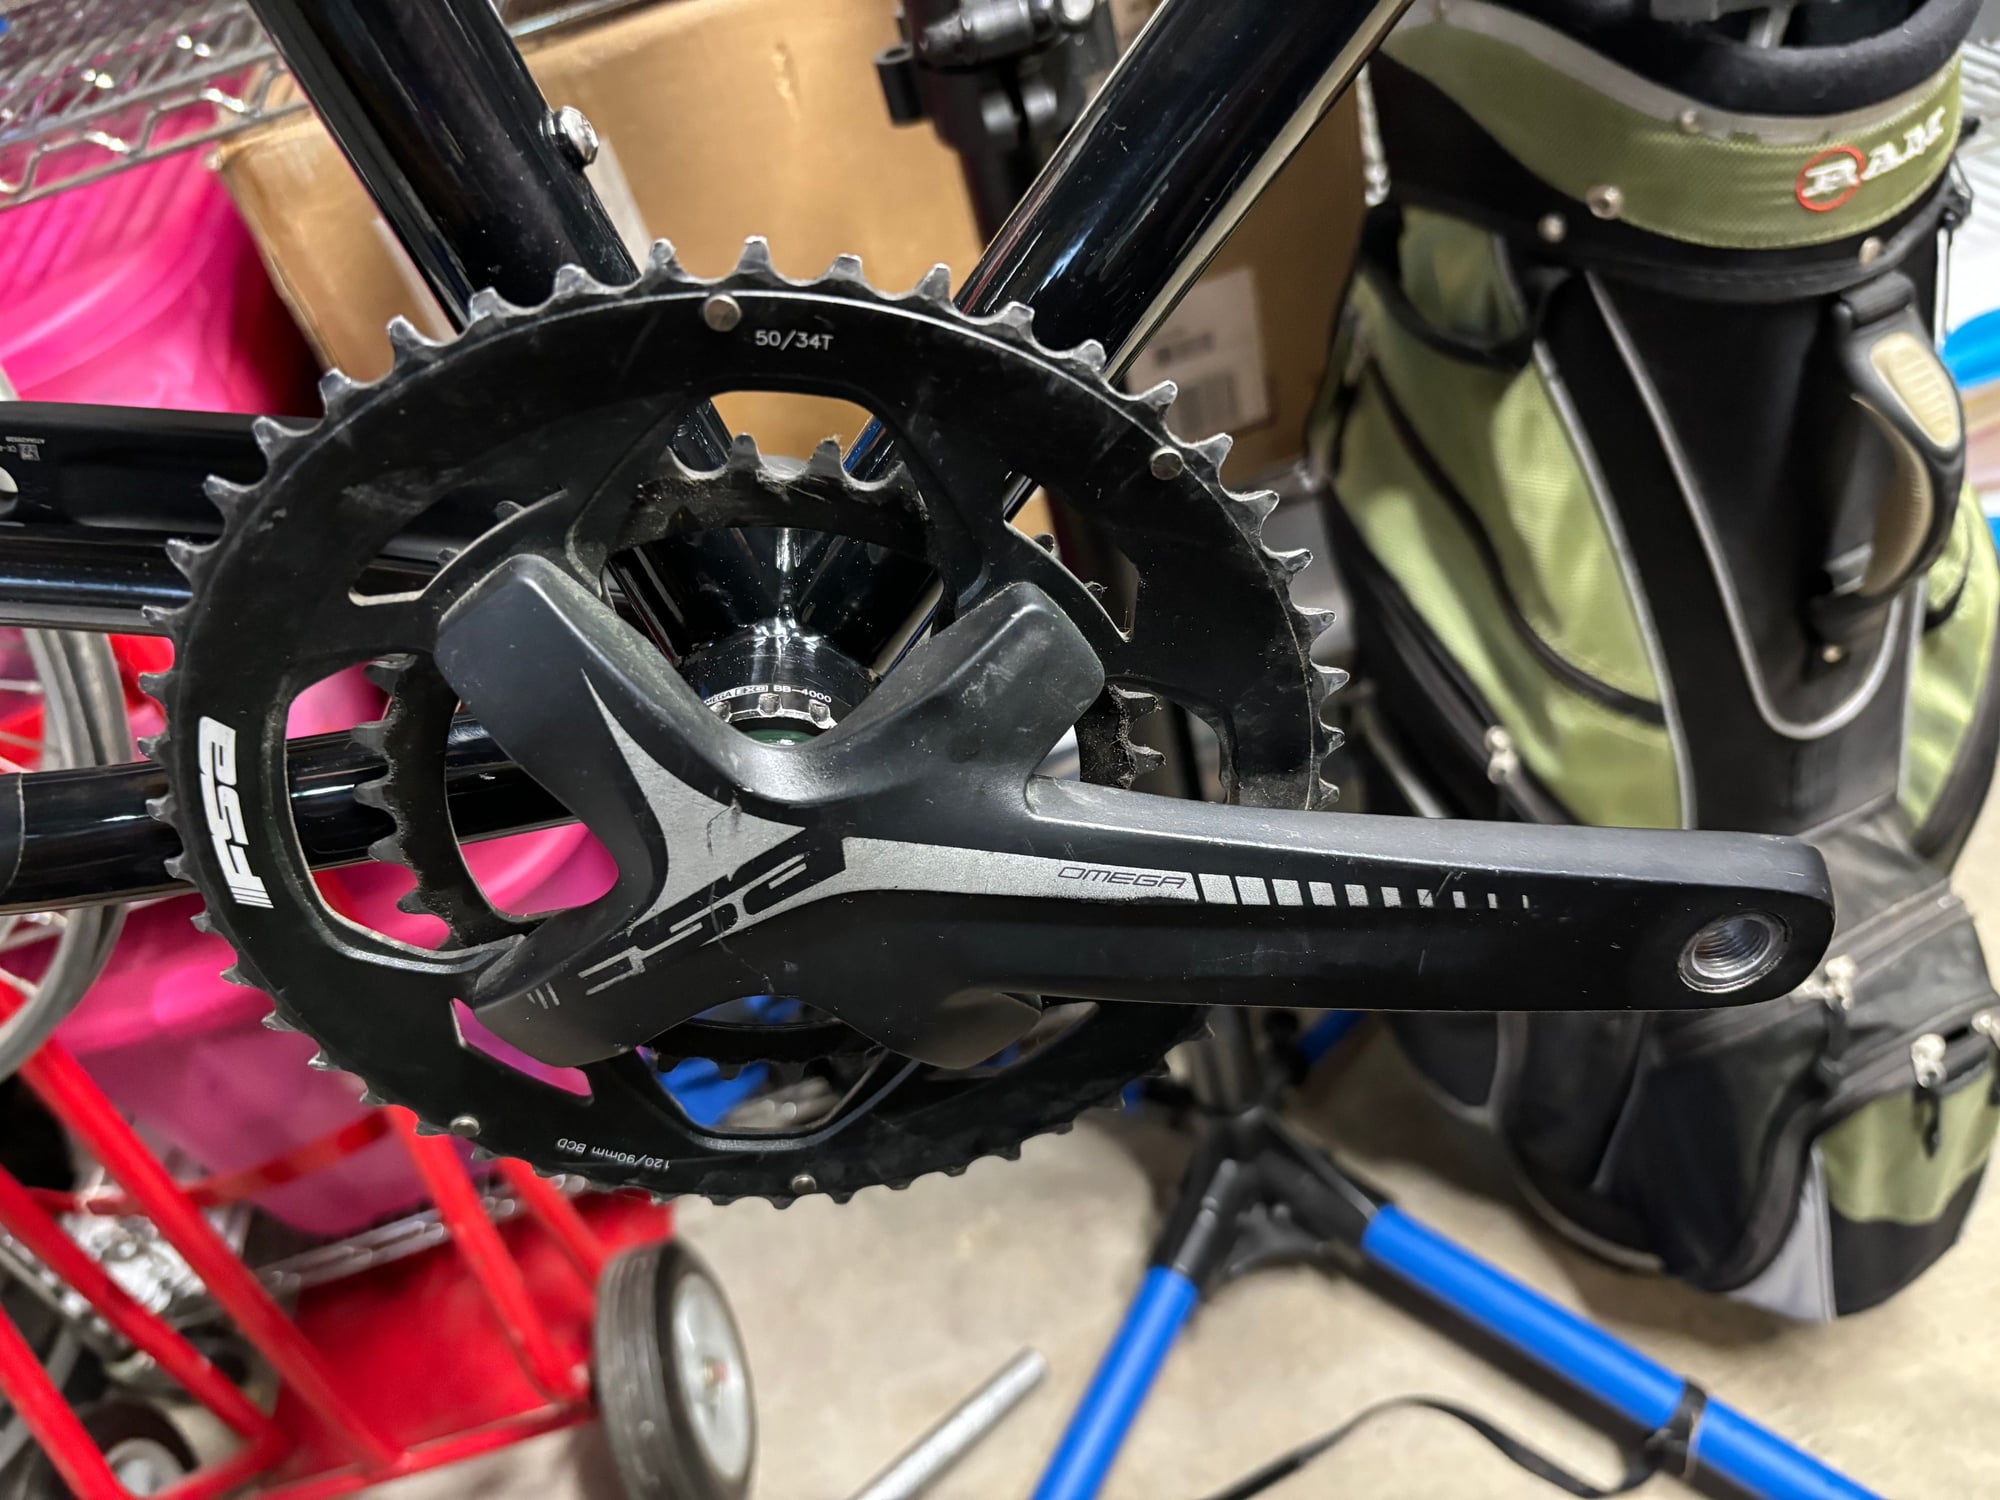
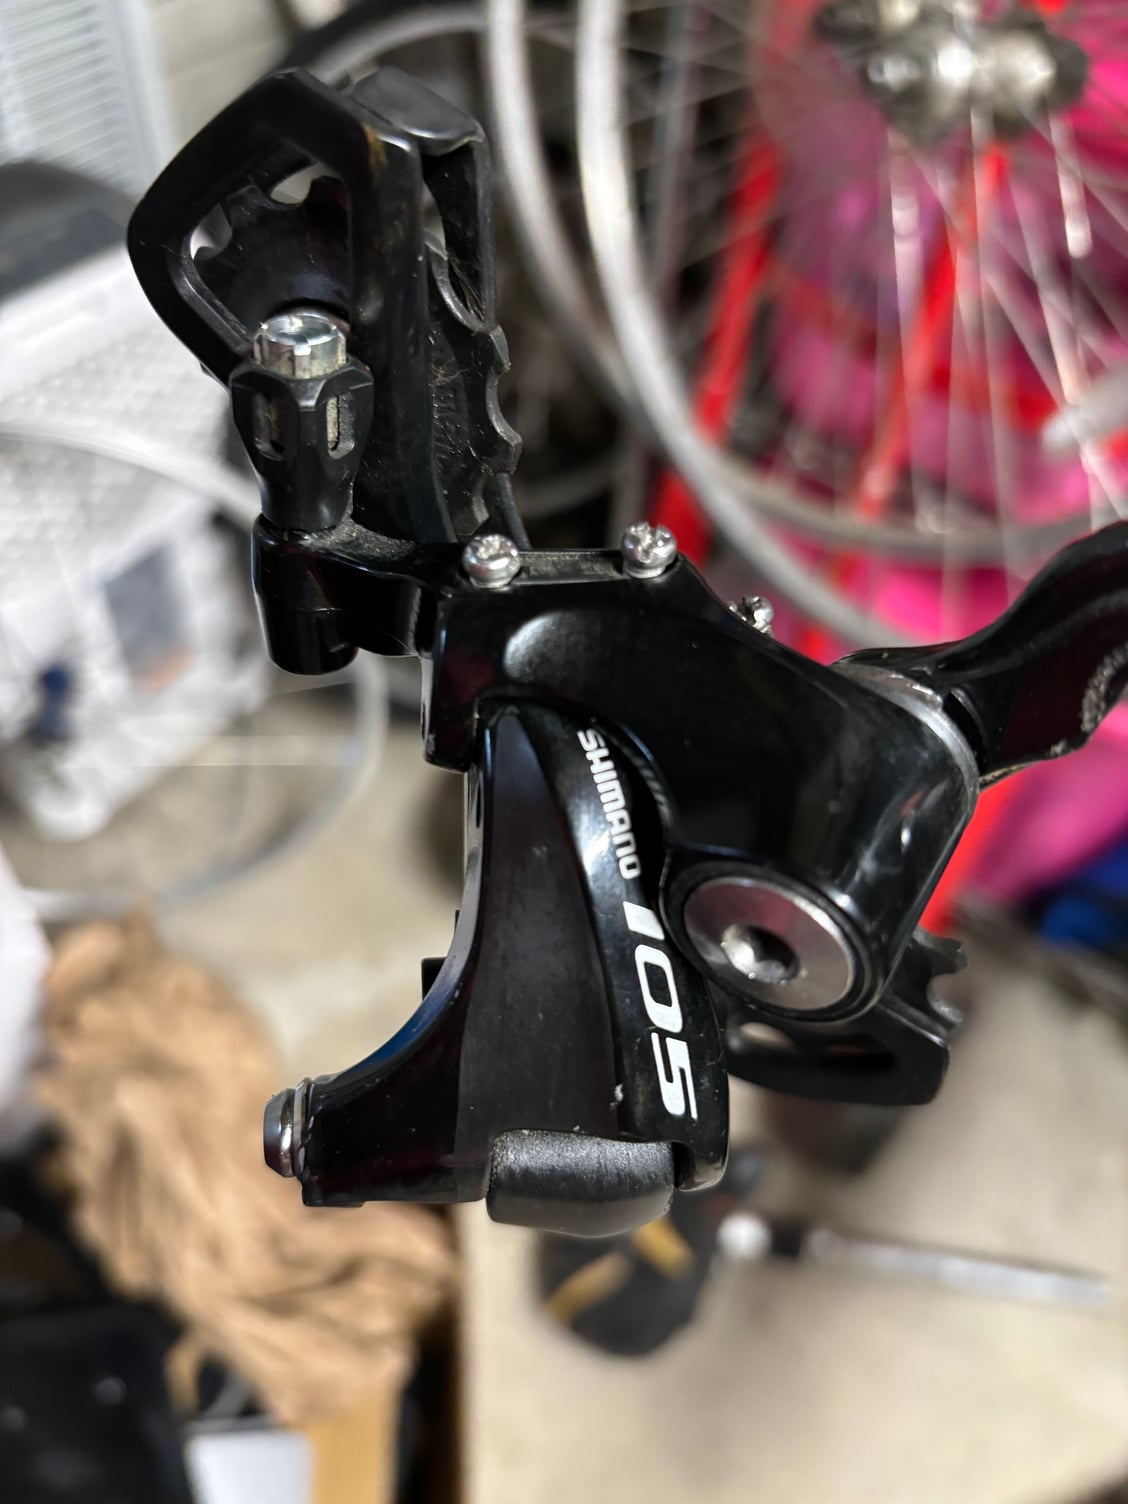
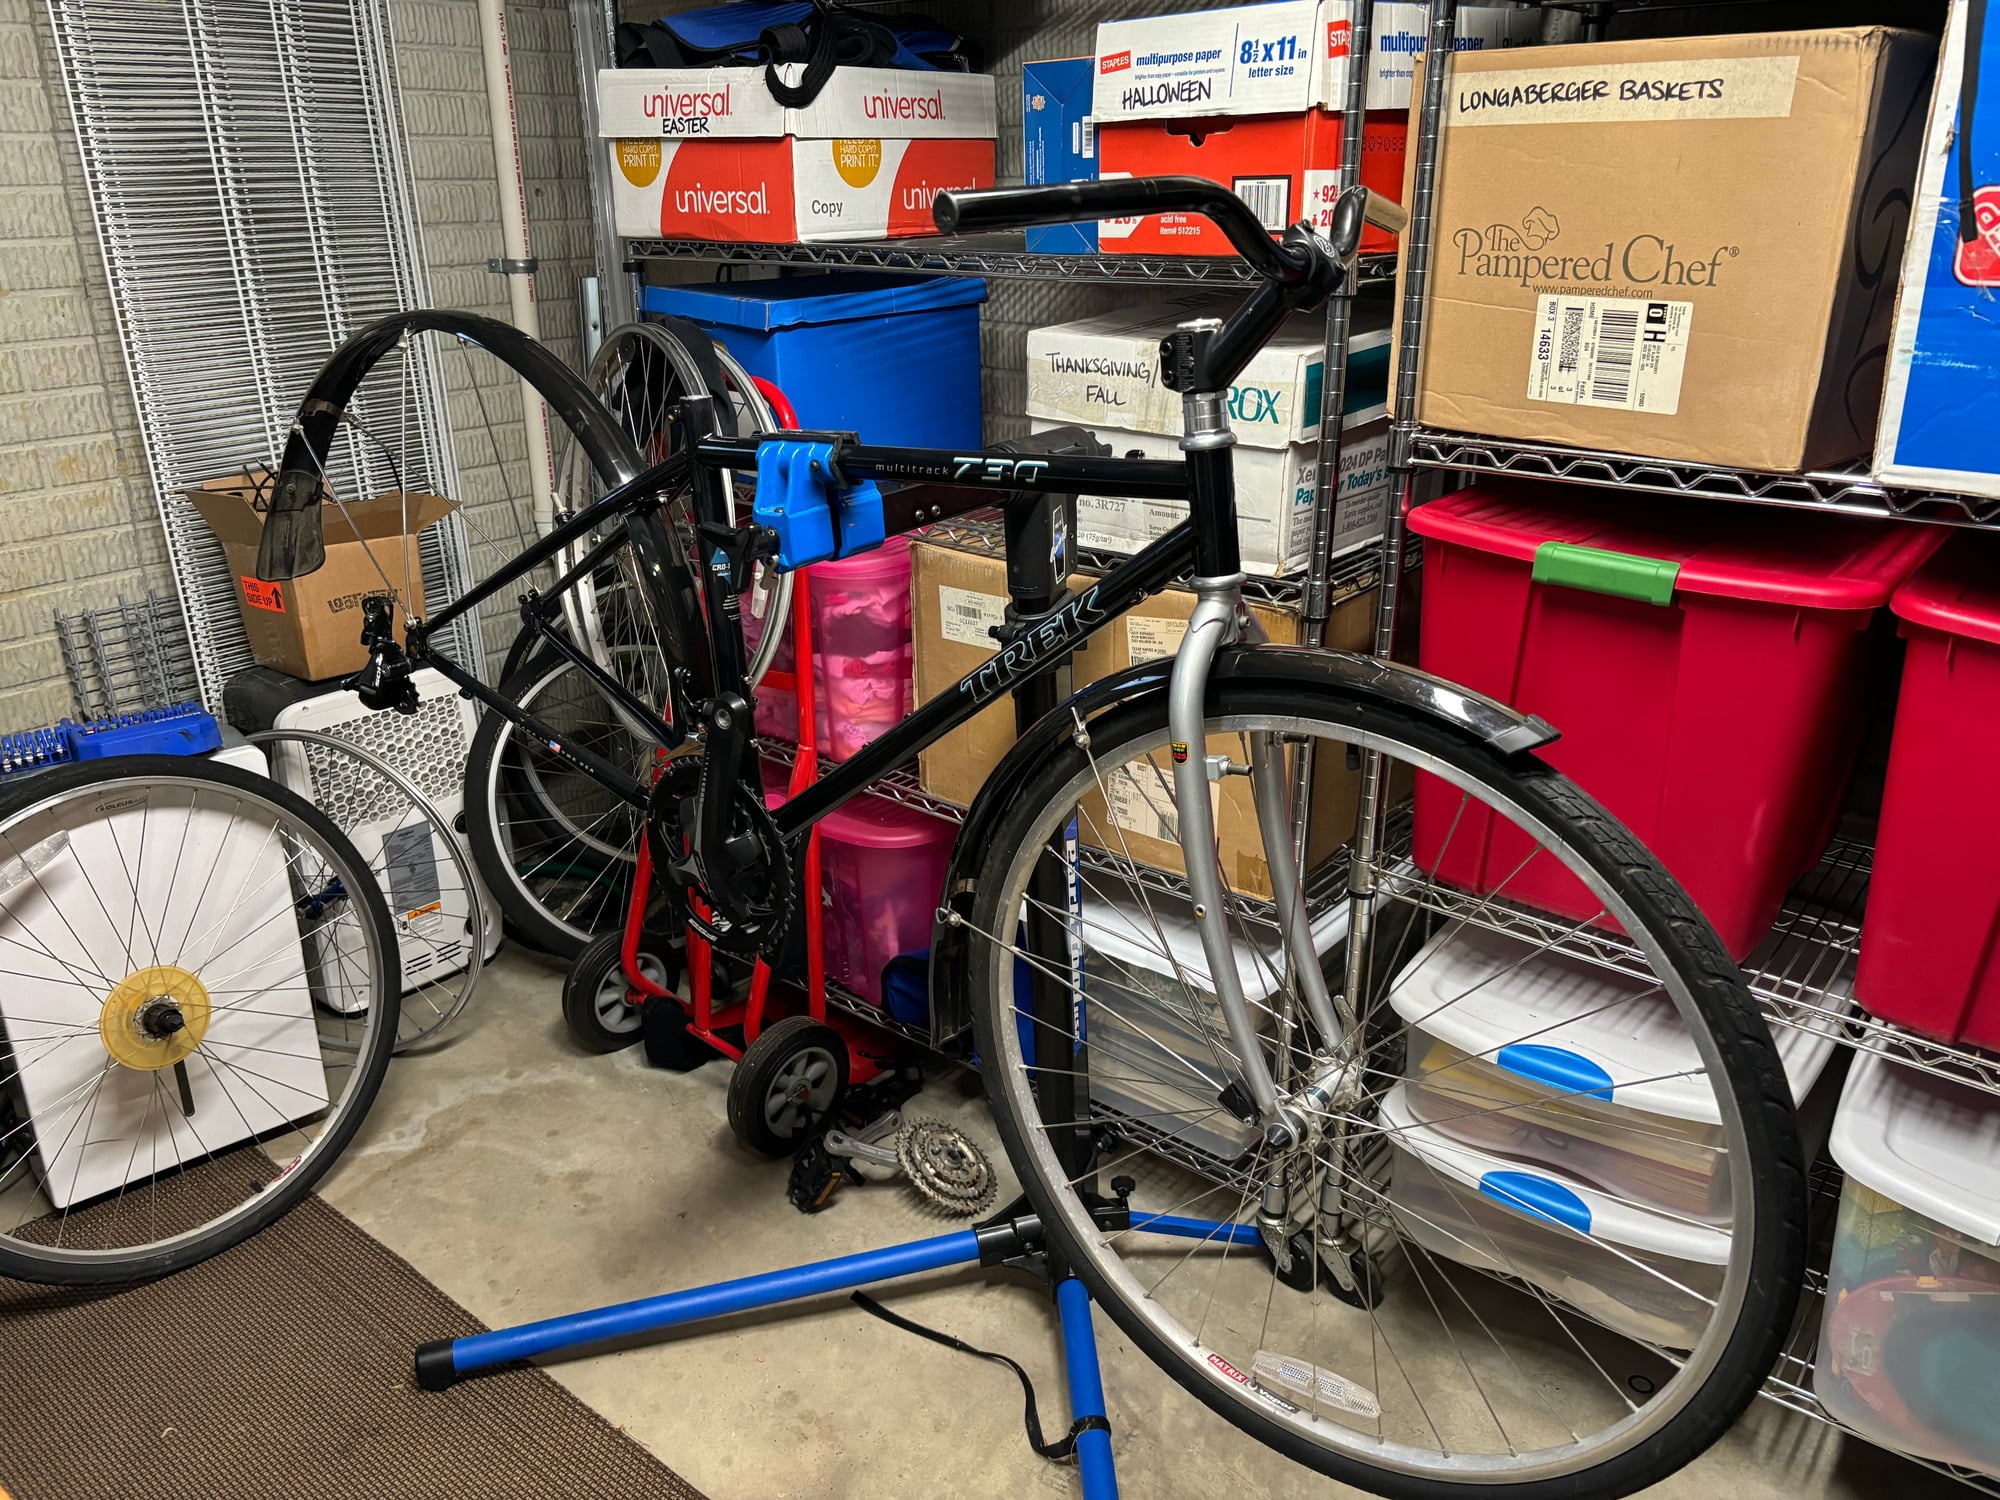
I spent some time with the curb find 730 Multitrack. I decided to strip it for cleaning and then rebuild it with some parts I removed from my Cannondale Quick 1 - FSA crank along 105 5700 front and rear derailleurs, and an Origin8 quill stem adapter. Please ignore the mess
Likes For Trav1s:
01-06-24, 04:27 PM
#7182
Senior Member
Join Date: Aug 2010
Location: Utah
Posts: 9,013
Bikes: Paletti,Pinarello Monviso,Duell Vienna,Giordana XL Super,Lemond Maillot Juane.& custom,PDG Paramount,Fuji Opus III,Davidson Impulse,Pashley Guv'nor,Evans,Fishlips,Y-Foil,Softride, Tetra Pro, CAAD8 Optimo,
Liked 6,250 Times
in
2,009 Posts
Not wrenching but painting. Got a vail of Celeste off Ebay fully expecting a not perfect match. Needed to fix some areas on the Bianchi Giro. First coat shows the paint match close but a bit blue. So for the second coat today I added two drops of yellow to the paint to get it a bit closer. Once I overfill the chips I'll wet sand it even and then do put on a bit of clearcoat.
__________________
Steel is real...and comfy.
Steel is real...and comfy.
01-06-24, 04:53 PM
#7183
Senior Member
Join Date: Oct 2015
Location: PDX
Posts: 13,509
Bikes: Merz x 5 + Specialized Merz Allez x 2, Strawberry/Newlands/DiNucci/Ti x3, Gordon, Fuso/Moulton x2, Bornstein, Paisley,1958-74 Paramounts x3, 3rensho, 74 Moto TC, 73-78 Raleigh Pro's x5, Marinoni x2, 1960 Cinelli SC, 1980 Bianchi SC, PX-10 X 2
Liked 6,823 Times
in
3,897 Posts
[MENTION=501594]Trav1s[/MENTION]
What mess?
I see nothing!
And just my 2c, I would shine up all the HS pieces and split the two small spacers with the big one in the middle, any symmetry you can create makes a cluster more palatable IMO.
What mess?
I see nothing!
And just my 2c, I would shine up all the HS pieces and split the two small spacers with the big one in the middle, any symmetry you can create makes a cluster more palatable IMO.
Last edited by merziac; 01-06-24 at 05:02 PM.
Likes For merziac:
01-06-24, 07:36 PM
#7184
Senior Member

Join Date: Mar 2014
Location: City of Angels
Posts: 5,048
Bikes: A few too many
Liked 2,493 Times
in
1,304 Posts
I have spent a few hours repainting the panto in these levers before mounting them for the Paramount, and now actually doing the tedious work of getting the bars wrapped. I have found that a first layer of Benotto tape protects the bars from a lot of adhesive build up from the tape. Smiles, MH
Levers have been repainted and new covers added.
The first layer of tape is in place and now ready for final color over this layer.
Levers have been repainted and new covers added.
The first layer of tape is in place and now ready for final color over this layer.
Dave,
Mighty glad to see that you have cleaned, catalogued and organized all of the "C" parts and pieces......Shop looks very tidy now that it's been done, I'll bet that the War Department is pleased as well.

Best, Ben
__________________
"EVERY PERSON IS GUILTY OF ALL THE GOOD THEY DID NOT DO"
Voltaire
Voice recognition may sometimes create odd spelling and grammatical errors
"EVERY PERSON IS GUILTY OF ALL THE GOOD THEY DID NOT DO"
Voltaire
Voice recognition may sometimes create odd spelling and grammatical errors
01-06-24, 09:29 PM
#7185
Senior Member
Join Date: May 2019
Location: Bloomington, IN
Posts: 3,194
Bikes: Paramount, Faggin, Ochsner, Ciocc, Basso
Liked 2,185 Times
in
1,273 Posts
Ha! Not all of the stash ,but most of the small parts. The hubs and drive parts still need re-conditioning and then I get to ride some of the bikes here in the shop. Smiles, MH
01-07-24, 03:19 AM
#7186
Senior Member
Join Date: Jun 2018
Location: London, UK
Posts: 818
Bikes: Yes, probably too many but still have a roving eye...
Liked 3,298 Times
in
615 Posts
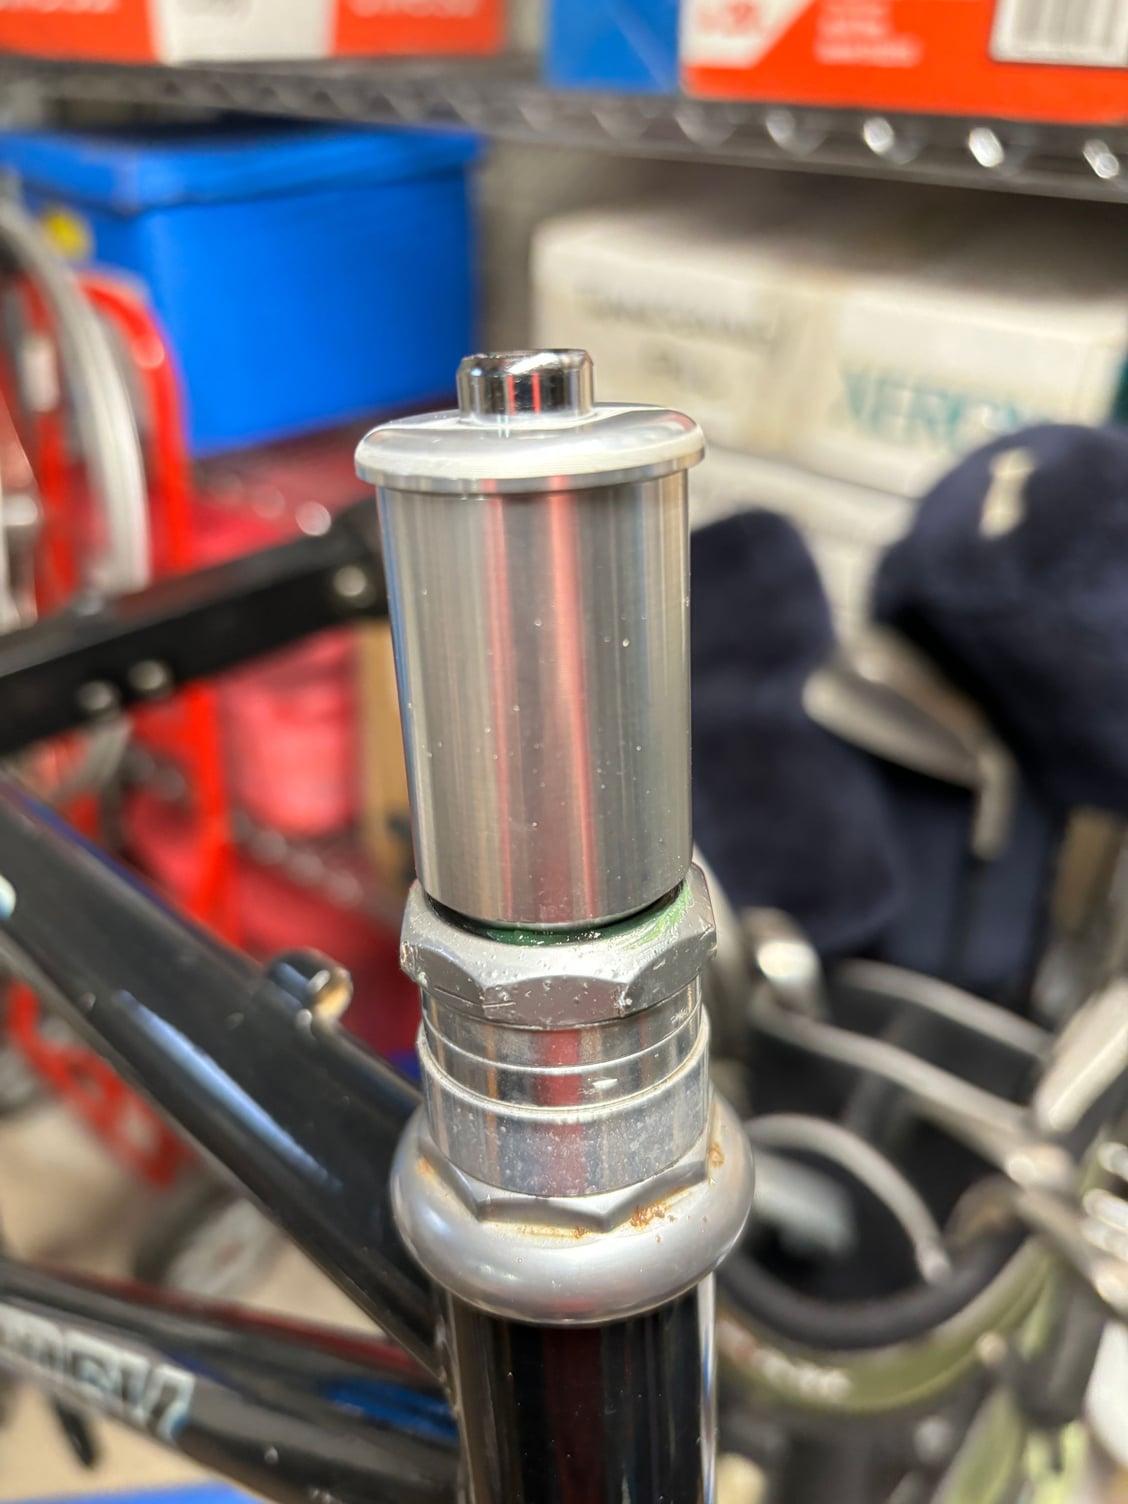
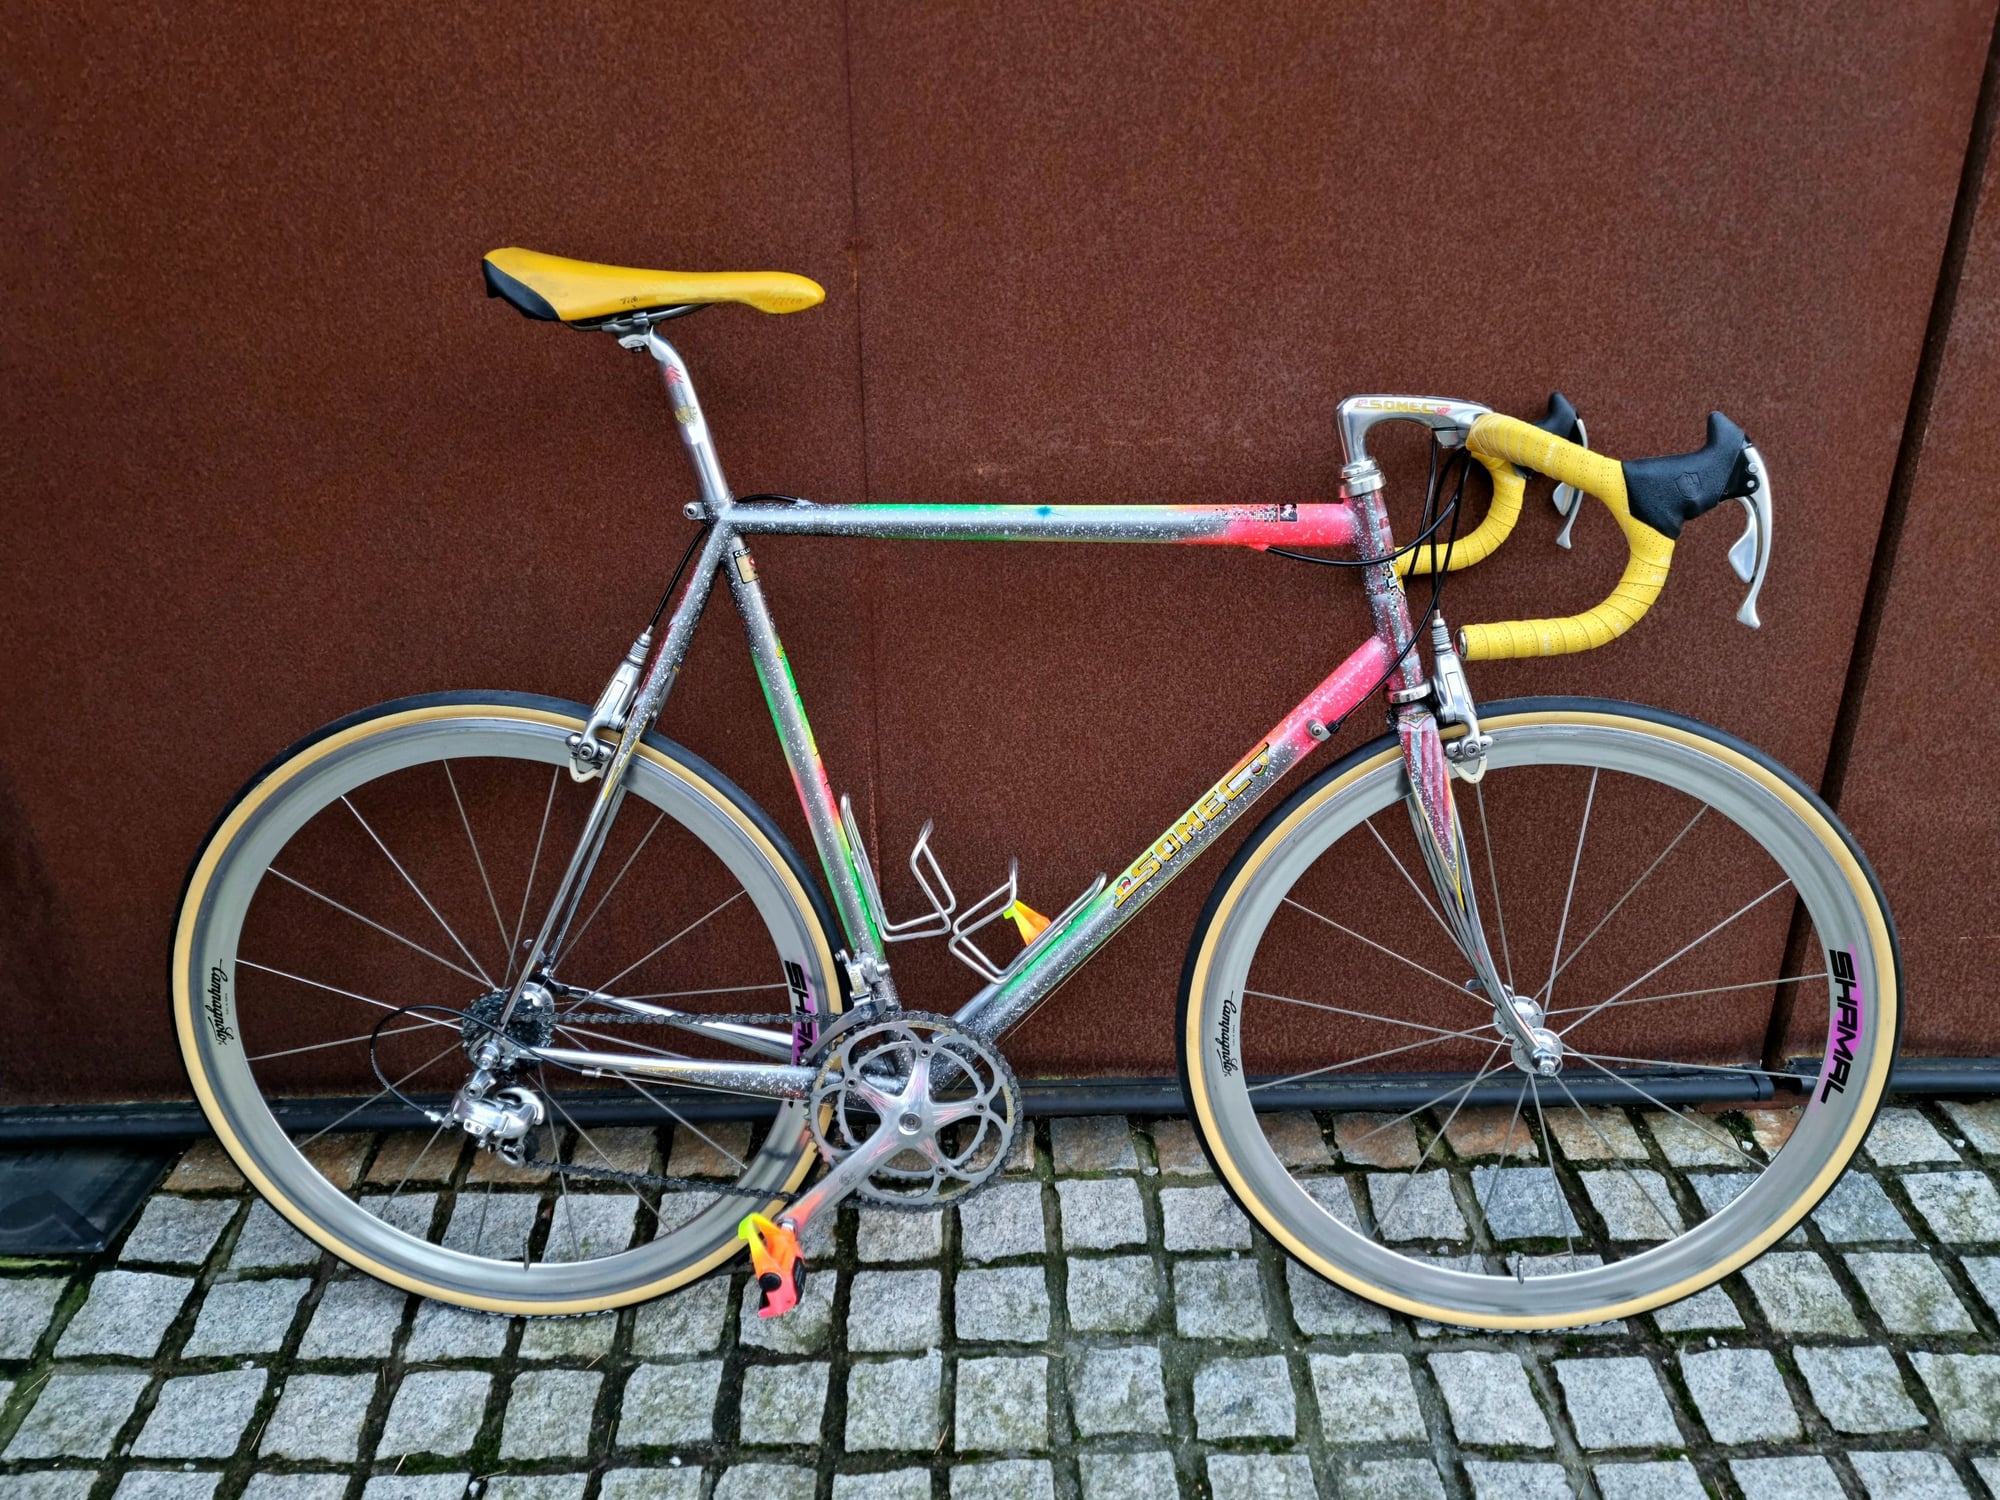
Fitted these 8 speed ti shifters and 28c gumwall Veloflex tyres to my Somec....

...but after fiddling for ages to try and grt them to work properly, have discovered the shifters definitely need overhauling and have worn internals as they won't hold in gear. I've only ever taken apart and replaced internals in 10 speed Campag shifters before, so have no experience of doing so with 8 speed, and don't know if they basically operate the same, but it feels like the g-springs/ratchet needs replacing. Are parts even available for these nowadays? I suspect not. Don't suppose anyone is 3d printing Campag 8 speed internals stuff if Campag have officially washed their hands with 8 speed? Or i need to try and find an organ donor i guess.
Anyway that's definitely something to investigate longer term, so in meantime I've got to revert back to the Record shifters i had which worked fine. Annoyingly as my Somec has Delta brakes there's no chance of reusing the new cables I'd just installed and cut to length, and of course I didn't have any spares so had to wait a few days for new ones to arrive. So after much faffing over many days I've basically put back the shifters that were on before and have got new cables and tyres. Bike looks better with gumwall tyres imo, so at least that was worth it.
Likes For botty kayer:
01-07-24, 10:23 AM
#7188
Overdoing projects

Join Date: Oct 2011
Location: Rotterdam, former republic of the Netherlands
Posts: 2,443
Bikes: Batavus Randonneur GL, Gazelle Orange Excellent, Gazelle Super Licht, Gazelle Grand Tourist, Gazelle Lausanne, Gazelle Tandem, Koga-Miyata SilverAce, Koga-Miyata WorldTraveller
Liked 1,319 Times
in
711 Posts
So the bike is going back in the shed for some more work in a couple of weeks. I need a couple of very specific parts that are either out of stock for now or will take some time... and I kind of want my kitchen back. 
To do:
Here are some shots of the bike in its current state:


To do:
- New cottered axle
- New cotter pins
- Longer 26.6mm seatpost
- Pedals
- The right front tyre
- Repainting the top tube
- Special metal wire for the lacquered cloth chaincase, maybe a new frame for the chaincase as well.
- Figuring out if the drag I hear in the rear wheel is because of the brand new tyre or if there is some space issue
- Re-attach the fender shield
- Test drive
- Double check if the Sturmey Archer GH6 dynamo provides enough power at normal riding speed for both LED lights
Here are some shots of the bike in its current state:
01-07-24, 11:34 AM
#7189
buy my bikes

Join Date: Jun 2014
Location: Michigan
Posts: 1,868
Bikes: my very own customized GUNNAR CrossHairs
Liked 503 Times
in
274 Posts
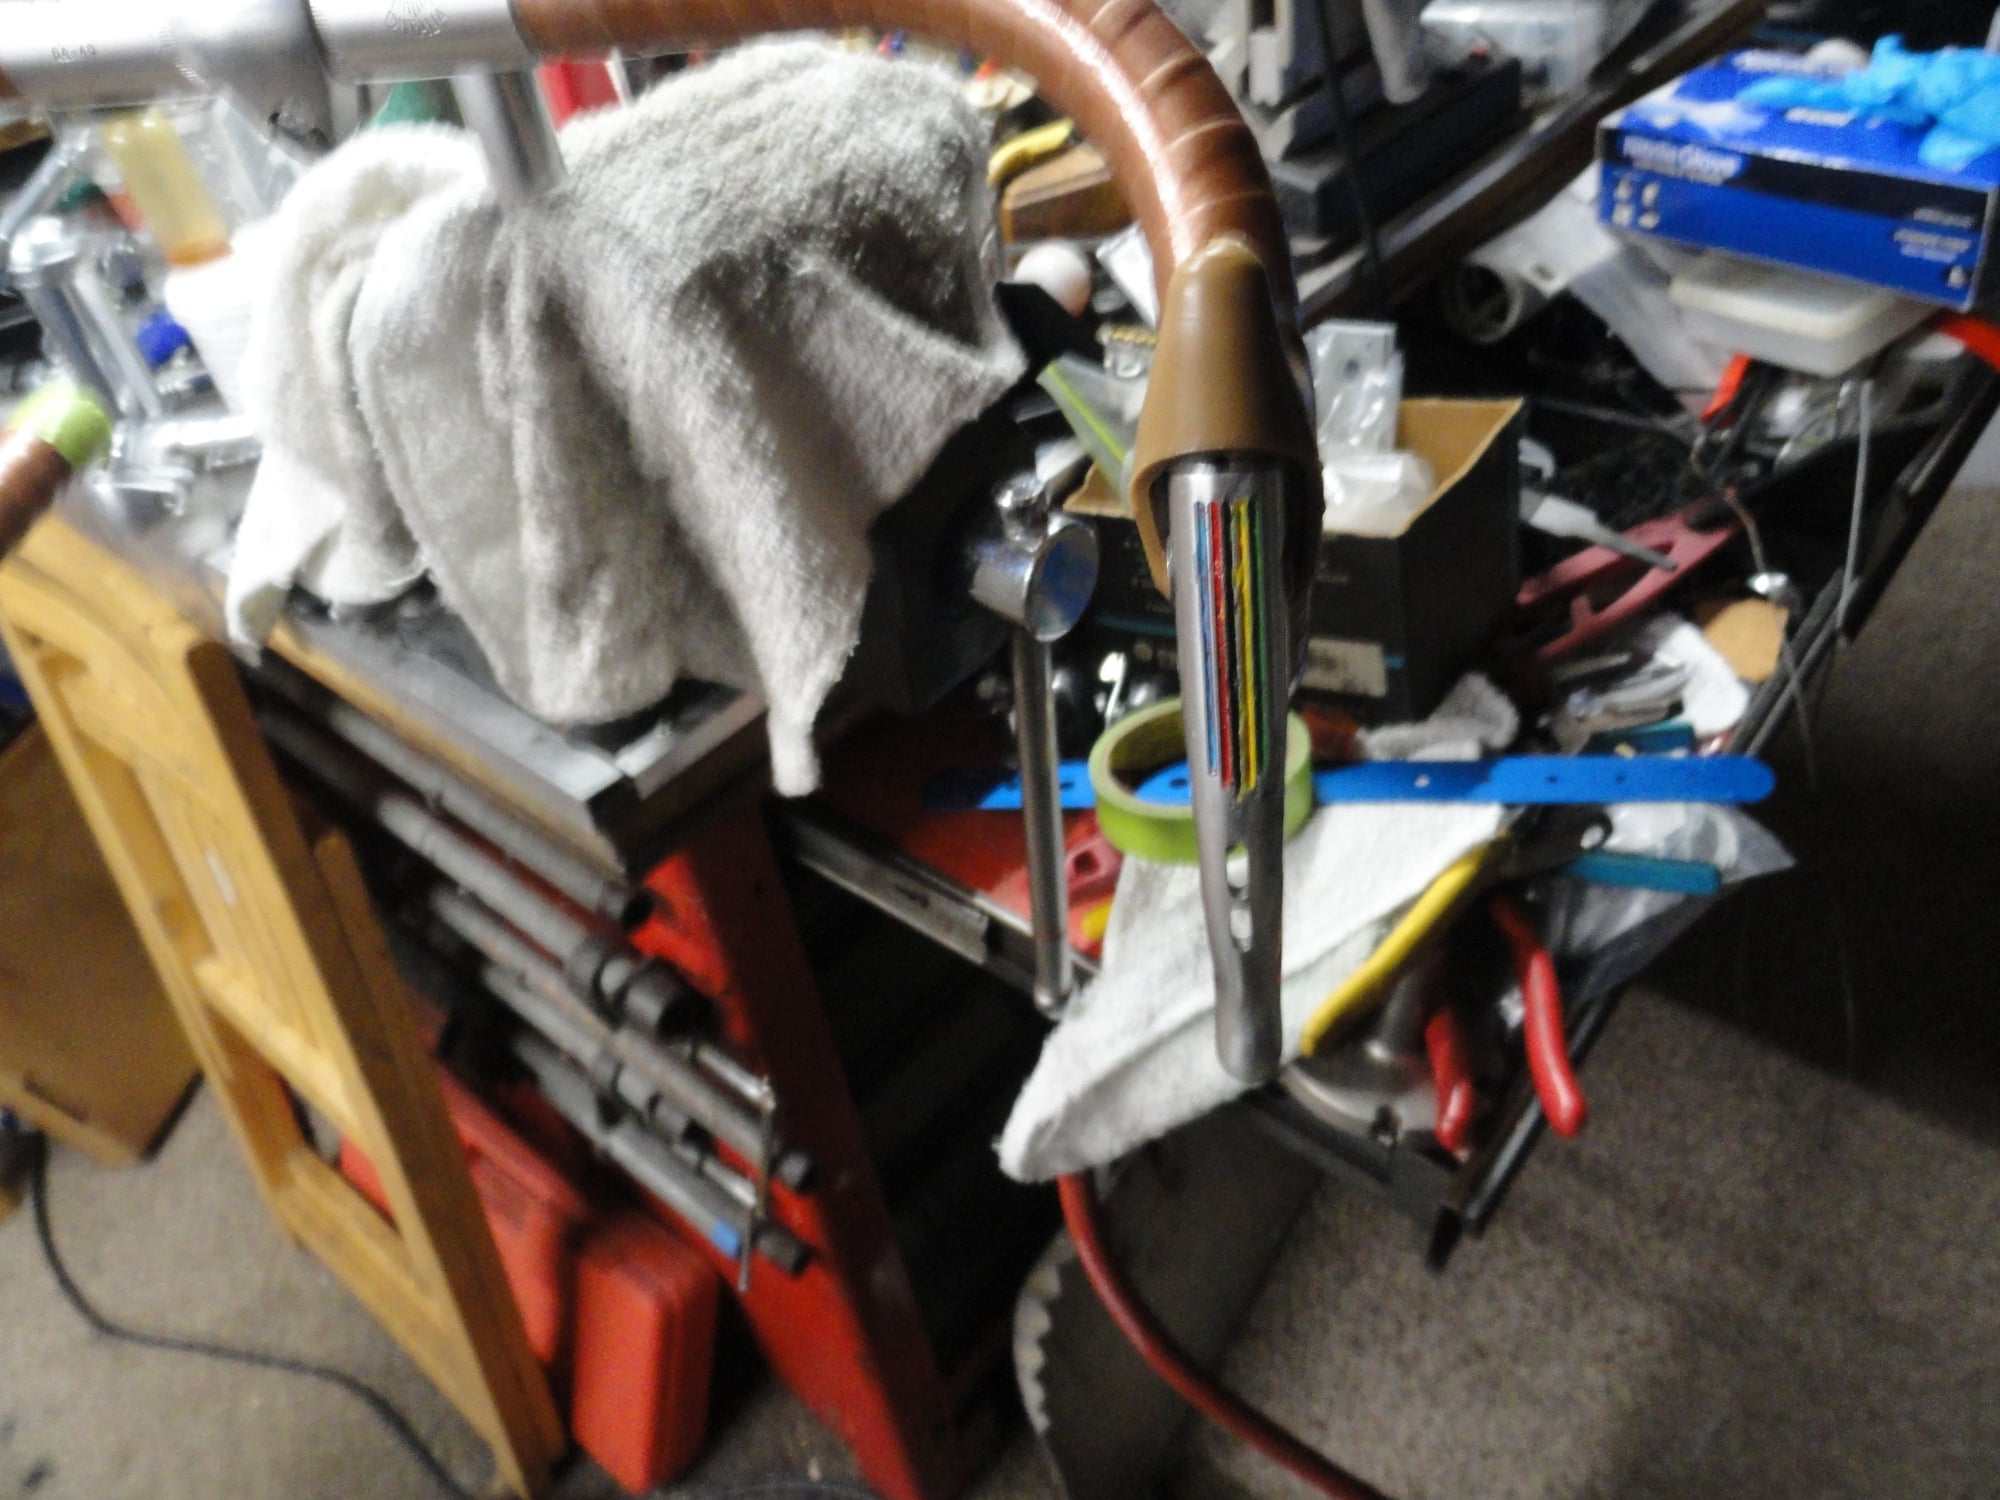
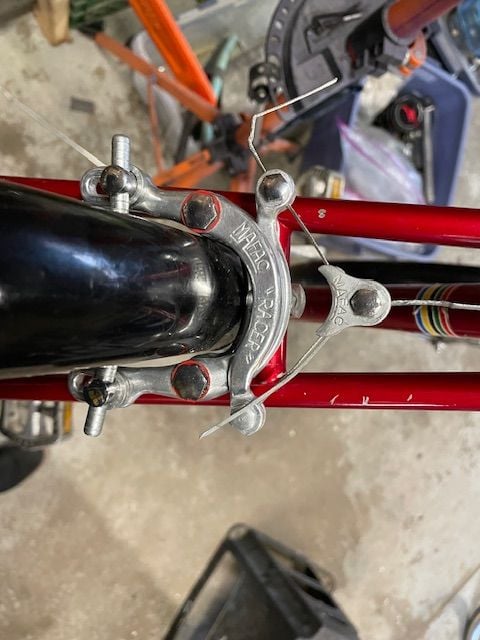
Mafac Coffee Cruiser brakes
unworthy1 set me up with some o-fficial Mafac hangers. Getting those installed.
i had plans to move my Grand Comp 610s to another bike in the spring until a snapped the front brake trying to bend the straddle attachment straight�.
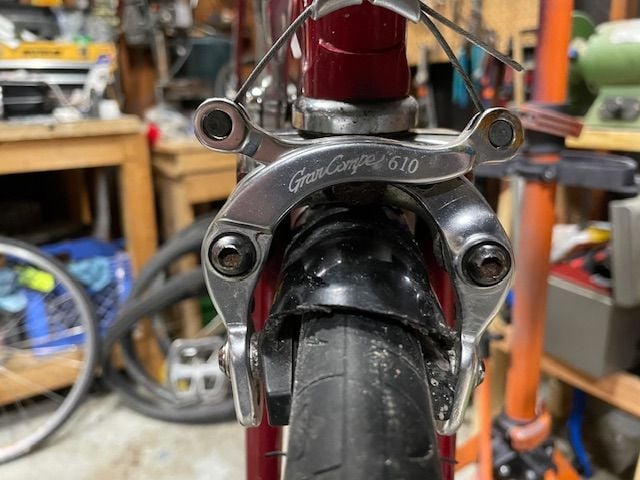
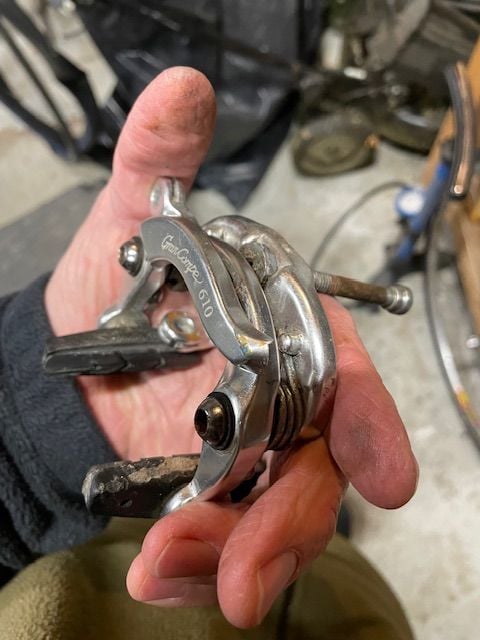
i had plans to move my Grand Comp 610s to another bike in the spring until a snapped the front brake trying to bend the straddle attachment straight�.
01-07-24, 01:50 PM
#7190
Deraill this!
Join Date: Jun 2019
Location: CMH is close
Posts: 819
Bikes: 18 Cdale Quick 1, 16 Cdale Synapse 105, 88 Cdale M500, and a few others
Liked 659 Times
in
348 Posts
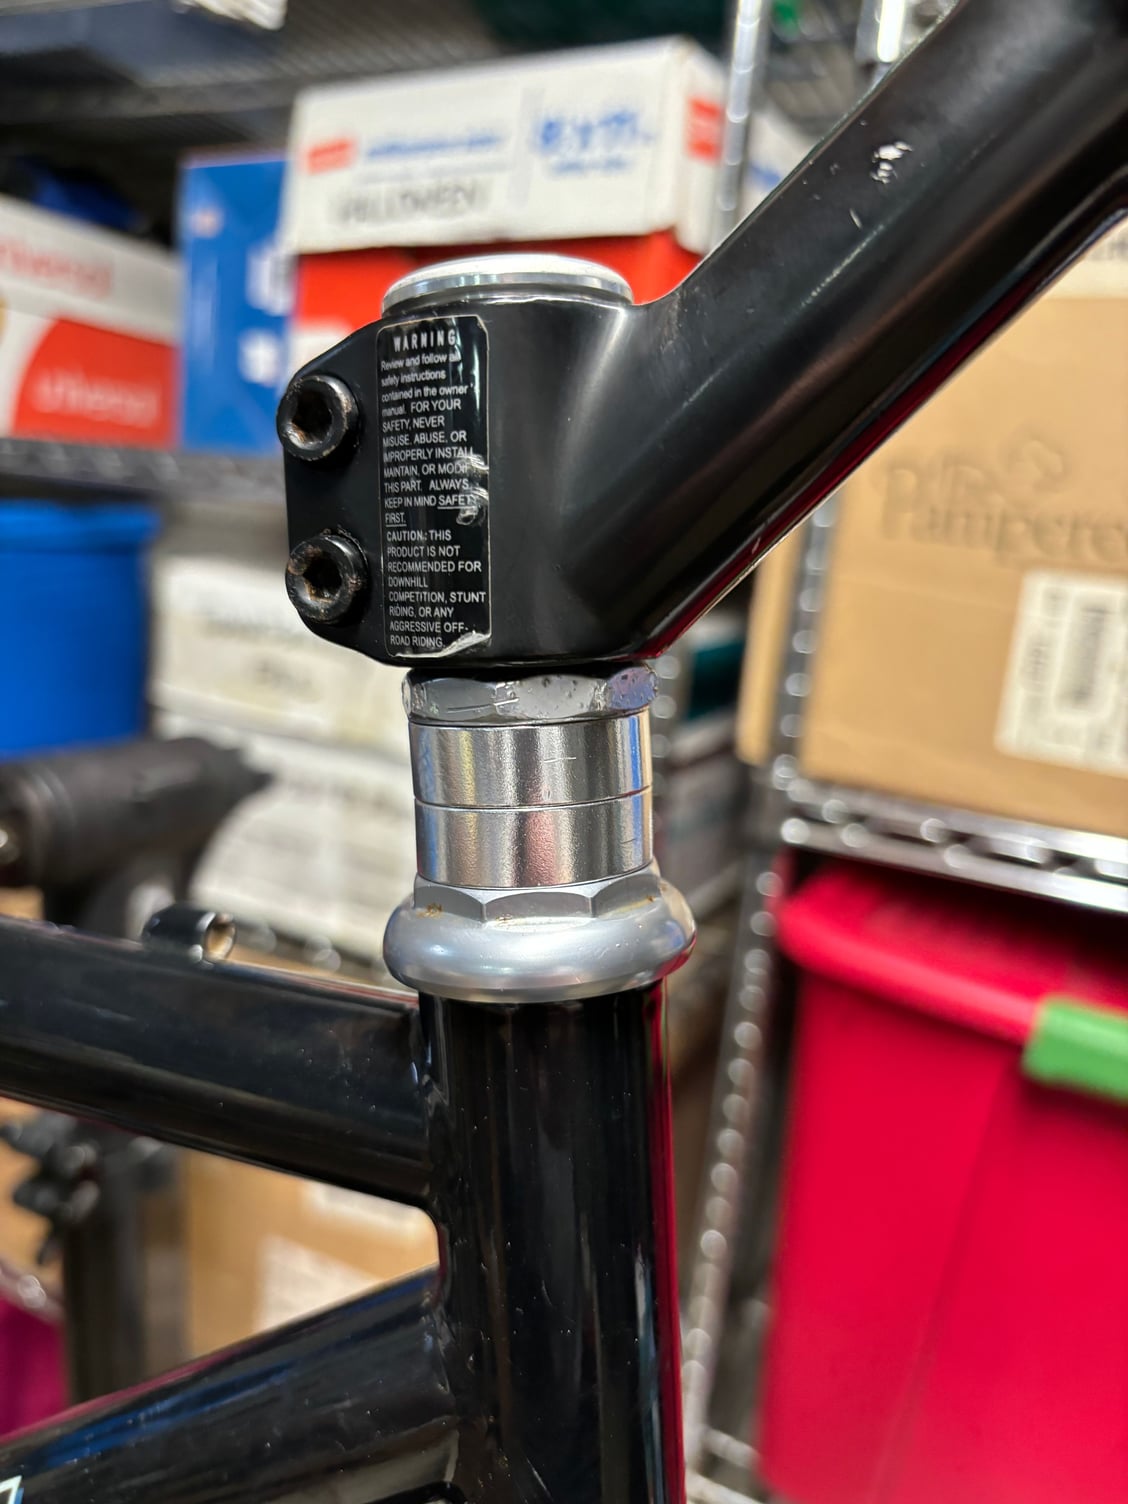
The stem and bars were borrowed from another bike. I�m not sure if they will stay or get replaced with a set I found on FB marketplace.
 01-07-24, 03:05 PM
#7191
Junior Member
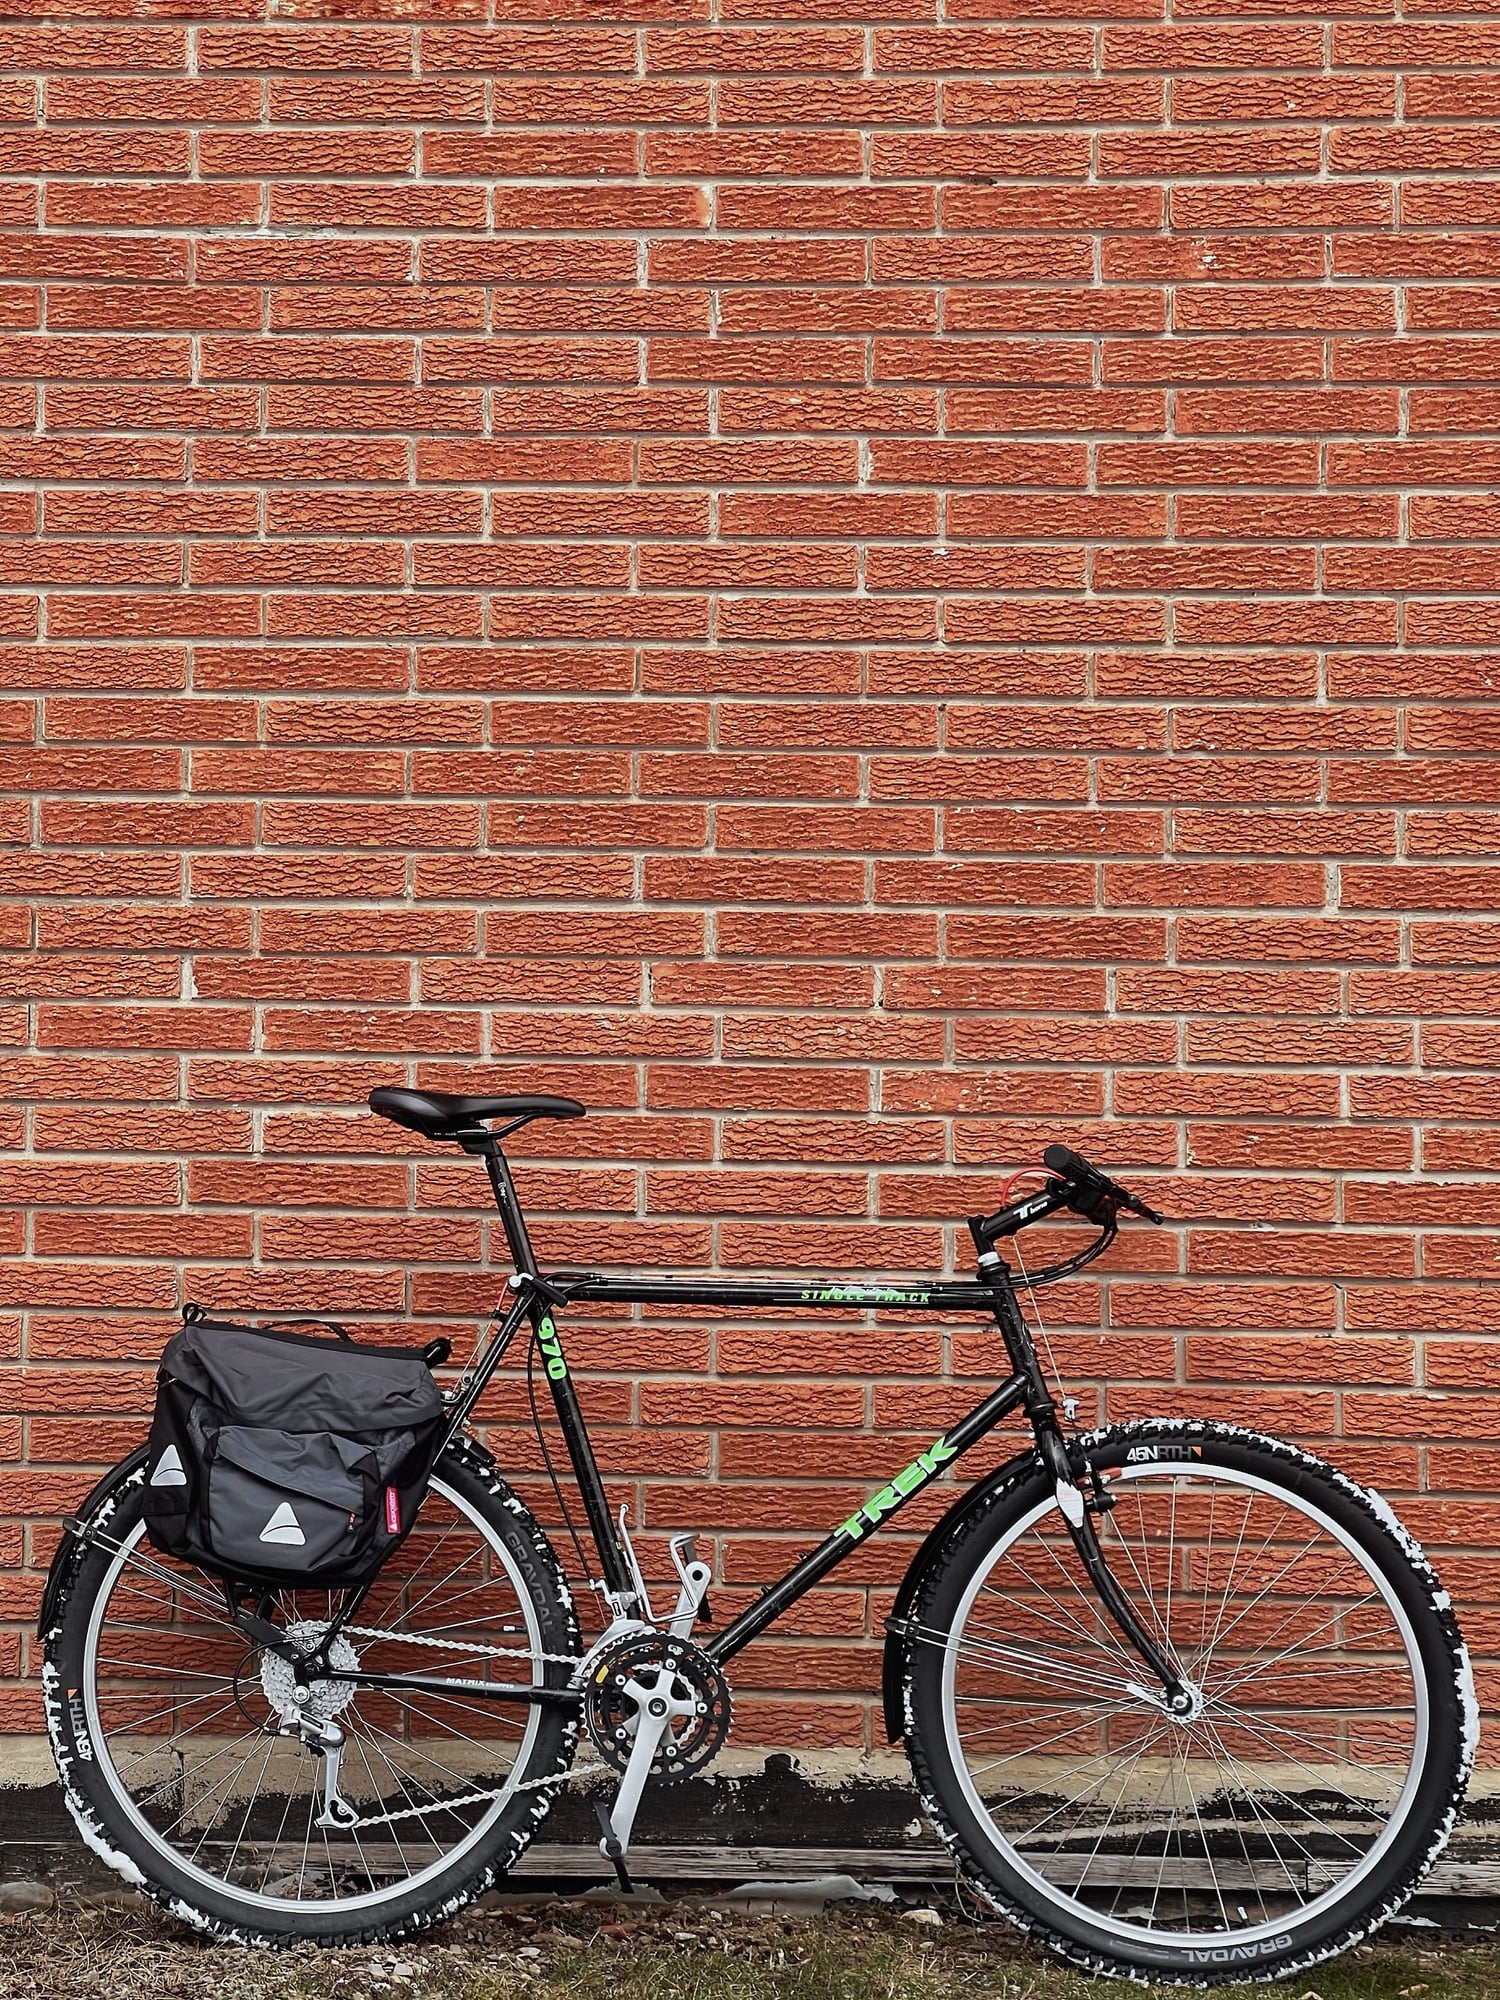
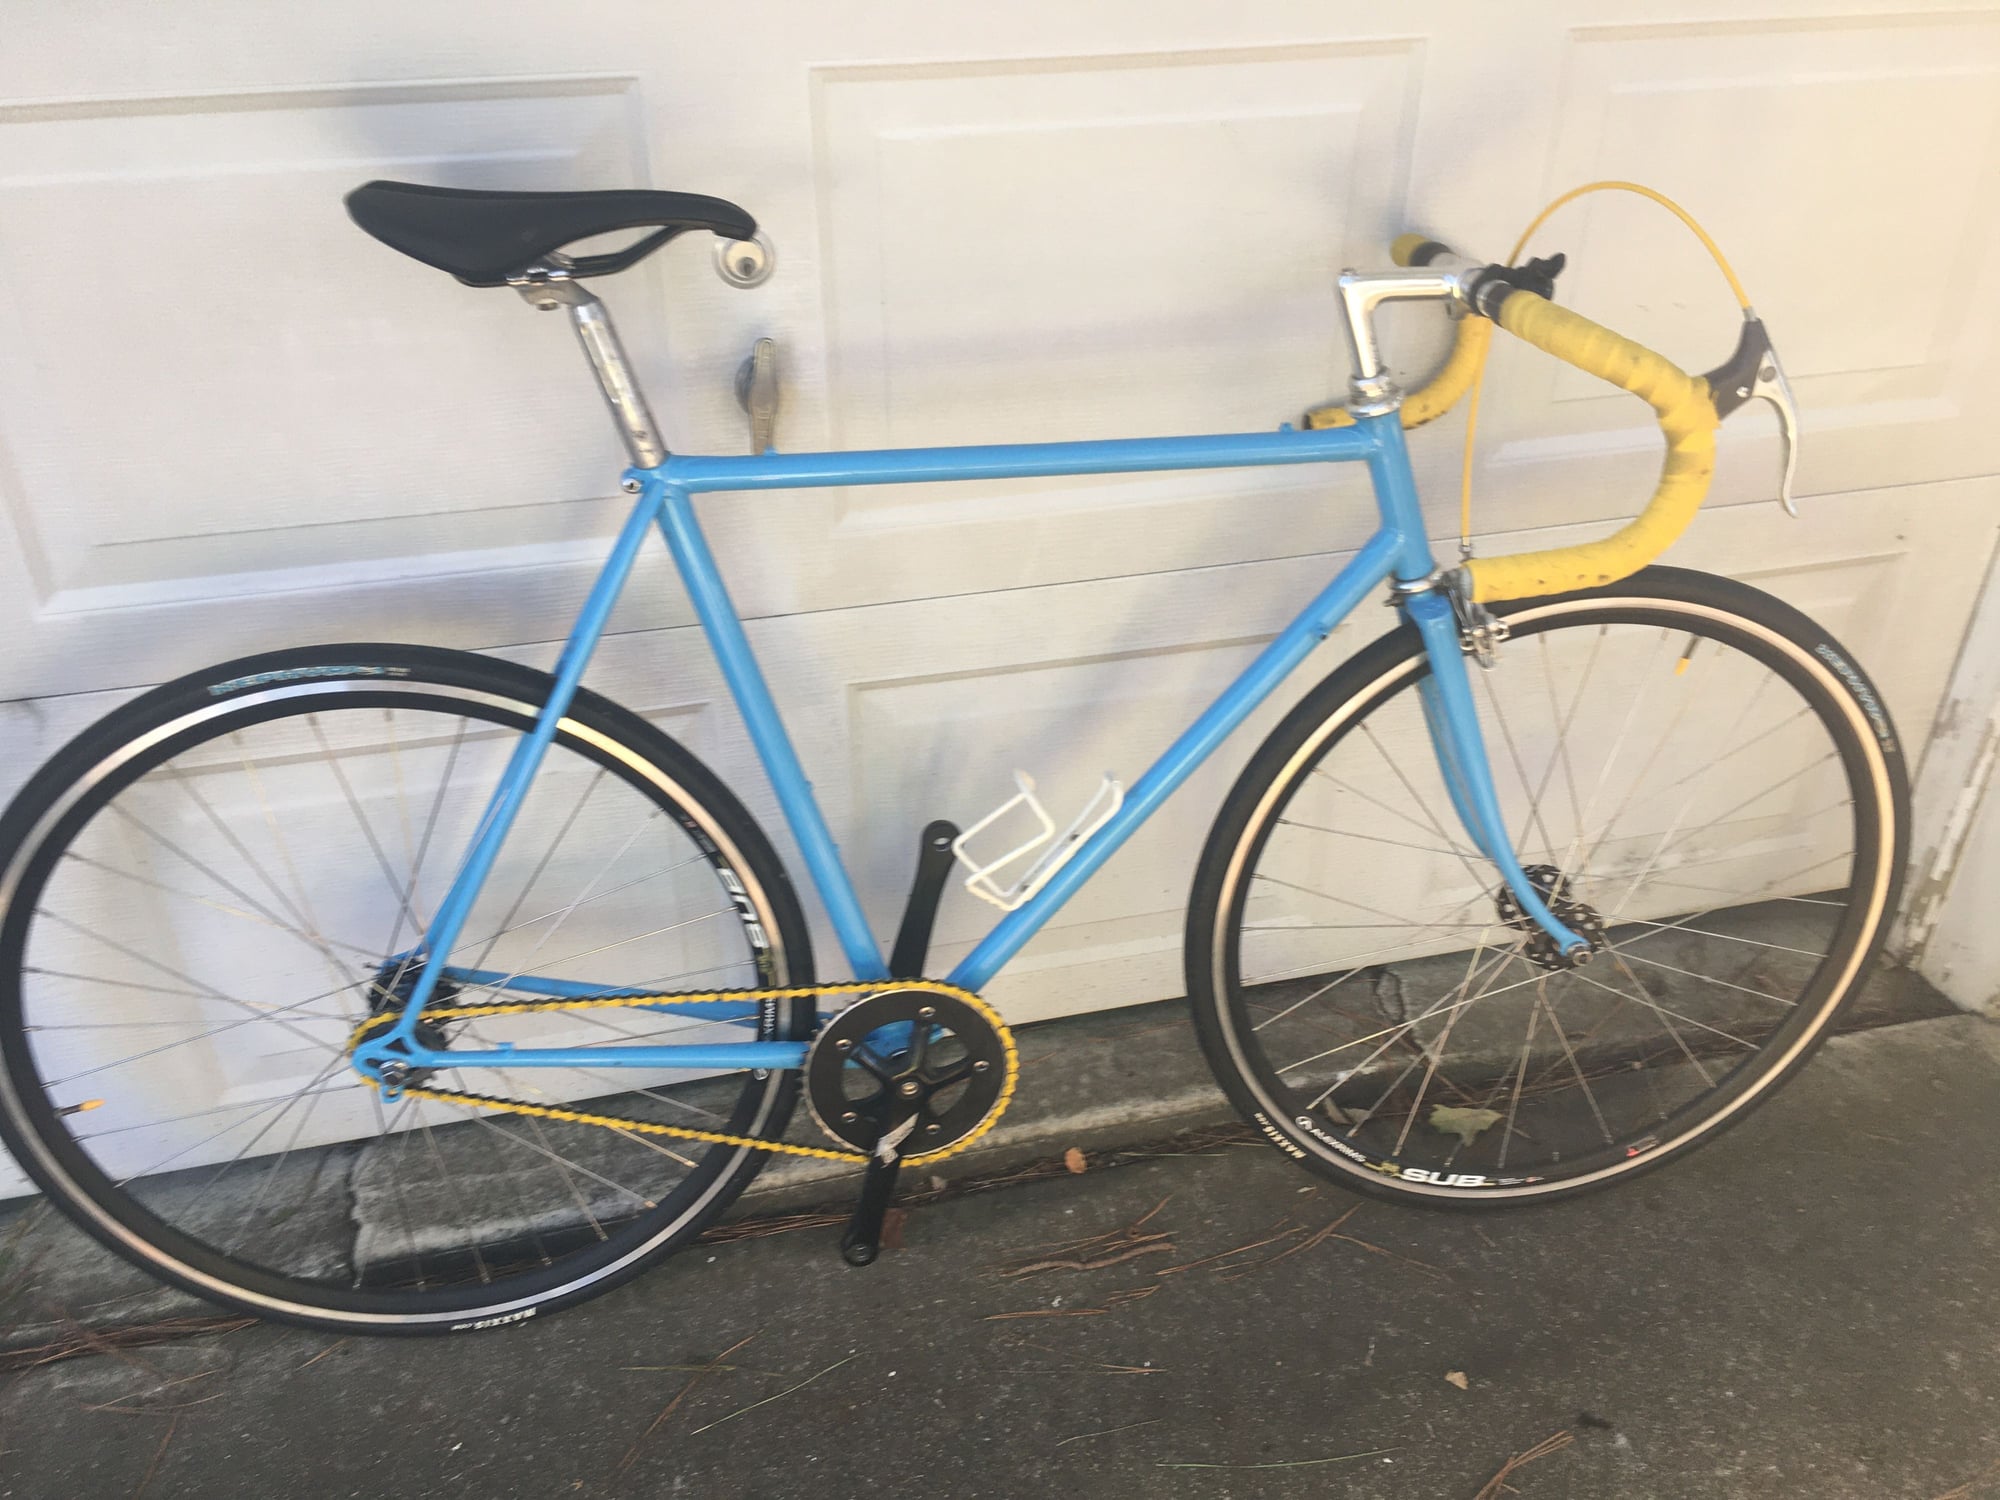
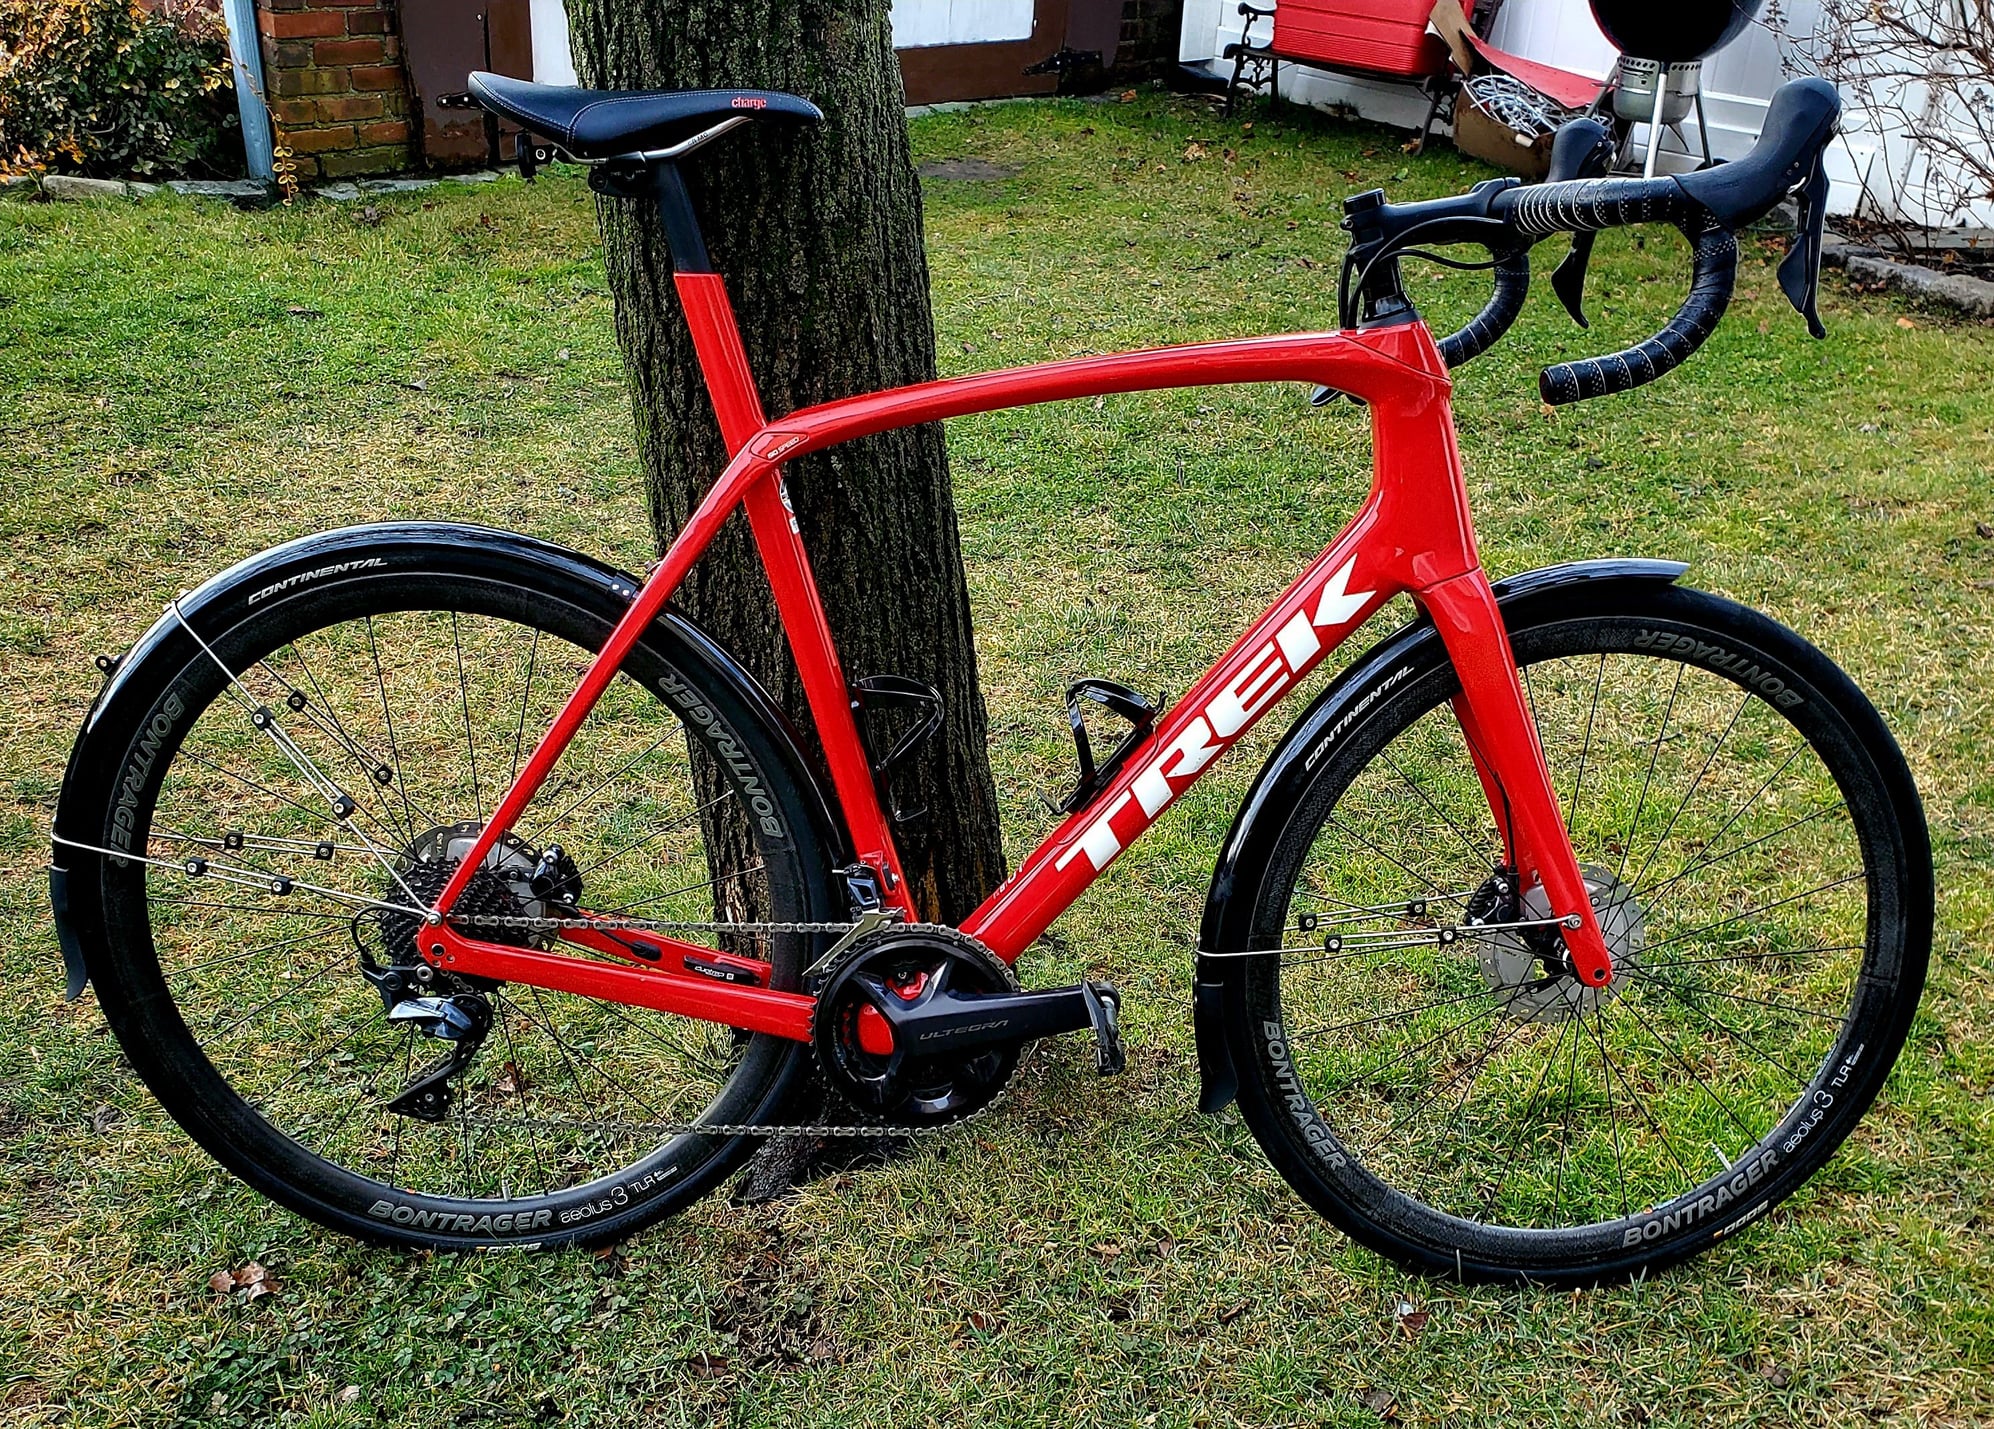
The final winter form for the Trek. Summer wheels and tires are waiting. Unsure of where to take the drivetrain, the middle chainring is worn out but will do for the winter.
Likes For Tango1:
01-07-24, 04:00 PM
#7192
Senior Member
Join Date: May 2019
Location: Bloomington, IN
Posts: 3,194
Bikes: Paramount, Faggin, Ochsner, Ciocc, Basso
Liked 2,185 Times
in
1,273 Posts
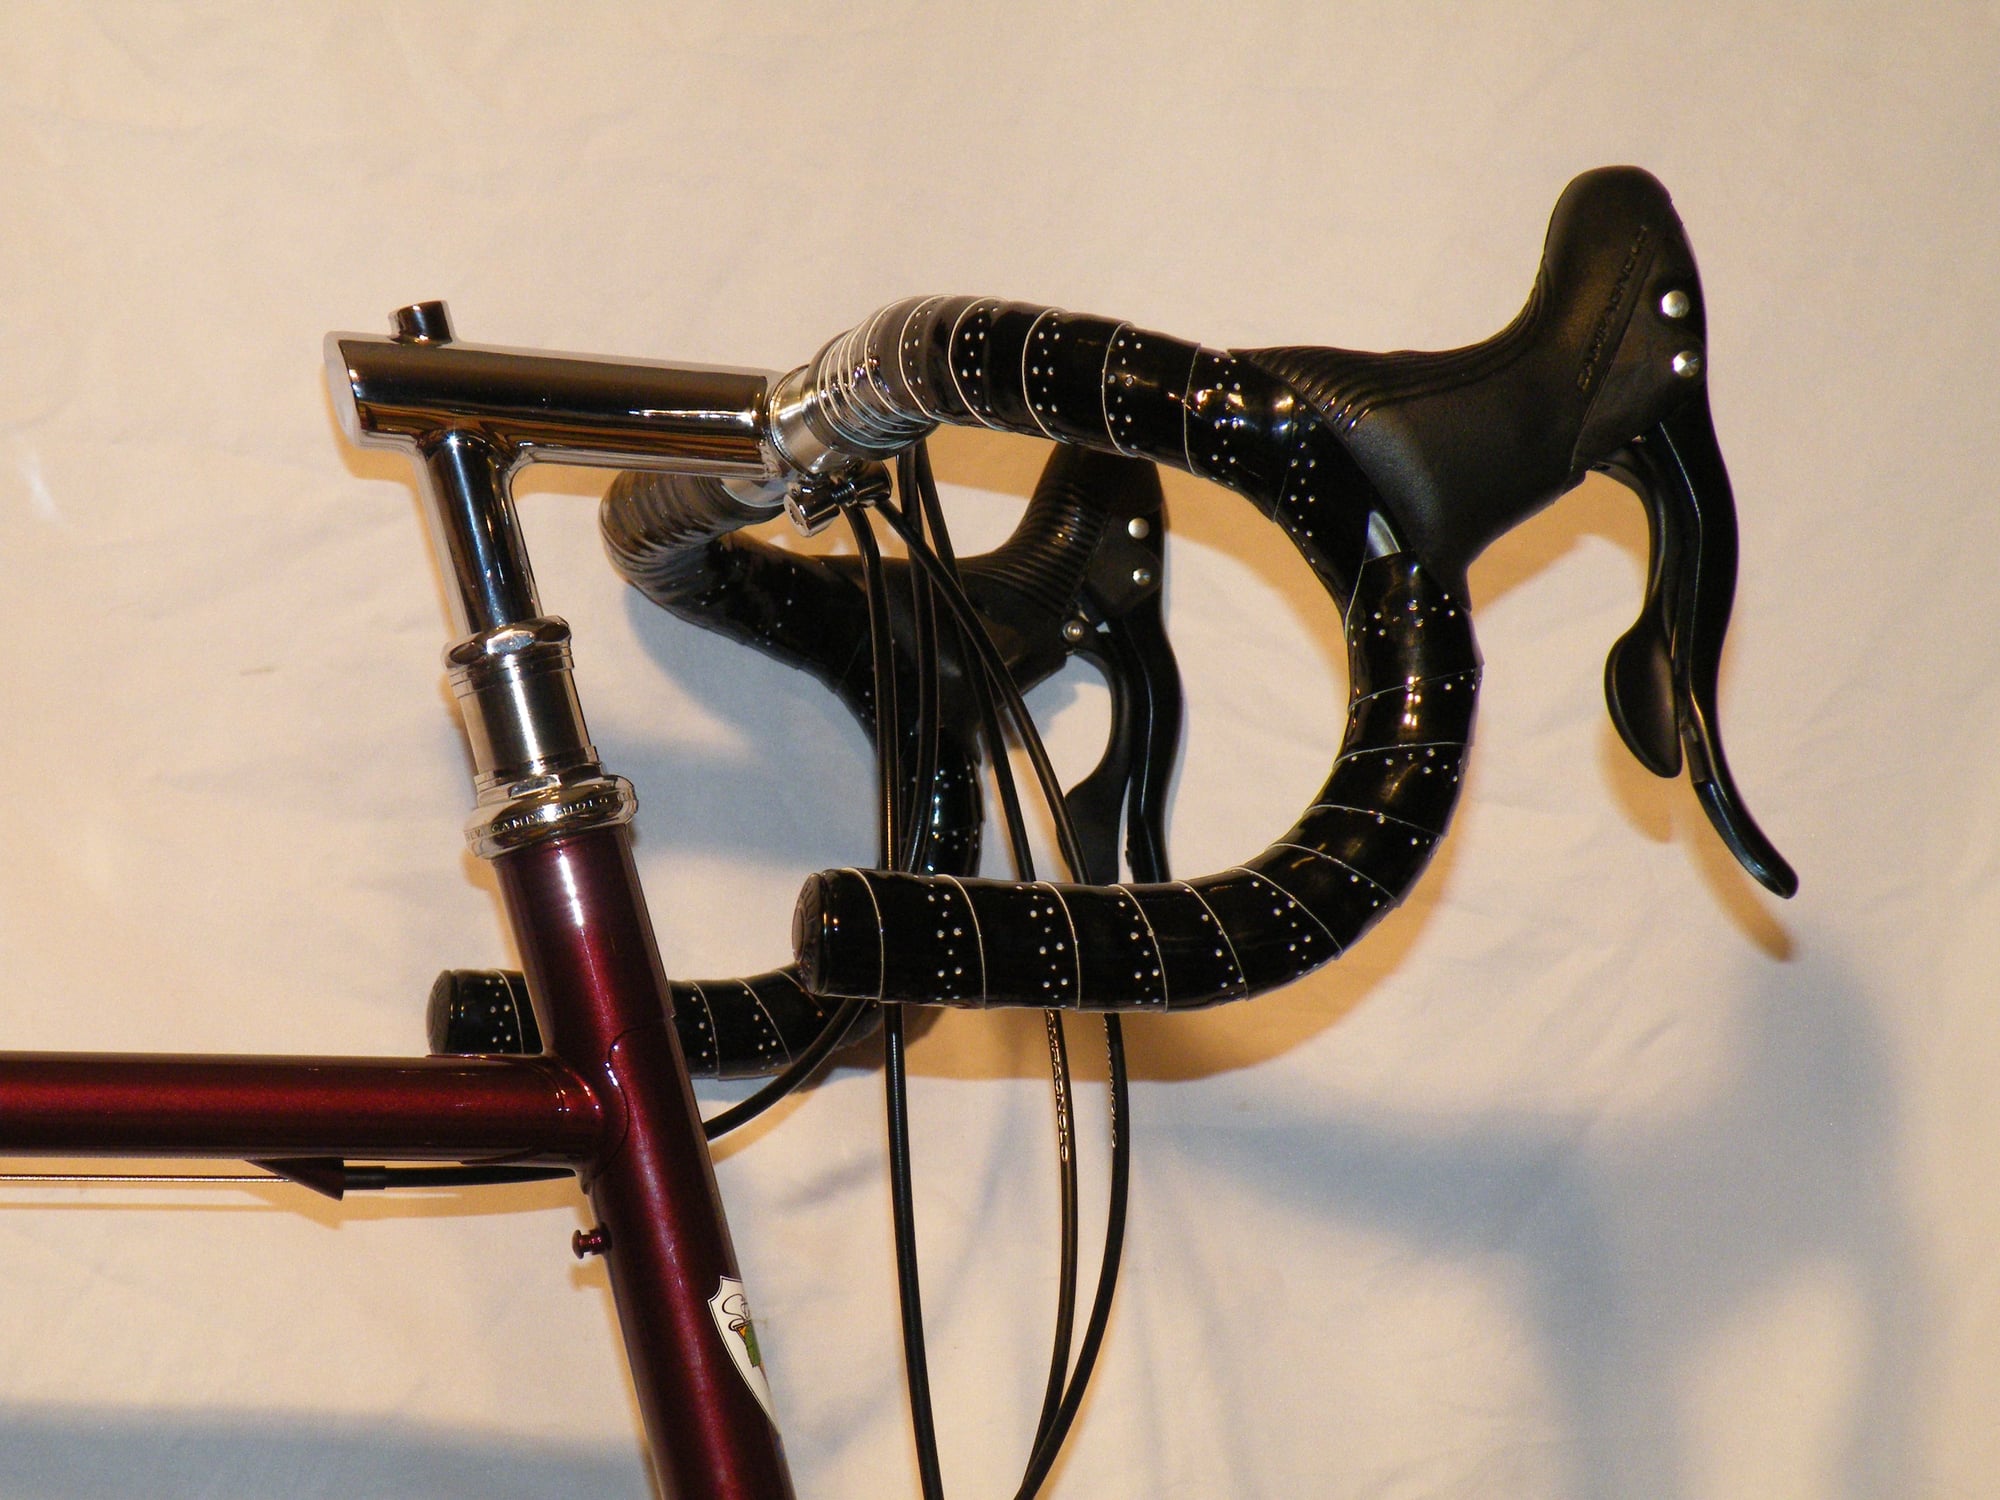
I'm not really sure why, but I have had a hard time getting to set up the bars and tape. Maybe just because it is kinda tedious work, or maybe I'm too darned fussy. But over the last two days I finally got the bar set up for the Paramount finished. 1 single wrap of Benotto underlayment to protect the bars from adhesive residue, and then two layers of Benotto over that for the finished set up. It took a few hours to repaint the panto for the levers and a bit of wrestling to get the lever covers on the brake levers. Then a few more hours to get the tape wrapped. Now they are finished and ready for the bike. Smiles, MH
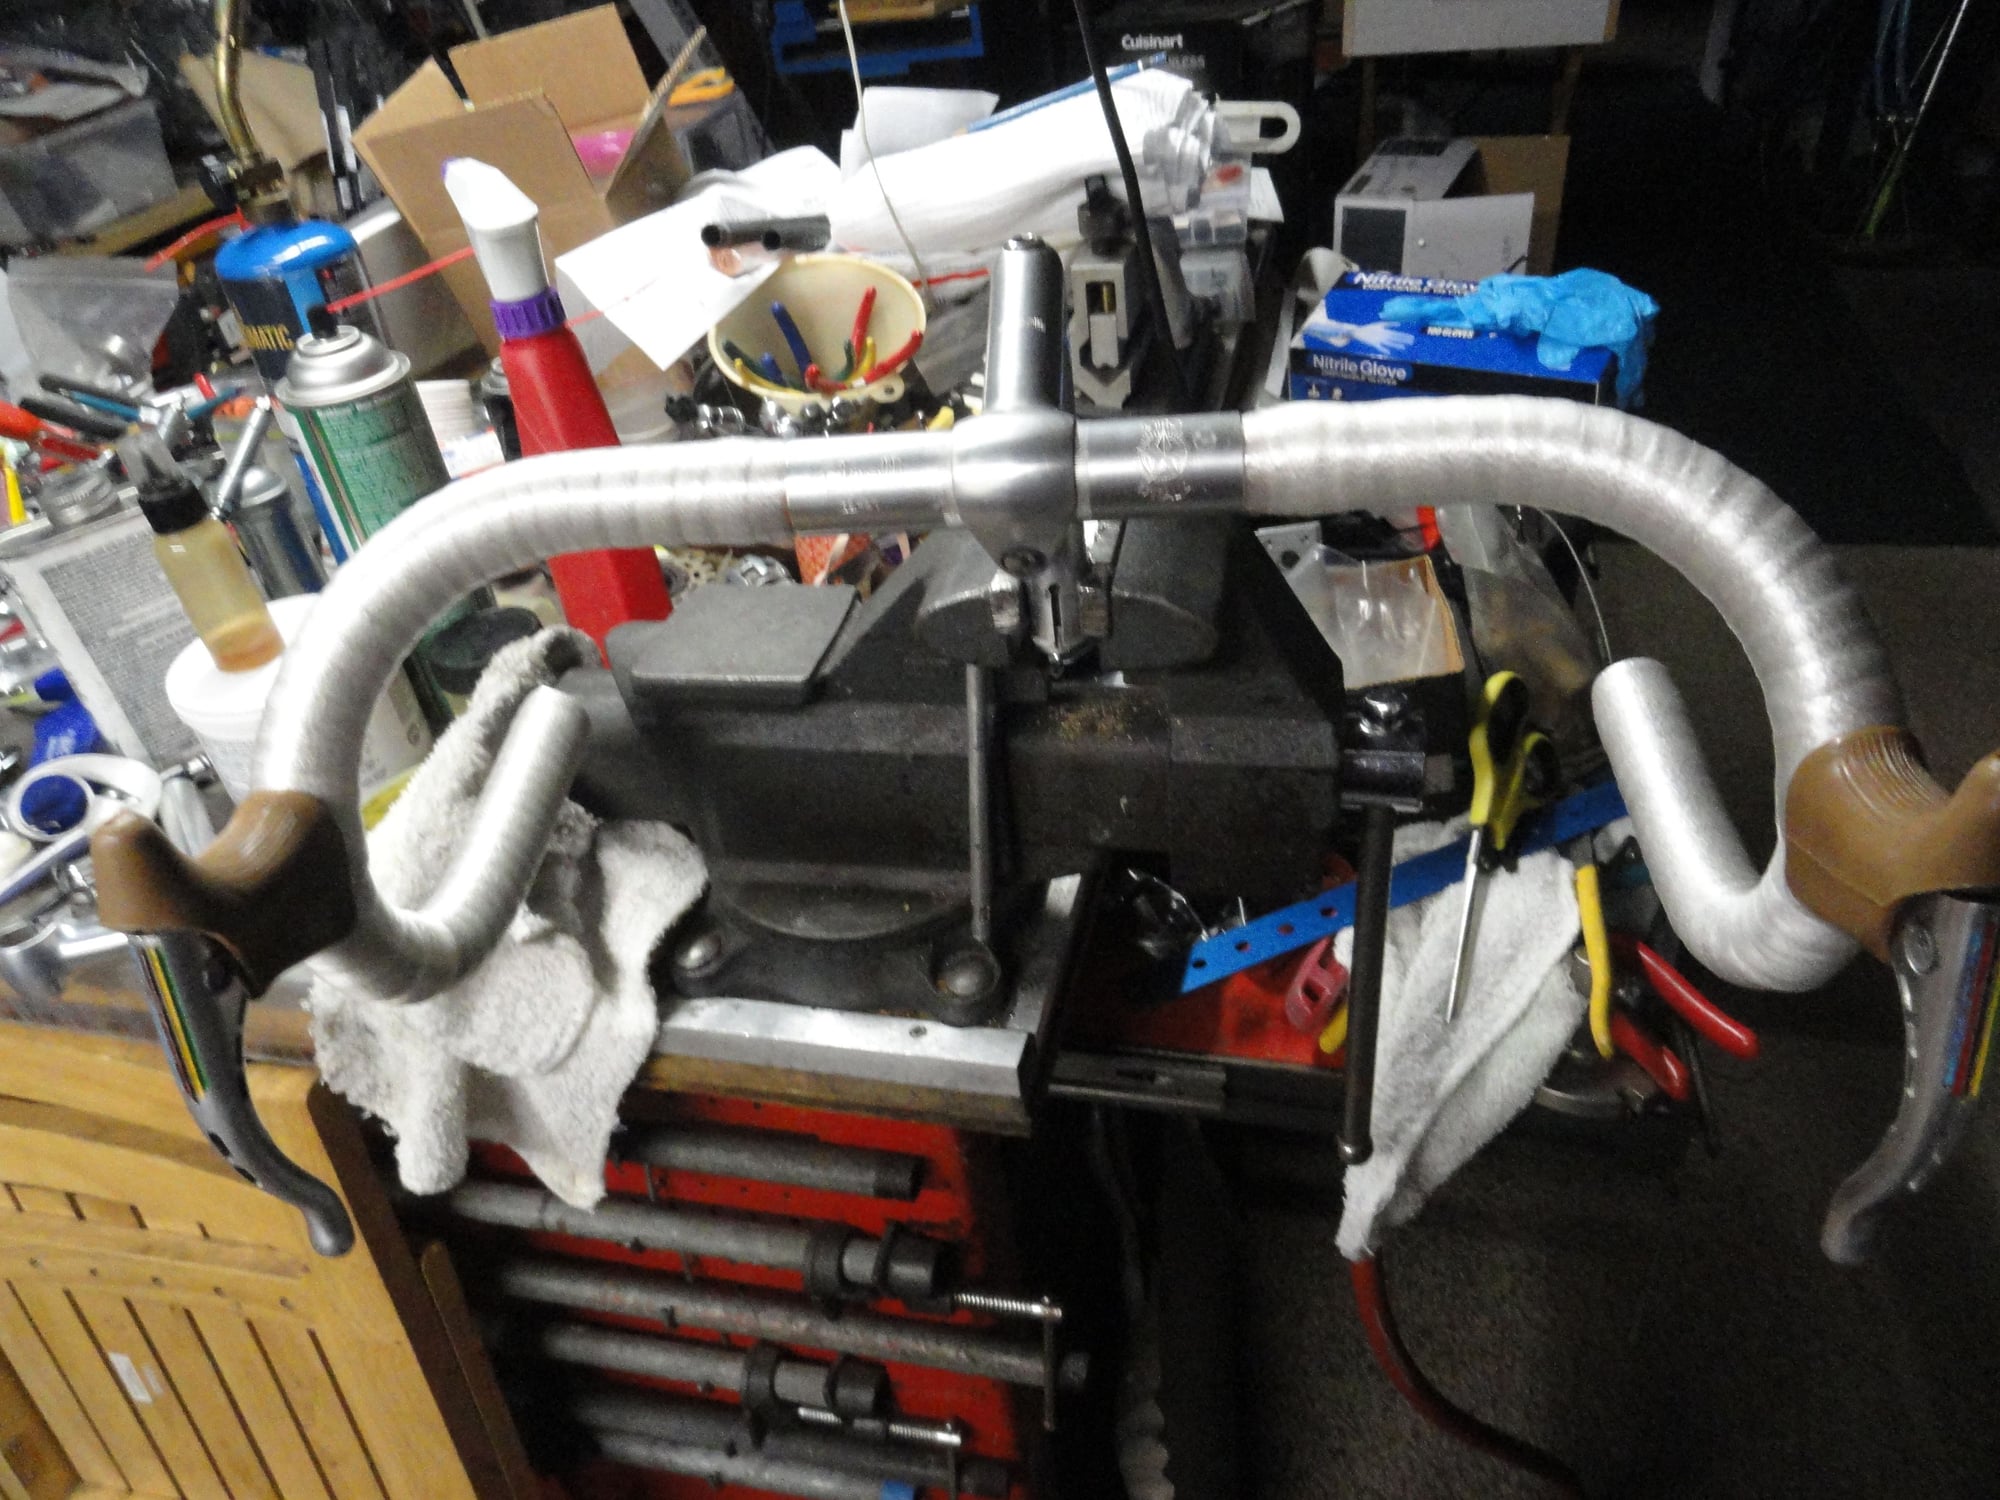
Finally finished. I use wine corks for the end plugs and I have found it is a lot easier if I grind a taper into the cork before pushing it into the bars. I like the idea of not having a plastic cap that can get snagged and pull out of the bars allowing the tape to unravel.
Finally finished. I use wine corks for the end plugs and I have found it is a lot easier if I grind a taper into the cork before pushing it into the bars. I like the idea of not having a plastic cap that can get snagged and pull out of the bars allowing the tape to unravel.
Last edited by Mad Honk; 01-07-24 at 04:05 PM.
Likes For Mad Honk:
01-07-24, 05:27 PM
#7193
aka Tom Reingold
Thread Starter

Join Date: Jan 2009
Location: New York, NY, and High Falls, NY, USA
Posts: 41,047
Bikes: 1962 Rudge Sports, 1971 Raleigh Super Course, 1971 Raleigh Pro Track, 1974 Raleigh International, 1975 Viscount Fixie, 1982 McLean, 1996 Lemond (Ti), 2002 Burley Zydeco tandem
Liked 3,045 Times
in
1,722 Posts
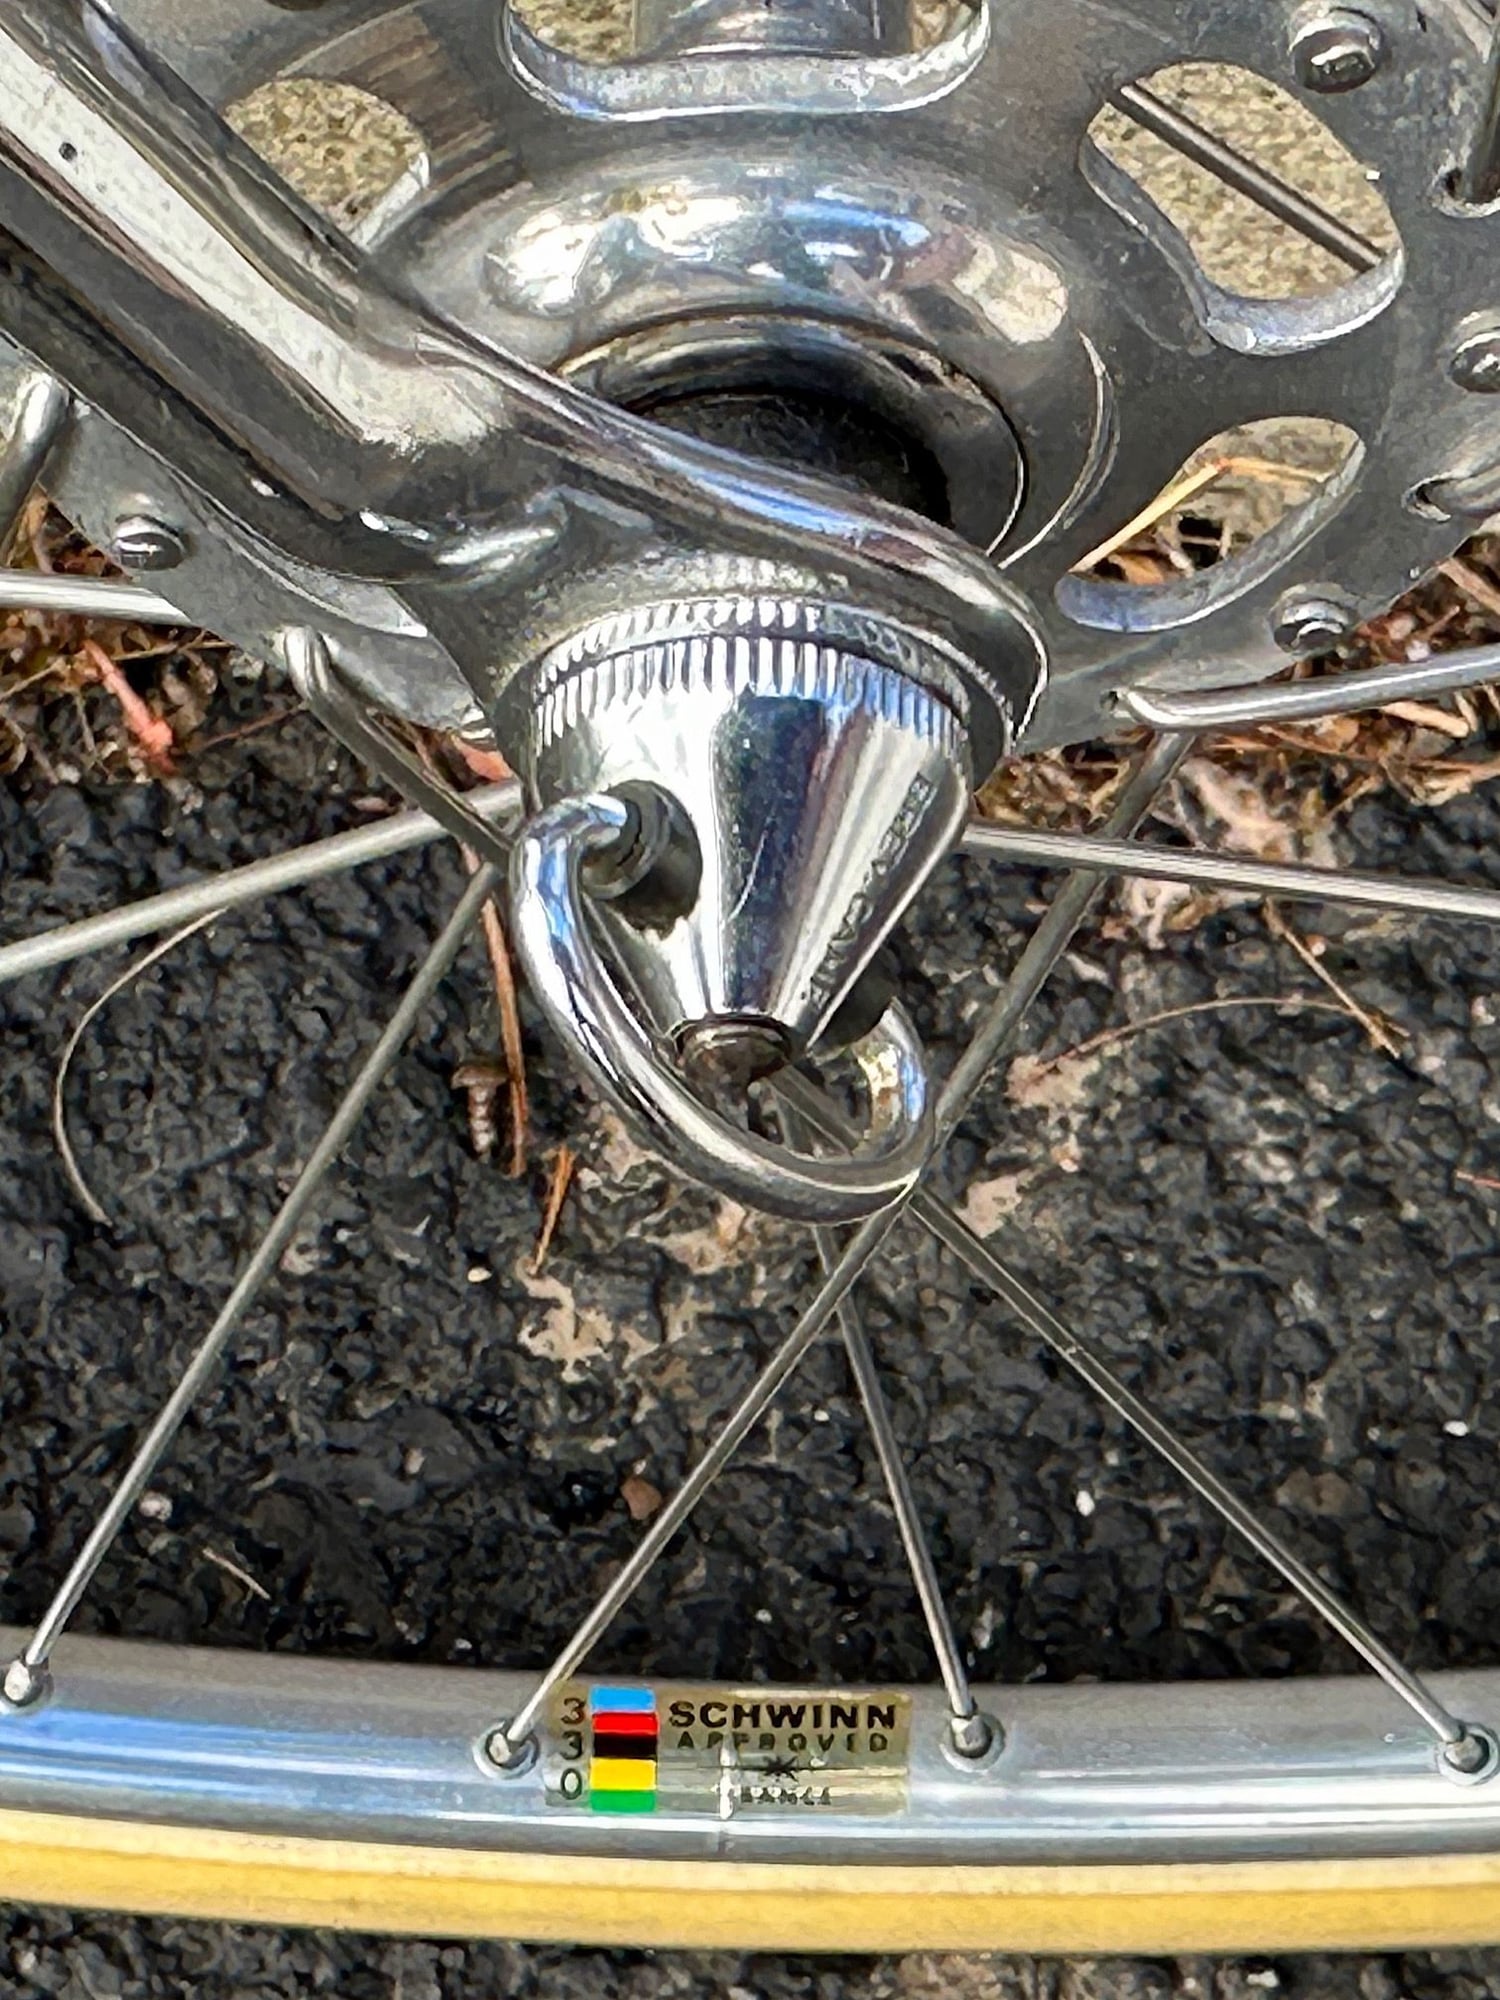
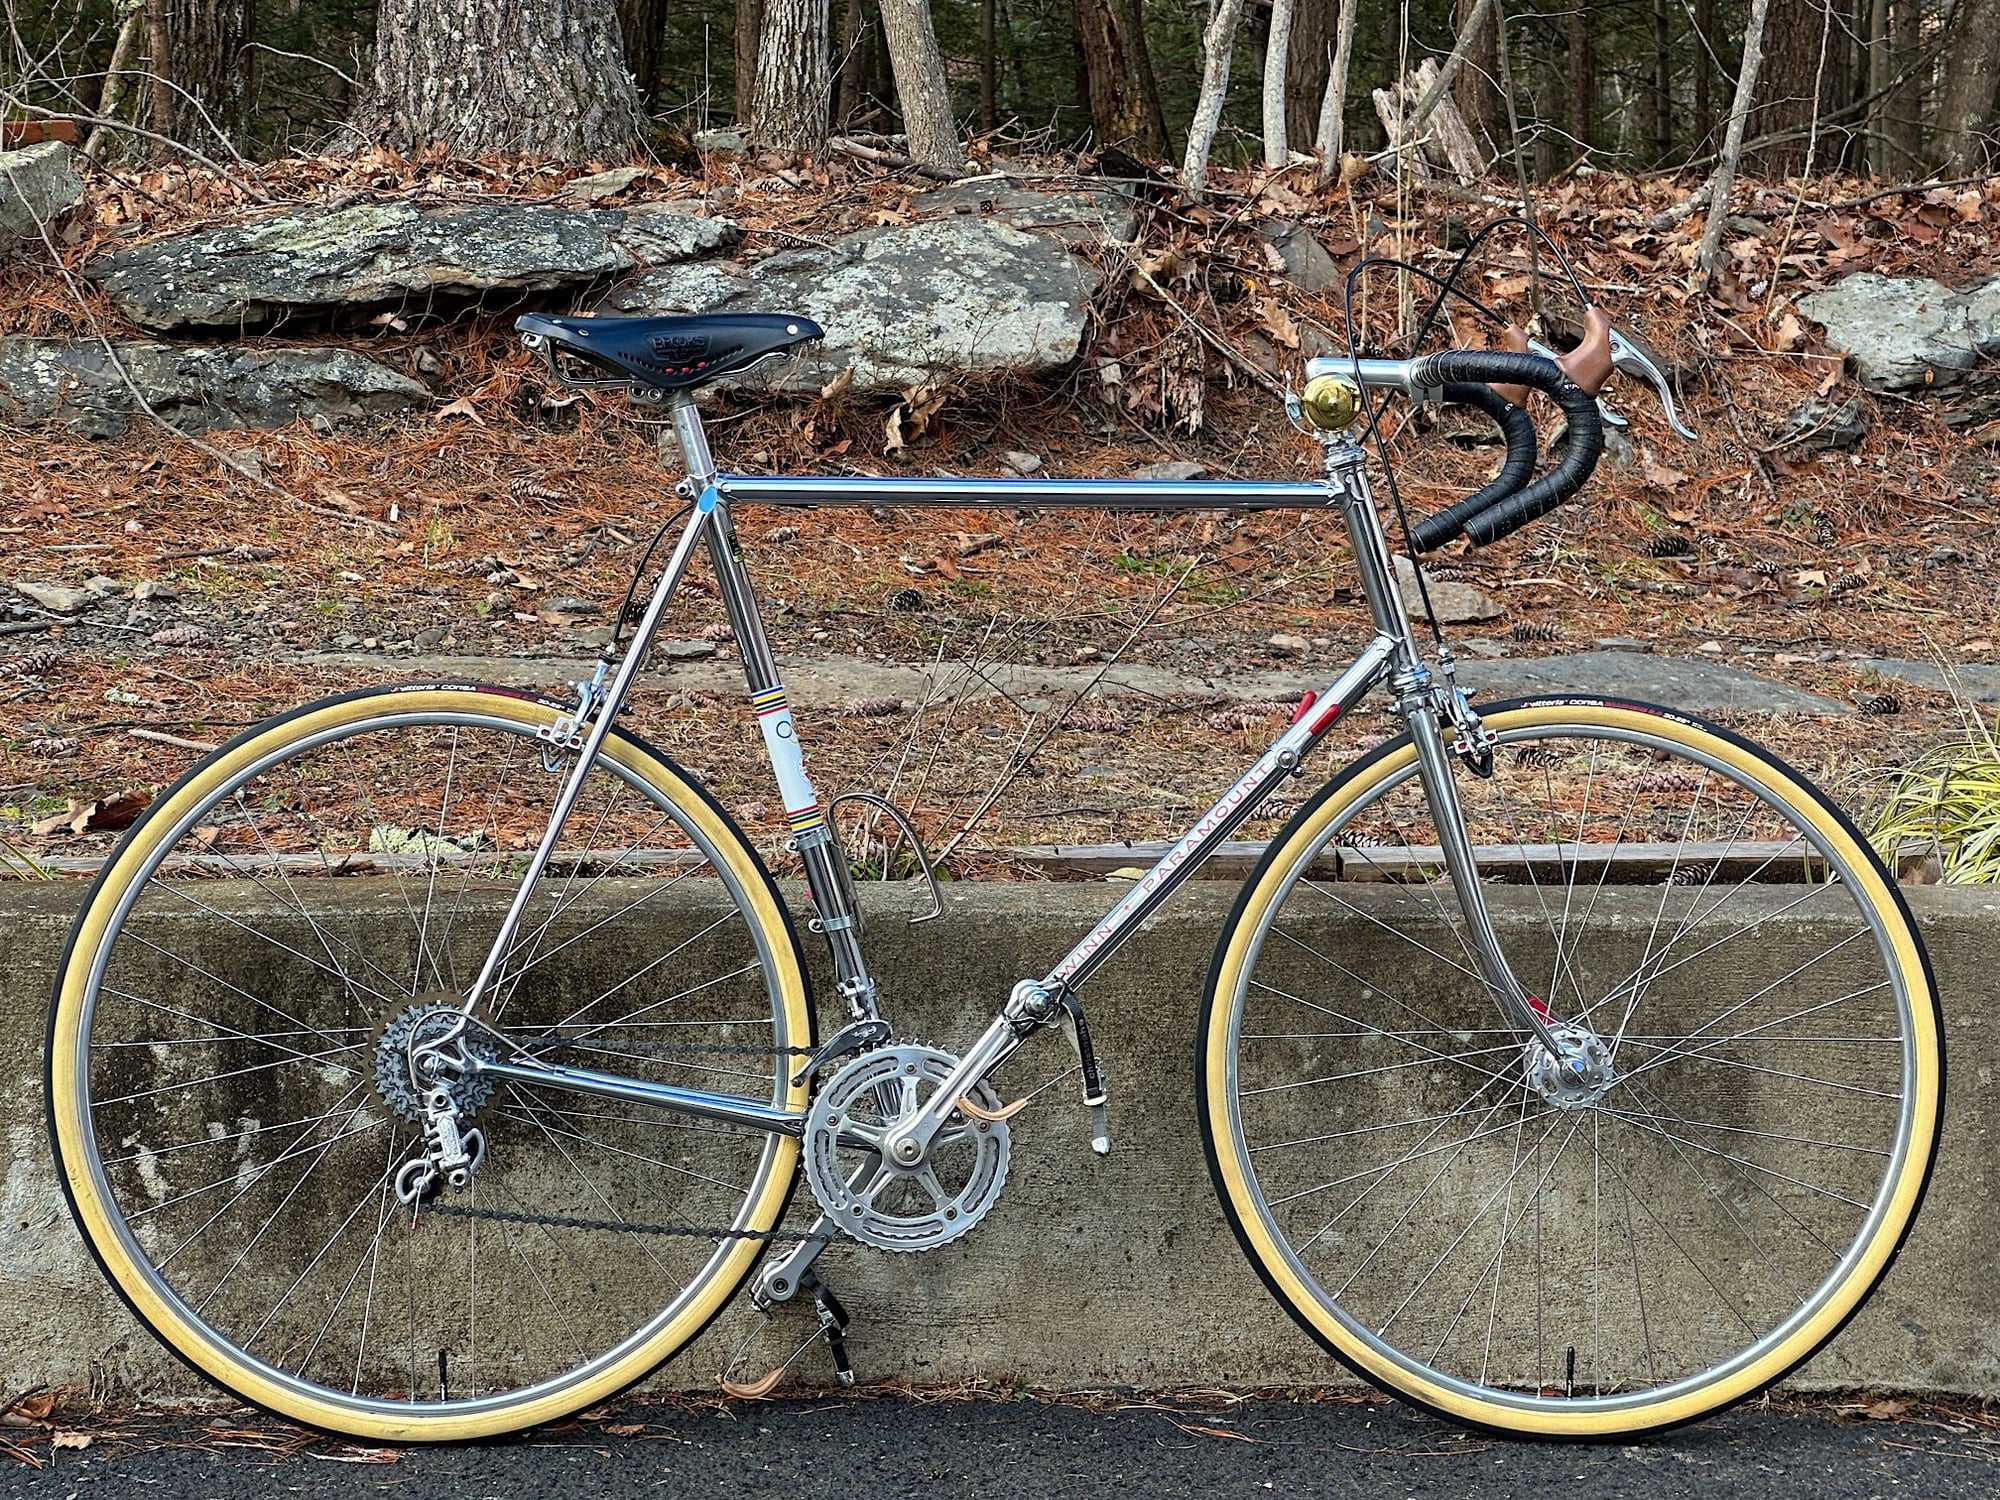
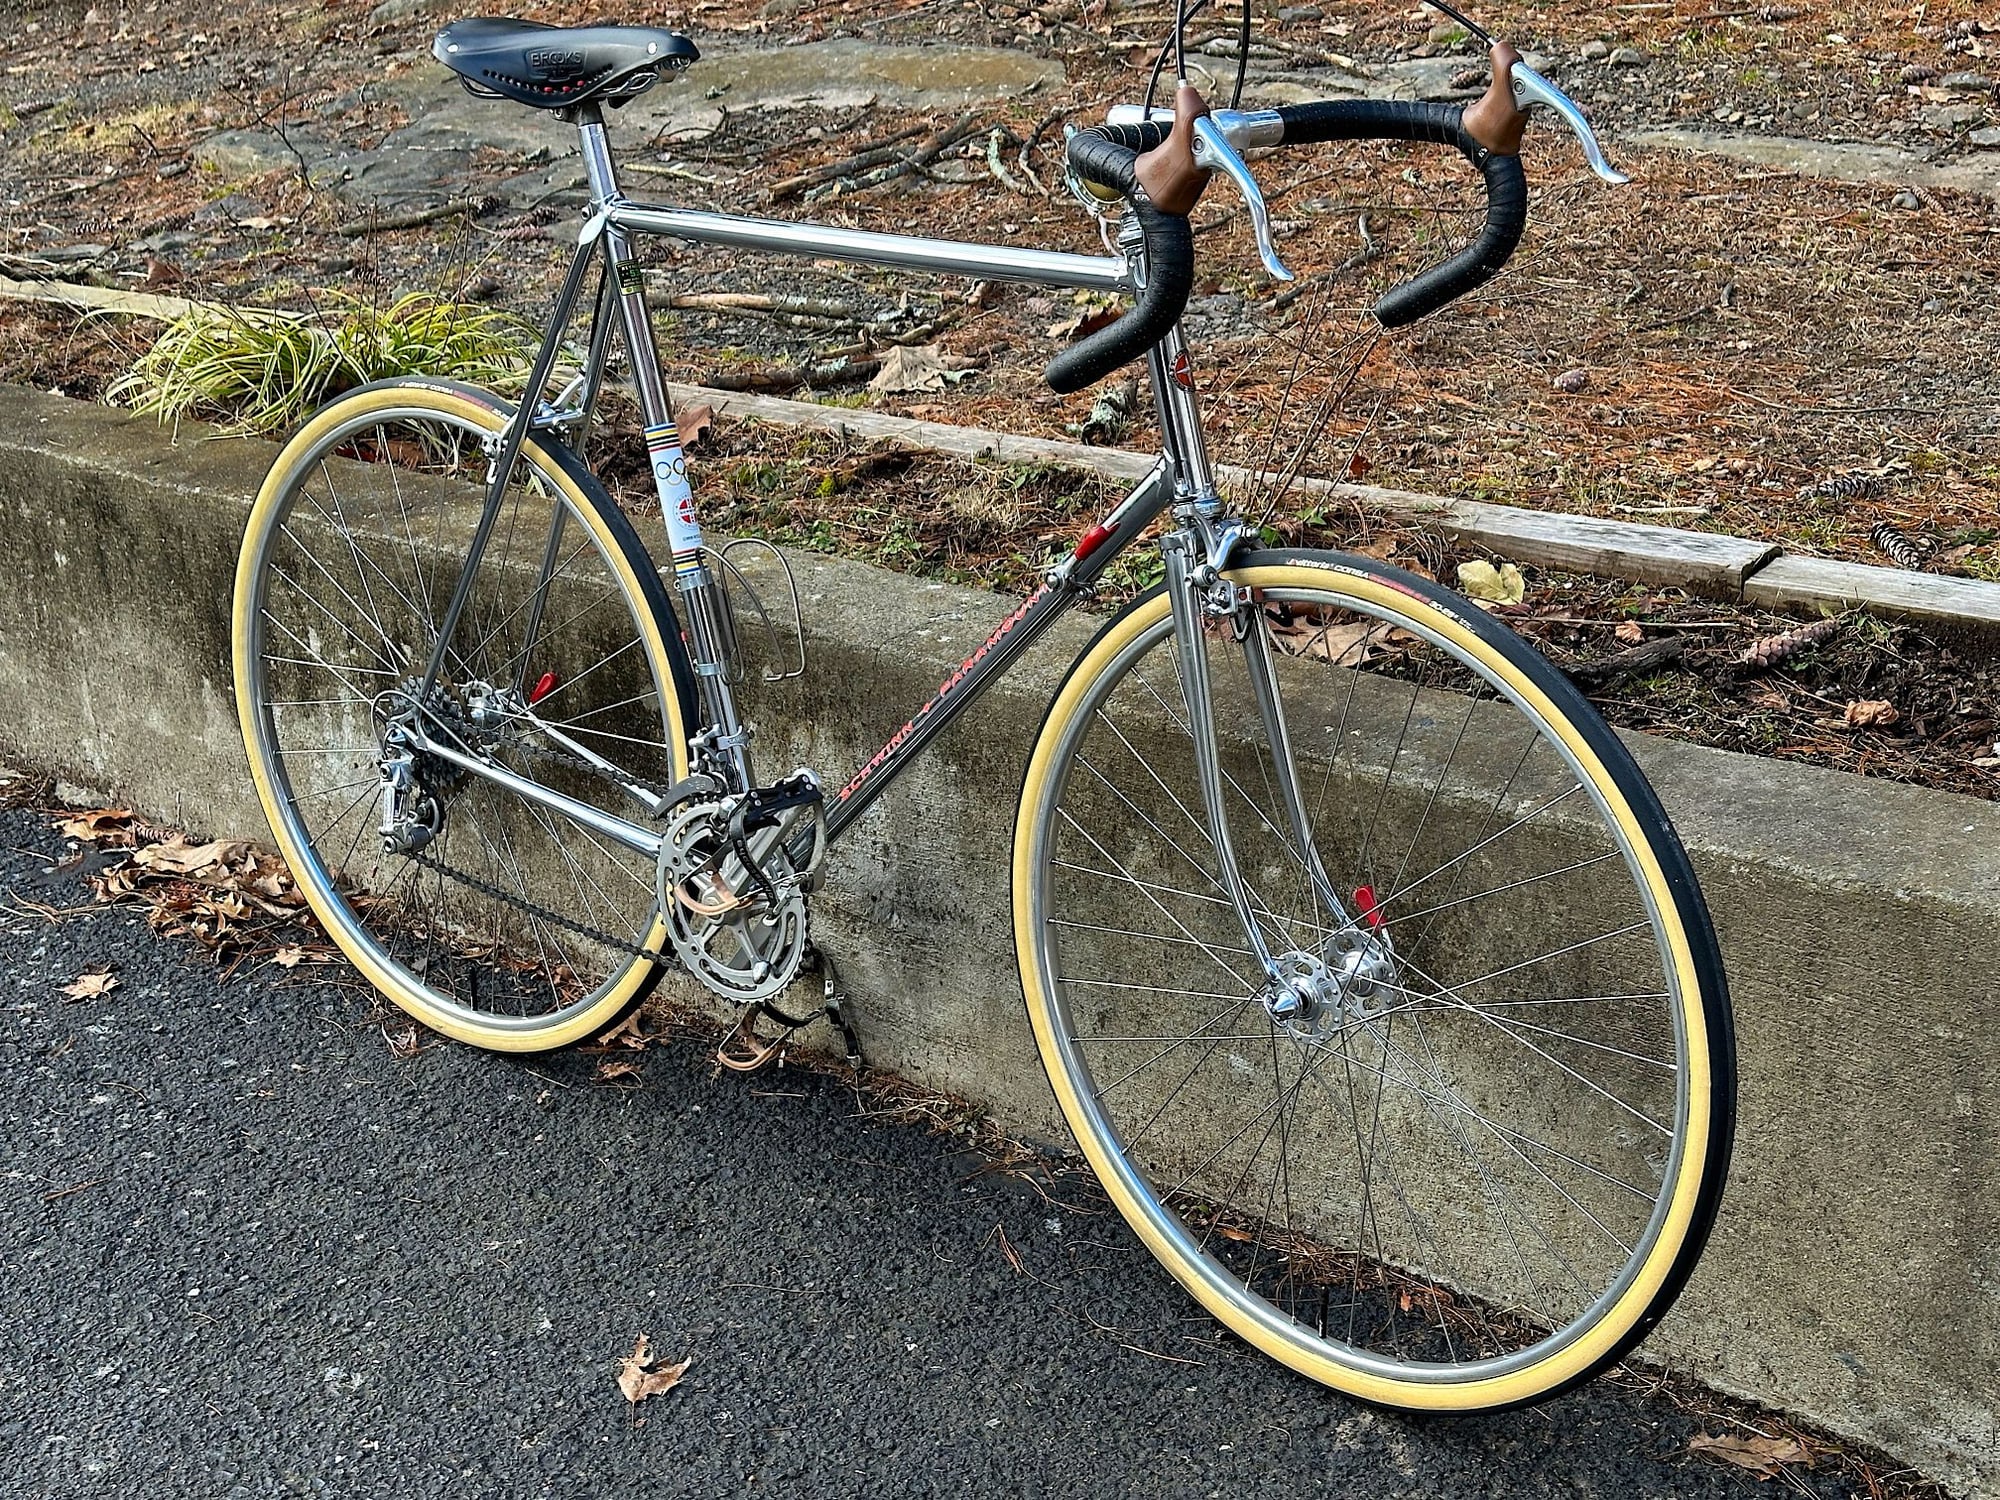
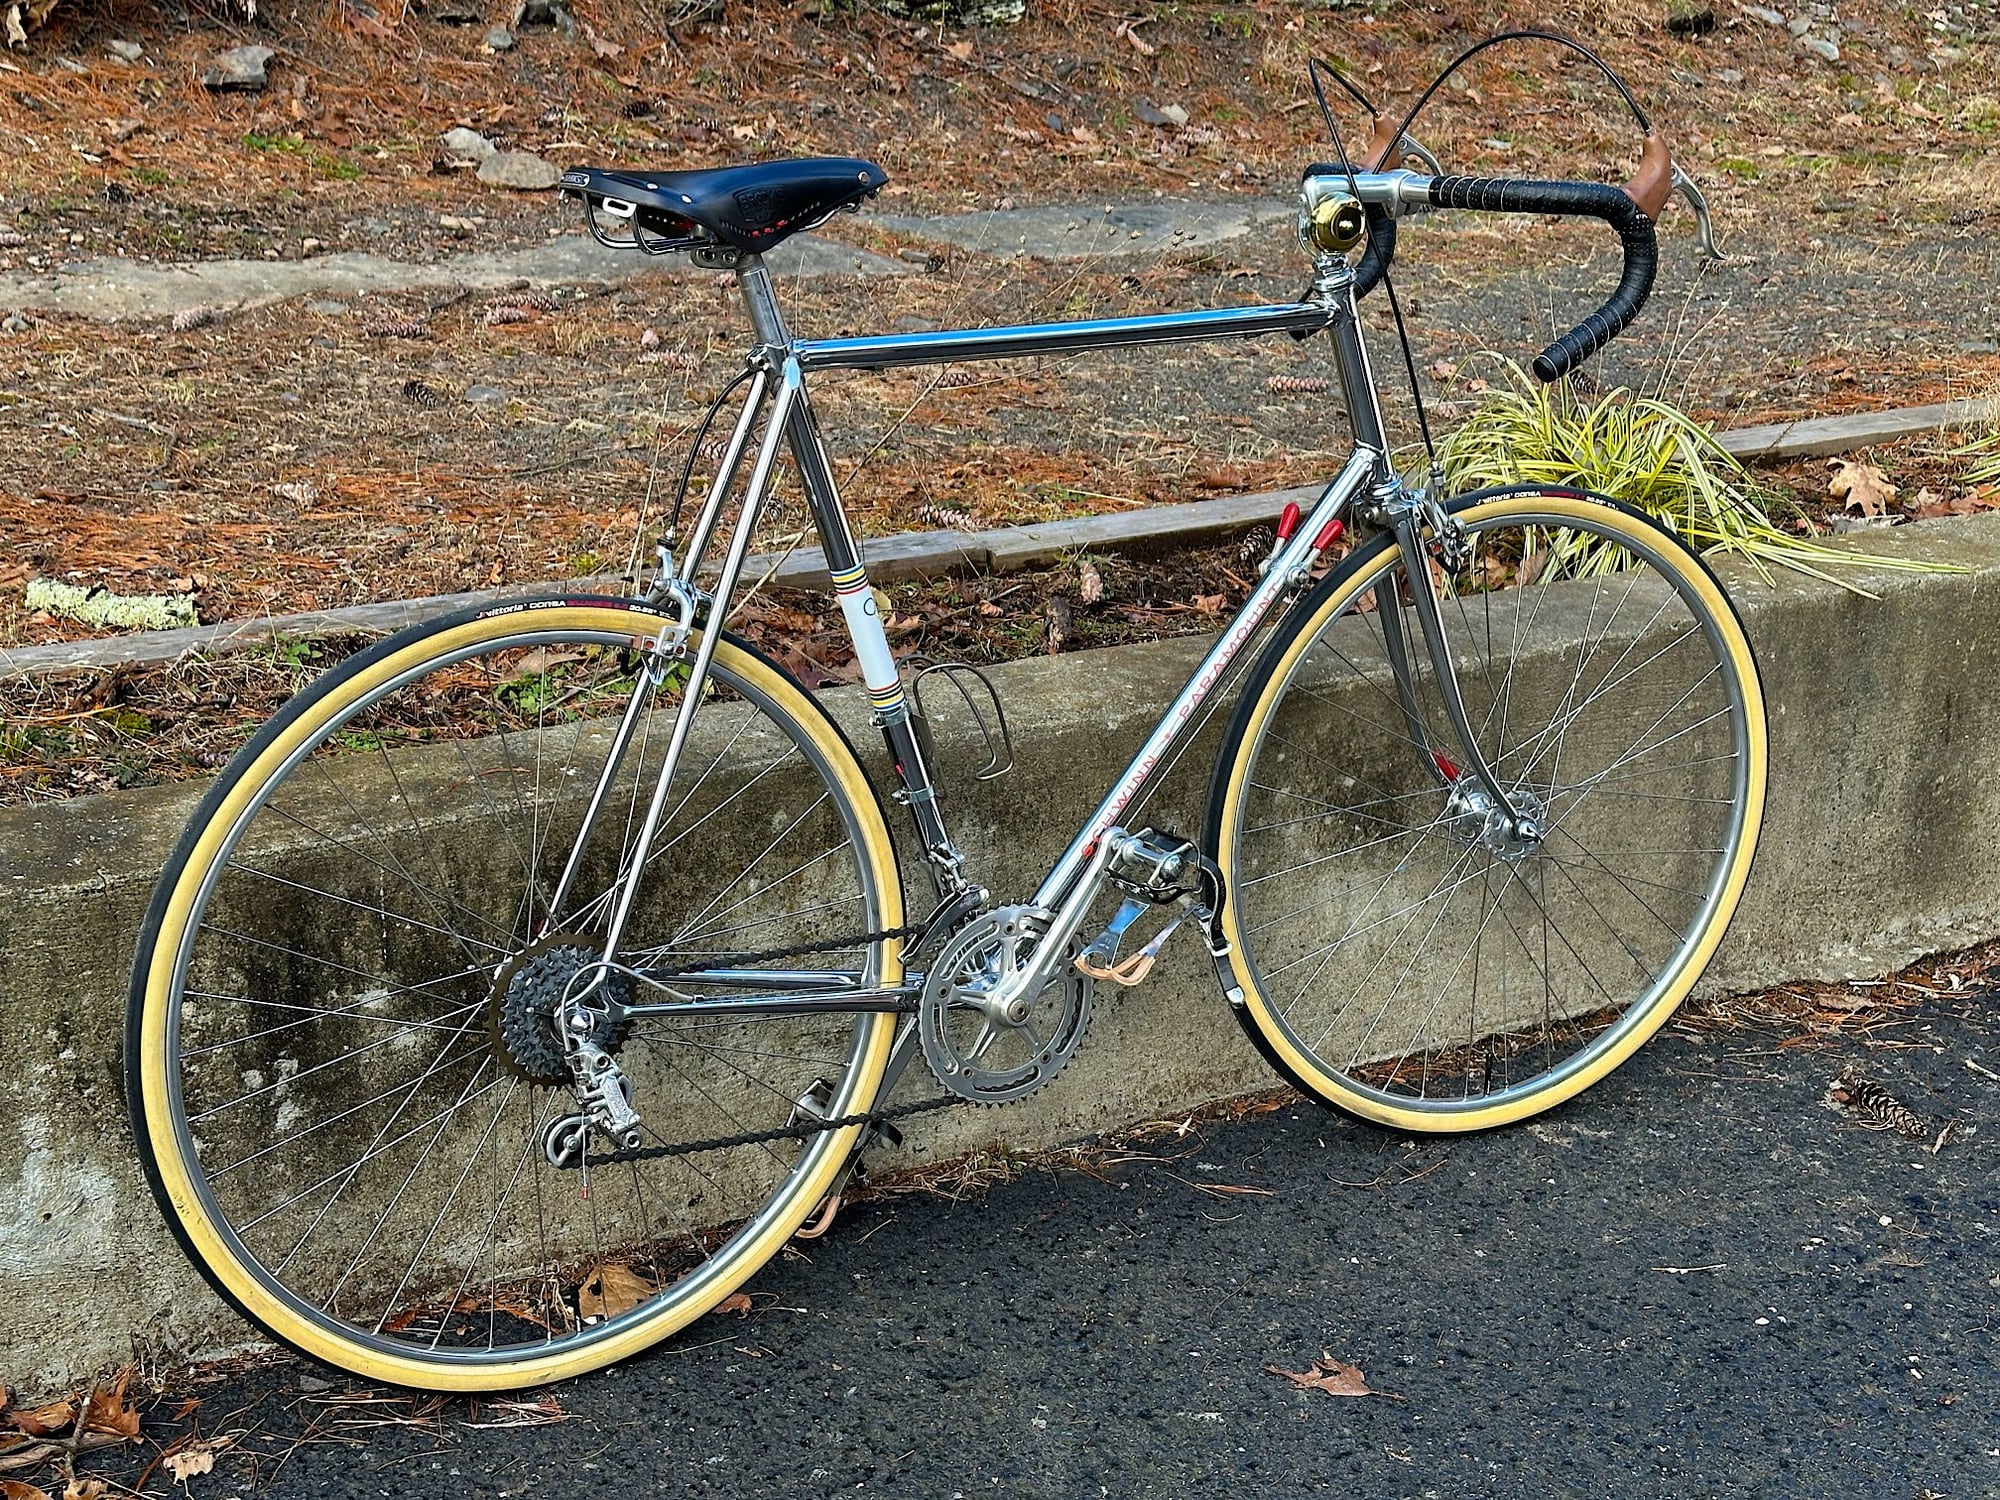
Looks gorgeous. Do you think you'll decide you're nuts? I remember tubulars. I even have them on a track bike.
__________________
Tom Reingold, tom@noglider.com
New York City and High Falls, NY
Blogs: The Experienced Cyclist; noglider's ride blog
�When man invented the bicycle he reached the peak of his attainments.� � Elizabeth West, US author
Please email me rather than PM'ing me. Thanks.
Tom Reingold, tom@noglider.com
New York City and High Falls, NY
Blogs: The Experienced Cyclist; noglider's ride blog
�When man invented the bicycle he reached the peak of his attainments.� � Elizabeth West, US author
Please email me rather than PM'ing me. Thanks.
Likes For noglider:
01-07-24, 05:53 PM
#7194
Senior Member
Join Date: May 2021
Location: London
Posts: 564
Bikes: Motobecane C41, Matsu$hita Nashonaru
Liked 443 Times
in
254 Posts
I'm not really sure why, but I have had a hard time getting to set up the bars and tape. Maybe just because it is kinda tedious work, or maybe I'm too darned fussy. But over the last two days I finally got the bar set up for the Paramount finished. 1 single wrap of Benotto underlayment to protect the bars from adhesive residue, and then two layers of Benotto over that for the finished set up. It took a few hours to repaint the panto for the levers and a bit of wrestling to get the lever covers on the brake levers. Then a few more hours to get the tape wrapped. Now they are finished and ready for the bike. Smiles, MH
Finally finished. I use wine corks for the end plugs and I have found it is a lot easier if I grind a taper into the cork before pushing it into the bars. I like the idea of not having a plastic cap that can get snagged and pull out of the bars allowing the tape to unravel.
Finally finished. I use wine corks for the end plugs and I have found it is a lot easier if I grind a taper into the cork before pushing it into the bars. I like the idea of not having a plastic cap that can get snagged and pull out of the bars allowing the tape to unravel.
For now I will ride the bicycle the way it is until I have a moment to spare. This might take a while as I have another frame on its way and that will require some work.
Likes For VintageSteelEU:
01-07-24, 06:19 PM
#7195
Senior Member

Join Date: Jul 2007
Location: Manhattan & Woodstock NY
Posts: 2,949
Bikes: 2024 A Homer Hilsen, 1987 Mercian Pro, 1985 Shogun 500, early '70s Falcon San Remo, 1972 Peugeot PX-10, 1972 Schwinn Paramount P13-9, 1971 Raleigh International, 1971 Peugeot PX-10, 1970 Raleigh Professional Mk1
Liked 3,588 Times
in
1,108 Posts
I�m pleased with the wheels, the aesthetics matter on this bike (yeah I know, I care about them all). Catch-22 comes to mind: if I decide I�m nuts then I must be sane, and if I think I�m sane then I must be nuts. Either way I get to keep the tubulars 😁
__________________
2024 A Homer Hilsen, 1987 Mercian Pro, 1985 Shogun 500, 197? Falcon San Remo, 1972 Peugeot PX-10, 1972 Schwinn Paramount P13-9, 1971 Peugeot PX-10, 1971 Raleigh International, 1970 Raleigh Professional Mark I
Curator/Team Mechanic: 2016 Dawes Streetfighter, 1984 Lotus Eclair, 1975 Motobecane Jubile Mixte, 1974 Raleigh Sports, 1973 Free Spirit Ted Williams, 1972 Raleigh Super Course, 1971 Philips Sport
Likes For ascherer:
01-07-24, 07:33 PM
#7196


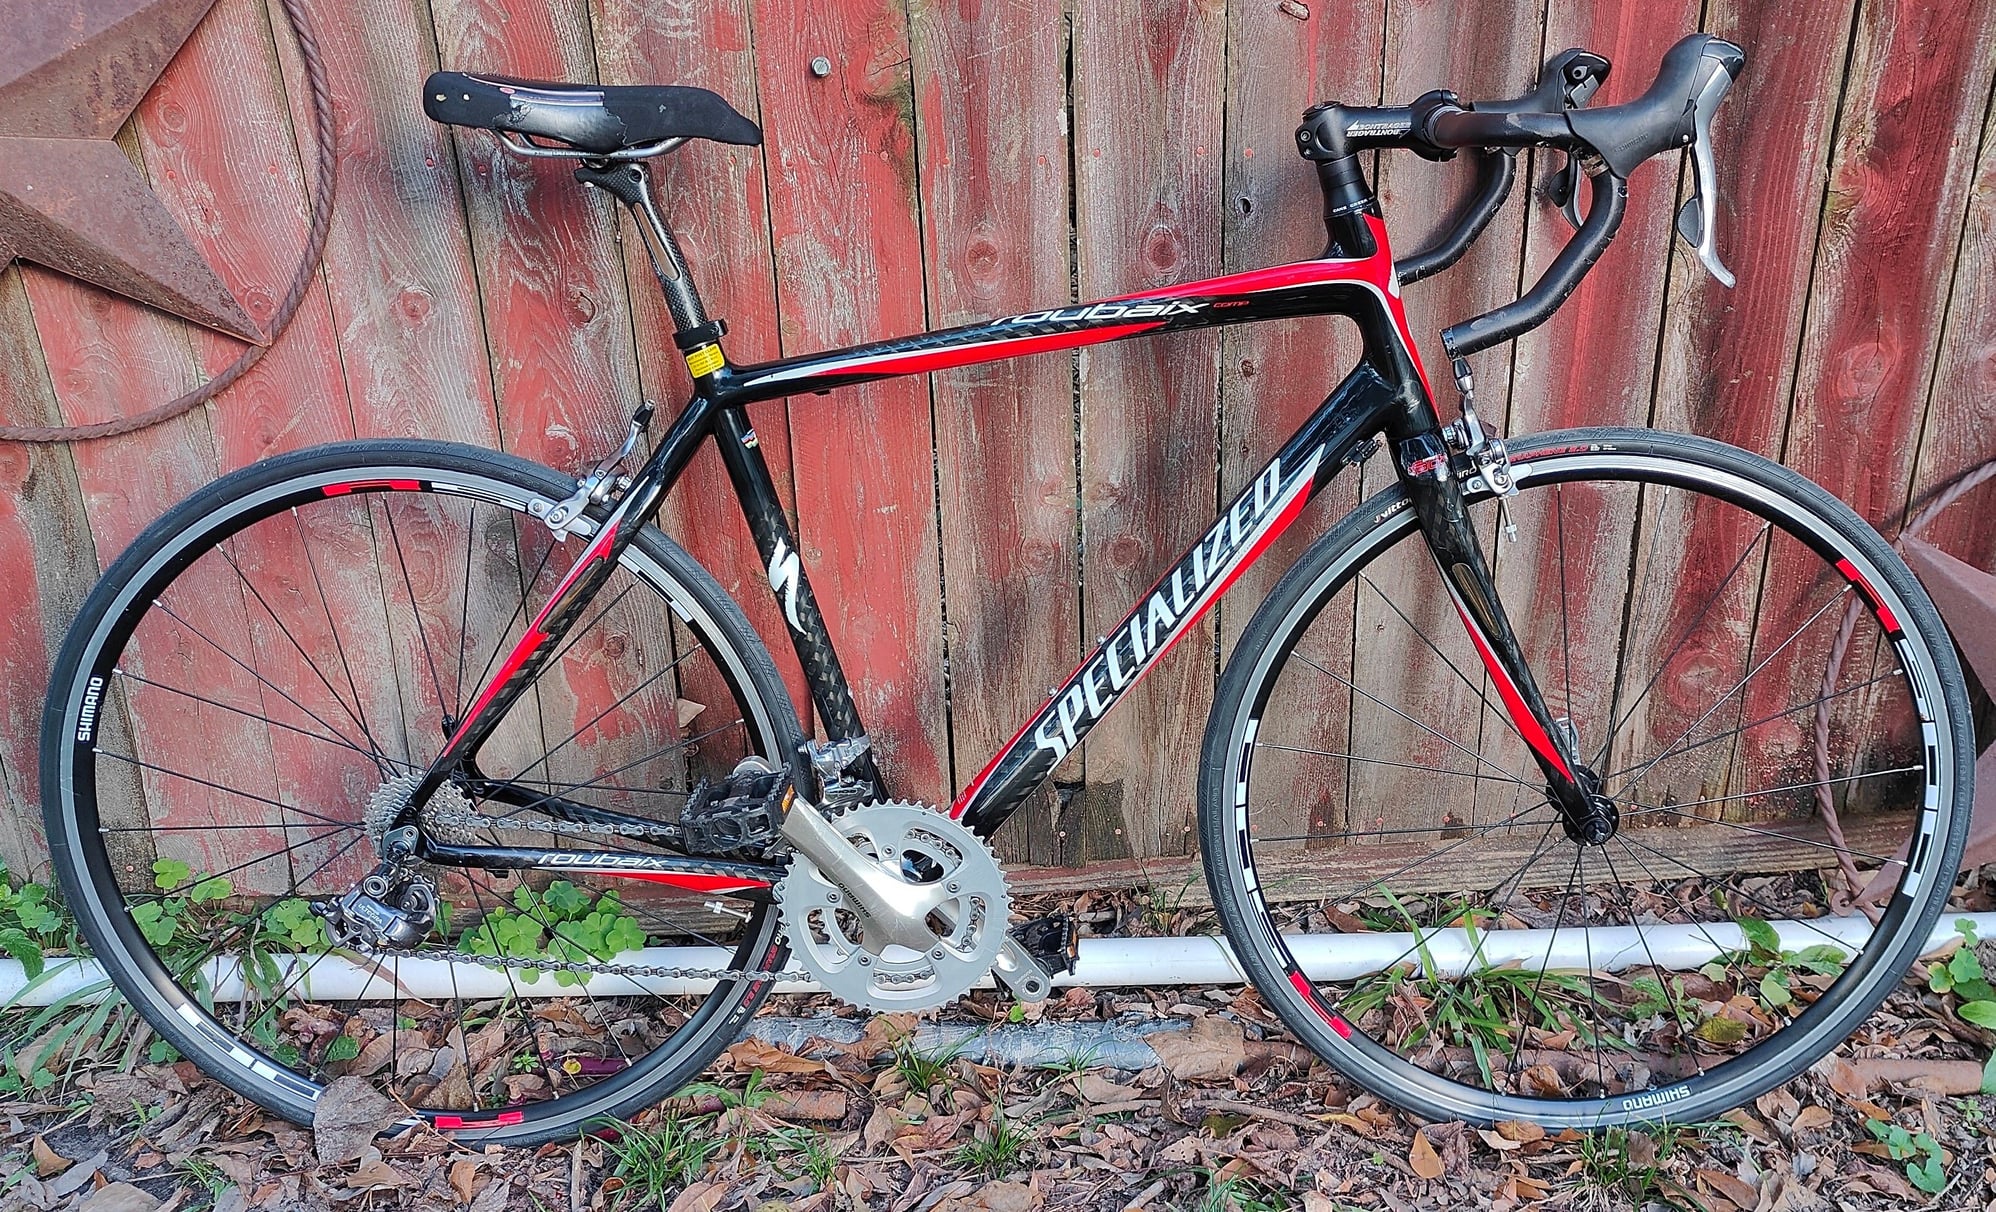
Non vintage warning. Something I kind of wanted when I was working at the bike shop in the late 2000's, and finally got one
15 years later. Yeah it's a full carbon hotrod. Riding this might get me back in shape though. Since I stopped riding in 2018, I am
always sore and stiff. Maybe a 20 mile ride every weekend will help. Got a Concor Supercorsa saddle on the way. I bought
cables, but inexperienced bike shop worker gave me wrong housing for both shifters and brakes. Got those on the way too.
Should be a flyer. Not sure whatever happened to my helmet, so will have to buy another one of those. The foam is probably
all rotten wherever it is.
__________________
So many bikes, so little dime.
So many bikes, so little dime.
Last edited by Bikedued; 01-07-24 at 08:10 PM.
 01-08-24, 11:16 AM
#7198
Pedal to the medal
Likes For romperrr:
01-08-24, 06:59 PM
#7200
Senior Member
Join Date: May 2021
Location: London
Posts: 564
Bikes: Motobecane C41, Matsu$hita Nashonaru
Liked 443 Times
in
254 Posts
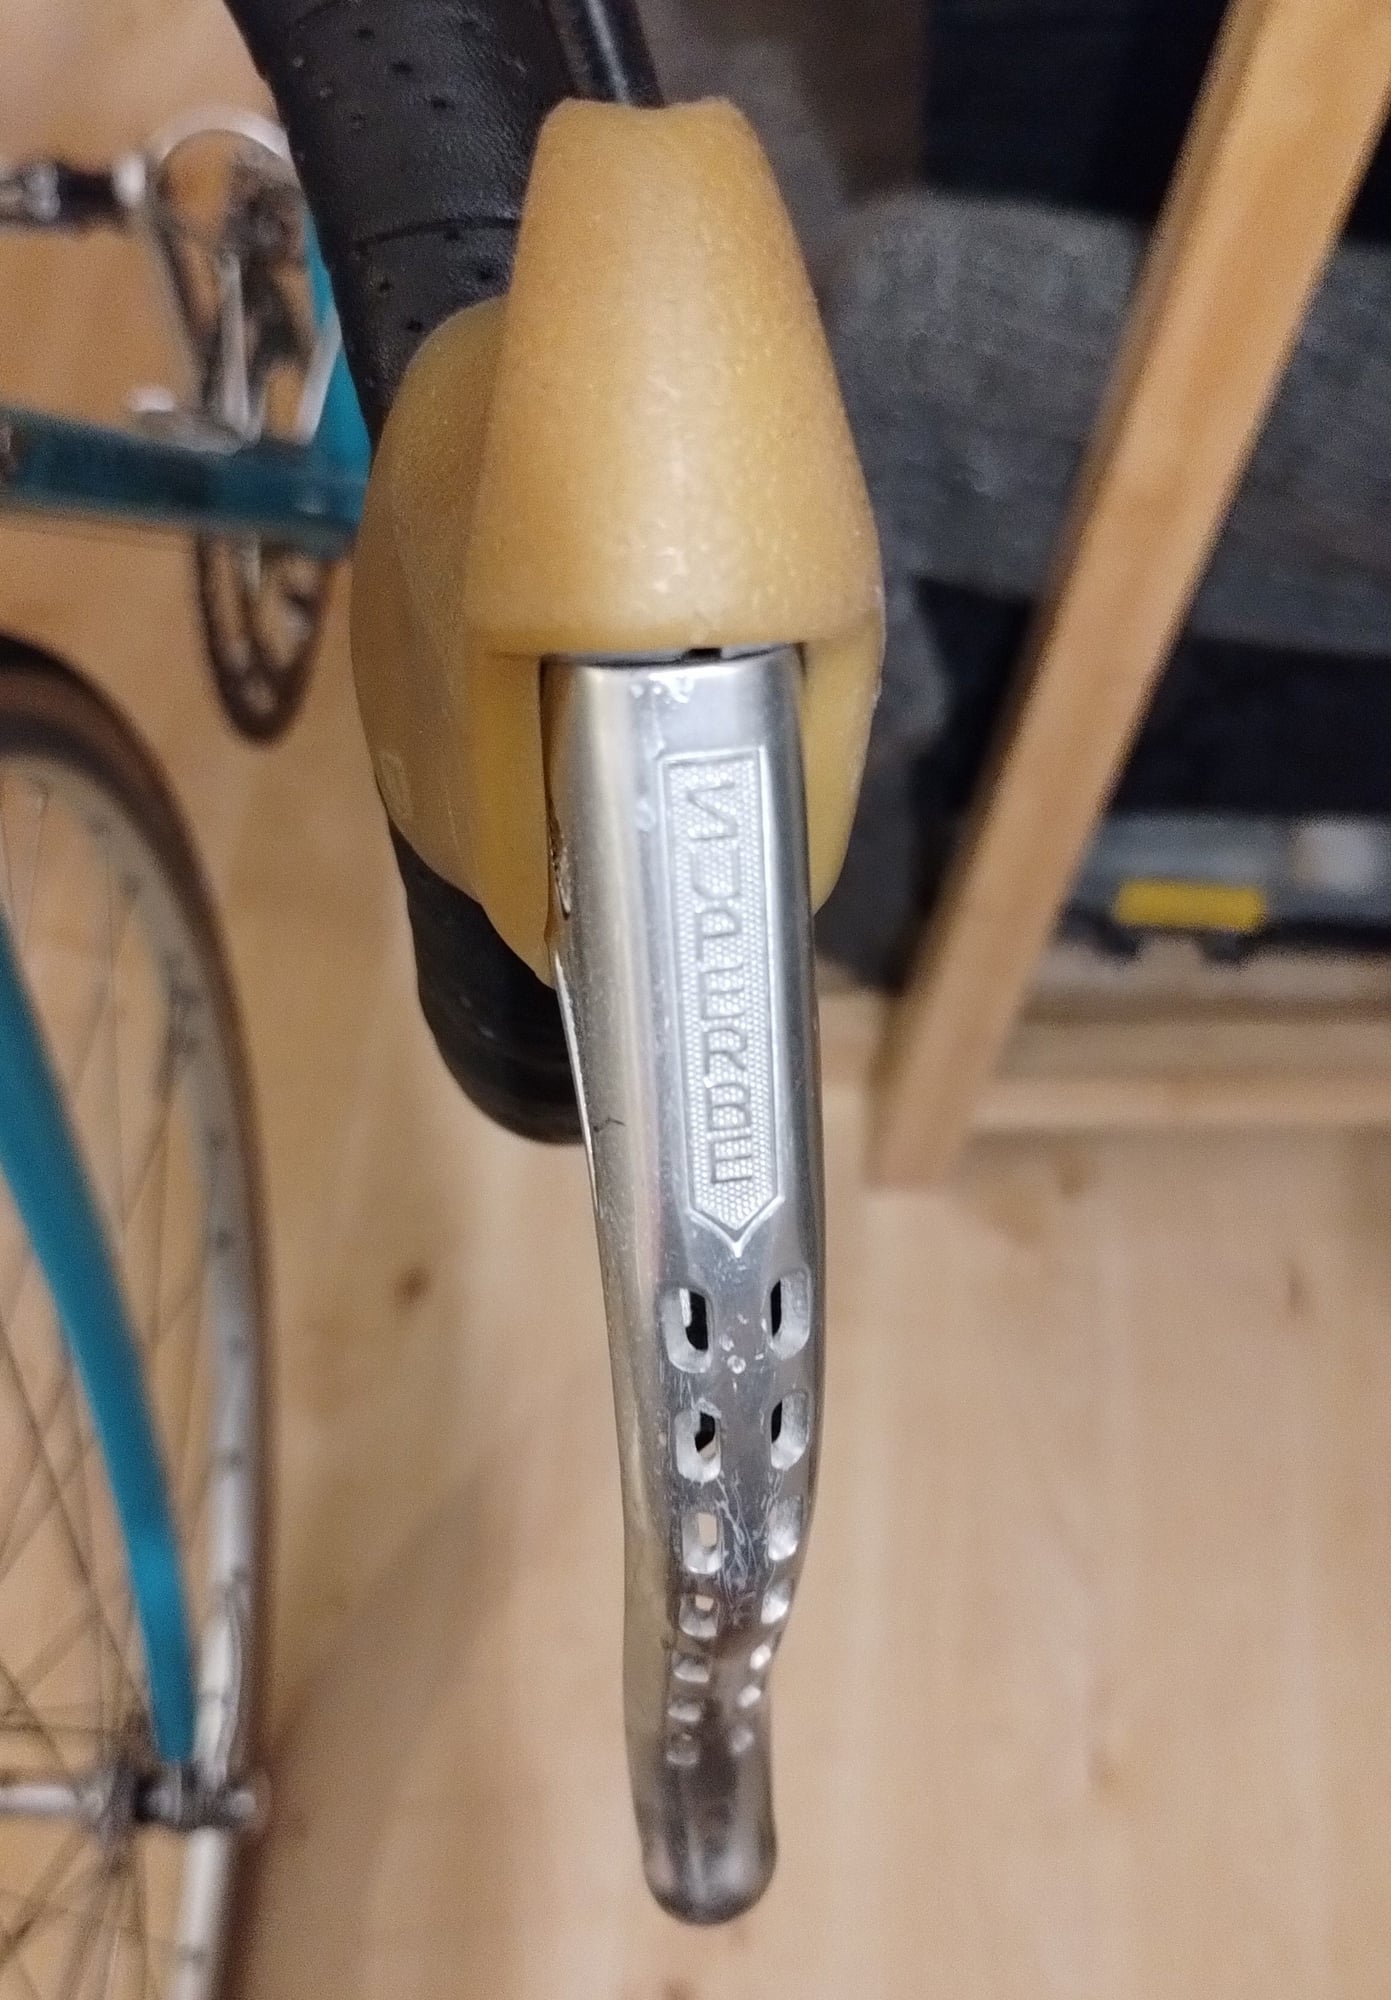
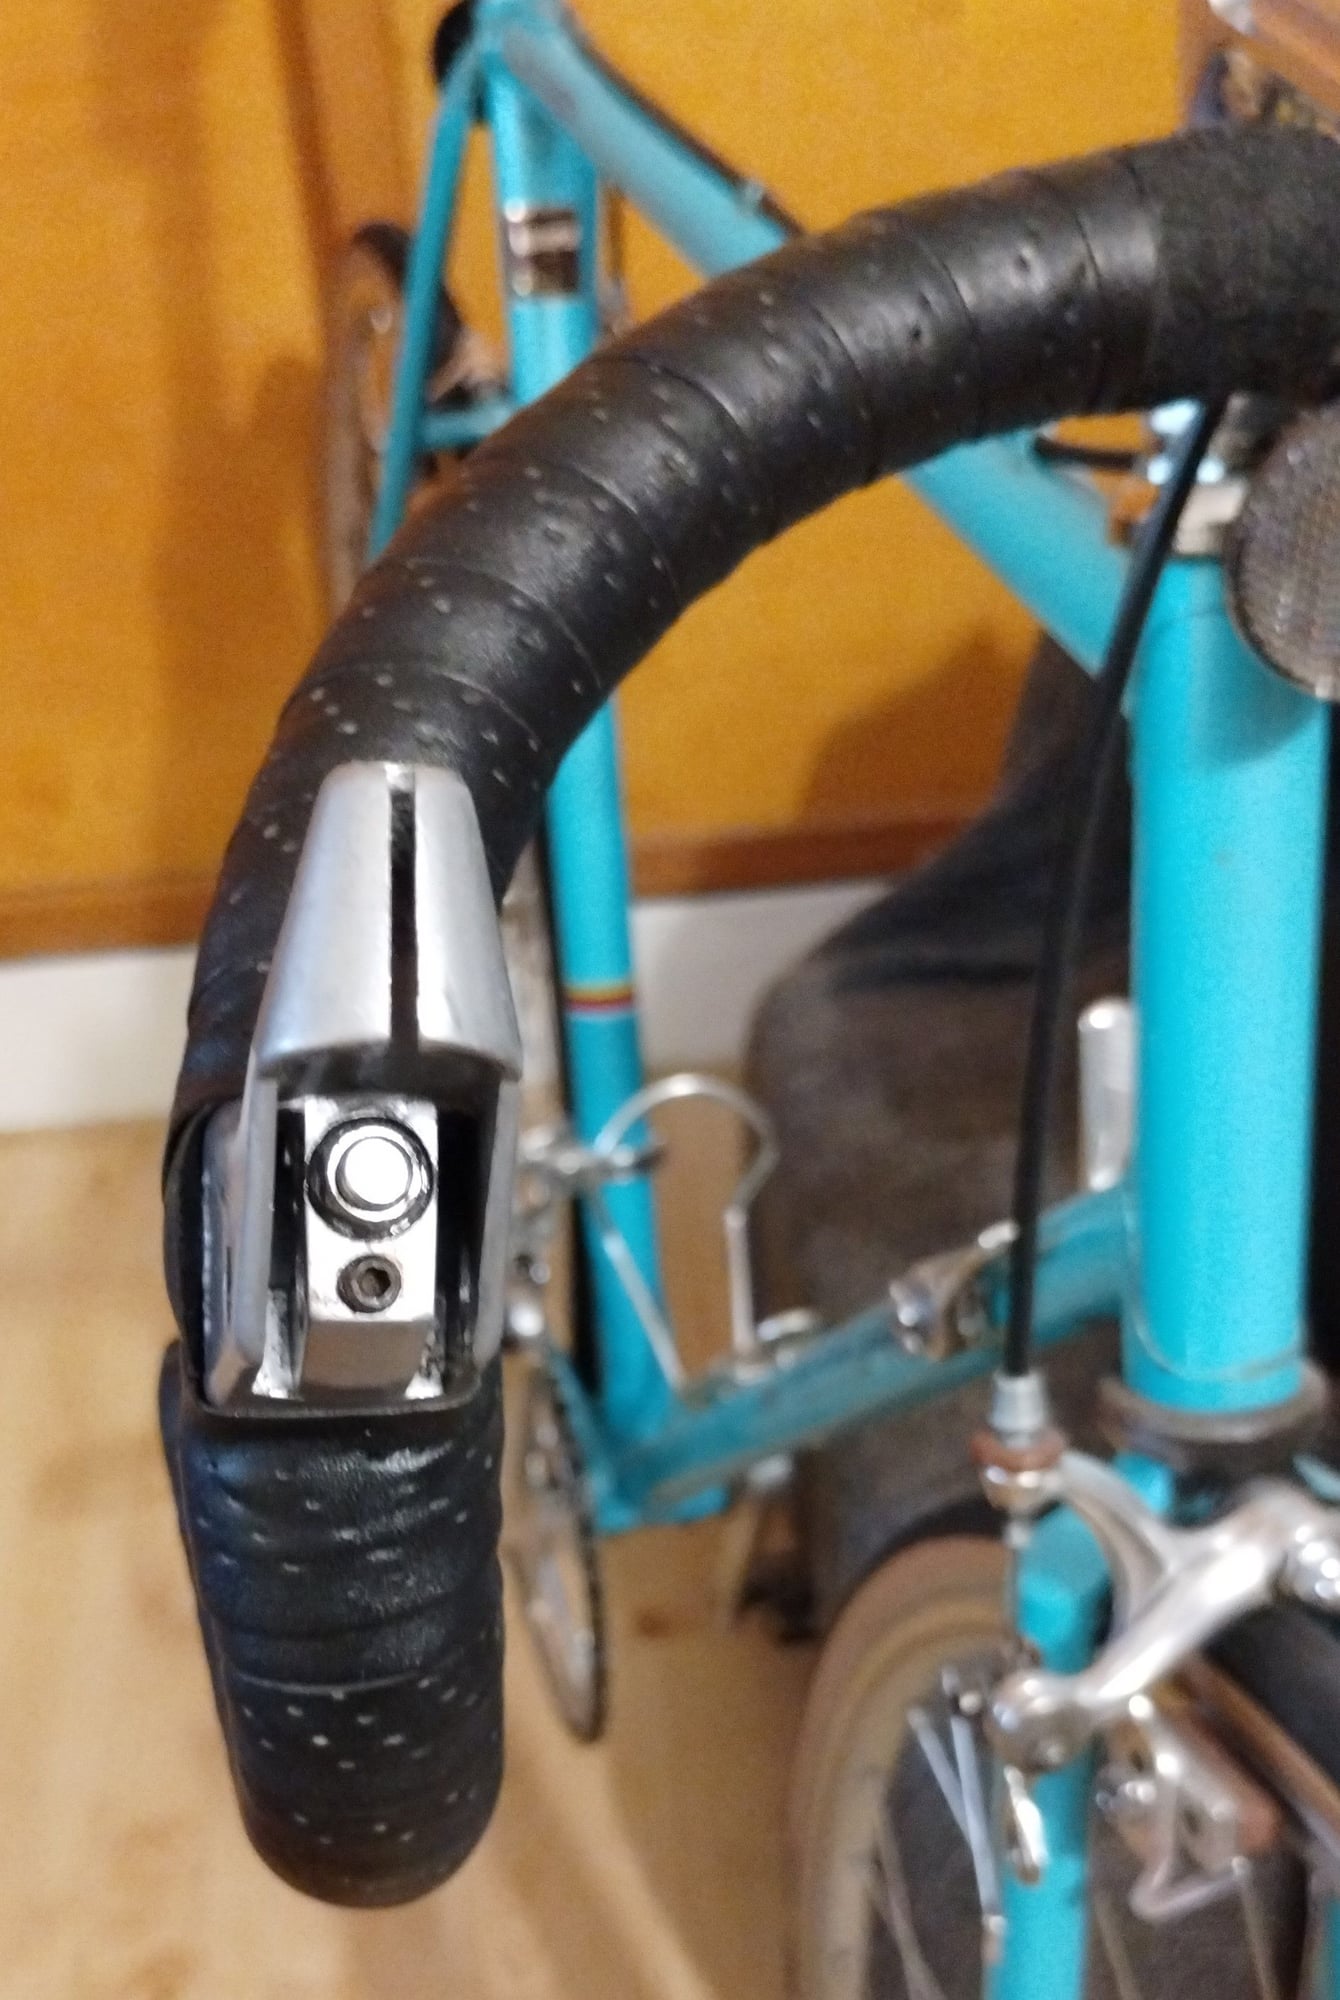
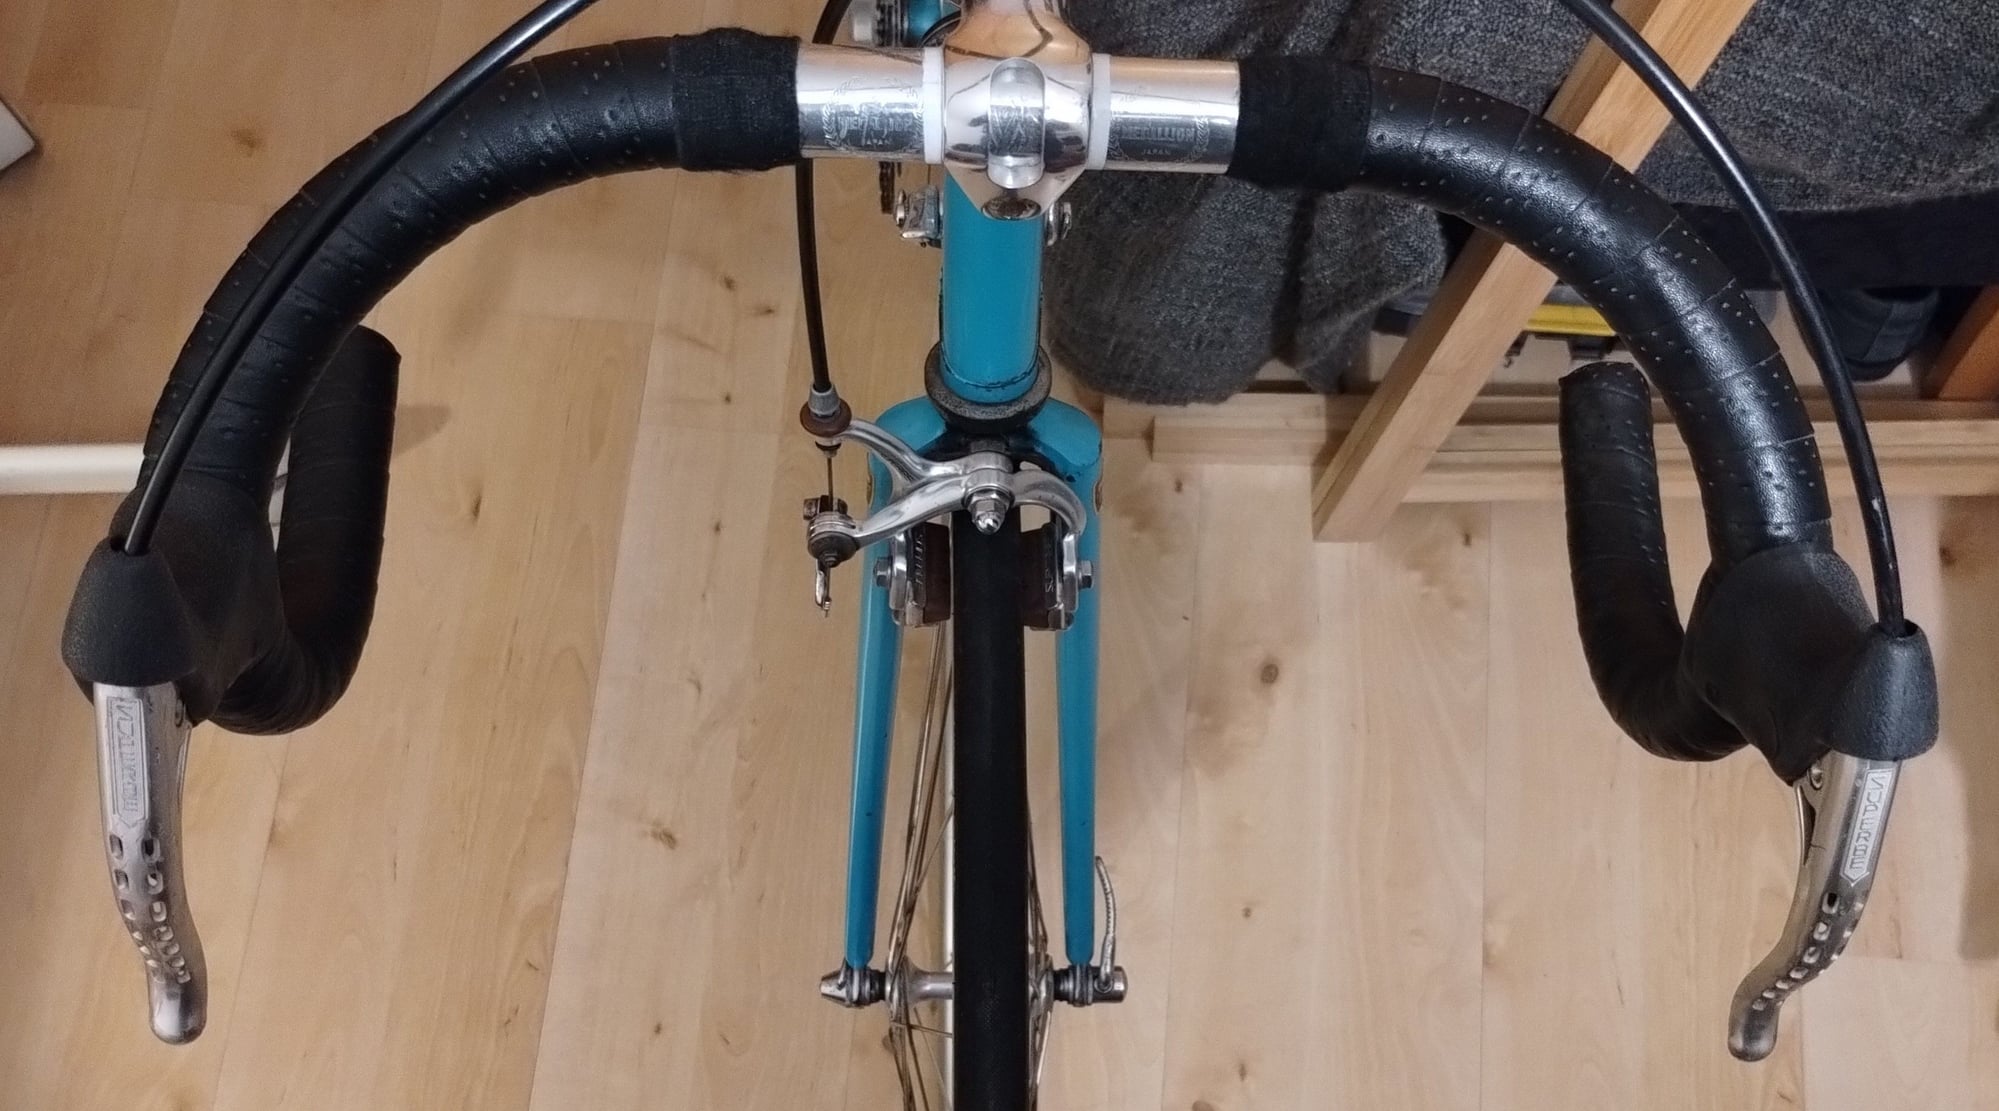
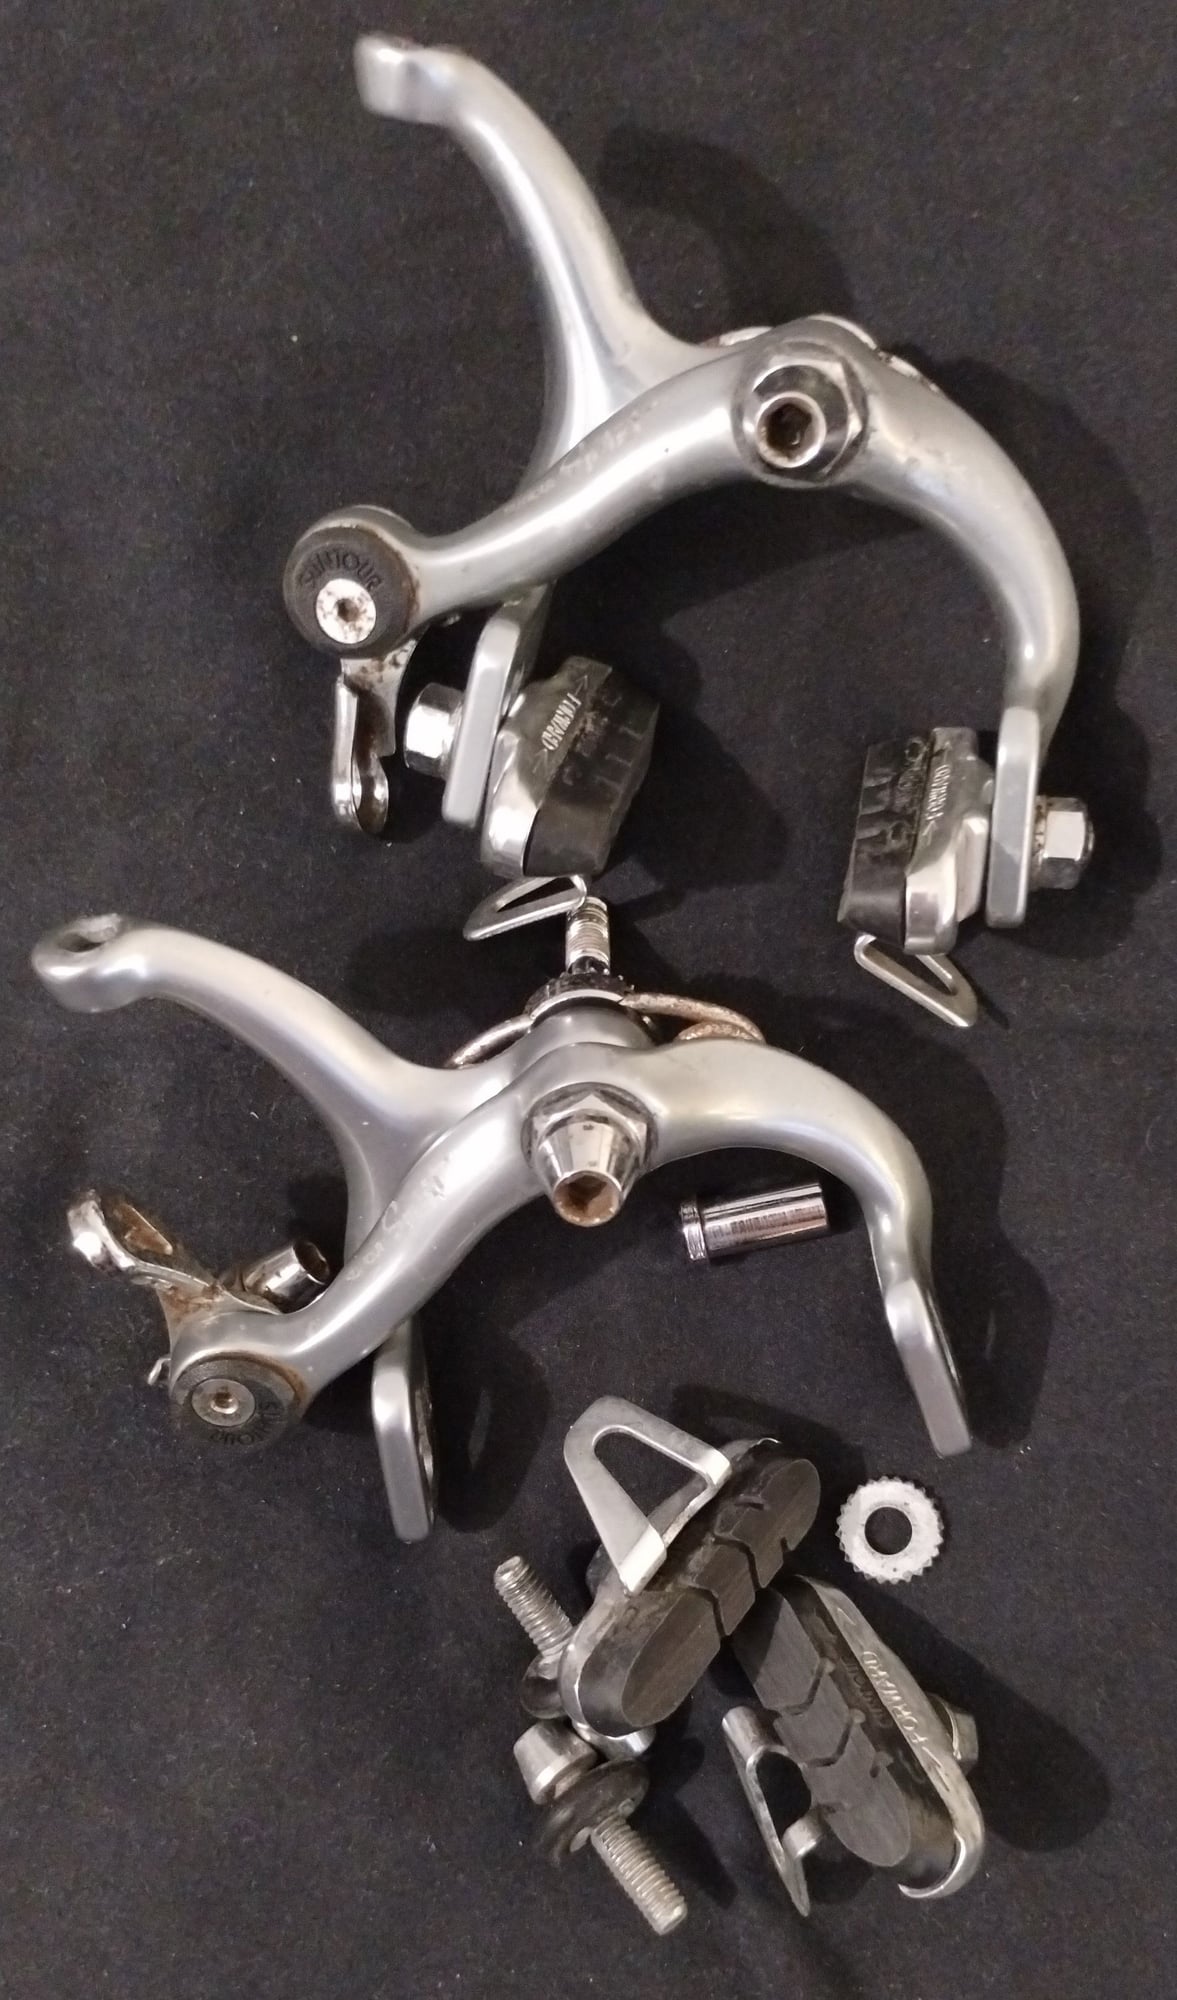
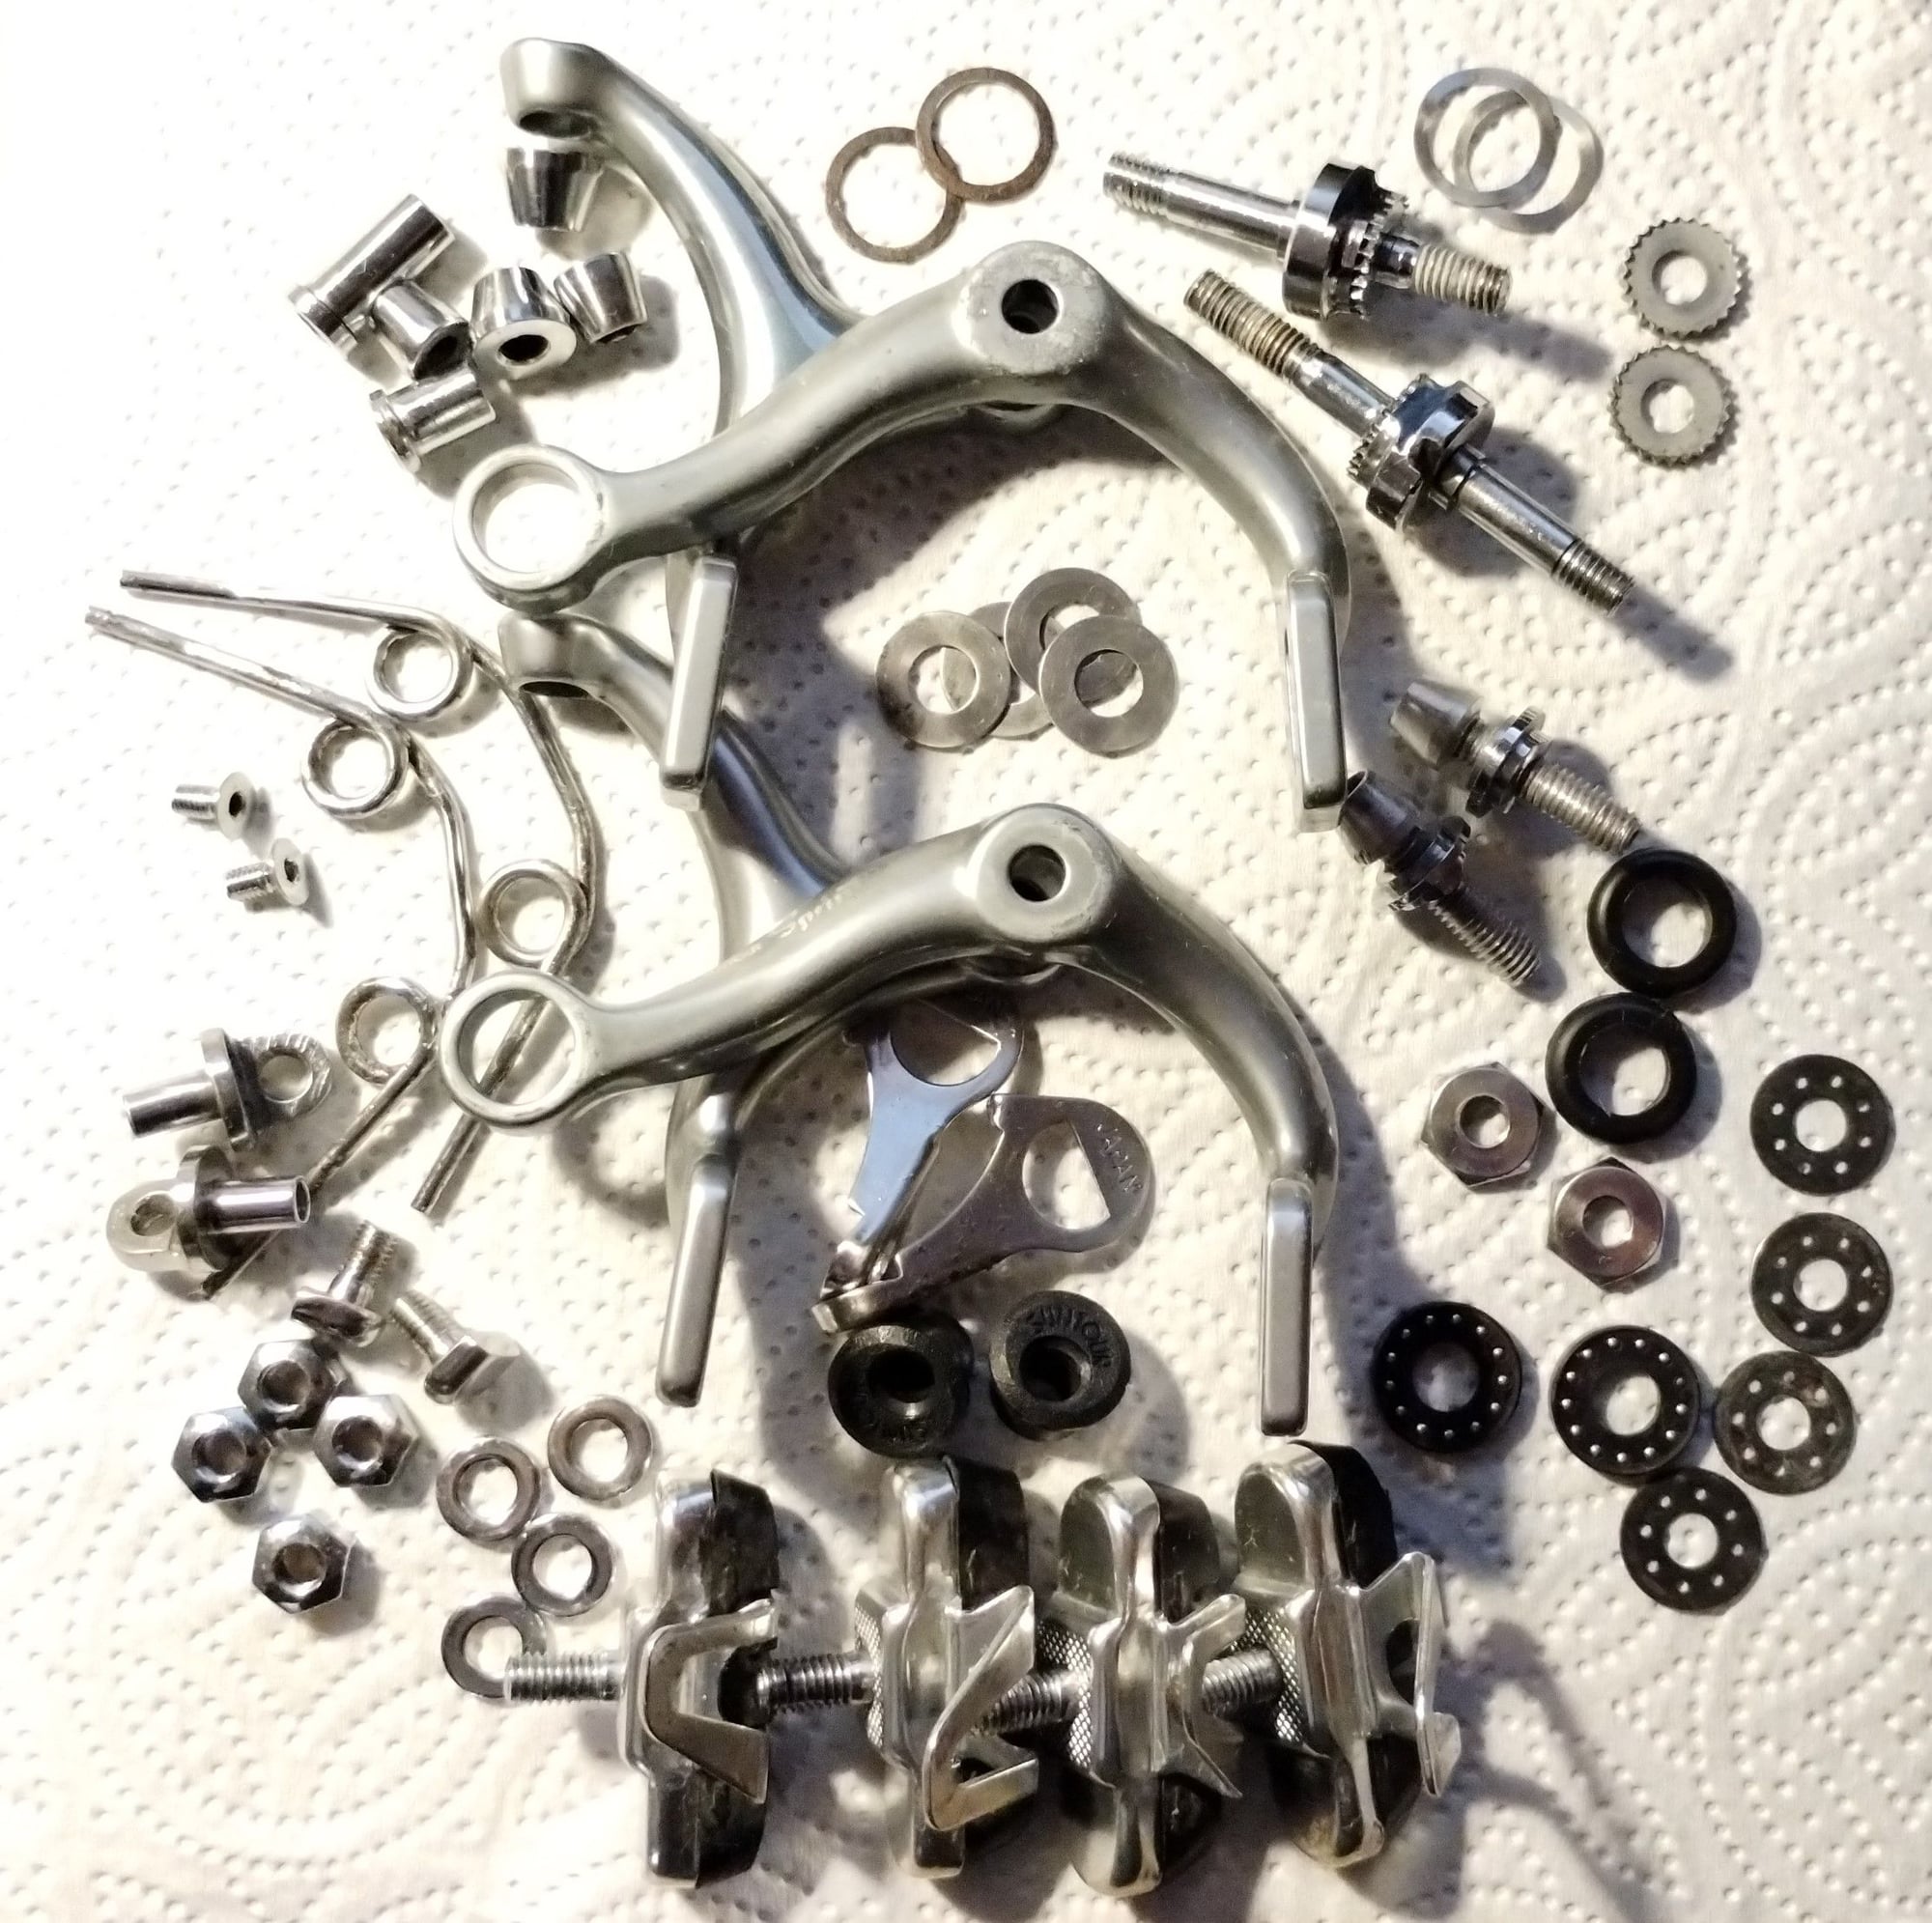
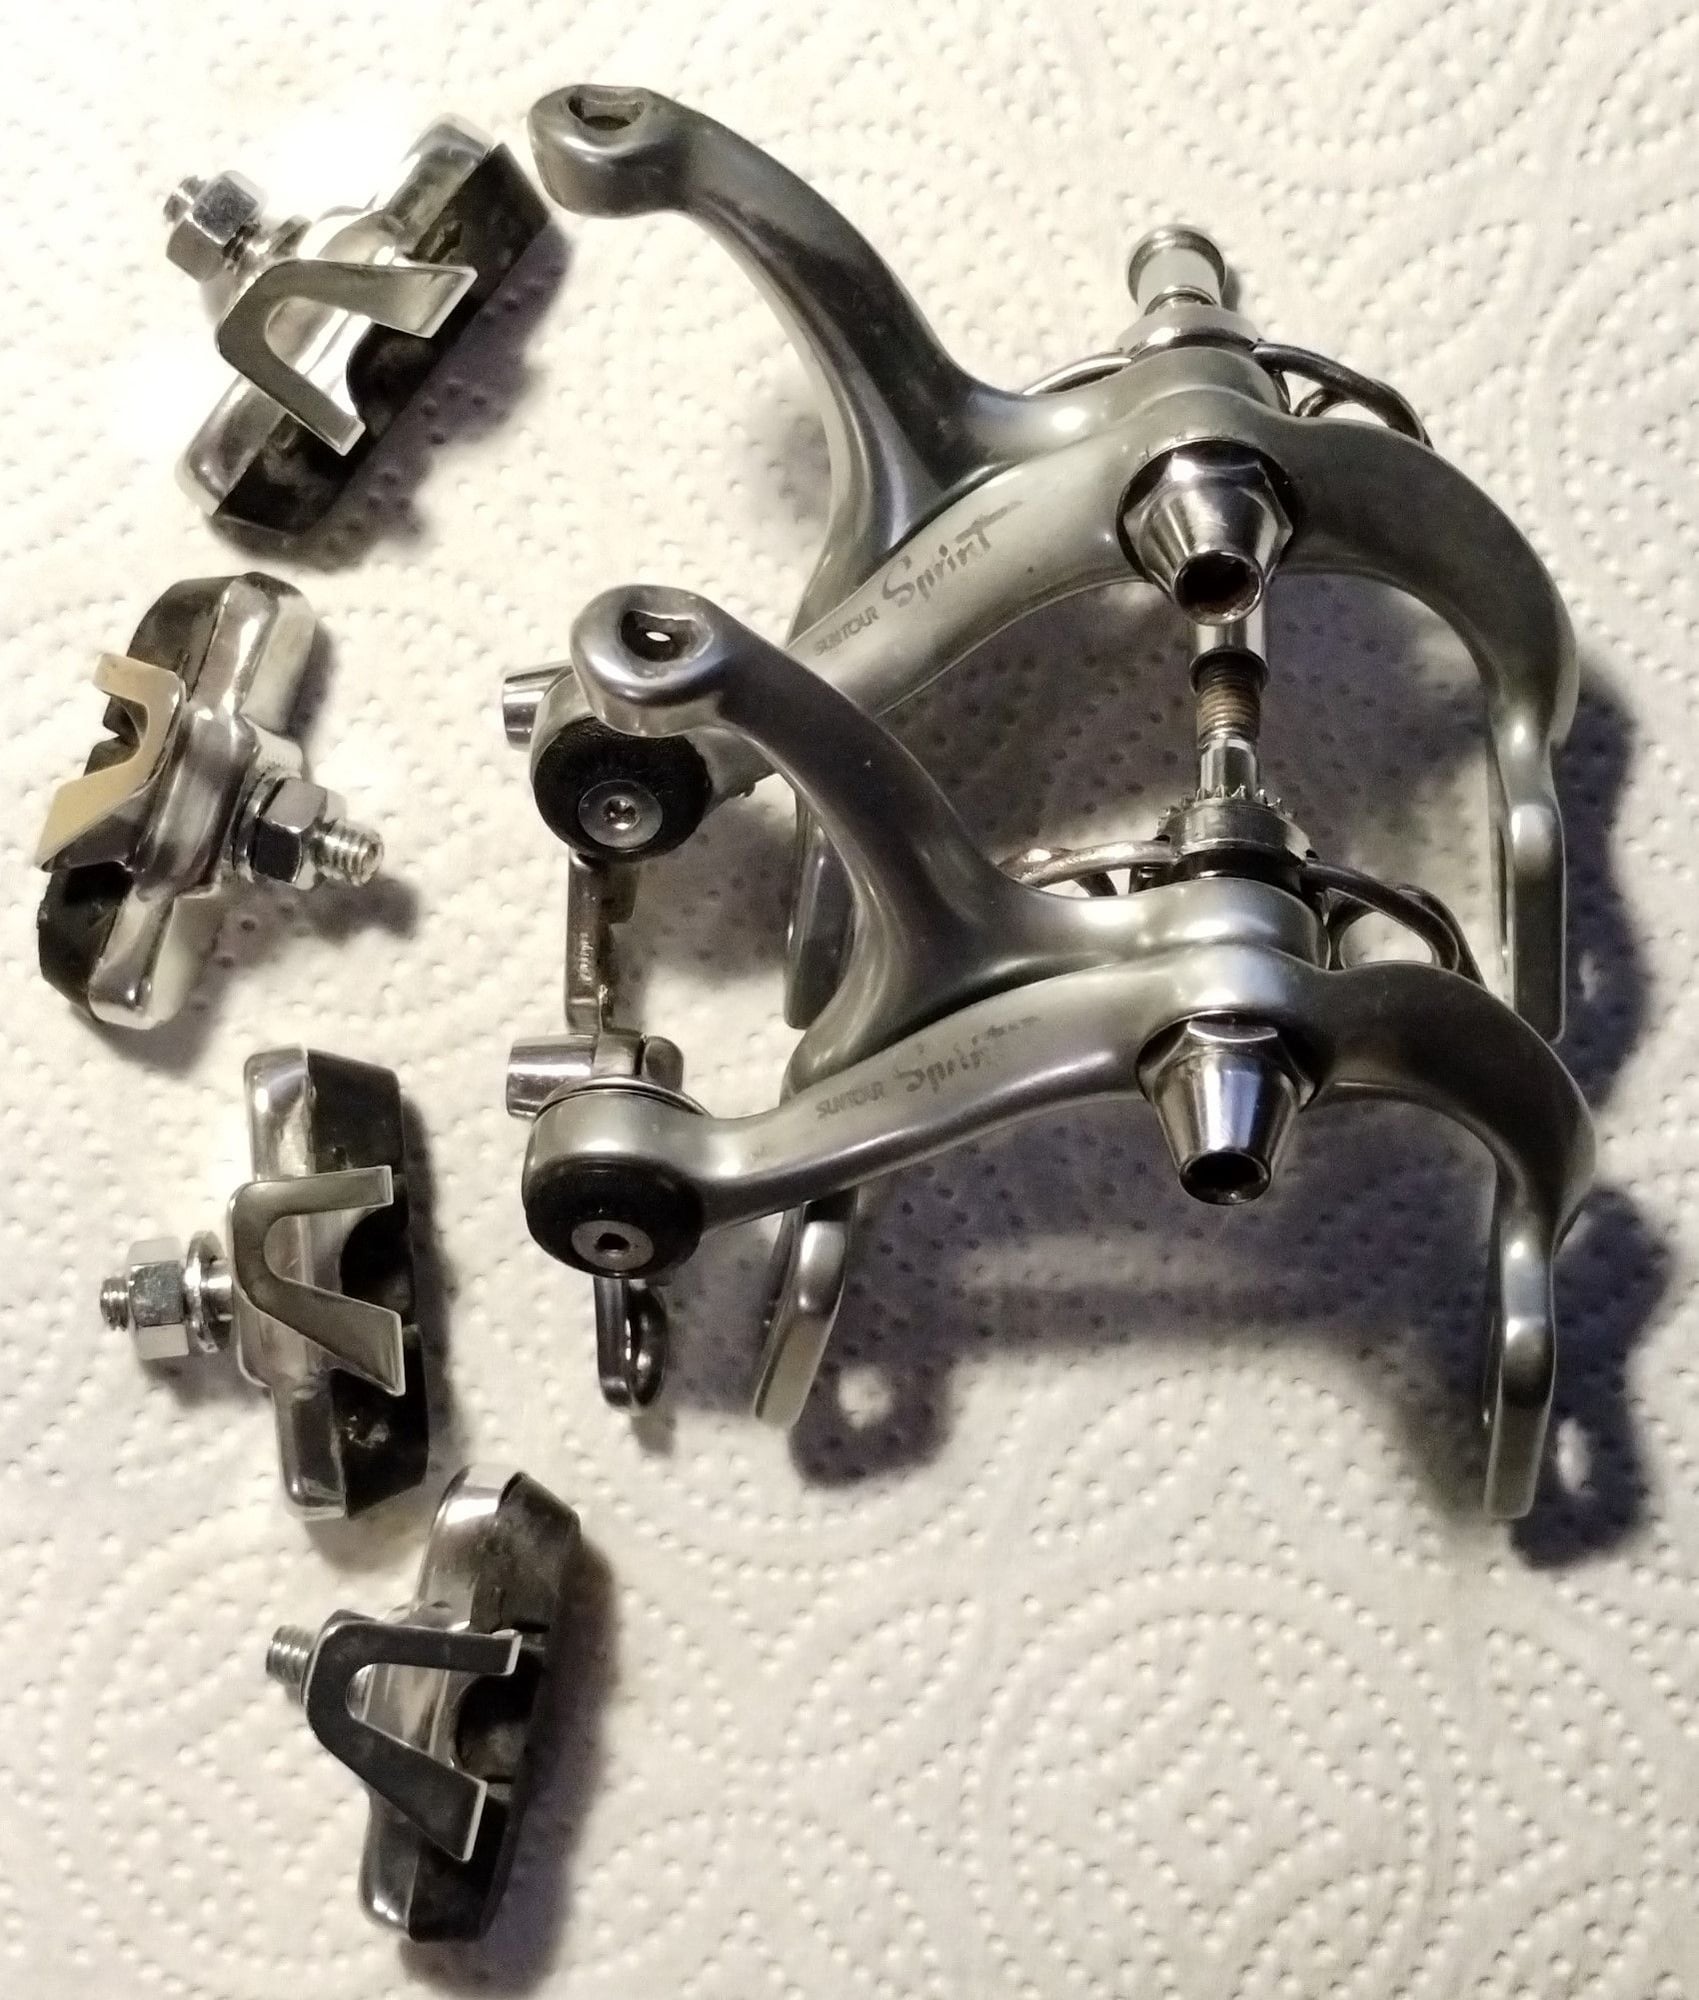
I bought a pair of brakes. Not sure what for, because I have enough brakes for 5 or 6 bicycles. I justified the purchase with: the idea that I might do a Motobecane Grand Sprint build with Suntour Sprint components, the brakes having original pads and pad holders and that I'm getting Suntour cable adjusters with the brakes , all the grime came off and this all for a price not much higher than a price of pair of reproduction of the adjusters. Actually, the cable adjusters were the main point, figured might as well use the rest of the brakes for spare parts if need be.
The calipers arrived today. Of course, it's just my luck, the cable adjusters are seized. As for the brake pad holders, I'll have to figure out how to actually replace the pads, as I don't see an easy way to do that. I guess we'll cross that bridge at some point. I still have some Dia Compe and Weinmann tyre guides somewhere and old Alu pad holders as well, so I can use those or just go for modern pads.
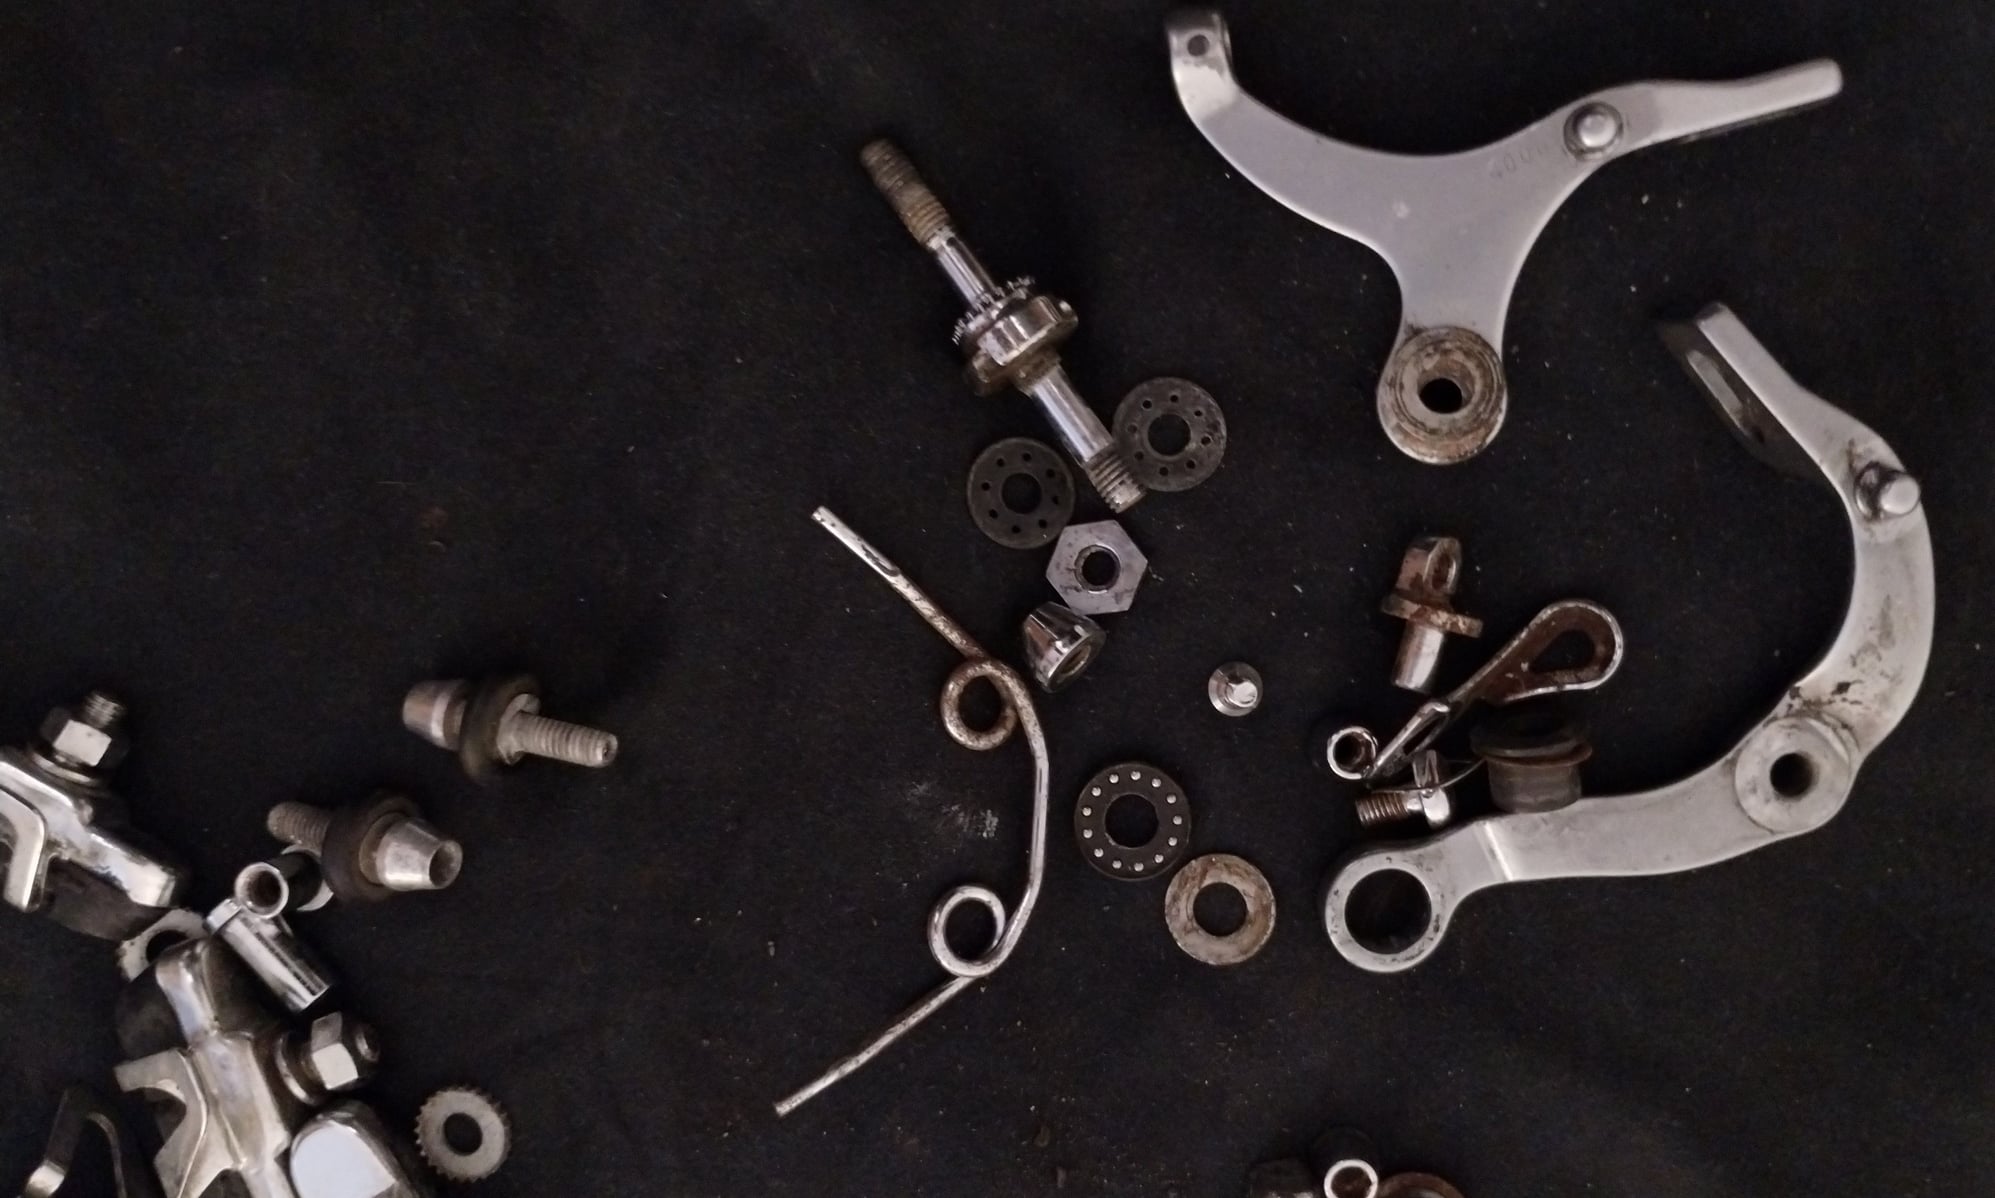
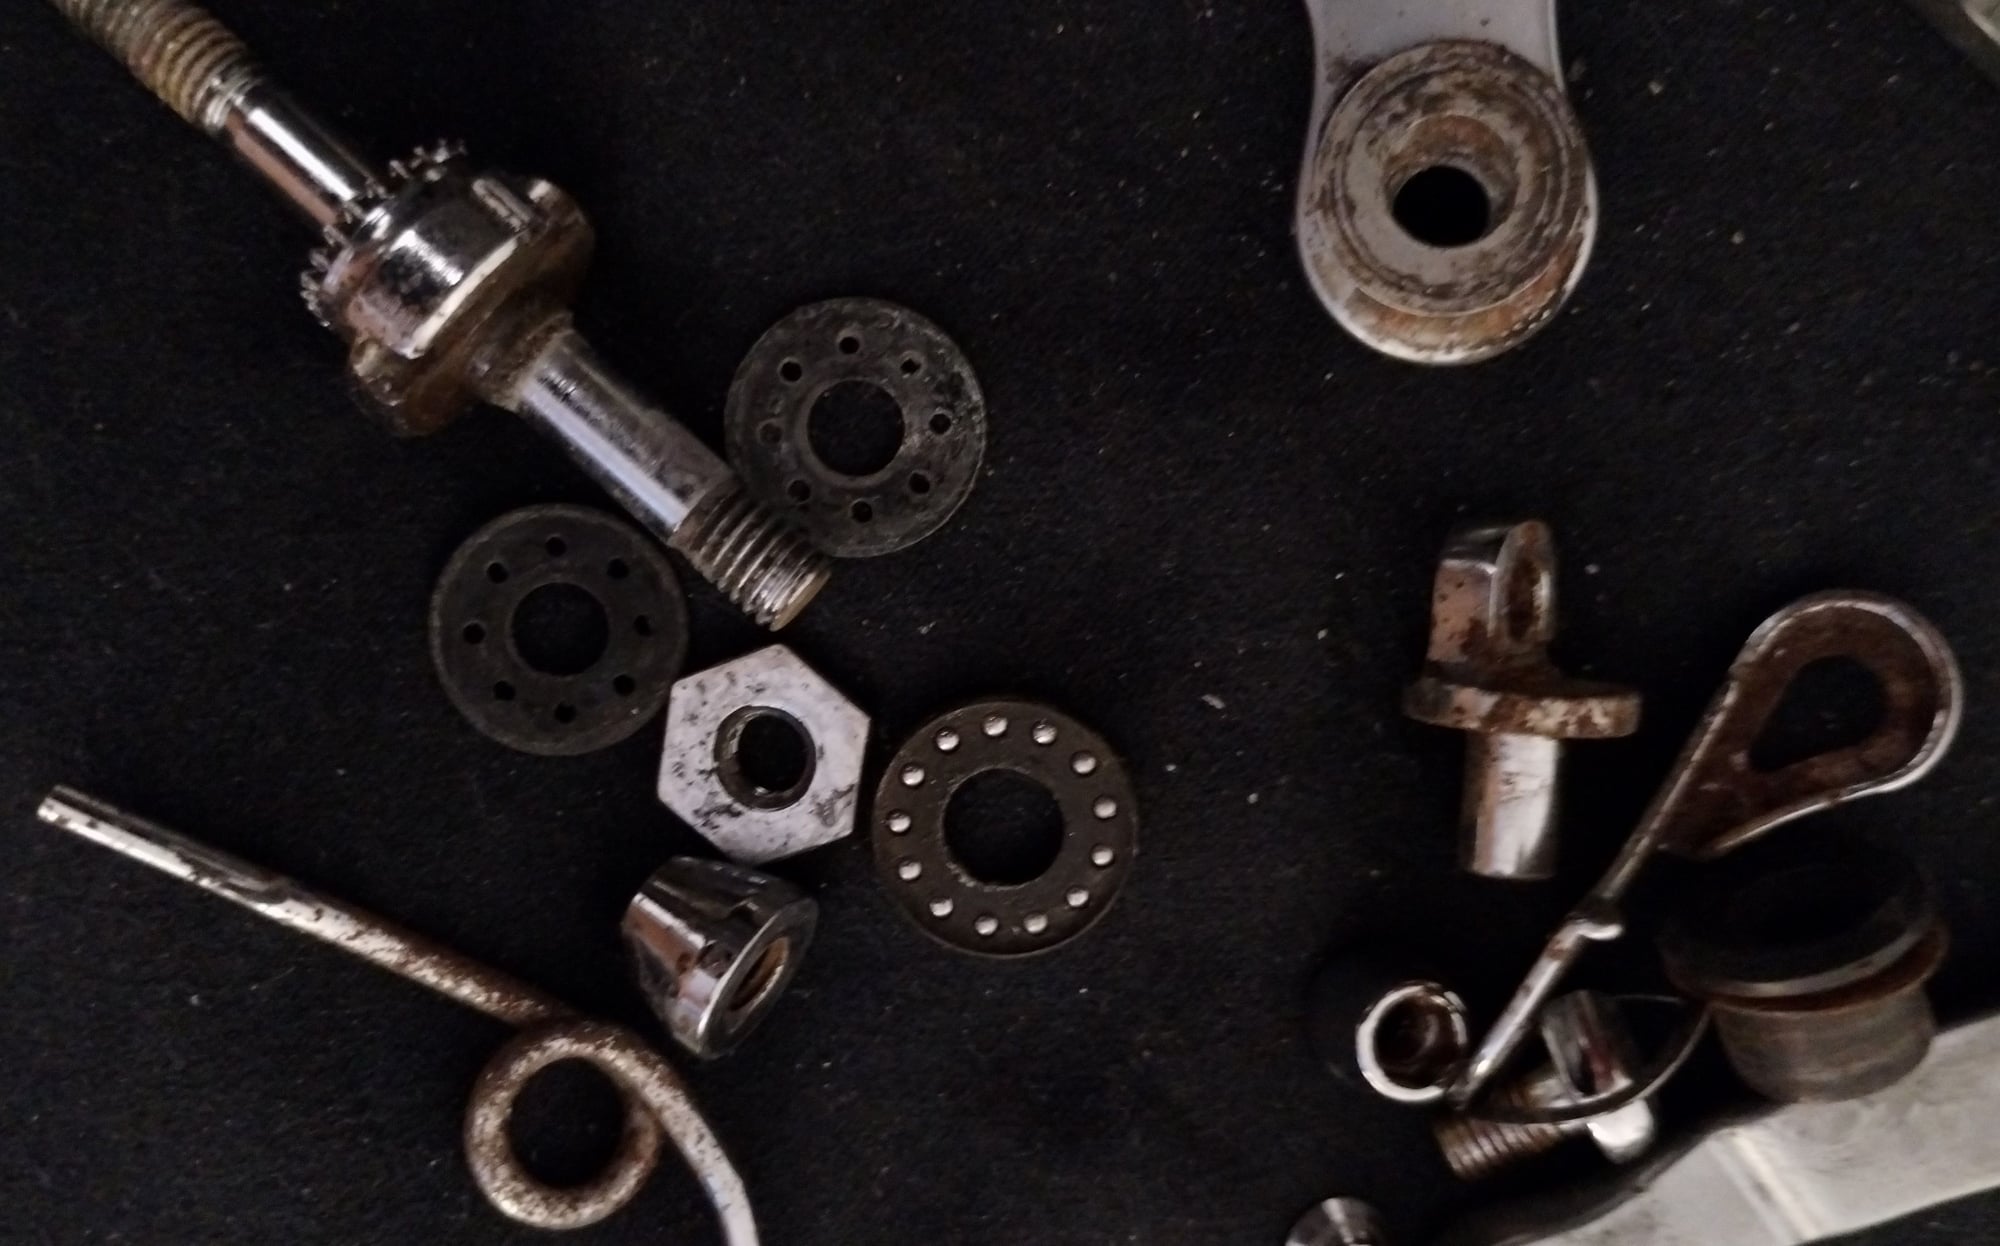
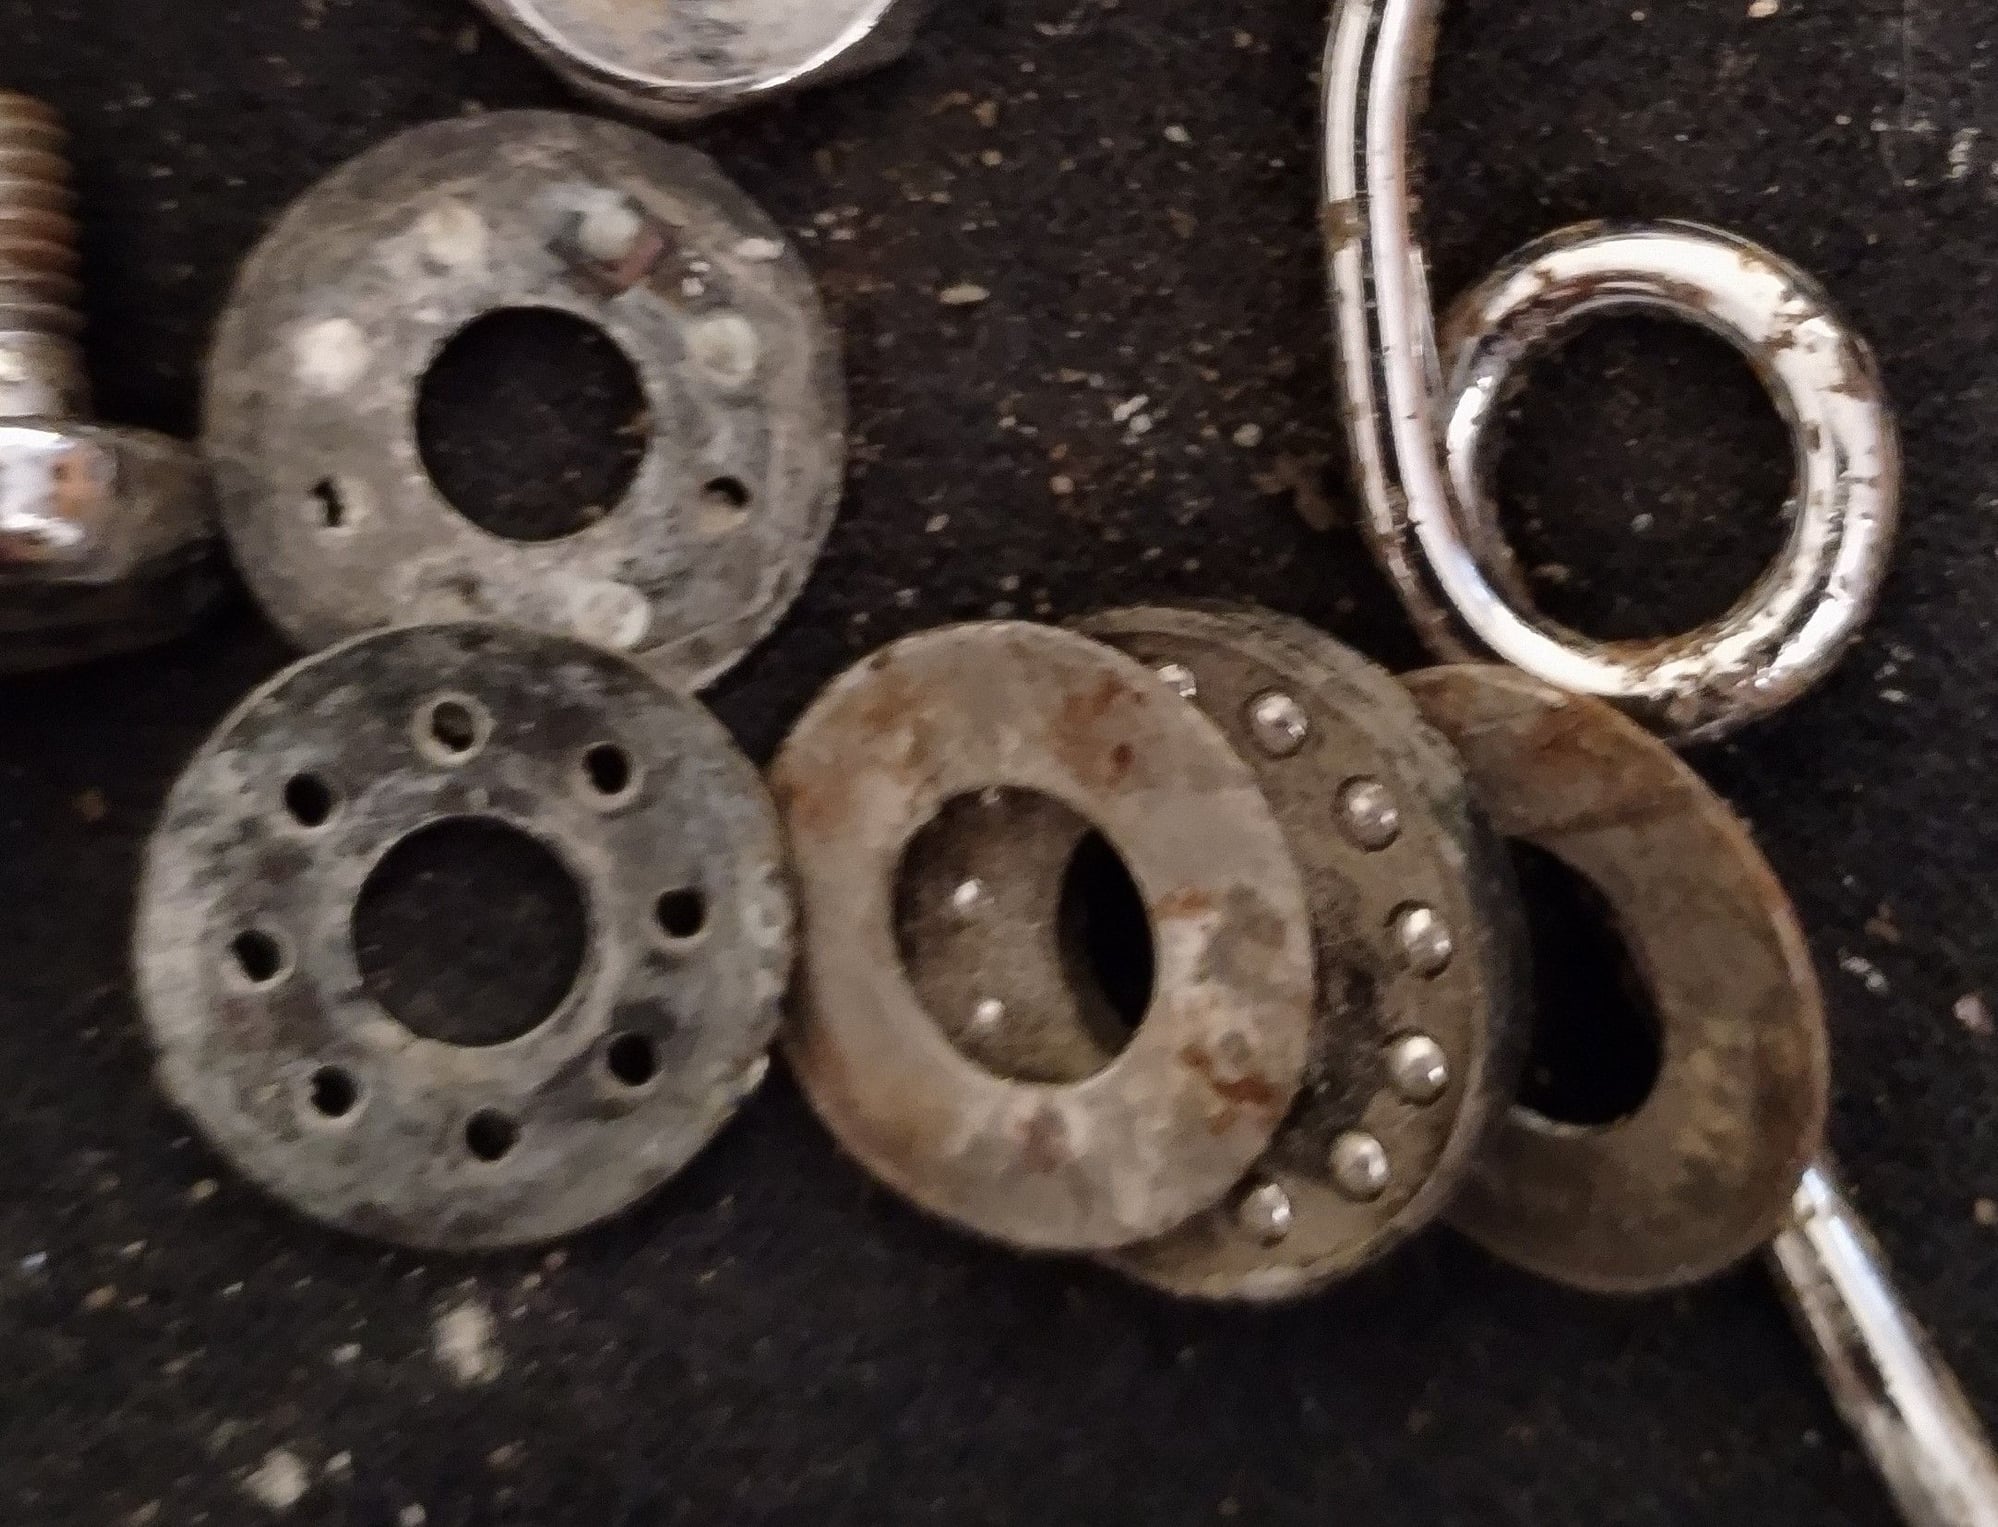
But, when I had a look at these brakes, I was actually quite impressed. Gave them a good clean (getting rotary tool and Scotchbrite ends for it was a good investment for sure). All the grime came off quite nicely. Even the chromed parts look quite decent, considering these brakes were around for something like 37-39 years. Even anodizing is in a good condition, perhaps not perfect, but absolutely acceptable. Not sure why both have two serrated washers, I thing one is sufficient to keep the calipers centered. And no idea why they perforated the brass washers going underneath the locknut and between the caliper arms. I do understand the point of that one with tiny bearing balls, but I don't quite understand why the others had to be perforated. I guess that will remain a mystery.
Now will have to figure out where I can get rubber grommets for the front nut, think of some bits of plastic to act as cable adjuster retainer and they're good as new. The seized adjusters, after taking the rubber O-rings off them, have been tossed into penetrating oil to soak for a few days and let's hope they budge eventually. Now I guess I will have to build that Motobecane Grand Sprint again. And get more Suntour Sprint parts...
The calipers arrived today. Of course, it's just my luck, the cable adjusters are seized. As for the brake pad holders, I'll have to figure out how to actually replace the pads, as I don't see an easy way to do that. I guess we'll cross that bridge at some point. I still have some Dia Compe and Weinmann tyre guides somewhere and old Alu pad holders as well, so I can use those or just go for modern pads.
But, when I had a look at these brakes, I was actually quite impressed. Gave them a good clean (getting rotary tool and Scotchbrite ends for it was a good investment for sure). All the grime came off quite nicely. Even the chromed parts look quite decent, considering these brakes were around for something like 37-39 years. Even anodizing is in a good condition, perhaps not perfect, but absolutely acceptable. Not sure why both have two serrated washers, I thing one is sufficient to keep the calipers centered. And no idea why they perforated the brass washers going underneath the locknut and between the caliper arms. I do understand the point of that one with tiny bearing balls, but I don't quite understand why the others had to be perforated. I guess that will remain a mystery.
Now will have to figure out where I can get rubber grommets for the front nut, think of some bits of plastic to act as cable adjuster retainer and they're good as new. The seized adjusters, after taking the rubber O-rings off them, have been tossed into penetrating oil to soak for a few days and let's hope they budge eventually. Now I guess I will have to build that Motobecane Grand Sprint again. And get more Suntour Sprint parts...
Likes For VintageSteelEU: